
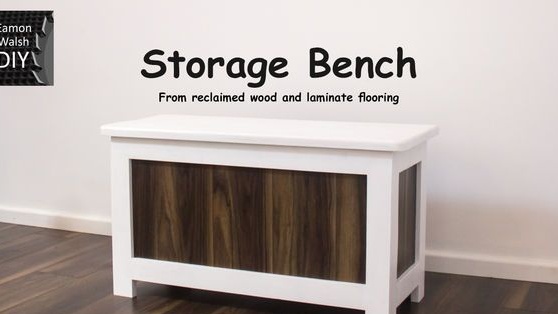
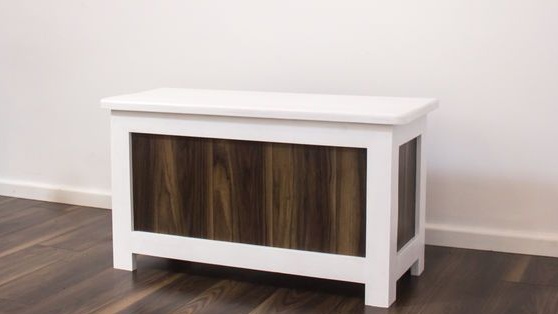
From old materials you can sometimes make quite interesting and useful things. Of course, if your hands are level and you have the necessary set of tools. As an example, you can see how one author made a wonderful box for storing things, which is also a table. As materials here, old boards from the floor and other waste material were used.
Materials and tools used by the author:
Material List:
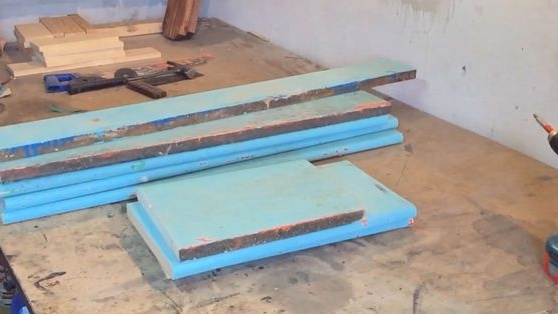
- old boards;
- wooden dowels;
- laminated flooring (or other material for the walls);
- door hinges;
- self-tapping screws and other trifles.
Tool List:
- circular saw (or hand tool);
- ;
- (or a lot of sandpaper and strength);
- roulette;
- marker or pencil;
- building level;
- square;
- a clamp;
- glue for wood;
- .
Manufacturing process homemade:
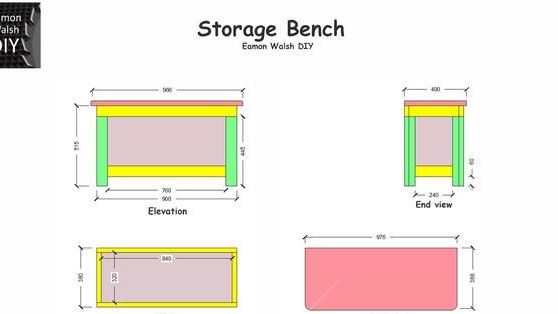
Step one. Project plan
First of all, you need to figure out what size your furniture and what blanks are needed for her. For this whole affair, the author encloses a diagram.
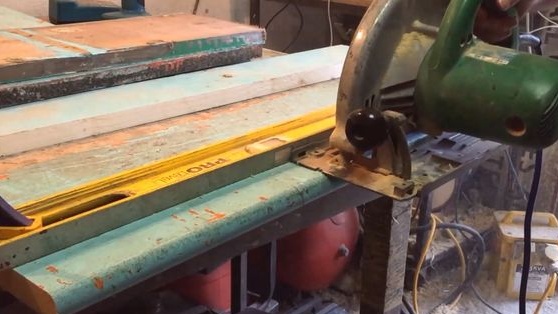
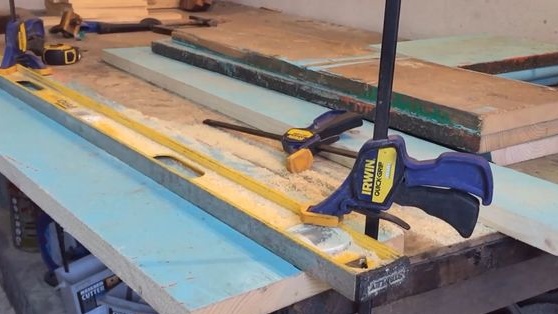
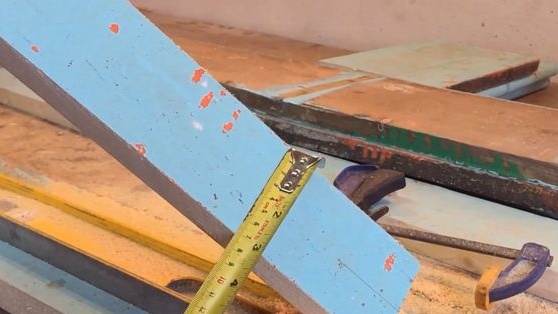
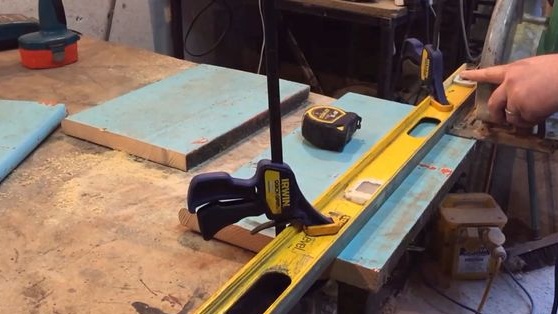
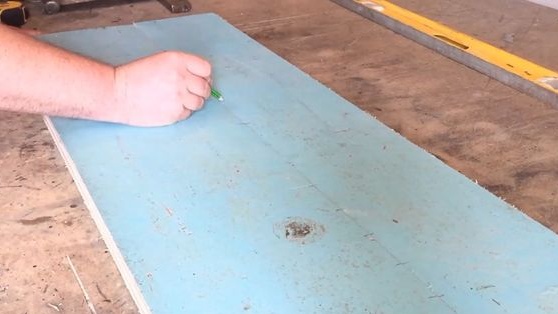
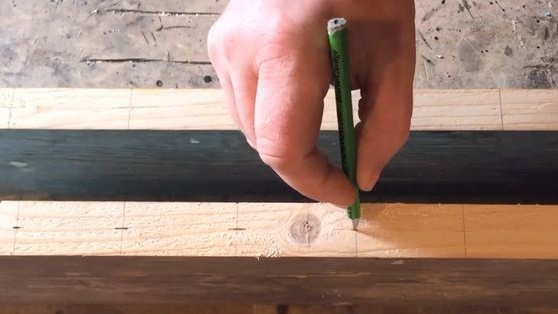
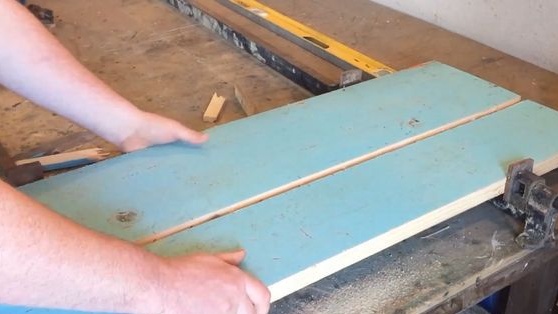
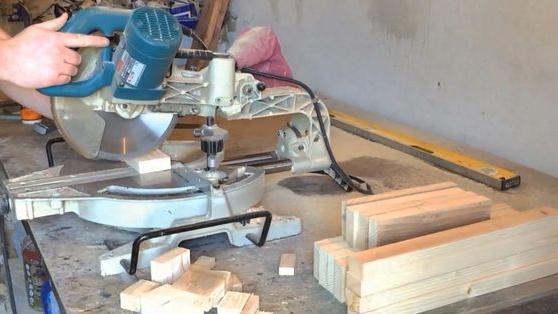
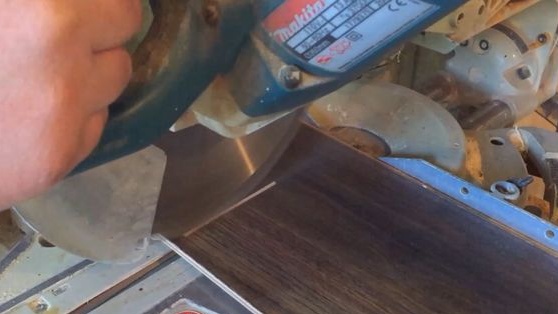
Further, when you decide on the sizes, it will be possible to cut all the workpieces. We use tape measure, the construction level as a ruler and draw lines for cutting. You can do this job quickly and efficiently with a circular saw. In principle, you can handle and jigsaw. To make an even cut, the author clamps the construction level with a clamp and, relying on it, cuts.


Step Two Top assembly
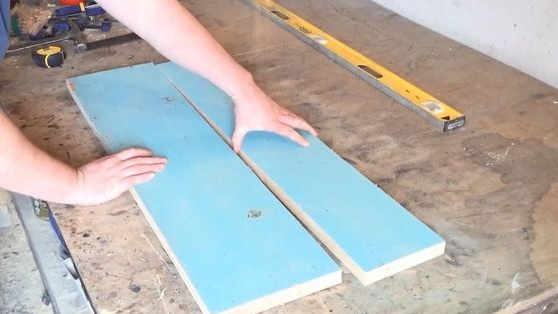
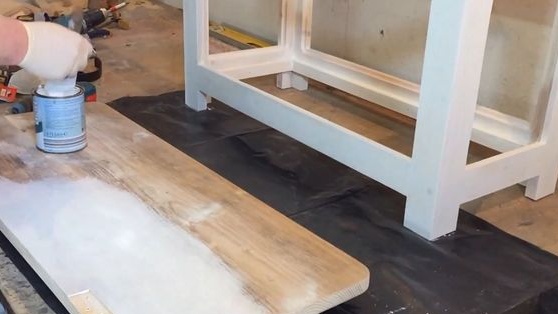
The upper part should be quite durable, as it serves as a table. For these purposes, you need quite wide boards. Narrow can be dispensed with, but they will need to be glued together in large quantities. The author takes for these purposes two boards from the bench and cuts to the desired length.
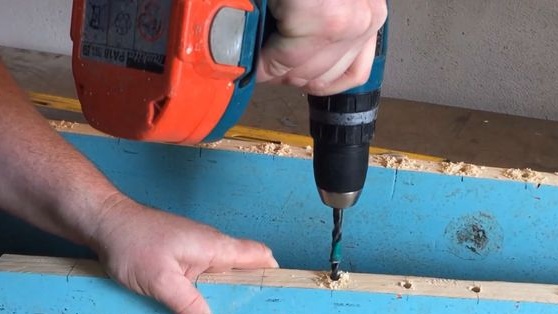
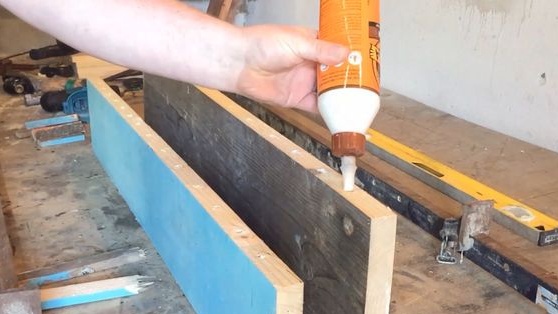
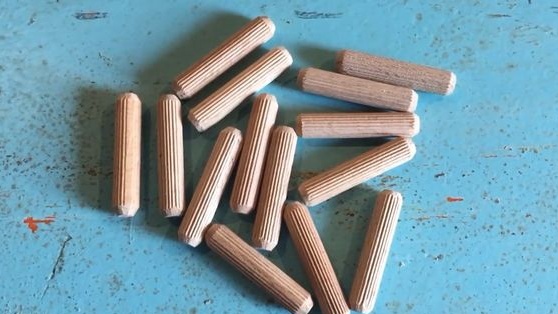
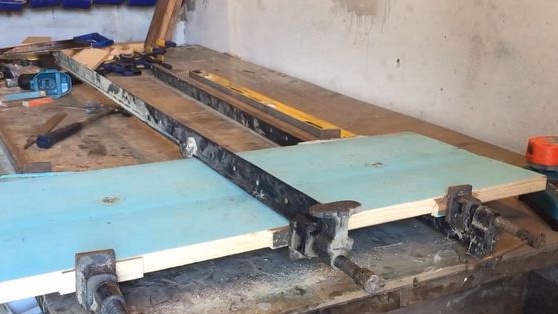
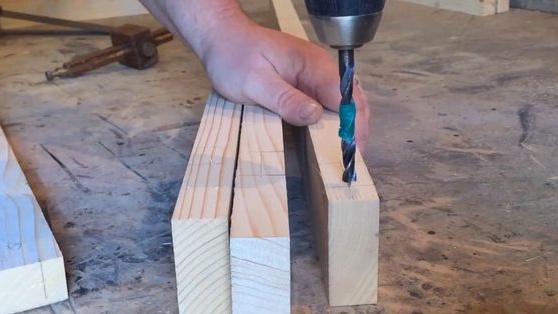
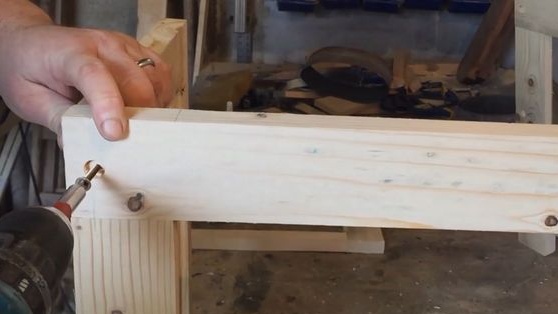
To fasten two boards, in the end part we drill holes for dowels. Next, the dowels are well lubricated with glue, and we also apply glue to the joined parts. In the end, we carefully assemble this whole thing using a rubber mallet. So that everything is well and evenly glued together, we tighten the structure with clamps and leave it.
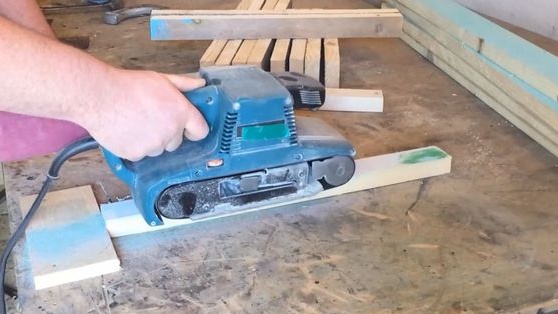
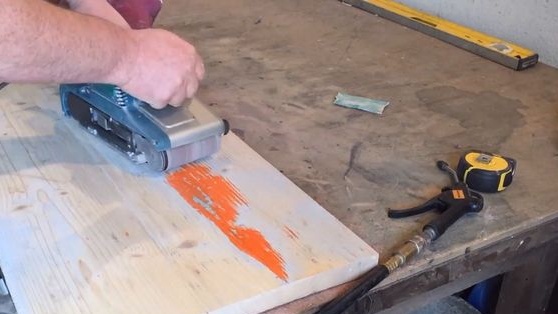
Step Three Cleaning blanks from old paint
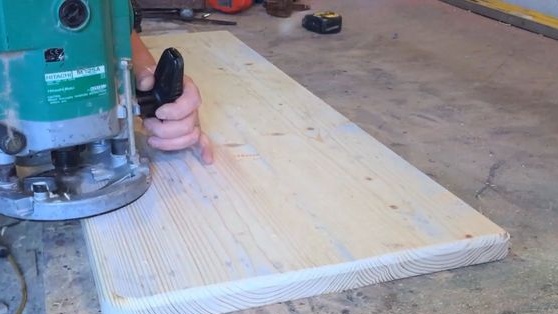
Old paint is a rather insidious thing, it will be extremely difficult to clean it by hand. Significantly accelerate this process will allow manual belt sander.
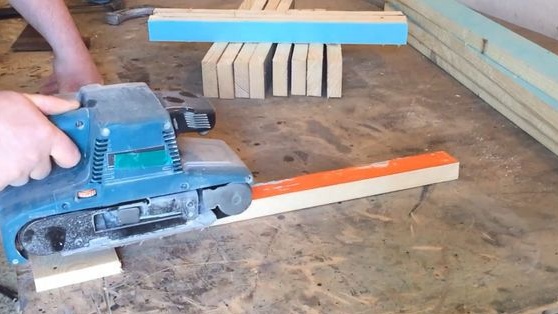
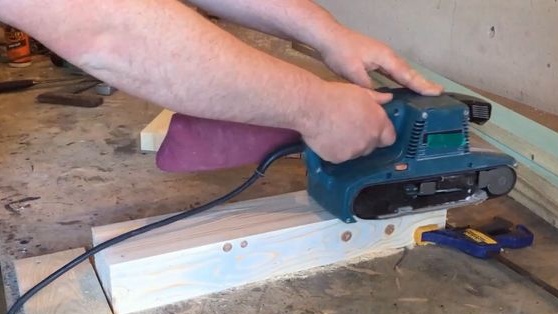
In addition to removing paint, the author also evens out the thickness of the blanks. To do this, they are all simultaneously pulled together with a clamp and then ground.
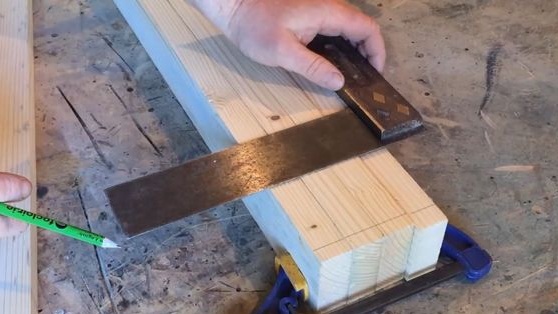
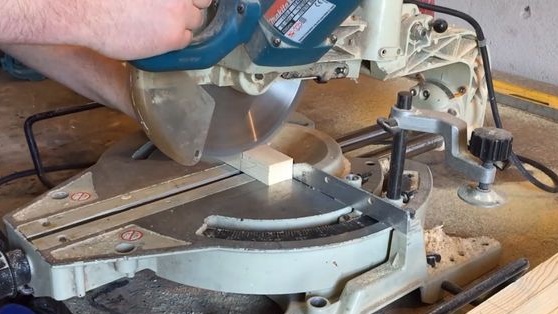
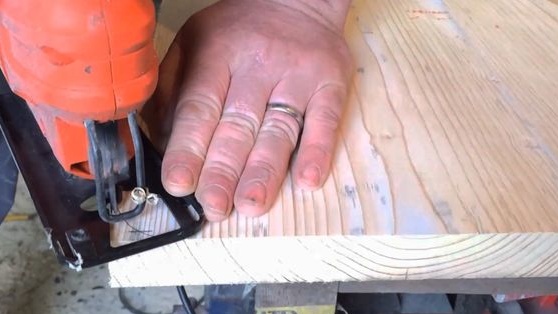
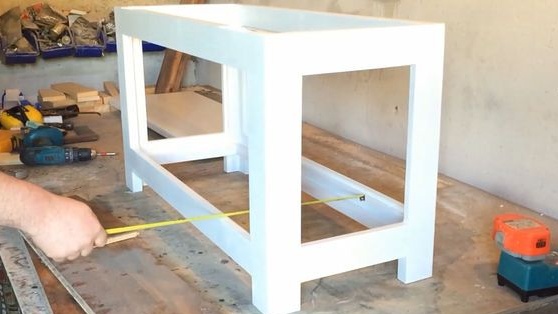
Step Four Align blanks to length
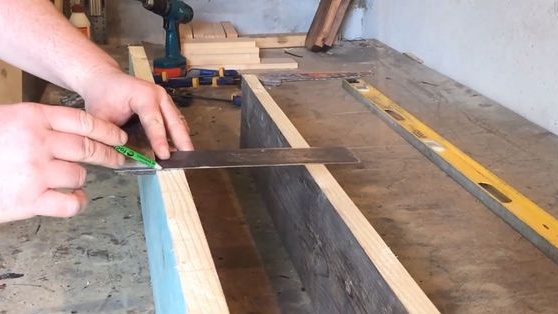
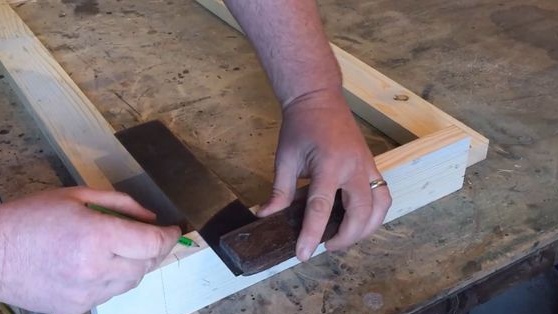
To make the table absolutely even and not wobble, make sure that all components are strictly the same length. To do this, again we put all the workpieces together, draw a line and cut everything at the same time under one level.

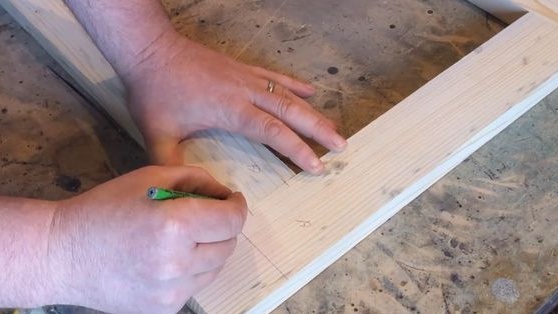
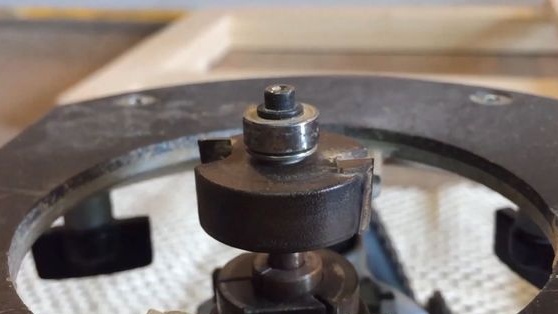
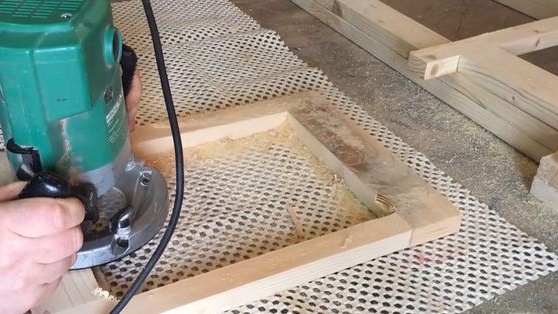
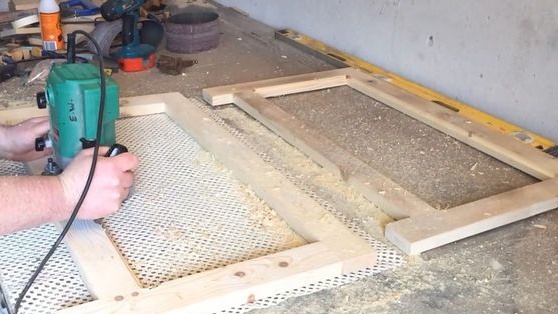
Step Five Preparation of all parts for assembly
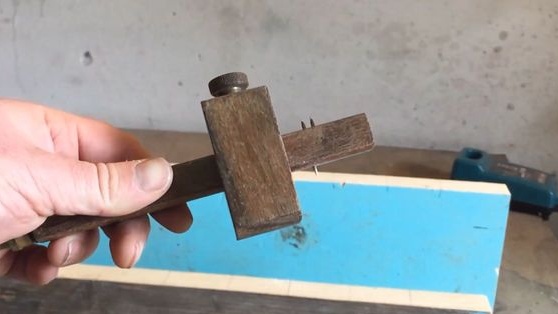
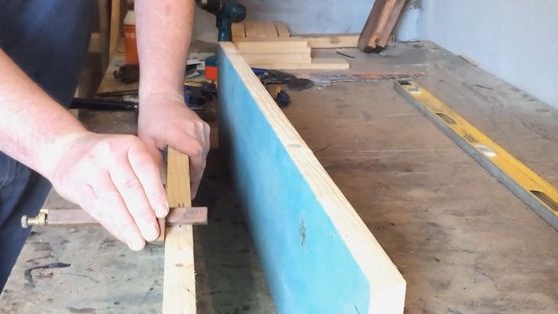
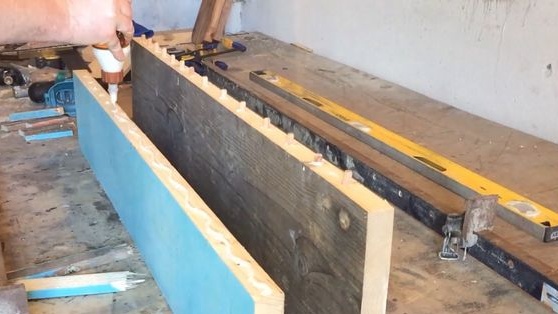
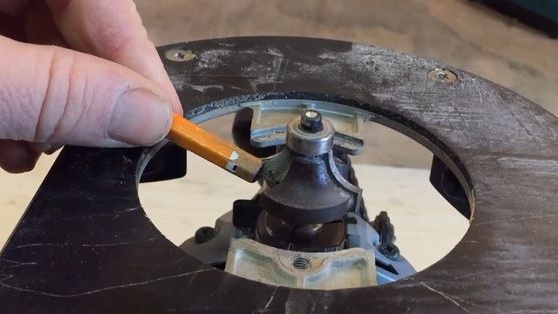
Now we add and mark all the details so as not to get confused later. After that, in the lower part of the frame and the side you need to make a special groove in which the laminate is installed. After assembly, this will be difficult. For these purposes, the author uses a special machine.
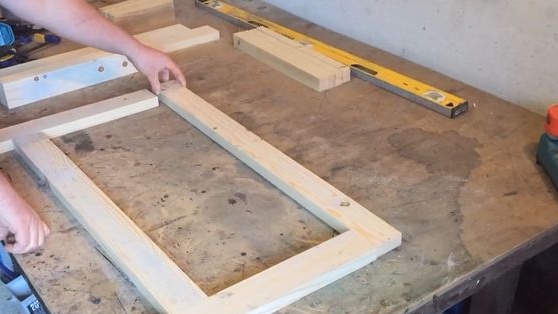
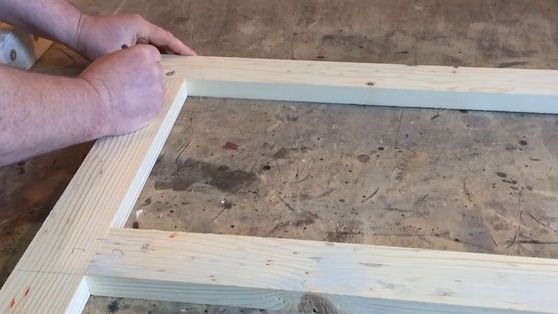
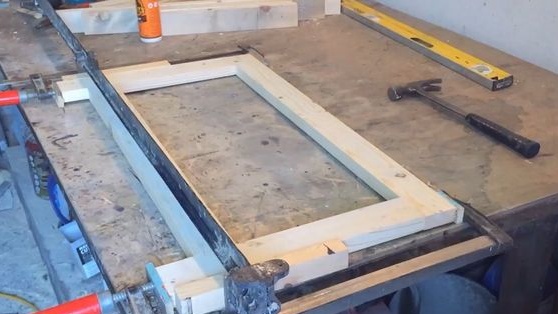
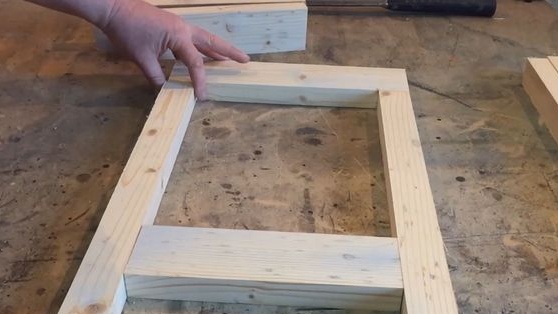
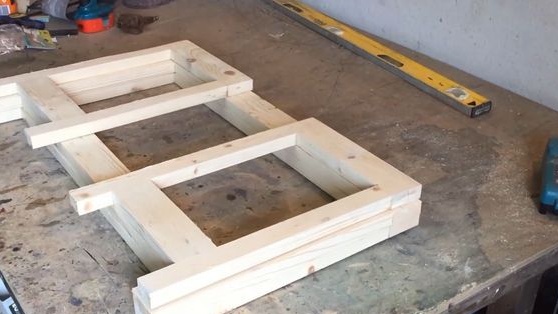
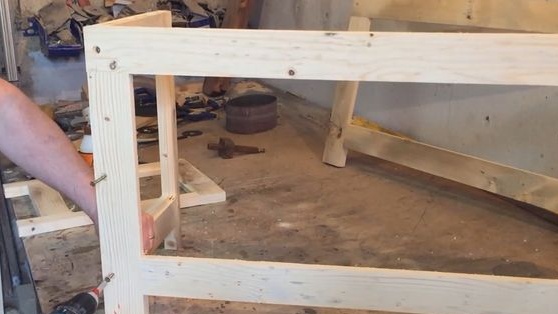
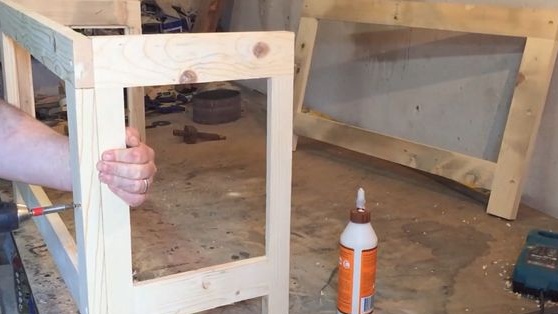
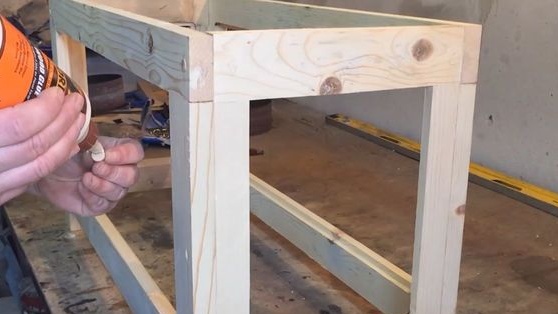
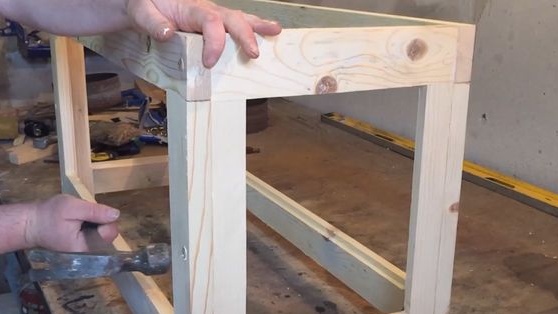
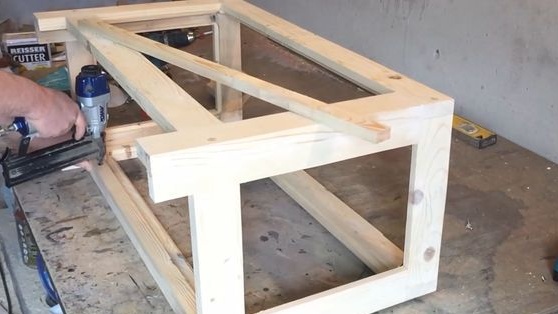
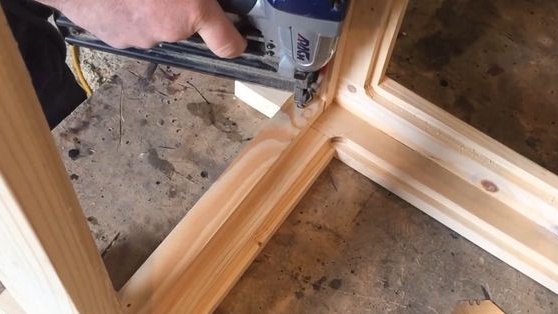
Step Six Assemble the frame
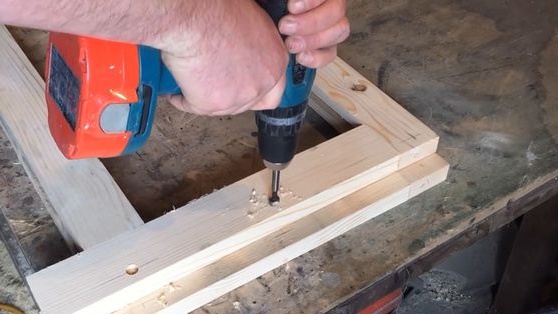
The frame can be assembled, here you will need a drill, screws for wood, as well as glue. However, the use of glue is not mandatory, but rather additional measures. As the main fastener we use screws for wood. We drill holes for them in the right places. Under the screw caps you will need to drill holes to hide them in the wood.
Seventh step. Top preparation
After the glue dries, we grind the top part. We need to remove all the old paint, and also make the surface perfectly smooth. You also need to cut off the edges so that they are not sharp.
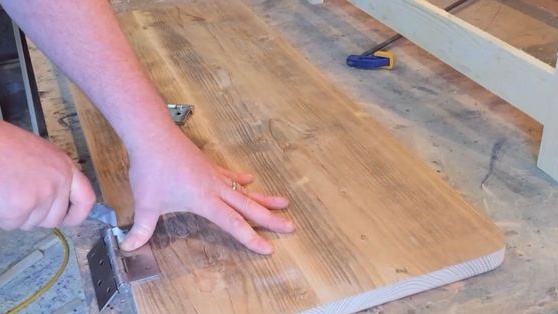

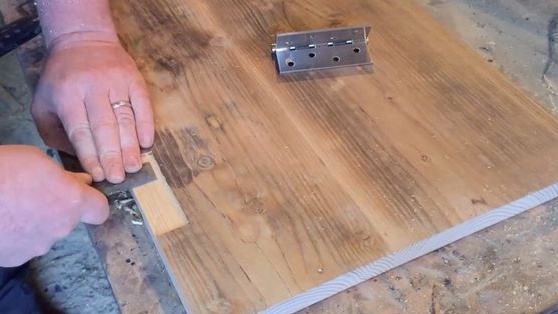
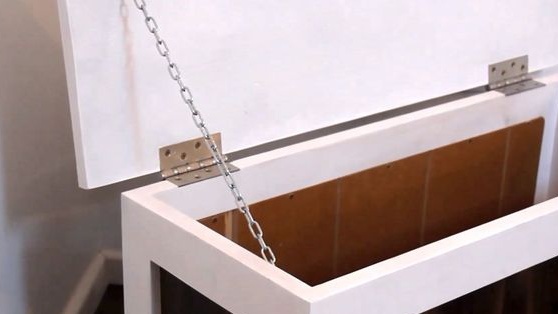
When the surface is ready, you will need to fasten the hinges to the future cover. Under the hinges, the author also made small grooves. Then they can be screwed to the cover, and then the cover itself is fixed to the frame. We use self-tapping screws and a screwdriver.
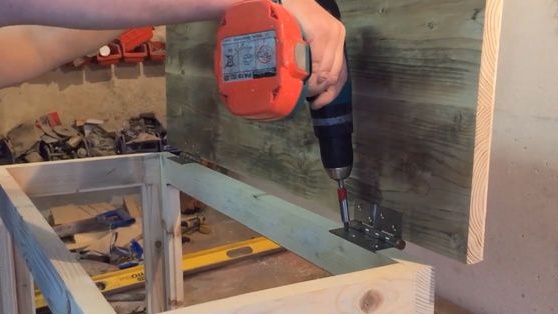
Step Eight. We fasten the brackets for fixing the floor
To make a reliable floor on which you can load a lot of things, screw the strips to the bottom of the frame.
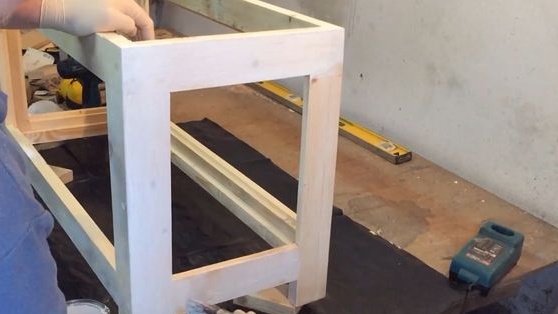
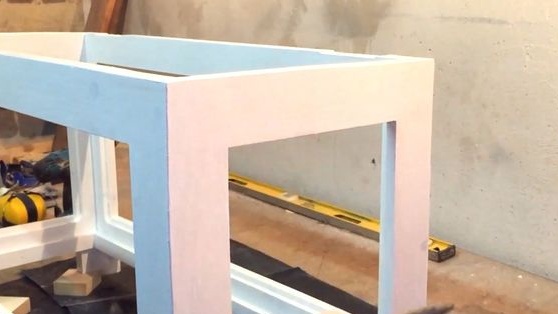
Step Nine. Paint the frame
The frame is ready, now you can paint it. For these purposes, the author chose a white paint. Apply it with an ordinary brush. The process is creative, there is no need to rush anywhere.
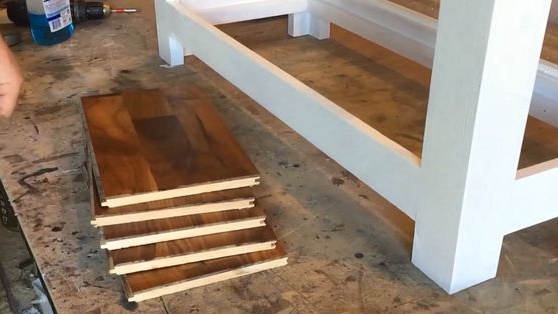
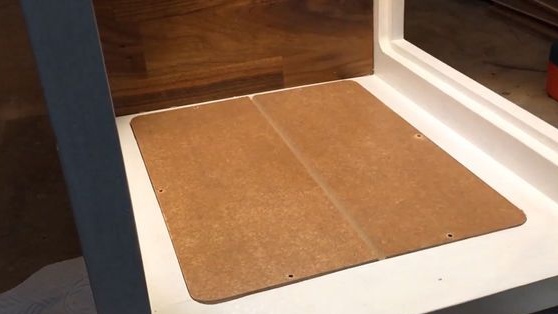
Step Ten Cut out the blanks for polik
The floor must withstand quite a lot of weight, which means that an ordinary laminate will not work here. We use plywood, boards, or any other floor covering that has sufficient strength.
We measure the internal width of the floor and cut the desired number of blanks. Then just put them in their place.
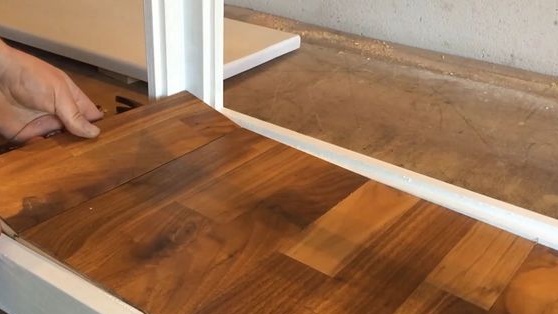
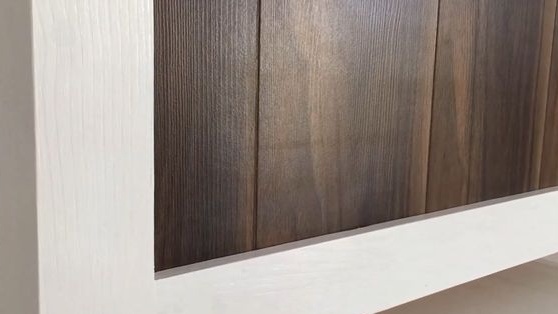
Step eleven. We make and fasten the walls
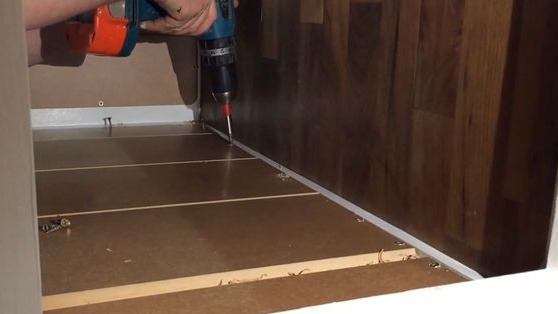
For the manufacture of walls, the author decided to use a laminate. We cut it into the necessary pieces and fasten it into place. The idea is that the laminate sheets fit into the grooves that are in the frame. But for such purposes, you can easily use fiberboard and other available materials. We fasten the sheets with self-tapping screws.
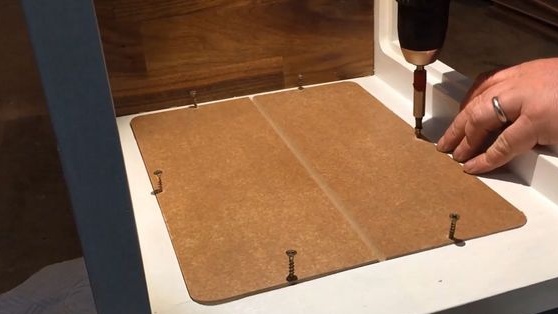
As for the floor, you also need to remember to screw it in, here you will also need screws and a screwdriver.


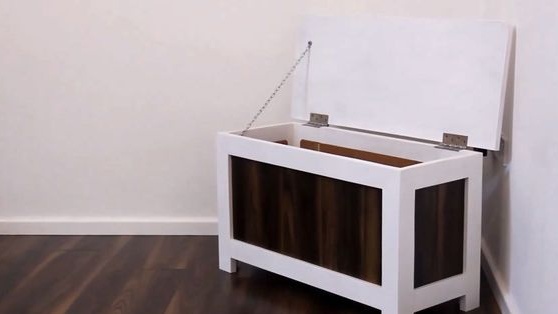
Step Twelve. Build completion
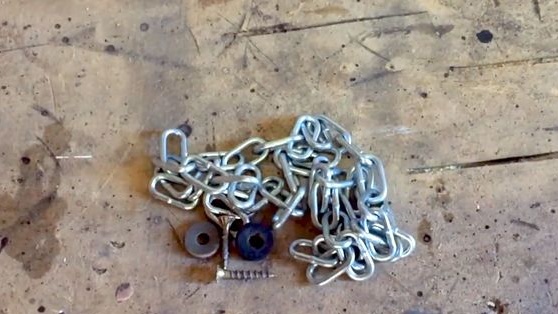
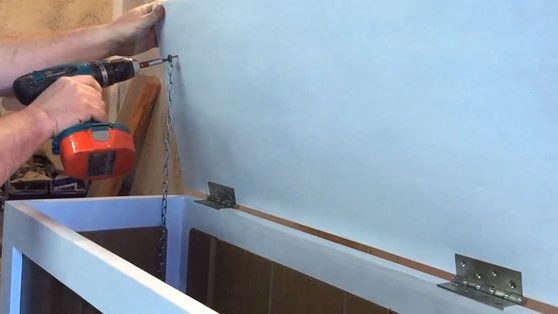
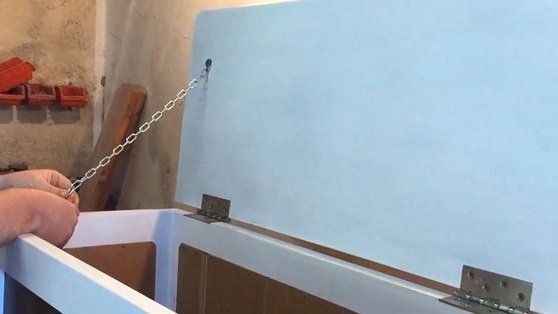
In principle, we have already assembled the homemade product. Remained the final touches. You will need a piece of chain, two washers, as well as two screws. So that the door of the box does not fall in the other direction, we select the chain that is tedious in length and fasten it. But the door in the open state should be at a certain angle so that it does not fall while you are looking for something in the drawer. The chain is the only item that the author had to buy for this homemade product, not counting consumables such as screws and so on.

Step Thirteen conclusions
That's all, the wonderful dresser table is ready. Now you can put here all those things that are lying around the house and interfere. In most cases, shoes not used in a given season are stored in such furniture.
As a result, you created wonderful furniture and saved the wood, which would probably rot somewhere.