
More and more often, Smart Home technology is entering our lives. Using this technology, you can control various household appliances from lighting to a kettle, from a lock to a split system or TV. Convenience, the possibility of many settings, scheduling and control from a smartphone, etc. is the advantage of Smart Home. Also, using this technology, for example, you can schedule scheduled feeding of fish in an aquarium, dogs or cat. The master feeder decided to build a cat feeder. The principle of operation of the feeder is simple. Two cans with holes. In the normal position, the holes are not perfect. A servo drive is fixed in the lower bank. The servo shaft is fixed in the upper bank. At the set time, power is supplied to the servo drive. The shaft turns and rotates the upper can. The holes are aligned, and a portion of the feed falls into the bowl. Then the bank becomes in its original position.
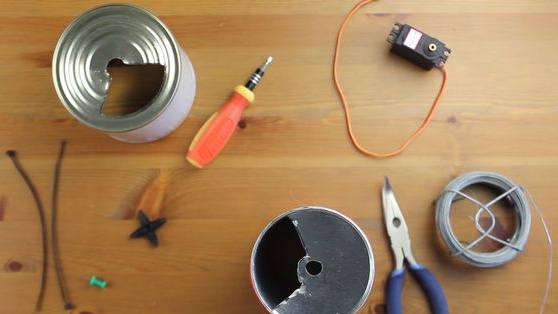
Tools and materials:
-2 metal cans of different diameters;
-Plastic jar;
-Marker;
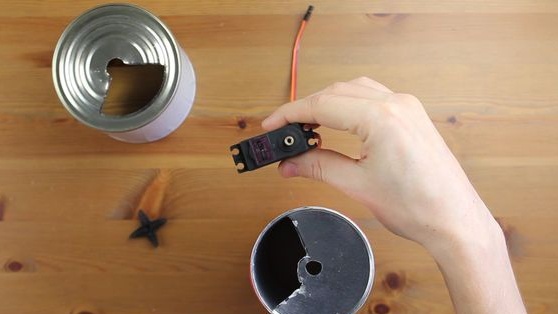
- Servomotor MG996;
-A bowl with two compartments;
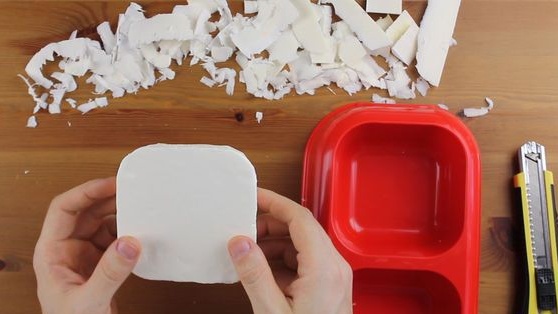
-Styrofoam;
-Arduino;
-Engraver;
-Roulette;
-Stationery knife;
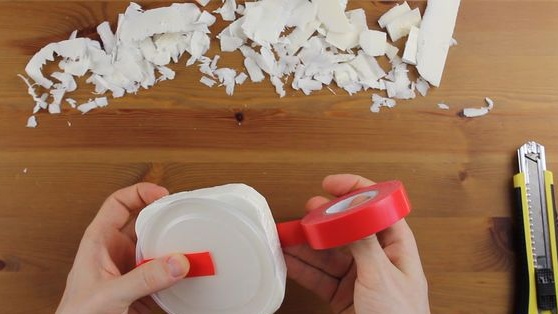
-Izolenta (red);
- adhesive film;
-Scissors;
-Screwdriver;
-Cable tie;
-Wire;
-Nippers;
-The wire;
Heat Shrink;
- Lighter;
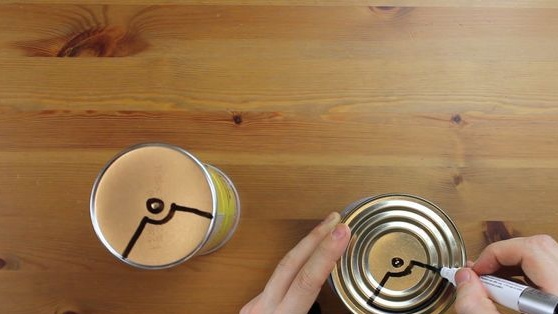
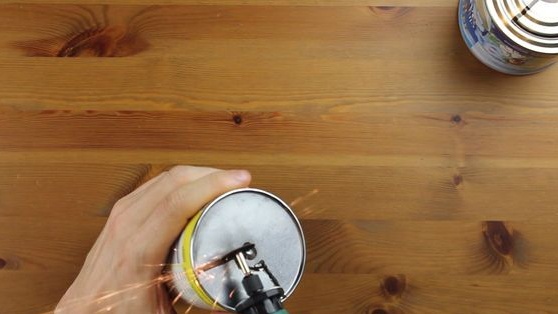
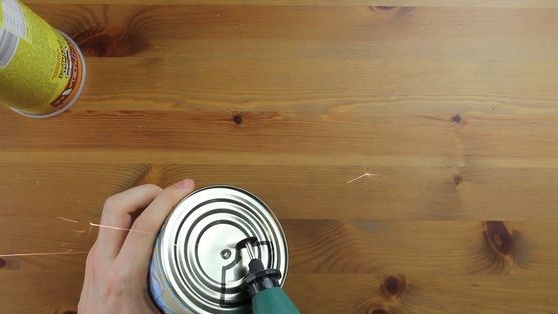
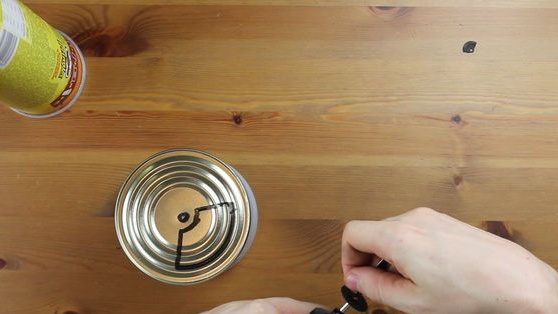
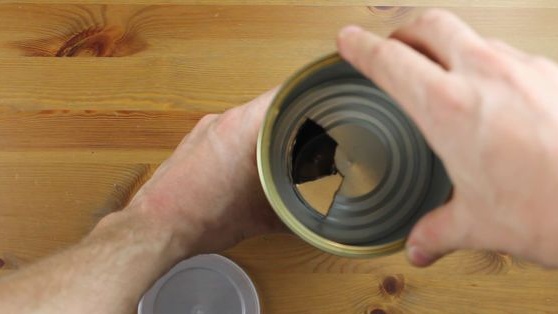
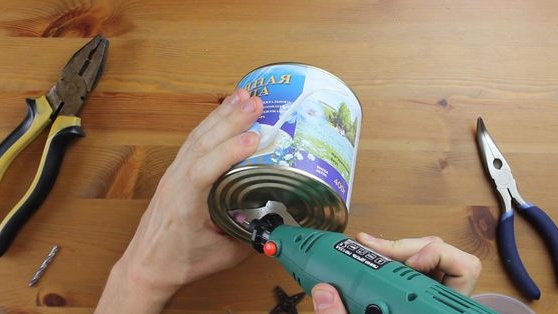
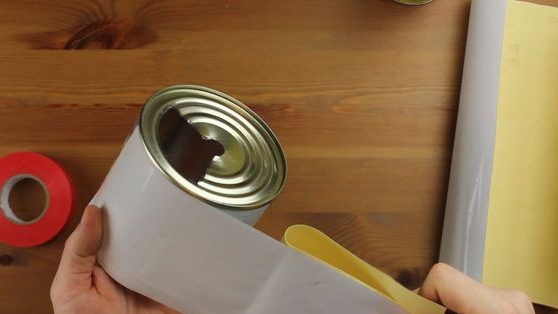
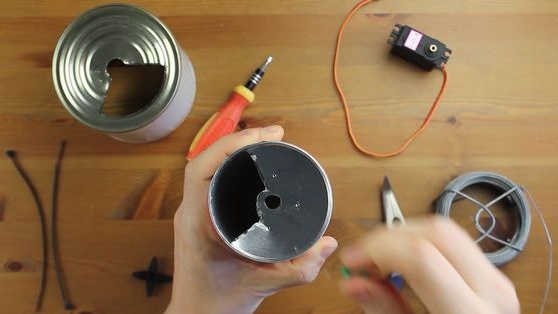
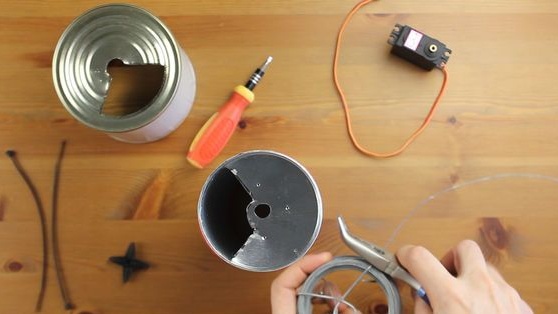
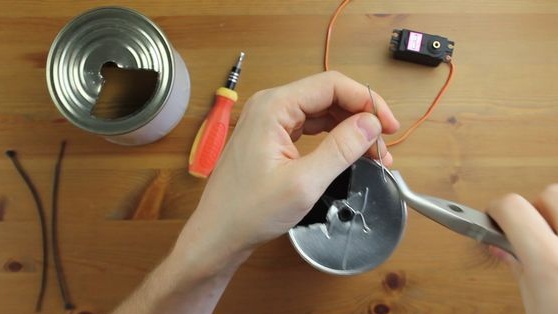
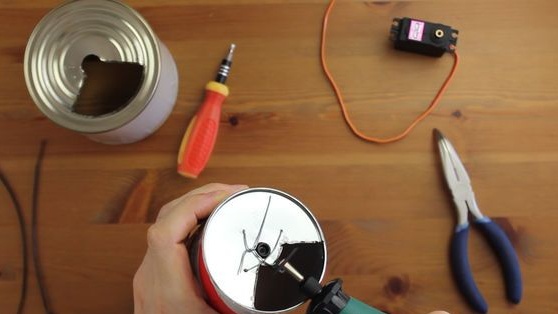
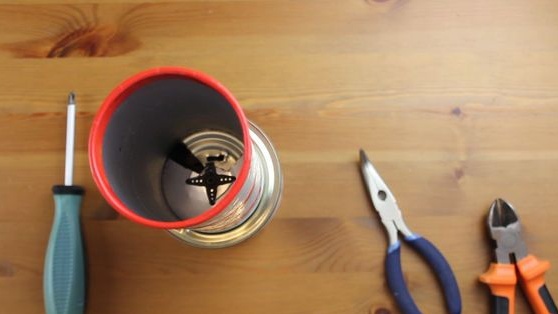
Step One: Preparing Cans
Makes markup on banks. Cuts holes according to the layout (see photo). In the center, makes holes for the servo shaft.
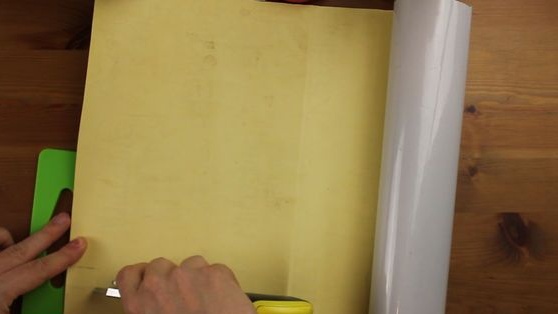
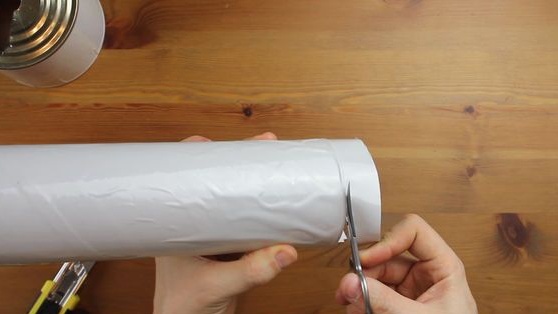
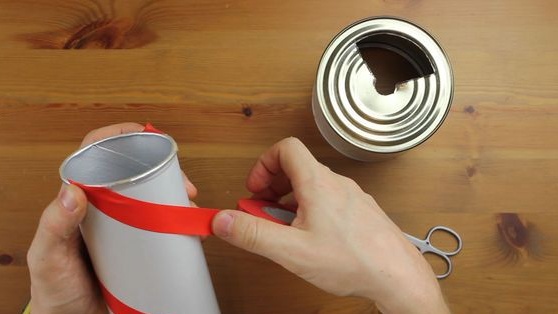
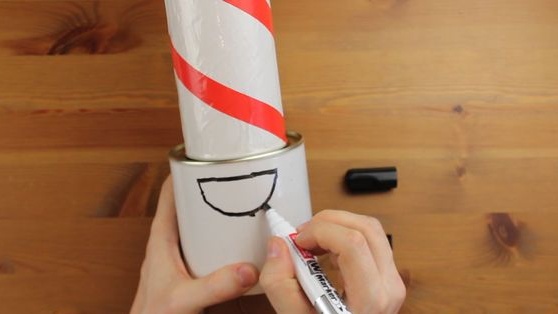
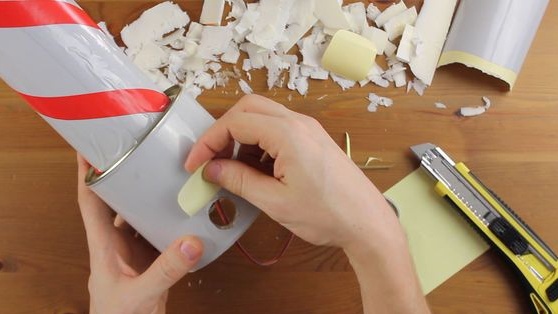
Step two: decorate the cans
Wraps cans over the wrap. Decorates with red tape.
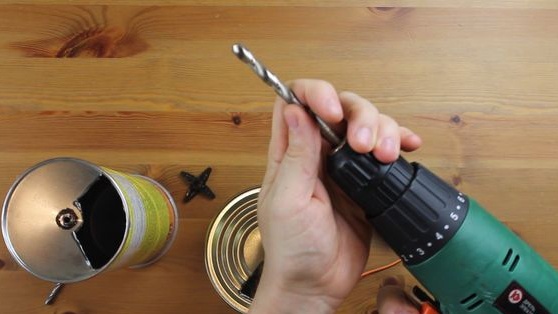
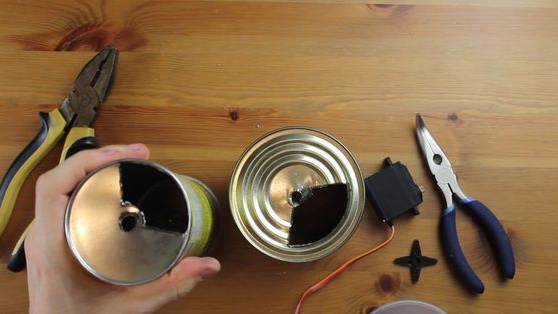
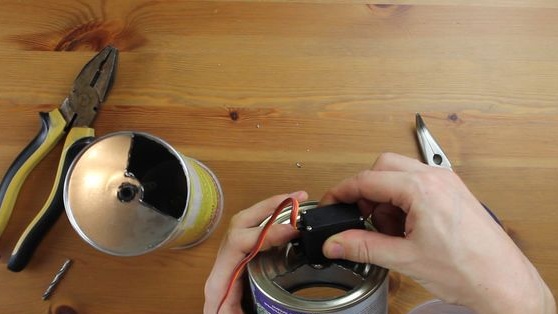
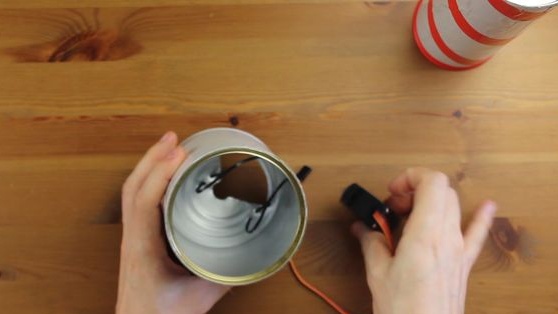
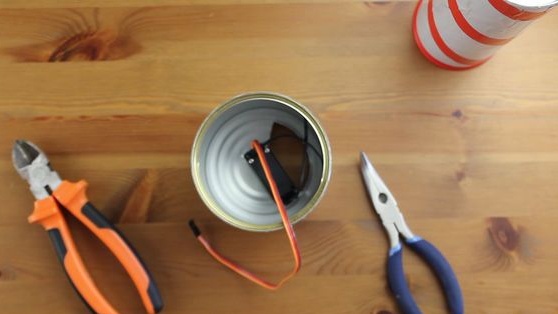
Step Three: Install the Servo
It makes holes in the upper bank and secures the nut of the servo drive shaft. A servo drive is mounted in the lower bank. Connects two banks.

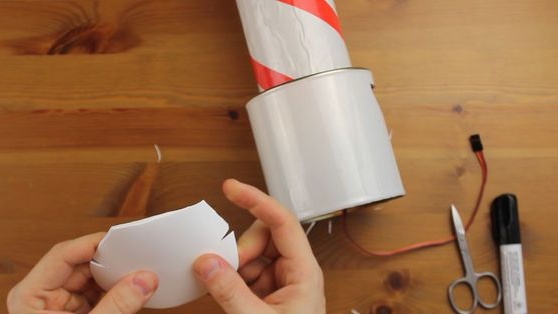
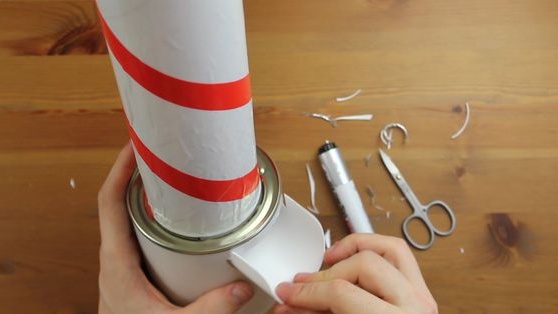
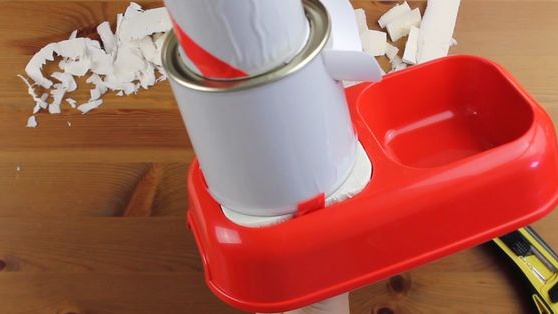
Step Four: Transfer Case
Cut out a dispensing window in the lower jar. The window should be located exactly under the opening of the lower can. From a plastic can cuts a tray. Secures the tray.

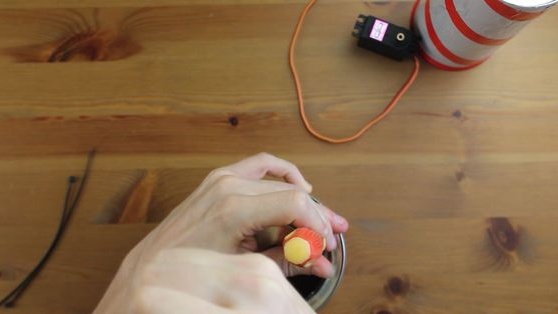
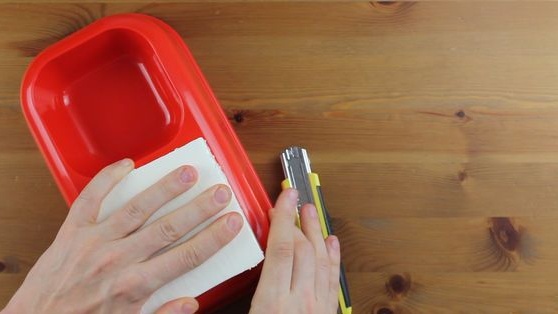
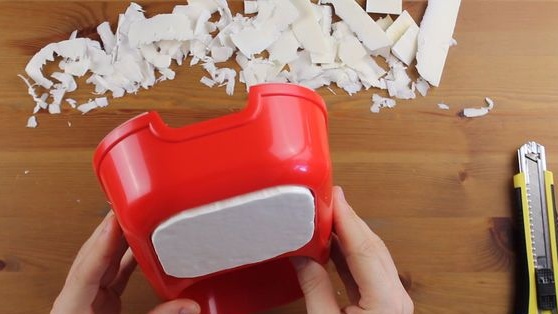
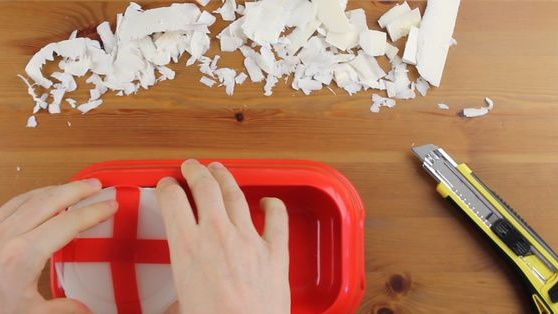
Step Five: Bowl
Customizes the foam in the shape of one section of a bowl. Fastens a plastic cover from the lower can to the foam. Installs foam into the section. He puts a can on the lid.
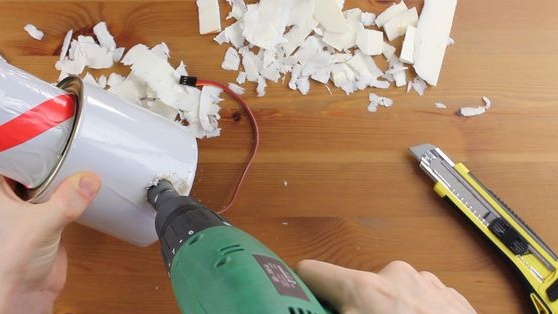
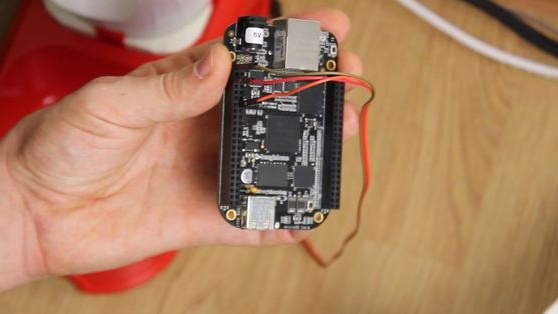
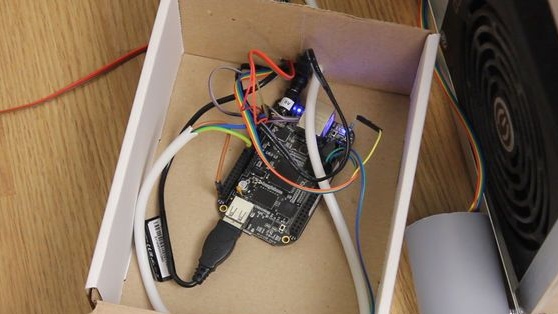
Step Six: Arduino
Drills a hole at the bottom of the can. Outputs wires from the servo.Connects to the Arduino board. Brown wire to GND, orange to 9 or 10 PWM pin. Insulates wires with heat shrink. You can see the connection diagram
.
Link to the code.
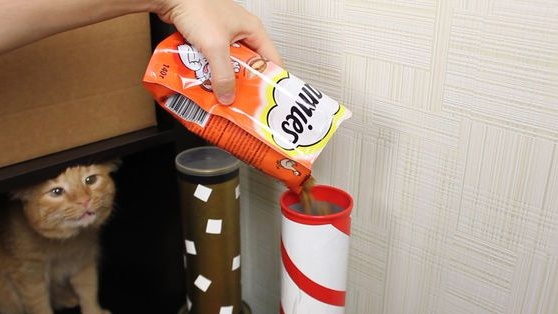
It remains to fill in the feed and test the operation of the feeder.
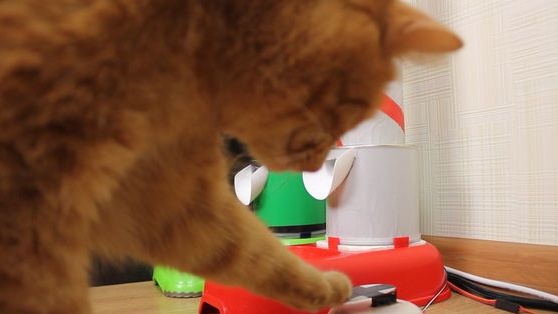
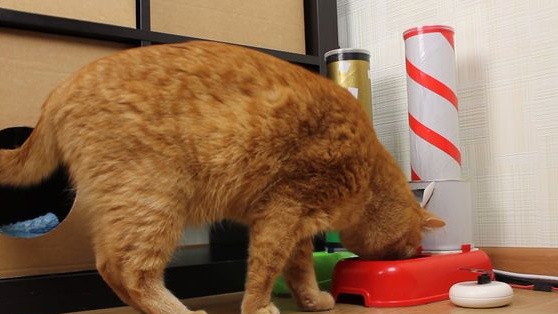
As you can see, the author has two feeders. The second feeder is triggered by pressing a button. In the last photo you can see how the cat presses the button. Also, the entire process of manufacturing and operating the feeder can be seen in the video.