

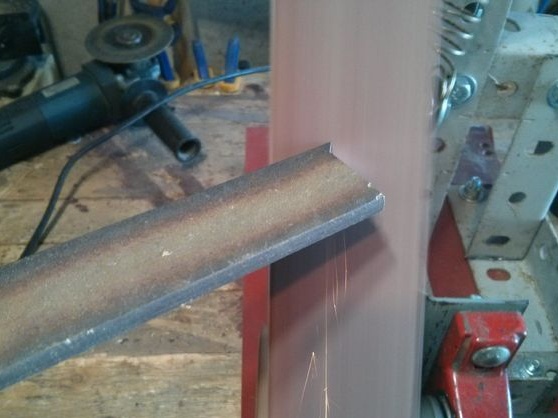
Belt sander is a very convenient machine in the workshop. Using it, you can grind, make various interesting and useful things. Such a machine will be very good in the manufacture of knives, it is convenient for it to remove bevels, form a handle and so on.
Such cars cost quite expensive, and cheap options have quite limited power. So it makes sense to assemble such a machine yourself by choosing the engine power you need. The choice of materials for such a machine is quite wide, you can either buy ready-made components, or do them yourself, for example, do it yourself.
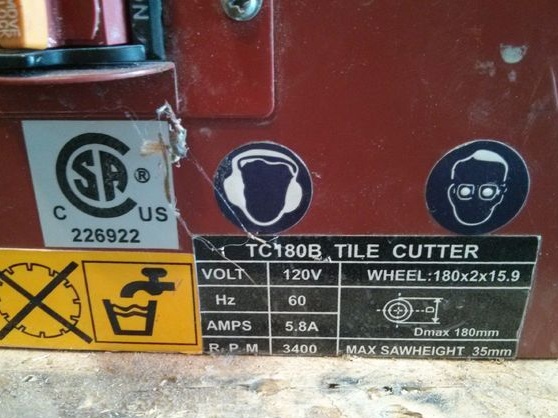
As for the engine for such a machine, it should consume a current of at least 6A, in principle, it was such an engine that the author used. For a more powerful machine, on which work can be carried out faster, you can use a motor up to 12A.
Materials and tools used by the author:
Material List:
- electric motor;
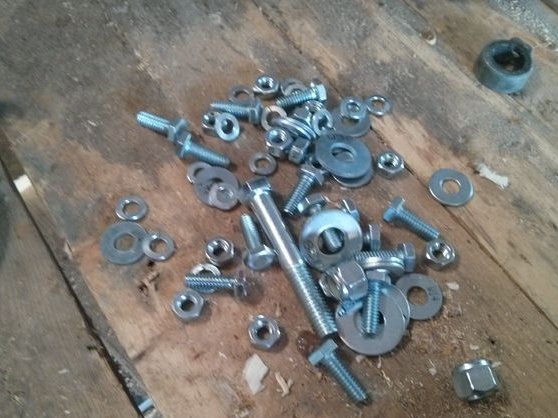
- various bolts, washers and nuts;
- bearings;
- axis;
- pulleys;
- corner;
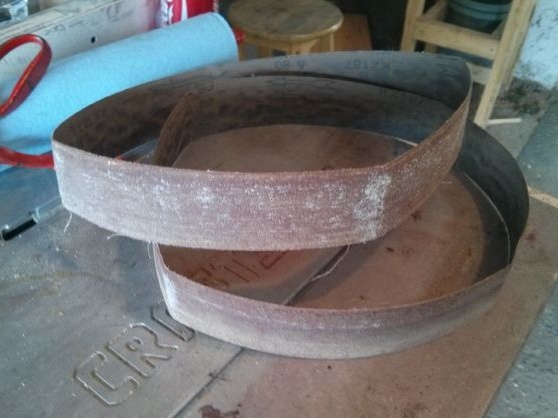
- grinding belt;
- various steel plates and other metal.
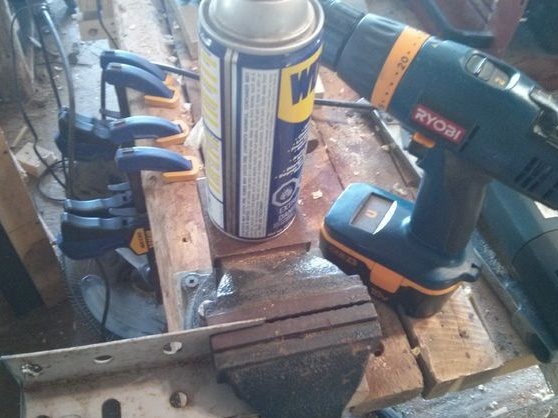
Tool List:
- ;
- ;
- wrenches, screwdrivers, etc .;
- lathe, etc.
The process of manufacturing a belt sander:
Step one. Engine preparation
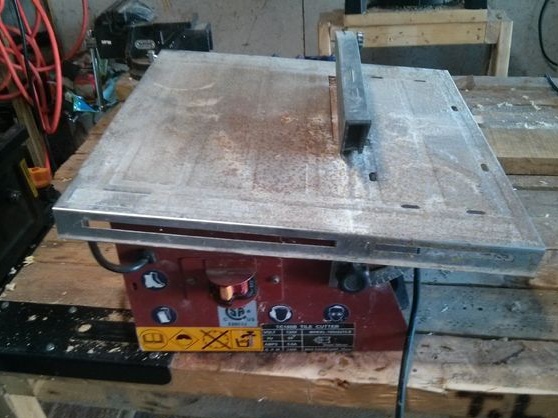
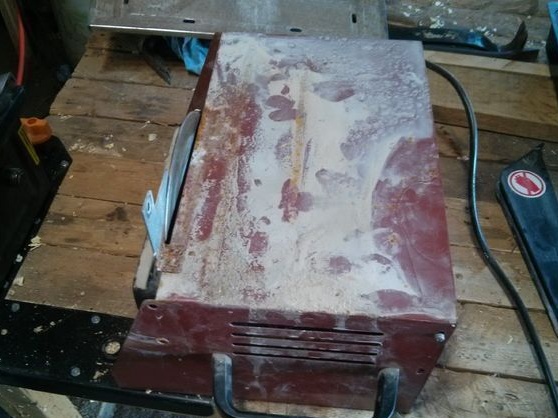
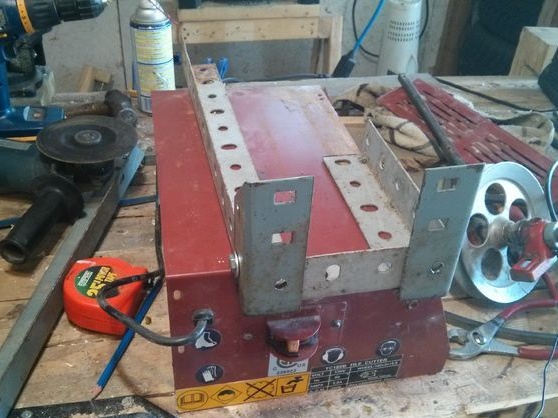
As a power unit, the author used a 6A engine. This motor is rather weak, but it is great for easy sanding. The author did not have another, and this one was chosen as an experiment. The engine source was an old tile cutting machine. As a result, the case for the machine was almost ready, the necessary buttons for the board are located here, the engine is well fixed, and so on.
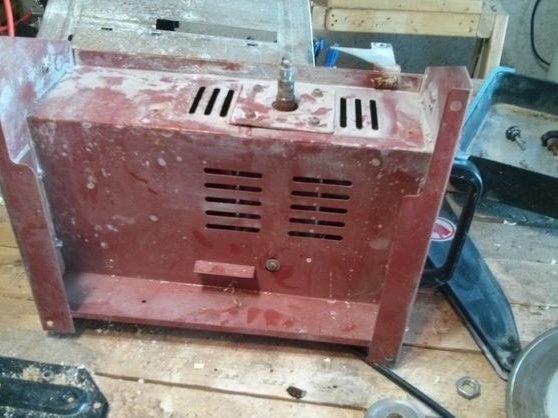
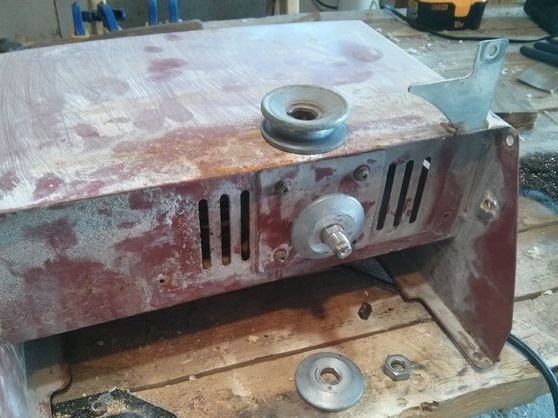
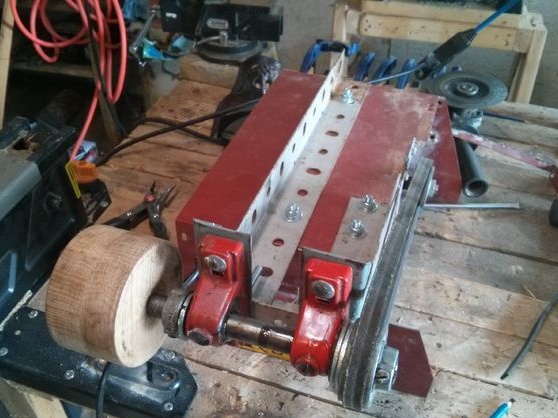
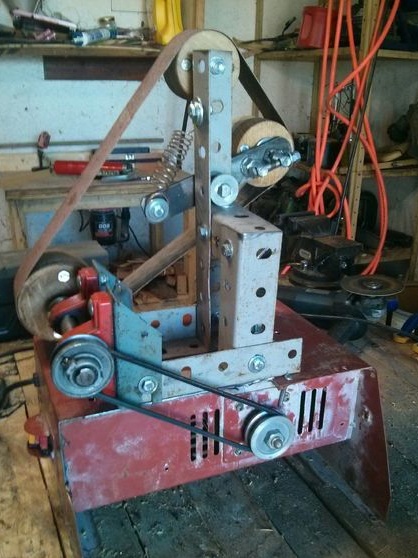
First of all, the author removes all superfluous from his cutting machine for tiles, only the body with the engine should remain. Next is the installation of the first driving pulley and axis, which will transmit movement to all the others. By selecting the dimensions of the pulley mounted on the engine and on the drive axle, you can achieve the desired speed for the grinding belt.
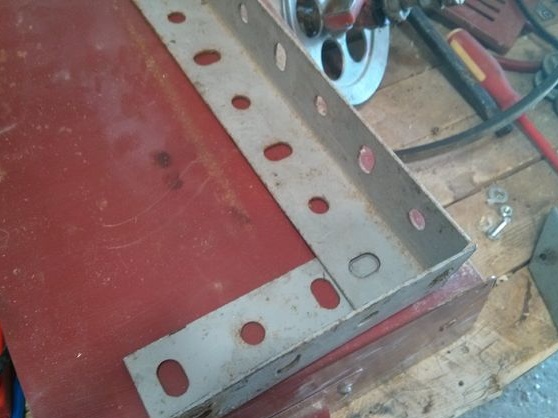
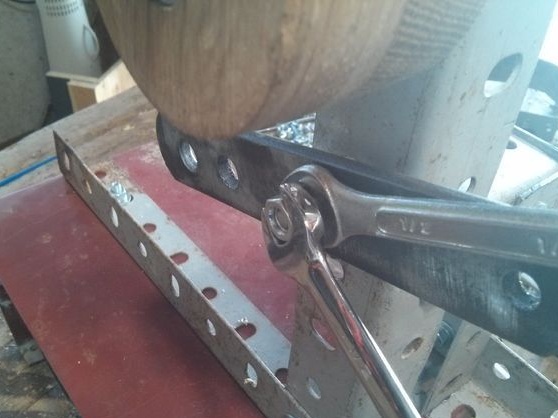
The whole structure is assembled on steel corners, we drill holes and assemble everything on bolts with nuts.
In order not to lose power, use the belt as thin and short as possible.
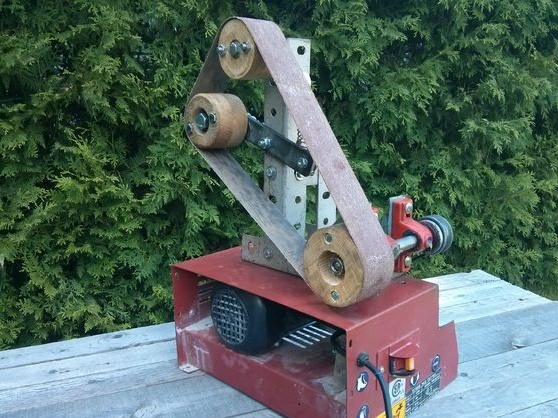
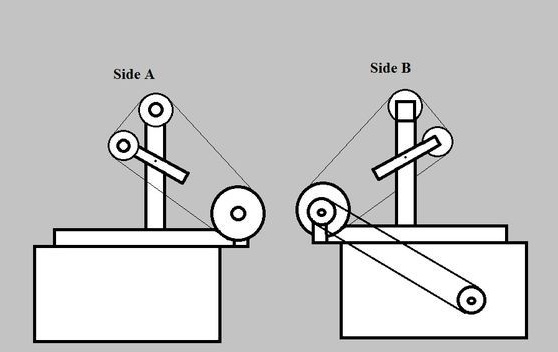
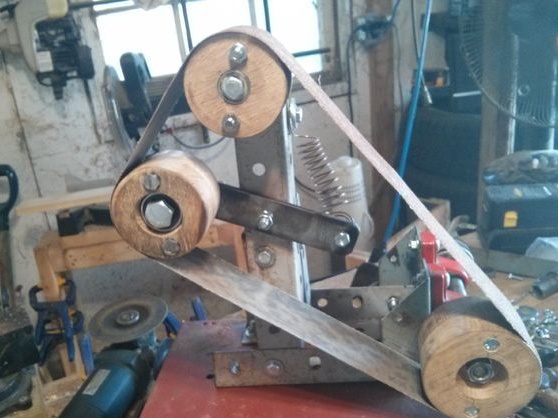
Step Two How it works
In the diagram you can see how the sanding belt dresses.It is driven by a pulley, which is mounted on the housing.
The author used a belt drive as a transmission of movement from the engine to the drive pulley. And this is no accident, because when grinding, there is always a risk that the machine will jam. If it is a belt, the engine will simply begin to slip. And if you use a chain or gears, then either the engine burns out or it breaks the whole structure if the engine is powerful enough. However, you can use an automatic machine that will turn off the engine under heavy load.
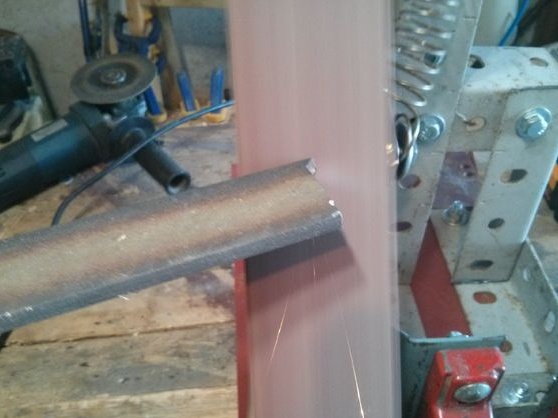
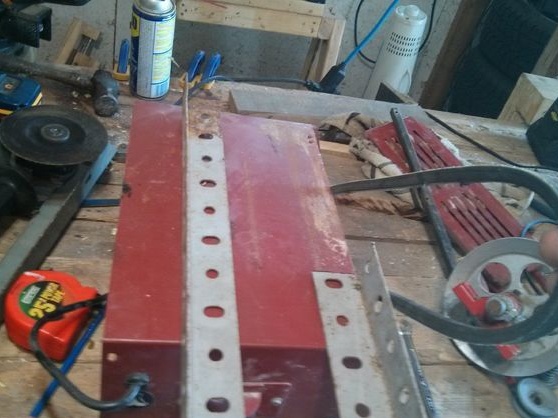
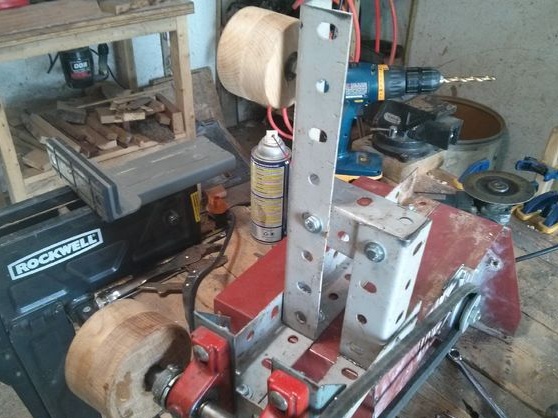
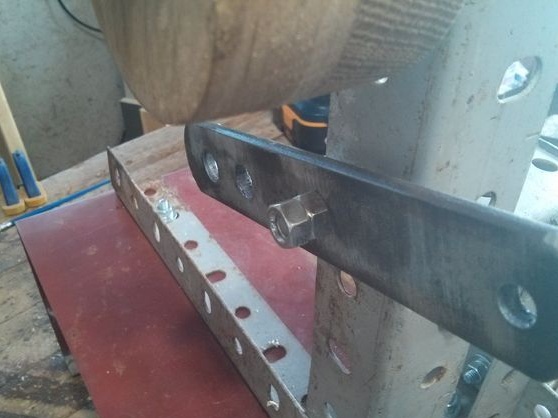
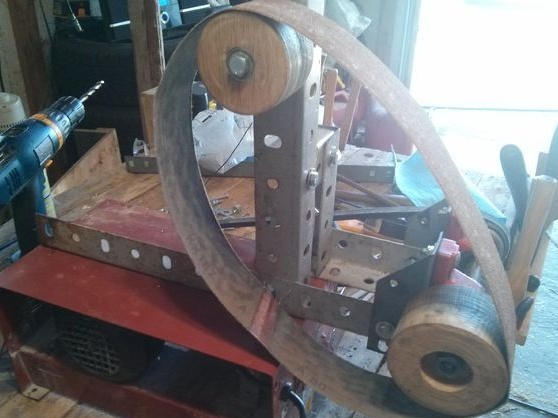
Step Three What is the frame made of?
The author makes a frame from a corner with holes, as a result, the whole thing is going as a designer. There is no need for welding, since everything is assembled on bolts with nuts and washers. Cutting a corner is also not difficult here you will need a grinder. However, most joints can be welded, but this is not necessary. Most of all, make sure that the construction is strong. When grinding on the axis has a considerable load.
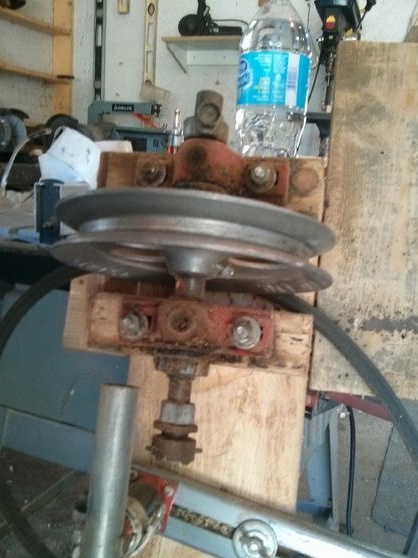
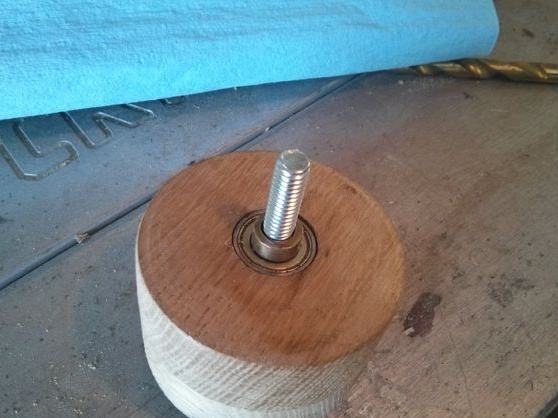
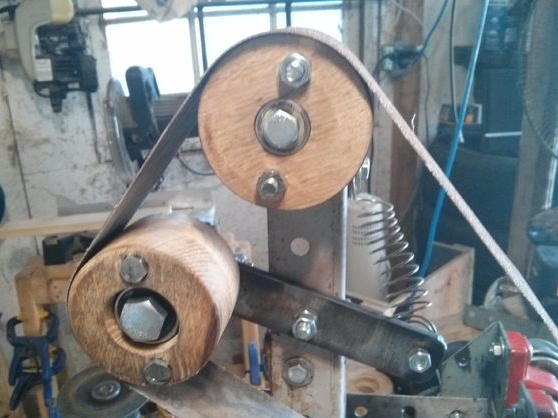
Step Four Drive wheel
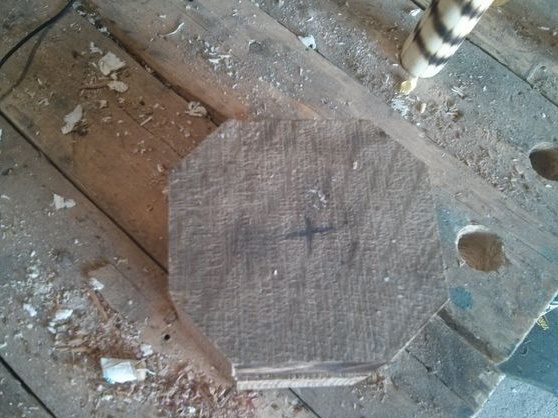
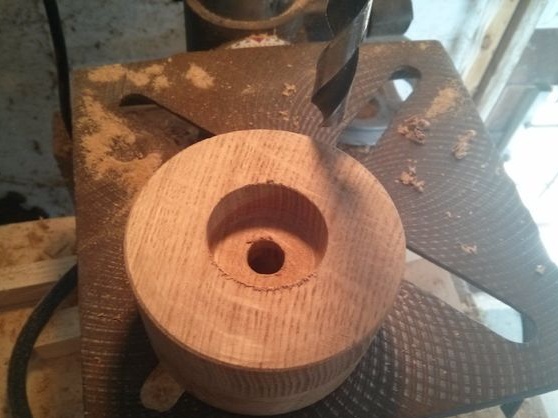
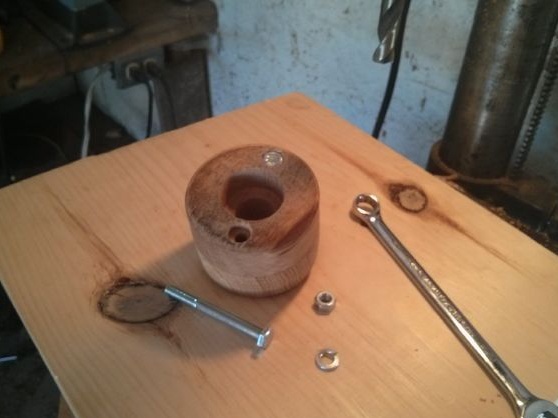
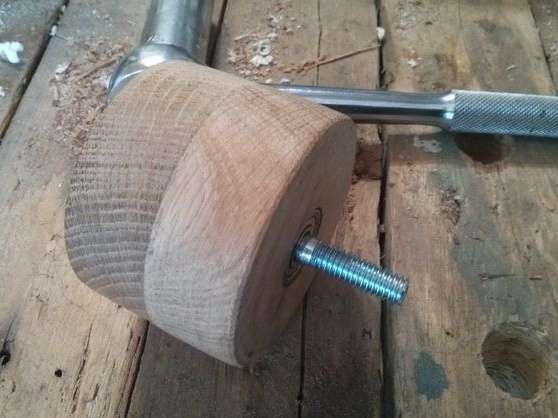
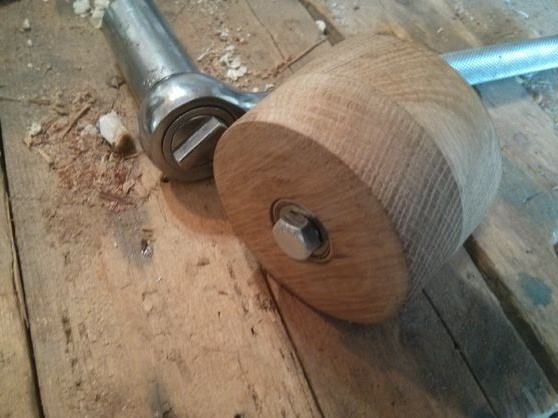
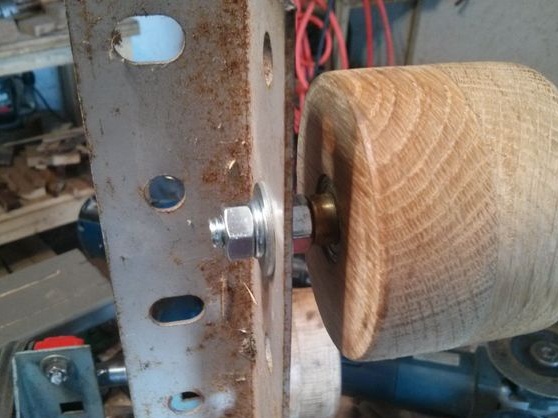
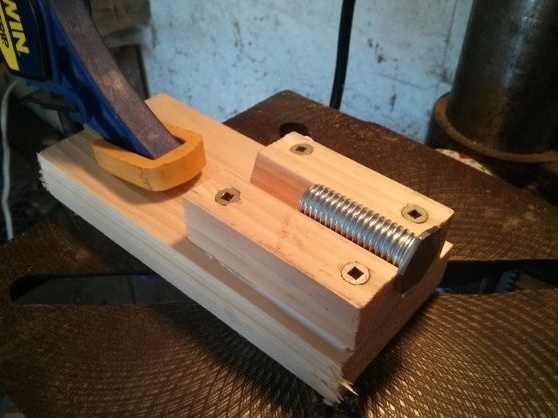
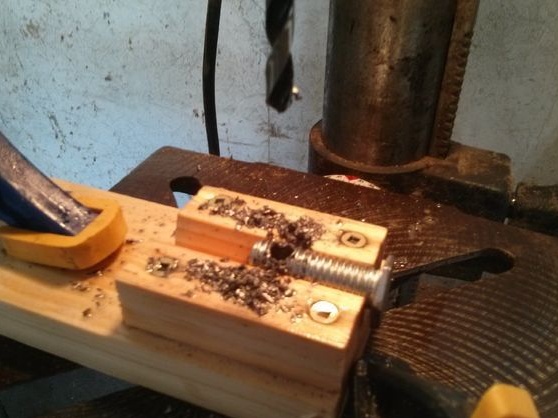
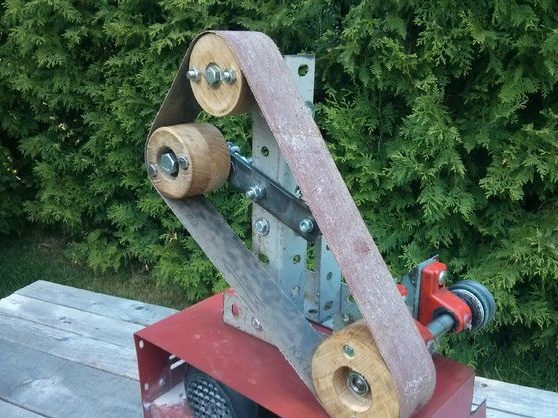
The drive wheel is almost the most important part in this machine. It transfers the movement from the engine to the grinding belt. The author decided to make a wheel out of wood, as it is cheap or even free if you have a lathe. We select the desired diameter and drill a hole for installation on the shaft. The wheel must be fixed reliably, optimally, so that the shaft is threaded, so that the wheel can be screwed with a nut.
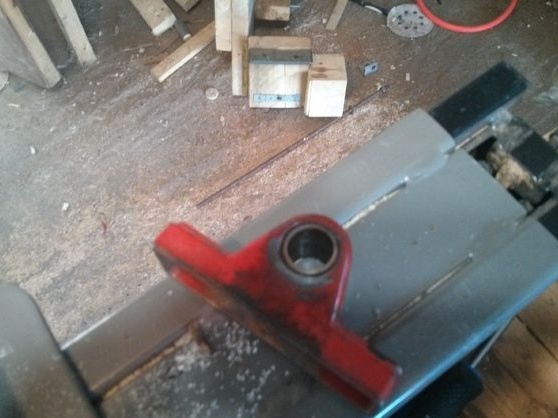
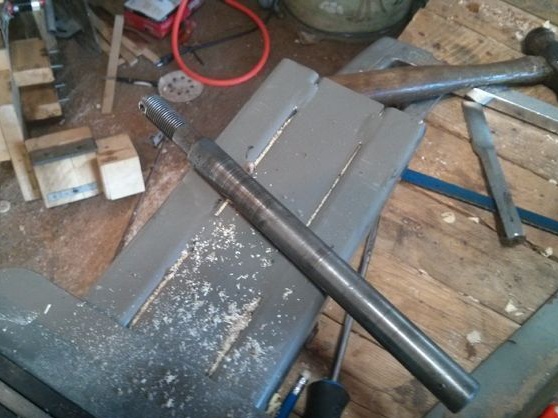
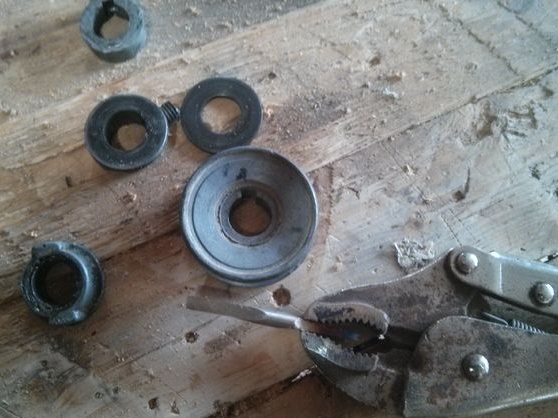
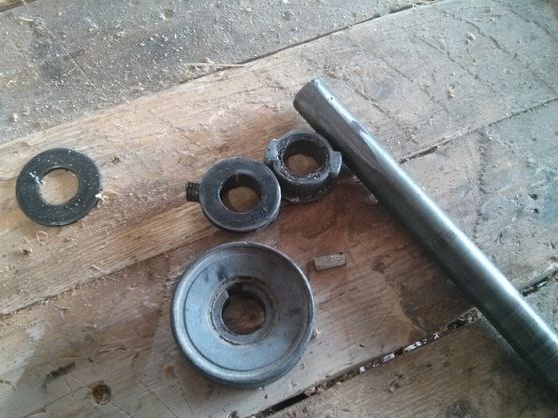
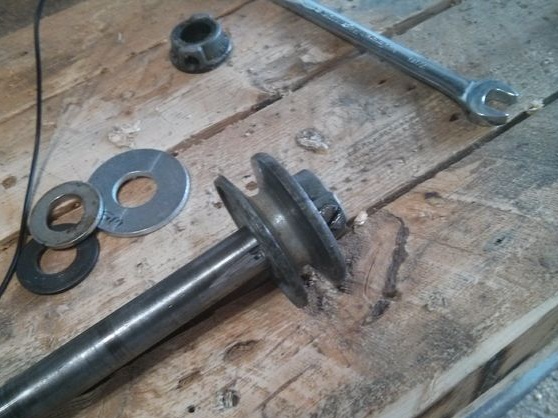
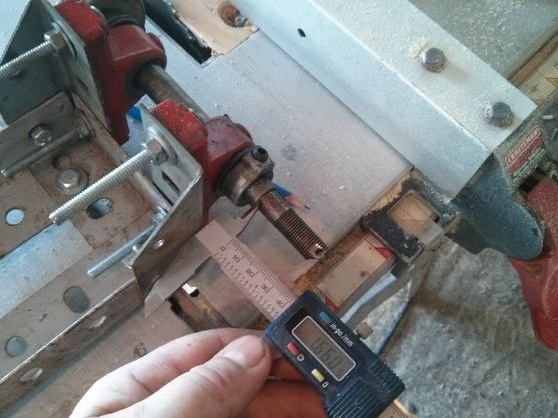
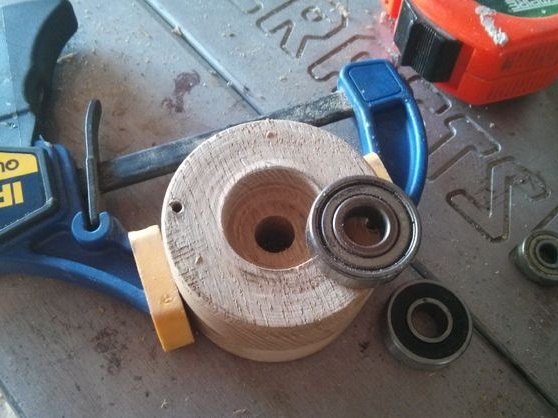
As for the drive axle, it is extremely important to use bearings for it. Bushings are also suitable, but they must be constantly lubricated and prevent overheating, which can easily destroy a wooden wheel.
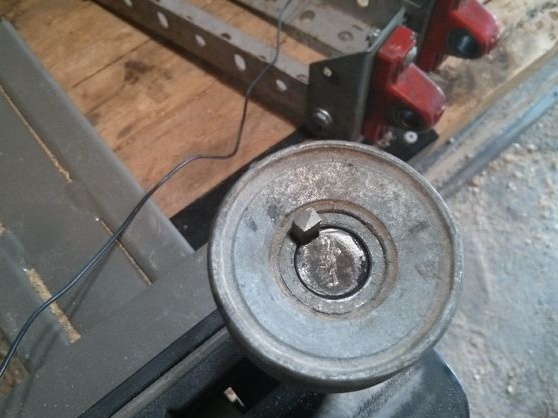
As for the pulleys, they are necessarily fixed with a key, which prevents their slipping on the shaft.
Step Five Production of driven wheels
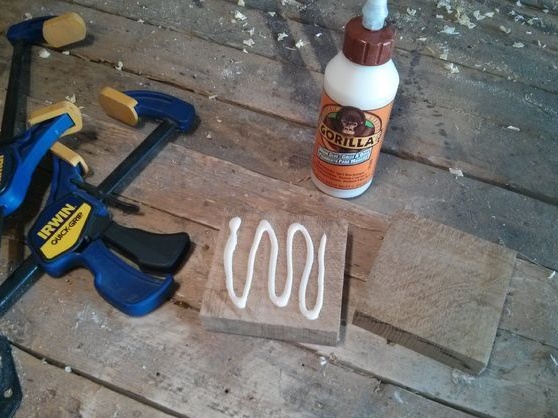
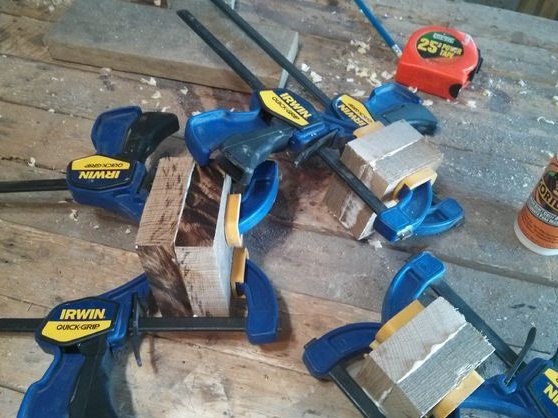
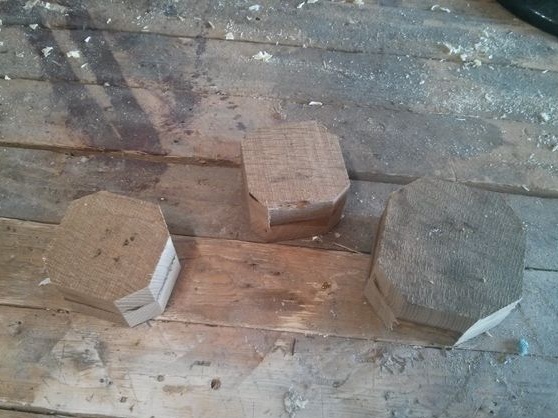
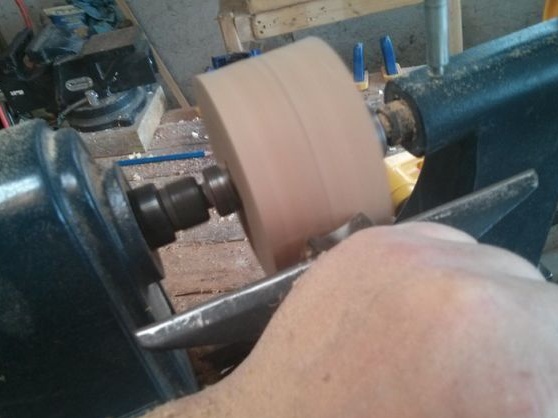
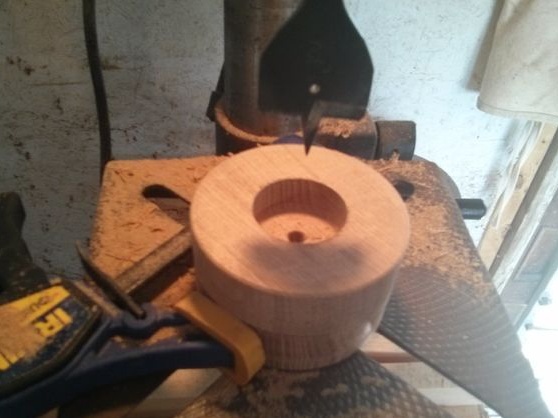
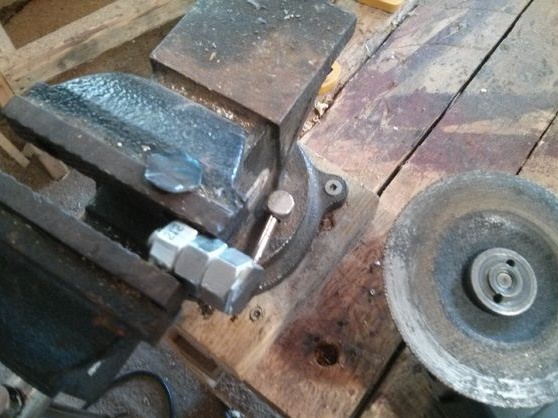
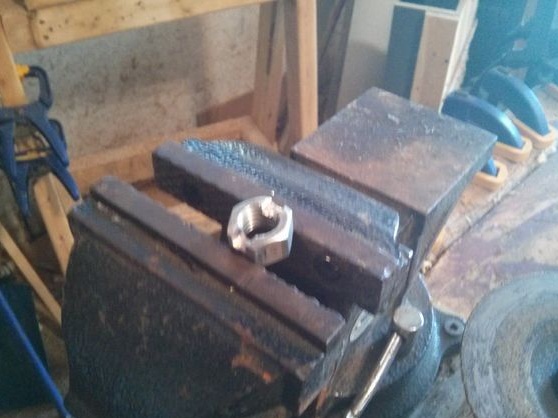
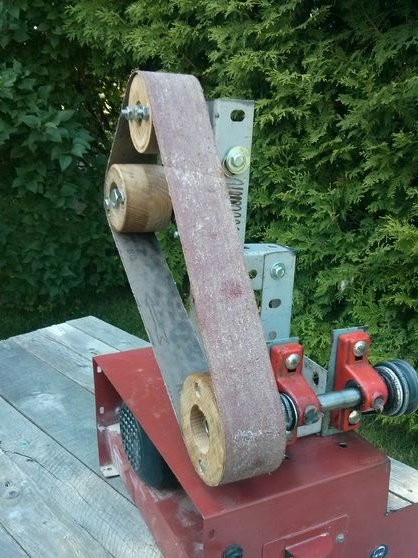
Driven wheels of a smaller diameter, they are also made of wood using a lathe. To get the desired wheel width, the author simply glues the material. Next, we turn the wheels on a lathe and drill a hole for the axle in the center. In addition, in each wheel you need to squander the seat for bearings, on which the wheels will rotate.

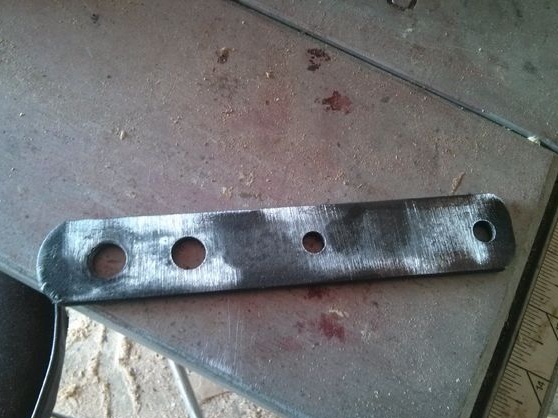
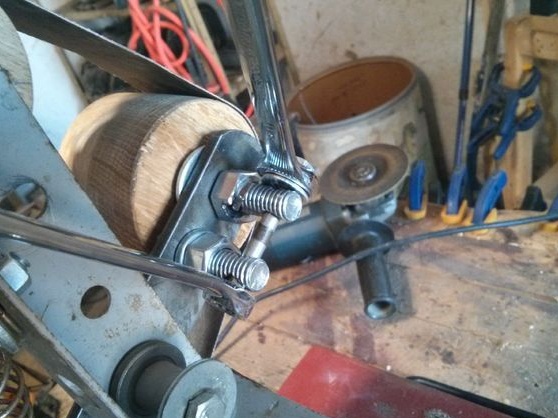
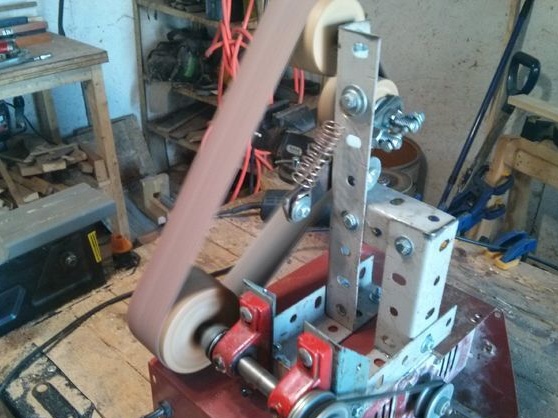
Step Six Tension Bracket Making
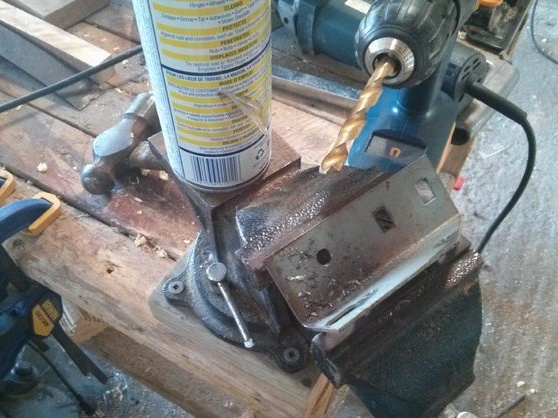
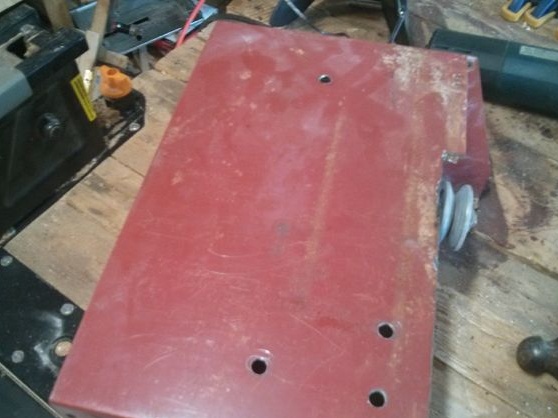
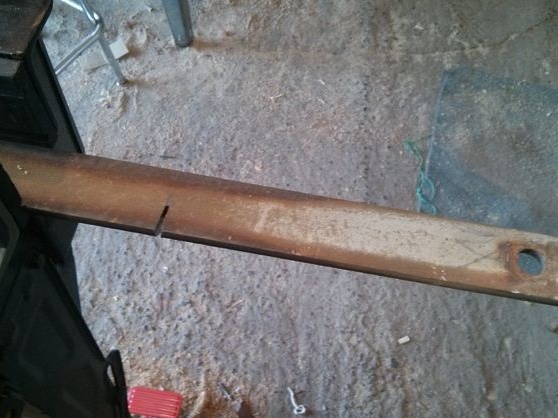
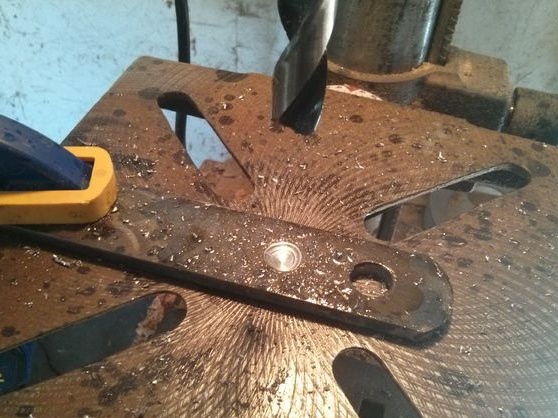
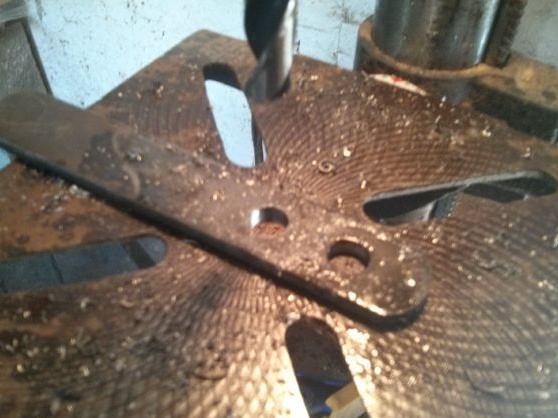
The tension arm is an extremely important thing in a belt sander, as the sand belt stretches over time and requires periodic tension. To make such an arm, you will need a piece of thick sheet steel. We thoroughly clean it from rust and drill holes in the right places.
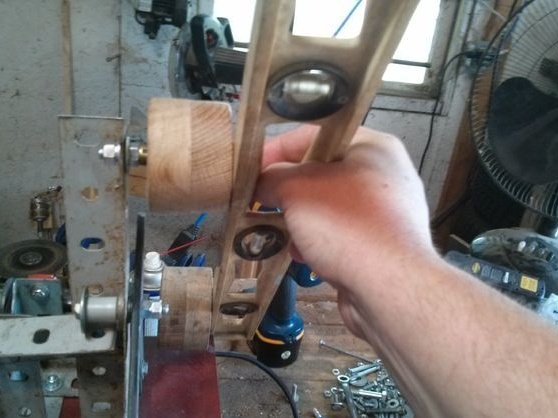
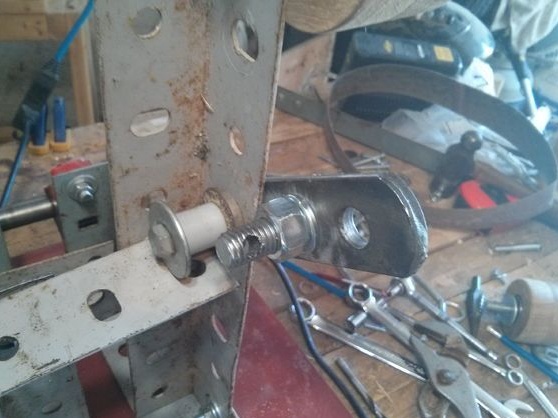
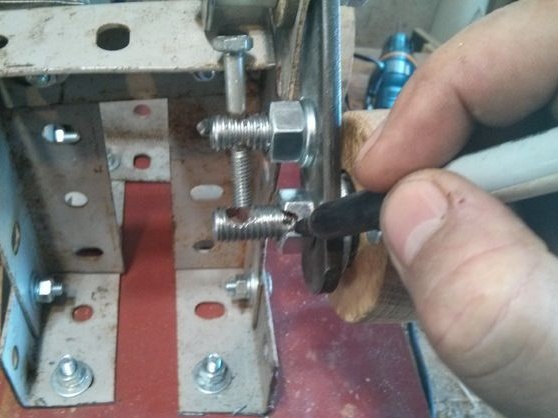
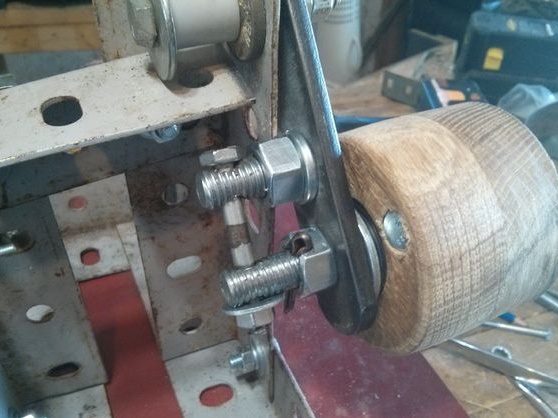
Seventh step. Set the wheels
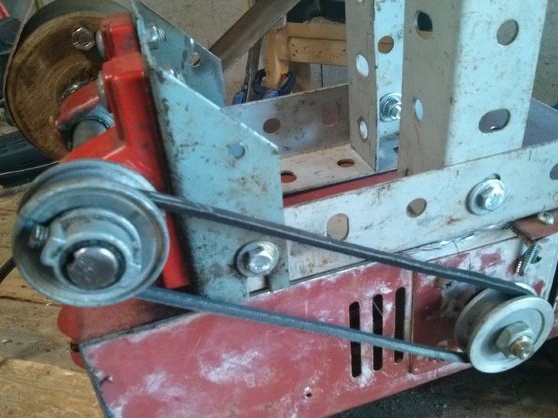
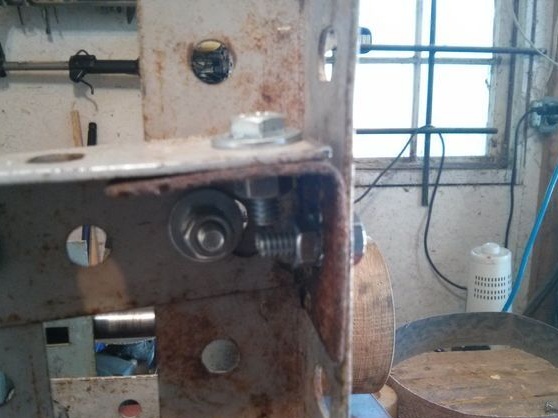
Wheels can be installed. Here you will need bolts with nuts and bushings that will not allow you to press the wheel to the frame. To maintain the required clearance between the frame and the wheel, place additional nuts between them. Adjust the wheels so that they go one level relative to each other. It is also important for you to make sure that the wheels are displaced strictly horizontally and not skewed.
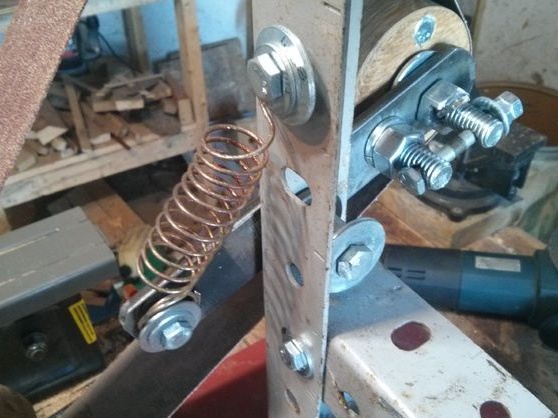
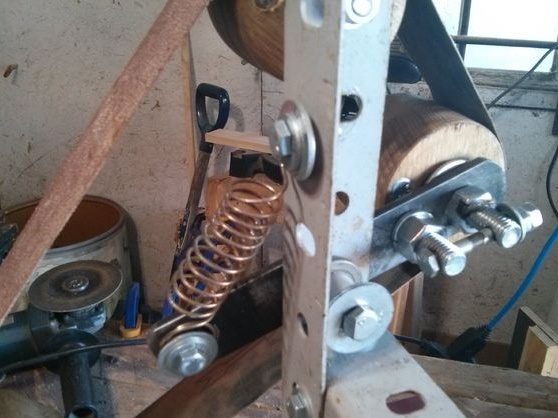
Step Eight. Tensioner
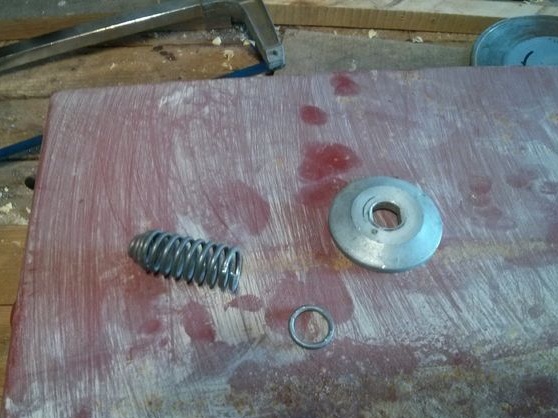
To automatically tighten the belt as it stretches, you will need to install a special spring. This spring is placed on the tension bracket. Where exactly it is located, look at the photo. As a result, your belt will always be under the desired tension. We select the spring stiffness experimentally, it is necessary to ensure that the drive wheel does not slip under load.
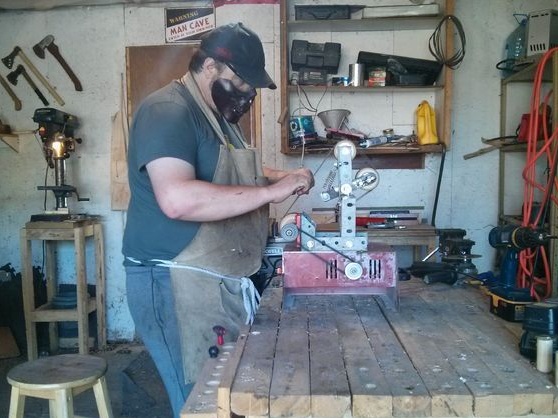
Step Nine. We install the grinding belt and check the system
After installing the belt, the machine can finally be started. At the same time, make sure that all wheels rotate smoothly, there is no beating anywhere, otherwise the belt will quickly fail. Try to grind something, at loading the driving wheel should not slip. If this happens, then the spring is too weak.But do not make it too strong, as this is a loss in power and rapid wear of all components, including the grinding belt.

That's all, the grinder is ready. Good luck