

This article will cover how to make do it yourself robot artist. Of course you have such a picture robot will not draw, but surprise acquaintances or friends with his homemade can. And if you collect such a robot with your children, this will undoubtedly help the development of creative character traits.
Tools and materials:
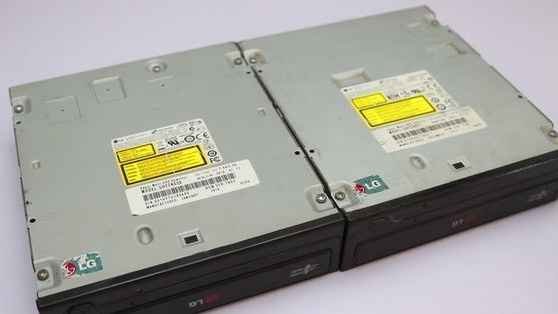
-Two LED drives;
-Board 3 mm;
-Saw;
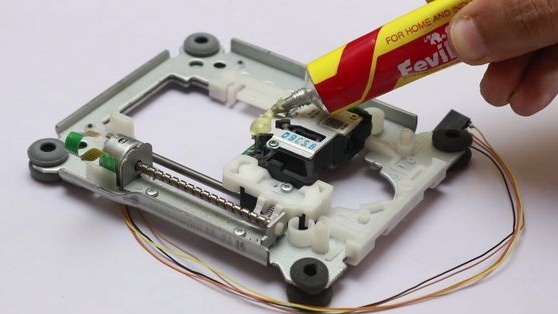
-Glue;
-
-
-
-
-
-A computer;
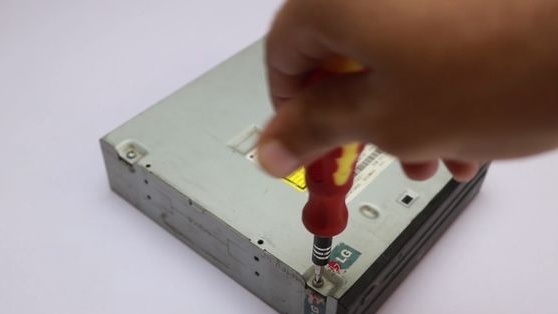
-Screwdriver;
-Soldering iron:
-Lubrication:
-Rule;
-Pencil;
-Drill;
-Glue gun;
-Writing pen;
-Scissors;
-Spring;
-Thread;
- Battery 12V;
-Wire;
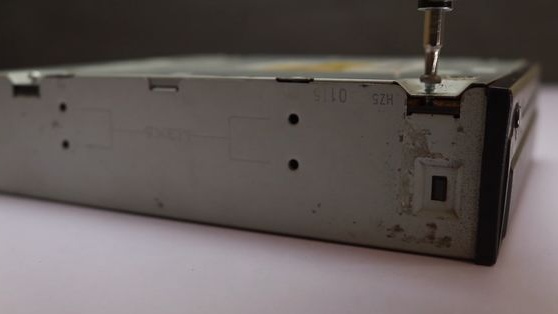
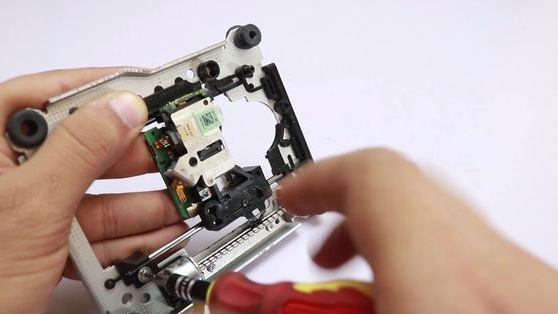
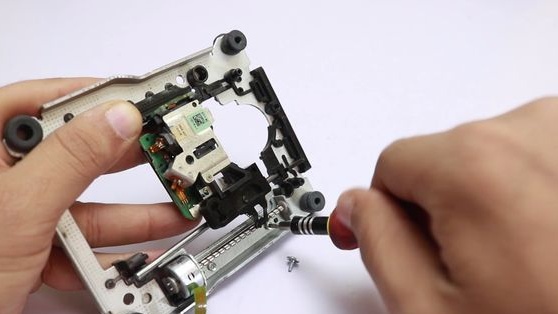
Step One: LED Drives
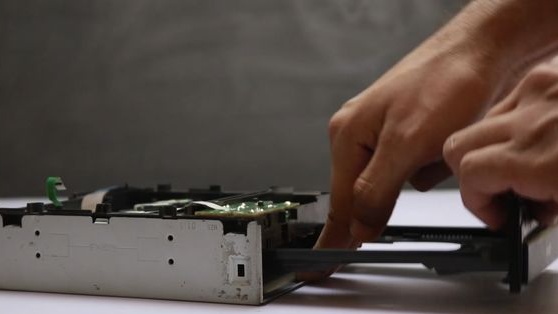
Parses CD drives. Removes covers, electronics board.
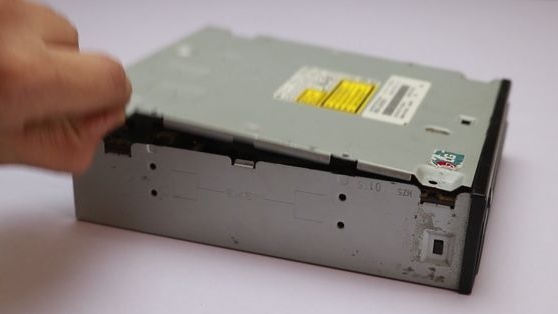
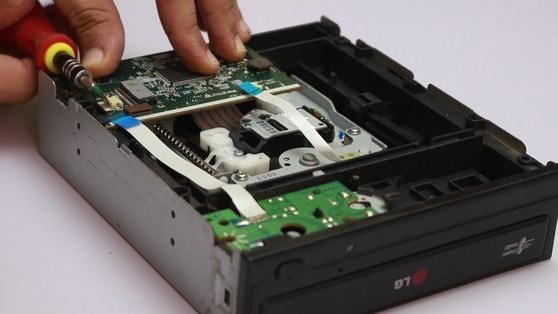
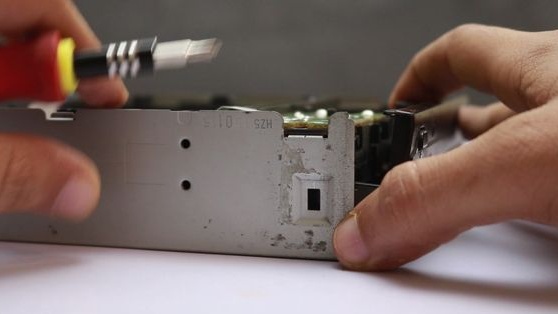
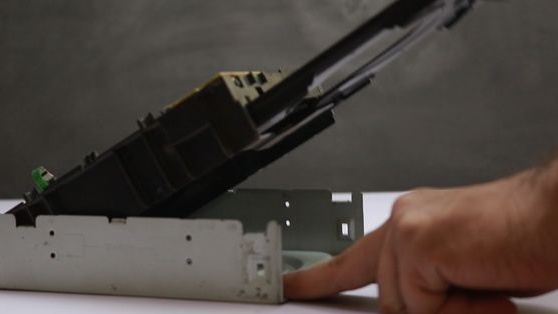
Removes a frame with a carriage and a stepper motor from the housing.
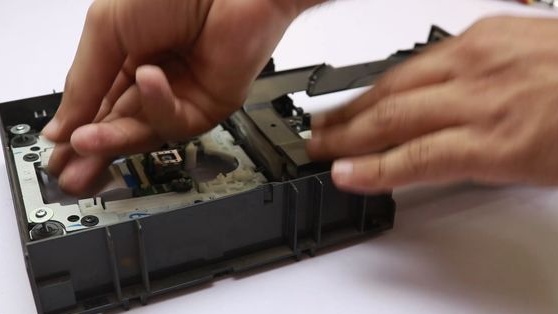
She lays one frame, parses the second on.

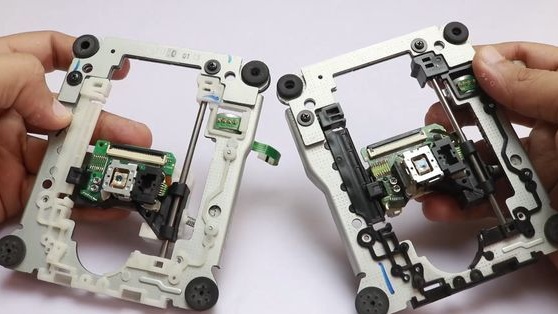
From the second CD drive, only a carriage and a stepper motor are needed.
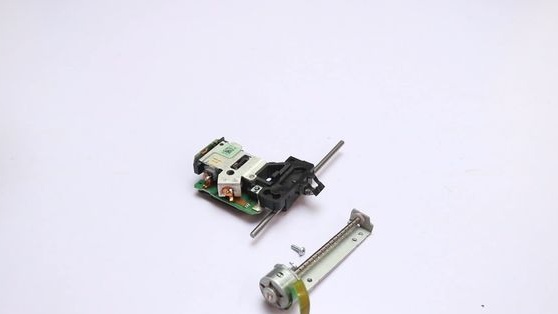
Lubricates the carriage.

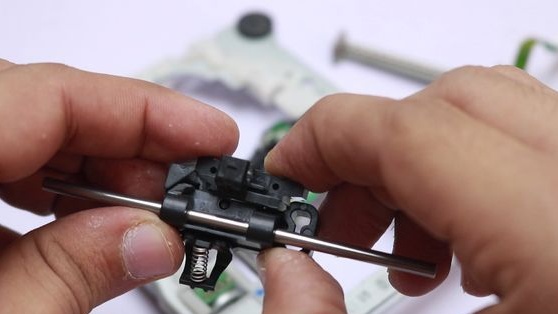
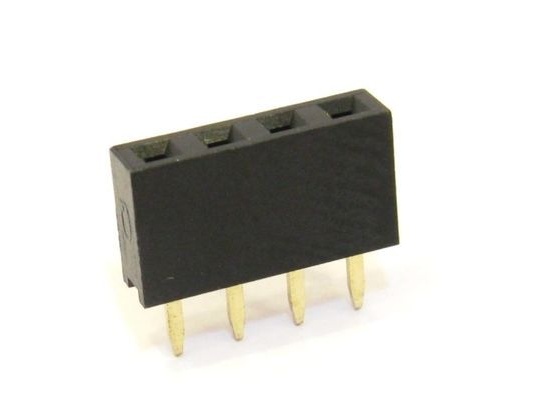
Solders to wire stepper motors. The connector is soldered to the second ends of the wires.
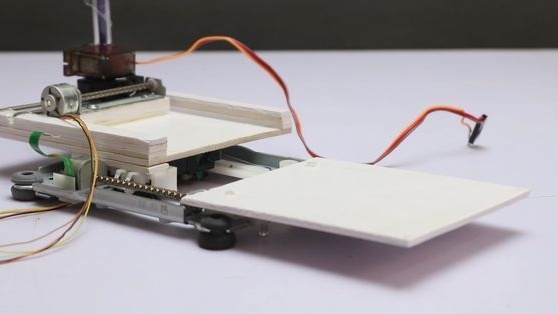
Step Two: X-axis and Y-axis
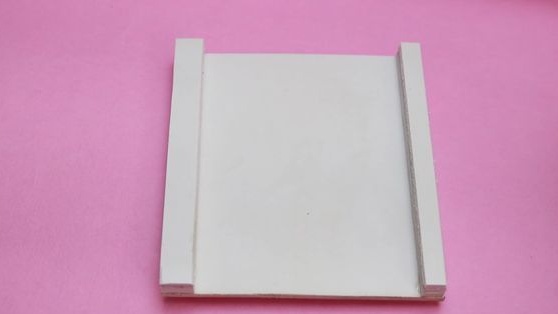
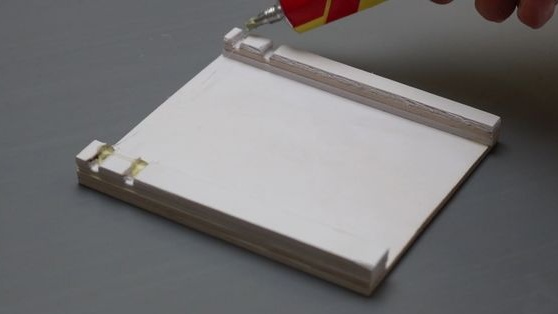
Saw off a board (further the table) 10 * 9 cm. At the edges of the table glues the bars 2 * 10 cm.
Cut grooves for carriage guides. Glues the guides.
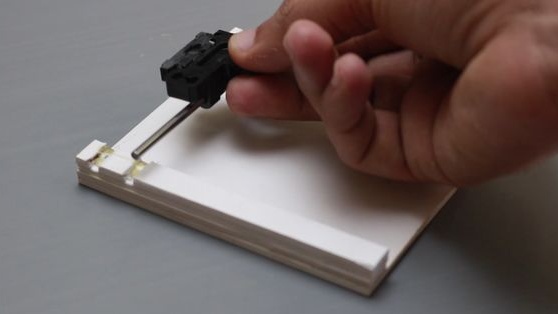

A block of 3 * 5 cm glues next to the carriage. Screws on the stepper motor. Axis X is ready.
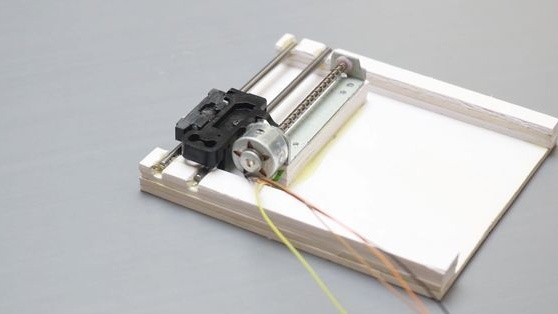
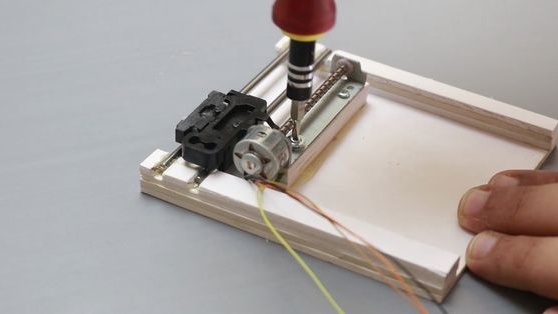
Glues the X-axis mechanism with the Y-axis mechanism.

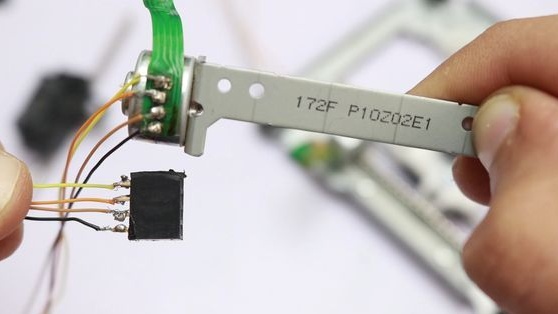
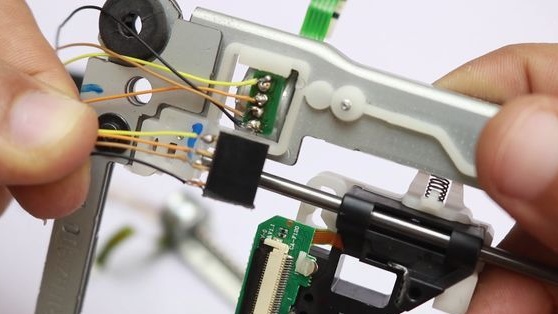
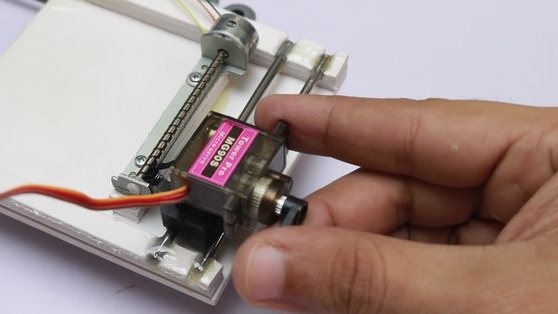
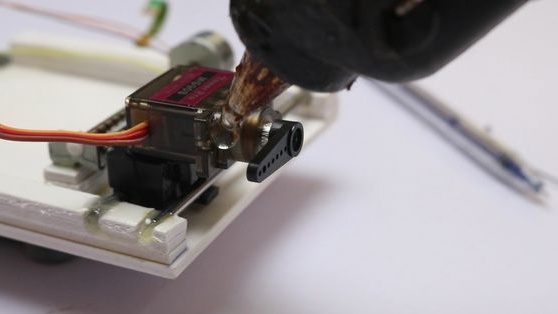
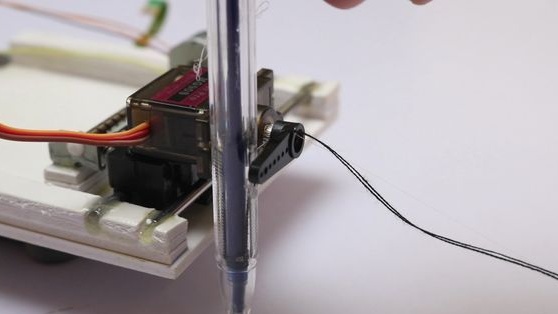
Secures the servo drive to the carriage with the shaft facing out (see photo)
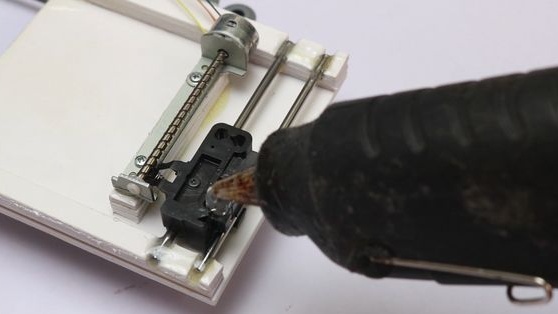
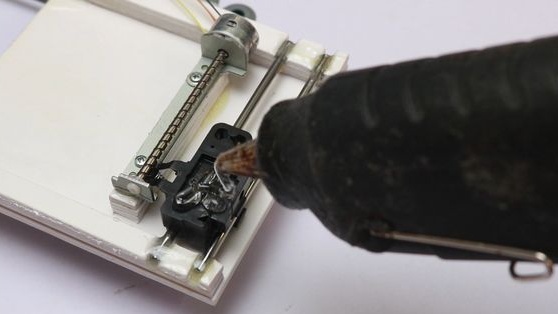
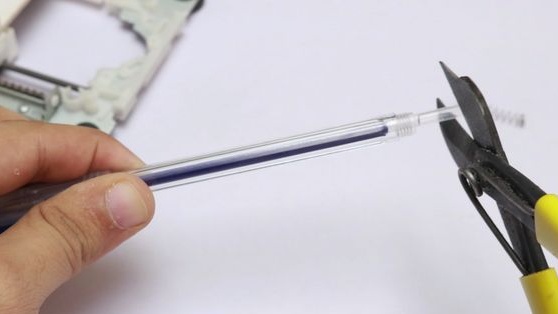
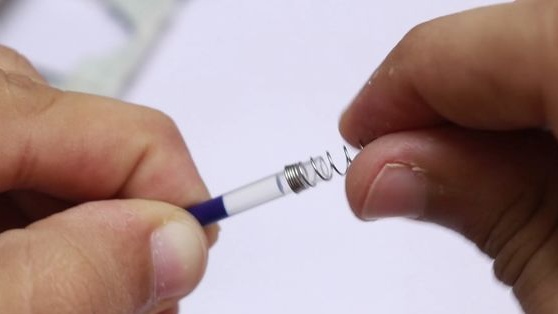
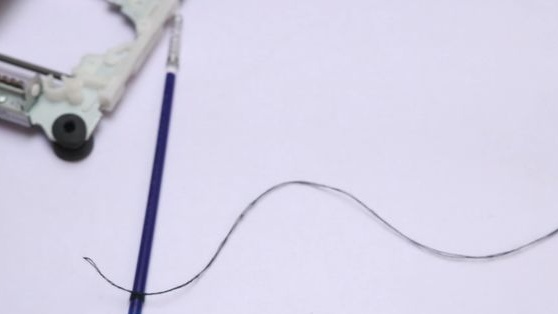
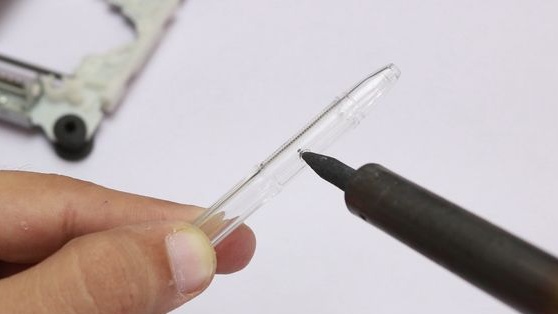
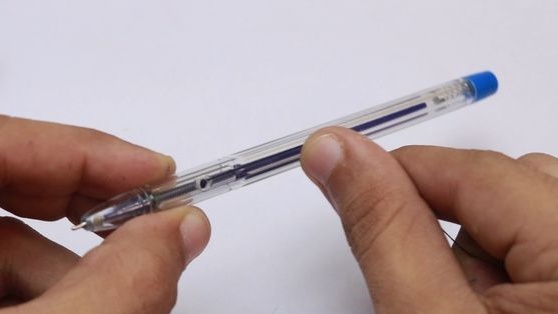
Step Three: Pen
Parses a pen. Cuts 1 cm. Of the upper end of the shaft. Twists the spring half on the rod. Having retreated about 1 cm from the bottom of the rod, wrap a thread on it. Knots. In the handle makes a hole. Pulls the thread into the hole. Installs the rod in place. Sets the cap.

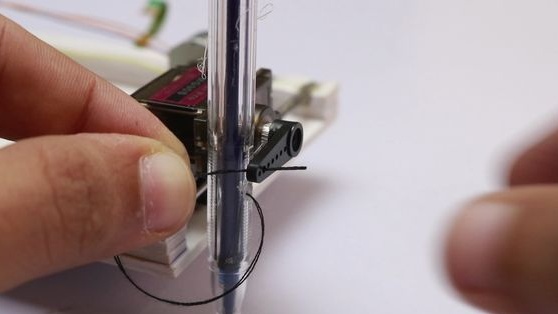
Glues the handle to the body of the servomotor (the ball of the rod abuts against the surface). Fastens the second end of the thread to the servo lever.
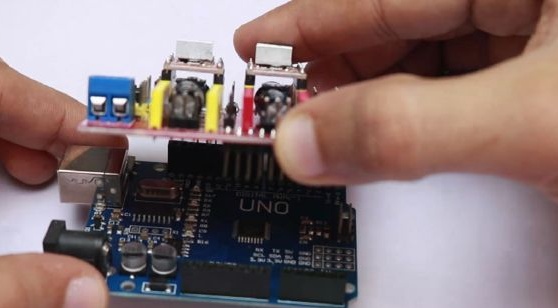
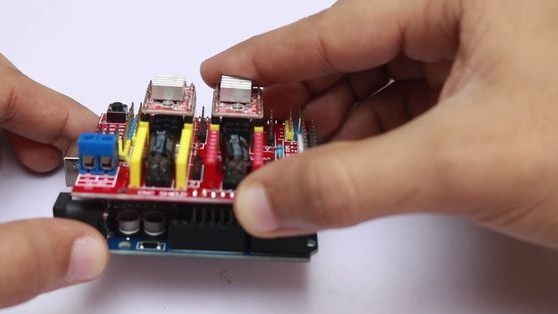
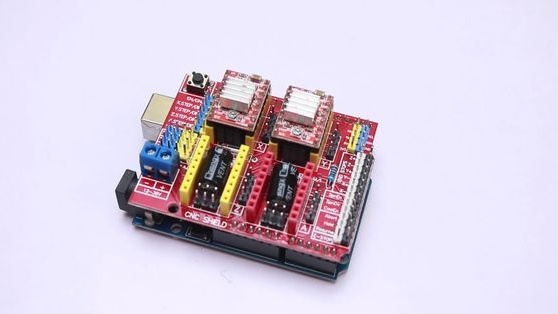
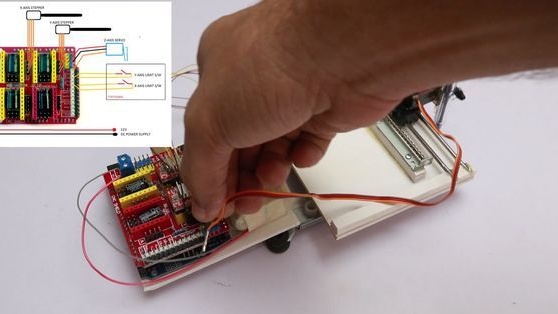
Step Four: Module Assembly
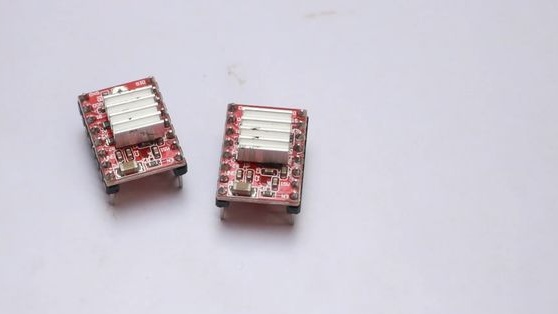
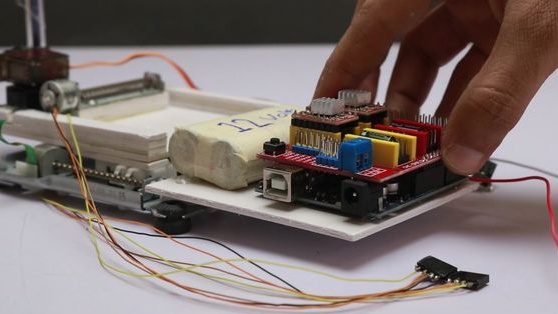
Installs two stepper motor modules with radiators on the expansion board.
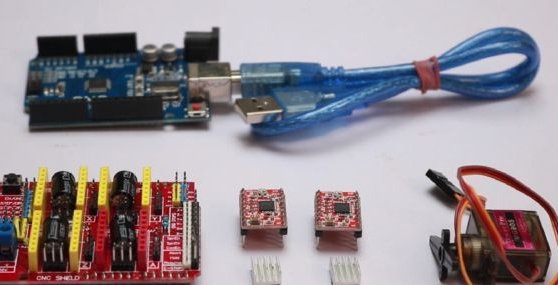
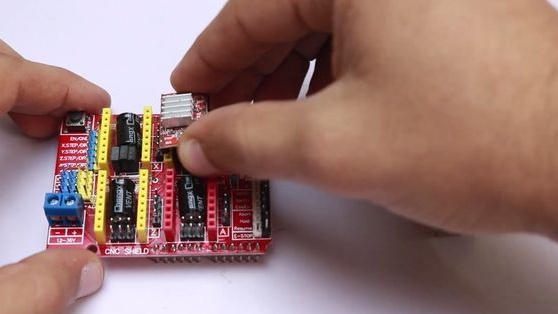

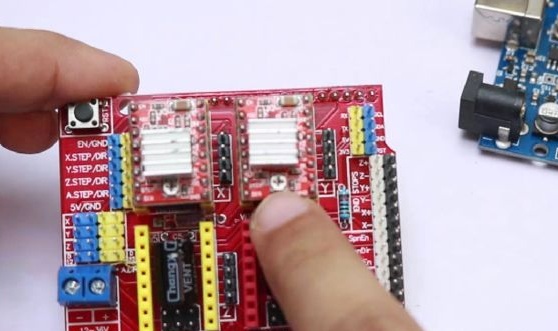
Installs an expansion board on Arduino.
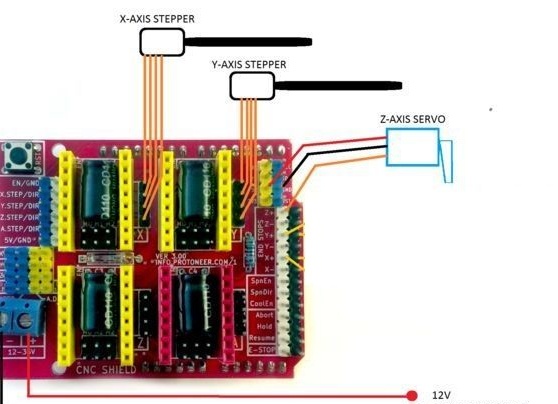
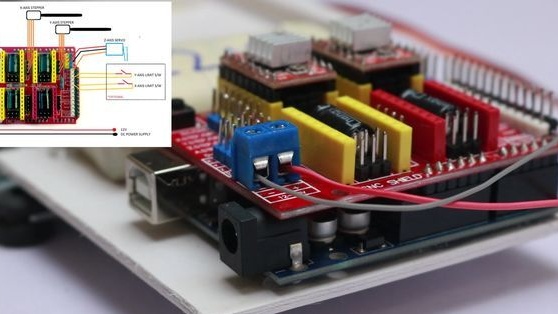
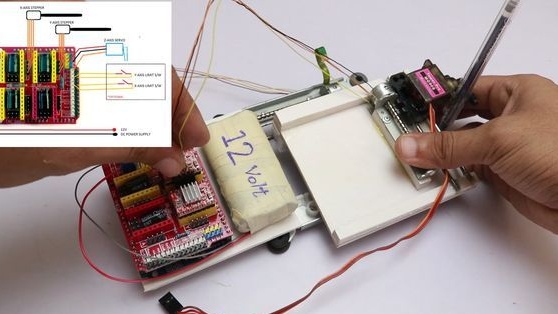
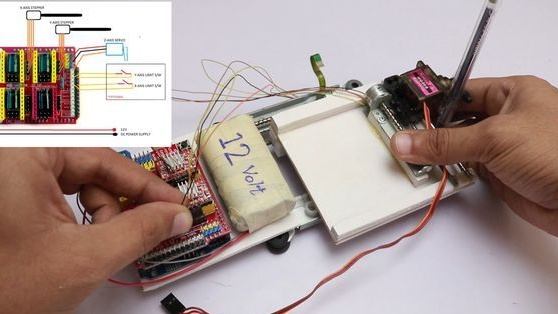
Step Five: Connect
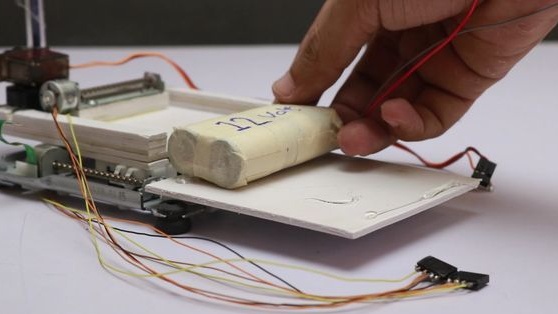
Installs a battery. Fastens and connects all elements according to the given schemes.
Step Six: Software
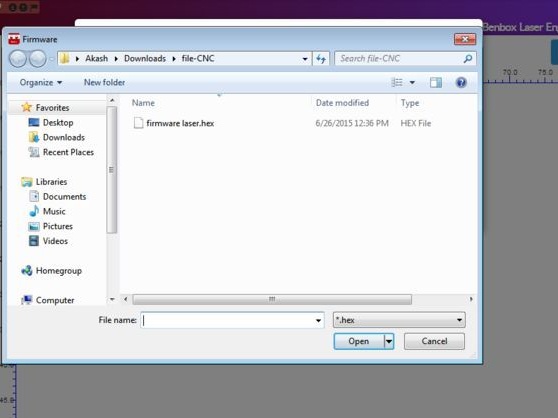
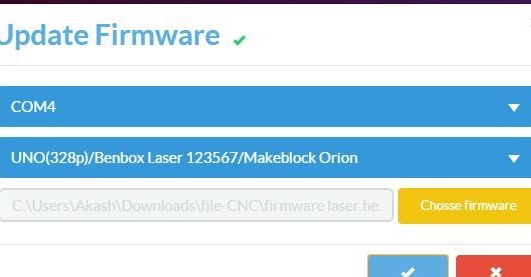
Loads software. Opens software. Connects an Arduino USB connector. When updating the firmware, selects COM (3.4 or 5).
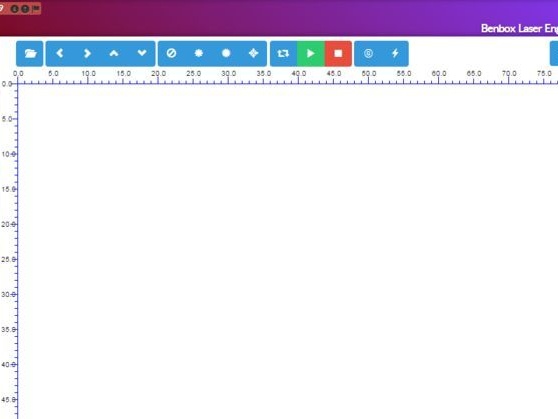
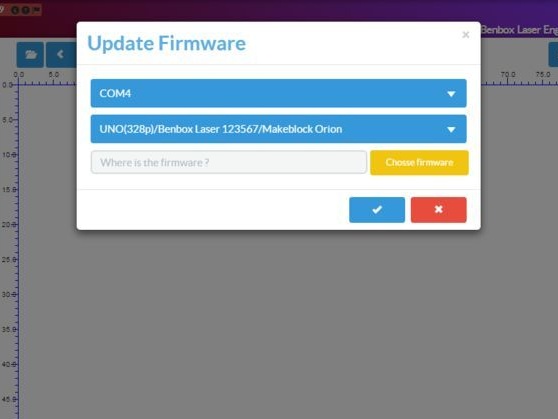
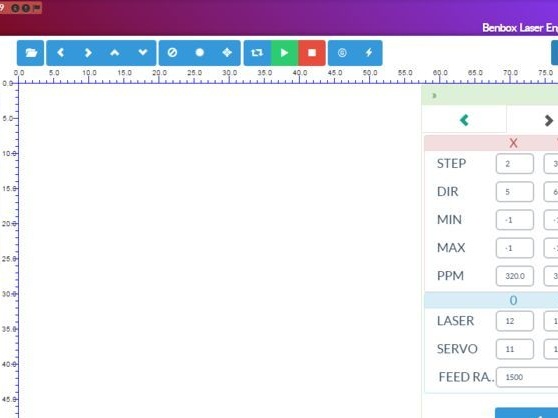
Sets the parameters.
First page:
Serial Port: COM (3.4 or 5)
Pen Up: 35
Pen Down: 22
Speed: 800 (you can increase)
Time: 200
Second page:
Step: x = 2 y = 3
Dir: x = 5 y = 6
Min: x = -1 y = -1
Max: x = -1 y = -1
Ppm: x = 320 y = 320
laser: 0 = 12 1 = 12
Servo: 0 = 11 0 = 12
Feed Ra. : 1500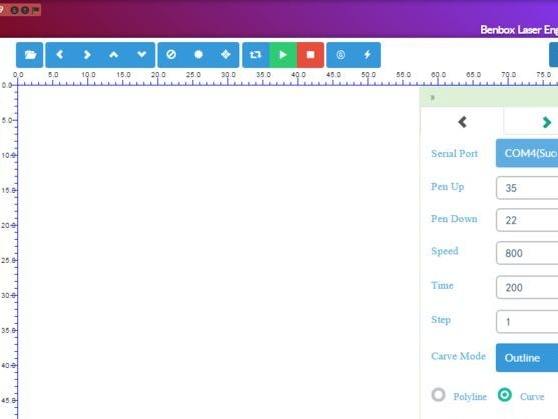
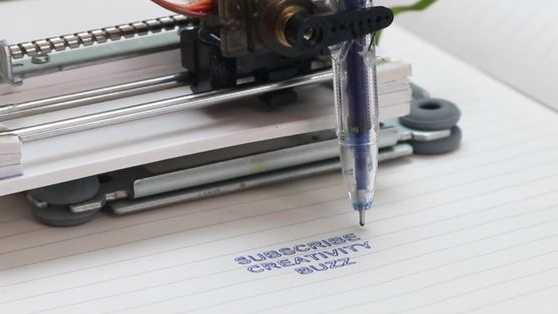
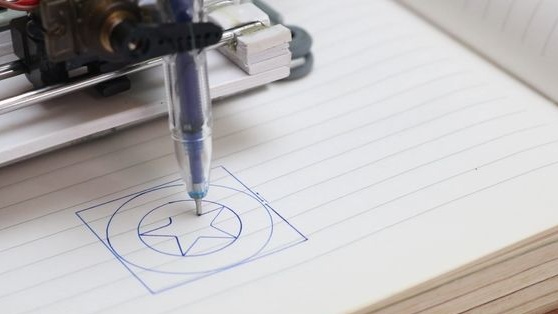
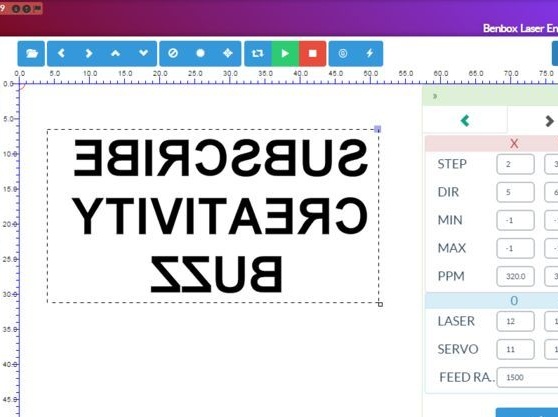
The robot artist is ready. It remains to enter text in the field and run the program.
The whole process of creating a robot artist can be seen in the video.