

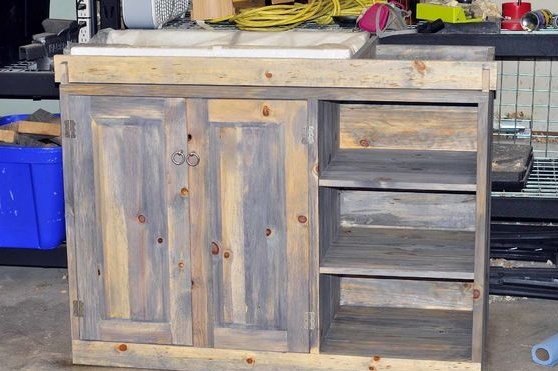
In this instruction, we will look at how you can make a simple locker for storing things and changing a baby. It combines a table, directly a cabinet with doors, and also there are many shelves. Now all the necessary things for the baby will be in one place and the swaddling process will be much easier.
The uniqueness of the project is that here basically everything is connected with glue for wood, so the assembly is quite simple and not expensive. Among other things, old materials are used here, as they can easily be boards from pallets and so on. Of the tools you mainly need a hacksaw, as well as a lot of clamps.
From the difficulties of manufacturing such of furniture is what the connecting grooves need to do. In principle, having, or another similar tool, this will not be difficult. Also, blanks require a precise cut, which again would help to solve.
Materials and tools used by the author:
Material List:
- old boards;
- small sticks;
- door hinges;
- rings on the door (handle);
- A few screws for fastening doors.
Tool List:
- roulette;
- sandpaper (or rather an orbital sander);
- bit;
- glue for wood;
- many clamps;
- ;
- a hacksaw for wood.
Locker manufacturing process:
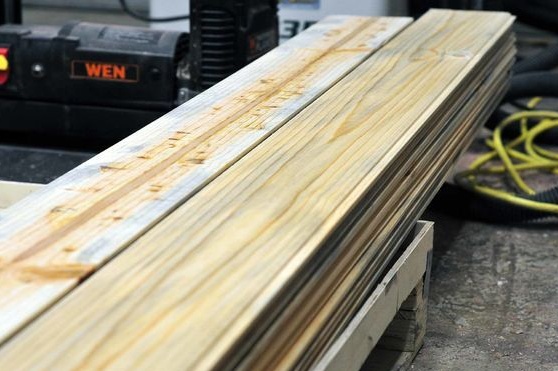
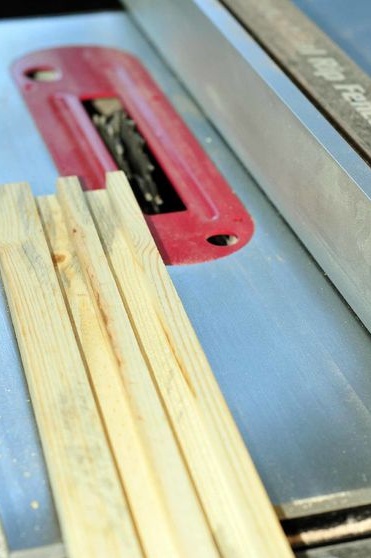
Step one. Wood preparation
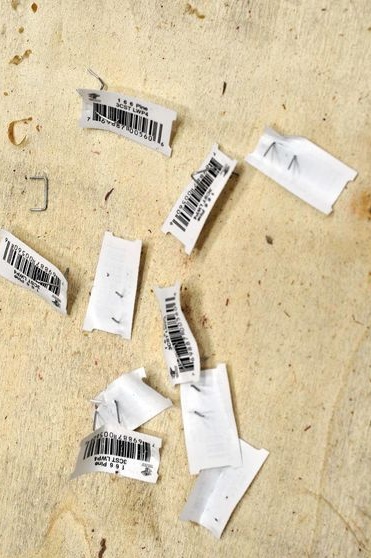
First of all, prepare the right number of boards, since it is from them that this brainchild is built. Boards are suitable from old boxes, from wooden pallets and other unnecessary things. Choose only those boards that do not have rot, cracks and other serious defects. Most contaminants can be cleaned.
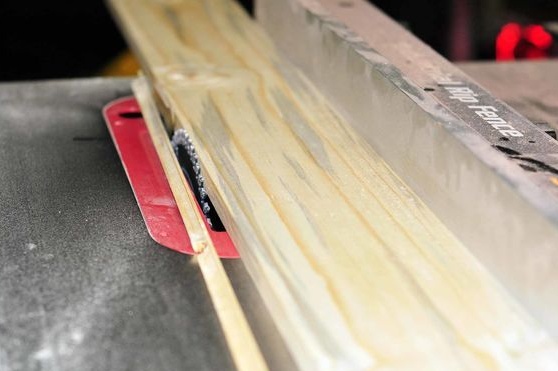
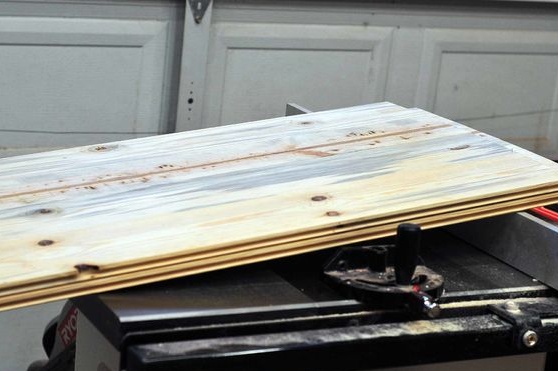
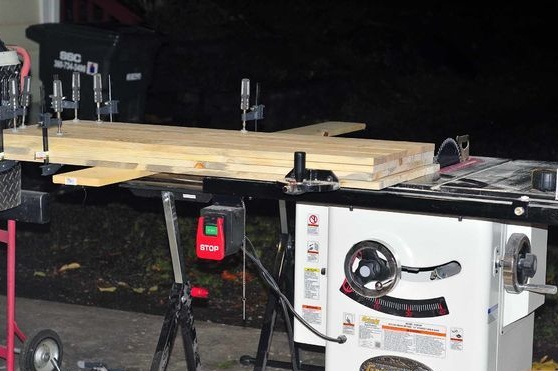
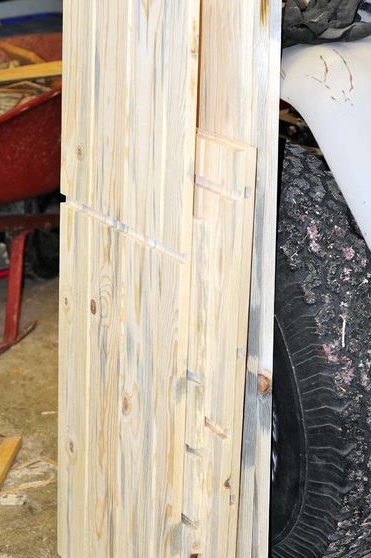
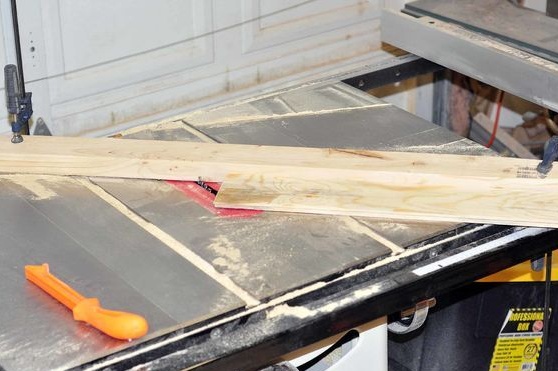
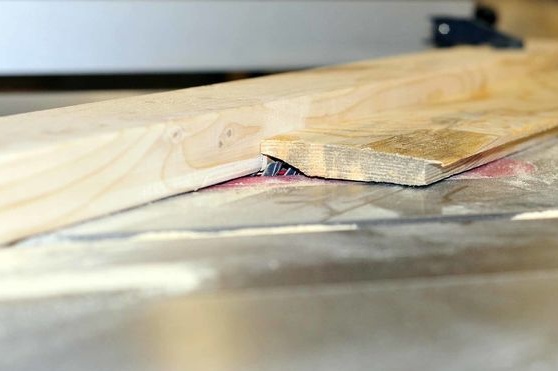
Step Two Cut the workpieces to size and glue
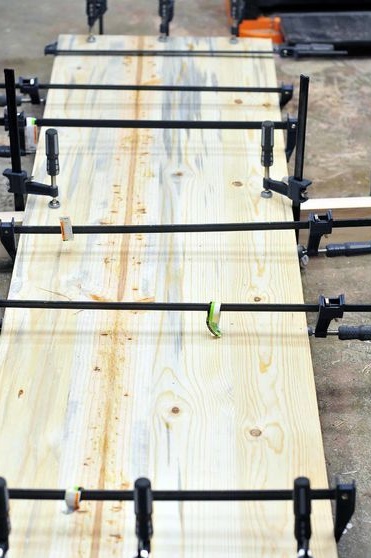
If for some individual parts you need wide wood boards, you can get them by gluing several boards. For example, you need a stove for a countertop. Using a circular saw or other fixtures align the edges of the boards so that they fit well, tightly. Well, then we apply glue and well we tighten this whole thing with clamps. Wait until the glue dries well and completely, otherwise all work may be spoiled. It’s best to wait a day. Remove glue that will be squeezed out during compression, at least from the outside.
Step Three We cut the workpieces into the necessary pieces and grind
Now you need to cut all the ingredients for the whole table. Decide on the size, the number of parts and start cutting. Of course, all this is quickly and conveniently done with a circular saw. You can work with a hacksaw, but it will be a long time and often it turns out crookedly.
Some craftsmen attach a cutting disc for wood to a grinder and cut in this way, but it is very unsafe.
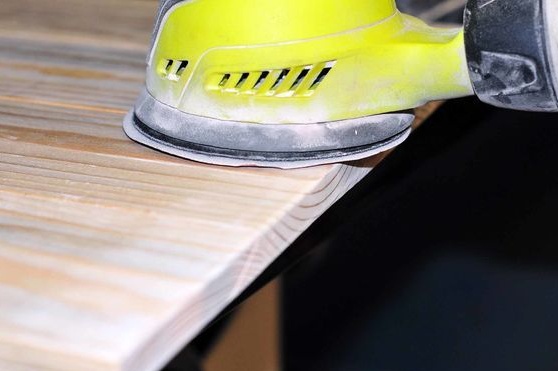
When you cut the components, we proceed to grinding them. It is necessary to clean all the dirt, and also make the surface perfectly flat and smooth. Of power tools, an orbital sander will help you well. If it is not, well, then you have to work manually using sandpaper.
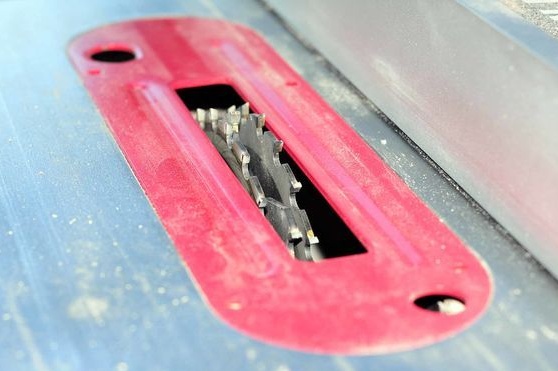
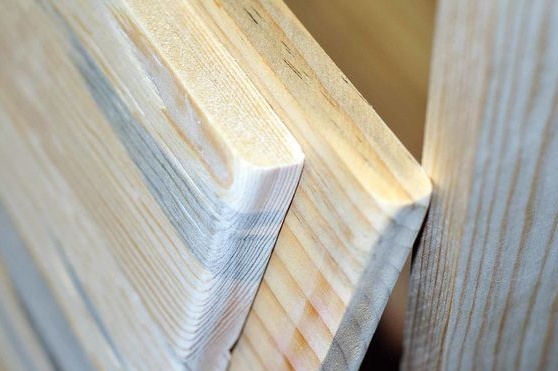
Step Four Cut out the connecting grooves
The next step will be the manufacture of grooves, thanks to which the entire structure will be assembled. You need to make grooves under the shelves, as well as cut them in cubes. To cut out such grooves, the circular also helped well. Manually, this is also solved, but long and difficult.
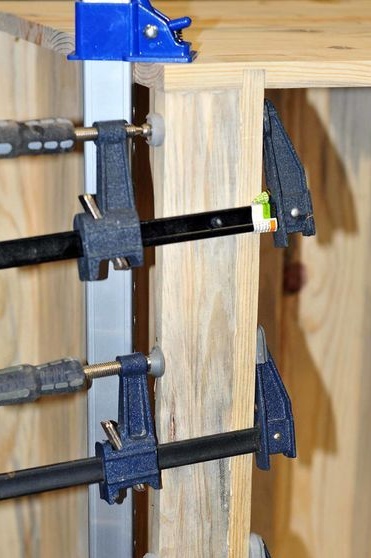
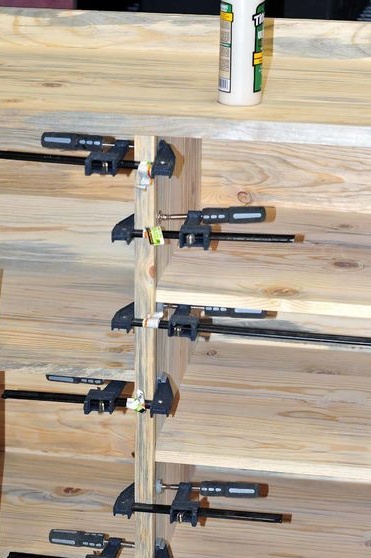
Step Five Putting the locker together
Try to make a trial assembly of your locker. If some elements are not collected, undermine them so that everything falls into place. Otherwise, after applying the glue, all this will do very sadly. We collect everything on the clamps so far.
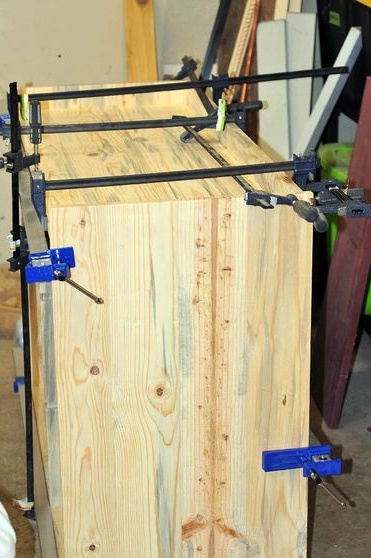

If everything is fine, we disassemble everything again and then use glue for assembly. After assembly, securely fasten everything with clamps and let the glue dry completely. The author recommends leaving this whole thing for a day. As for the shelves, the author rounded their edges and also pasted them into place.
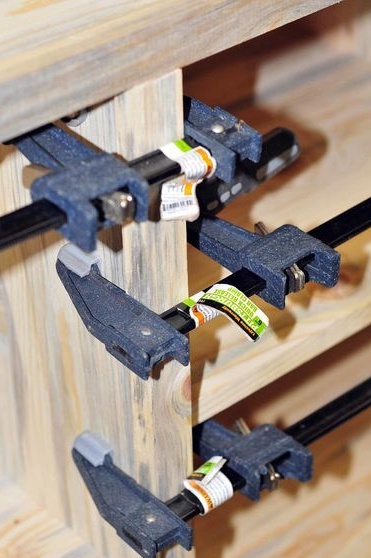
Further, the author glues some more vertical components to the front. They work simultaneously as support for countertops and generally strengthen the structure. Well, also these elements decorate furniture in some way.
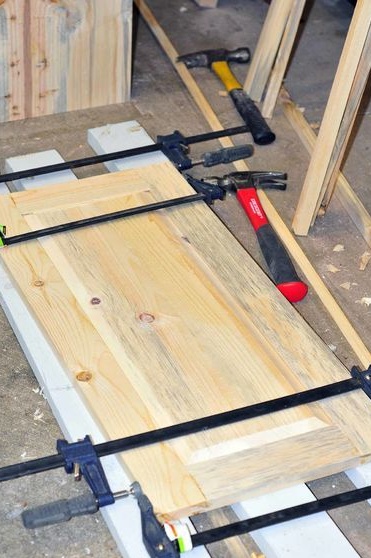
Step Six Door manufacturing
Now you can make doors. There is nothing complicated here. We make a frame, and in the center of it we install a panel of wood. The peculiarity here is that the central panel should be able to expand, therefore, according to the author’s idea, it does not stick. We need to glue the door frame directly.
However, the door turned out to be a rather complicated design, everything can be done and much easier. But here it all depends on your preferences. Let the glue dry for 24 hours.
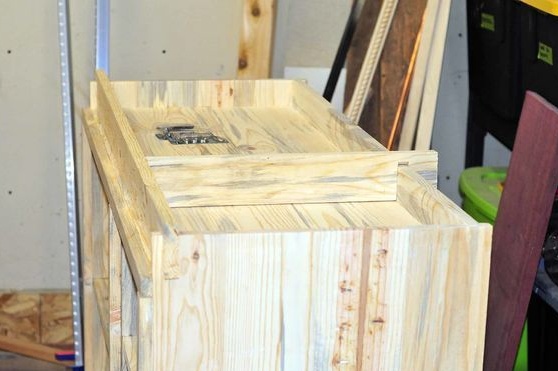
Seventh step. Countertop divider
The changing table must have sides, as well as a divider. Here you will need a couple more boards. The author’s separator is removable, it's just a board with a groove.
Step Eight. Finishing touches
In the end, you will need to screw the doors, for this we use door hinges and screws. Screw the handles to the doors, the author has them in the form of rings.
All that remains for you is to protect the wood from moisture and dirt. In addition, the coating will protect the wood from contact with the child and other residents, because it is not clear where the source material used to be.
As for the coating, do not use paint for such purposes, as it is often quite toxic, and this is unacceptable for a baby. Not natural drying oil will be especially harmful, moreover, it dries and stinks for a very long time.
Of impregnations, it is best to use natural oils. Flaxseed oil is particularly suitable. After application, it is well absorbed into the tree and dries quickly, after which it leaves no residue on the hands and tissue.It is best to apply several layers, making a break of one hour or two between each layer. Boiled linseed oil is also particularly suitable for these purposes.
That's all, after the impregnation, the furniture is ready for use. Your other half will be very glad to have such a table!