

Hello to all lovers homemade. Once I needed to clamp a part, when sawing off parts of it, how to do it without a vise was not very clear, in the end I decided that I had to make some kind of adapt, namely a clamp, the parts I had, as usual, were made of good old parquet. Such homemade work will help us not only replenish the collection of tools, but also save a little money.
But before moving on to reading, I suggest watching a video where I showed in detail the entire manufacturing process.
In order to make a homemade wood clamp, you will need:
* Parquet, you can use any sufficiently strong boards
* Stud with M6 thread
* Two M6 nuts and washers for them
* Electric drill
* Two screws with a cap for a hexagonal 8 mm head
* Sandpaper
* File
* Chisel
* Hacksaw
That's all you need to build a homemade product.
Step one.
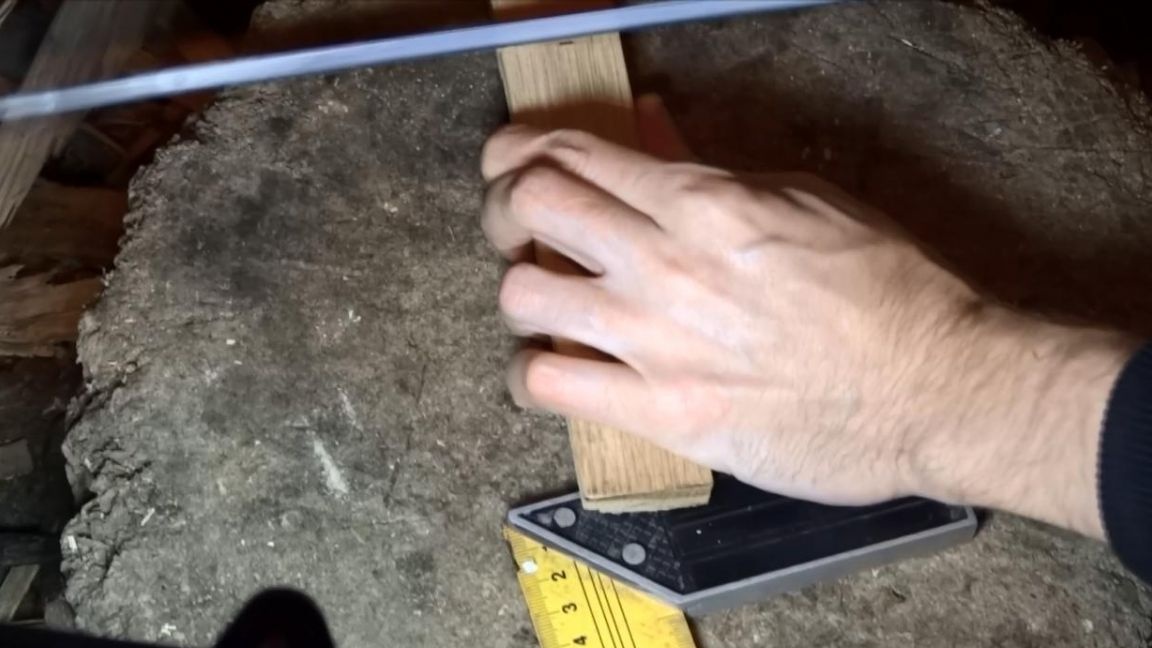
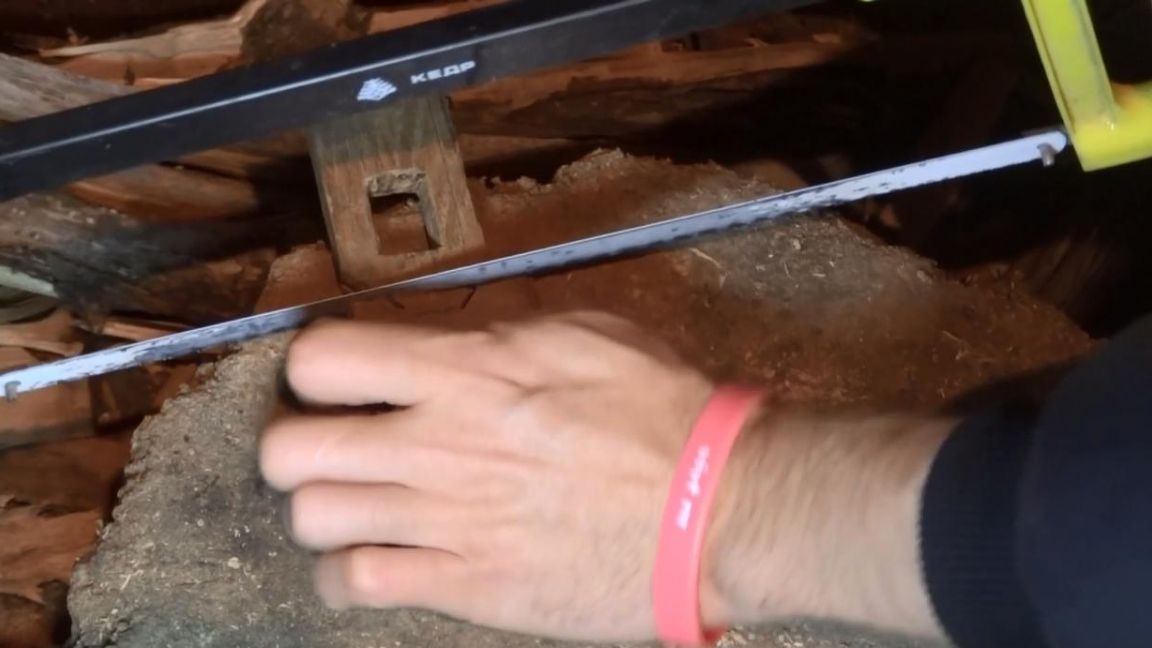
First you need to decide on the material, after all, the loads on this homemade product will be very large, then the material should be with a margin of safety. I chose oak flooring, because it has enough strength for such purposes, and in the presence of it was the first thing that came to hand. I decided to do a small clamp, since I rarely deal with large details. Then I sawed a rail about 2 cm wide from this floor, decided that it would be enough, given that the length does not exceed 25 cm.
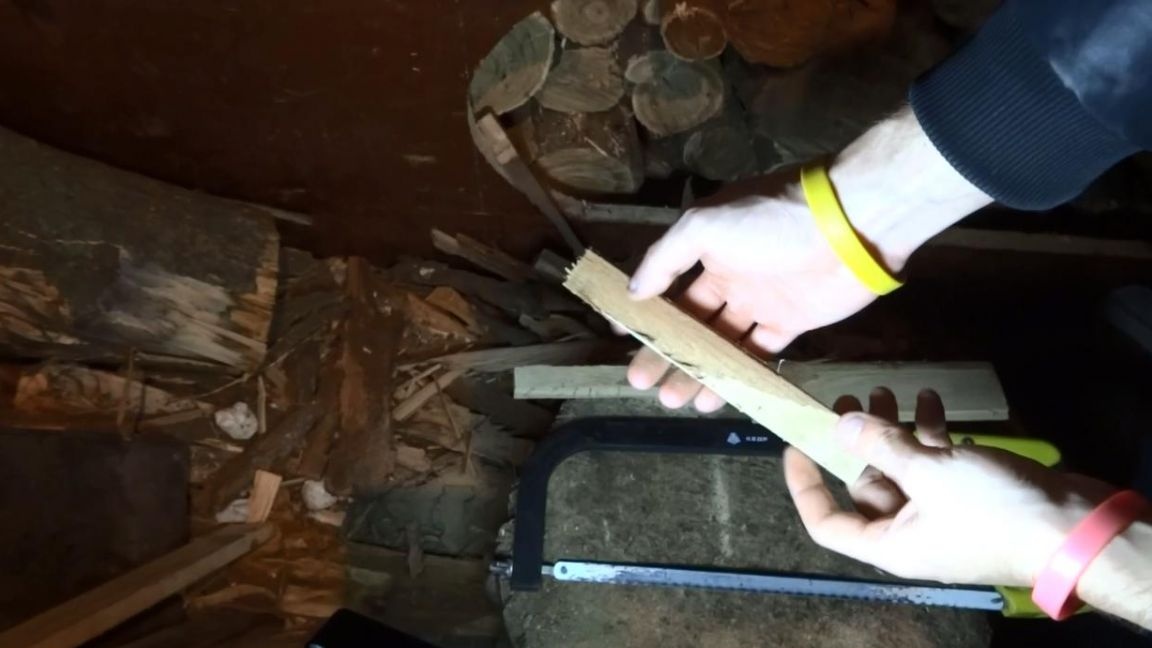
If the length of your clamp is more than 25 cm, then I strongly recommend using a board with a larger width or choosing a material stronger than wood. You should also pay attention to the fact that it is best to saw with small-tooth files, I usually saw in such cases a hacksaw for metal, sawed after it almost does not require grinding.
We lightly grind the part by hand, it makes no sense to polish the part, since this is the future work tool.
Step Two
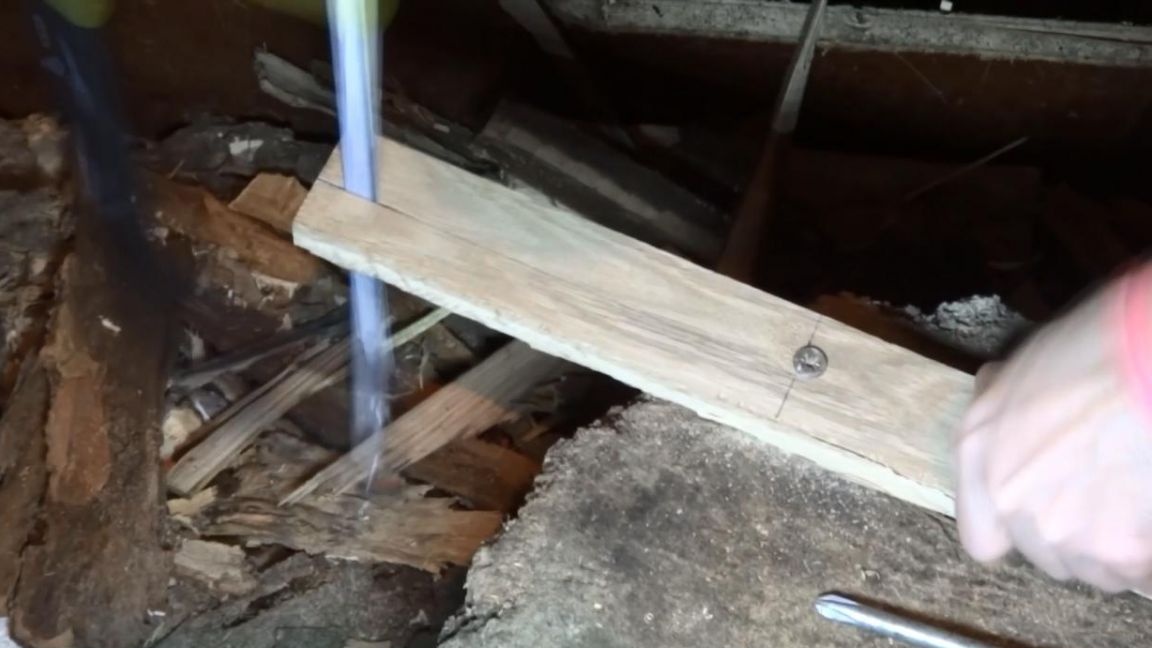
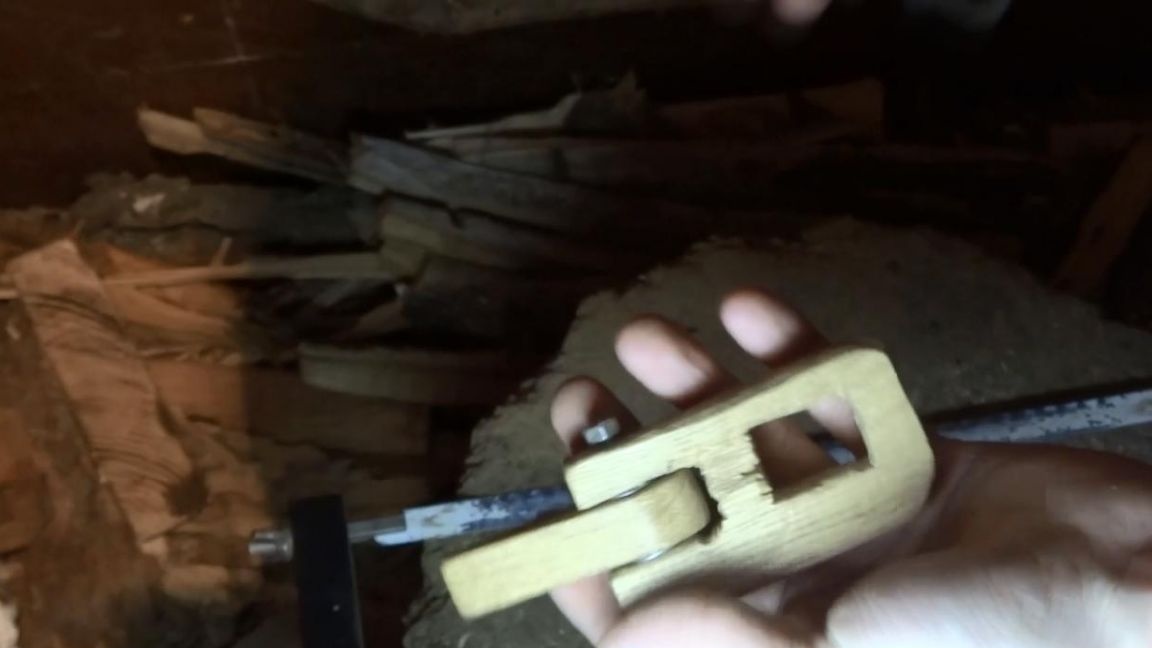
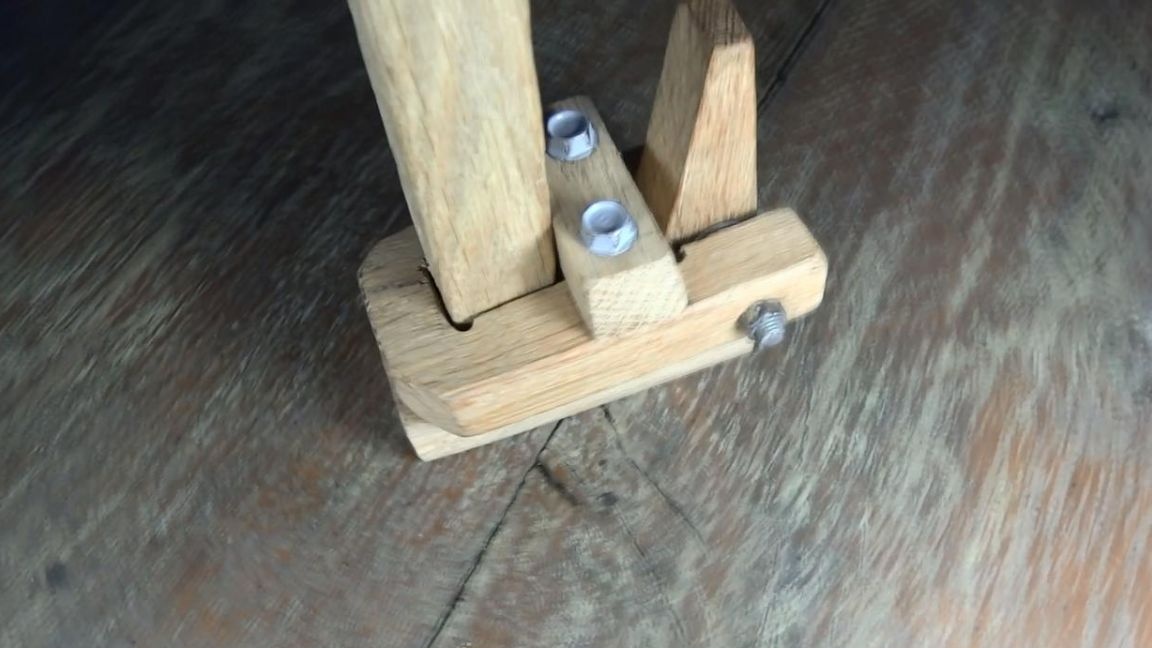
After the main part is ready, proceed to the lower fixed sponge. I sawed it with the same hacksaw for metal.
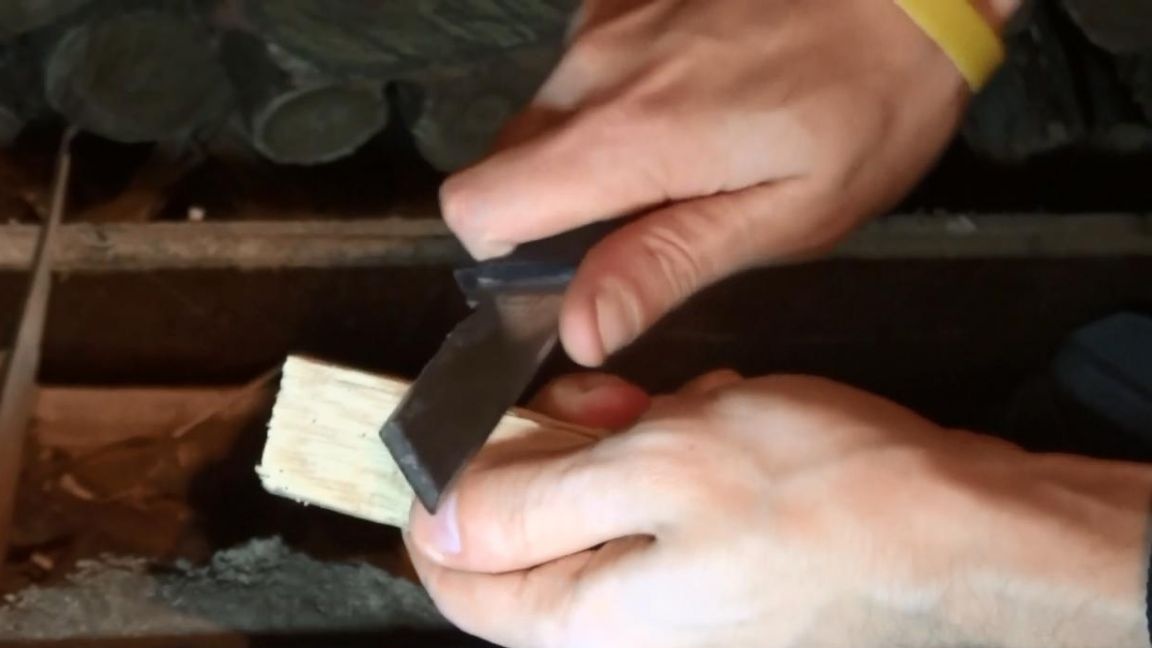
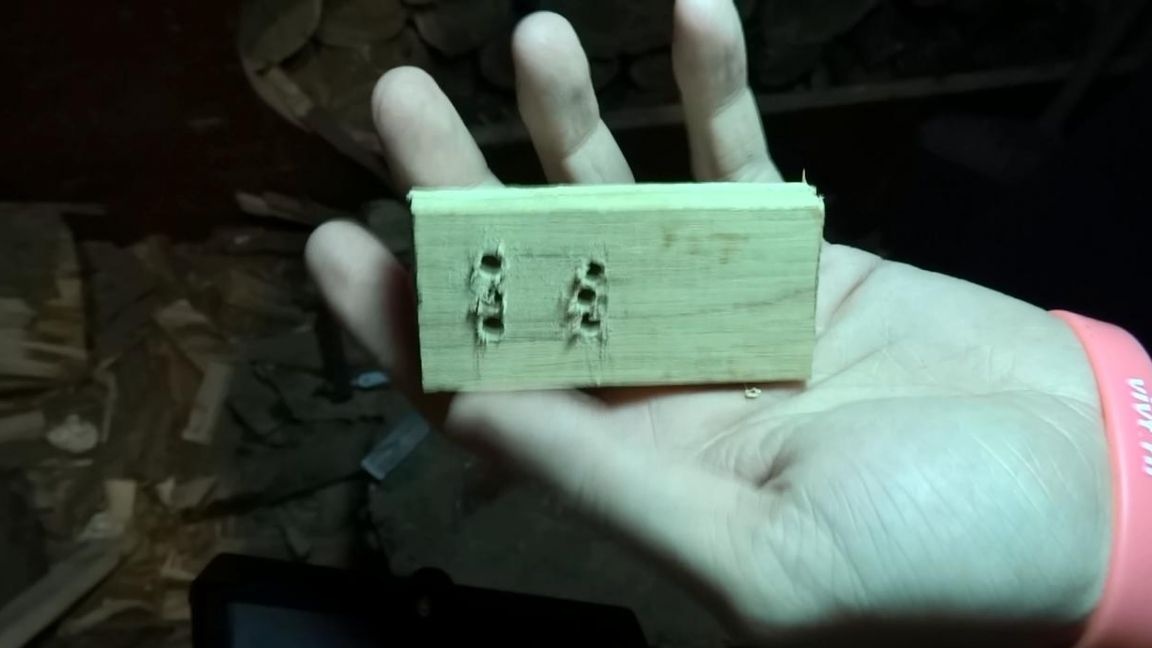
Then he drilled four holes at the edges with an electric drill with a 3 mm drill, after which he selected the material with a chisel and trimmed the hole with a file. As a result, I got a rectangular hole into which the previous part is firmly inserted.
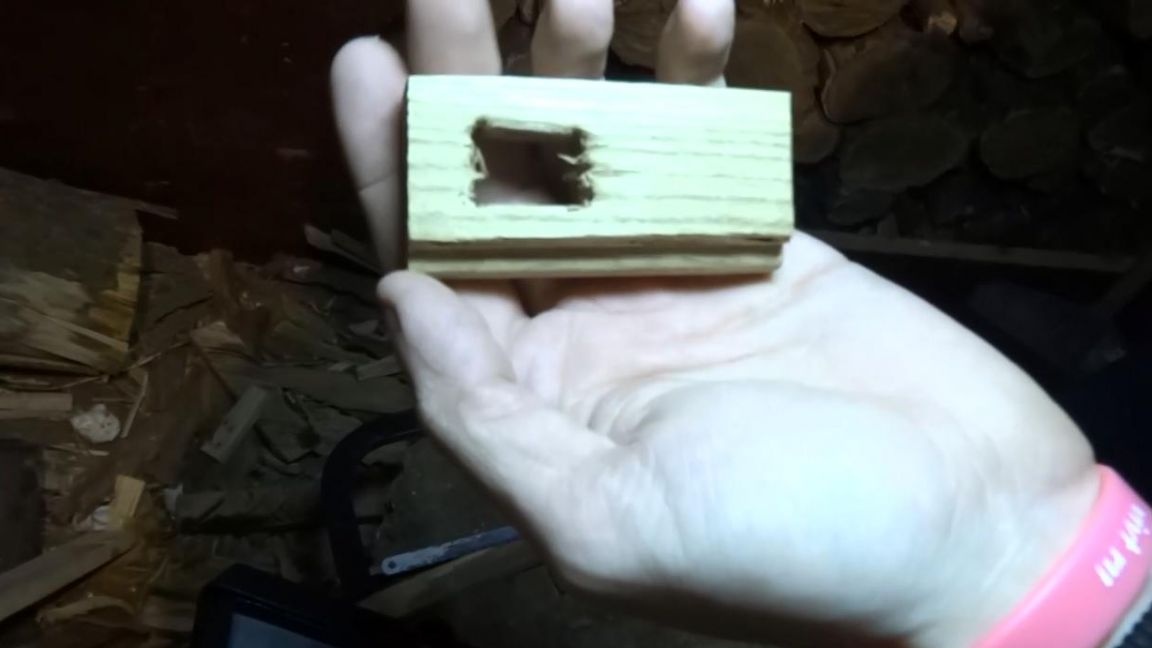
It should be glued to PVA for reliability.
Step Three
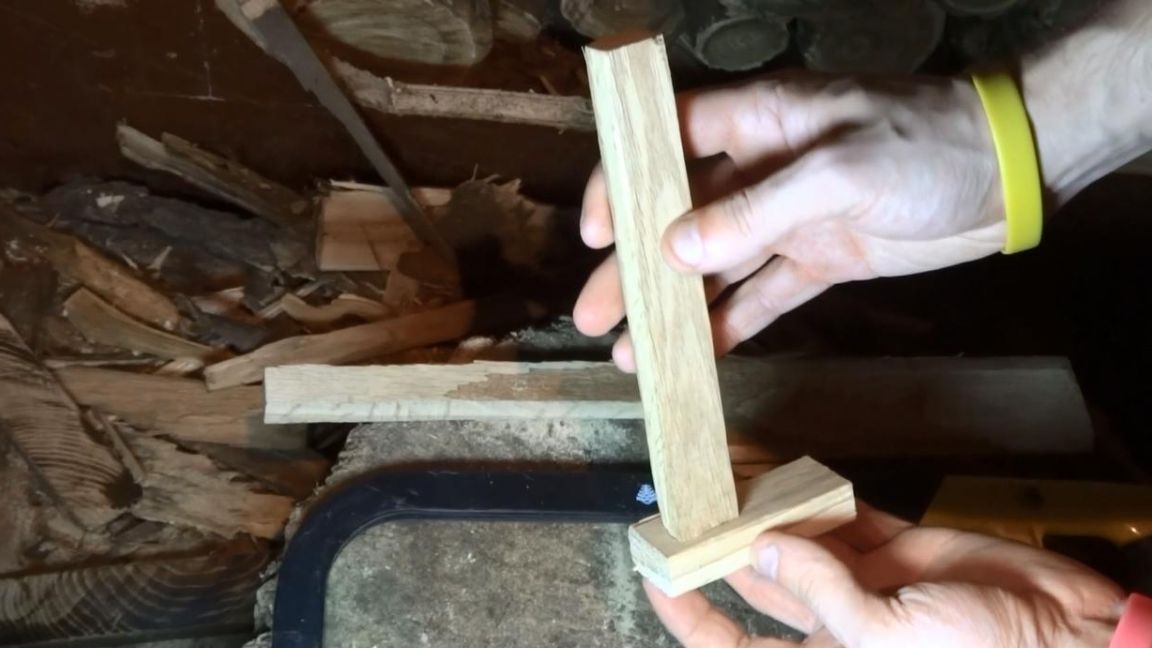
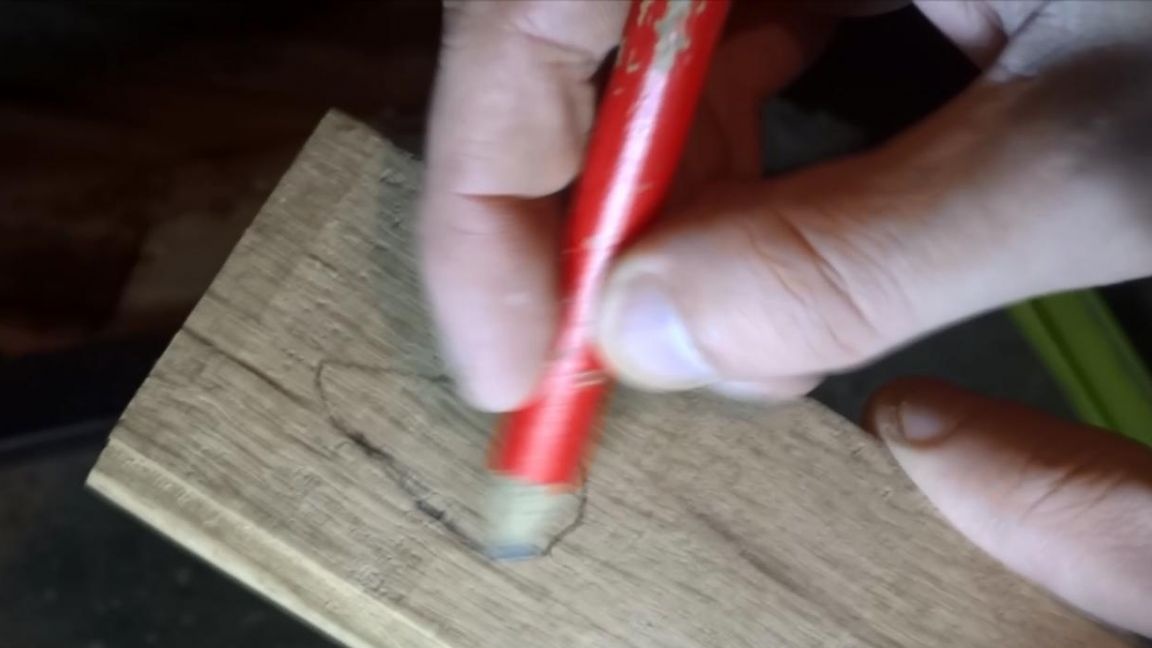
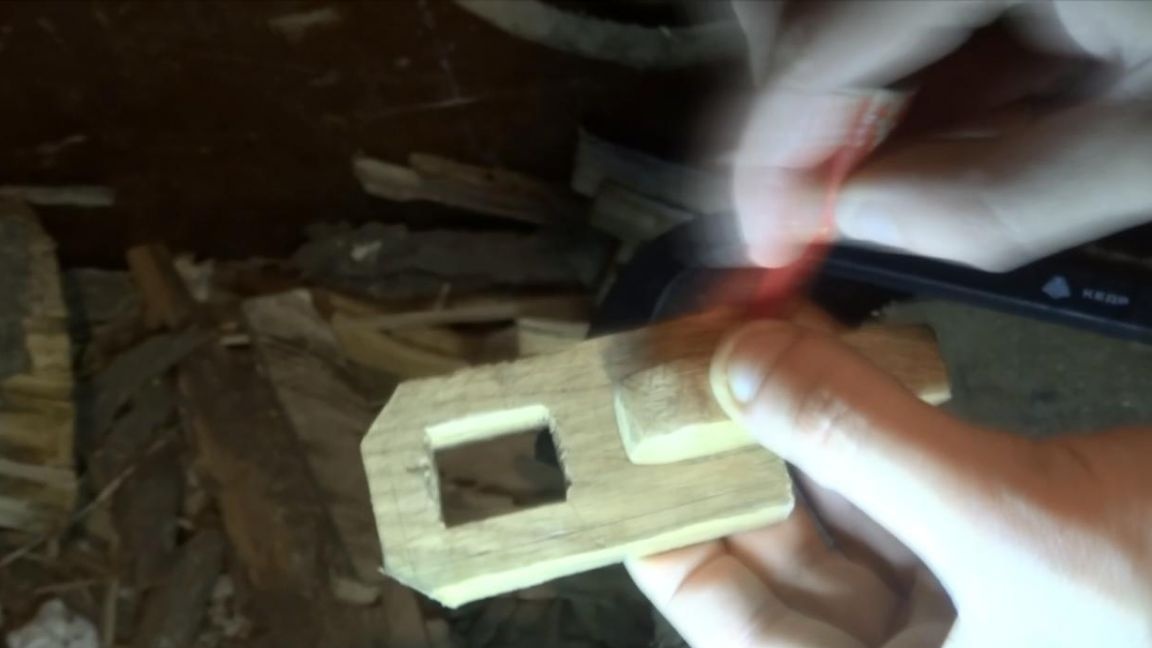
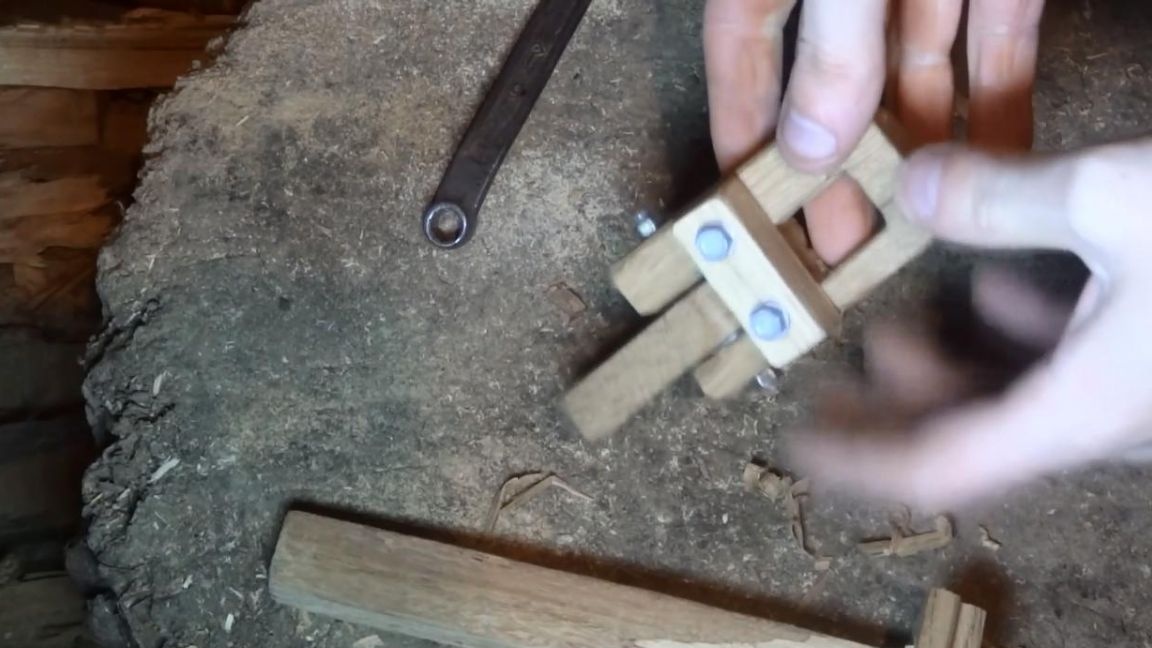
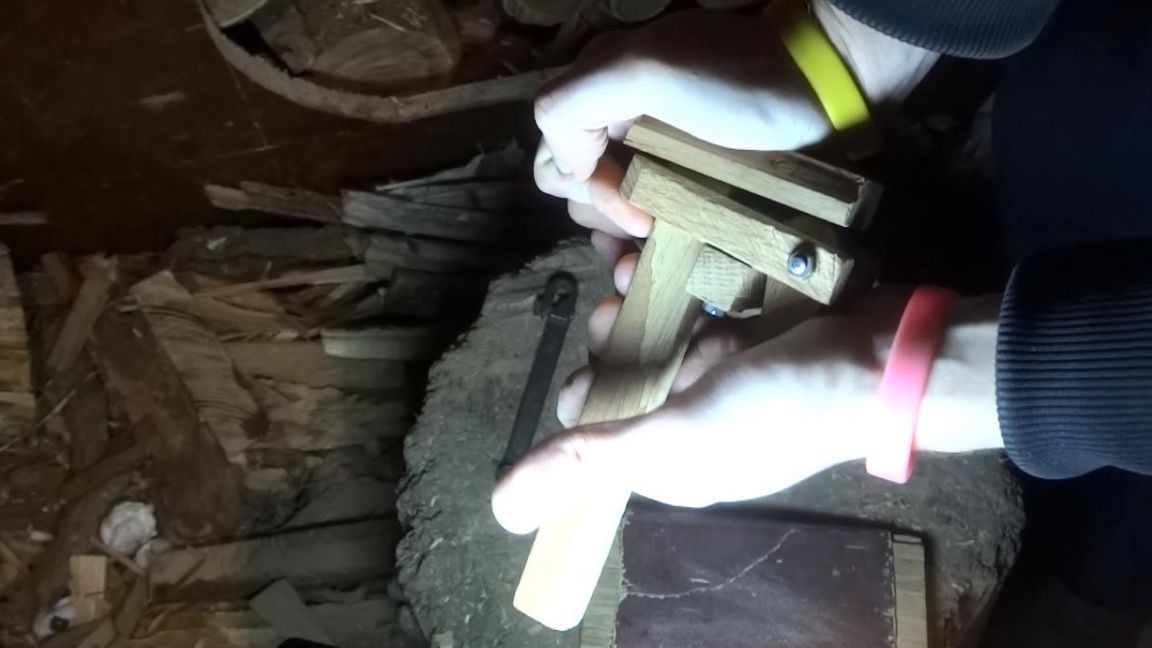
Well, that homework is almost ready, it remains to make a movable sponge. By the way, making it a little harder.The part consists of the same piece of parquet, which I also drilled with a drill and selected a rectangle inside to put on the base.

The difference between the design of the movable sponge from the fixed one is that it has an eccentric, which allows you to clamp the necessary part, the dimensions of which can vary at certain intervals. In the upper sponge we make a rectangular hole for the movable clown, I also sawed it from the floor, the width is 15 mm.
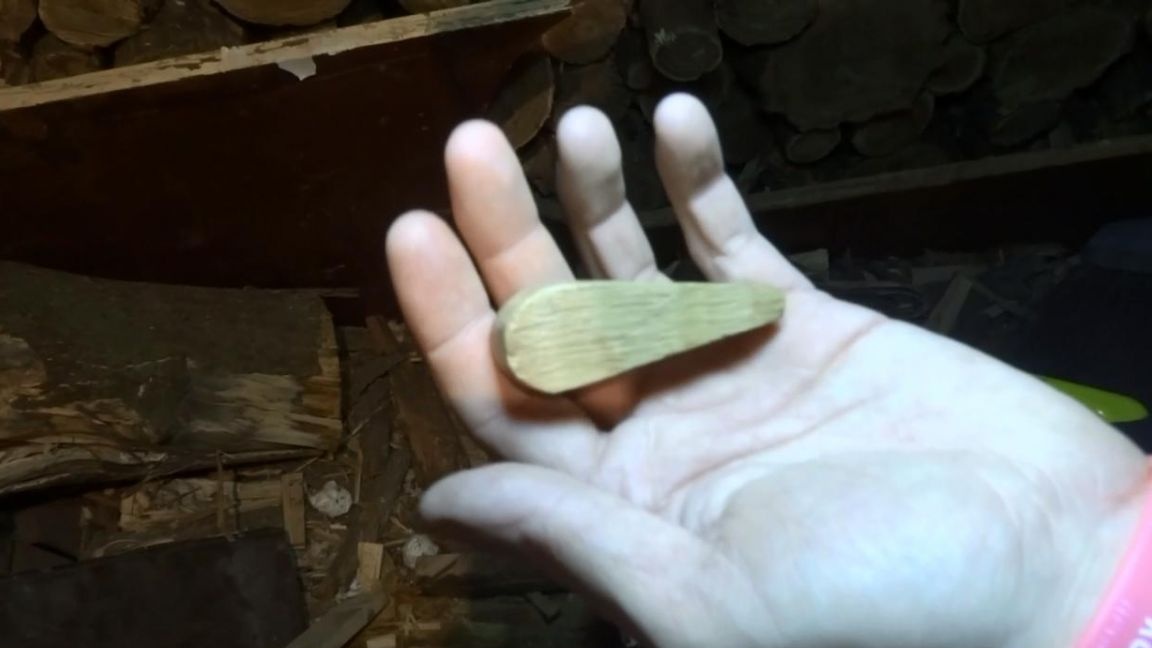
The displacement of the center should not be strong, but also not be very small, otherwise the part will not hold tight, which is not good in the case of a clamp.
Step Four
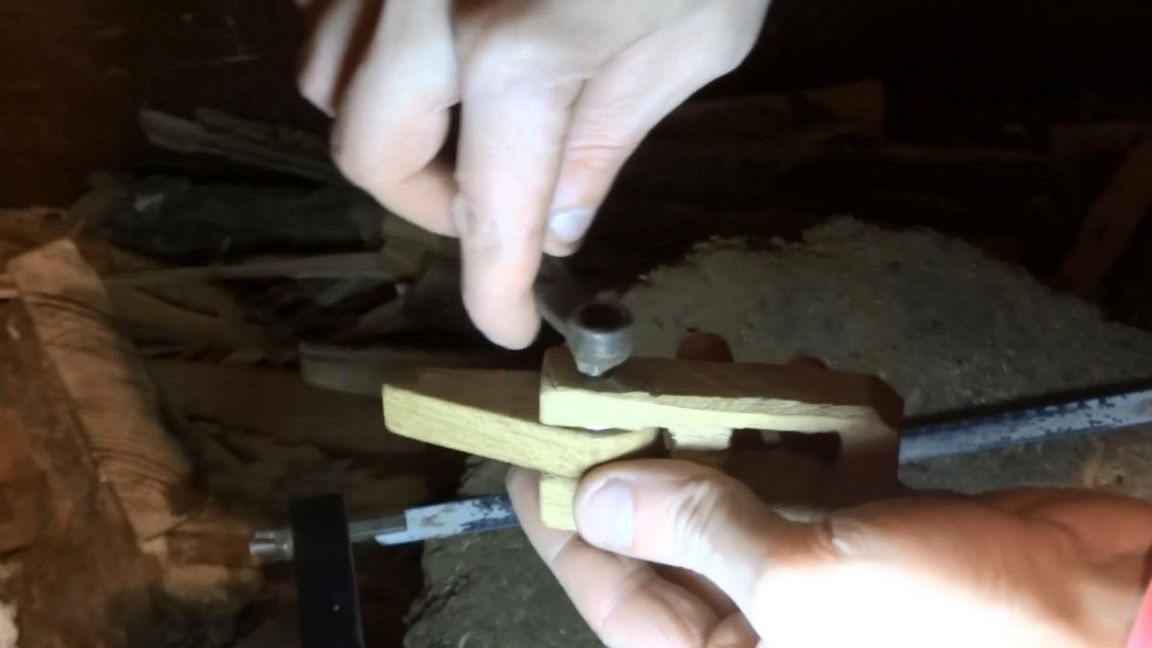
In the movable sponge and the eccentric, you need to drill a hole with a 4 mm drill.
After that, we install the eccentric with the help of a threaded rod with an M4 thread, after having previously placed one washer on the side. I do not recommend tightening the nuts too much, as this can damage the sponge itself.
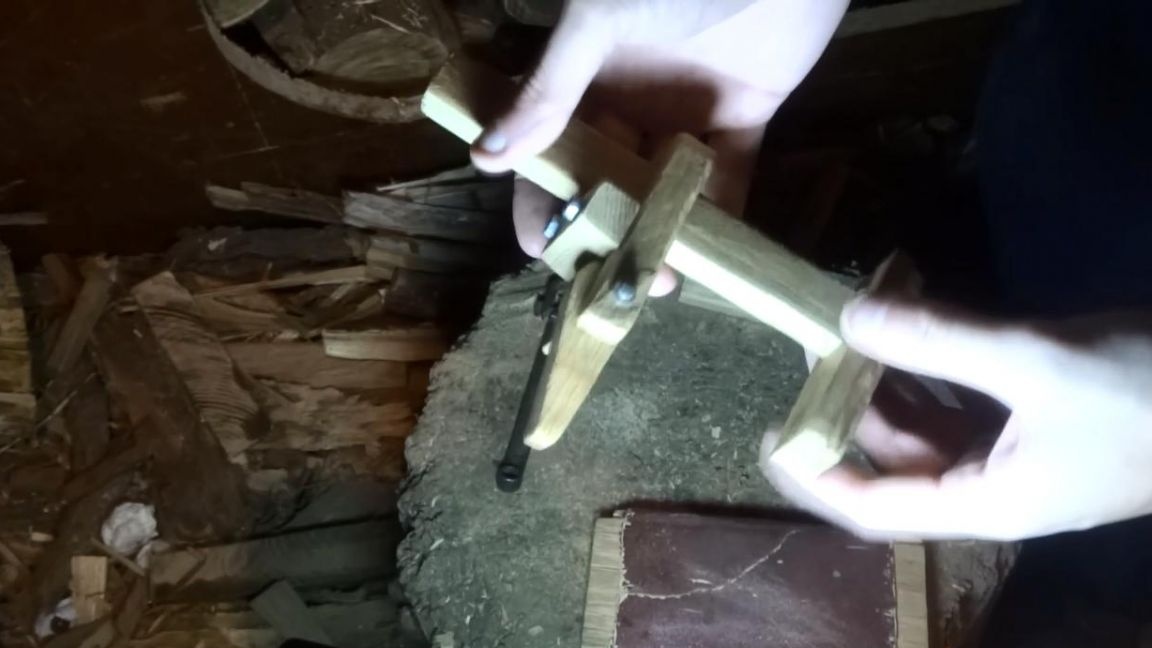
The principle of operation of such a clamp is that when the eccentric is rotated, its displacement rests on the part, which entails a skew of the movable jaw, as a result of which it jams, thereby holding the clamped part.

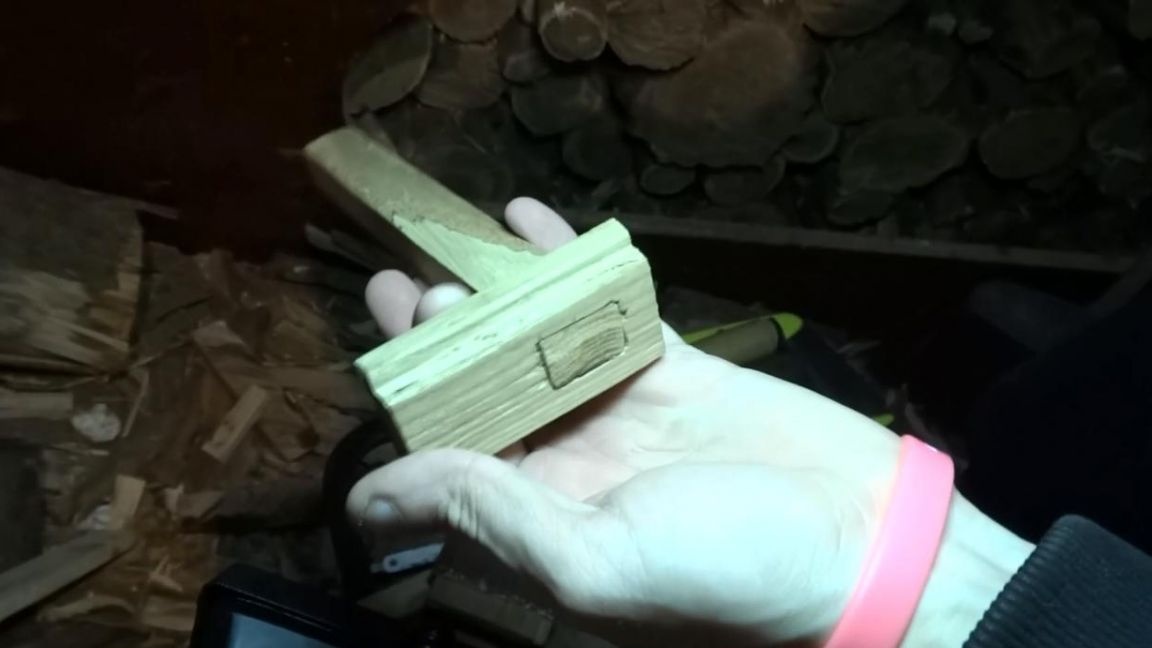
Step Five
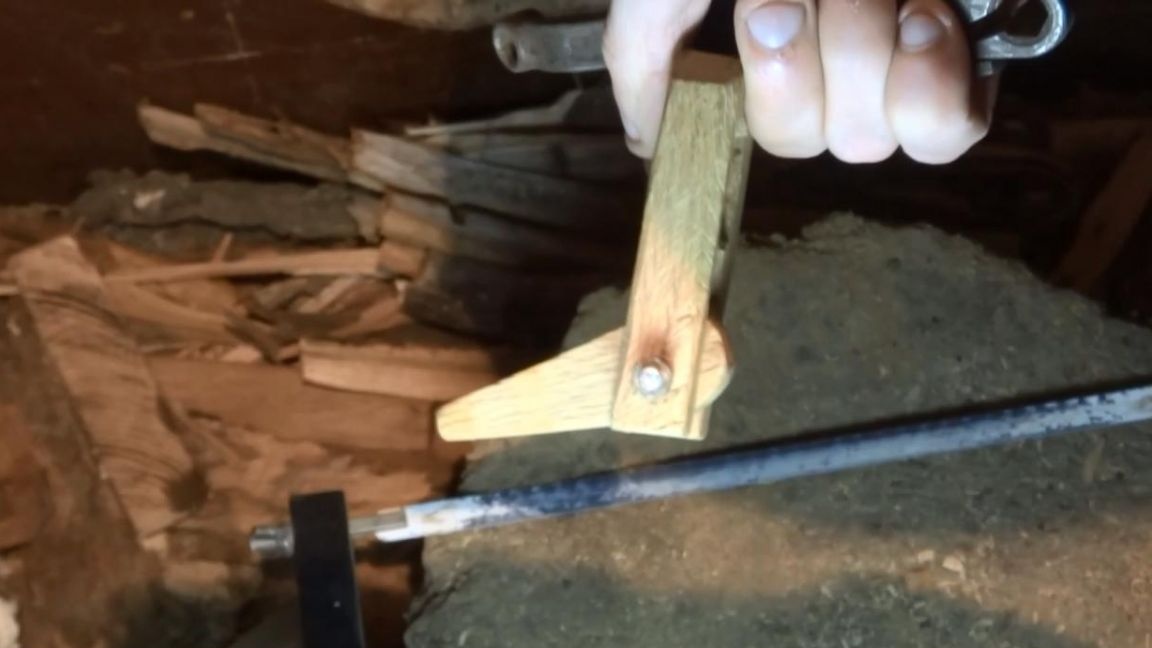
With the upper sponge, there is more to it; I screwed a small piece of parquet to it, which will serve as additional emphasis when clamping the part. Sawed off a small piece of the same oak flooring, then drilled two holes along the edges. Then I screwed it onto two self-tapping screws with a cap for a hex wrench.
For greater reliability of fixing the stop, it is possible to glue the joint, I did not do this, but with increased loads there is still a risk that the non-glued part will rip off the hats or screws or tear out the thread, keep this in mind.
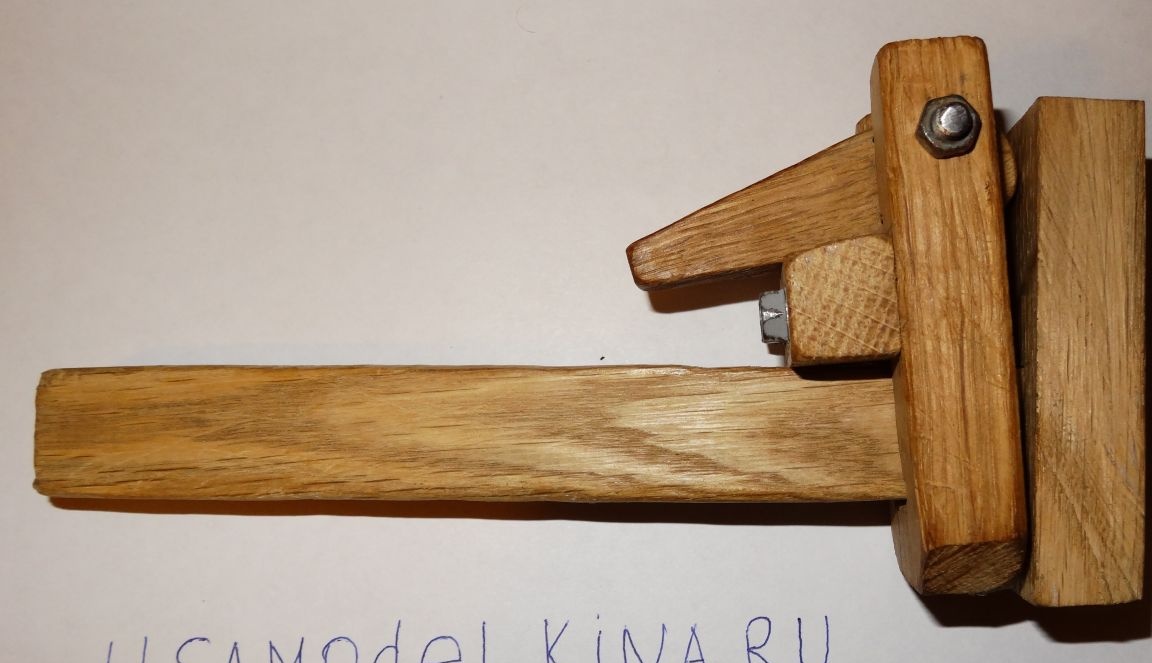
The result was such a clamp.
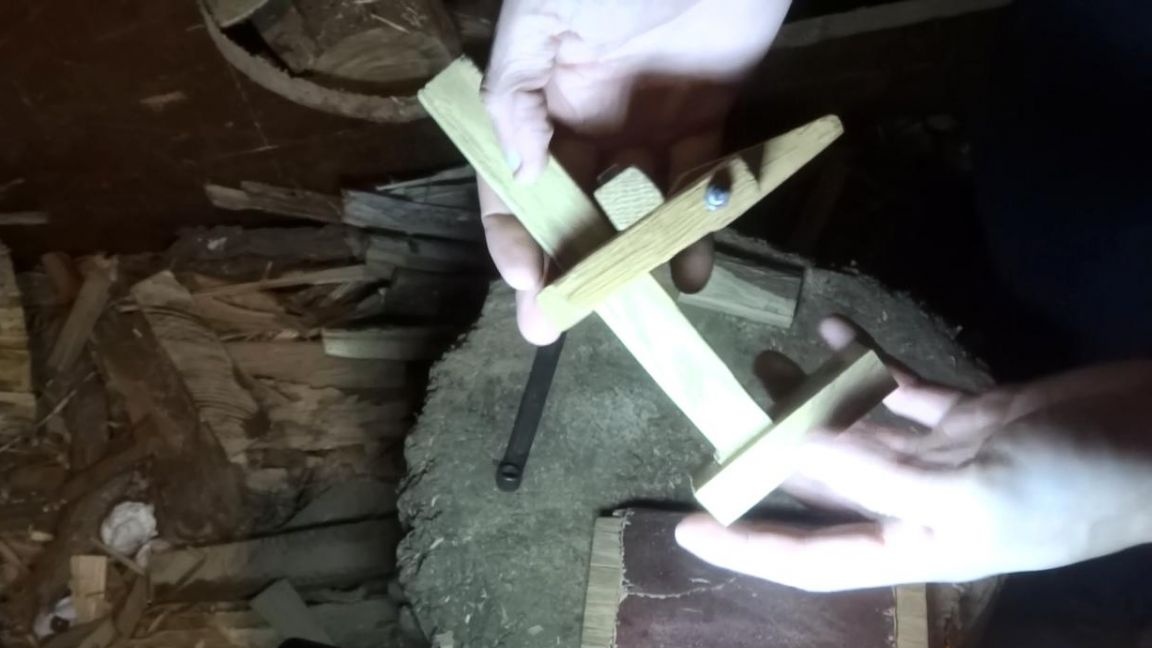
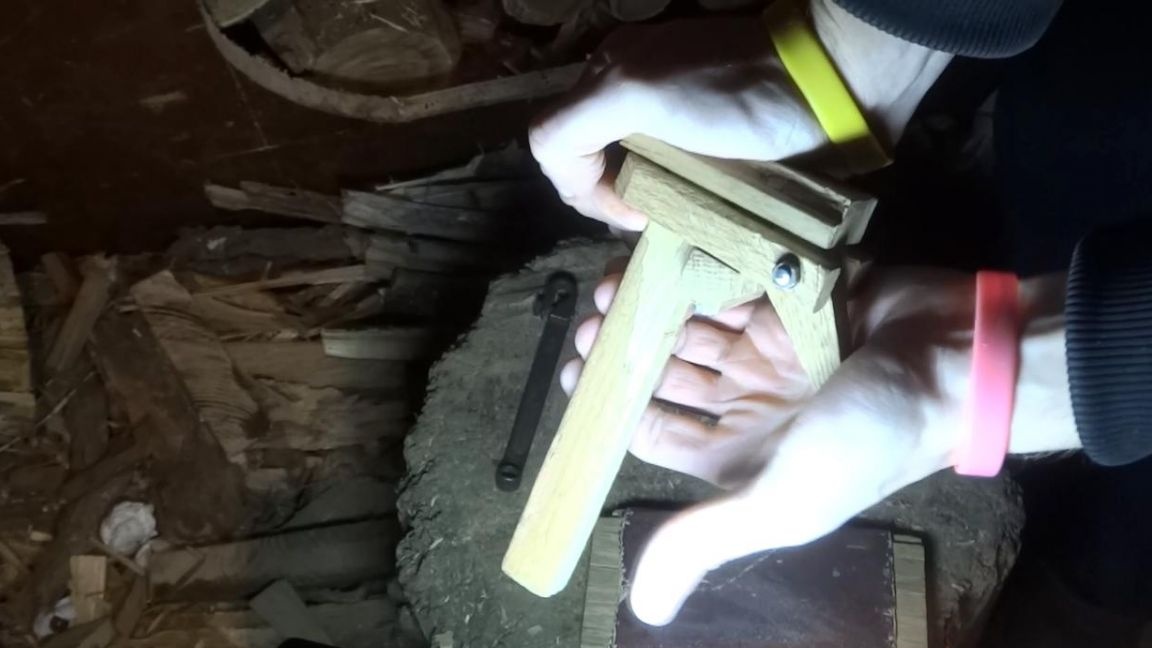
I tested it a little, holds it tight enough, in the future I think to finalize it and make it out of metal, for my purposes I still have enough of such a modest clamp.
That's all for me, thank you all for your attention and creative success.