
Today it has become possible to do various furniture from wood cuts. Firstly, it is stylish and unique, here nature itself in each case creates its own unique, inimitable pattern. Secondly, it looks as natural as possible, it is part of nature. Well, and thirdly, they saw furniture simply, here the main job is grinding.
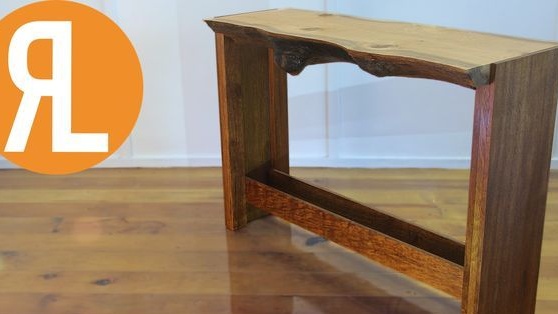
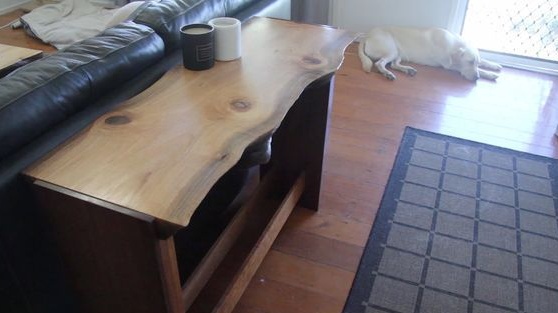
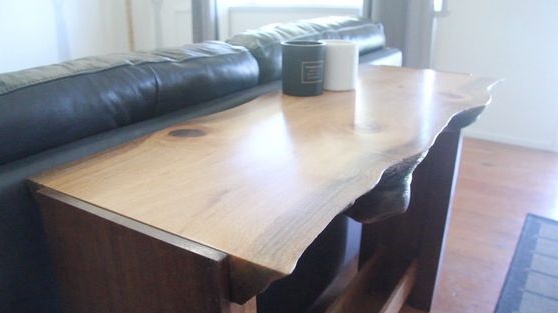
In this instruction we will look at how you can make a beautiful table from the top saw cut of a tree. This is that part of the force, on the side of which there are bends of the trunk and bark, that is, the very first, upper saw cut. In fact, such a cut is an excellent finished tabletop for the table.
Materials and tools used by the author:
Material List:
- cut a tree;
- several boards or bars for making legs;
- two boards along the length of the countertop (for spacers).
Tool List:
- grinding tools (orbital machine, band and various others that you will find);
- hand circular saw;
- marker, tape measure and other measuring tool;
- clamps;
-
- drill with drills;
- router;
- epoxy adhesive;
- sandpaper;
- brush and substances for wood impregnation;
- rubber mallet and more.
The process of making a table:
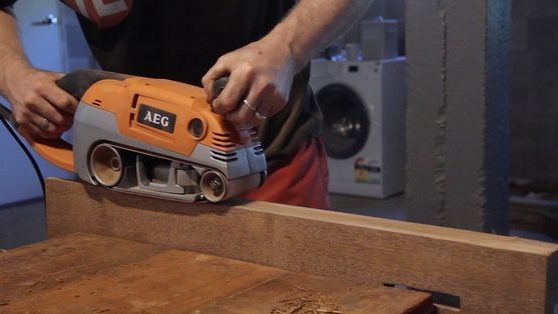
Step one. We work with the countertop
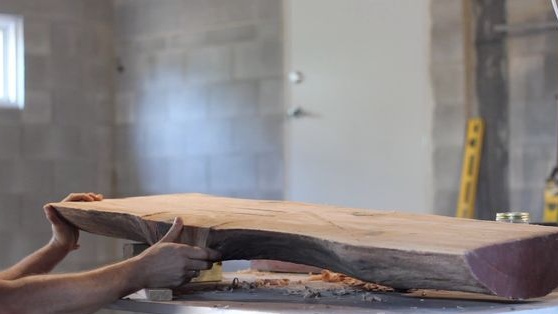
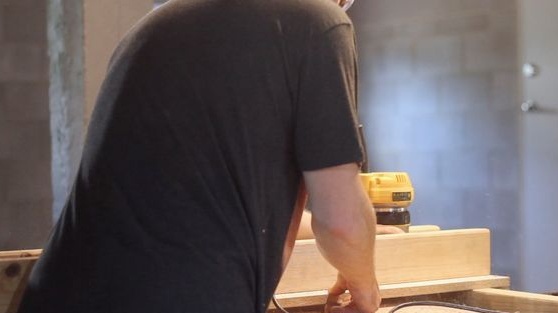
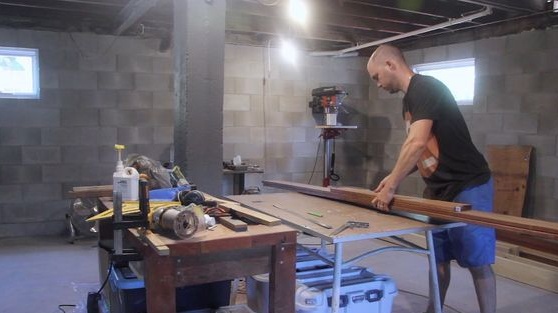
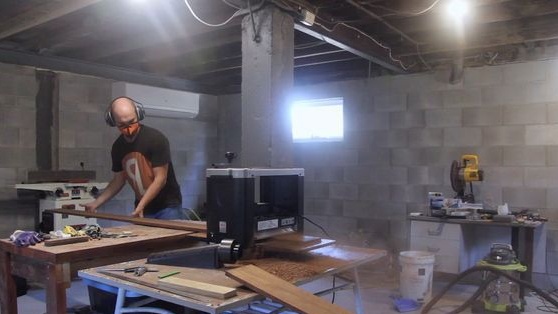
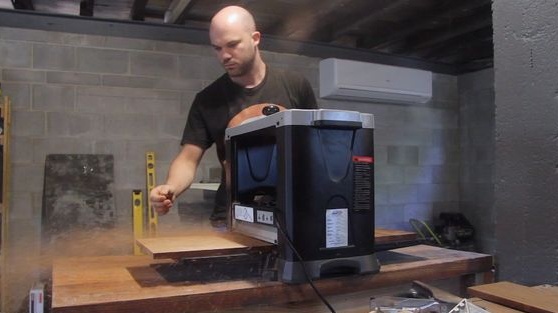
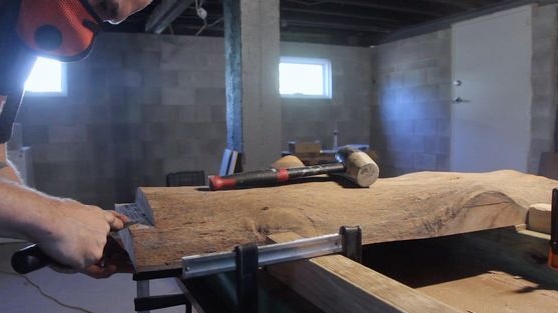
The bulk of the work you will find it boring to do with the countertop. Here you will need a lot of grinding, leveling and so on. For such work, you will need a considerable arsenal of power tools.
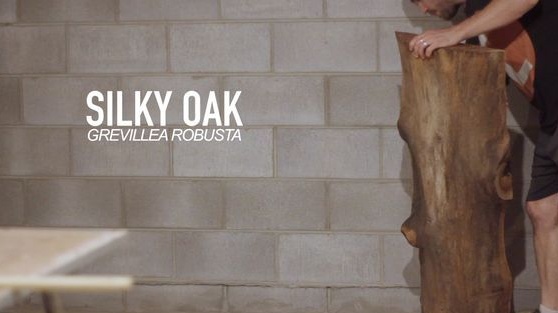

Let's talk first about the workpiece. It should be very dry wood, the author has dried it for two years. A silky oak served as a source of wood, in general, such plates are cut from oak, walnut and other dense, valuable species.
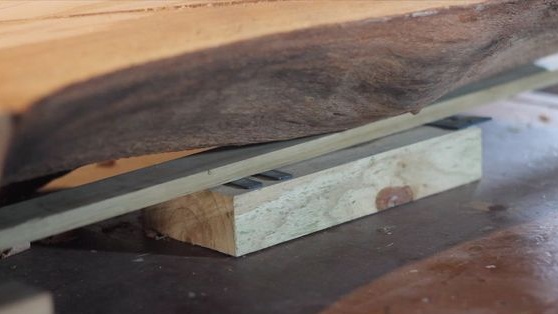
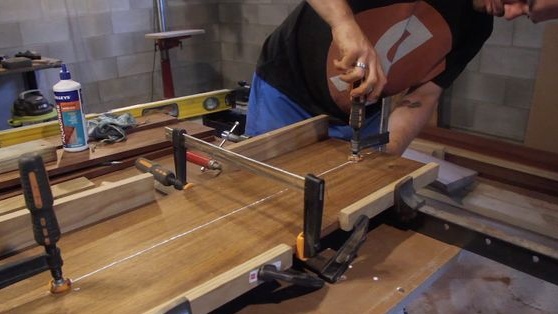
First of all, you have to align the tabletop plane as much as possible. To do this, you will need to make some guides and then go over them with a grinder, a tape or orbital one will do. Guides can be made of timber. In fact, it will be a ruler on which you will rely on a grinder. As a result, your entire plane will turn out smooth.
You can, of course, try to grind without any guides, but here you will need a "sharp eye", a ruler, a building level and so on.
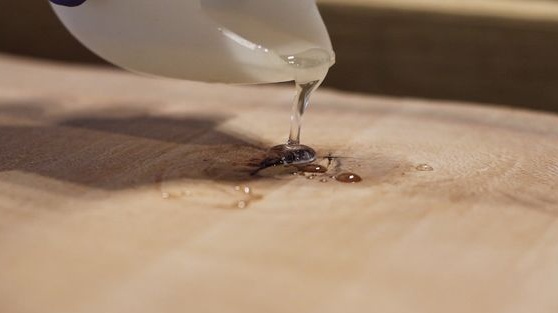
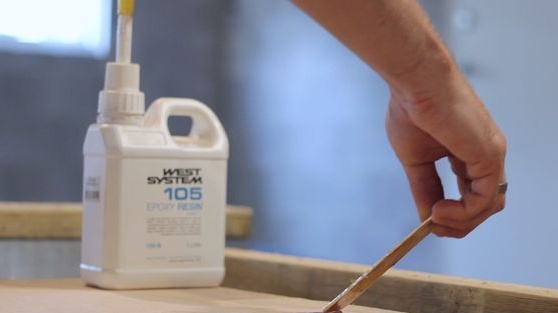
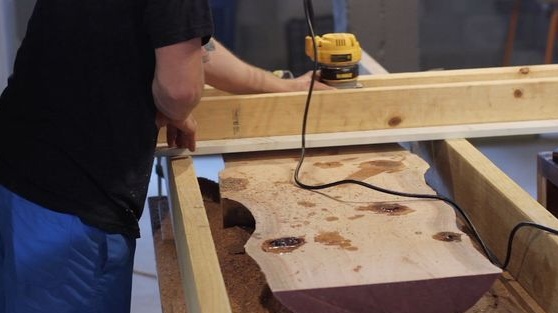
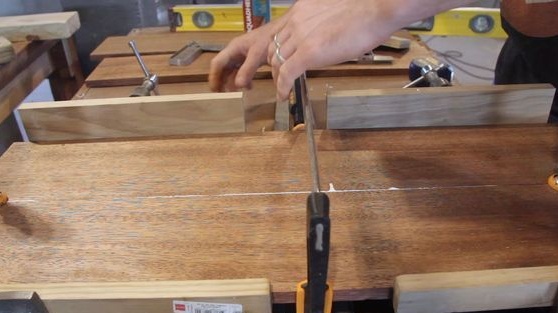
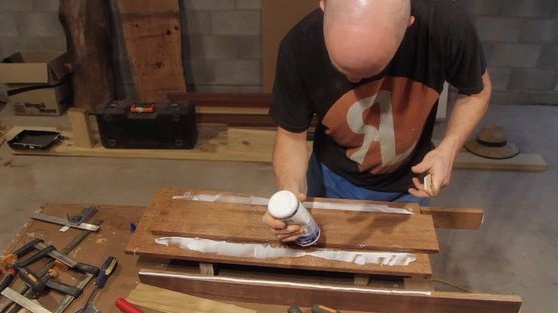
When grinding on a wooden plate, various defects will be revealed, these may be the effects of parasites, rot, knots and other defects. All these places are thoroughly cleaned and then filled with epoxy glue.When the resin hardens, these places are quite simply sanded.
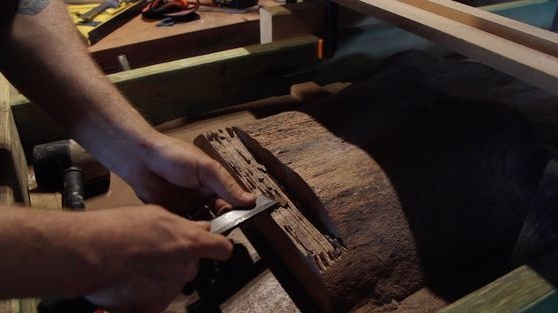
As for the downside, you will need to peel off the bark and other elements that do not hold well. The surface of the wood can be ground a little manually. Never forget that this part should look as natural as possible, so do not try hard to improve it.
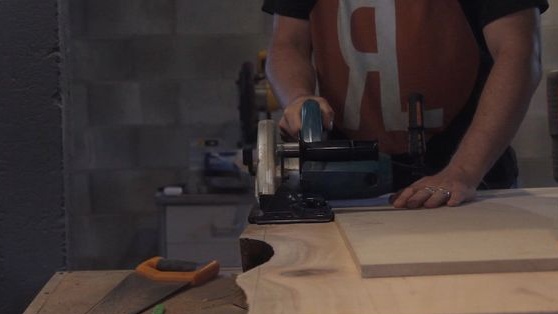
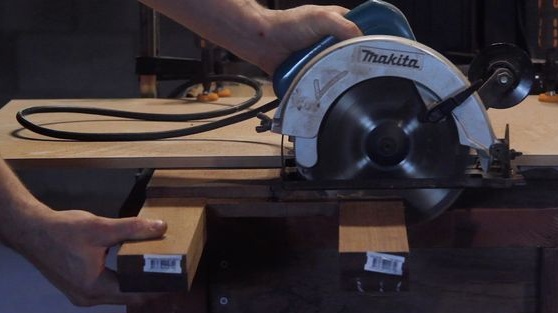
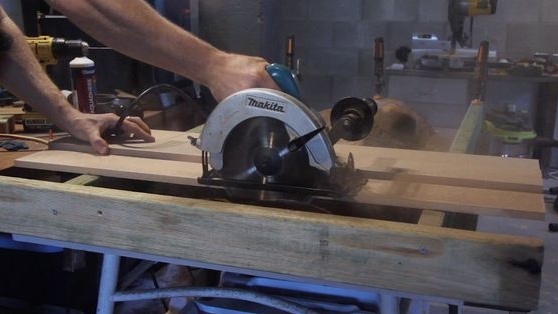
In conclusion, you will need to trim all four sides of the countertop. To get the perfect rectangle, you will need a square, as well as a construction ruler. Instead of a ruler, you can use a long beam. As for the lateral parts of the countertop (the longest), then just trim the excess, but do not trim the entire relief, because it contains the whole idea of the countertop. It’s more convenient to trim with a manual ruler.
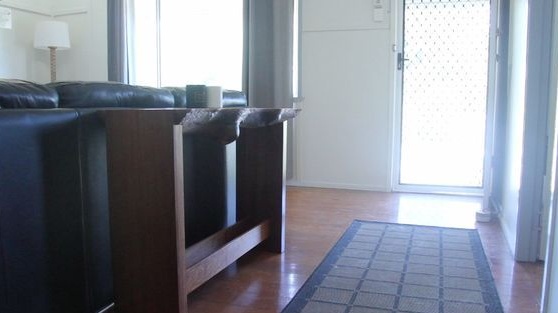
Step Two Making legs
The author also makes nocks for his table in the form of “plates”, in fact, there are two pieces of legs. To make them, you need even boards, the author used material for finishing floors. These boards are made of Merbau wood; such building materials are common in the author's place of residence.
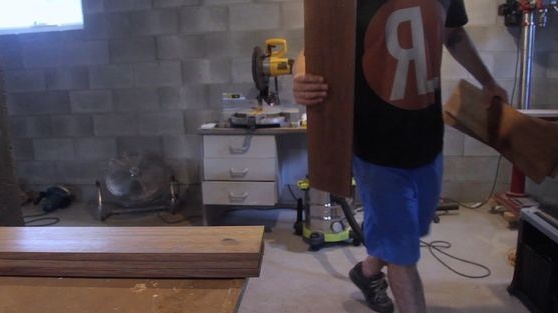
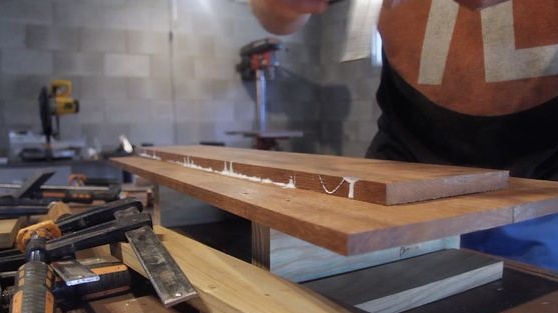
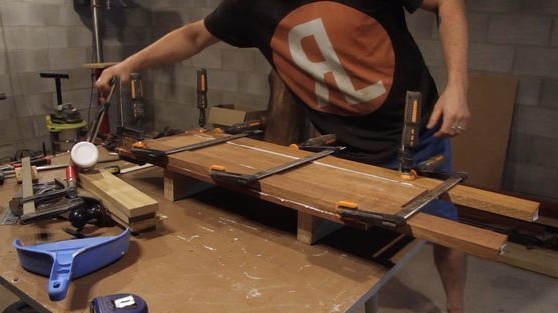
First of all, cut the right number of boards of the desired length so that they can form two plates. Next, align their edges so that they fit snugly together and grind. If the edges are very curved, they can be aligned on a circular saw. When everything is ready, you will need clamps and good wood glue. We glue the boards into plates, squeeze them tightly with clamps and leave them to dry completely. Extruded glue is best removed immediately.
When the glue dries, cut off the edges so that they are perfectly even.
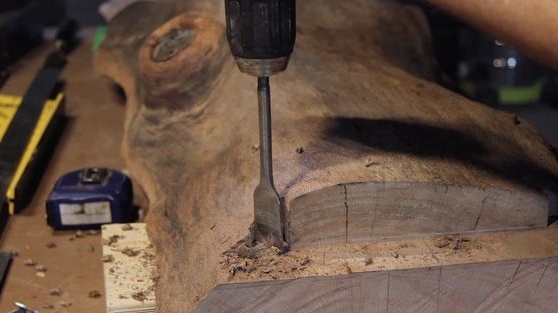
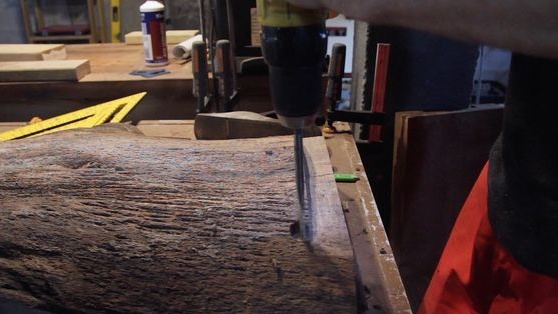
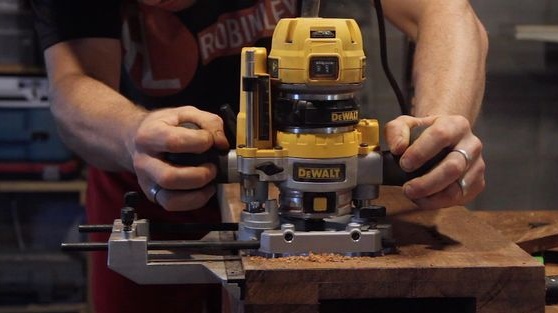
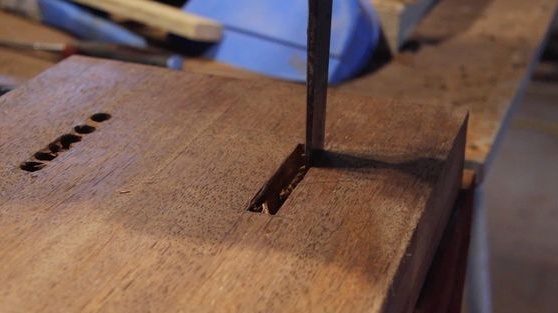
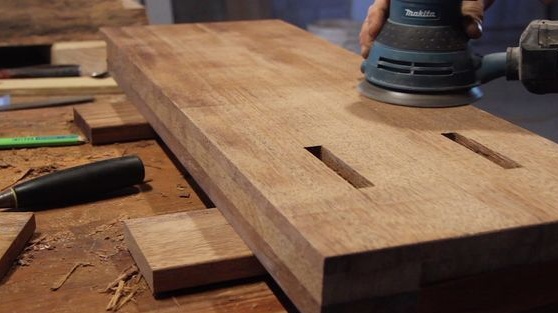
Step Three We make grooves for attaching legs
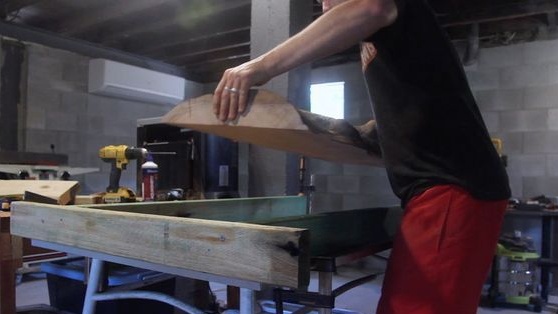
To assemble this whole thing now, you will need to make grooves in the legs and countertops. Thanks to them, our massive table will confidently stand on its feet. First of all, we make grooves on the countertop. Just make a cut, stepping back from the edge to the desired distance, and then chop this part with a chisel. Grind the planes so that the legs fit well.
The author also drills niches under the parallel bars of the legs with a drill.
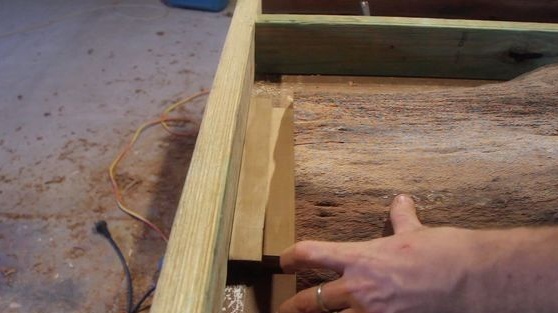
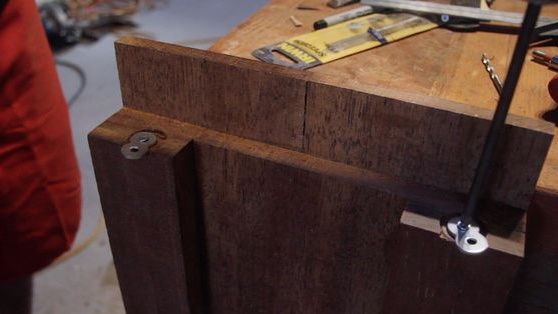
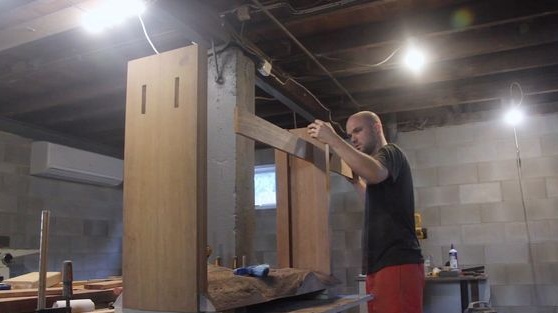
As for the legs, then they will also need to cut out the grooves. As a result, the leg with a thin part should go to the level of the countertop. It will be necessary to fasten thick boards or bars from the inside to the legs. Then in these bars grooves are cut into which loops are installed. Thanks to these loops, the legs are held in place.
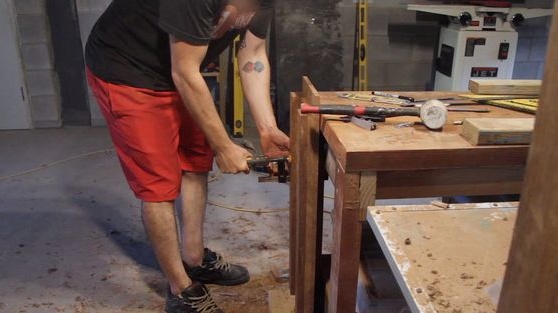
Step Four We make struts and put them in their place
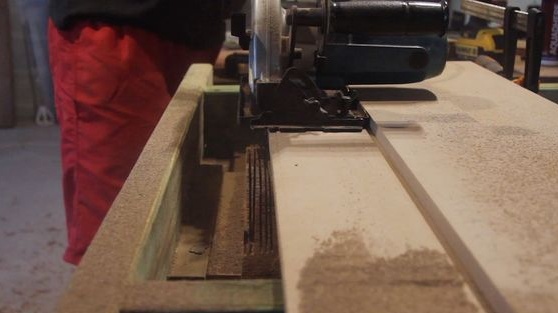
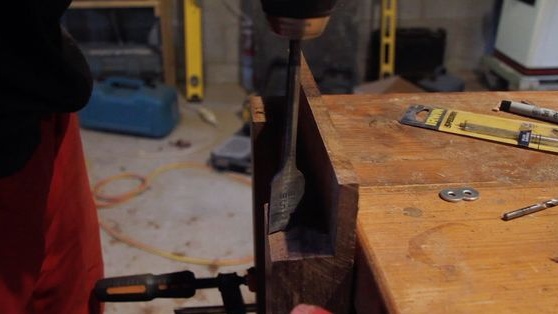
So that the legs at the bottom of the table do not part, the spacers must be installed at the bottom. They are made very simple, you will need two boards of the same length as your countertop. First of all, cut two holes in the lower part of the legs at the same distance. These holes are selected depending on the width and thickness of your boards. The boards should fit tightly into these holes.
To make holes of this shape, a series of holes was first drilled. Well, then we use a file on wood to bore a hole to the desired size. Everything is done simply, just need a little patience and strength.

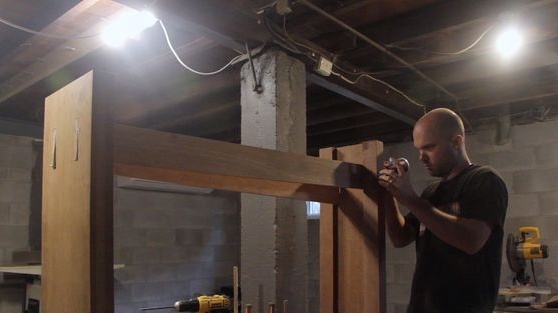
After that, prepare your boards, cut them to the desired length. In principle, one good board is enough for you, or it can be a bar. Insert the boards into their places in both legs, having previously applied more glue to the wood on their edges. Fill the gaps with glue, if any, and let the whole thing dry.
When the glue dries, sand the installation site to a smooth state. Next, you will need putty for wood. We apply it to problem areas, dry it, and then grind it. As a result, these grooves will no longer be visible. Instead of putty, you can use wood glue with small wood chips.
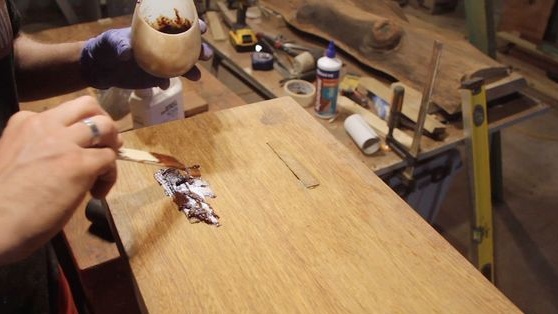
Step Five Table decoration
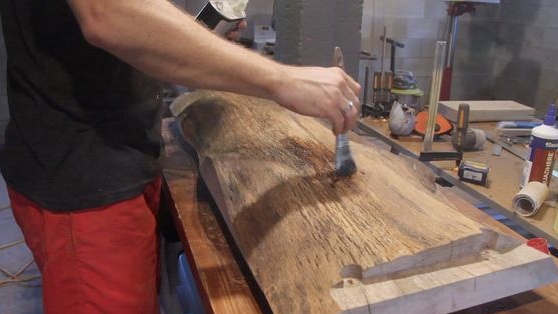
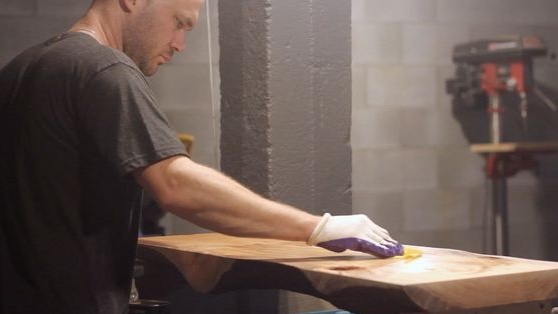

That's all, the table is ready.It remains to apply a protective coating on it. The easiest way to use oil is because
It is also a natural material and with it wood will look great. Oils for impregnation come in different colors, so you can choose any one to your taste. You can also use stain and varnish, but this approach is now considered obsolete. The author decided to make a coating of polyurethane. By the way, the table can still be treated with epoxy.
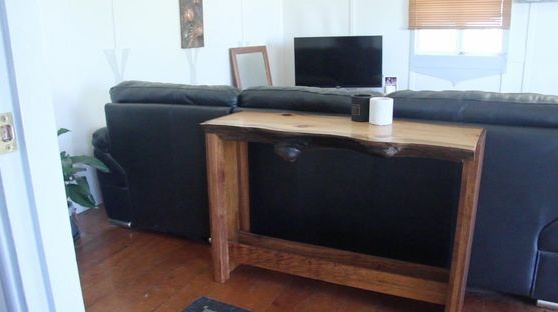
The work is completed, put the table in the right place and enjoy. Do not forget that the table is quite heavy, so rearranging it yourself can be problematic.