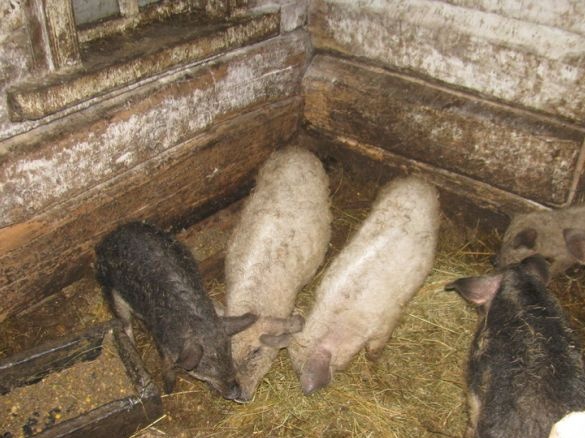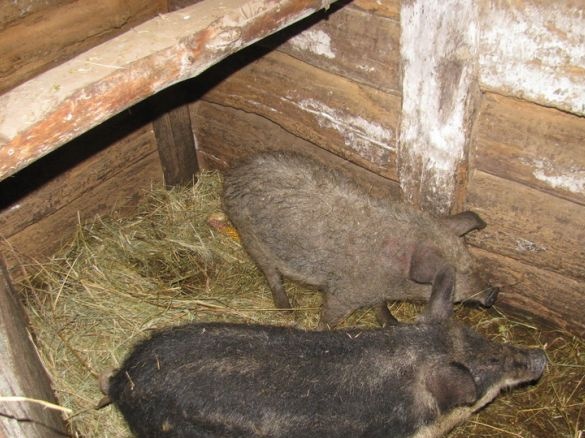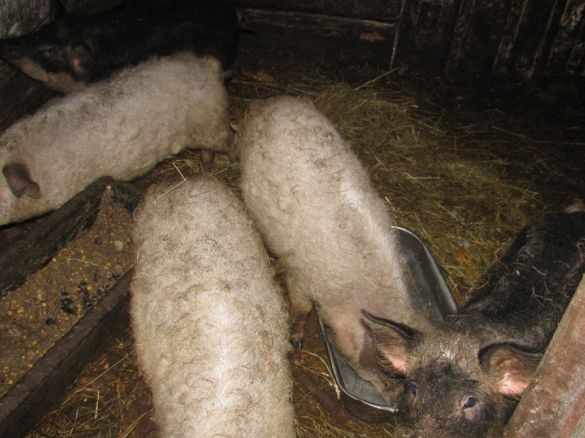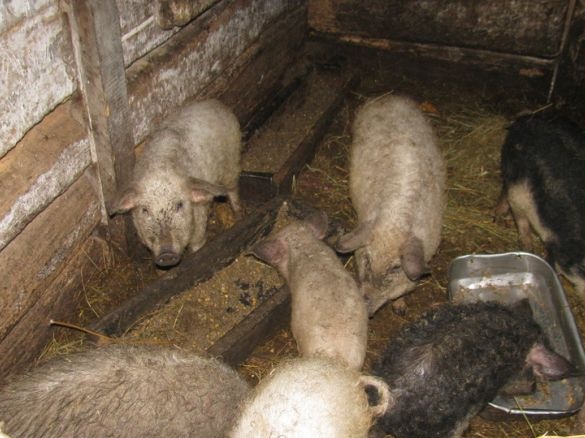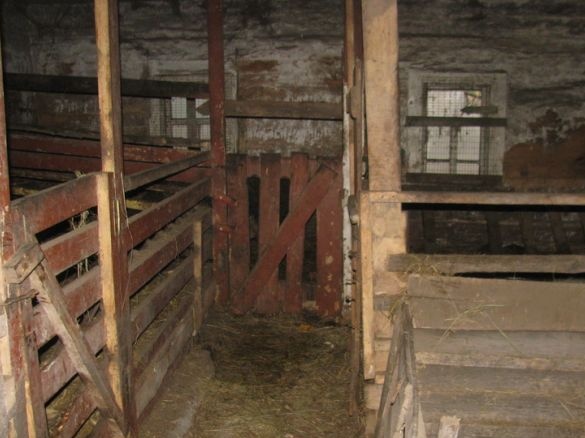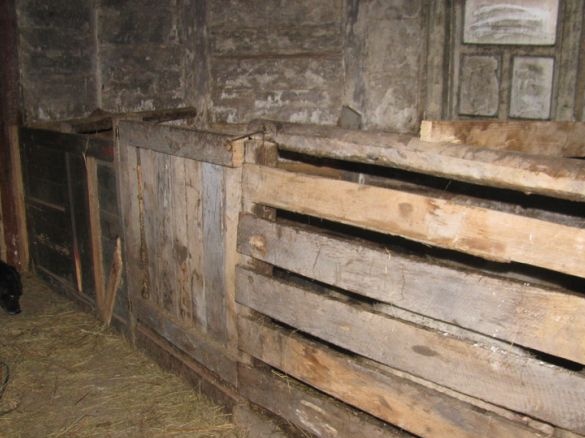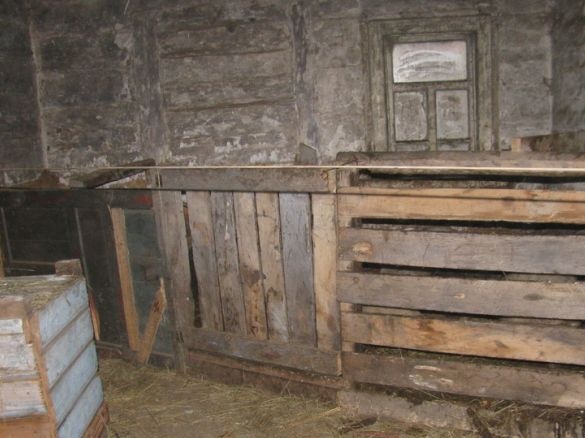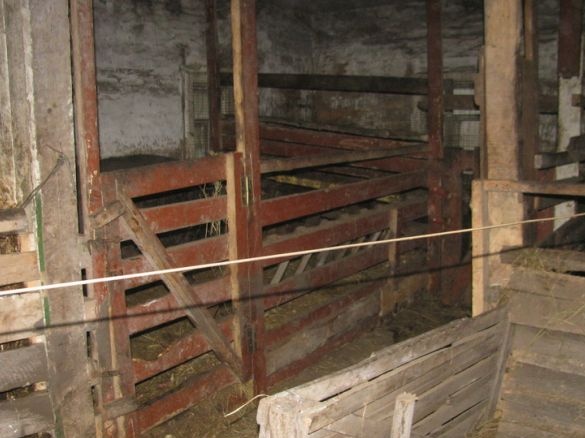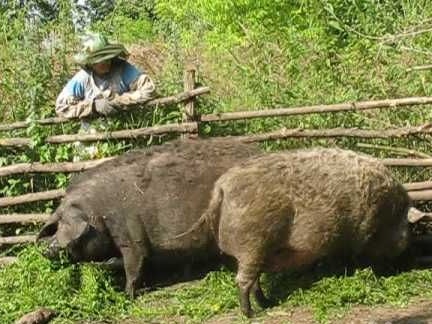
The economy is slowly growing, and the beast requires more and more space for living. This time I will tell you about pigs. Piglets stayed with us, by themselves they continue to grow and already show the first sexual characteristics. In this regard, there was an urgent need to divide them by gender.
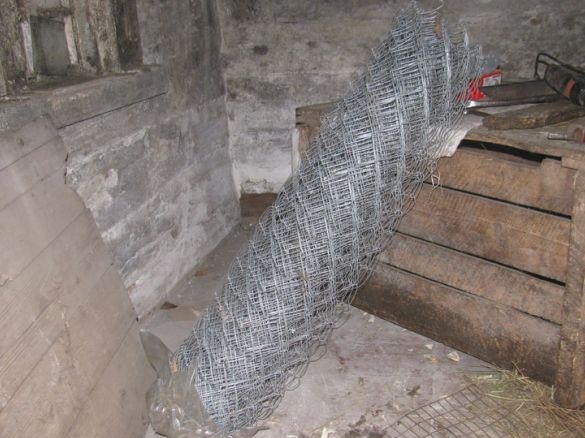
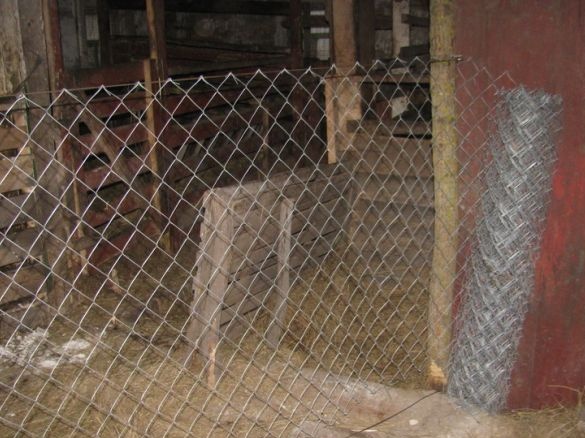
There were no materials for the manufacture of a full-fledged aviary, and to build a hedge from crooked sticks was long and deplorable, and time was short. We found a roll of mesh netting, it was decided to try to build from it a temporary enclosure for piglets. Previously, we already made a similar fence in the barn for goats, and she completely coped with this task.
Our pigs live in an old house, separate fences are built in it from old boards, boards and so on. Whether this design can withstand the impulses of piglets when they grow up is not yet known. Of course, no one is going to keep adult pigs weighing 200 kg.
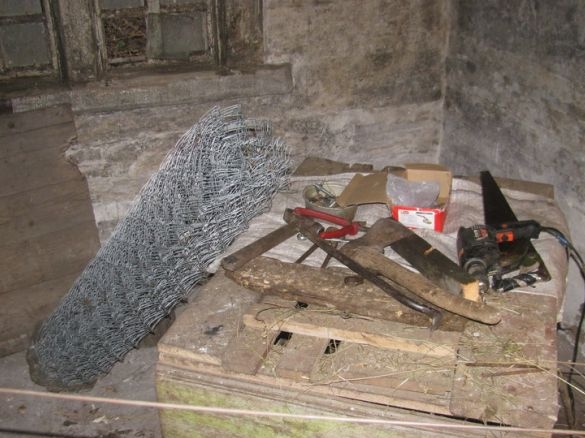
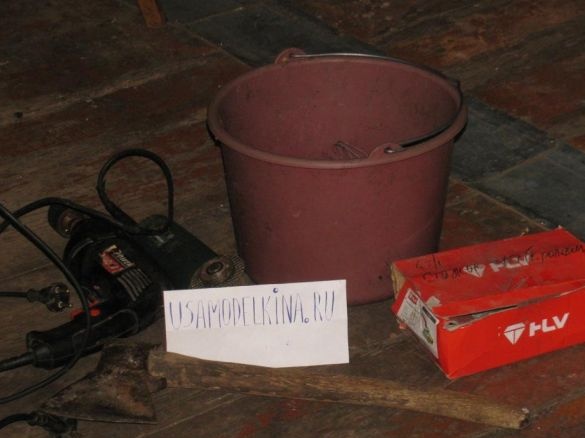
Materials and tools that we needed:
Material List:
- maple was used as columns (by the way, despite the fact that on January 3rd, maple juice flows quite strongly);
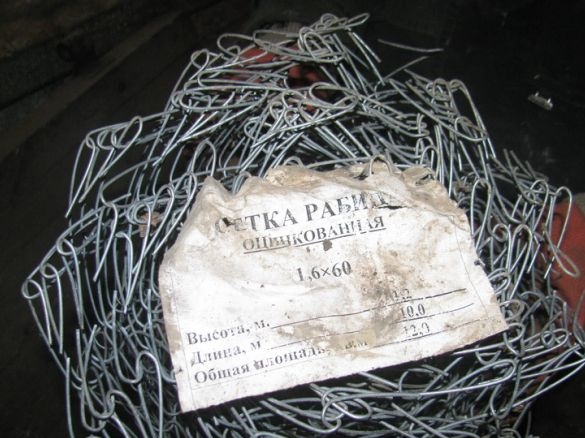
- mesh netting 1.2 meters high;
- nails (100, 70, 50);
- door hinges;
- old doors (preferably);
- strong steel wire (was removed from the old radio line);
- a bolt, two nuts, a door hinge (for manufacturing a tensioner);
- hooks or large screws for wood (large nails are also suitable).
Tool List:
- ;
- ;
- ;
- hammer;
- screwdriver, pliers, etc .;
- ax;
- chainsaw.
The process of manufacturing an aviary:
Step one. Installation of columns
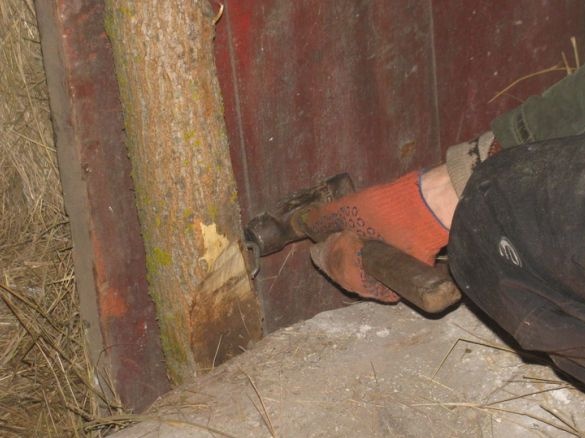
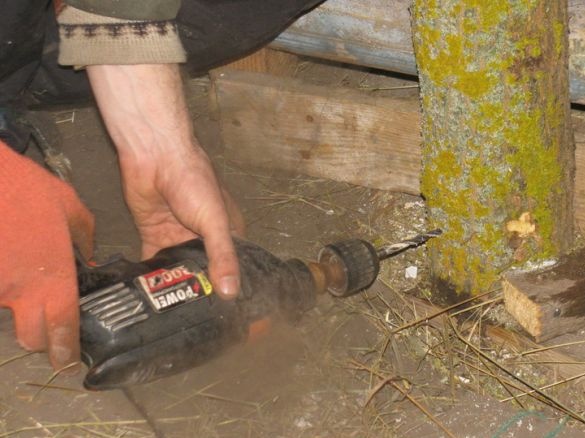
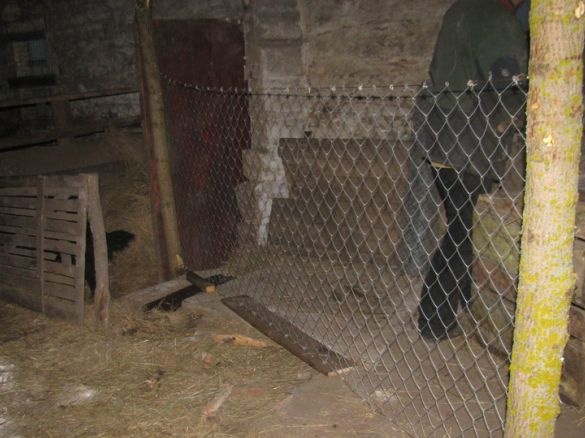
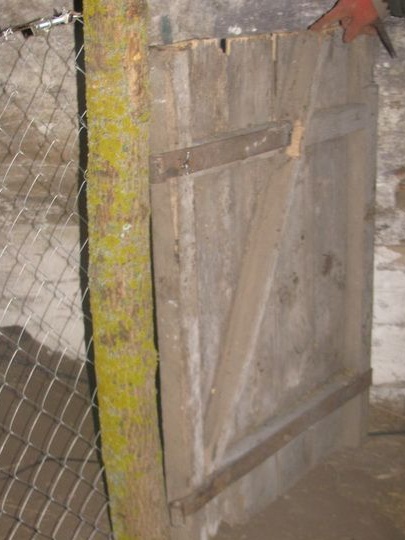
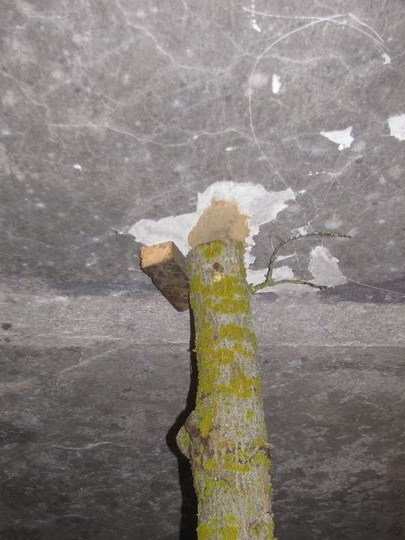
First, we installed two columns, one is needed for the gate, and the second was used to expand the area of the enclosure. The columns used maple, which is here in bulk. I drilled three holes at the top and bottom of the poles and nailed it well to the floor and ceiling with nails (weaving). For one column, he nailed more supports from the bars and through these stops also hammered nails into the columns for reliability. Always drill a maple when driving in large nails, otherwise it immediately splits.
Step Two Hooks, wire and tensioners
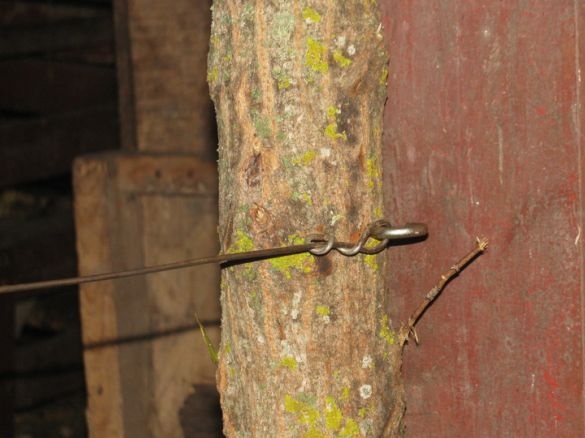
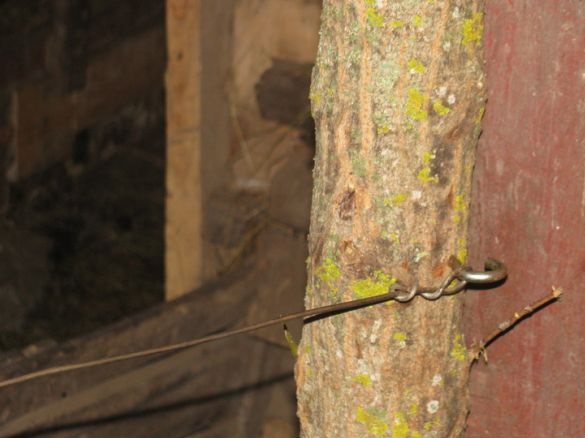
For reliable fastening of the chain-link, two pieces of wire were needed, it was stretched below and above. You can pull three or more, then the design will not be killed at all. There were three hooks for attaching the wire, I drilled holes for them and then screwed them into posts. But one more hook was needed, it was replaced by the usual large screw.
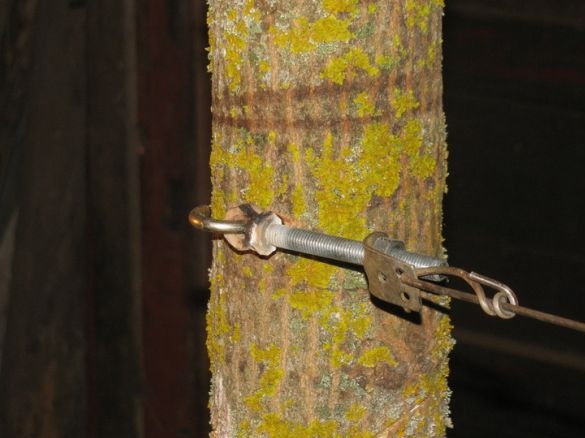
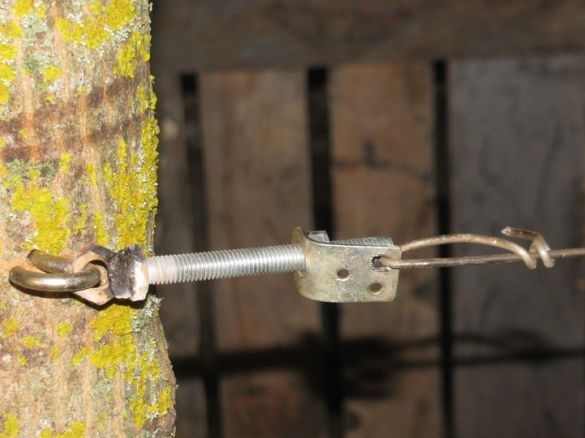
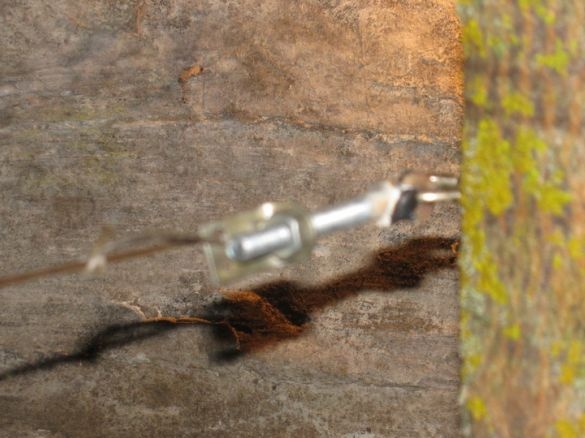
Next, it was necessary to make a tensioner for the wire, since it would not be possible to properly tension it with your hands, in addition, the wire would sag when you install the chain link. The tensioner was made of a bolt, welded a nut to its head, with this loop the bolt is put on a hook. I put a loop on the bolt (on which the locks are hung) and drilled a hole along the diameter of the wire. Tighten the nut and the wire is pulled like a string.
As for the wire, it was stibrillated from the old radio line. The diameter of the wire is 3 millimeters, but rather soft, it bends perfectly. I made loops on the wire, set the tensioner and pulled the top one with the key to “17”. The lower wire was pulled by hand, then it was nailed to the floor with nails, so special tension was not needed here.
Step Three We fasten the chain-link
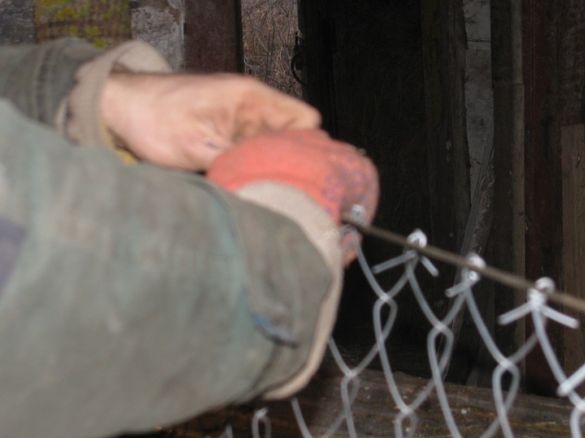
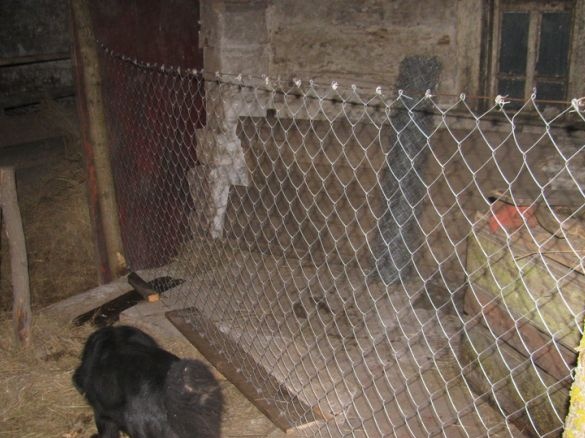
We carefully unwind the chain-link, we always have to tinker with it, since it is confused. We stretch it between the columns, fix it with nails. The net must be under tension. Next, we take an aluminum wire and through one cell we wind it to the lower and upper wire. You can fix each cell, but after one more than enough.
Next, take nails (70 or 50) and nail the mesh to the floor through one cell. Just these should be those places where the mesh is not screwed. At the end, we tighten the upper wire and have a securely fixed mesh.
Step Four Doors
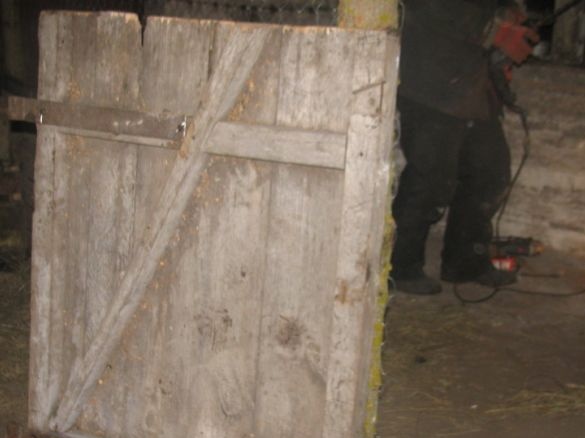
We simply hammered one part of the wall with the old door, it is simple, reliable and practical.
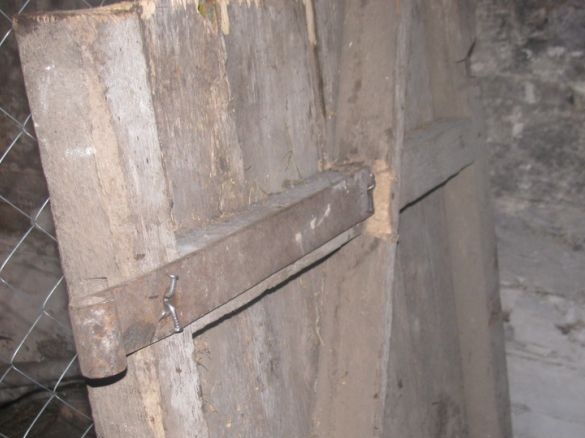
As for the front door, it was made of an ordinary old door, I just cut off excess from it. As a result, one canopy remained in its place, and the second had to be reinstalled. It was too lazy to look for bolts, drill holes and so on, in the end I just nailed a canopy of two nails one hole.
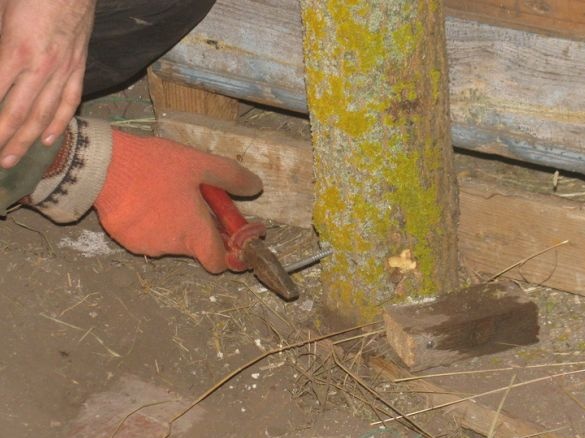
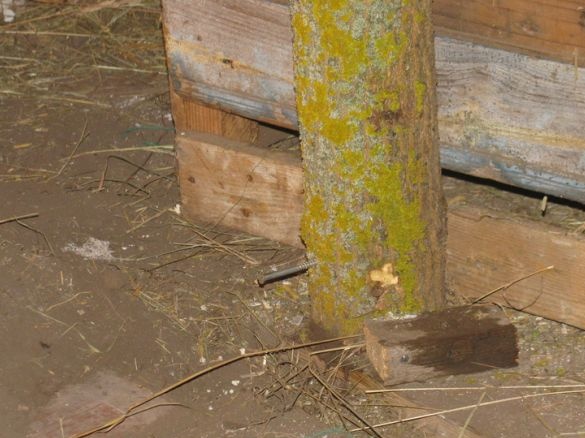
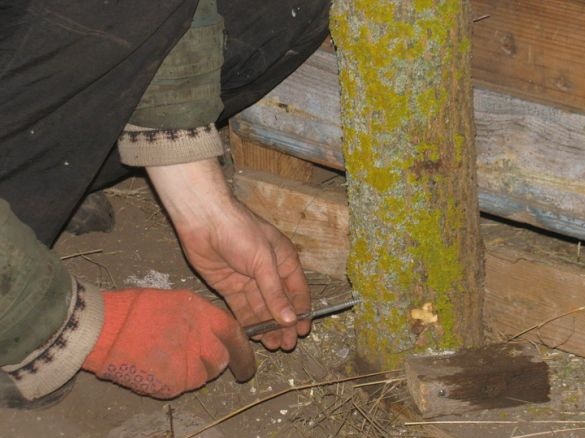
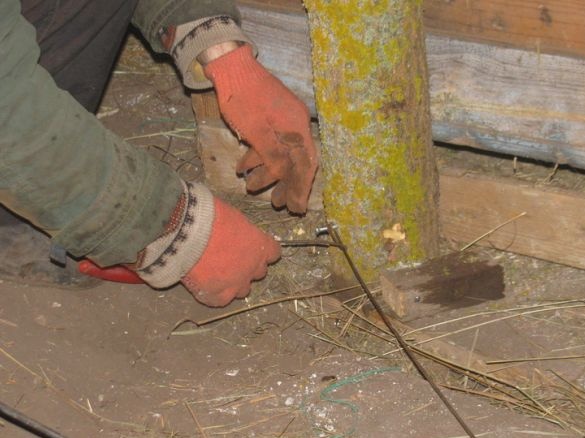
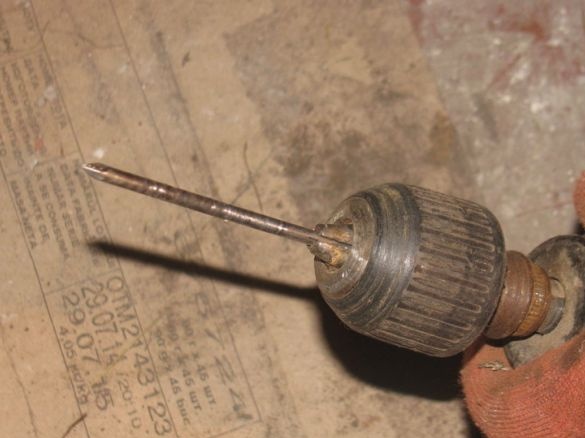
They had to drive nails into oak, and without drilling it was almost impossible to do. There was no drill for small diameter nails, I decided to try to drill with a nail!)) And I didn’t miss it, though the nail does not drill, but burns wood, and the holes are made no more slowly than with a drill. True, a lot of smoke is formed. As a result, we get the perfect hole for the nail. Until the end I did not drill them, a little more than half the length of the nail that I hammered. Drilled weaving.
He also drilled large holes in the maple, scored the “hooks” on which to hold the awnings and installed the door. In the end, it remains to install the hook to close the door. We also nailed the threshold so that the litter did not spill out from the corral, and installed basins for feeding. Piglets have not yet been launched, we will soon find out if they like the idea.


