

A vacuum bag is an indispensable thing for storing food. Firstly, when pumping air from a bag of food, its volume becomes much less and it takes less weight. Secondly, if there is little air in the bag, the food is stored for much longer, because there are a lot of bacteria in the air and so on.
In this manual, we will look at how to make a simple vacuum bag for storing a small amount of food, for example, a sandwich or something like that. In principle, you can take a package and more, just as a pump pumping air, we have a syringe. So it takes a long time to pump out air from a large package. But no one bothers you to upgrade the design.
Materials and tools that the author needed:
Material List:
- a large volume syringe (the author has 50 “cubes”);
- air ducts;
- tee;
- good adhesive tape, packing tape (or other);
- two air valves;
- vacuum seal bags.
Tubules, valves and other little things can be found in stores specializing in equipment for aquariums.
Tool List:
- scissors;
- a toothpick or other sharp object.
Vacuum bag manufacturing process:
Step one. Cut the tubes
First of all, you need to cut off three pieces of the air duct. Such tubes are usually used when supplying air to aquariums. Two valves are connected to these three tubes, as well as a syringe. We use scissors.

Step Two We put the tubes on the tee
Now pick up the air tee and put on its ends the three ducts cut off earlier. They must be tensioned with some effort so that everything is tight.
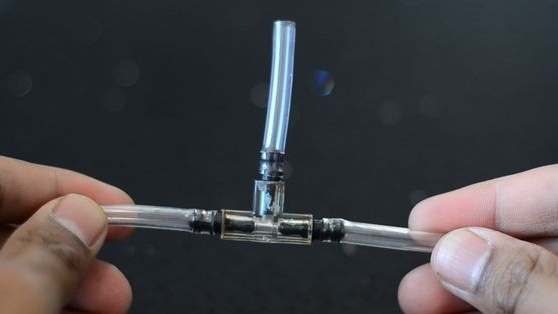
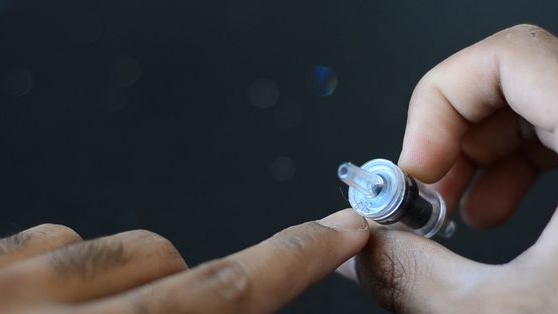
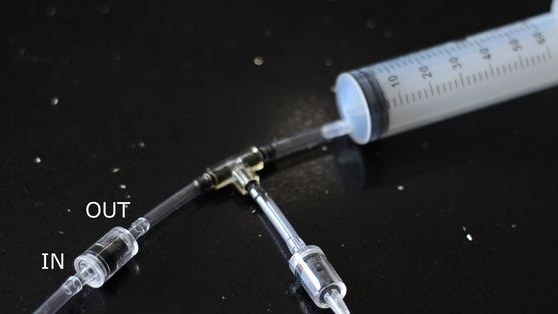
Step Three Valve installation
In order for the pump to function properly, two valves are provided in the system. One works to release air, it works when the piston of the syringe moves to the beginning, that is, it displaces the air. The second valve opens when you pull on the plunger of the syringe, thereby pumping air out of the bag with food. On valves, as a rule, there are designations IN and OUT, that is, input and output.If you can’t navigate, try blowing through the valve with your mouth.
Well, then you just have to put the valve on the tubes installed on the tee.
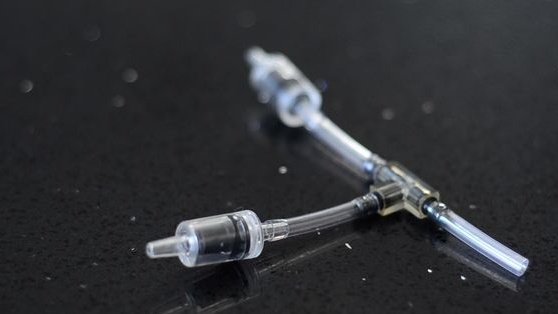
What should eventually turn out, look at the photo.
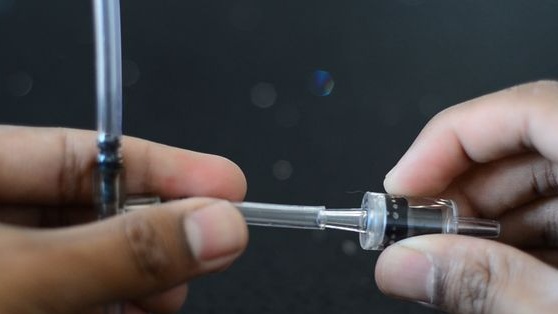
Step Four Assemble the pump
Now the pump can be fully assembled. There was one short, unused tube on the tee. We connect a syringe to it. Take the syringe as large as possible, so you will have to pump less. Choose syringes with rubber pistons, they last longer and work easier. To make the piston glide easier, it can be lubricated with vegetable oil, for example, olive or sunflower.
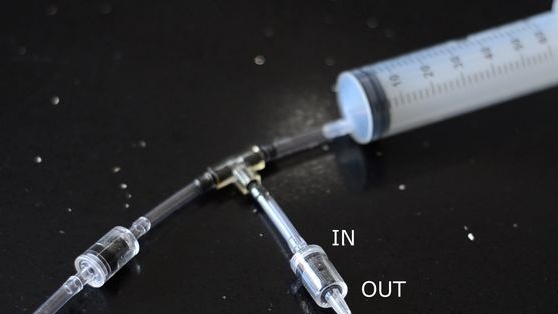
Next, you need a piece of a long tube, we will insert this tube into the package. You need to connect the tube to the valve that works for air intake. The author of this valve is located directly relative to the exit of the syringe, and the "exhaling" valve is located on the side.
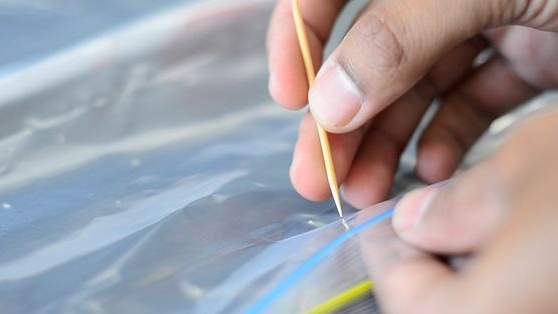
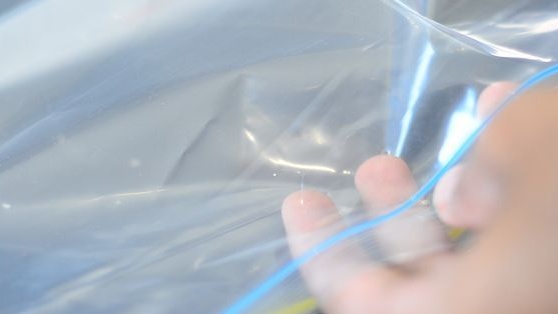
Step Five Duct hole
In the vacuum bag, make a small hole for the tube. It can be made with a toothpick or other similar item. The hole should be smaller than the diameter of the tube, it will increase by itself when you insert the tube.
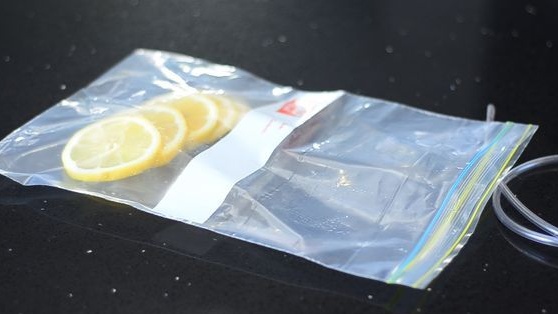
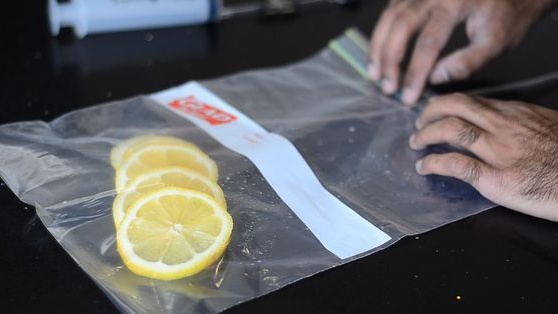
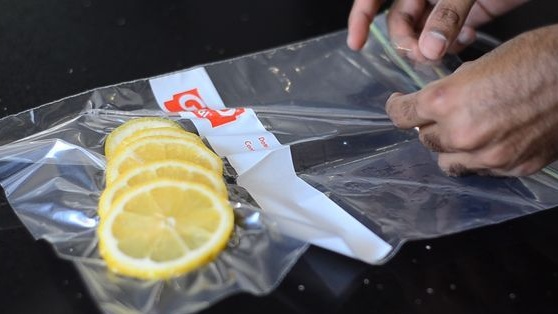
Step Six Food
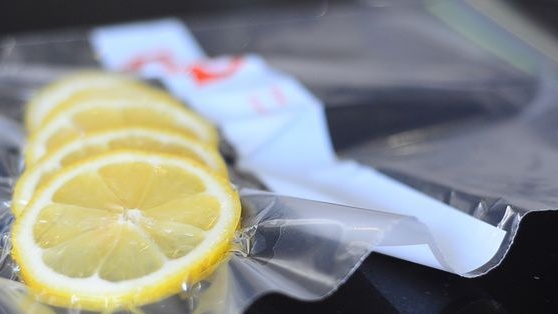
Put food or other items in the bag. The author decided to use lemon wedges as an experiment. Keep in mind that after aspirating the air outside, the bag will be exposed to atmospheric pressure and will squeeze the contents.
Seventh step. Cooking a straw
The tube must be sharp so that it is convenient to insert into the bag. To do this, the author cuts it at an angle with scissors. As a design improvement, you can use a large steel dropper needle. This will save you from having to punch the bag with a toothpick every time. Just insert the needle and pump out the air.

Step Eight. Pump out the air
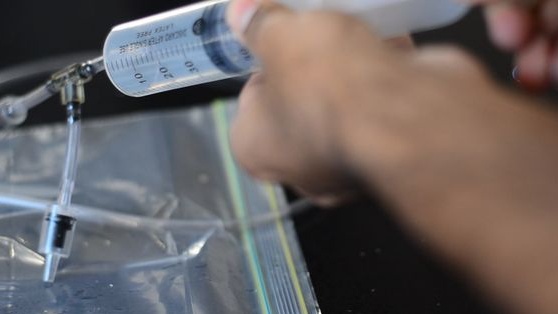
Now insert the tube into the opening of the bag and close the bag securely. After that, you can work with a syringe to pump out air. The larger the syringe, the faster the air is pumped out. Use your fingers to hold the tube entry into the bag just in case.
Step Nine. Close the package
As soon as you pump out all the air and the bag shrinks, carefully pull out the tube, holding the hole with your finger. Finally, seal the hole with a good tape or something similar. That's all, now your product is reliably insulated in a "vacuum".