
A kitchen knife is the main tool of a professional chef. It must be strong, sharp and trouble-free. There are real, branded knives for cooks, quite expensive, their cost can start from $ 200 to $ 3,000 or more. We will try to make a high-quality knife by investing only $ 10, and common hand tools will be used for work.
Making each such knife requires a lot of effort, so you need a lot of patience. The author, working with hand tools, spends about 20 hours on each knife.
Of course, no one forbids the use of power tools, so the process of work will be faster and easier.
Materials and tools used by the author:
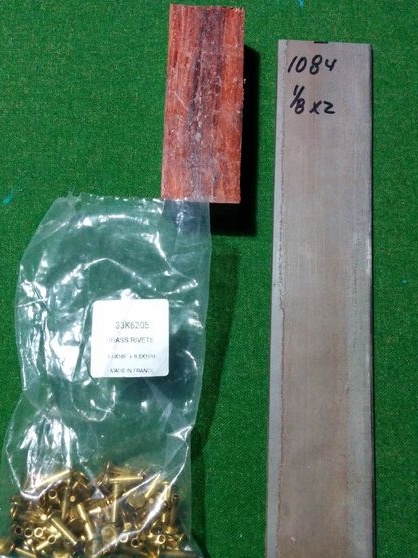
Material List:
- billet of high carbon steel (such steel can be hardened);
- wooden block or dostochki (for the manufacture of pens);
- brass rods (or ordinary nails for the manufacture of pins).
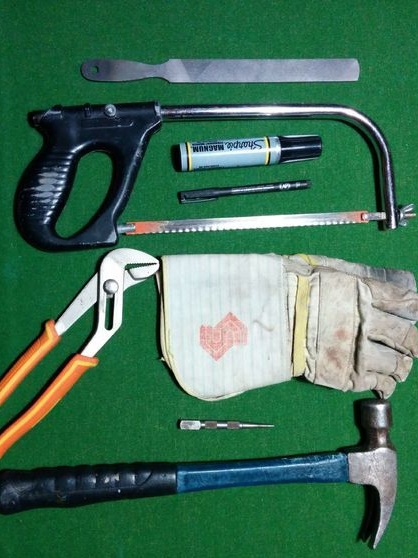
Tool List:
- hammer;
- a hacksaw for metal;
- files for wood and metal;
- marker, paper;
- epoxy adhesive;
- pliers;
- gloves;
- sandpaper;
- oil for wood impregnation.
The process of making a knife:
Step one. We select the right steel
Only one thing affects the quality of the knife - the steel used. So that the blade does not stupid for a long time, and the blade is as thin as possible and cut everything like a blade, steel should have a high carbon content. The more it will be, the stronger the steel will become. Due to the large amount of carbon, steel can be hardened, it is carbon that gives rigidity to the metal during hardening.
Such steel is usually used in tools, such as files, wrenches and more. Also, such steel is usually used in springs, for example, you can use an old car spring. The author used steel 01, as well as 1084 for such purposes. Steel 1095 also gained quite wide popularity. In principle, you can always buy a finished workpiece from the right steel.
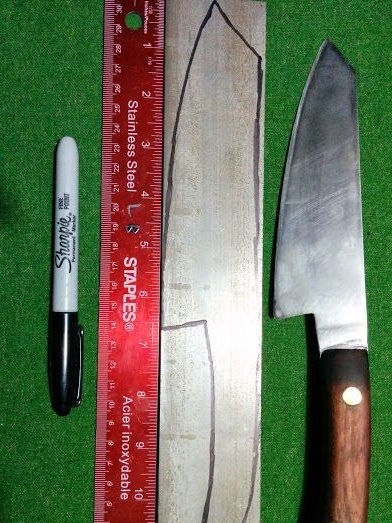
Step Two Cut a rough profile
First of all, decide on the shape of the knife. You can take the finished profile from already made knives. You can change the existing profile to your taste. We draw it on the workpiece, and then cut it with a hacksaw for metal, clamped in a vice. If there is a grinder, excellent, you can cut a profile using it.
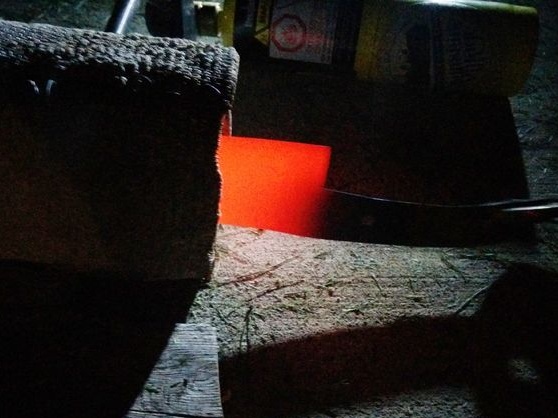
There is one more nuance, if your workpiece is hardened, then you won’t be able to cut it with a hacksaw.To work with hand tools, you need to release the metal. Reduce it to red, for example, in good coals, and then let cool in the open air. After that, the metal should become soft. If this did not happen, then the steel was poorly heated.
In order not to damage the workpiece with the steel lips of a vise, grip it between two pieces or blocks.
Step Three We form bevels
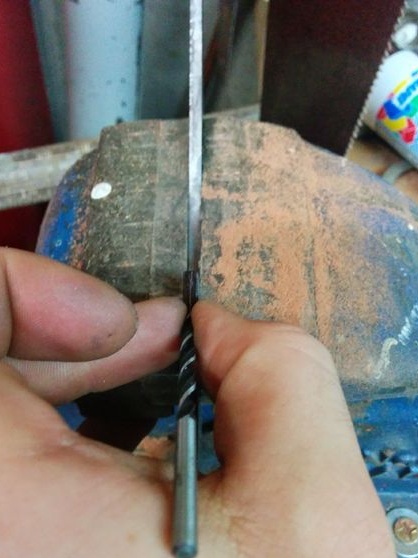
Bevels are the angle of sharpening, the wider the bevel, the smoother and thinner the blade will be, as a result, the knife will cut better. First, mark the lines of the bevels on the blade on both sides, and then draw the center line along the blade, as the author did. To draw the center line, you will need a drill of the same diameter as the thickness of the blade.
Now we take a file and evenly remove the metal. This is not done quickly with a file, but you have practically no chance to spoil the workpiece when compared with a grinder. Sew first one edge, and then the second. After the coarse file, take a shallow one to remove deep scratches by the end of the work.
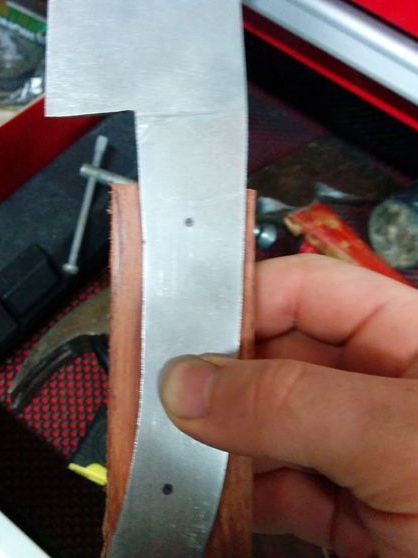
Step Four Grinding the surface of the blade
Now you can start grinding the workpiece. The task will be to make the surface absolutely smooth and even, to remove various defects after rough processing. First we use coarse sandpaper, and then everything is smaller and smaller. At the end, the paper grain should be 1200 units. If you wish, after grinding you can polish the metal, but for now it is pointless to do this, since we are still waiting for hardening, after which the metal will again have to be grinded.
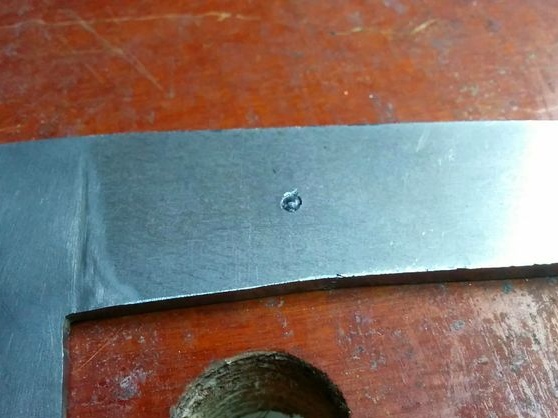
Step Five Drill holes
The handle is attached with two pins, as the author uses rivets, they are large and look spectacular. We drill holes of the desired diameter for the selected pins. At a minimum, you will need to make two holes, the rest as desired. Drill carefully, for accuracy hold the workpiece in a vice. Steel is quite thick, so you can easily break the drill.
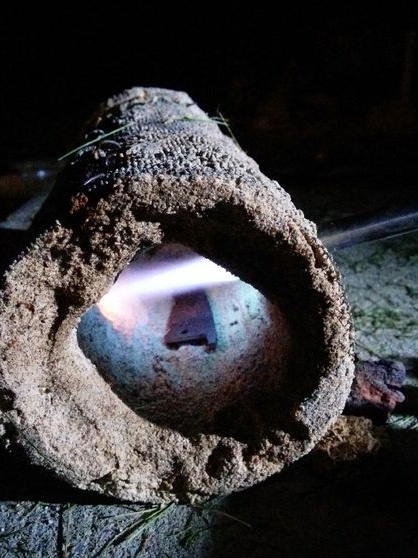
Step Six Quenching and vacation
Steel needs to be hardened, so it will become hard, and the knife will remain sharp for a long time. For these purposes, you can assemble a simple furnace that runs on a gas burner. In the simplest case, we take the coals, inflate with a household hairdryer or other source of air supply. Steel needs to be heated to a bright red color, however, for each type of steel there is a color indication. Find the permanent magnet to check the desired temperature. If the steel is warmed up properly, the permanent magnet will not be attracted to it. The workpiece must be uniformly heated over its entire length.
Next, cool the metal in oil, preferably vegetable. Motorized is also suitable, but mining is not recommended, since there are a lot of contaminants in it, which can lead to damage to the upper metal layer.
When the metal has completely cooled, treat it very carefully, since now the steel is very brittle. To make the knife resilient will allow the release of metal. Thanks to this procedure, we soften the steel a little, and it acquires spring properties. For this procedure, you will need a furnace, it is important for you to know the temperature, it should be in the range of 200-230aboutC. We put the billet in the oven for an hour and a half, and let it cool with the oven, do not open the door. Everything, after that you will receive a workpiece of excellent quality.
Seventh step. Sharpening and polishing
After hardening, the steel will have a lot of contaminants, such as scale, burnt oil and so on. This whole thing has to be cleaned up. We take small sandpaper, wet it in WD-40 or plain water and grind the surface. When you clean the metal, you can polish it. You can use GOI paste and other substances.
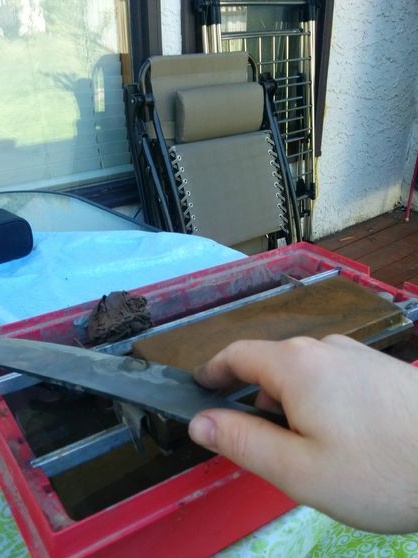
After polishing, sharpen the blade. This can be done with very fine sandpaper, grindstones can be used, and Japanese water stone is best suited, it can be of different grain sizes. Moisten the grinding stone with water, this allows it to self-clean and it sharpen metal well. A quality knife should easily cut paper.
Step Eight. A pen
Before decorating the handle with wood, cover the blade with masking tape, tape it with tape or secure it in another way so as not to cut yourself.The pads on the handle are made of wooden props or a bar that is sawn lengthwise into two halves. We cut the workpieces to the desired size, drill holes and then assemble them on pins. After making sure that everything is going correctly, glue the workpieces with epoxy glue and clamp the handle with a clamp until it dries completely.
When the glue dries, take a file on the tree and form a handle profile, this is not difficult. It is easier to carry out such work on a sharpener with coarse-grained stone. Well, then we take sandpaper and make the handle absolutely smooth. If you wish, you can polish it.
At the end, we use impregnation for the tree, otherwise it will instantly crack from water. Flaxseed oil will come to the rescue. Oil can be mixed with beeswax by heating them in a water bath. The resulting "ointment" is applied to the tree and allowed to soak. At the end we polish the surface.
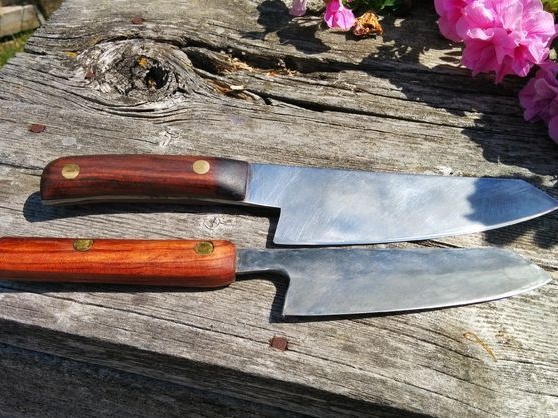
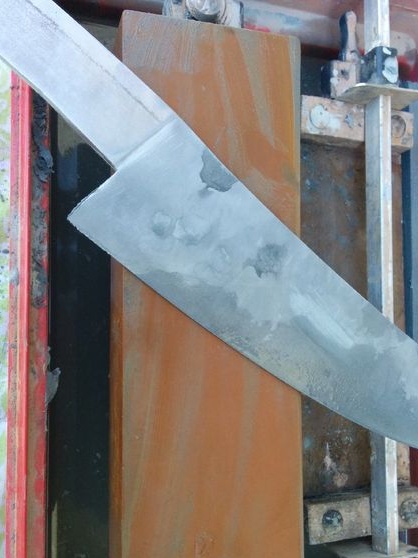
As a result, we have an excellent kitchen knife, which you can envy!