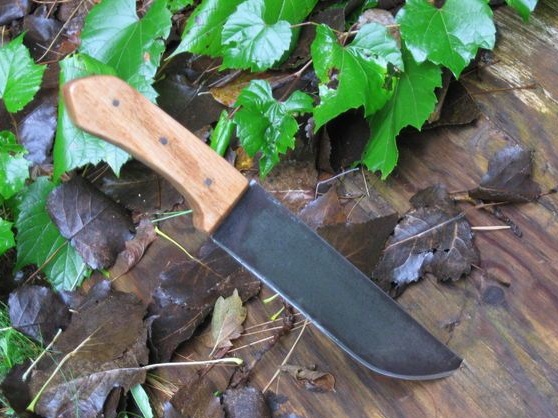
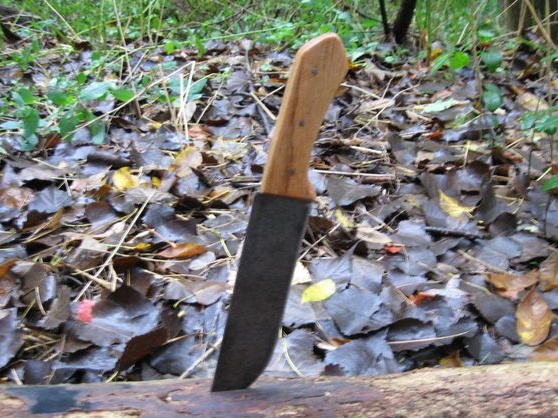
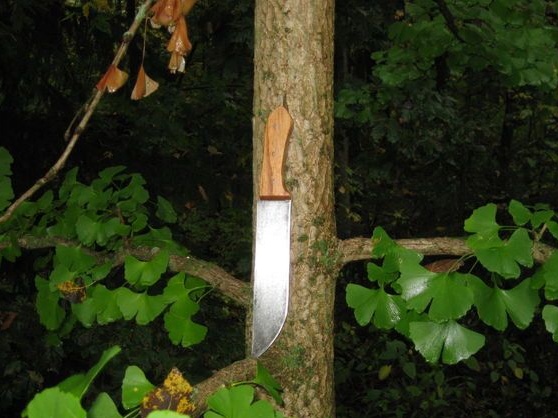
For many millennia, the knife has remained the best "friend" of man. With the help of him, he defended himself from enemies, obtained food, and also built shelters and various tools for himself. A man still uses knives to this day, it is especially important to have a good knife if you live outside the city.
In this manual, we will look at how to make a simple, reliable knife. They can be chopped, cut various hard objects, taken with them for fishing, hunting, and, if necessary, even be used as a survivalist knife.
Materials and tools used by the author:
Material List:
- a blank for the manufacture of a blade (choose steel with a high carbon content, it usually springy. Used in tools.);
- wood for the manufacture of pads on handles;
- brass rods for the manufacture of pins (ordinary nails are also suitable);
- epoxy adhesive;
- oil for wood impregnation.
Tool List:
- with cutting and grinding disks;
- vice, clamps;
- whetted;
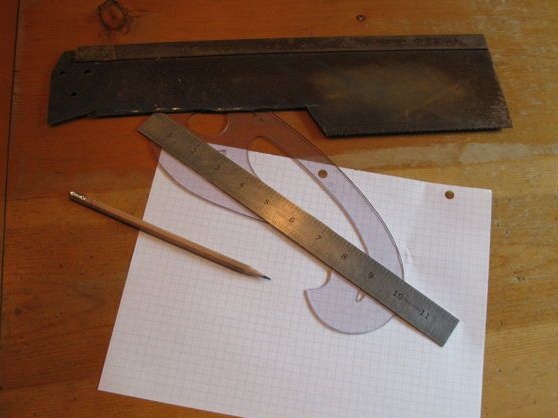
- ruler, pencil, piece of paper (for the manufacture of the template);
- masking tape or electrical tape;
- sandpaper;
- a furnace for hardening and oil (if you are tempering);
- (preferably);
- belt sander (optional);
- ;
- files;
- a hacksaw for metal.
The process of making a knife:
Step one. We make a template
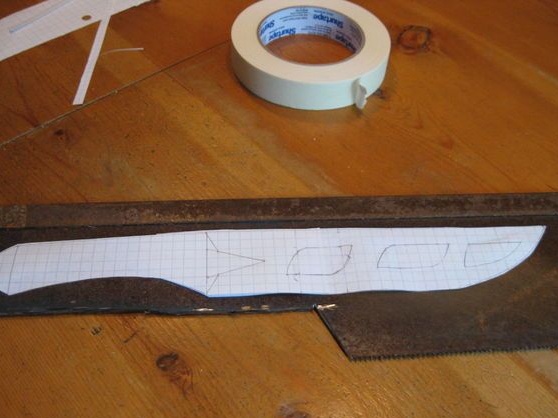
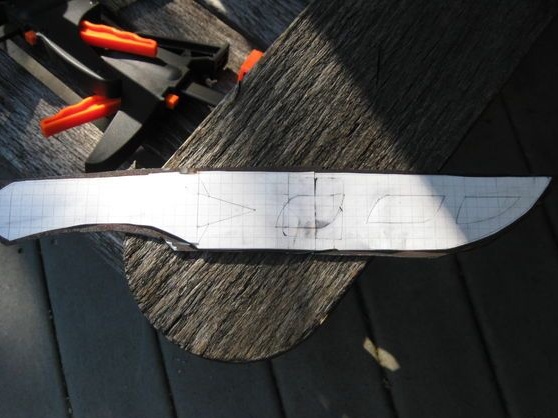
It all starts with intellectual work, namely, with the design of the knife. The author uses an ordinary piece of paper in a box, pencil and rulers to draw the desired profile. The peculiarity of this knife is that it has a wide blade, which makes the knife strong.
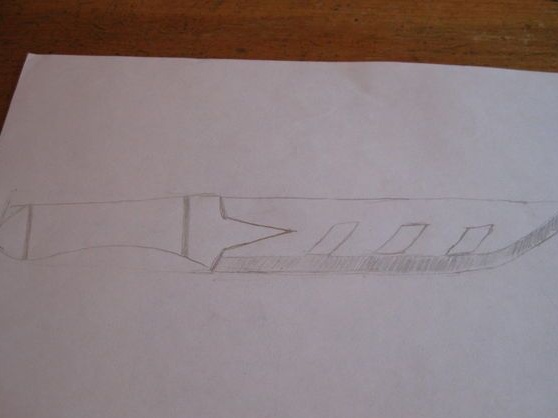
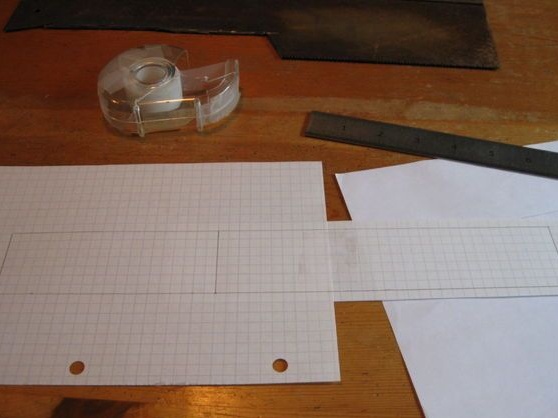
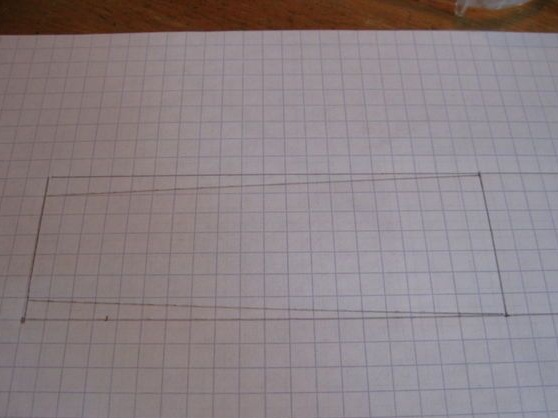
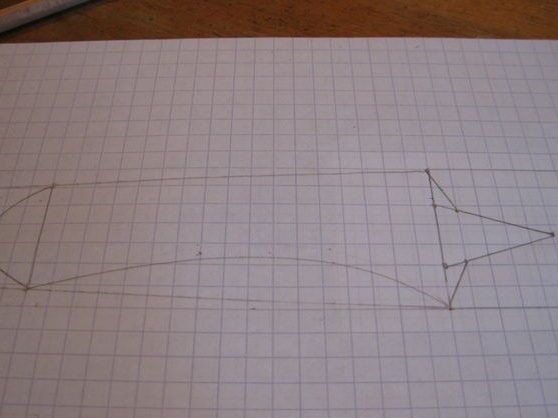
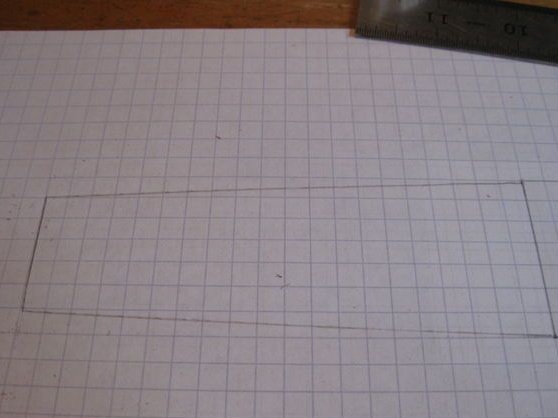
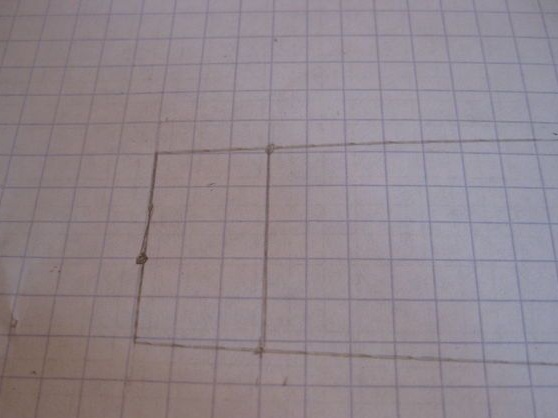
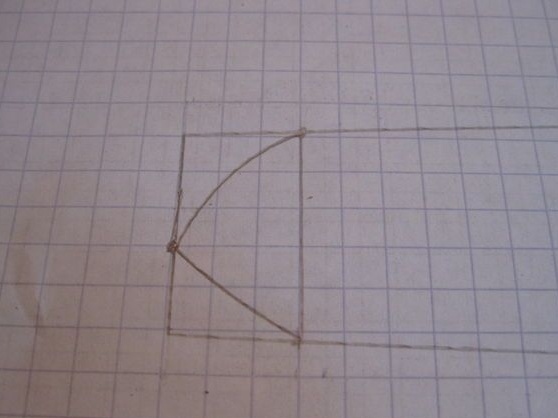
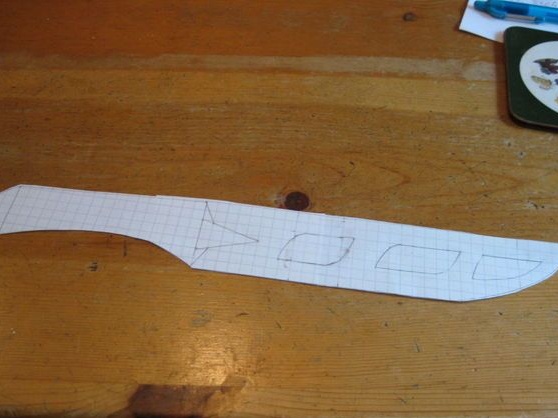
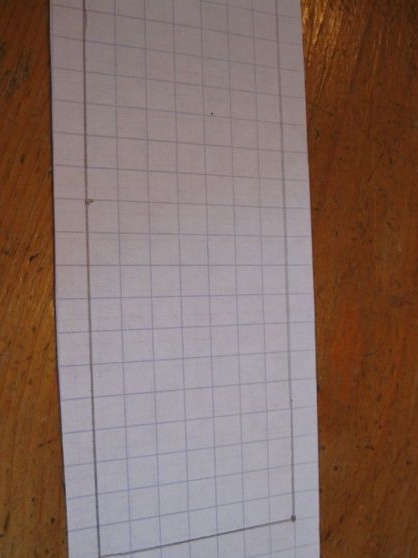
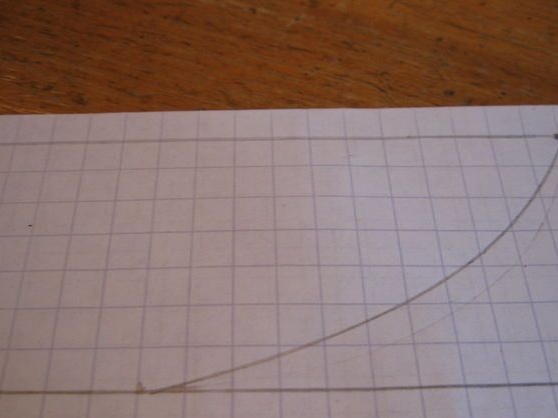
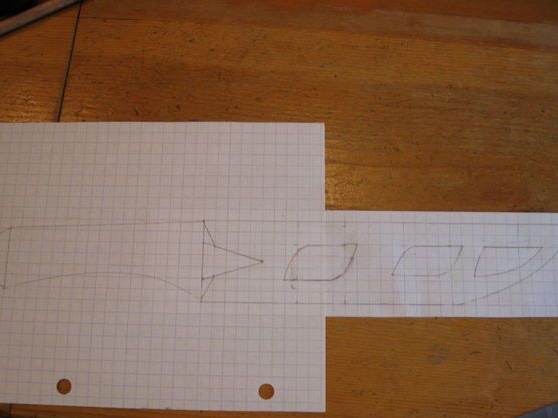

We mark everything on a piece, and then cut it out with scissors. If you wish, you can cut a template from thick cardboard, so the profile will serve for a long time with the further manufacture of knives. You can also hold the cardboard profile in your hands and make sure that the knife will be convenient.
Step Two Cut a rough profile
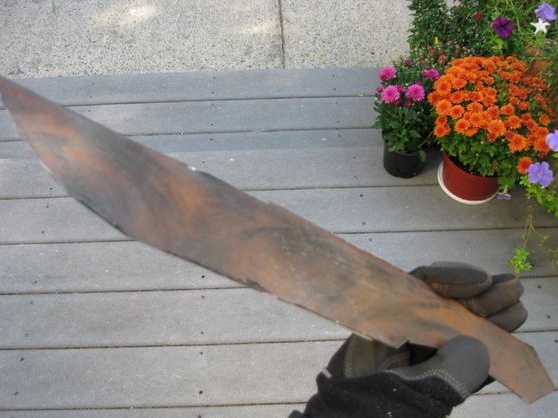
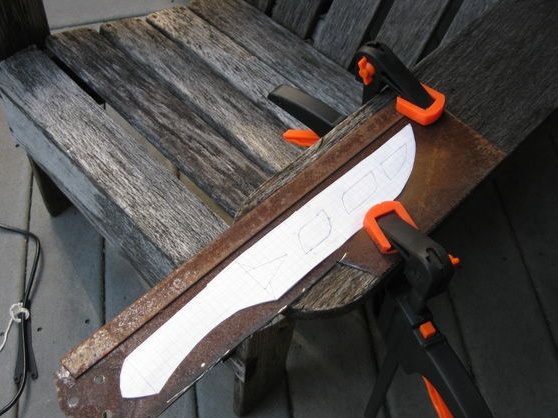
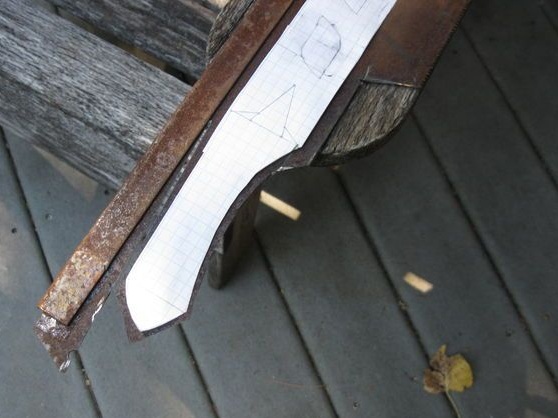
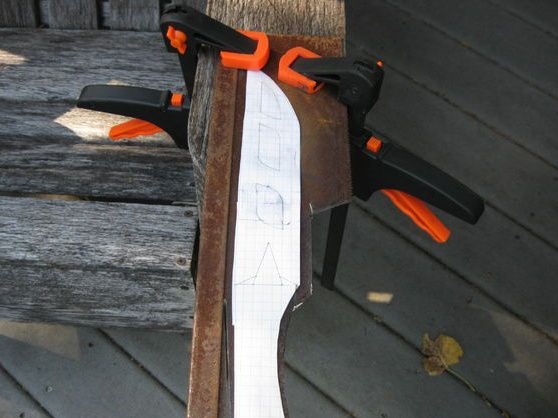
Now transfer the knife profile to the metal and cut. How to do this, there are many ways. You can simply stick your paper profile to the metal. And you can attach a profile to the metal and circle with a marker.
After that you can cut it out. The author works as a grinder, holding the blank with clamps, it is better to use a vise.
If you want to cut the workpiece by hand using a hacksaw, the metal will need to be let go. Heat it in an oven and let cool in the open air.
Step ThreeWe process a profile
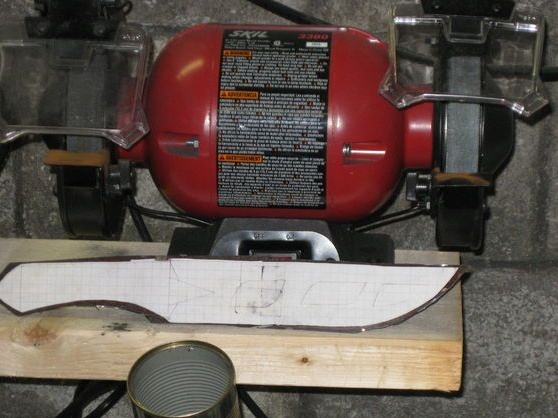
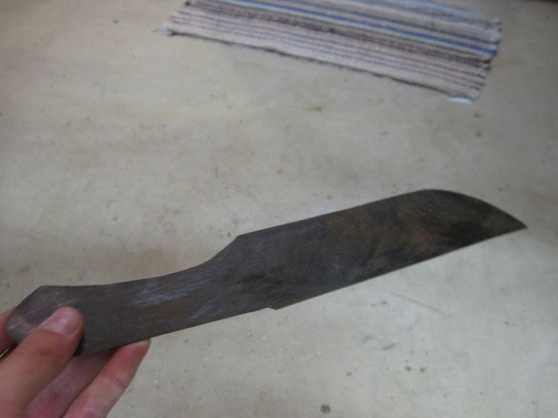
After working with a grinder, the knife profile will not be ideal, it needs to be finalized. We use a sharpener or a grinder with a grinding wheel for this. As for hand tools, files will do.
Step Four We form bevels
In the manufacture of bevels, the pros first mark everything. They draw a line of bevel width, and also draw a centering line along the blade to make the bevels at the same angle. However, if your knife will be used for domestic purposes, then you can make bevels by eye. Always remember that the wider the bevel, the thinner the blade, and the better the knife will cut. But a thin blade means that the metal will not withstand shock loads if you chop something.
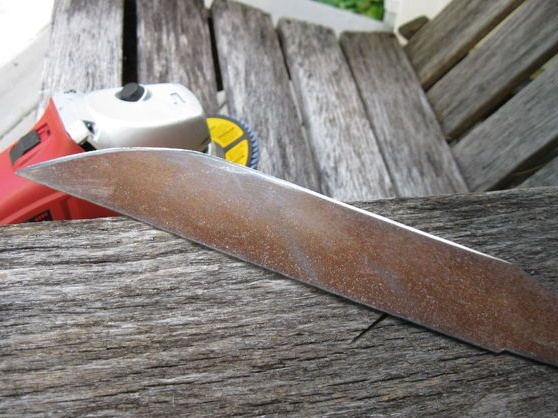
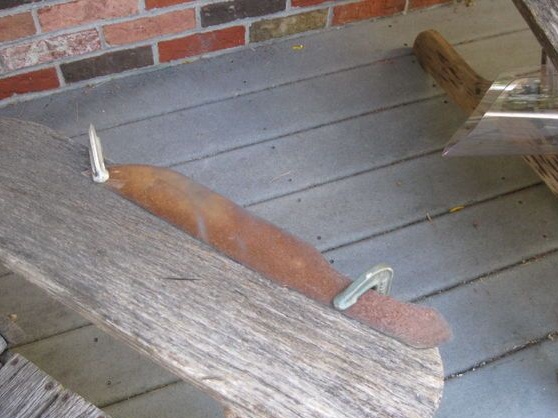
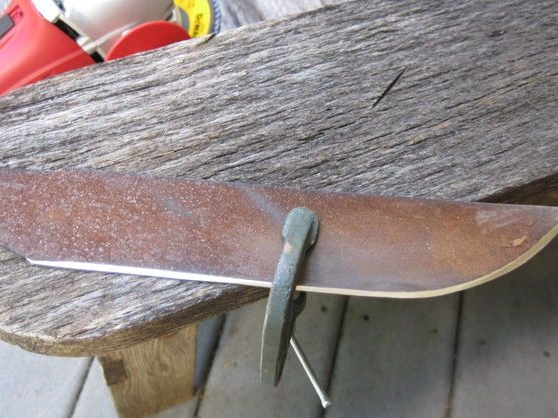
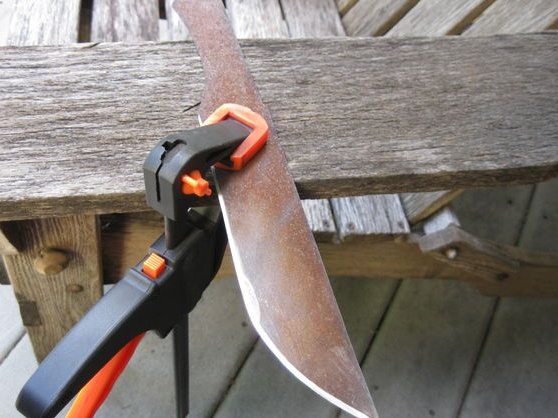
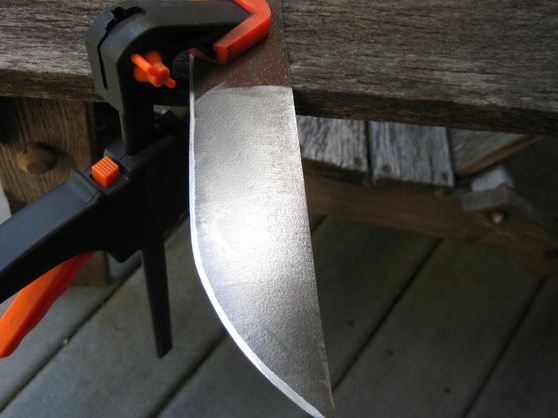
To create bevels, the author used a grinder with a 36 grit circle. The workpiece is clamped with a clamp, so, according to the author, it is more convenient to work. Do not overheat the metal when grinding, as it loses its strength. Bevels can also be formed with files.
Step Five Workpiece grinding
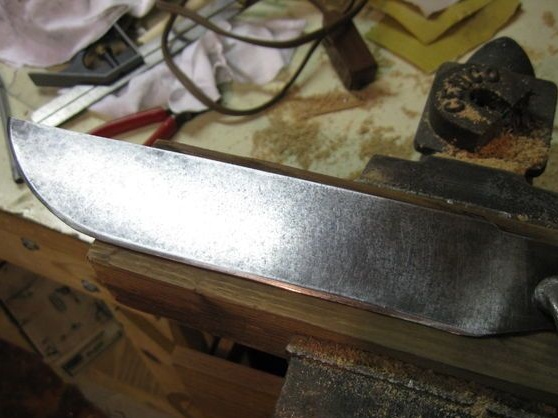
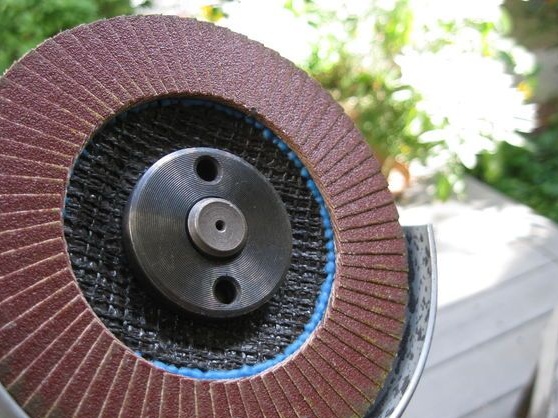
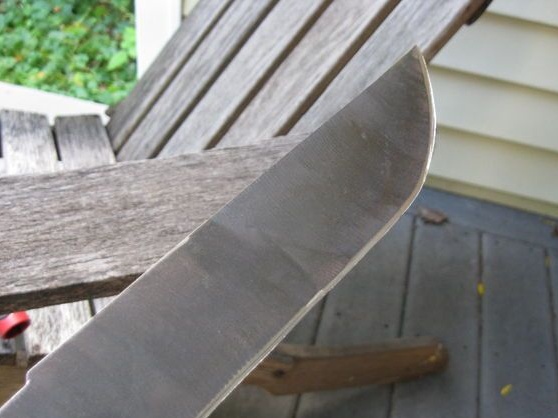
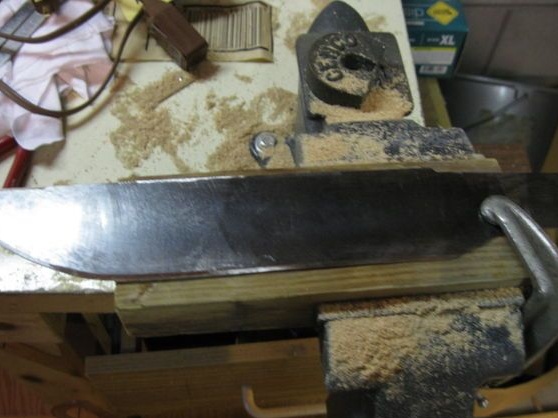
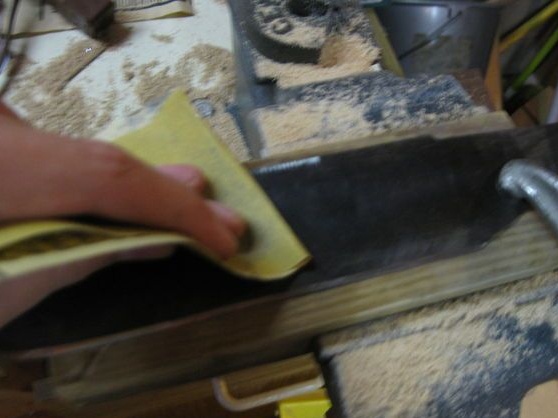
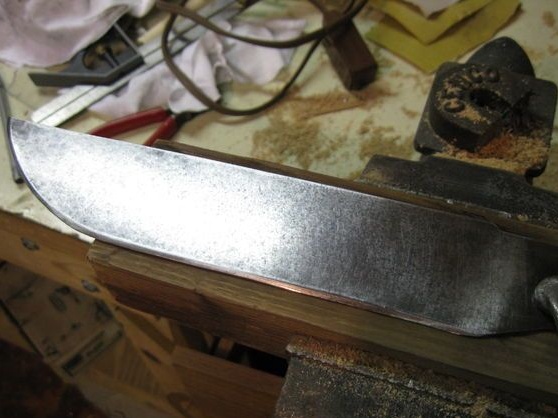
Next, you need to polish the blade on both sides to clean off rust and other defects. If desired, you can polish the steel to a mirror finish. Grind usually by hand, using sandpaper from large to small.
Step Six Handle blanks
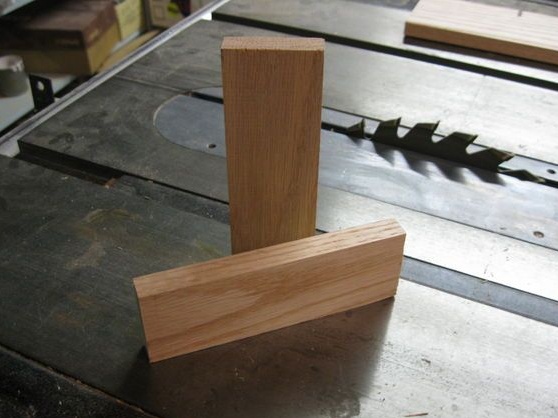
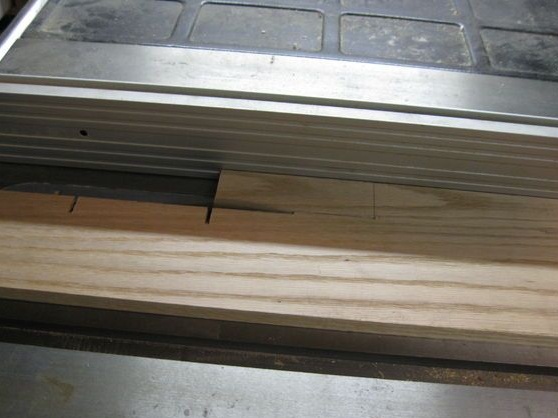
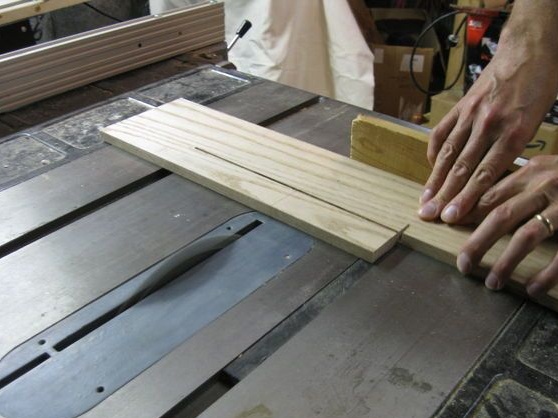
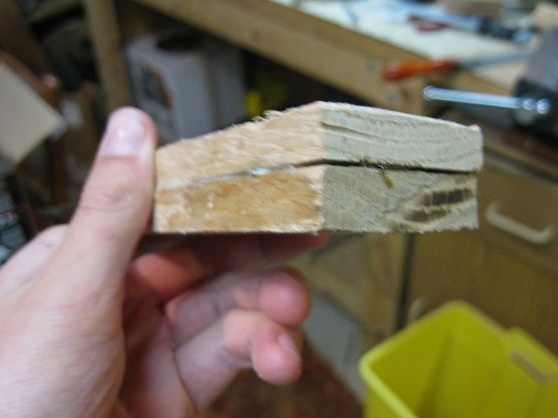
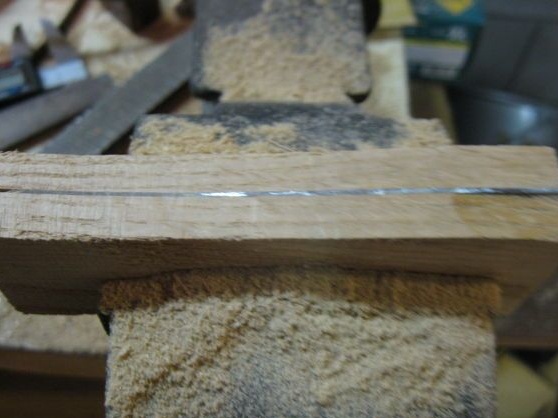
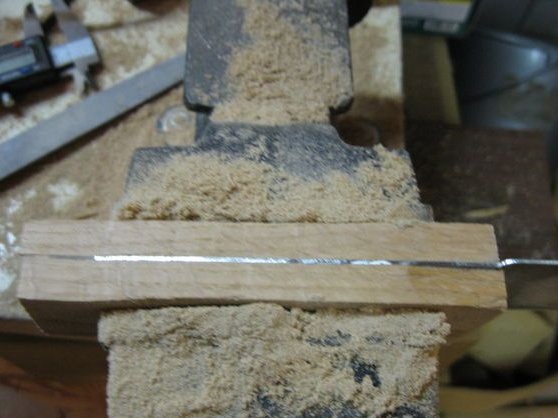
You need to make overlays on the knife handle, for this you will need two thin pieces or a bar. If a bar is to be used, it must be cut lengthwise into two parts. The author uses such a serious unit as a circular saw for cutting, but everything can be done without a lot of effort with a hacksaw.
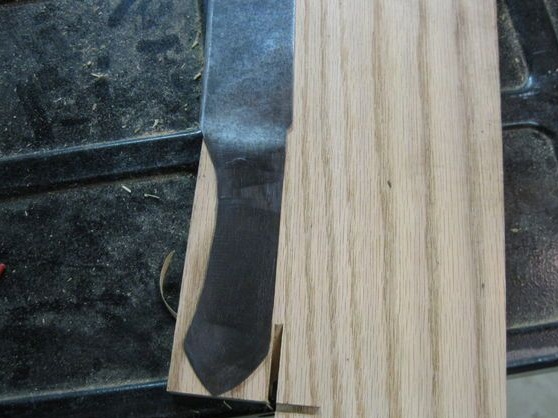
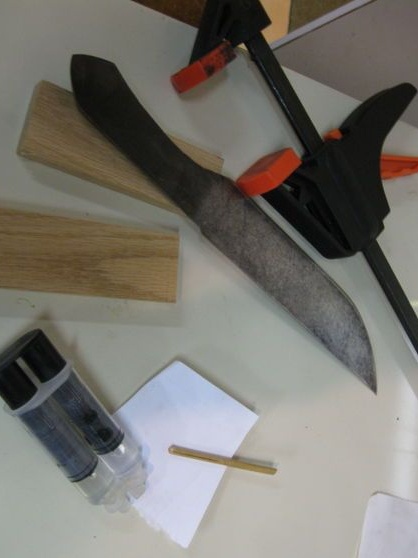
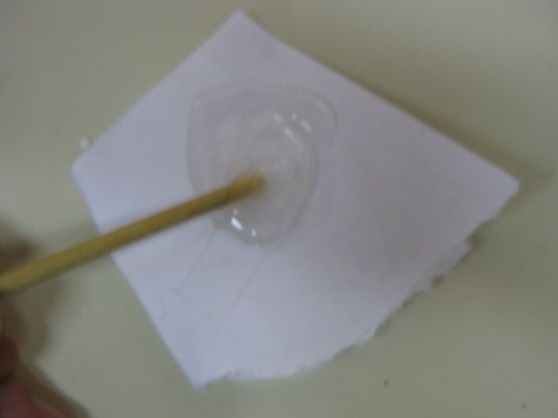
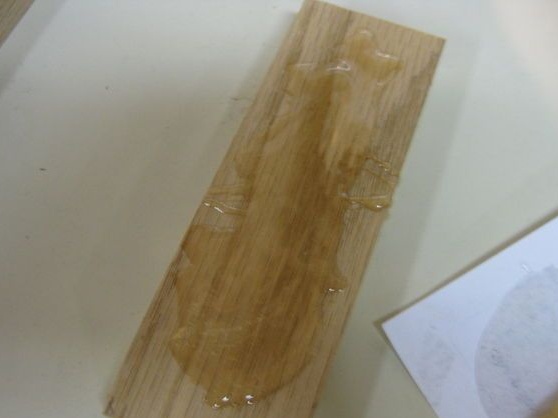
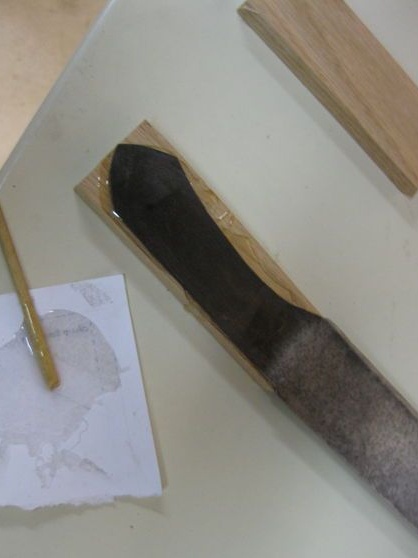
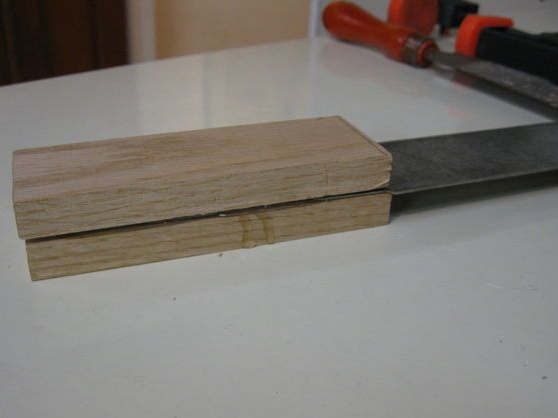
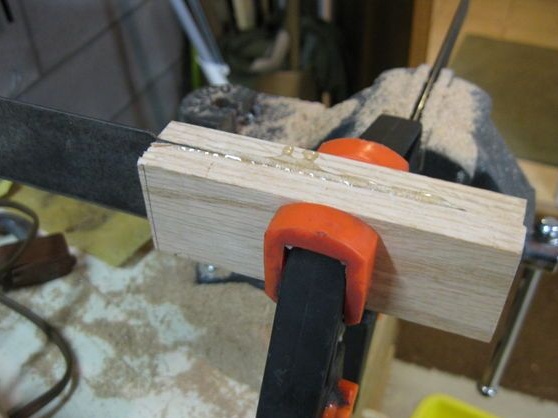
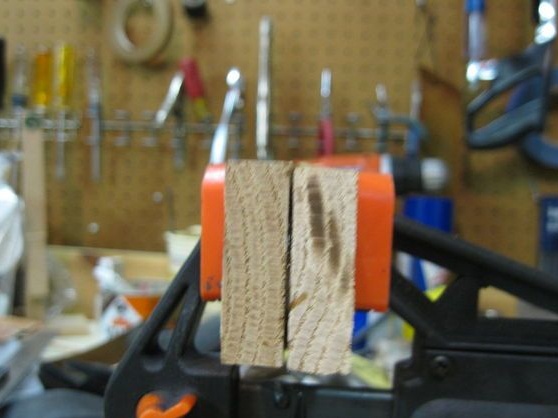
Now glue the pads to the knife. We use epoxy glue. For reliable bonding, grind the metal with a large emery cloth and wipe with acetone.
Seventh step. We form the handle
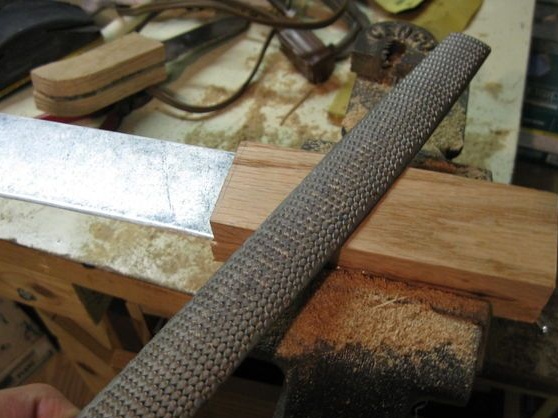
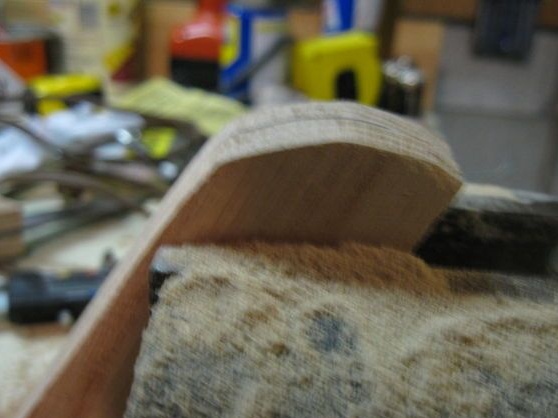
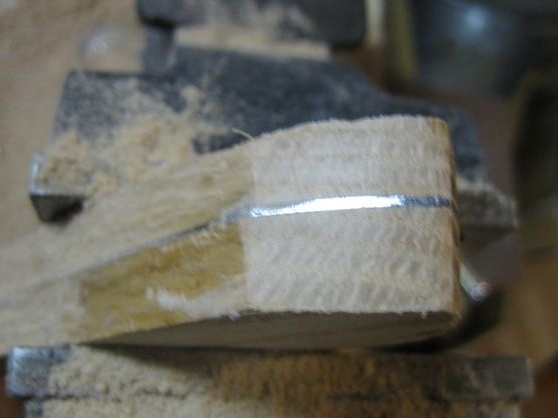
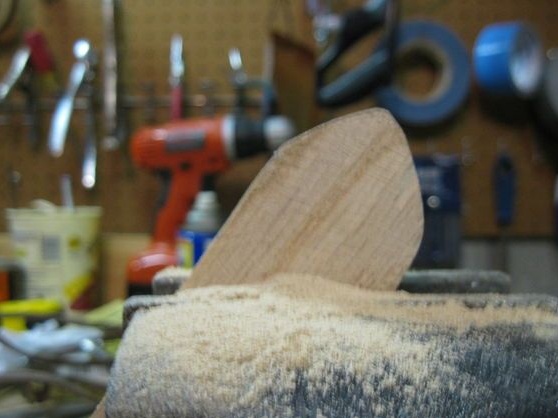
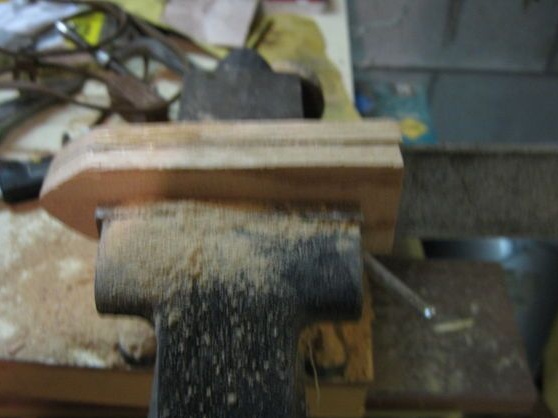
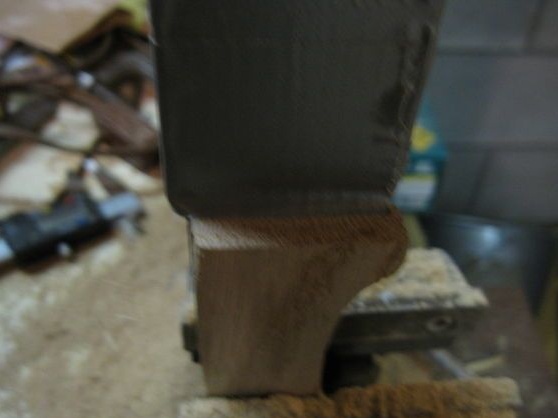
When the glue dries, form a handle profile. Here you need a rasp, it is used for rough work. Well, then we use sandpaper and bring the profile to the ideal.
Step Eight. Pins and finishing
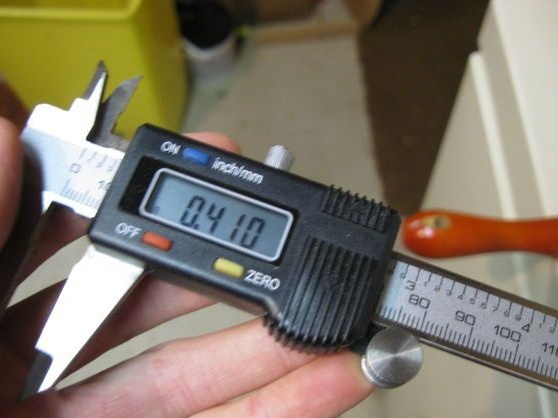
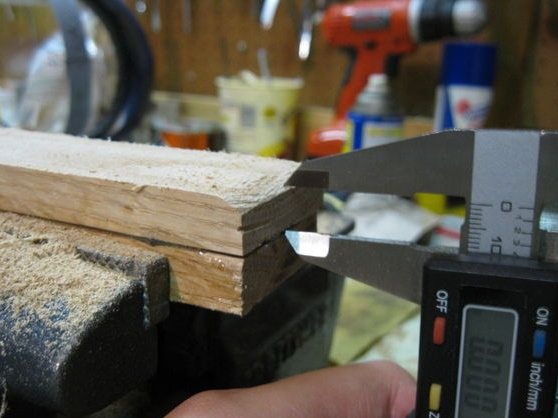
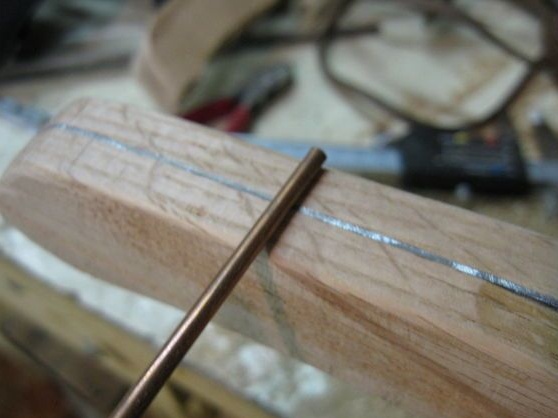
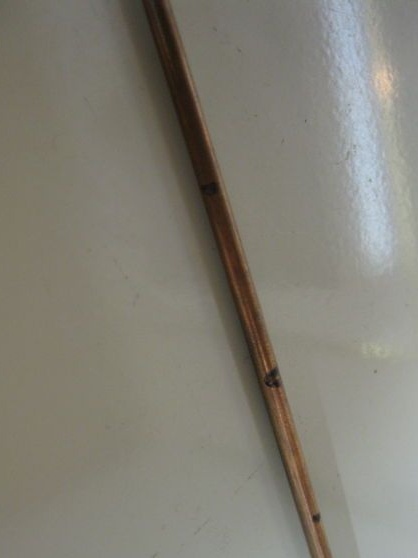
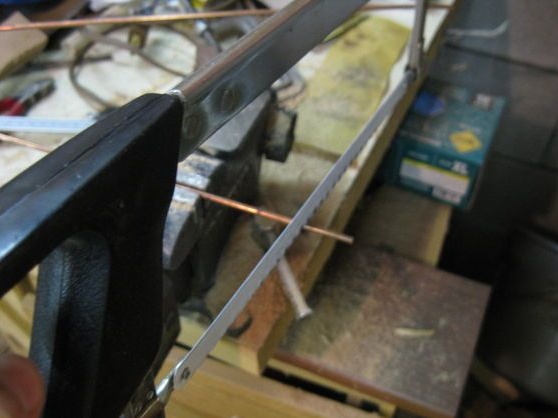
In the handle you have to drill holes and install the pins that will hold the pads. In general, the pins are usually installed immediately when assembling the handle. The author drills through the handle and clogs the pins, first they need to be well coated with epoxy. There is still a nuance, if the steel is hot, you can’t drill it with ordinary drills.
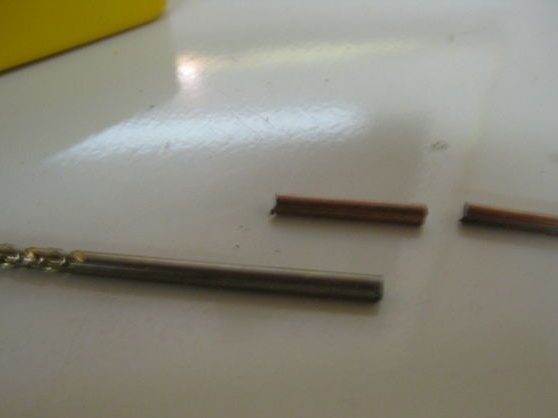
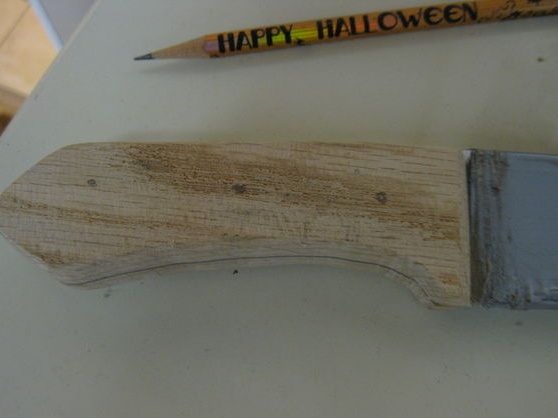
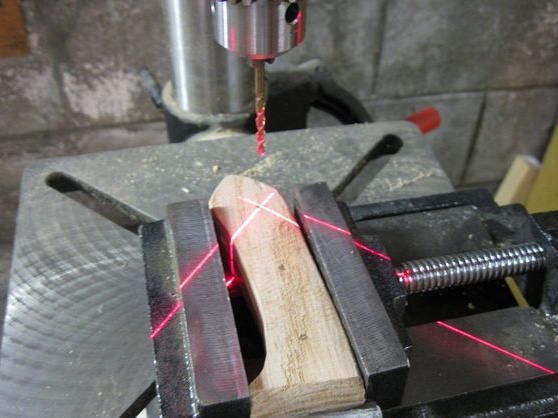
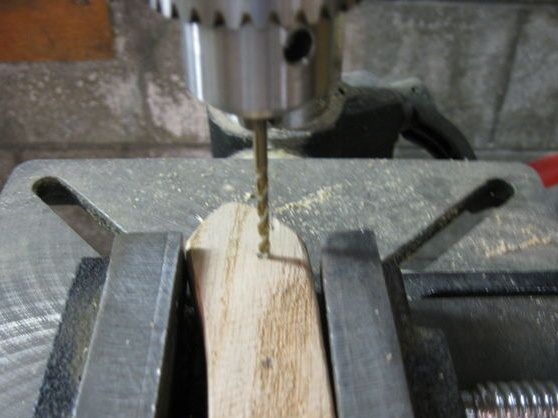
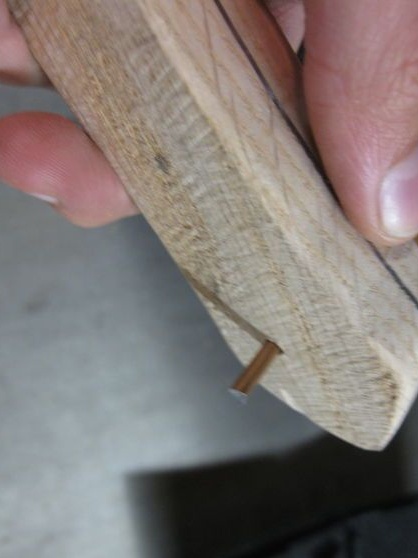
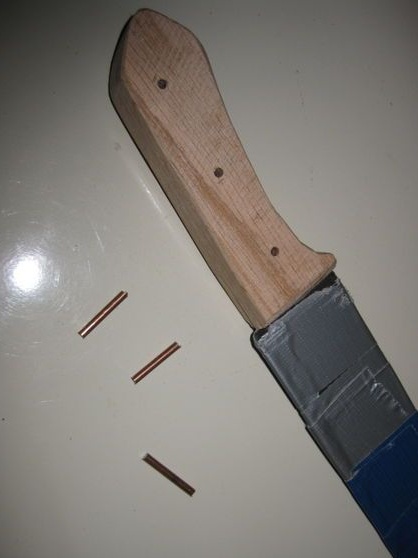
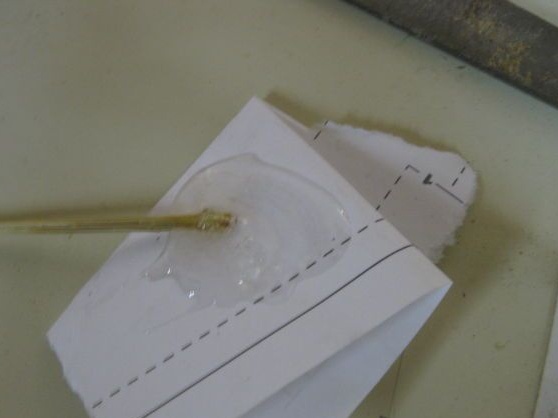
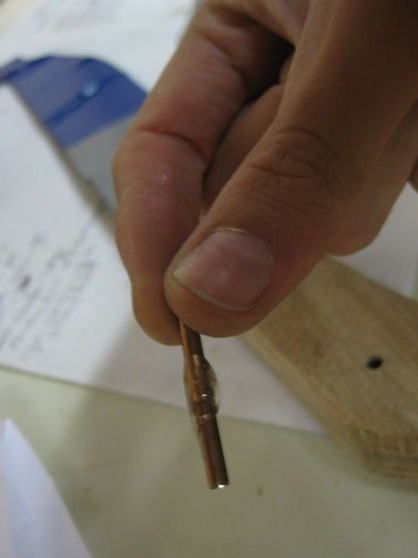
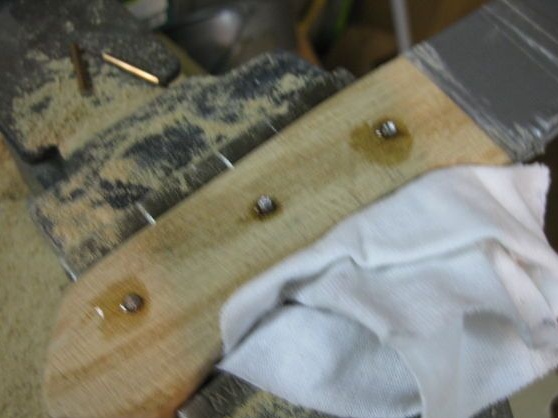
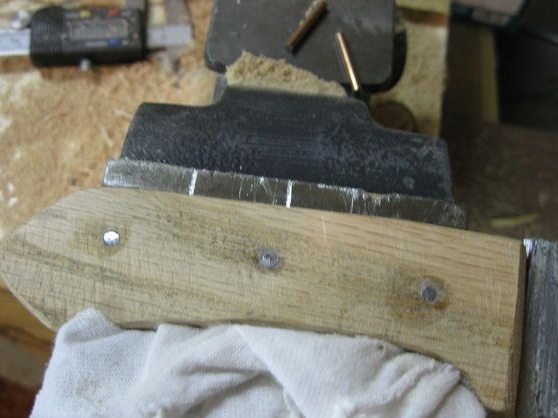
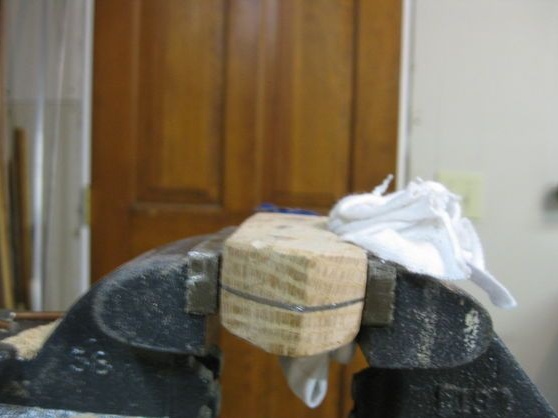
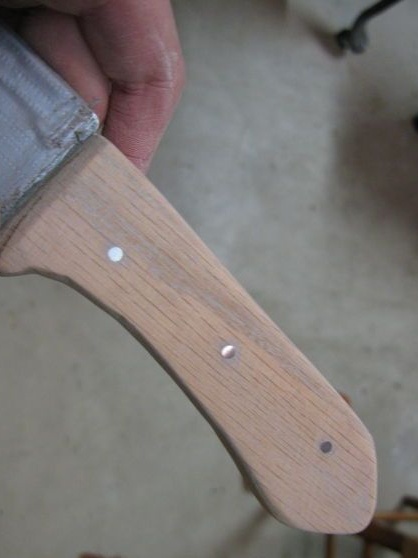
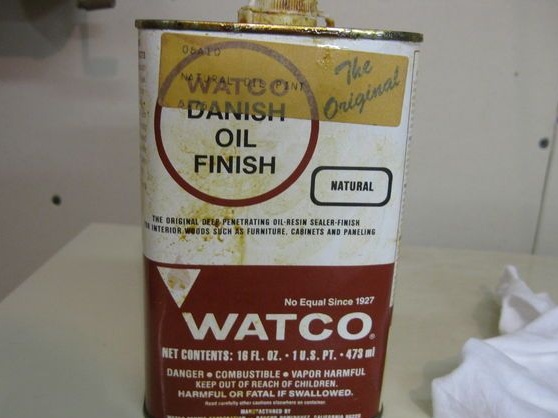
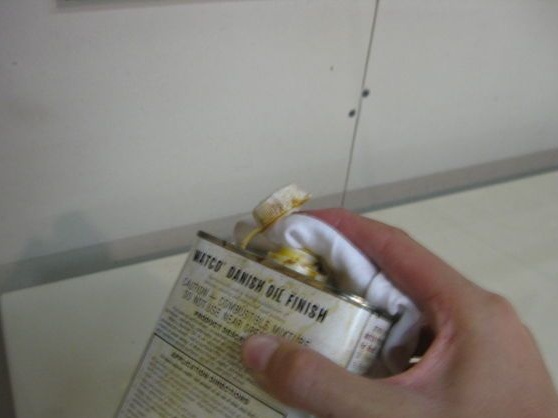
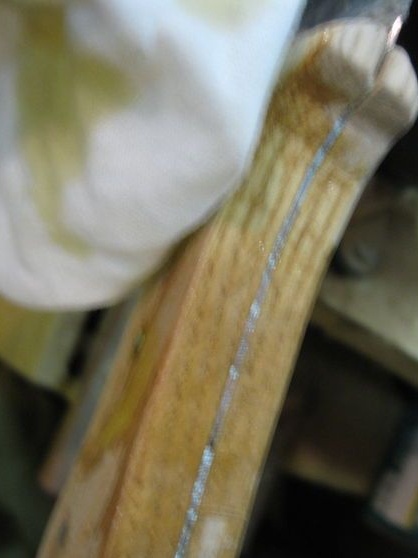
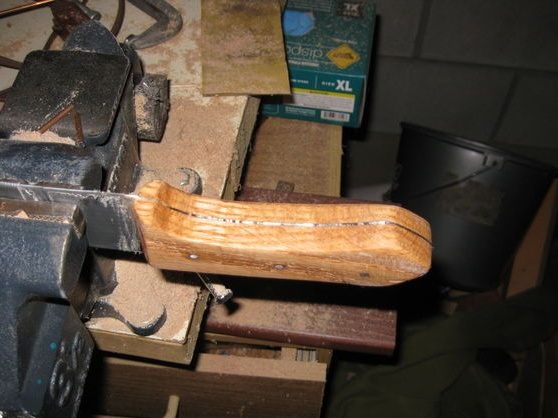
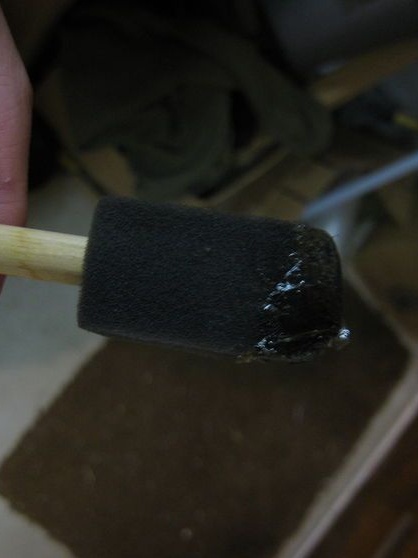
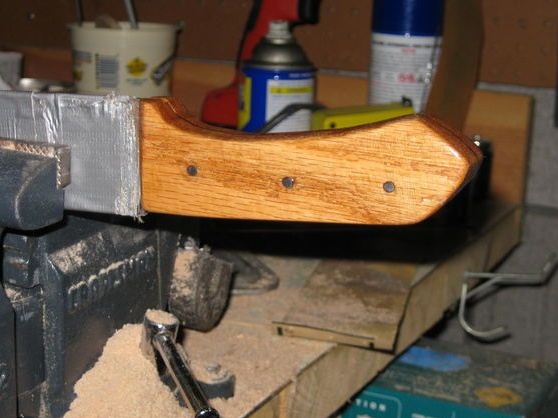
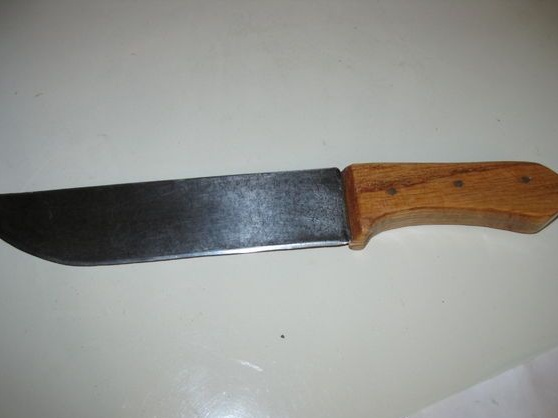
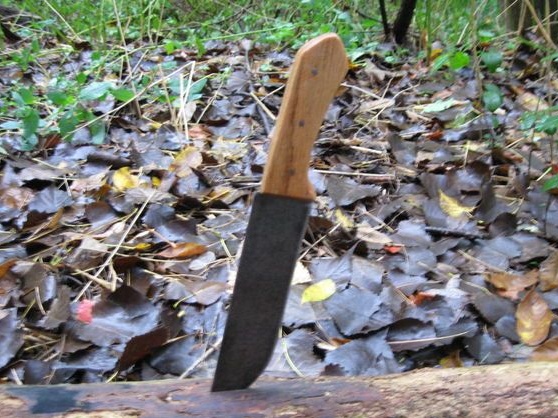
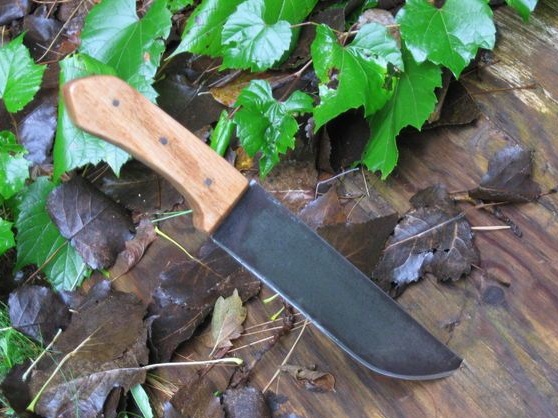
When the glue dries, sand the handle with an emery cloth until smooth. Then soak the wood with oil to protect it from moisture. You can use linseed oil. That's all, the knife is ready, it remains to sharpen it.
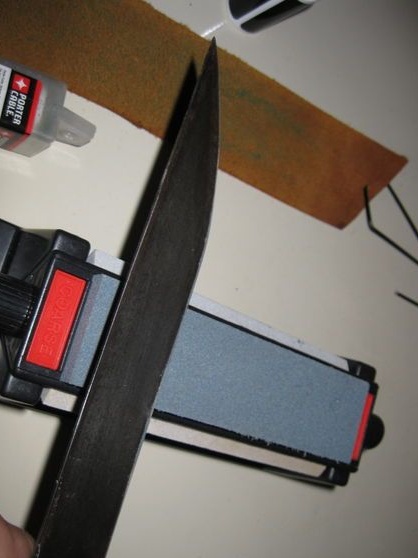
Step Nine. Sharpening
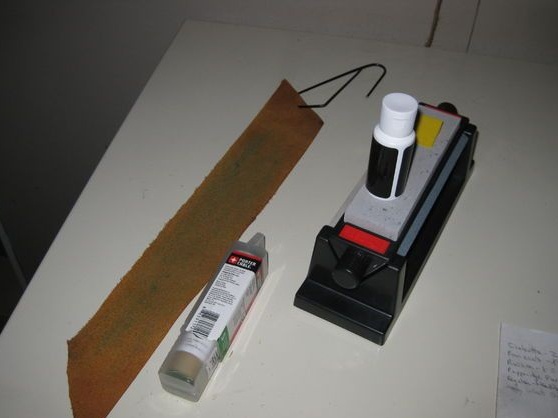
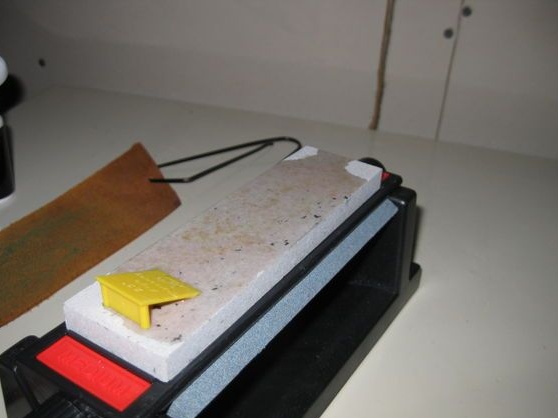
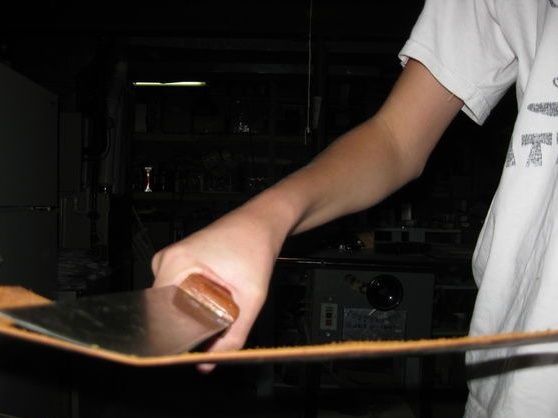
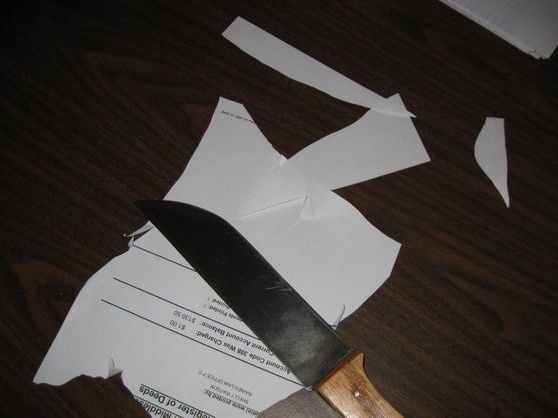
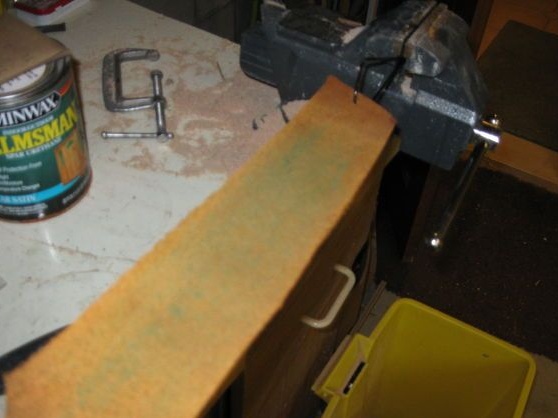
For sharpening we use grindstones or ordinary fine sandpaper. When grinding, professionals use Japanese water stone. However, the author’s blade turned out to be quite thick, so anyway the knife will not be perfectly sharp.
Criticism
In conclusion, I note that the knife was made of unknown steel and the metal did not go through the hardening process.
Another drawback is that the pins were incorrectly installed and the reliability of the handle fixing is in doubt. In general, all these errors of the author can be corrected.
