
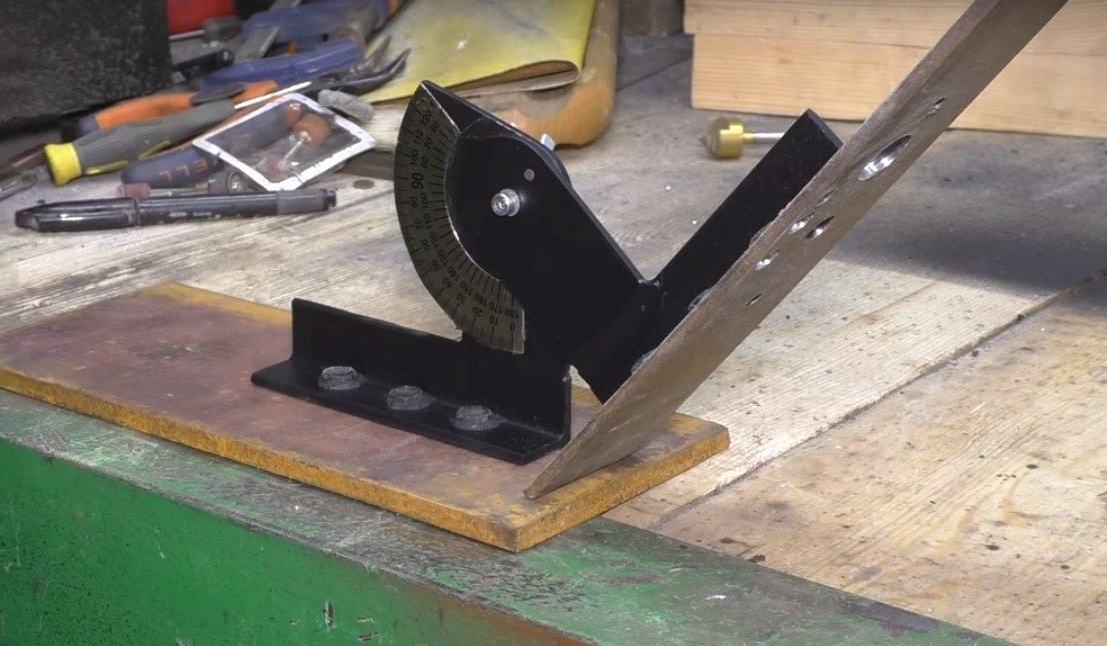
Good day to all. Many people who deal with welding have come across such inconveniences as welding parts at certain angles. When you need details, and set evenly, and hold, and weld. Here is a problem faced by our hero. And he decided to make such a magnetic square with angle adjustment. Using this tool, you can adjust the angle of the welded parts to 130 degrees. Everyone who is interested in how and from what the author made this square read the article further.
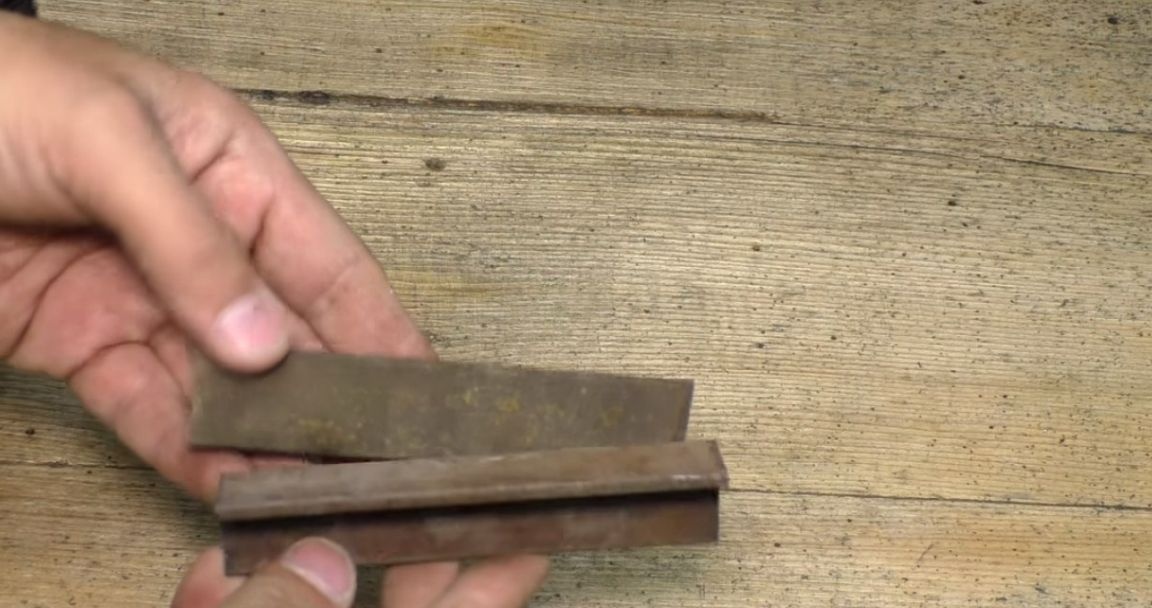
For this homemade the author took two pieces of 25 corners.
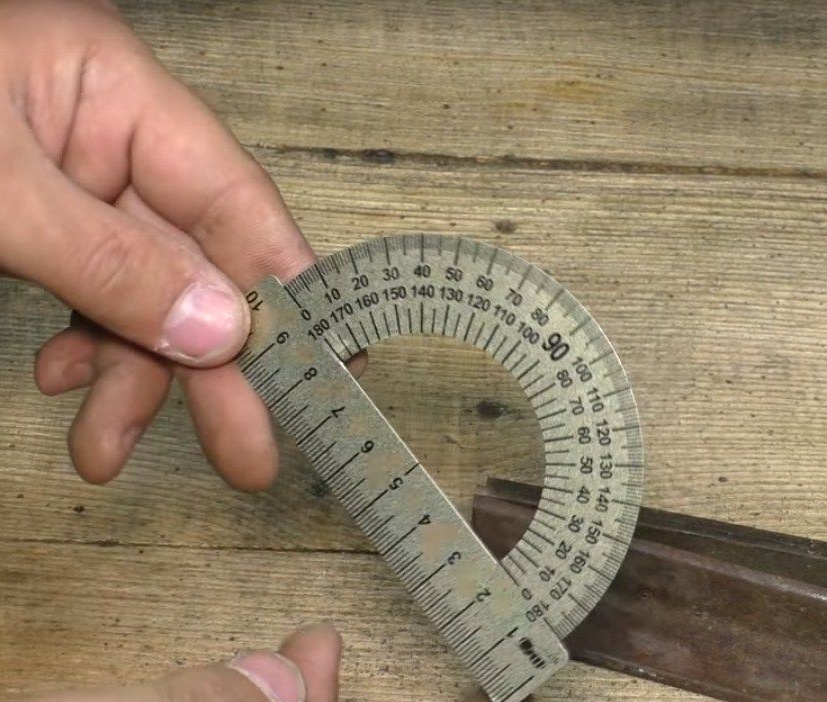
Normal school protractor.
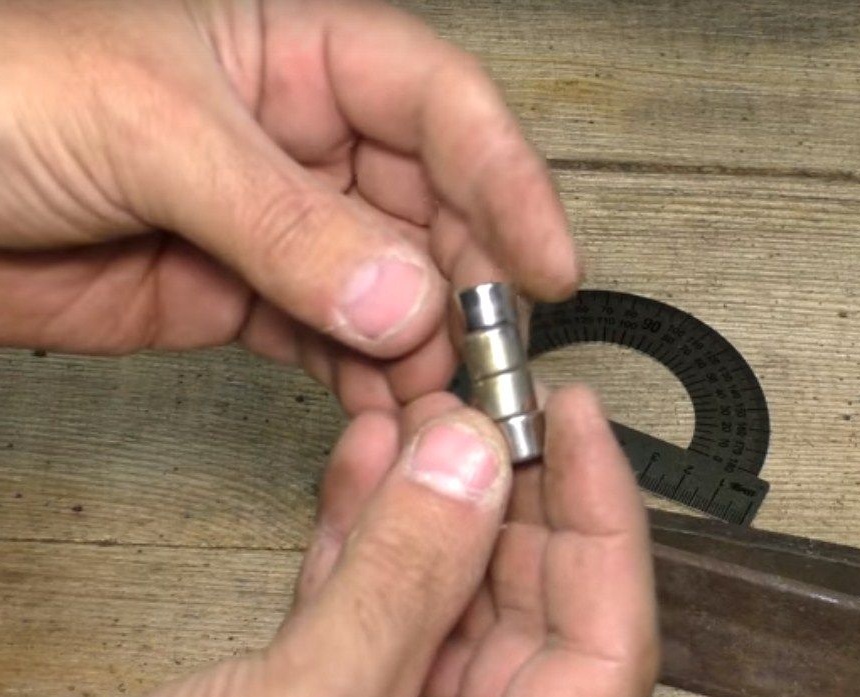
Neodymium magnets.
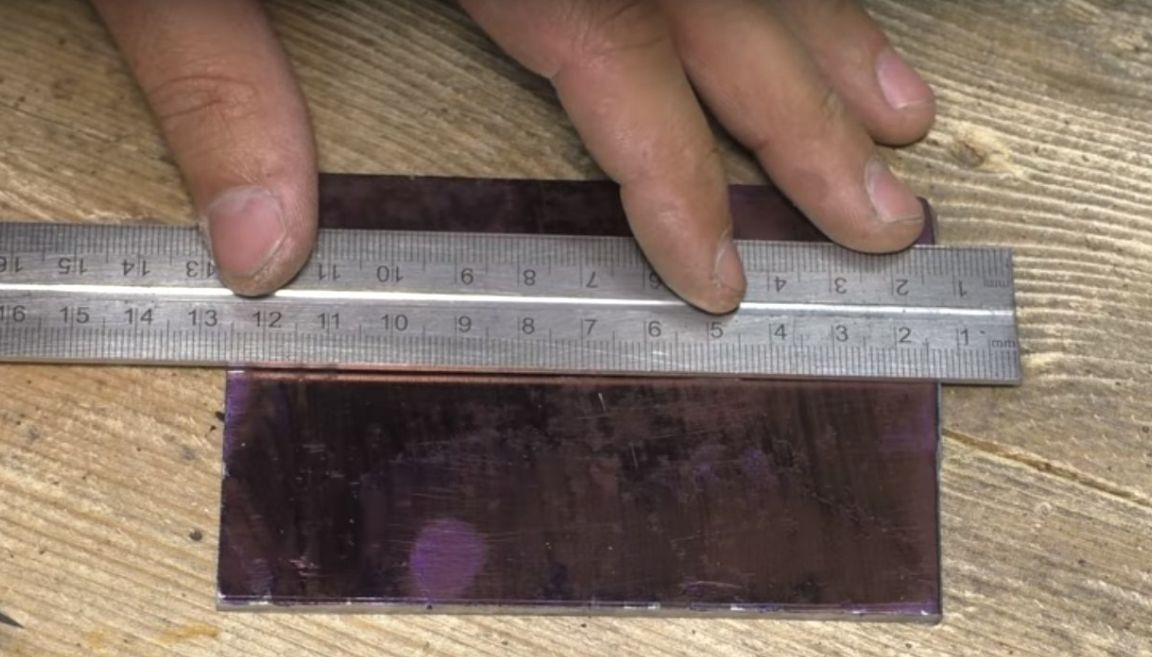
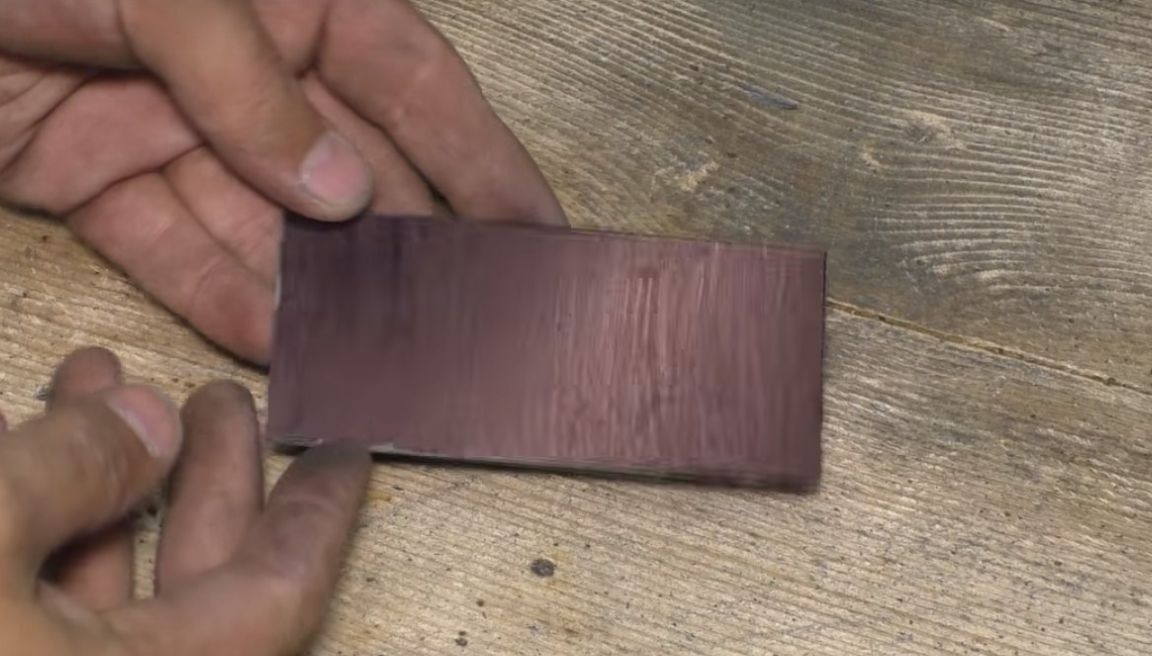
And a piece of sheet metal.
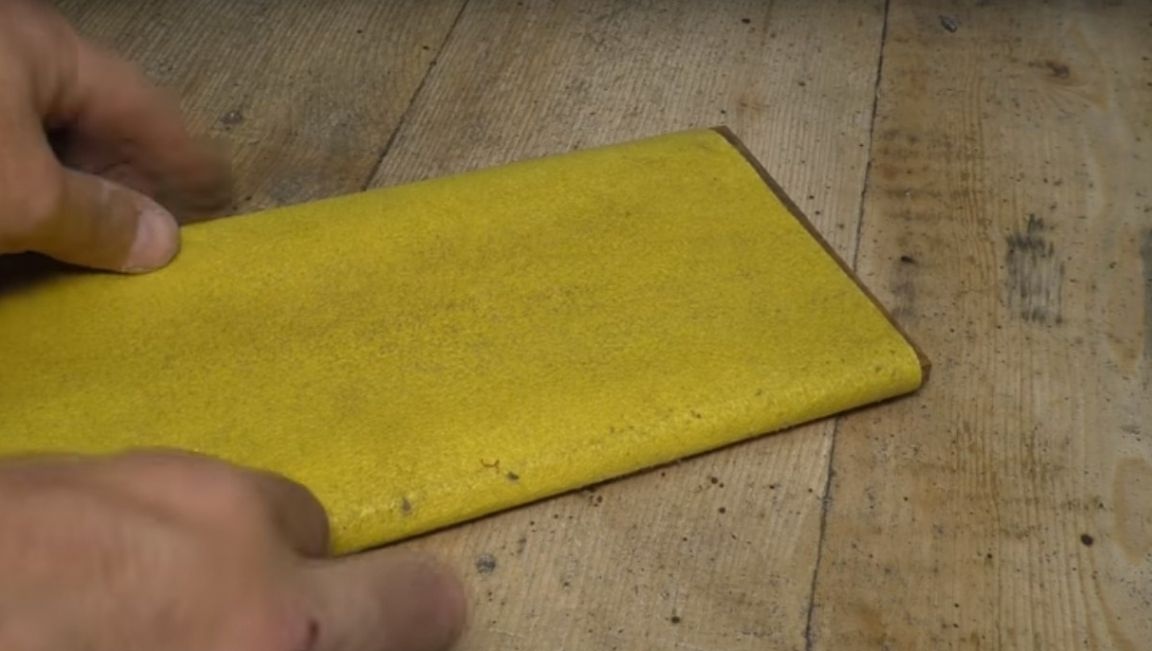
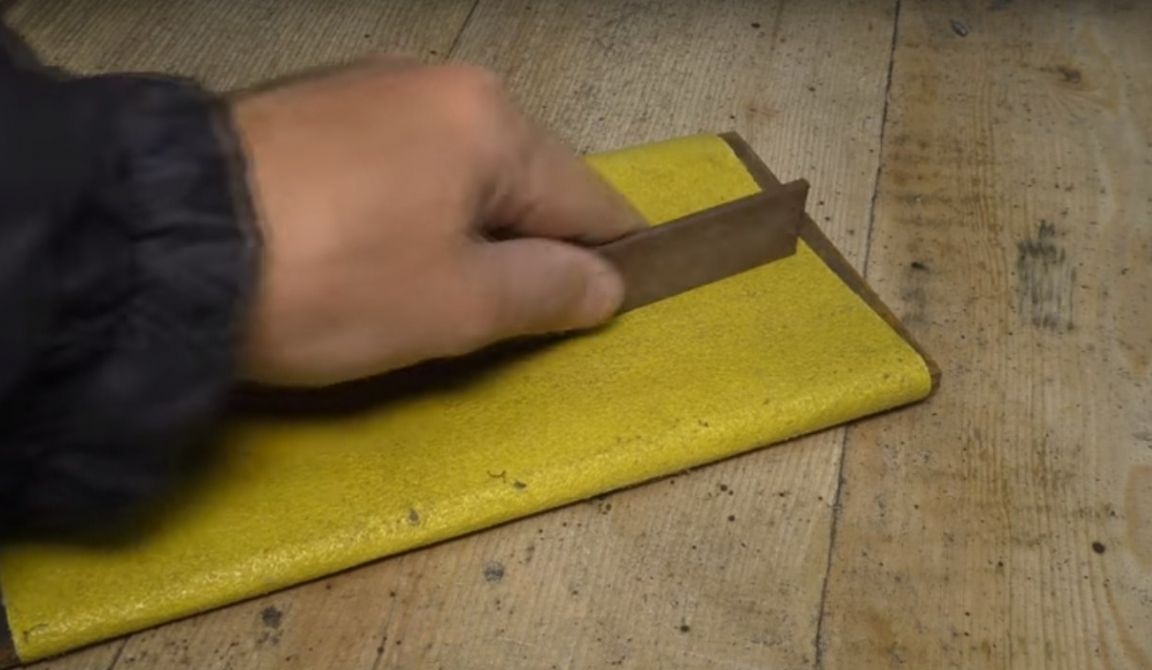
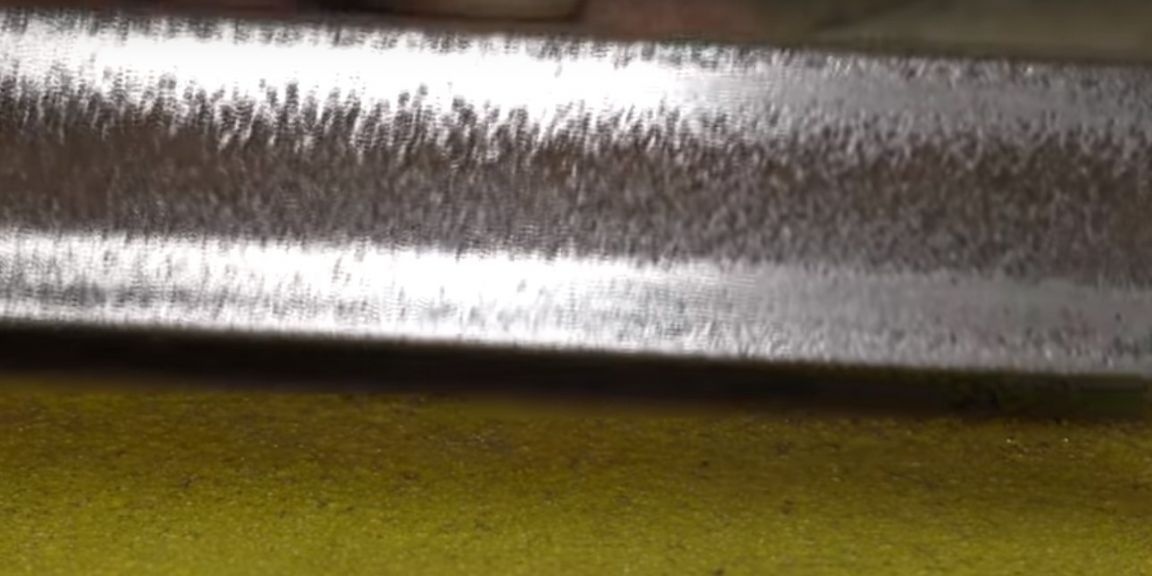
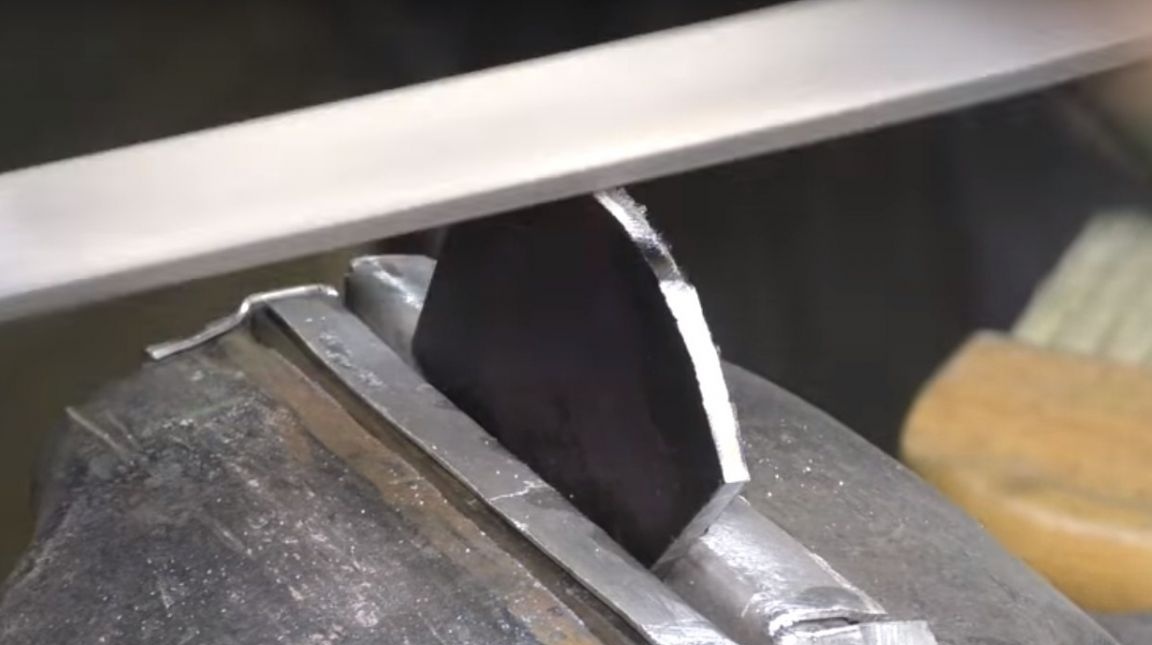
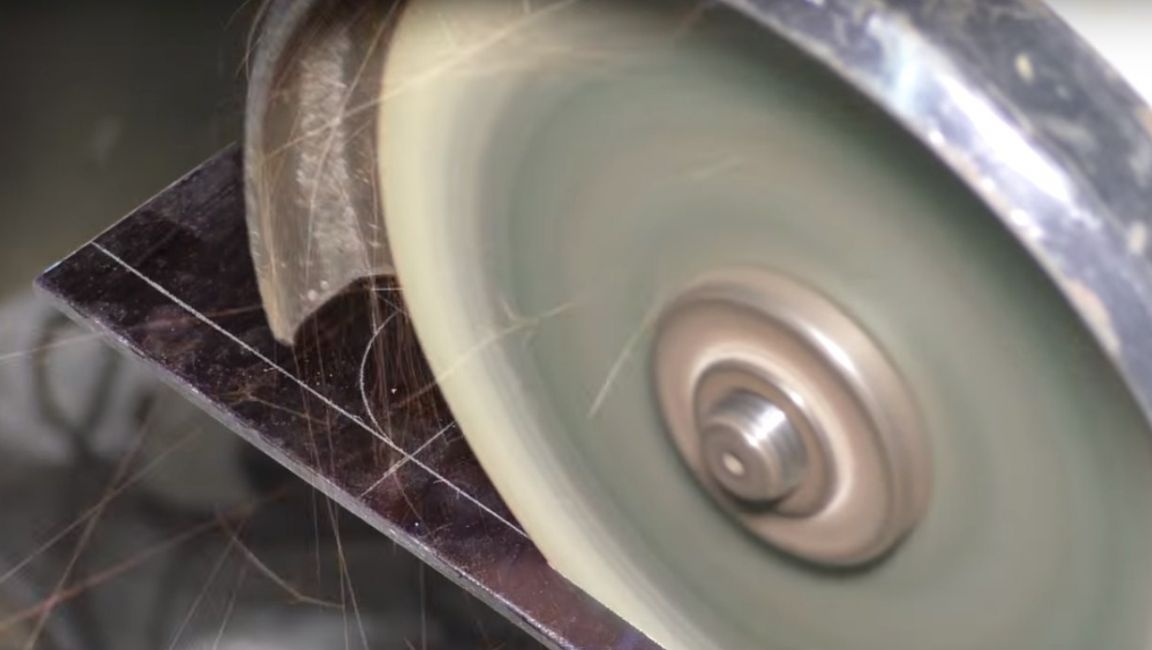
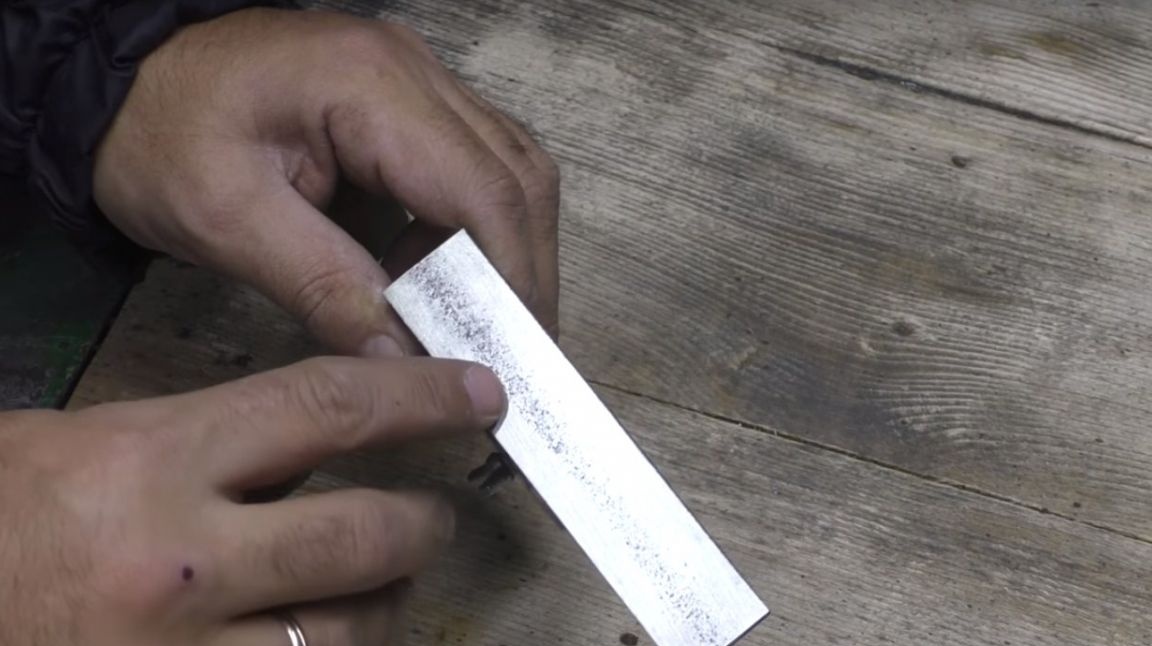
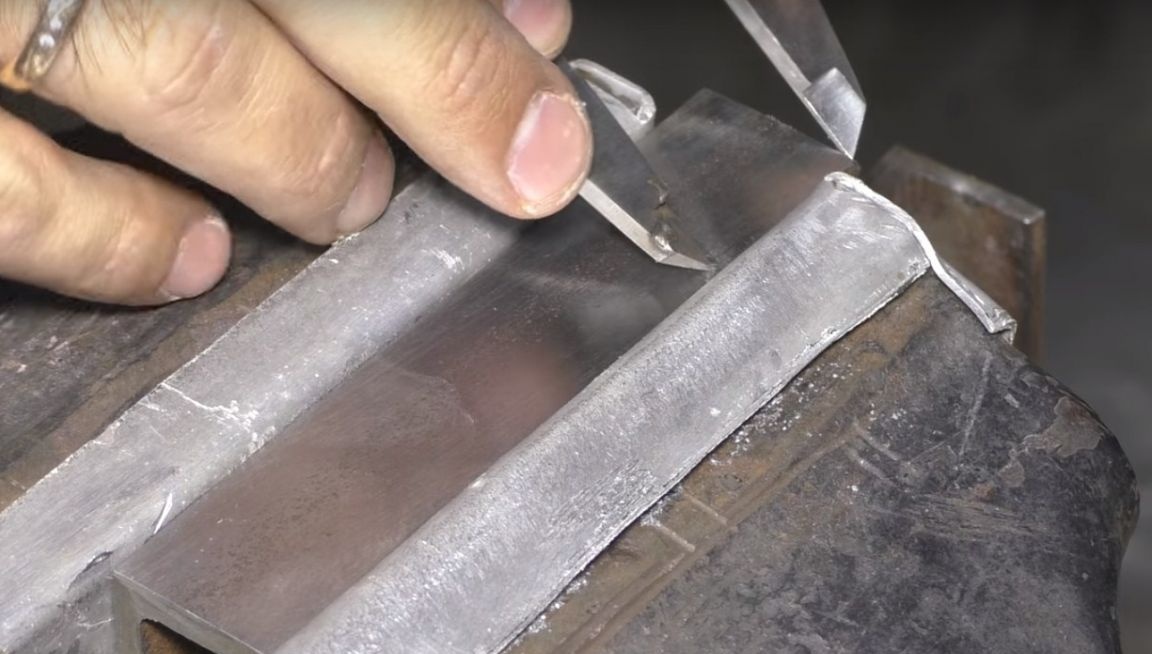
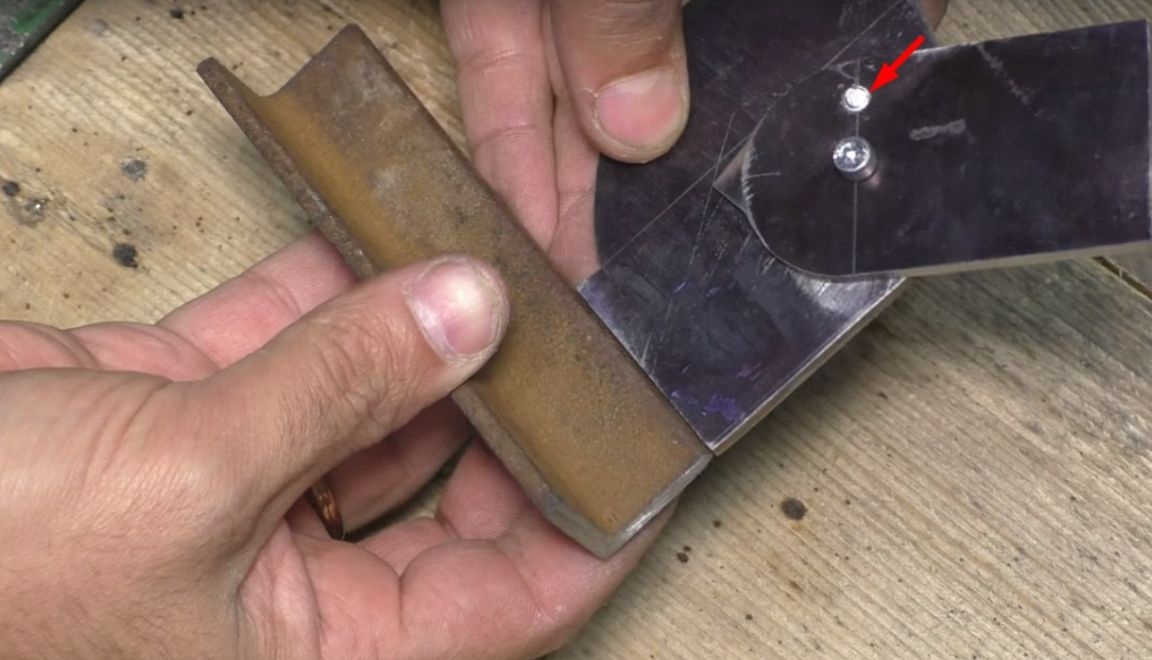
And after the author has prepared all the necessary material. He directly began to manufacture parts. And the first thing the author needs is to align on every corner, on one side. To do this, he took a piece of thick sheet metal, wrapped it in sandpaper and proceeded to level it.
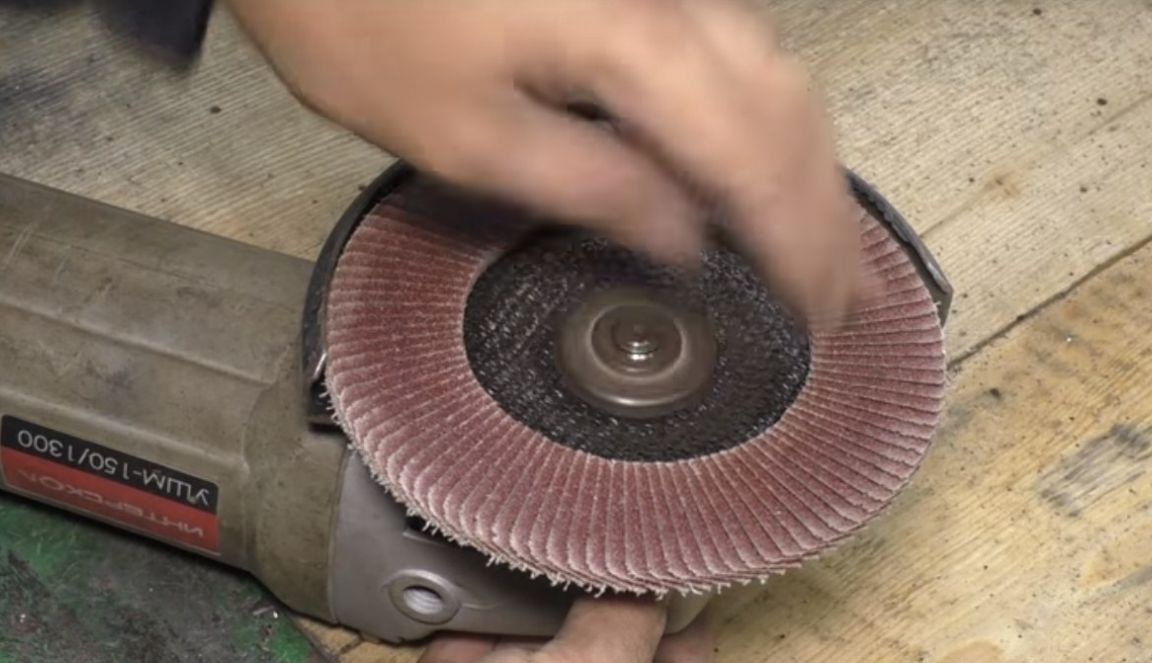
Next, the author put on an angle flap wheel on the angle grinder and cleaned the parts from rust and old paint.
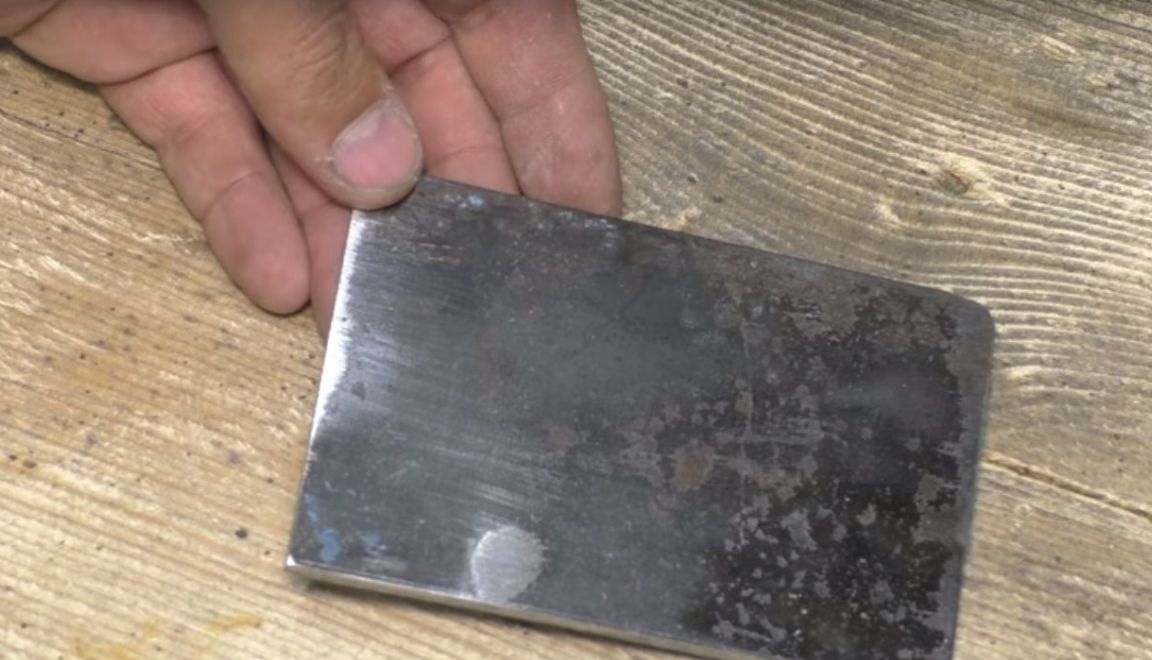
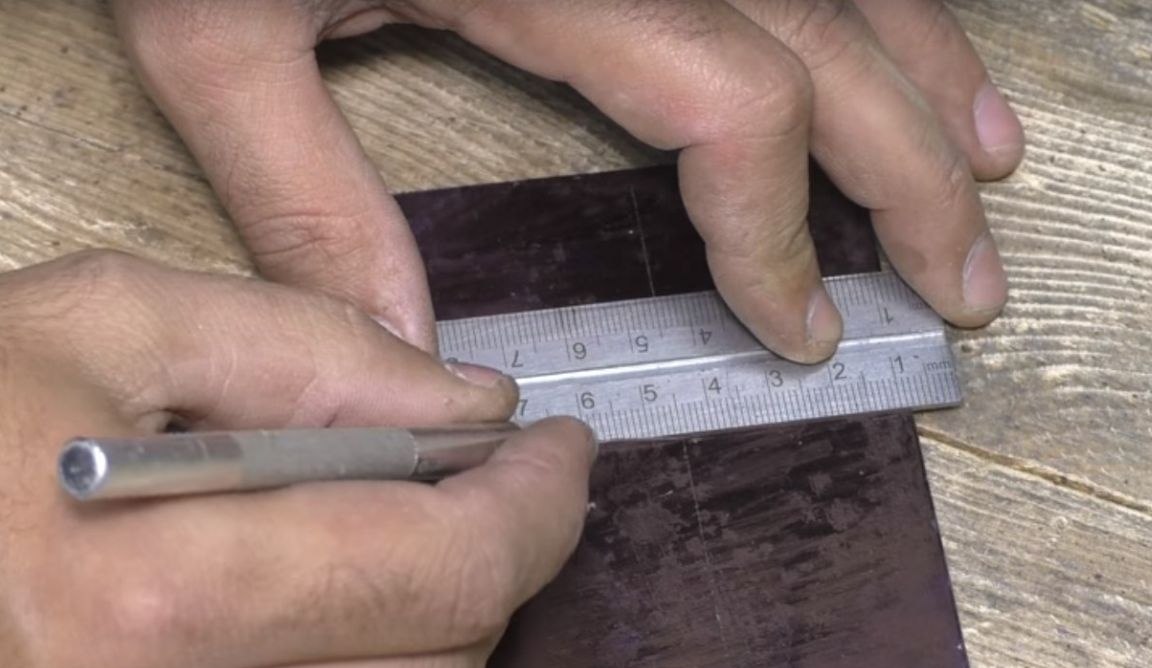
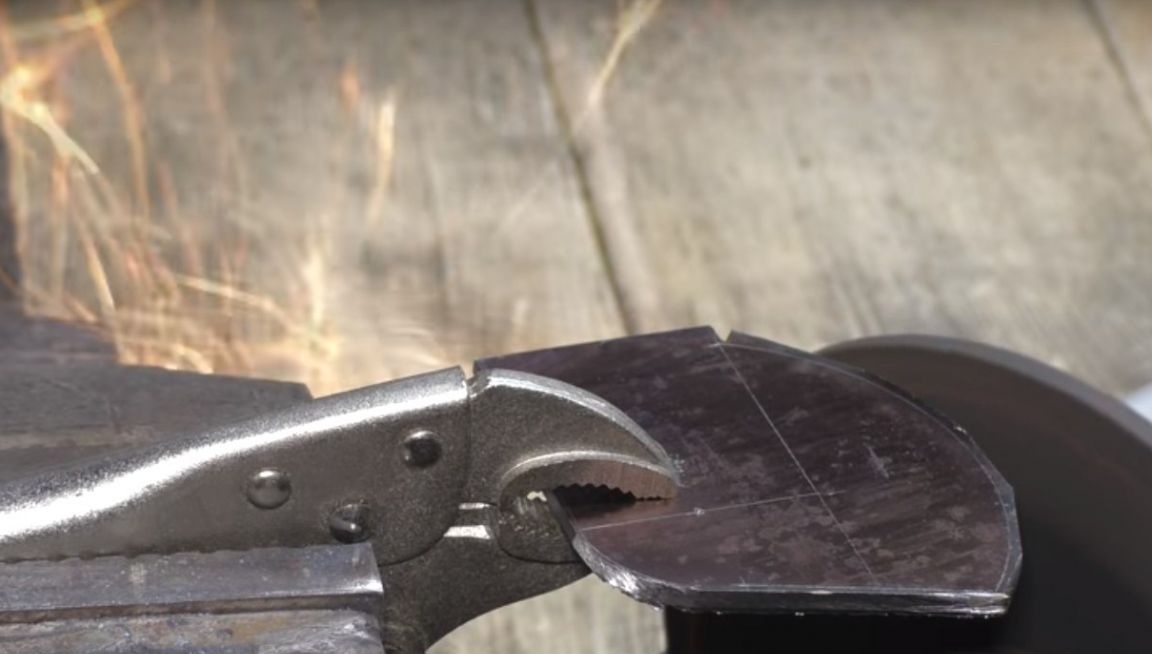
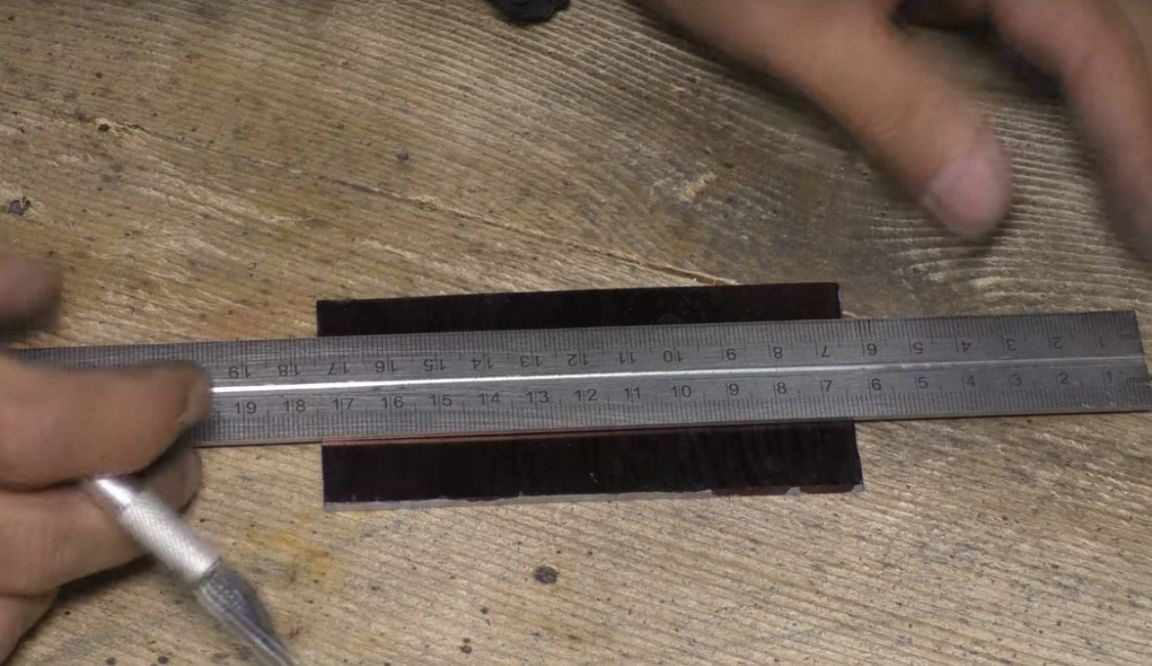
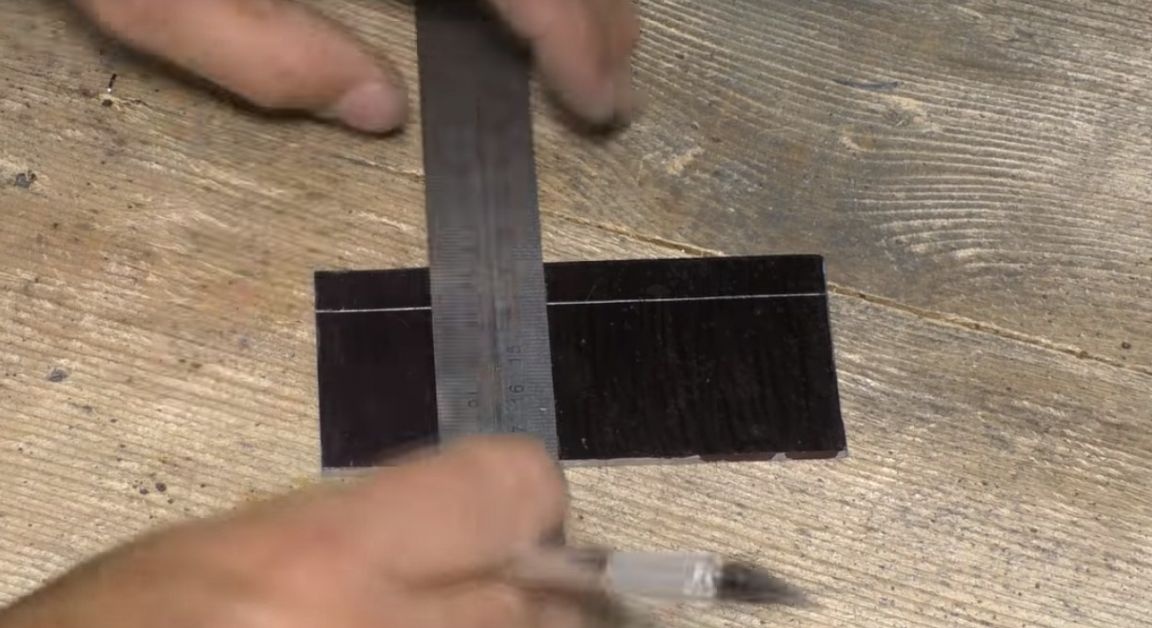
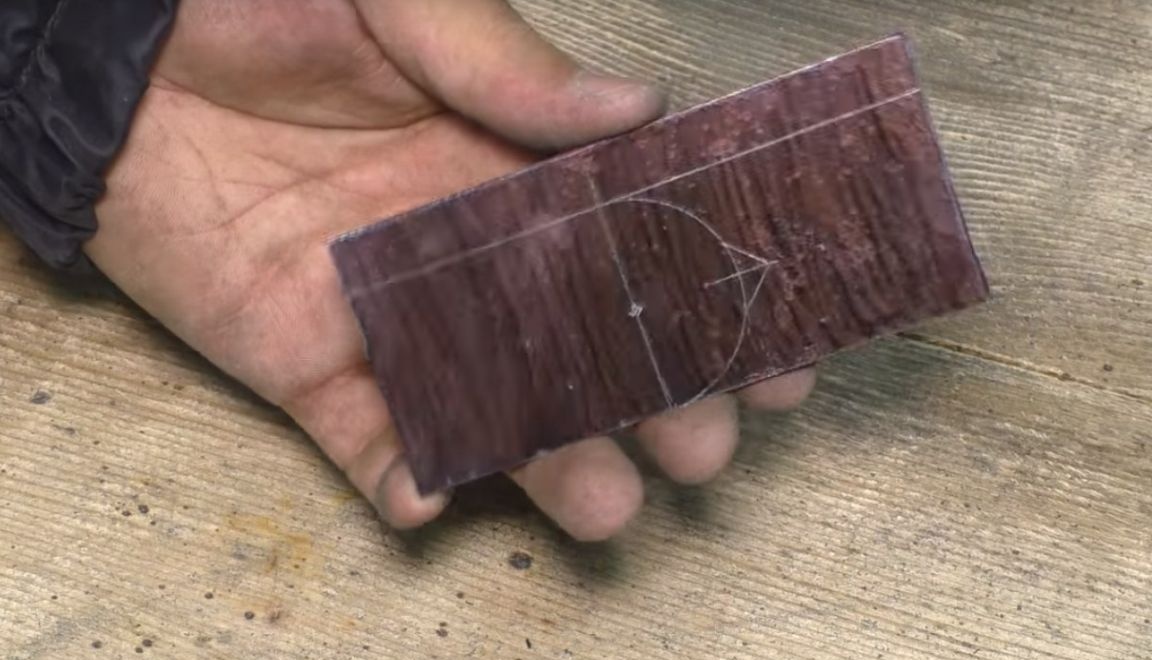
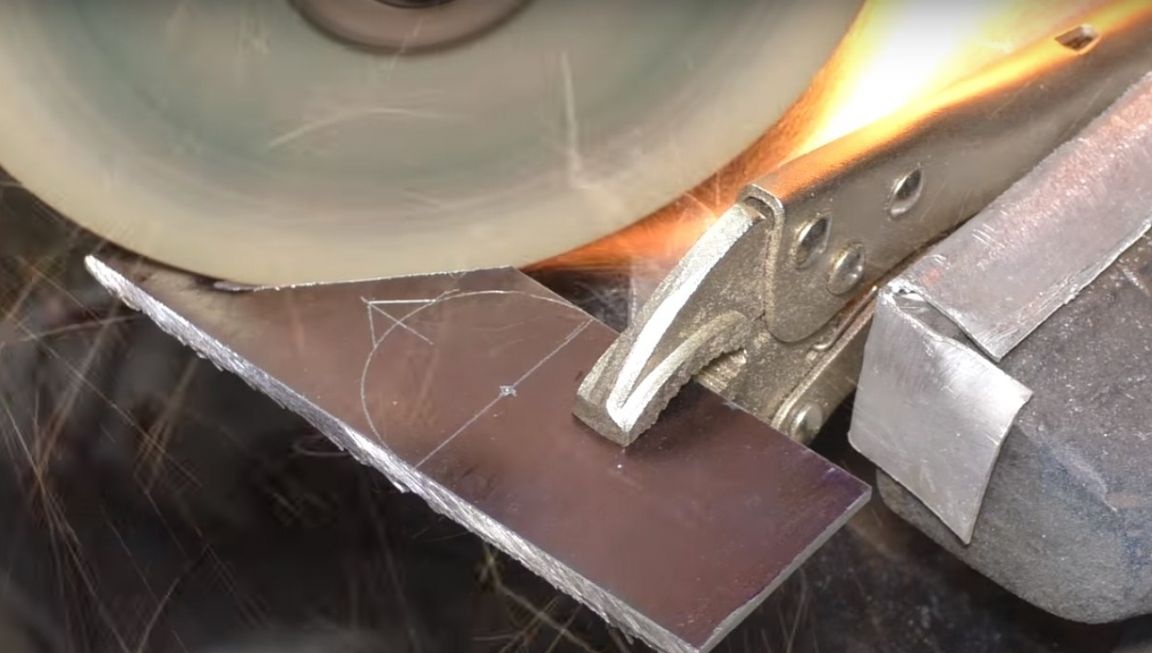
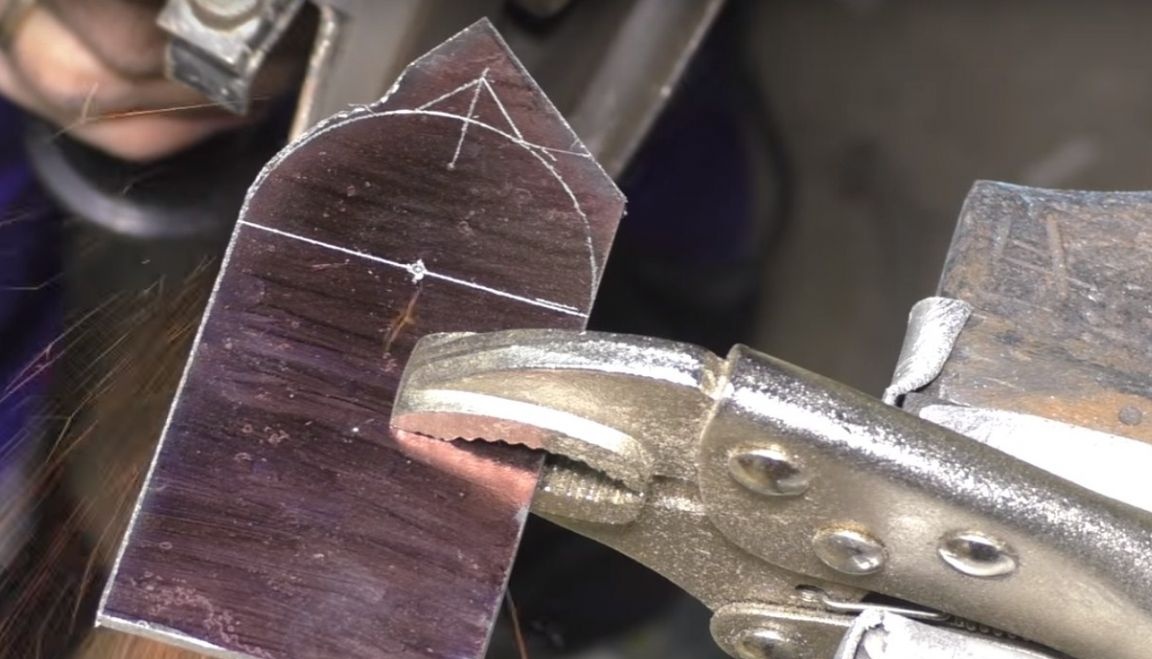
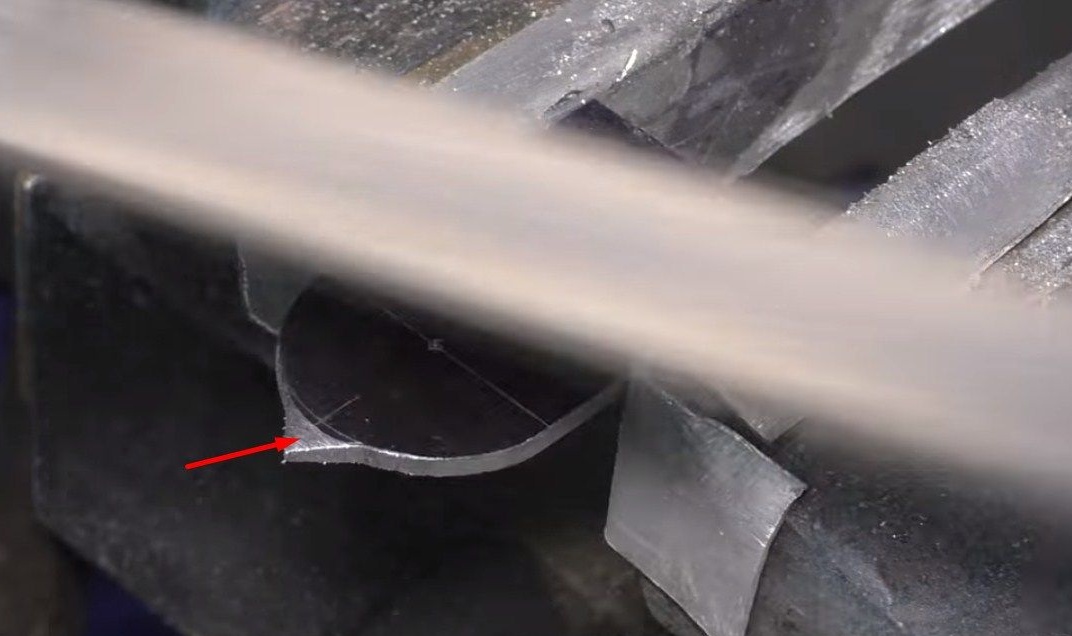
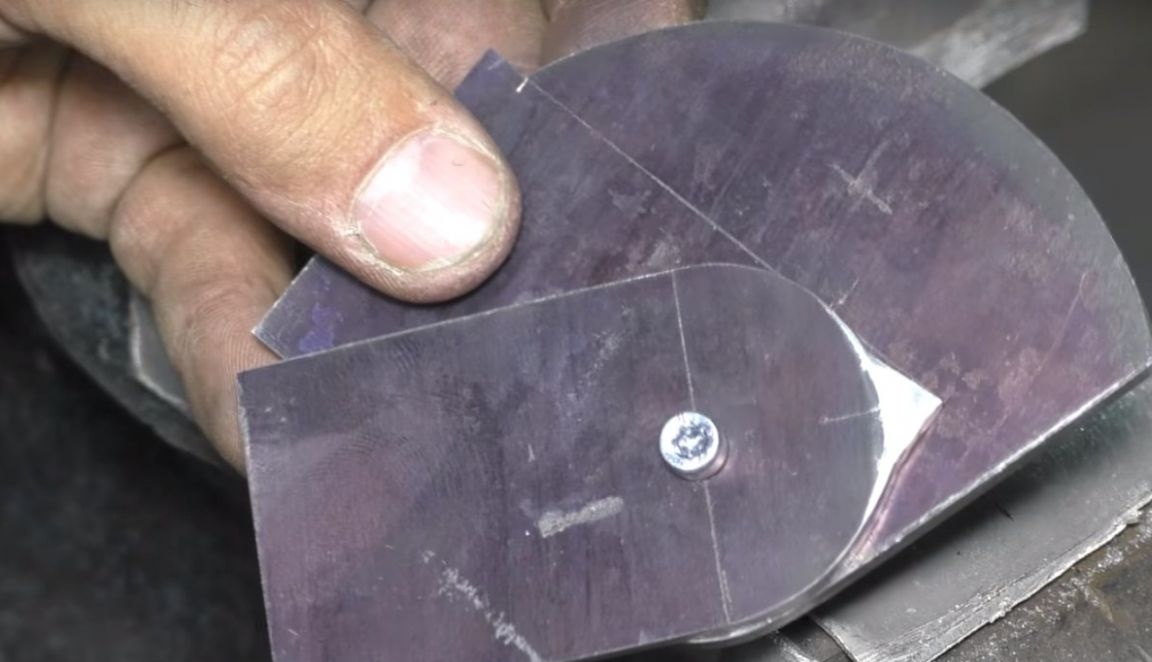
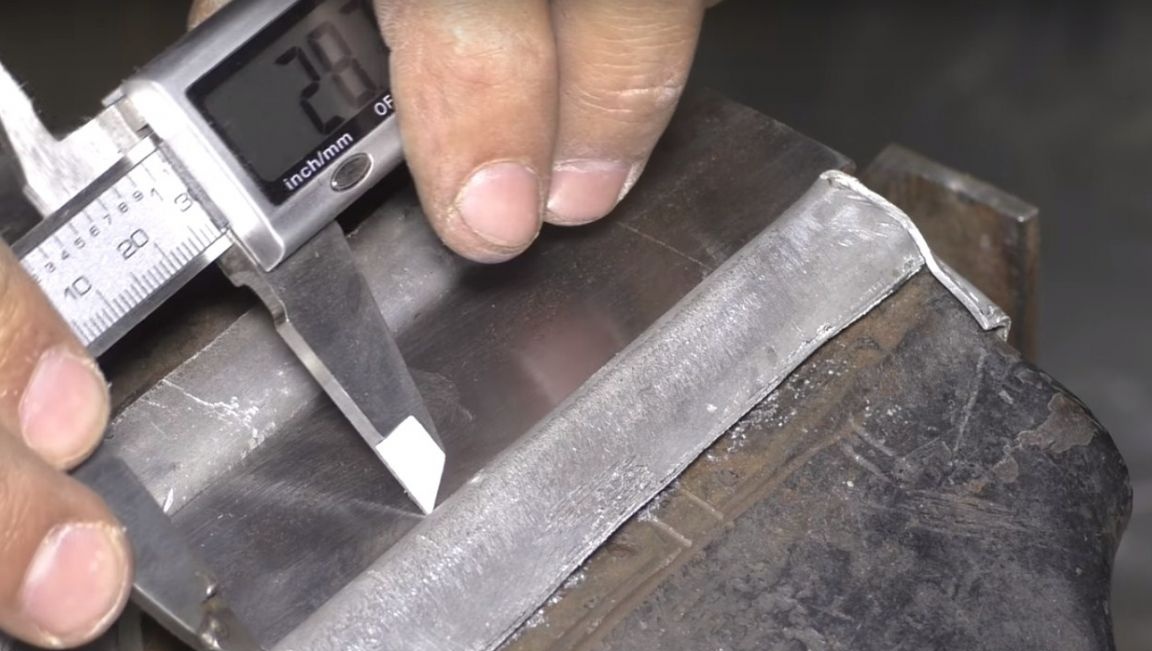
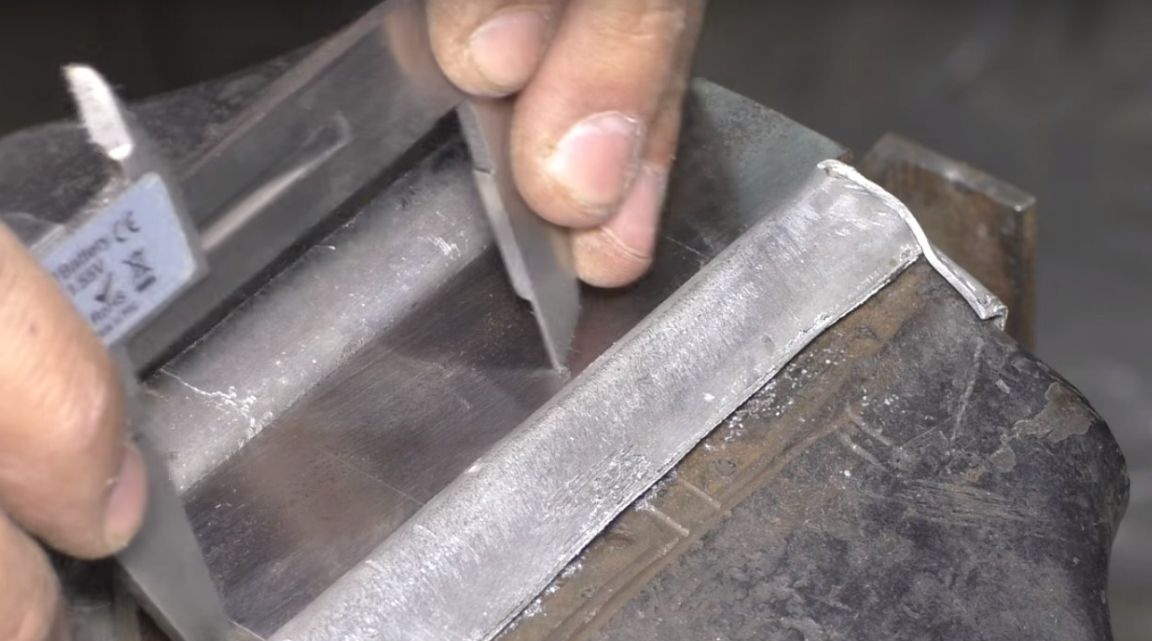
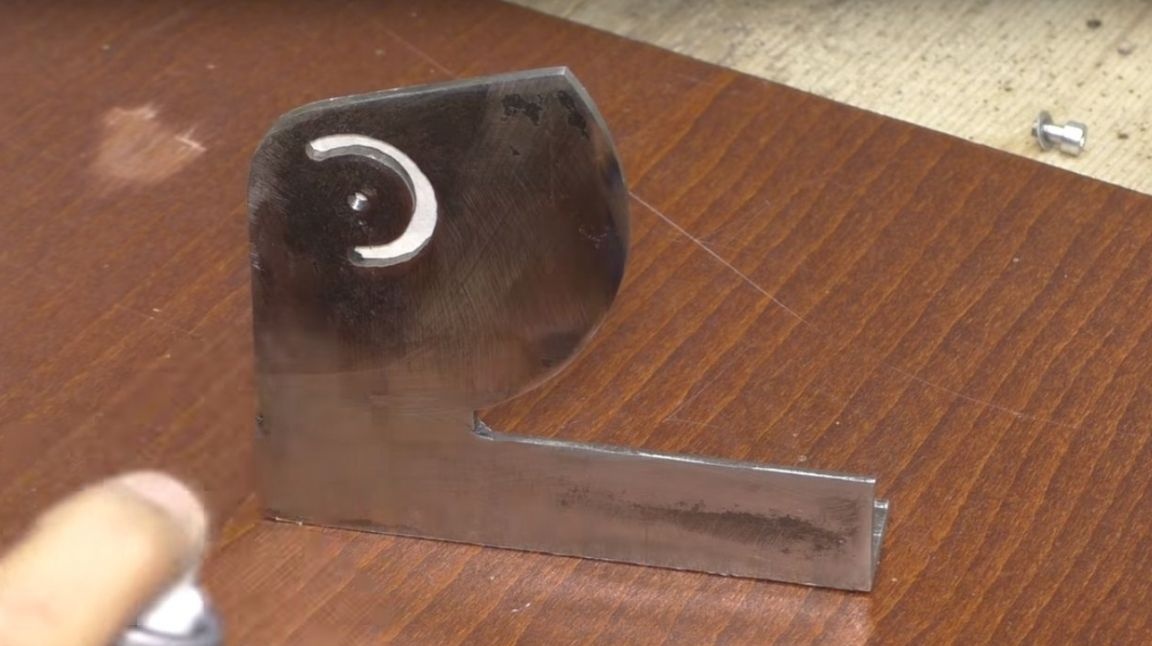
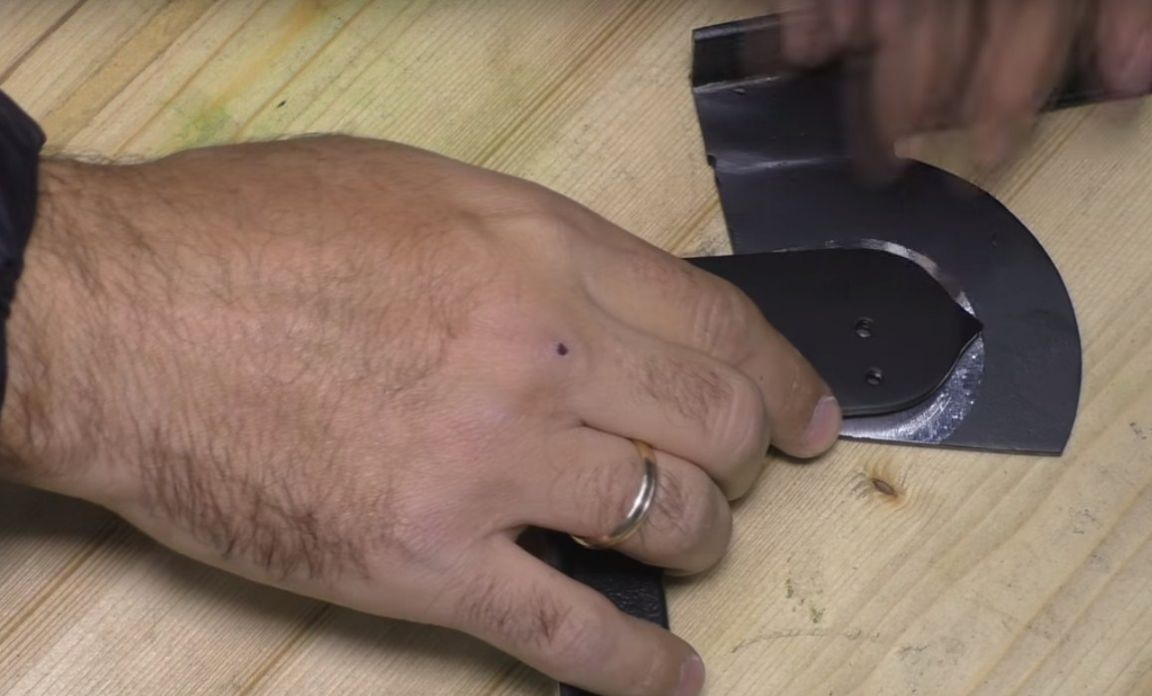
By the next step, the author cut a piece from sheet metal. And he made the markup.
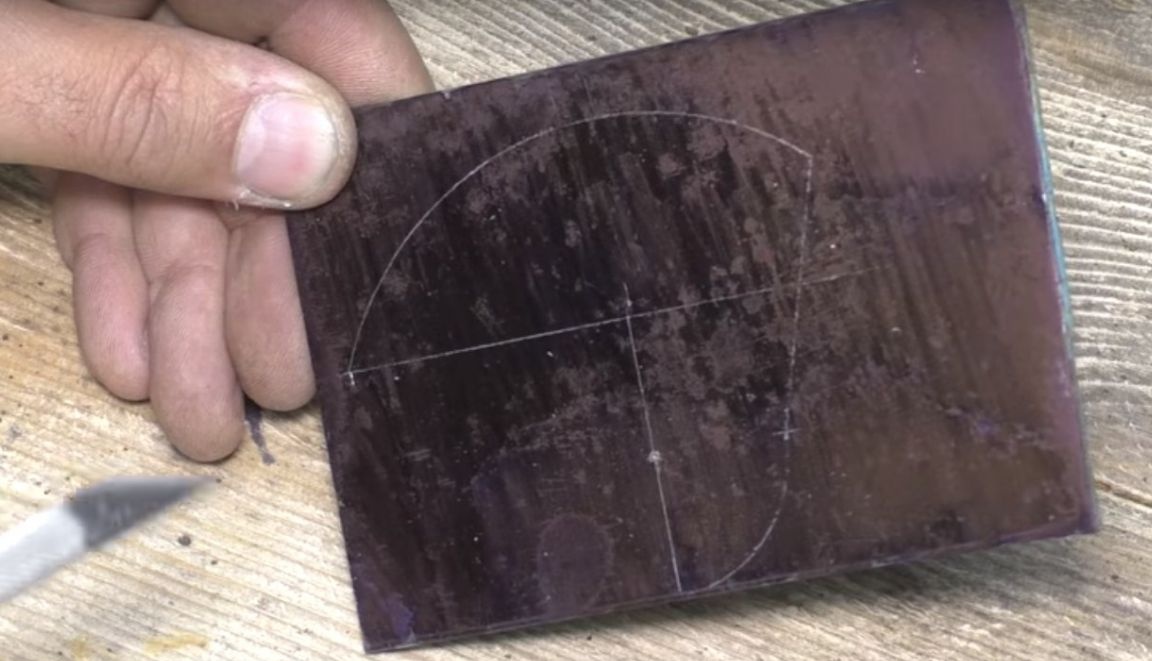
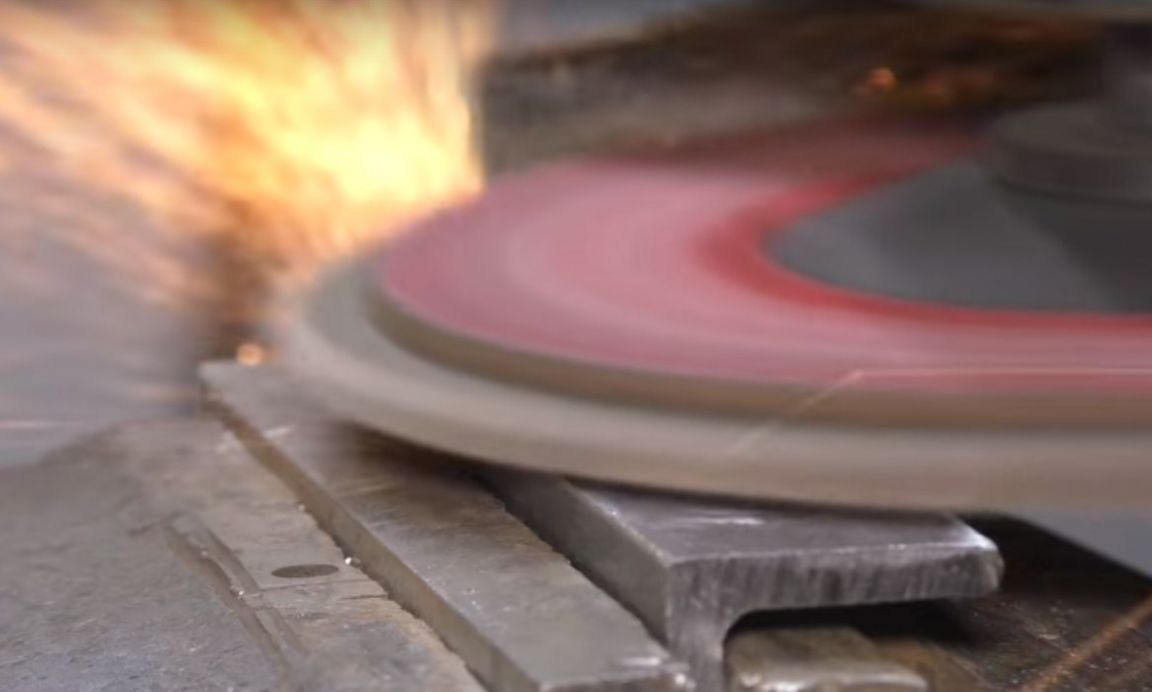
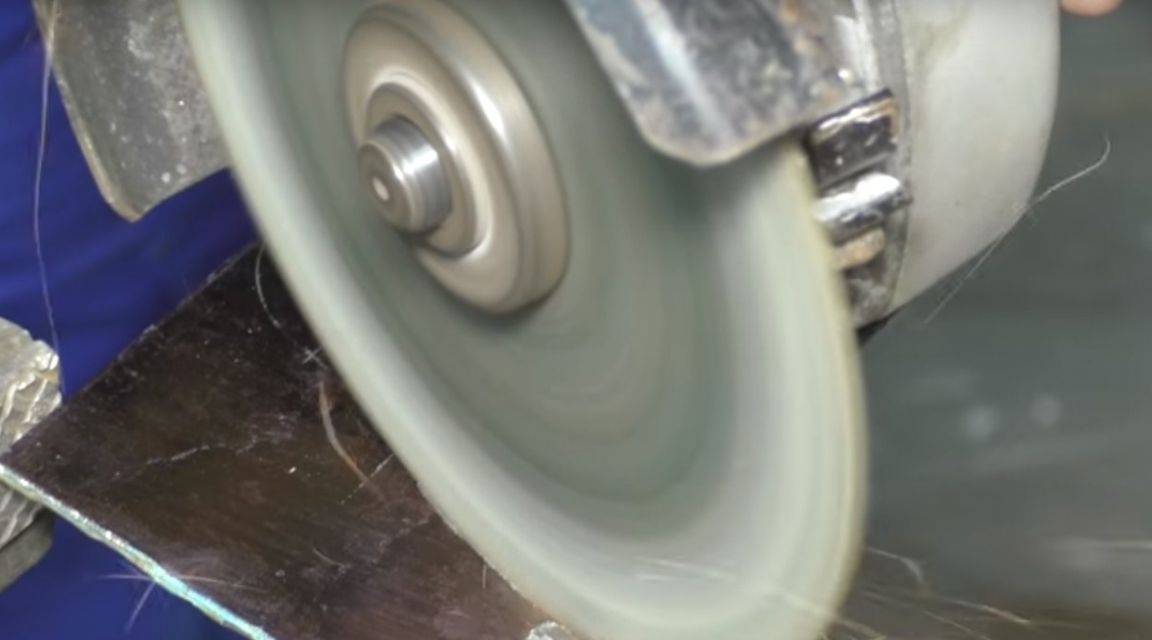
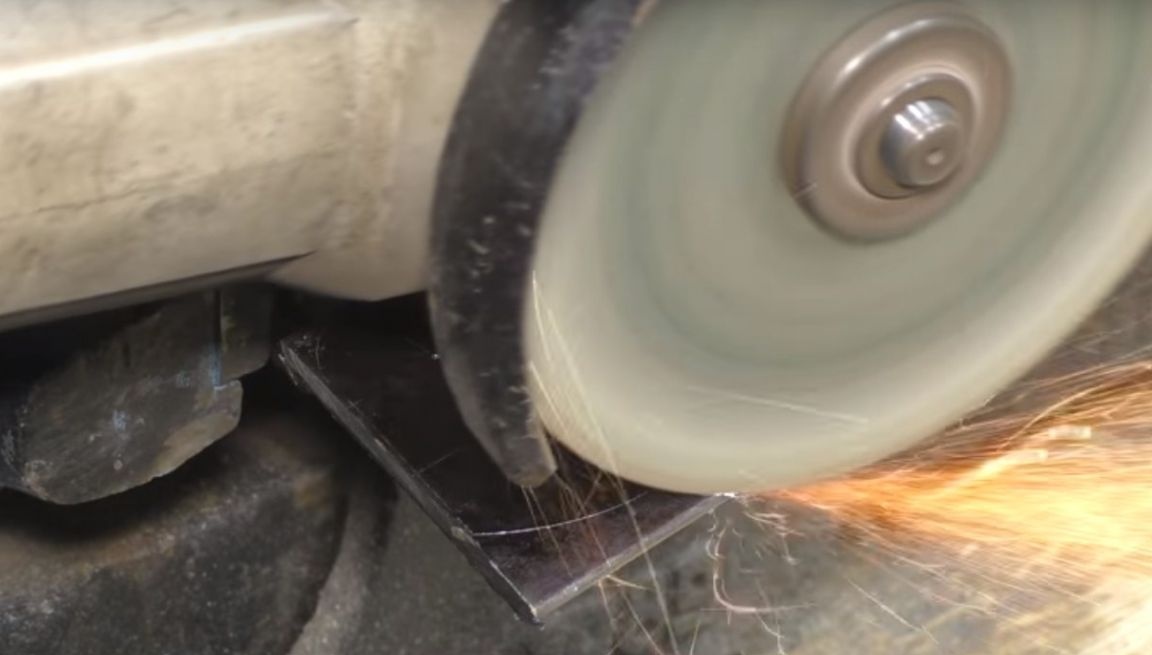
Then he cut out according to the marking using angle grinder.
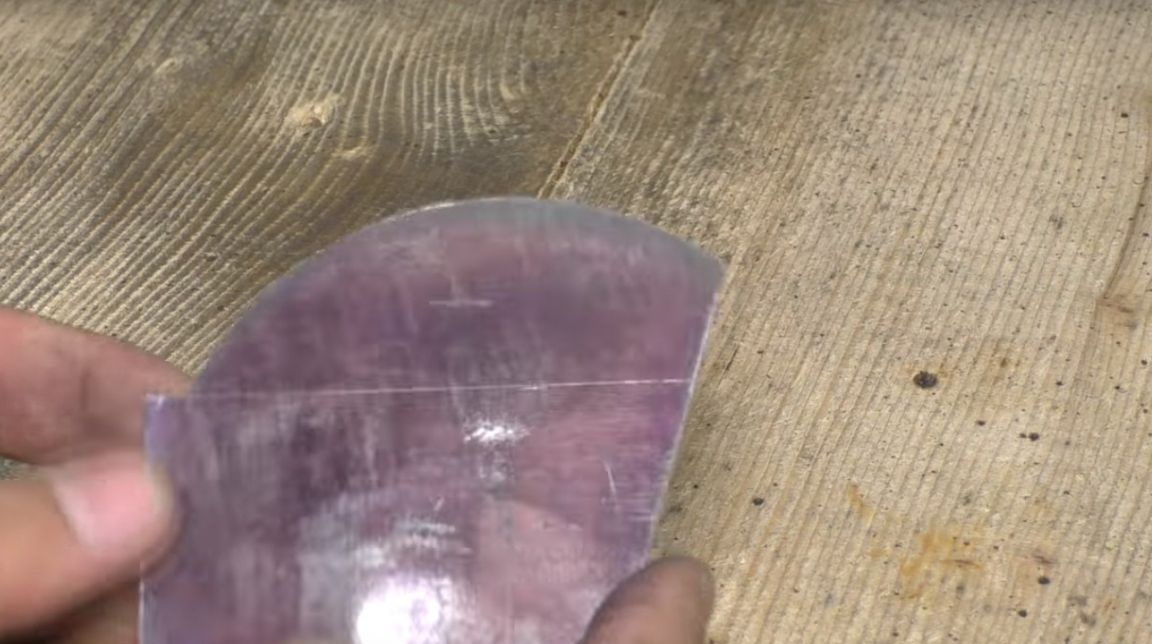
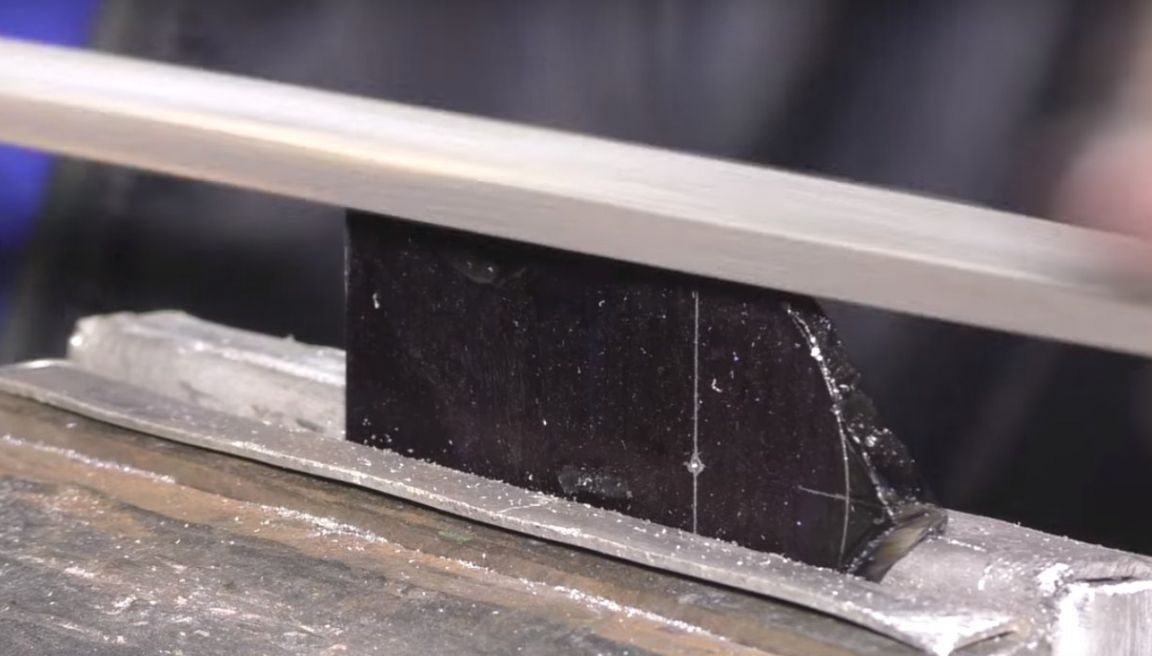
After rough processing, the author worked a bit with a file.
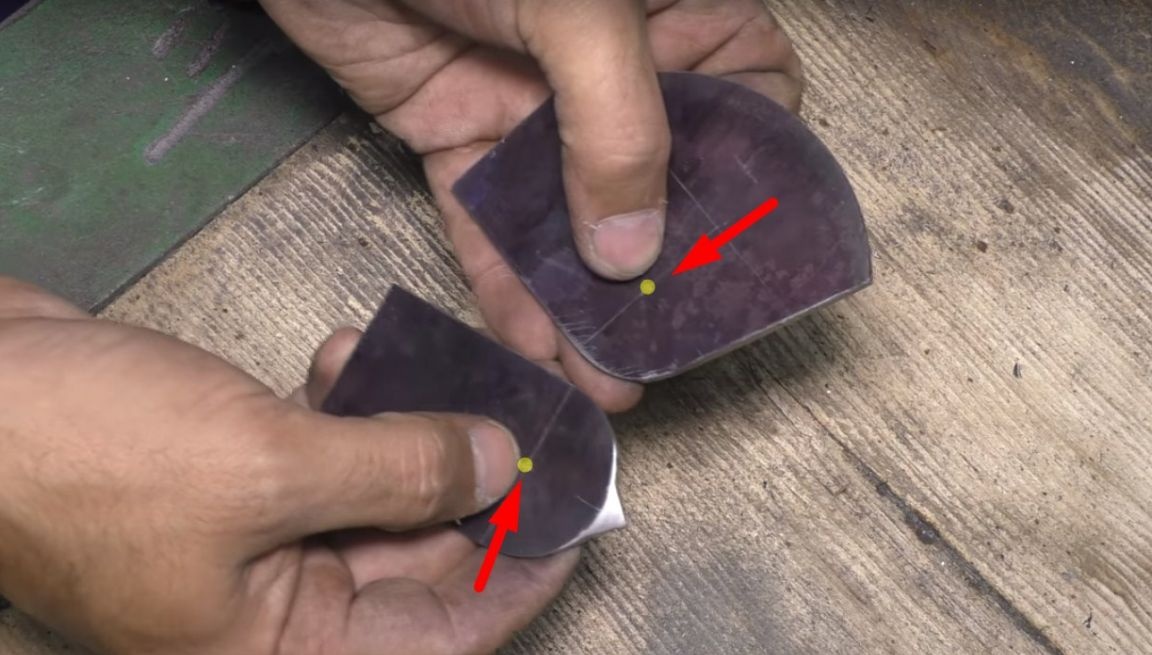
Then he cut off another piece of sheet metal and made a markup cut out.
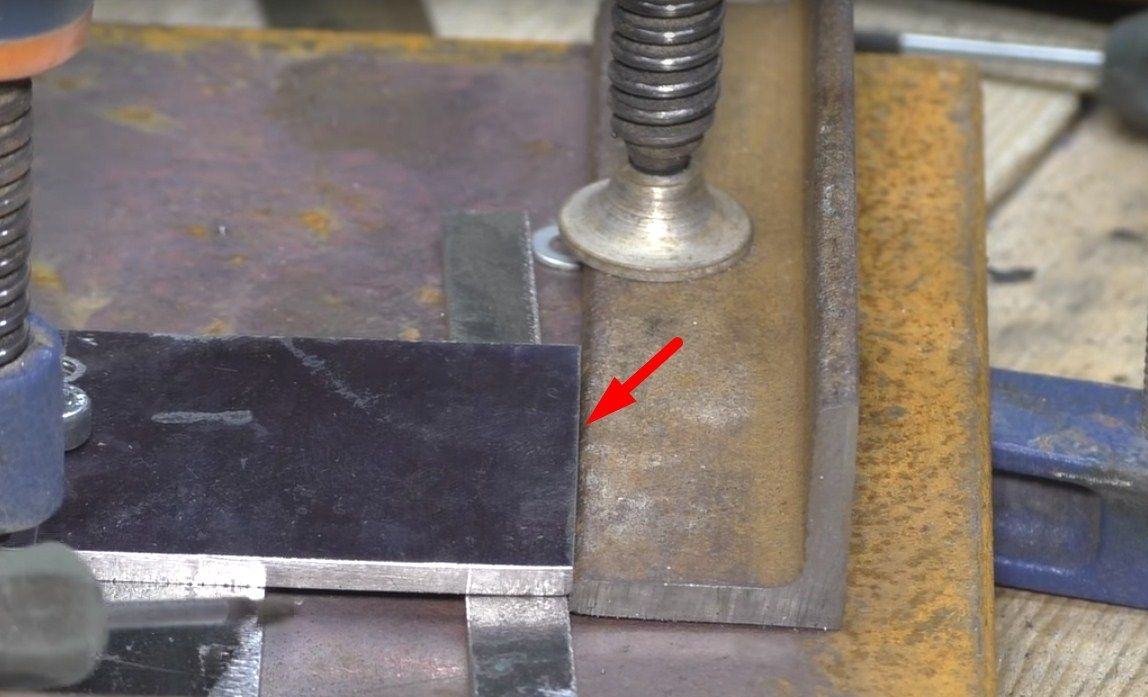
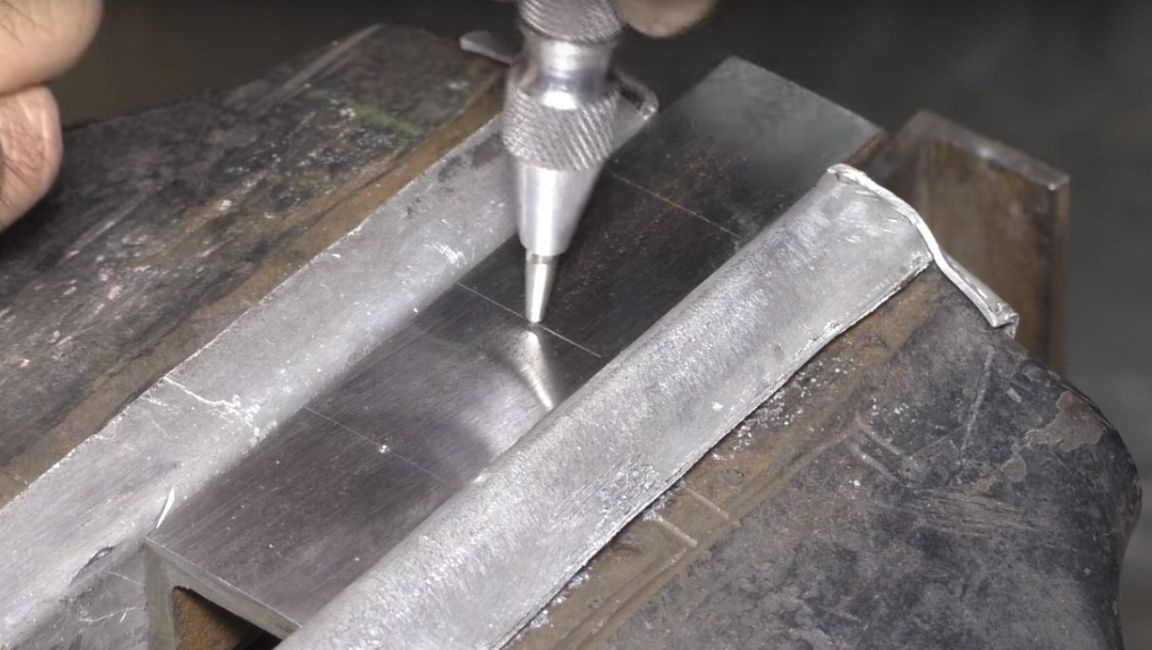
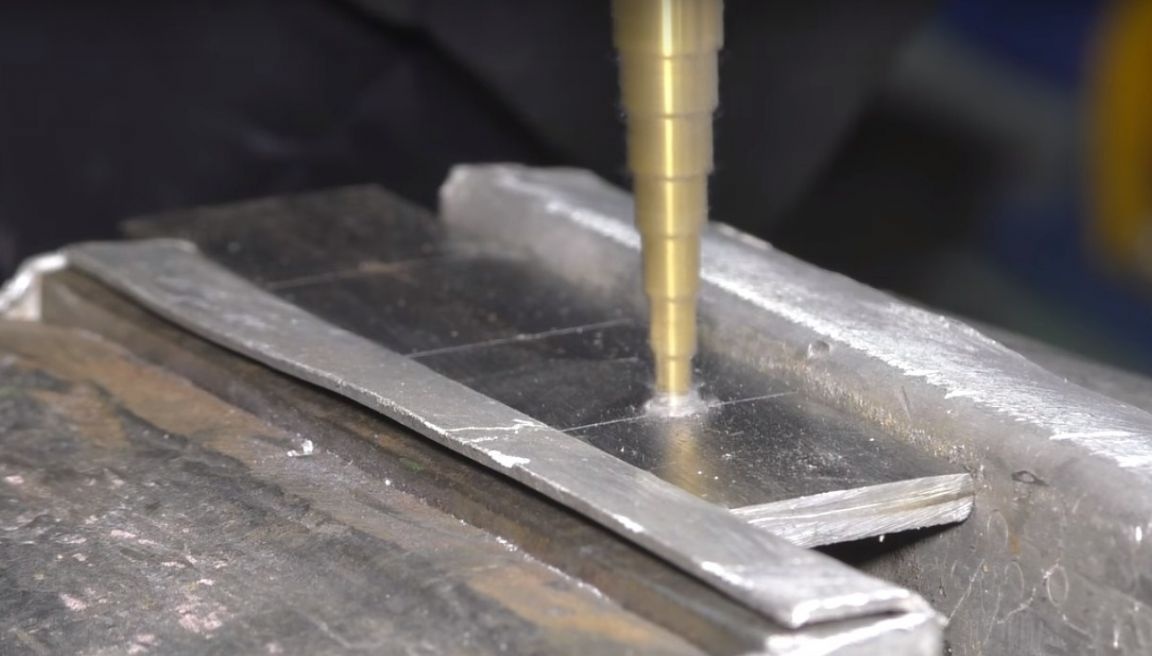
Then in these places the author turned and made holes.
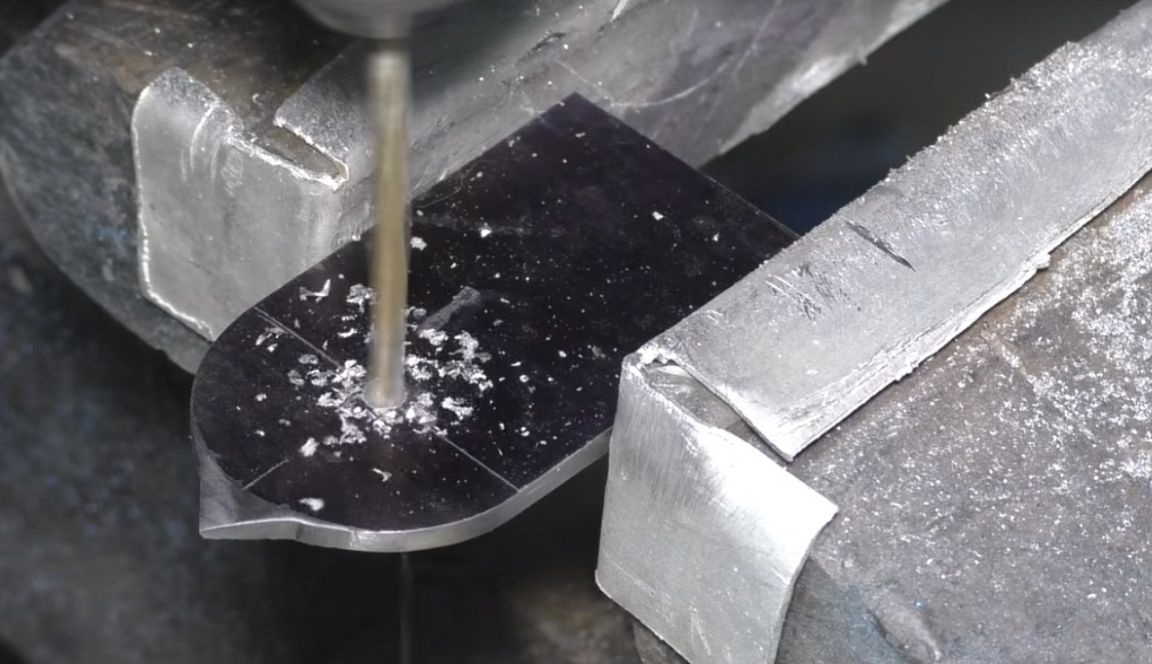
In the opening of the first part, the author cut the thread.
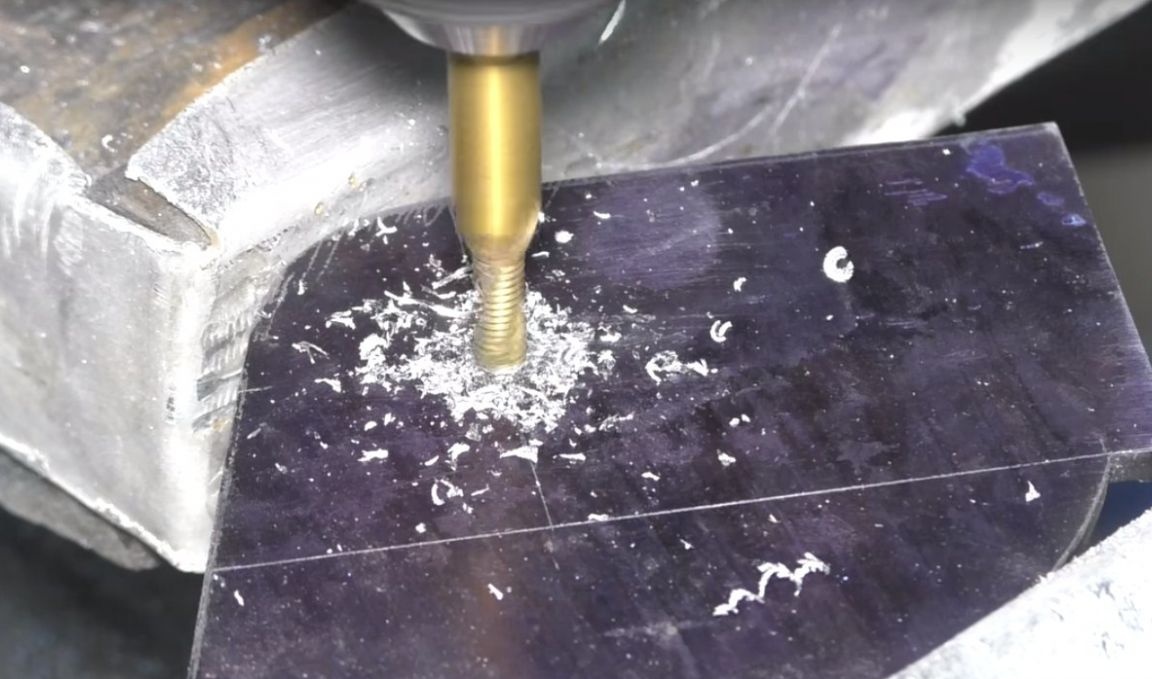
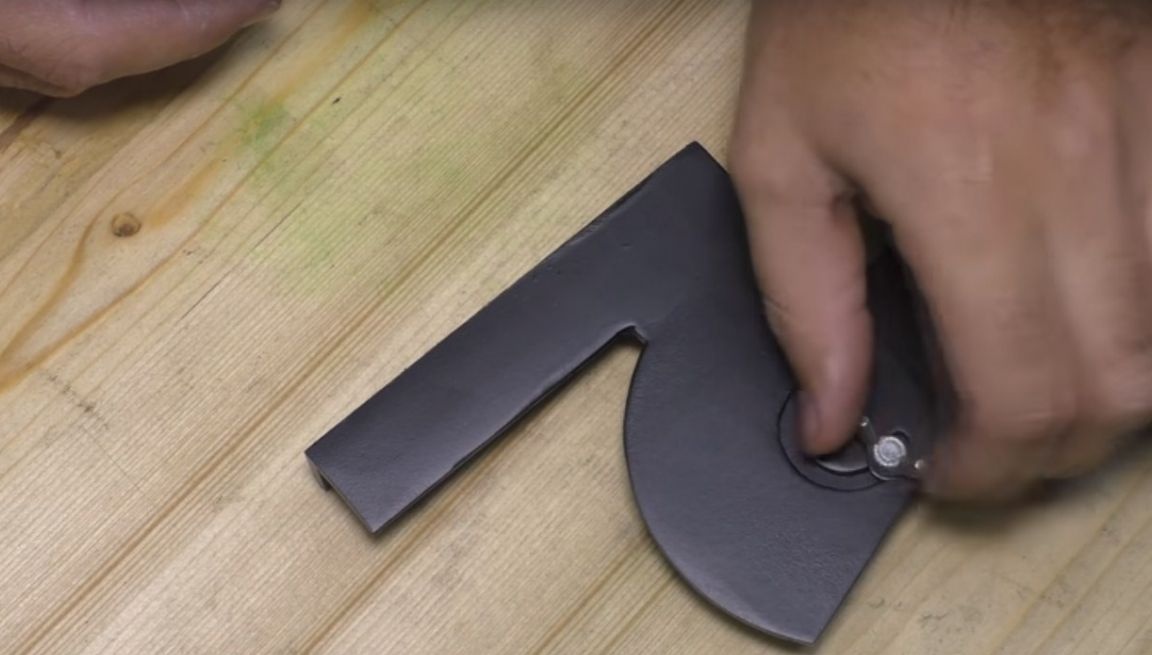
For joining two parts.
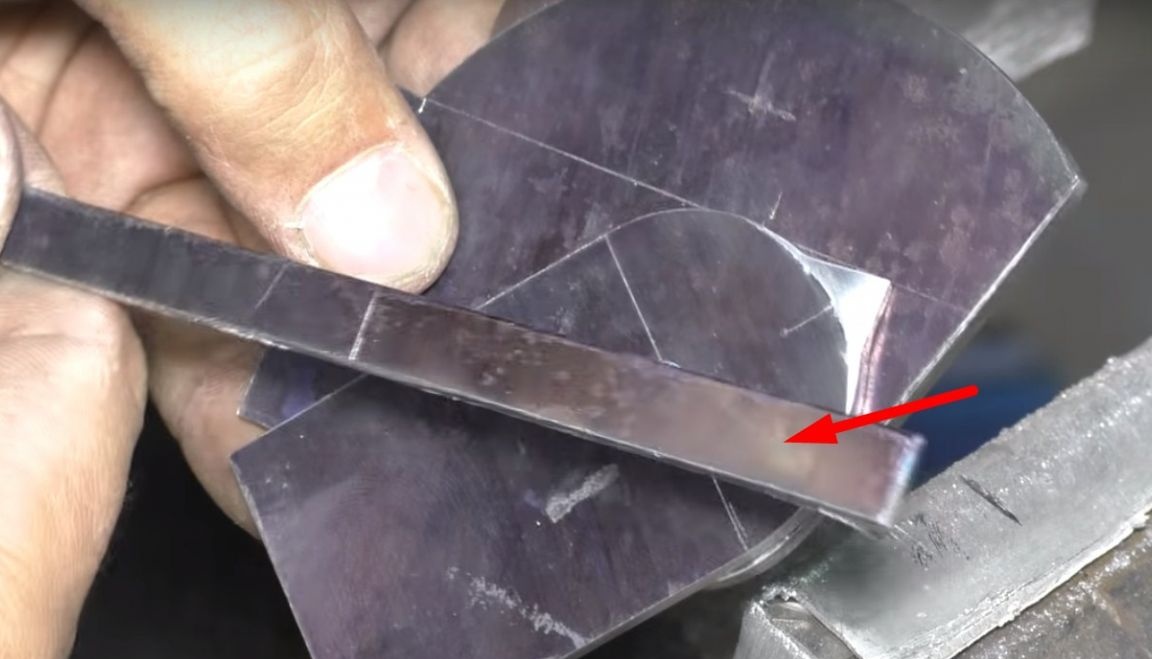
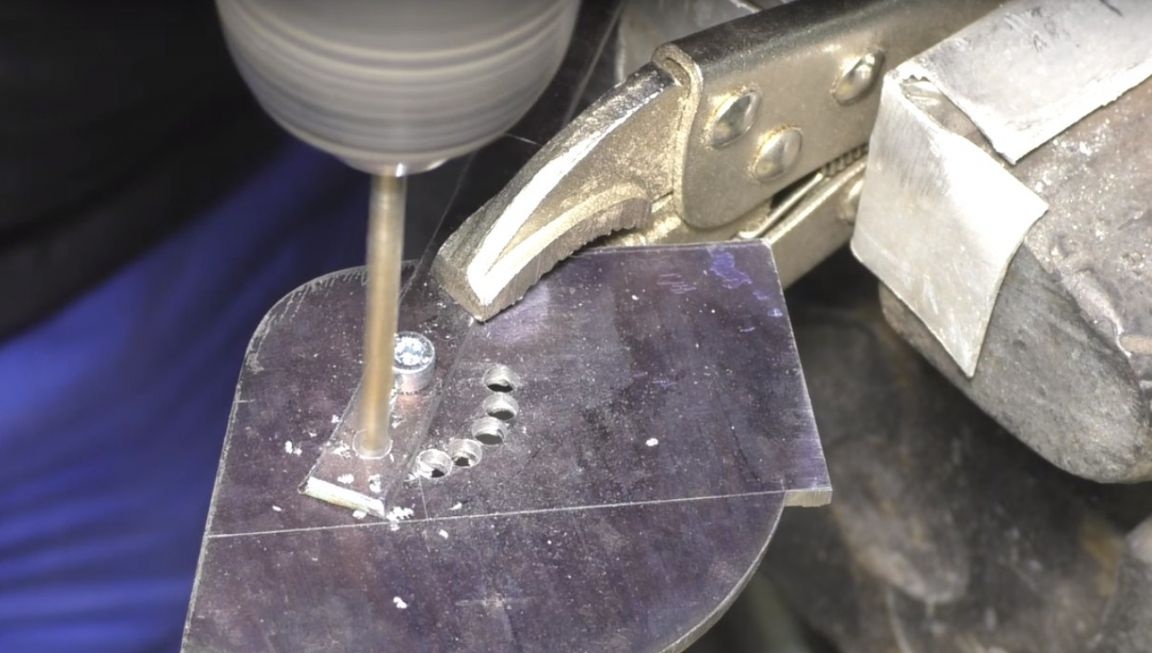
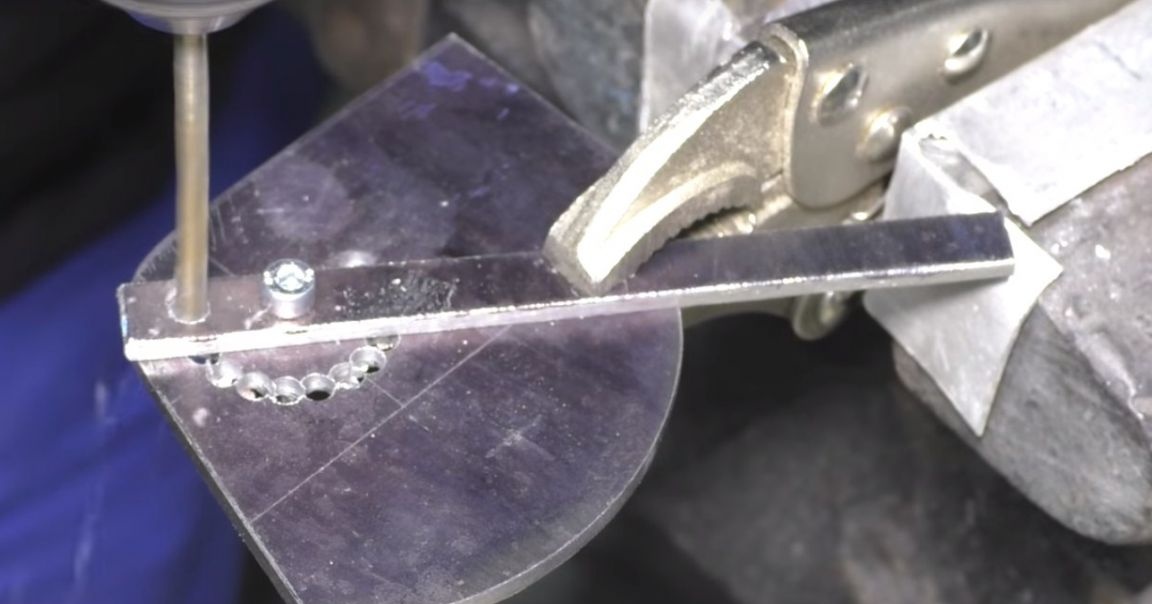
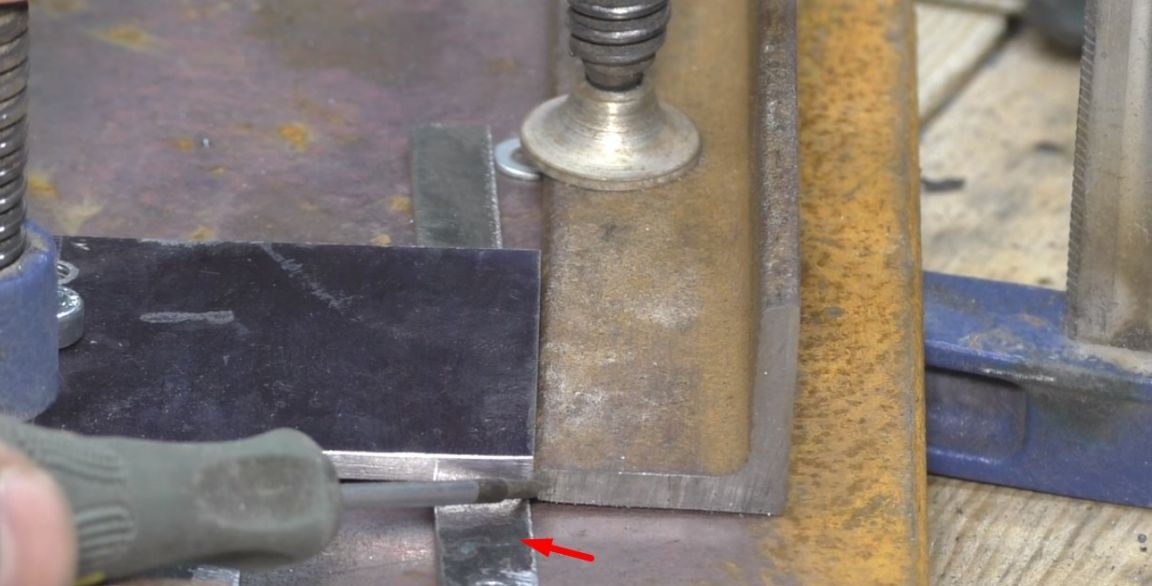
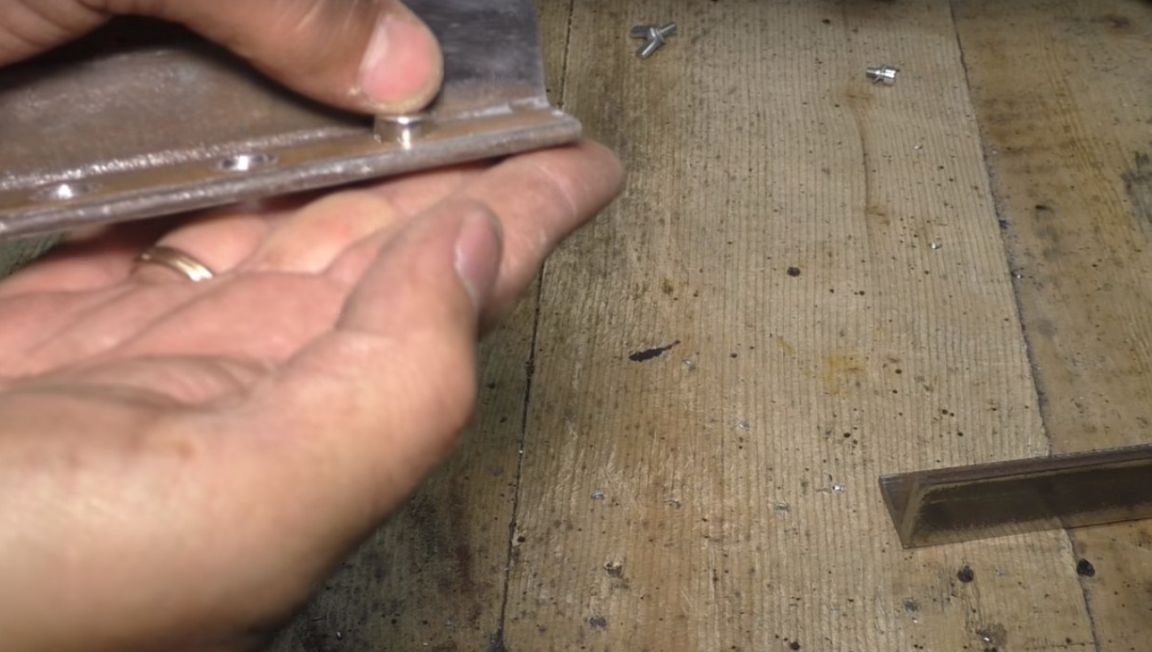
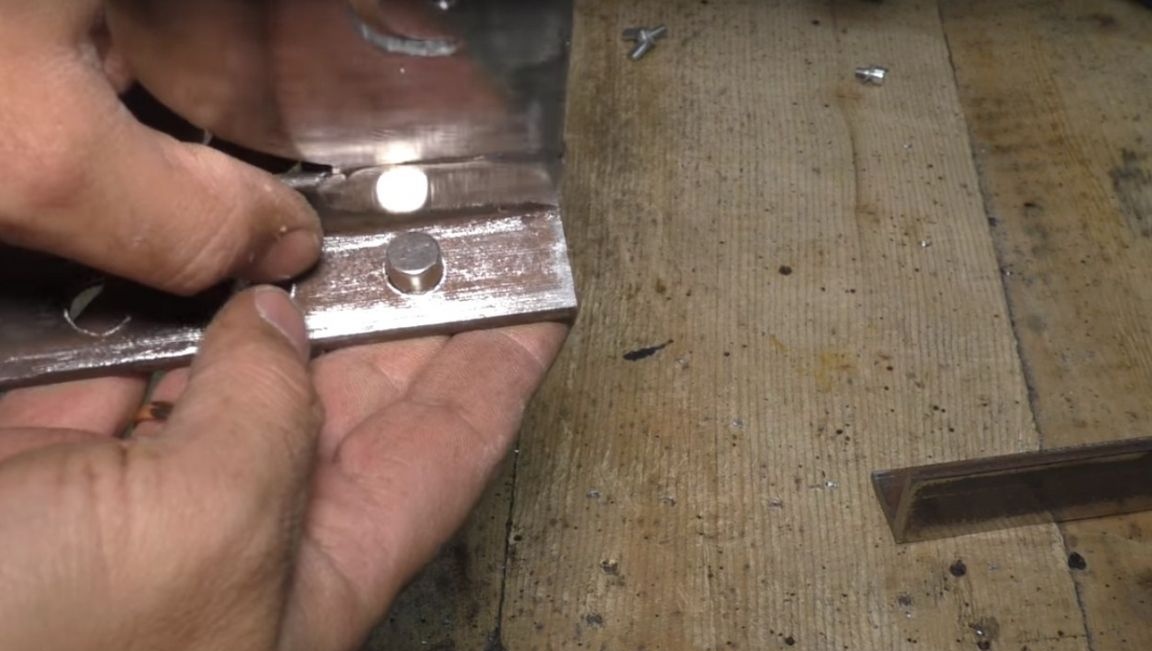
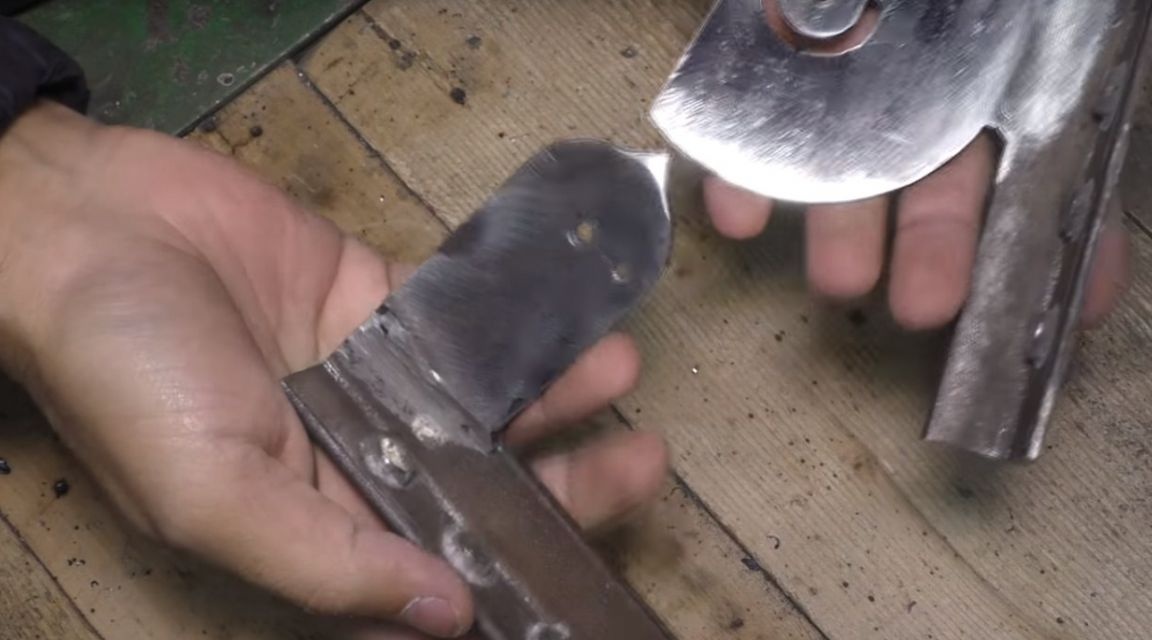
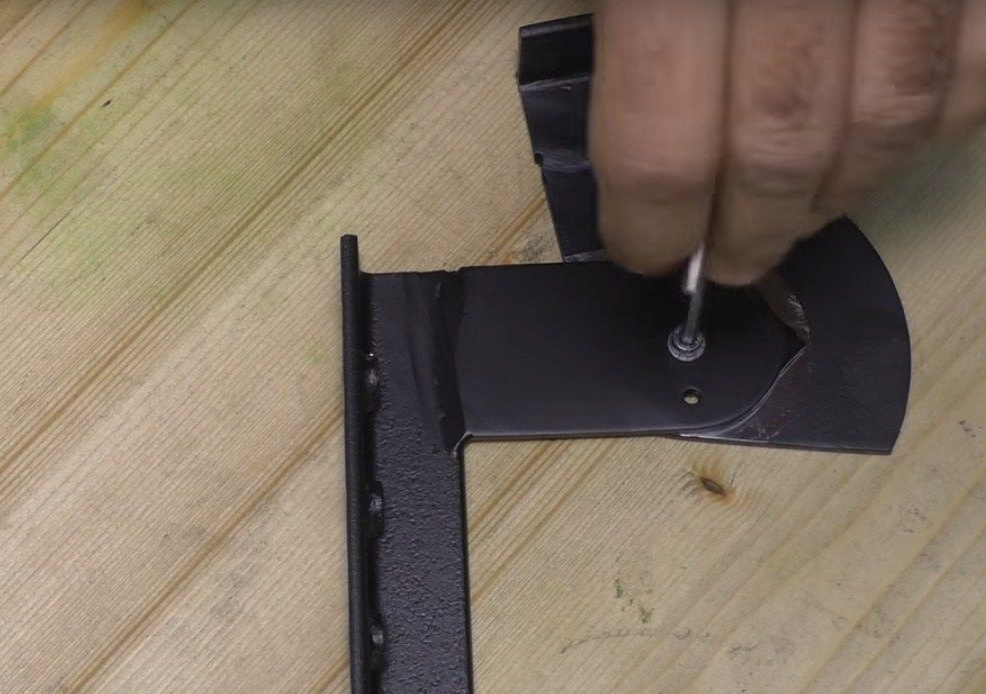
To fix parts from different angles, the author will make a groove. As a template, he will use just such a strip. Having drilled two holes in it, one in order to attach the strip-template, and the second hole will serve as a guide.
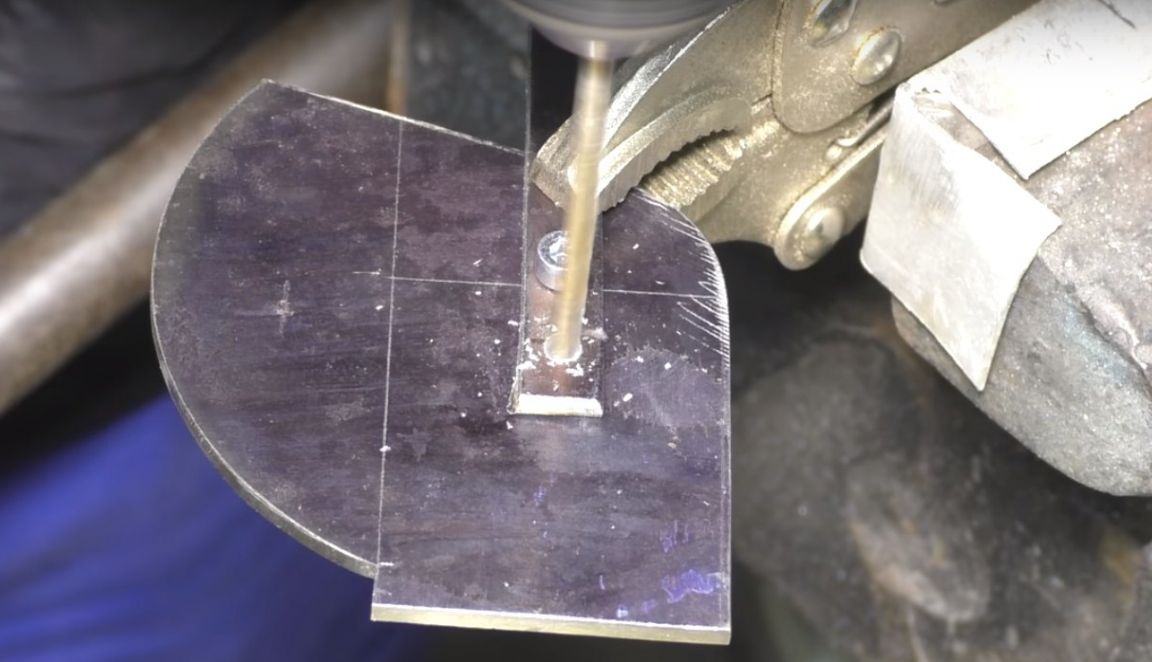
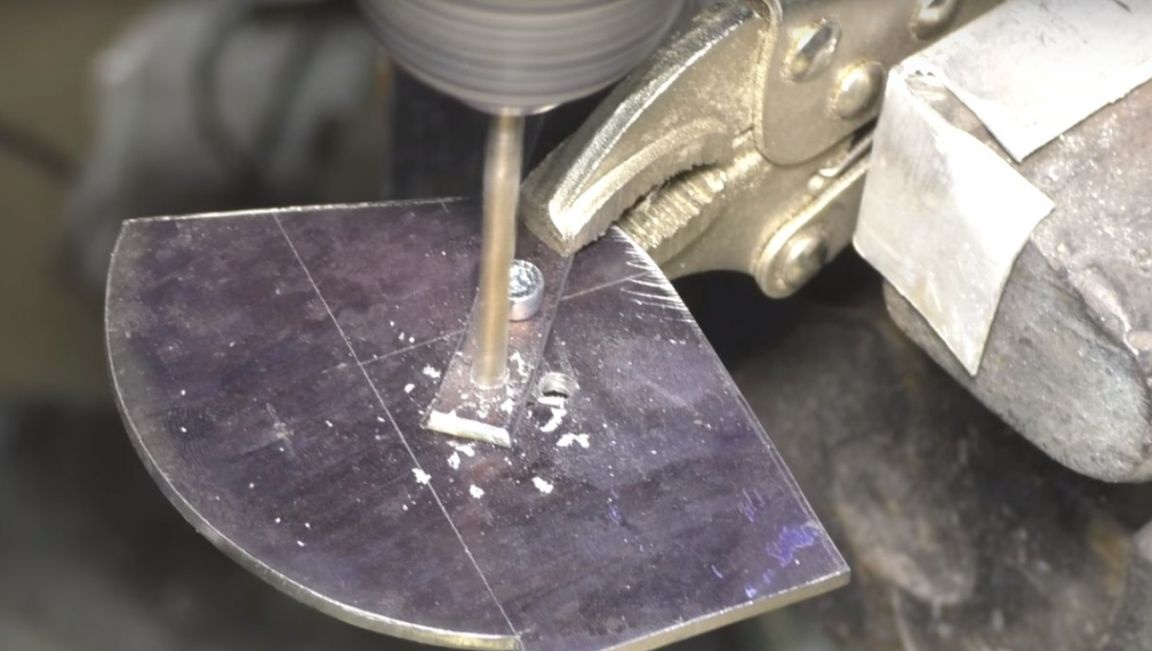
Then the author will make several holes using the finished template. Thus, as shown below.
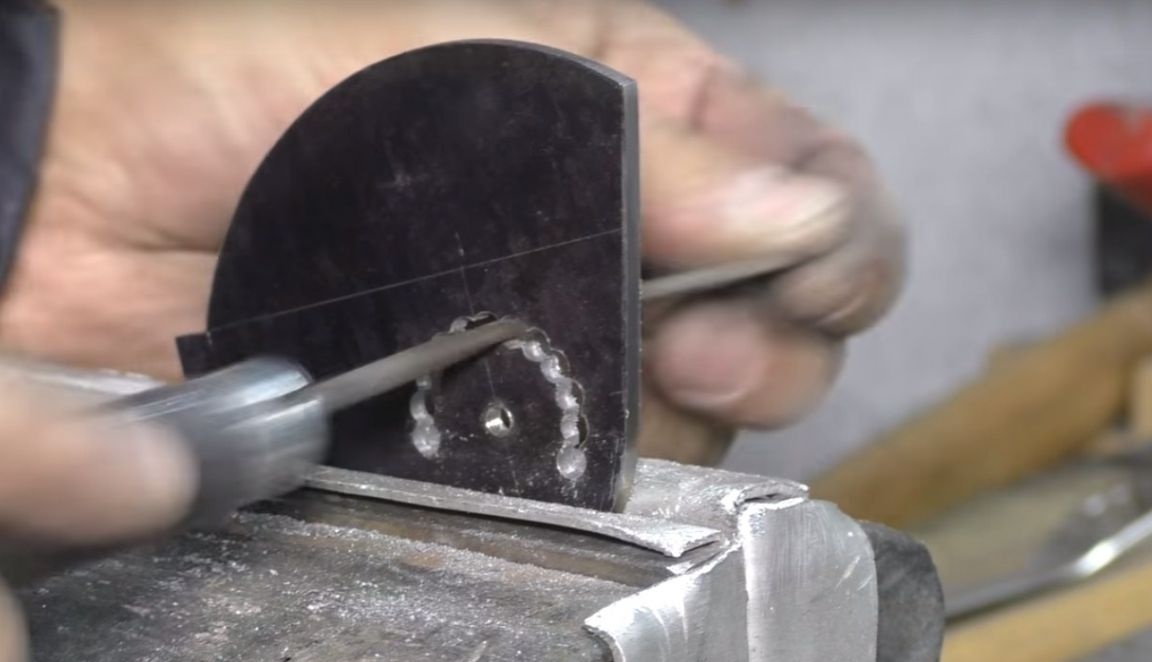
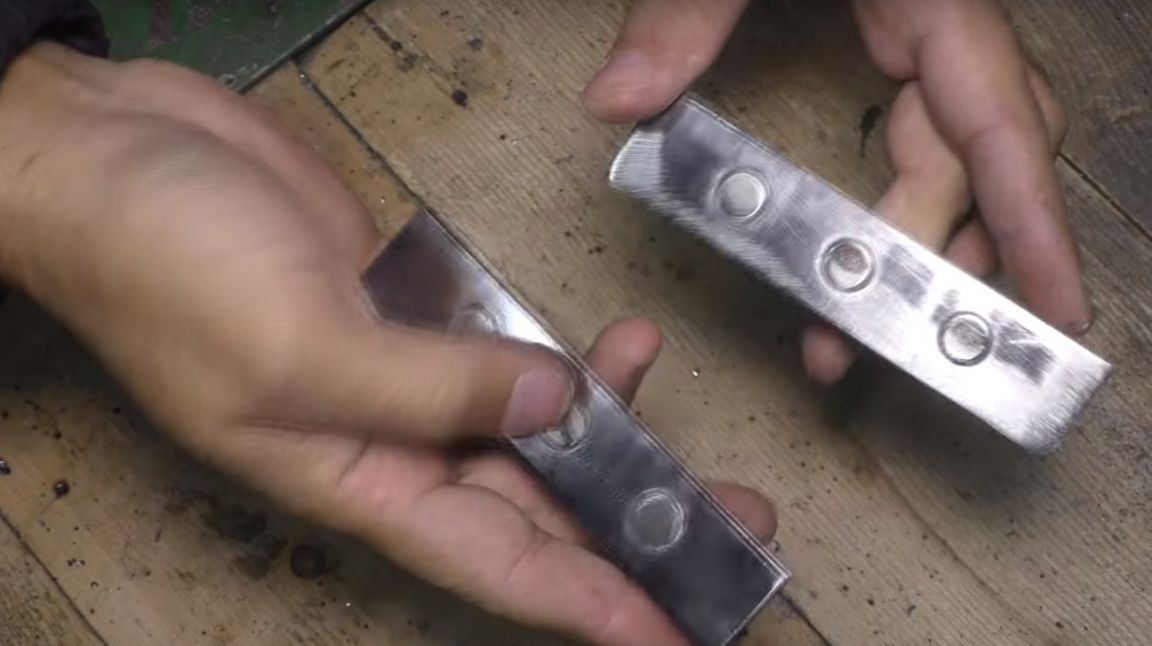
Then he will use a needle file to connect all the holes, so he will get a groove for fixing parts from different angles.
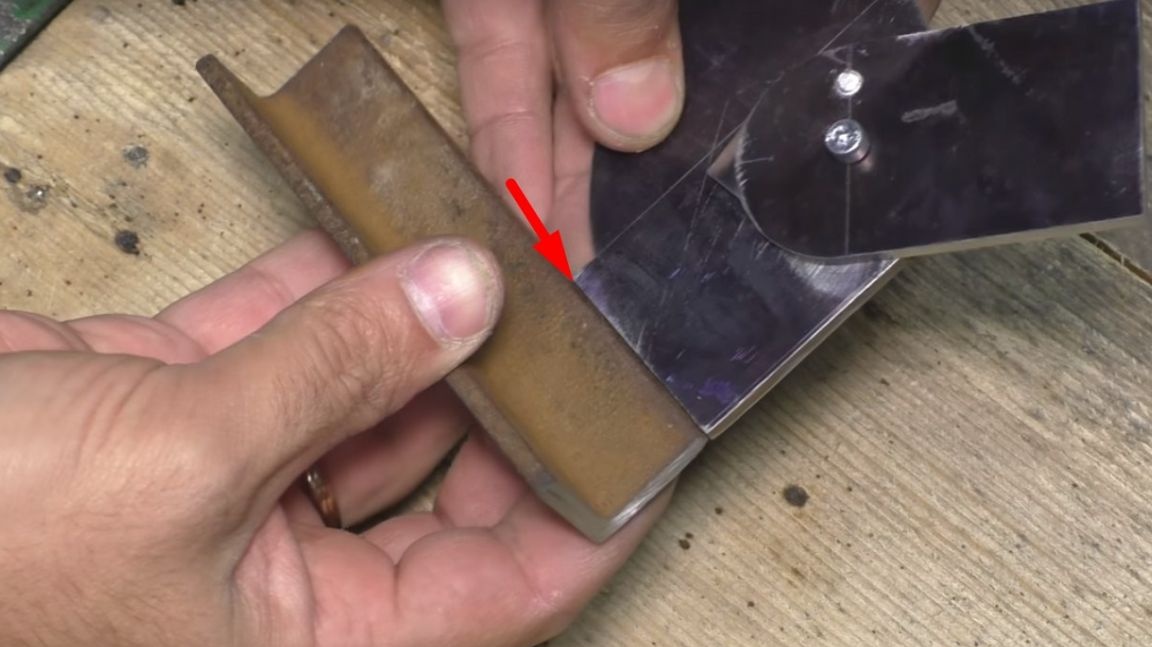
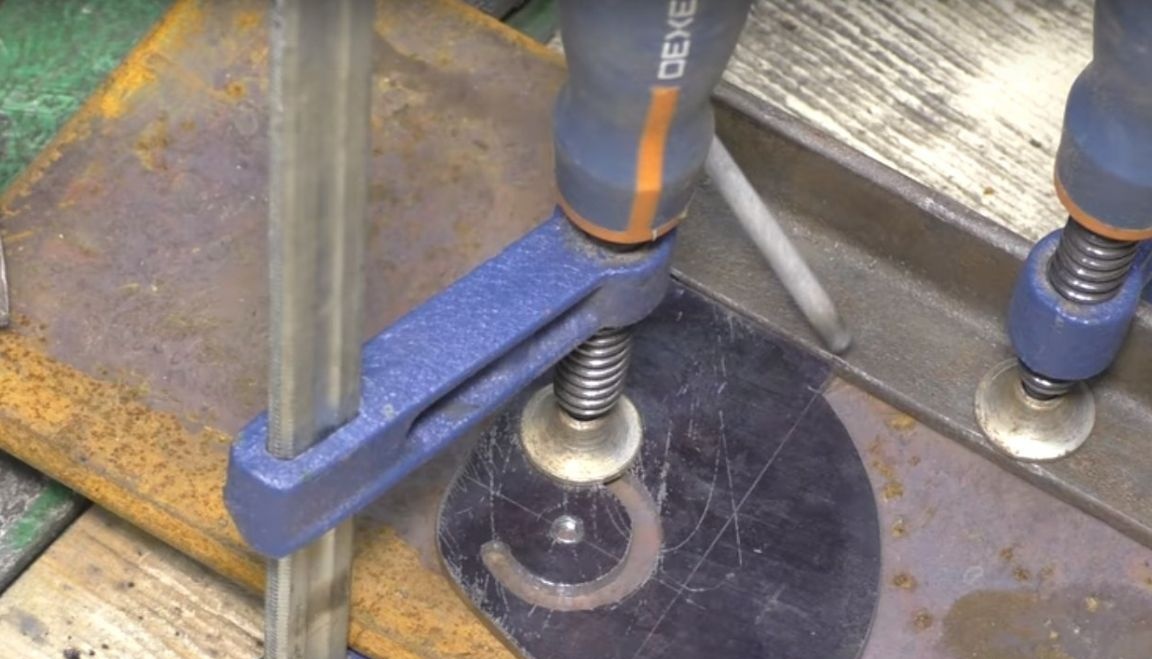
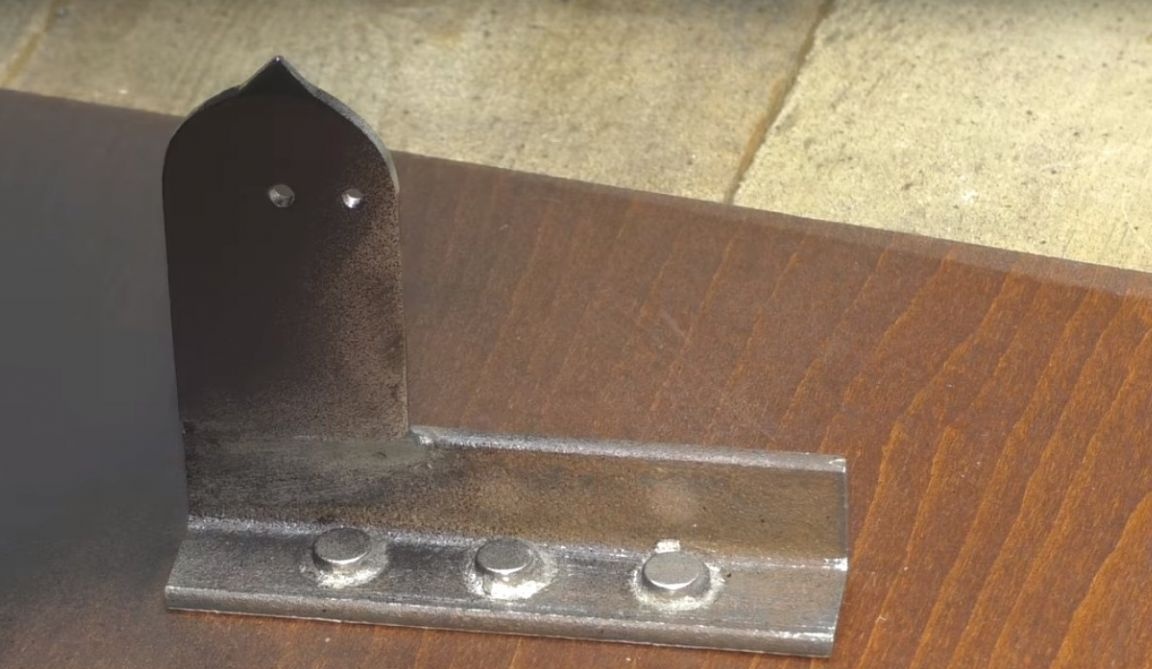
Further, the author will weld one of the corners to the first part.
Having removed the slag from the seam.
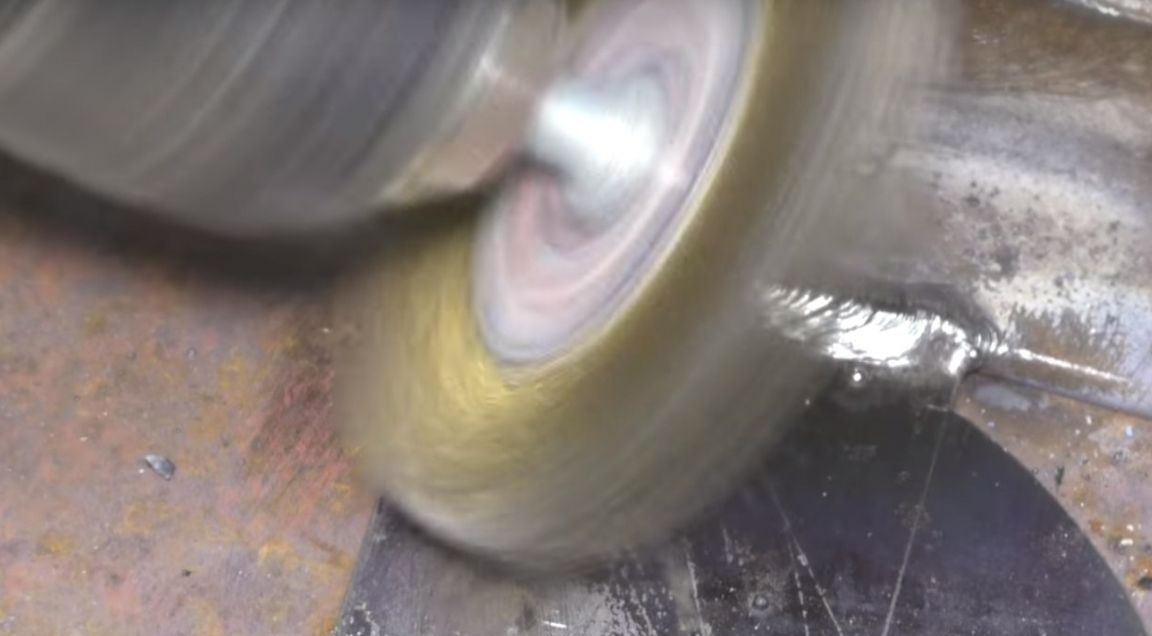
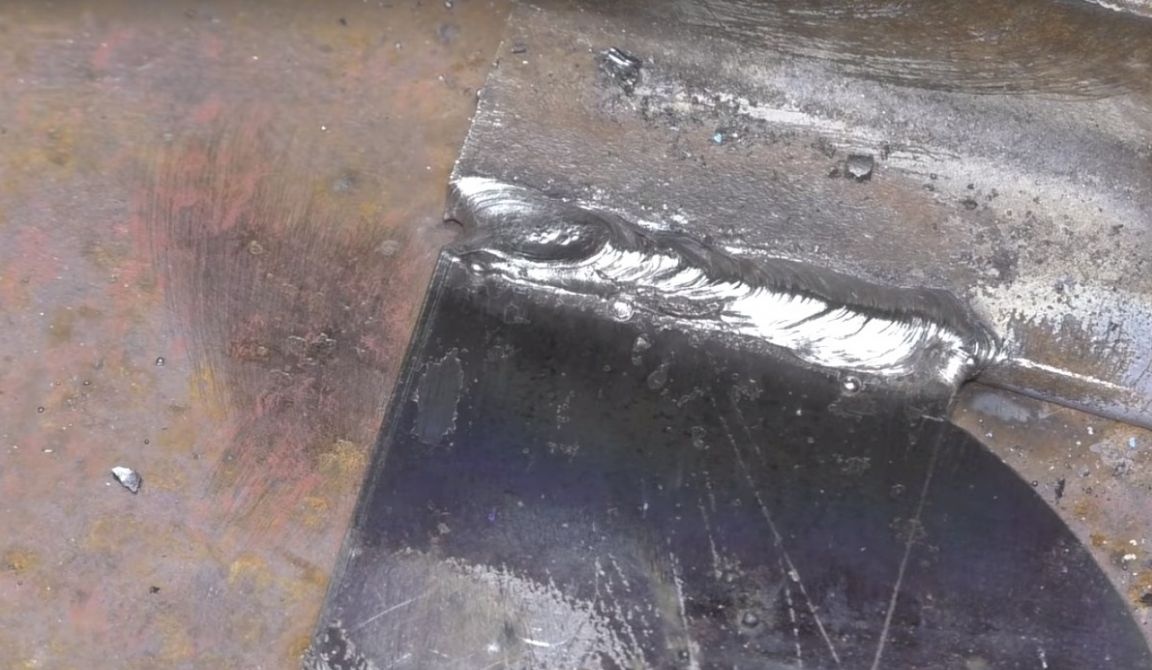
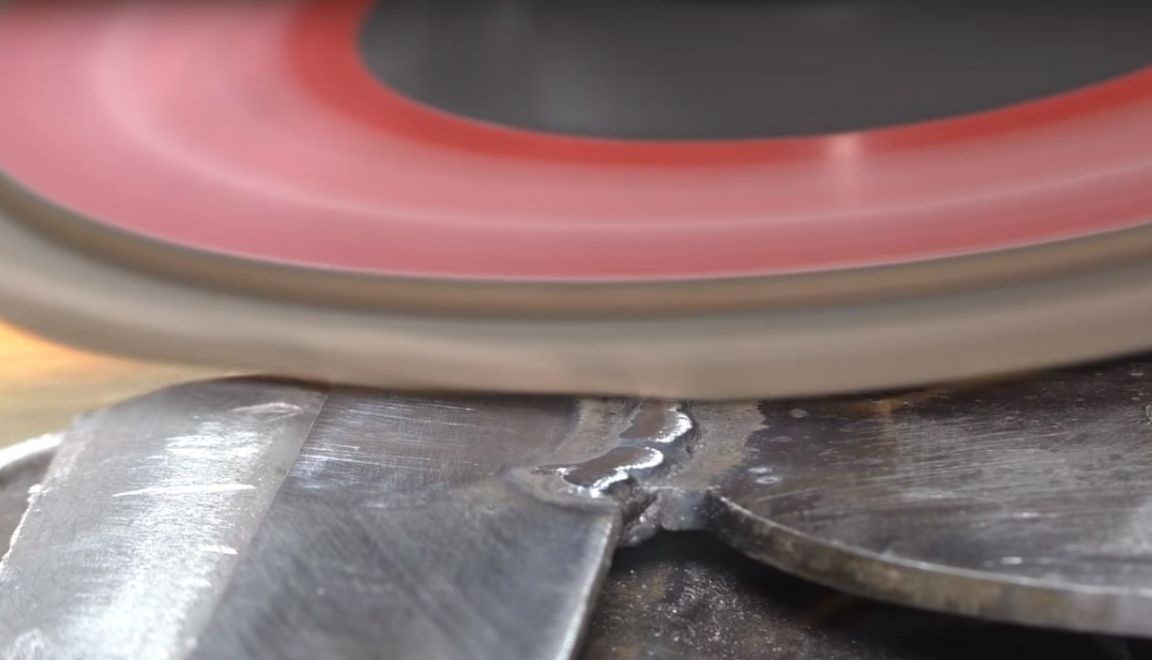
The author cleaned it up.
He will weld the second corner to the second part.
And so that the corners were on the same level, under the second part he put a strip that was previously used as a template.
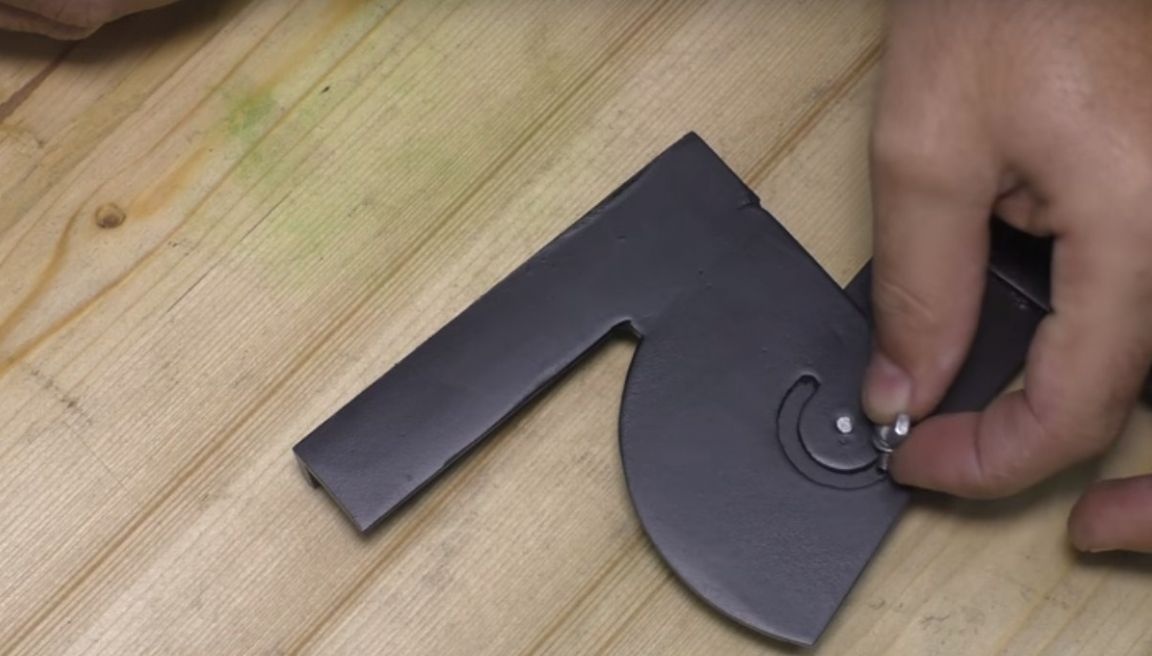
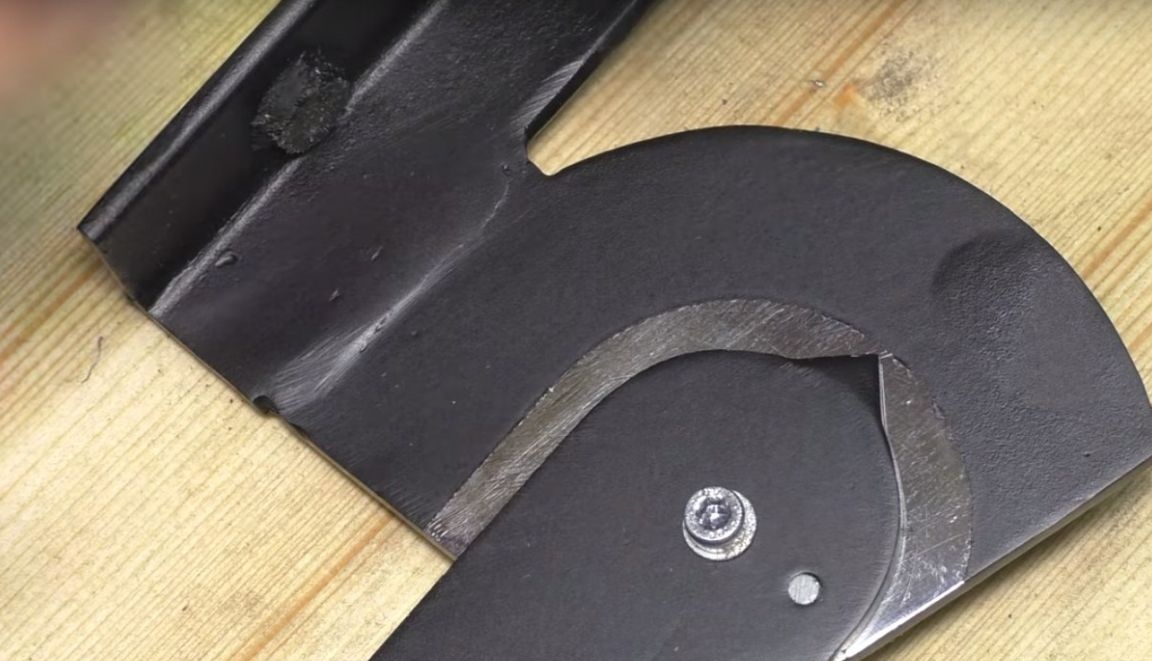
And he also made another hole in the first part and cut the thread and from the side of the groove screwed a bolt with a lamb instead of faces into it. So the author will fix the details of the tool, after setting the desired angle.
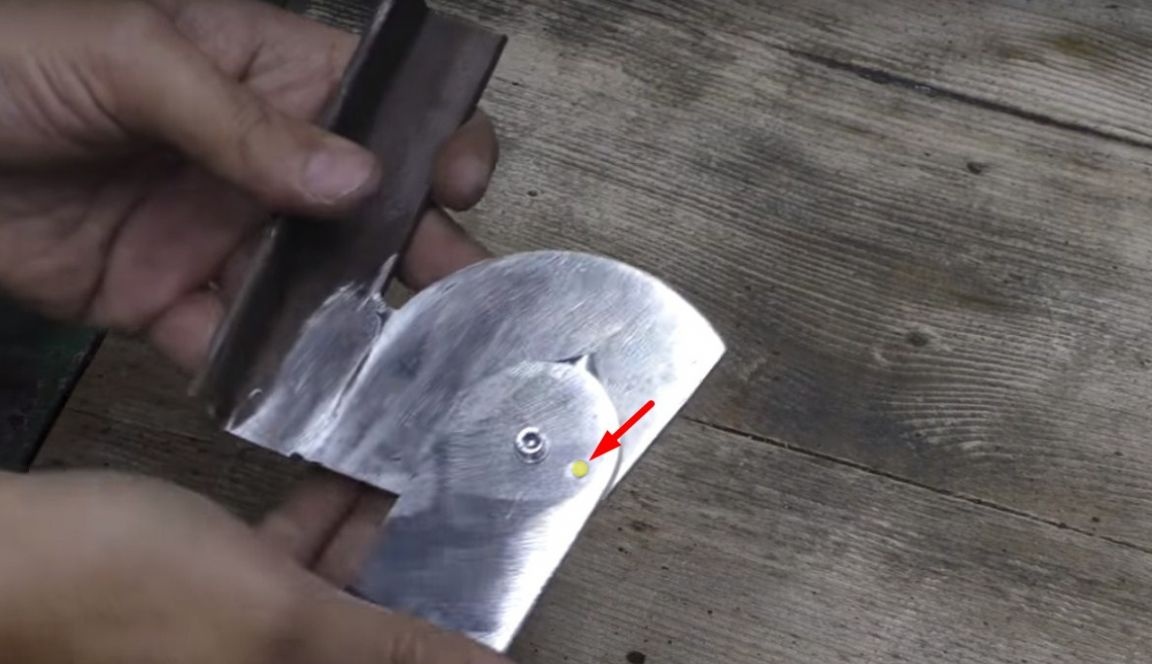
On this side of the corners, the author will place neodymium magnets. After preliminary marking and making holes, he will glue the magnets with super glue and soda.
Next, color the details.
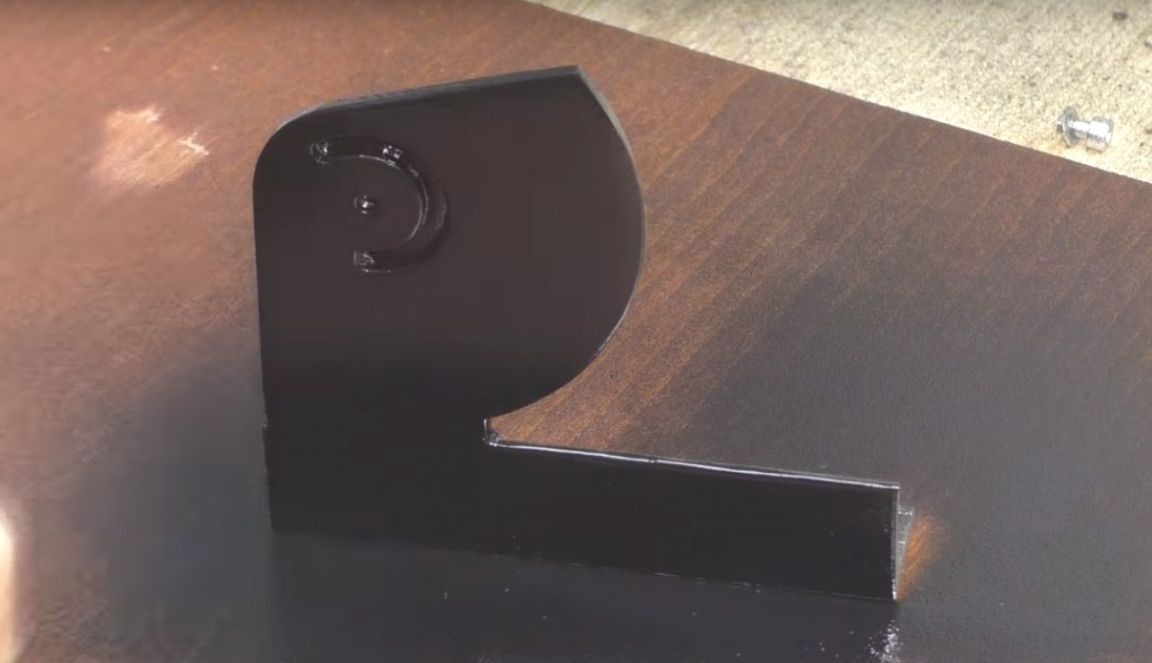
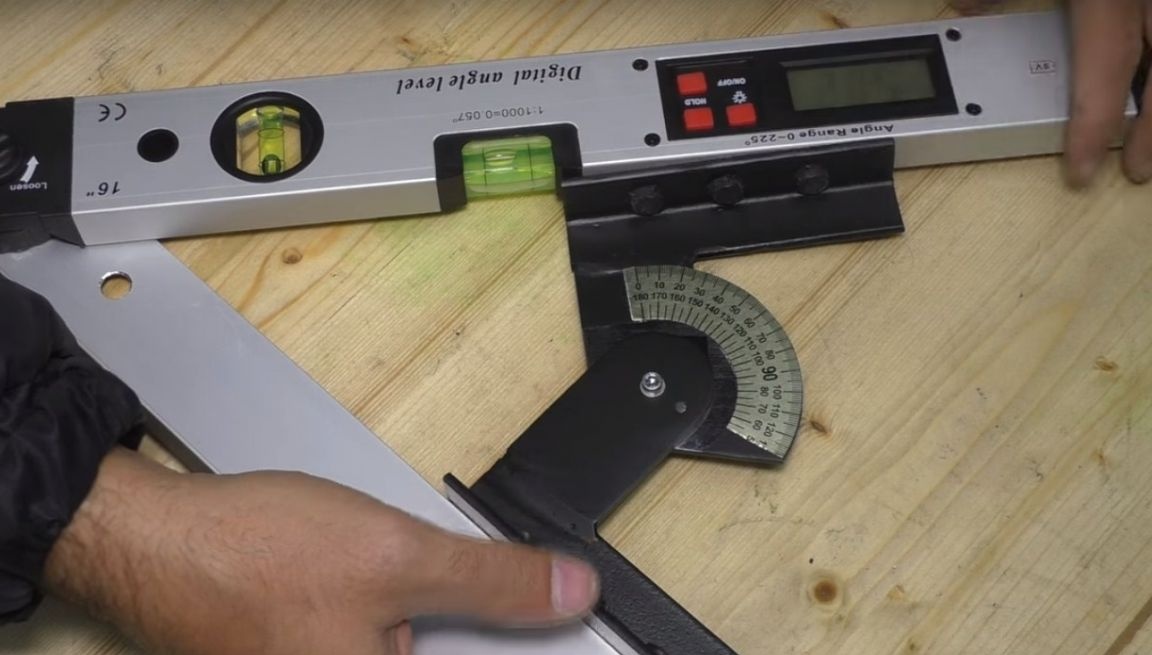
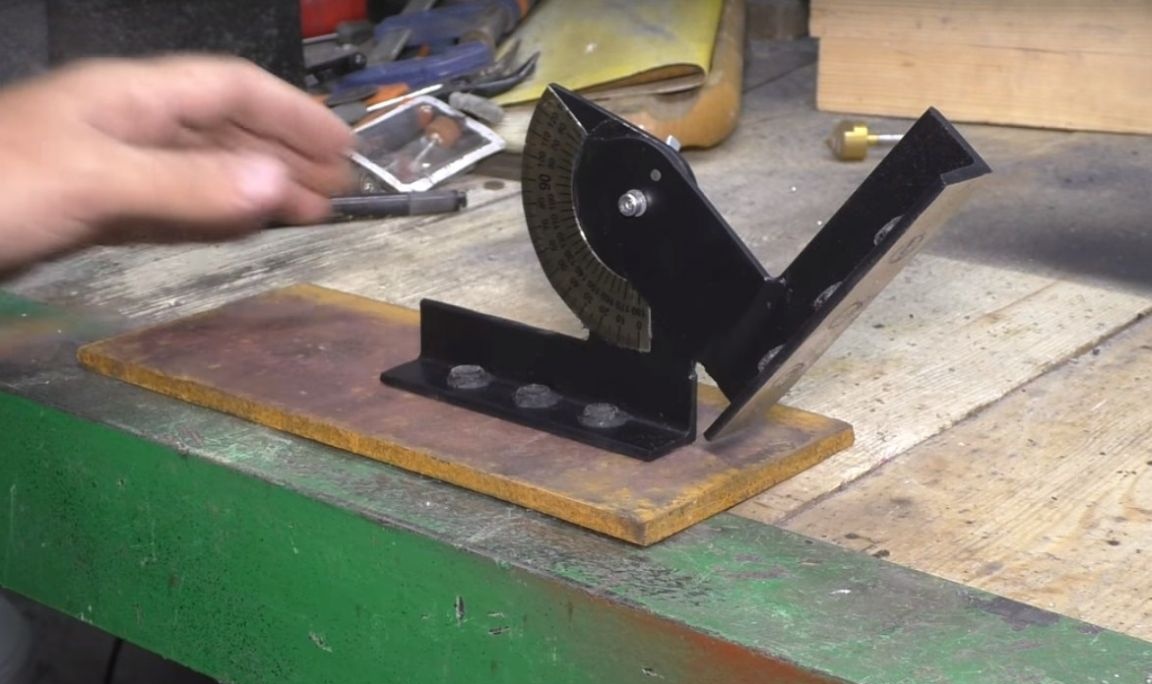
And after the paint dries, he will collect an almost finished tool.
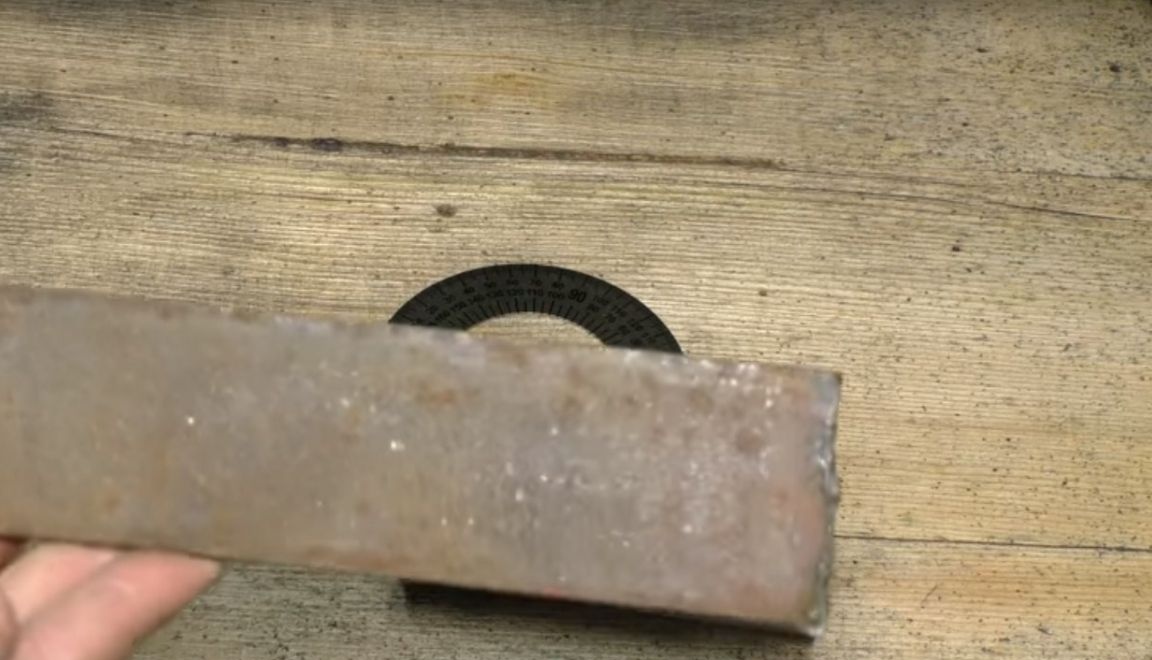
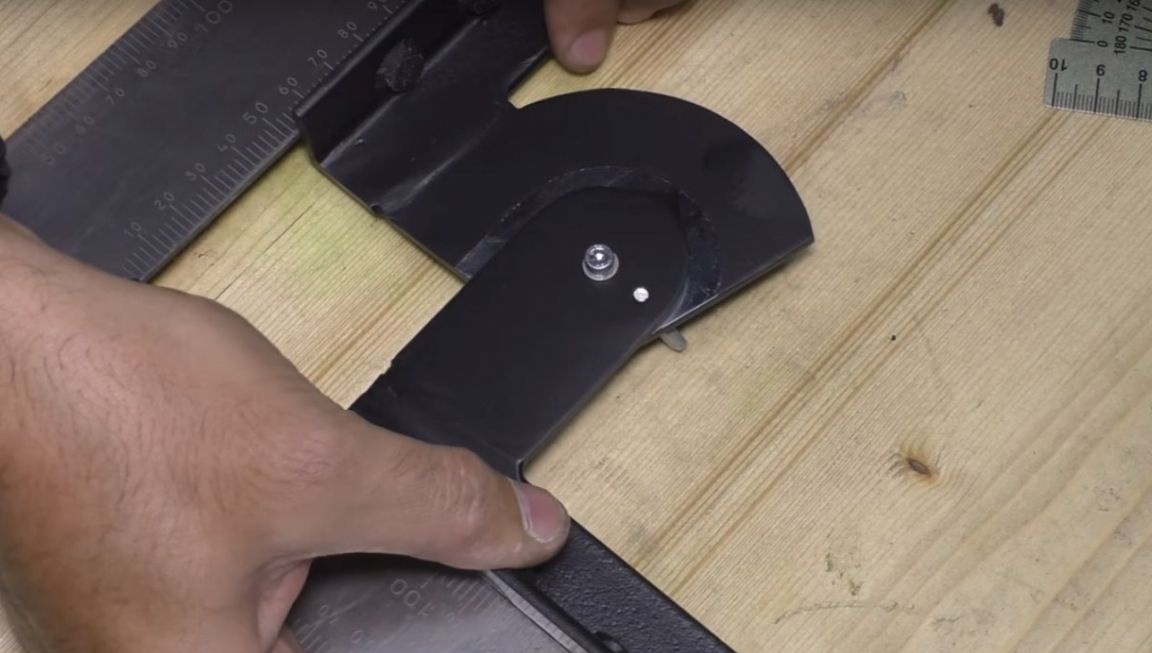
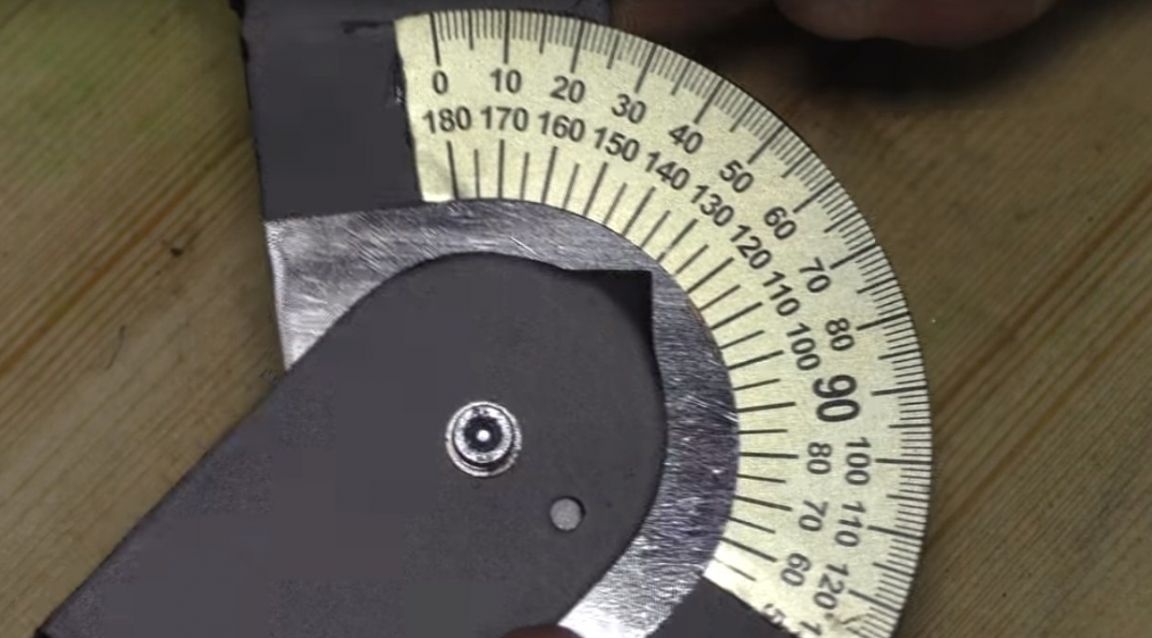
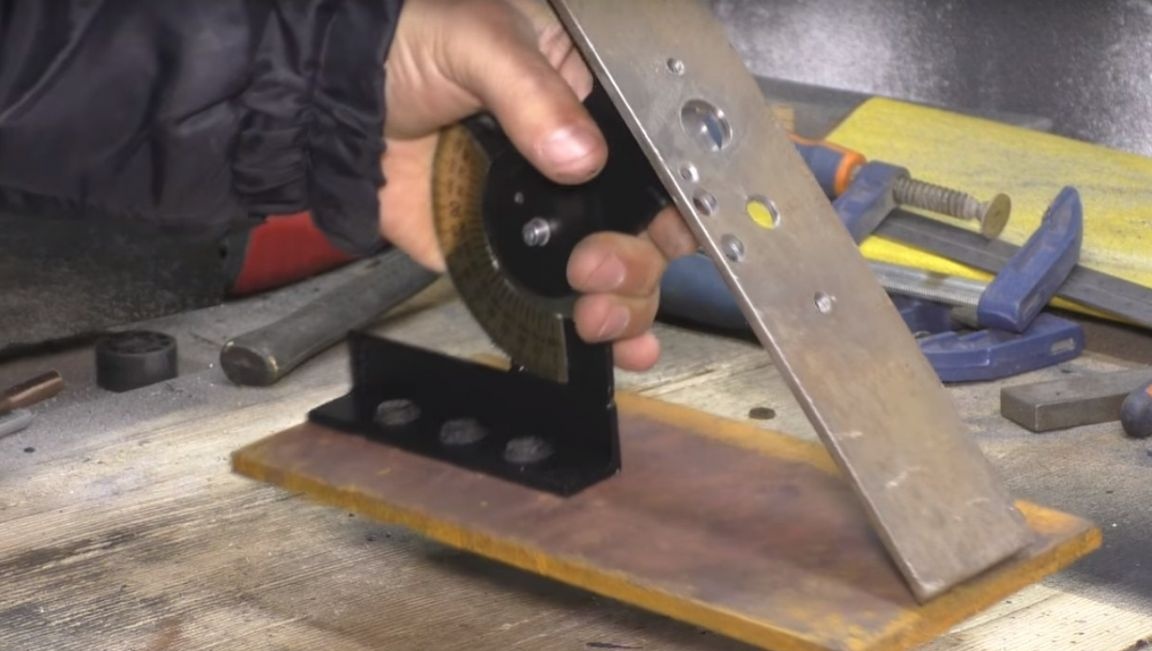
After assembly, the author using a regular square set the angle of homemade at 90 degrees.
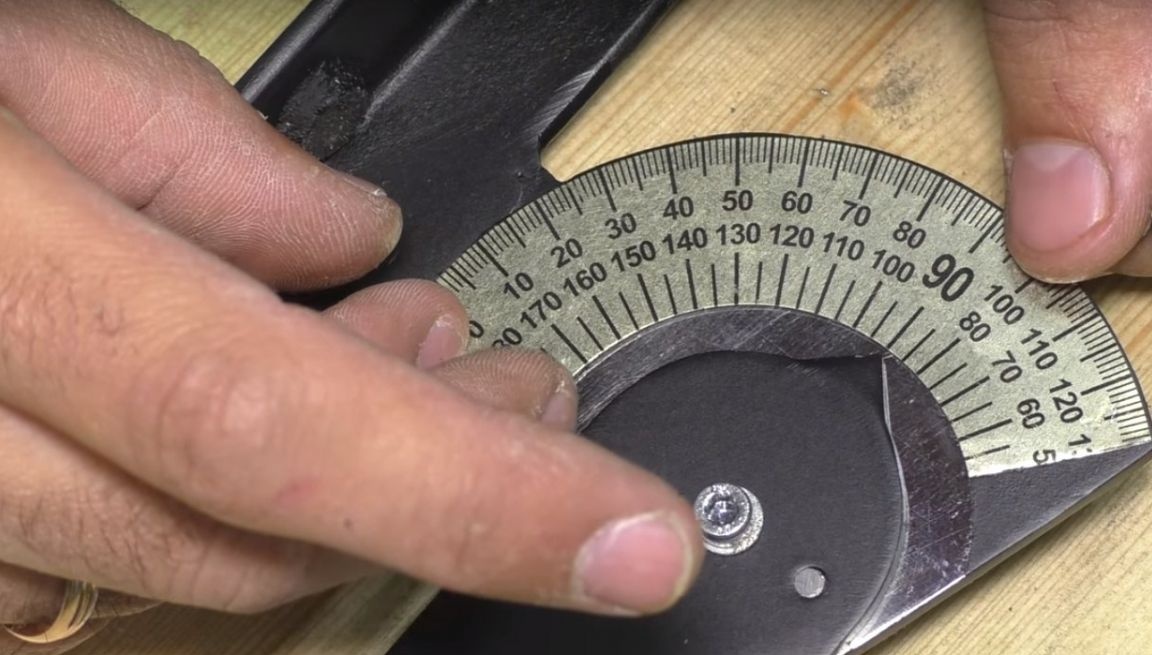
And I glued the scale from the protractor so that the pointer corresponded to 90 degrees on the scale.
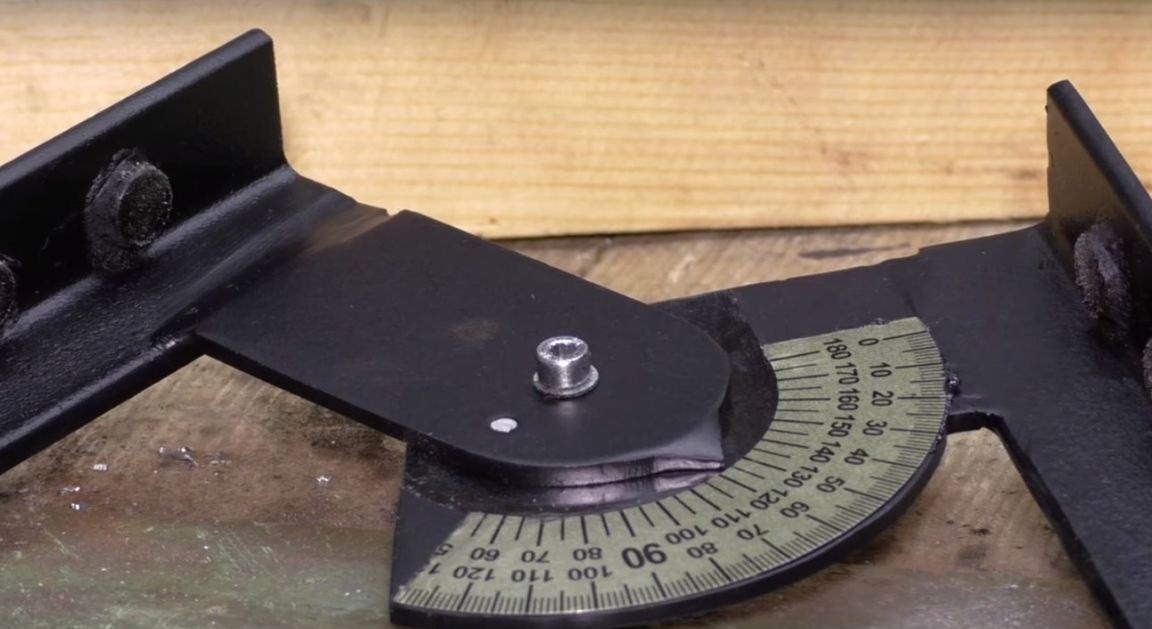
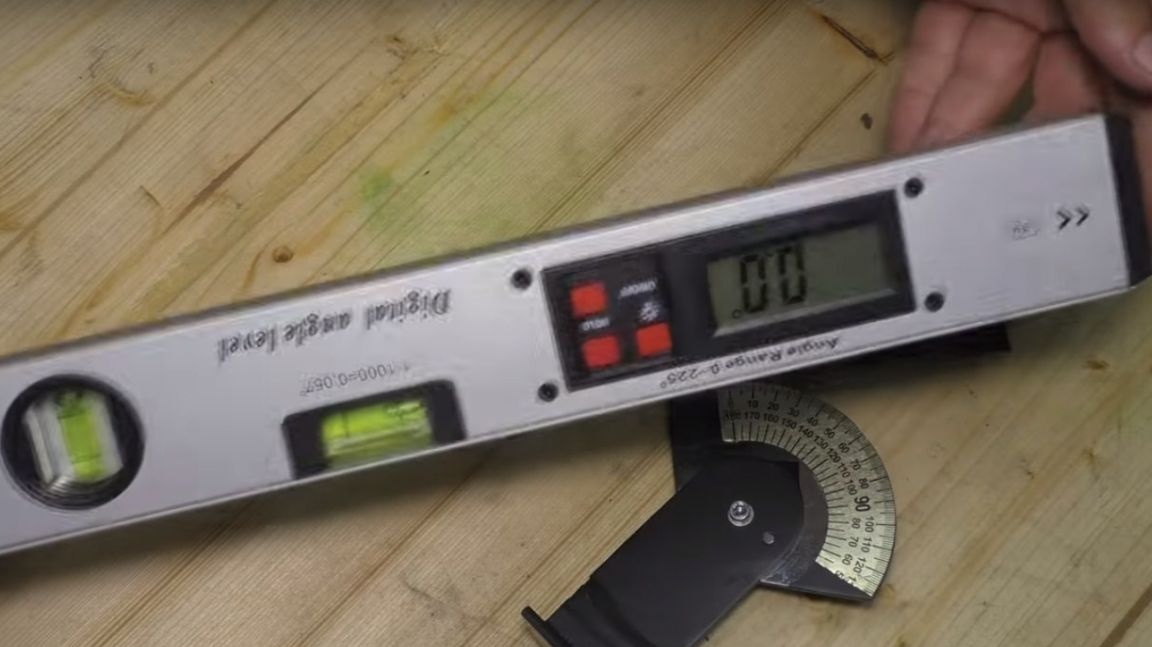
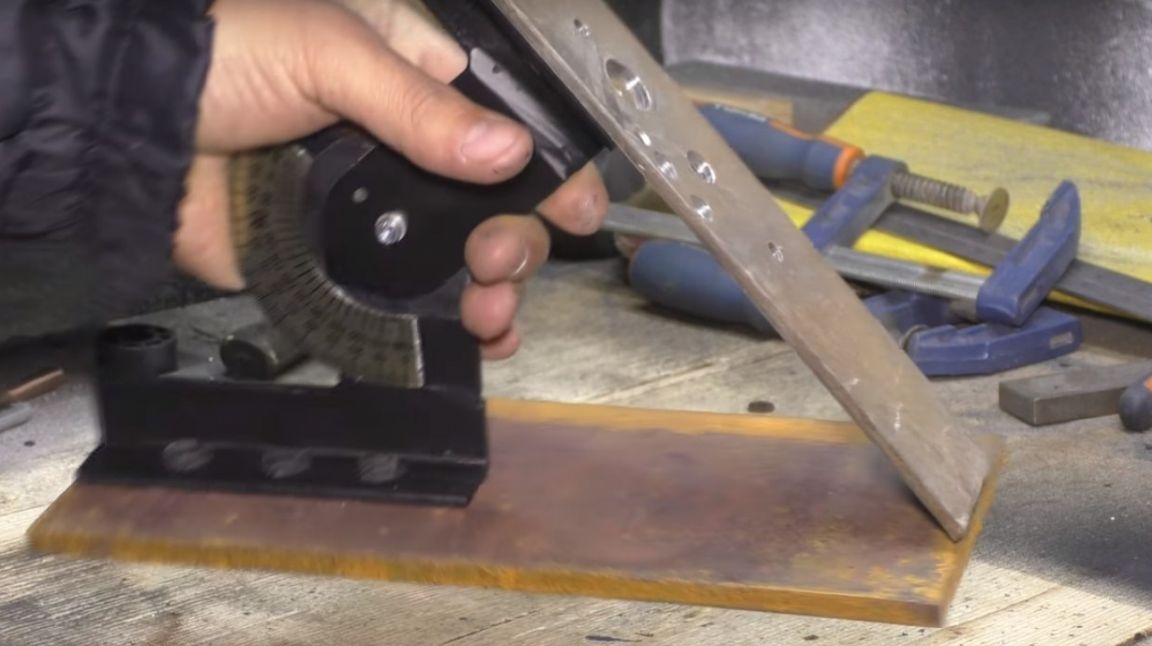
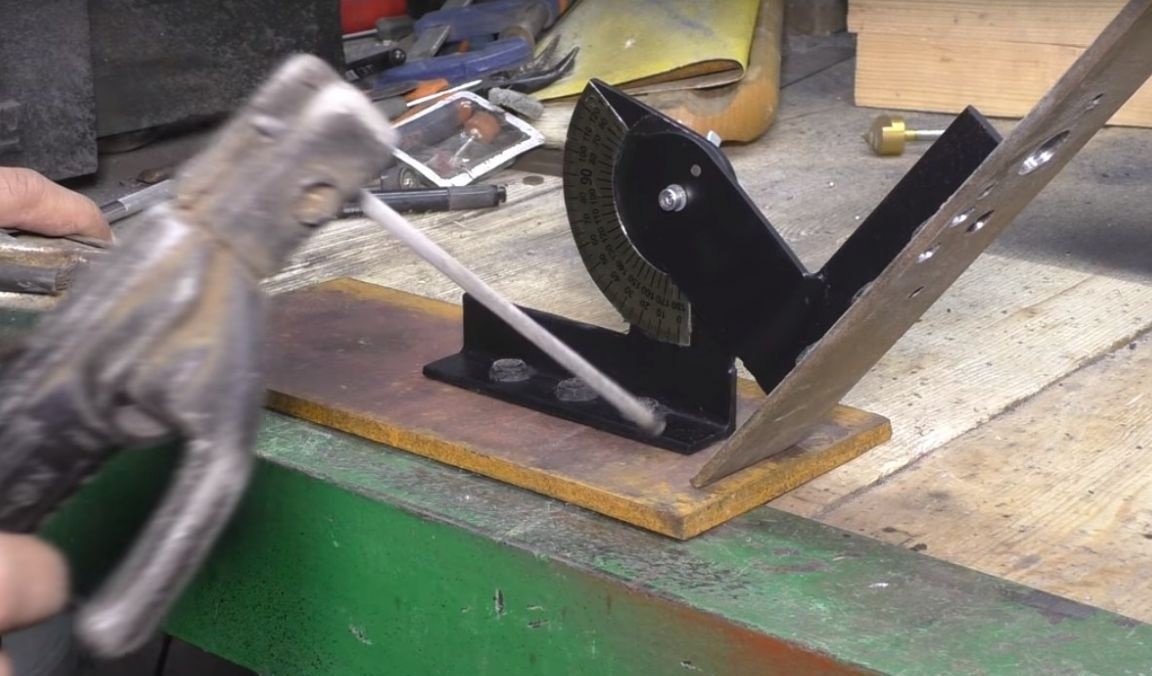
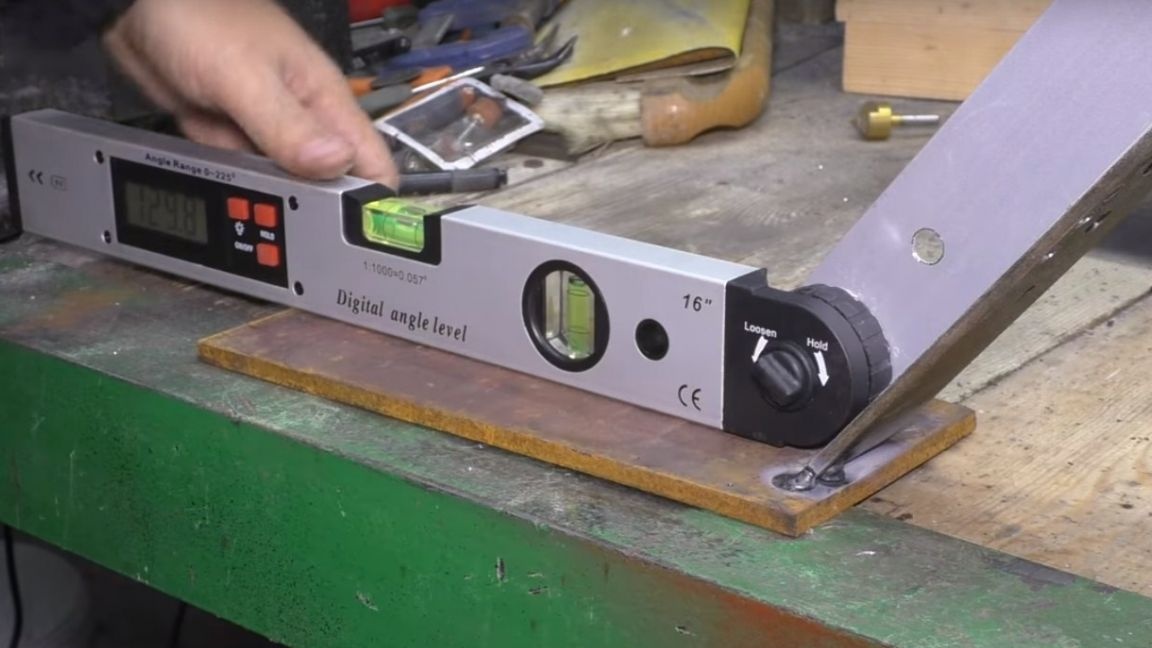
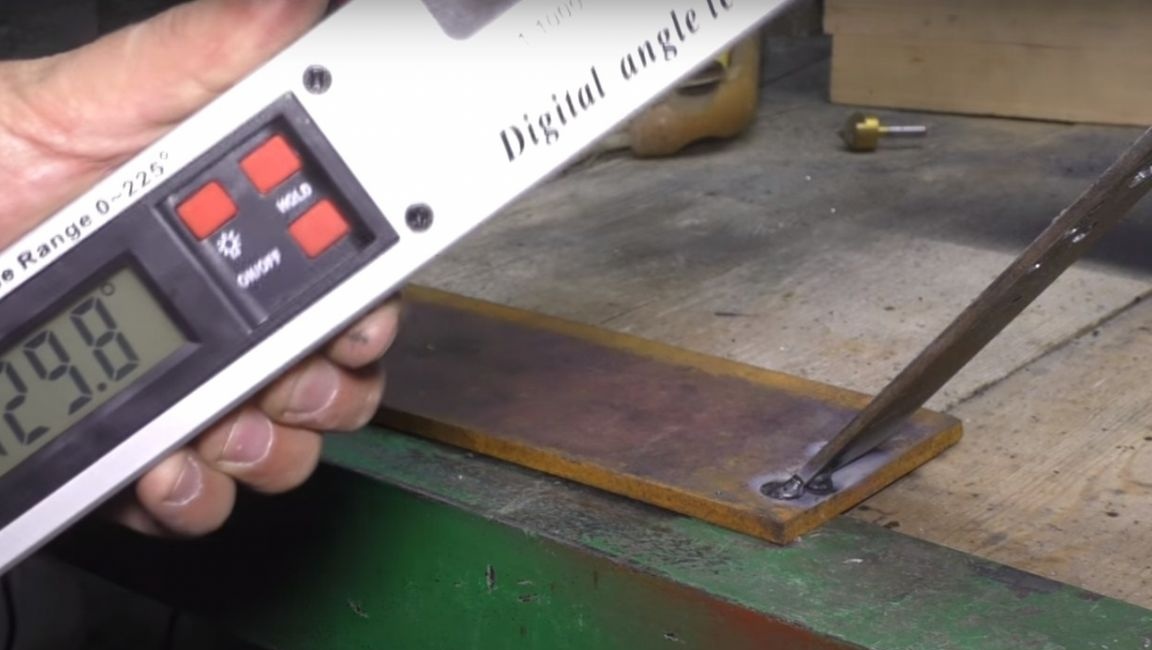
The author’s tool is ready. Having set it at 50 degrees, the author checked his accuracy with a digital goniometer.
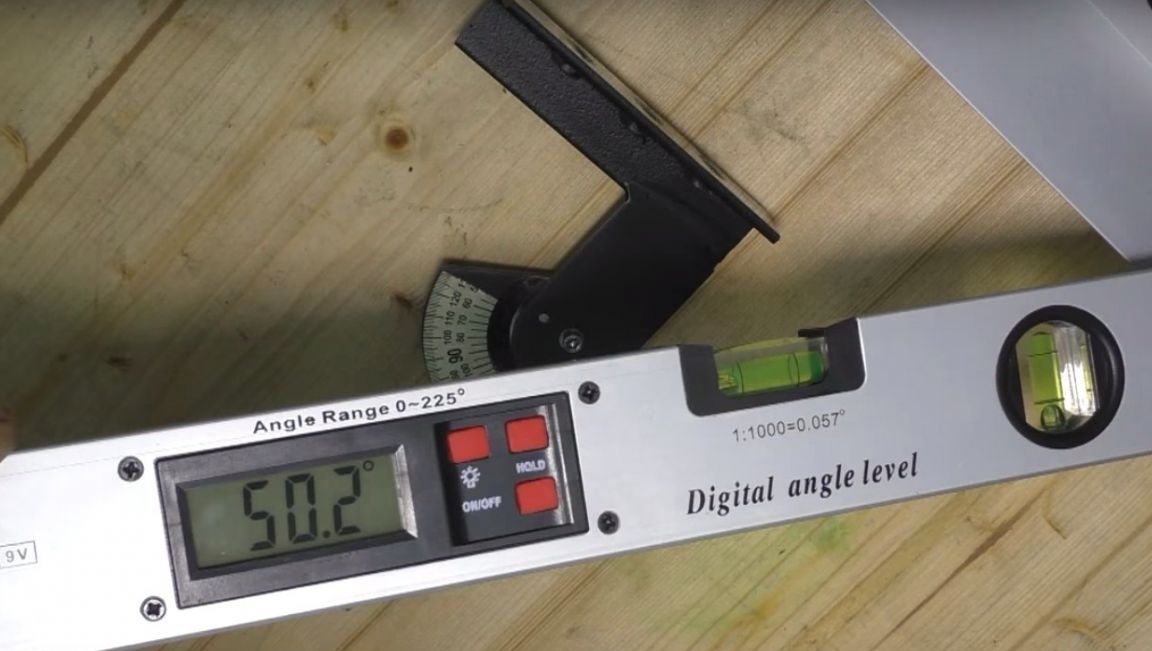
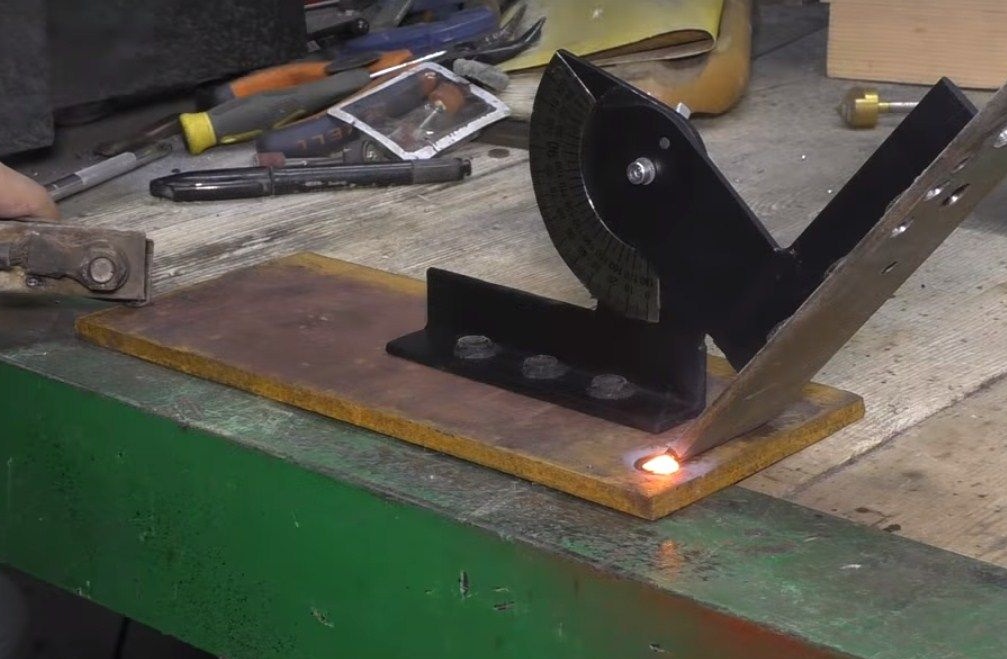
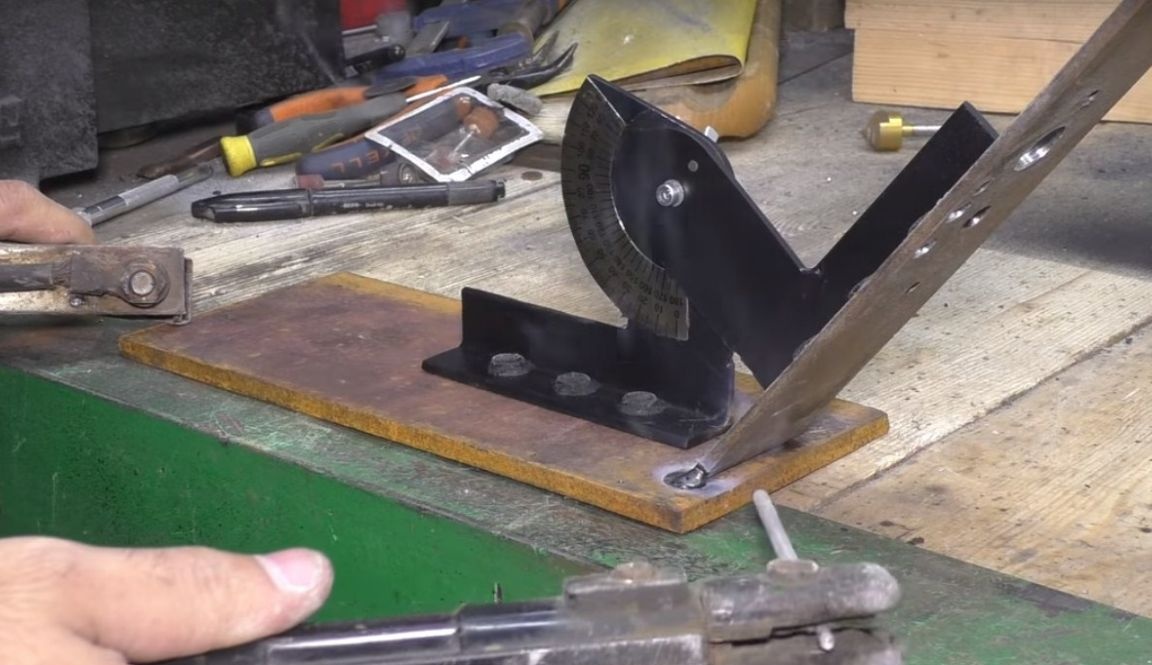
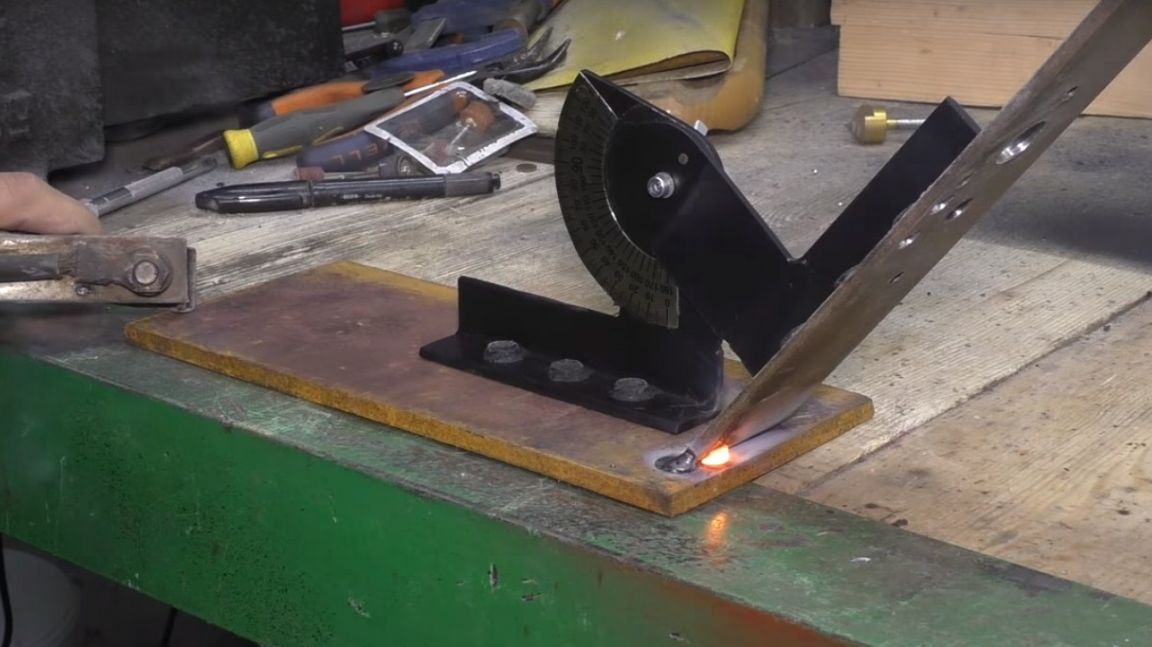
Checking the tool at work.


Thank you all for your time. I hope it was interesting.
Homemade video: