

Hello everybody! So he realized his long-standing idea of creating a home-made docking station for computer hard drives. The main application of this homemade - This is a backup of your home photo and video archive. Many were faced with such a nuisance as a hard drive failure, on which all your photos, videos or important documents were stored, and backups were not made. It is better to learn from other people's mistakes and not rely on chance.
There are many ready-made solutions for this problem on sale, but decent money will have to be paid for this. And if you have a working computer hard drive, you can significantly save on archiving valuable files. In this case, we are talking about drives from the computer - 3.5 inches. With 2.5-inch drives from a laptop, everything is much simpler, there are inexpensive cases with a board on sale, in which you just need to insert the drive. We will not go into details on how to connect a hard drive via USB. This information is full on the Internet, but still I remind you that in addition to the hard drive, we need a few more details, without which it would not be possible to implement this idea. This is an adapter with IDE, SATA to USB and a power supply with an output of 5 and 12V. But this does not solve the problem, since all this must be connected together, and without a case it will take up almost all the space on the table.
For the hull we need:
Laminate Scraps
Circular saw or hacksaw with a small tooth.
Drill
Screwdriver
Square
Glue gun
Finish nails
Thin screws
Circular saw or hacksaw with a small tooth.
Drill
Screwdriver
Square
Glue gun
Finish nails
Thin screws
For e parts:
Adapter IDE, SATA to USB
SATA flex
5V and 12V power supply
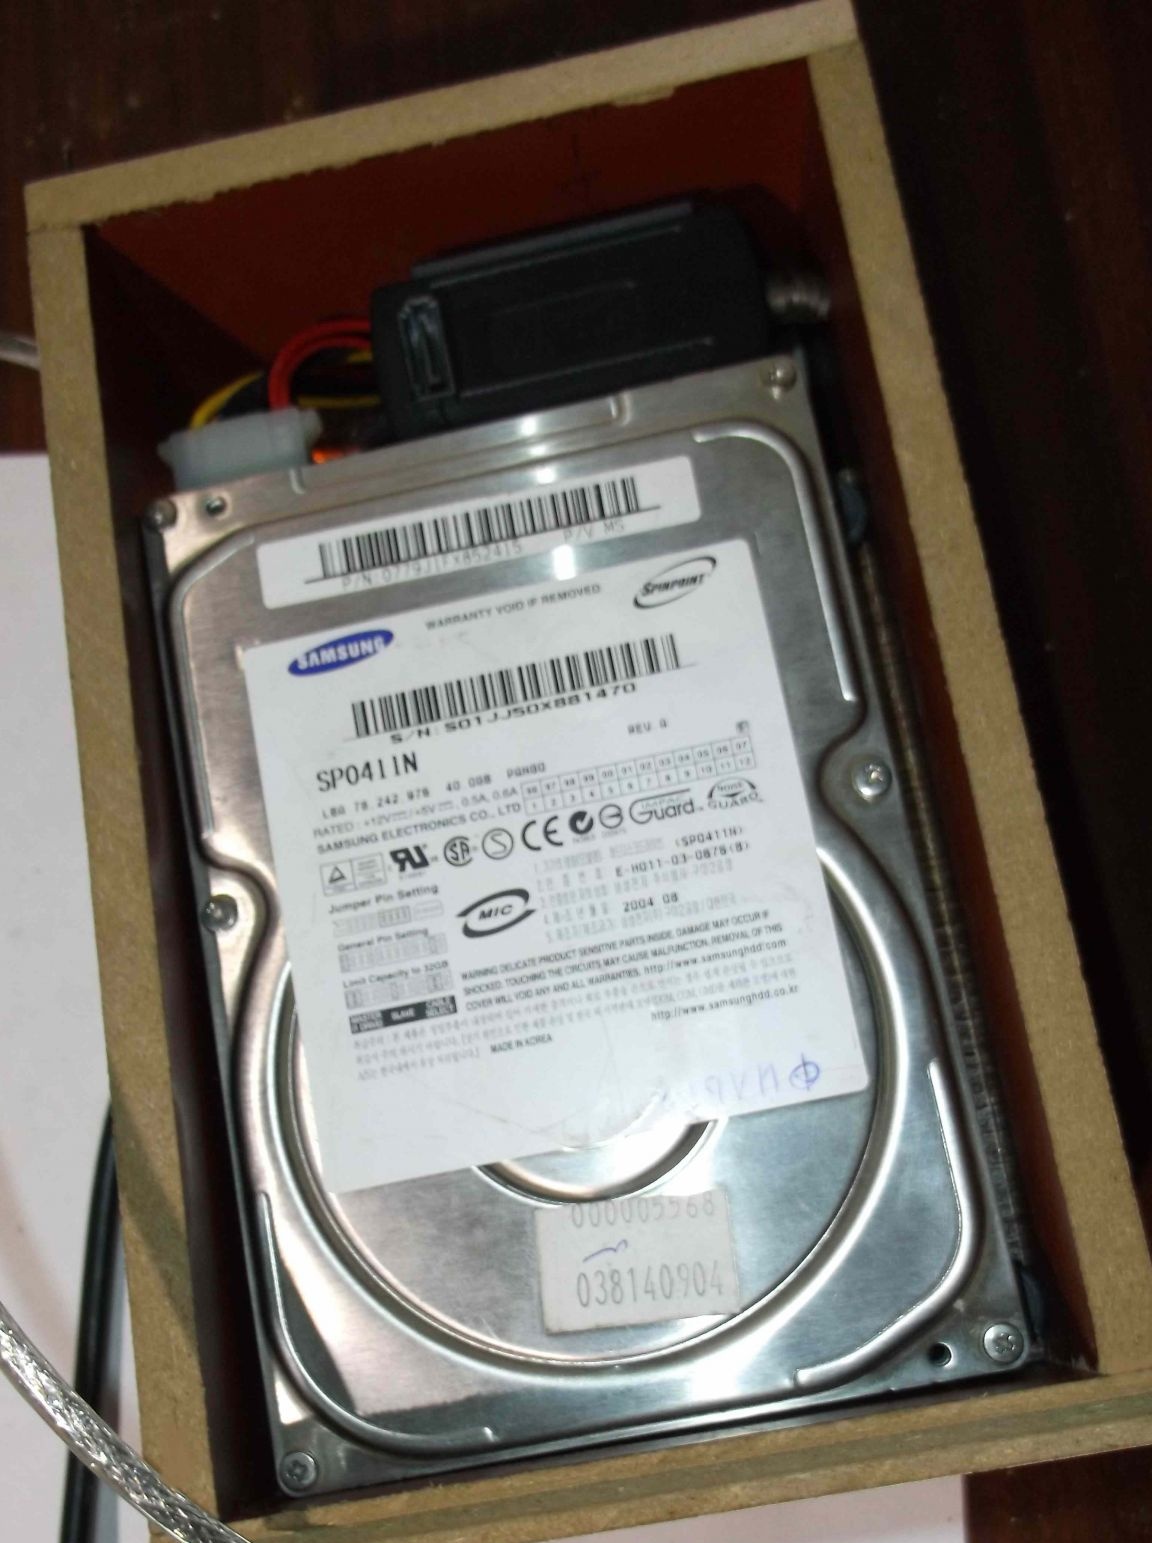
HDD - IDE, SATA 3.5 / 2.5
Soldering iron
SATA flex
5V and 12V power supply
HDD - IDE, SATA 3.5 / 2.5
Soldering iron
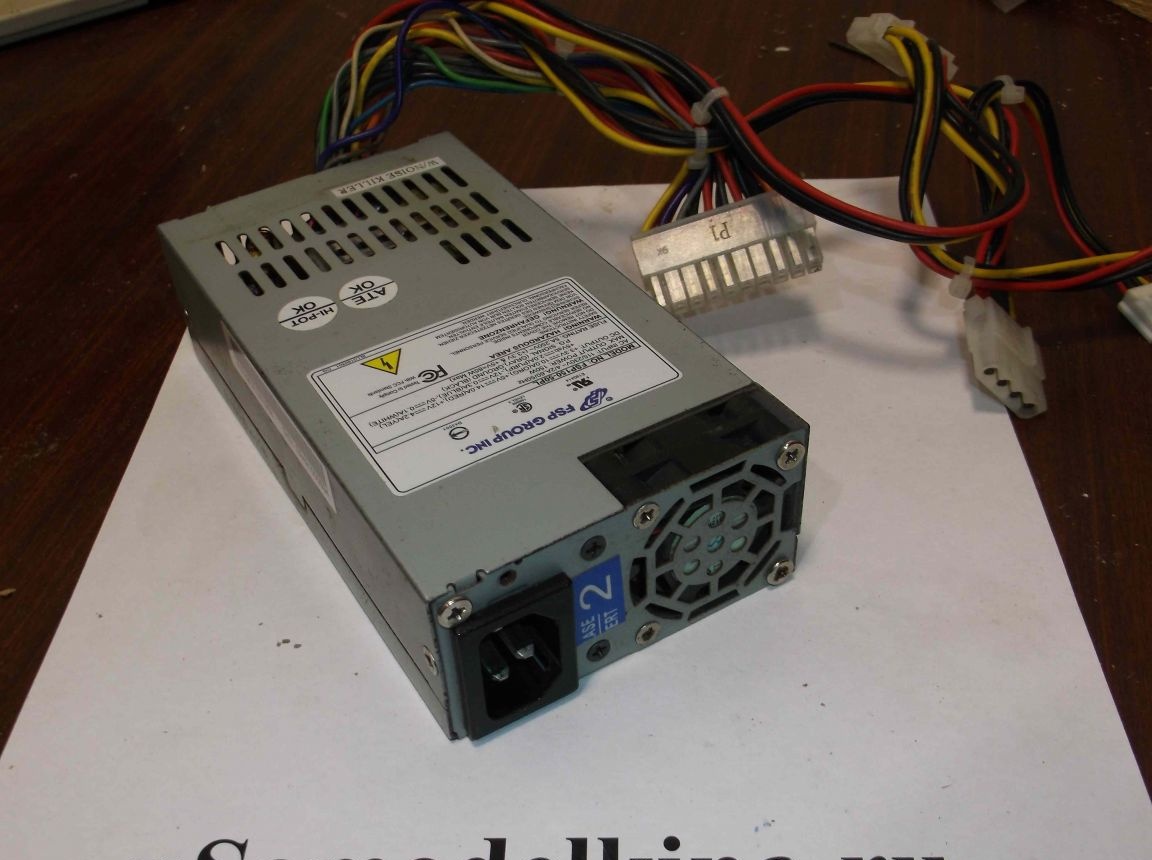
The dimensions of the case depend mainly on the dimensions of the power supply. I used a completely working power supply from a broken mini computer, which, not much, is more HDD.
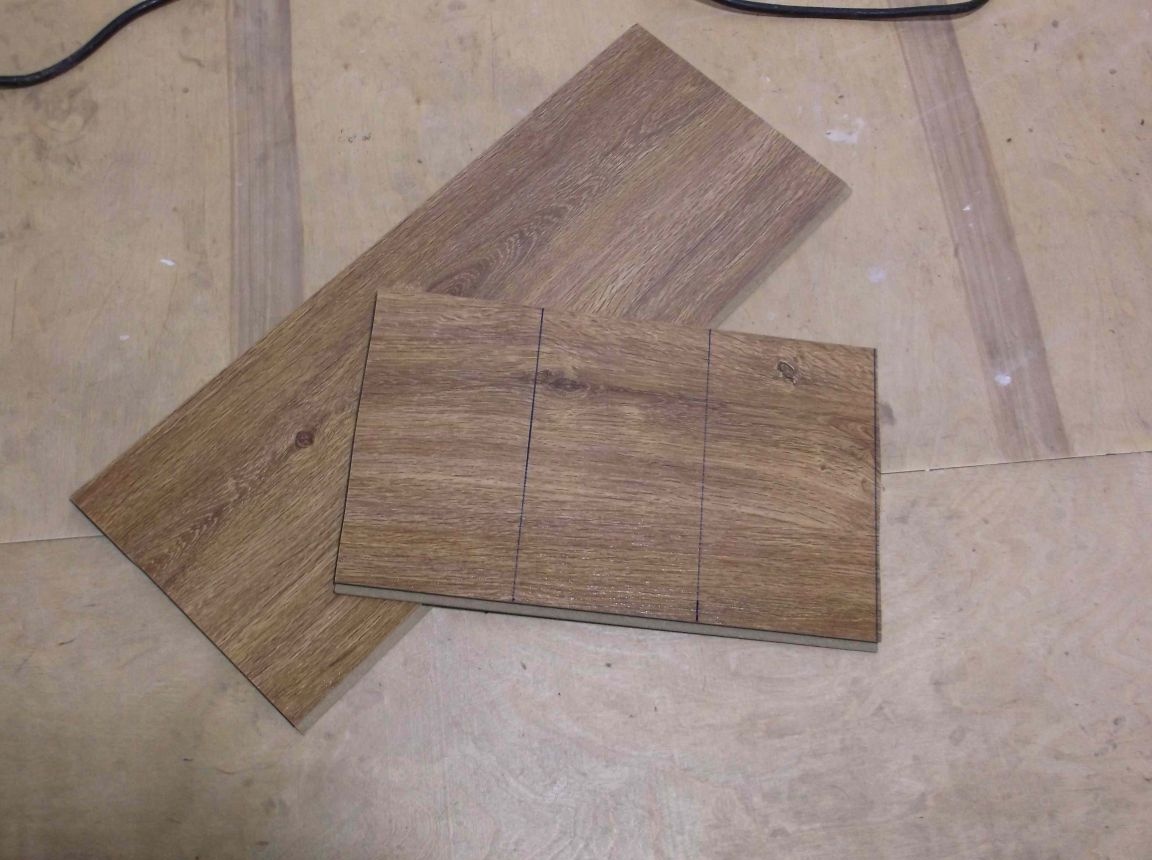
He took the rest of the laminate, marked it and spread it on a circular saw.

The dimensions of my blanks are approximately the following: for the side walls, the bottom and the cover - four pieces 18 X 11 centimeters, the middle shelf 14 X 11 cm, the front and rear walls 12.6 X 11 cm.

To connect parts, I used finishing nails with preliminary drilling to prevent cracking of parts.

I did not finally connect. To begin with, I decided to fit all the details.
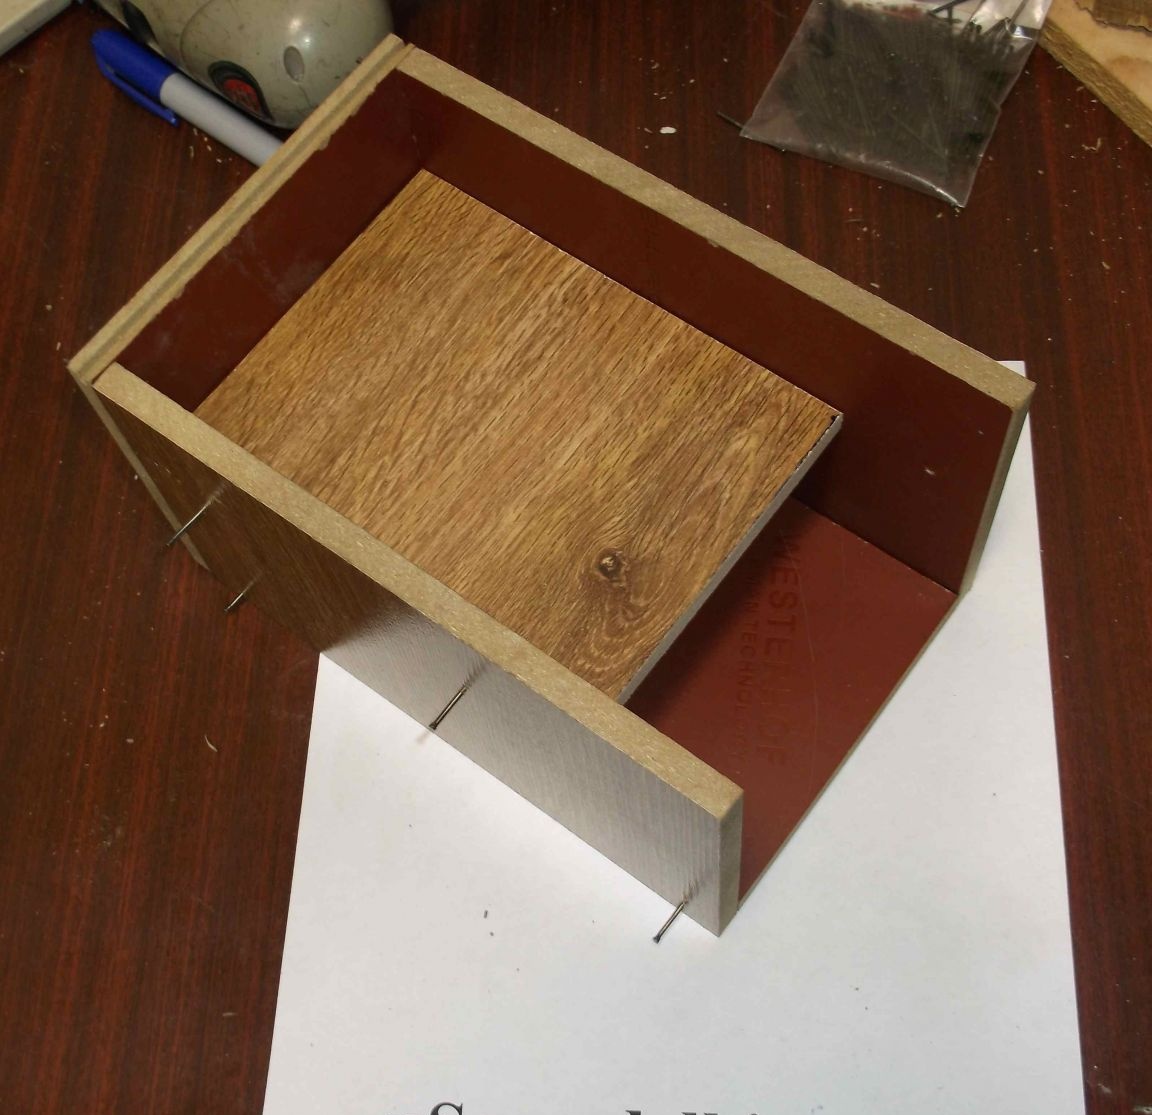
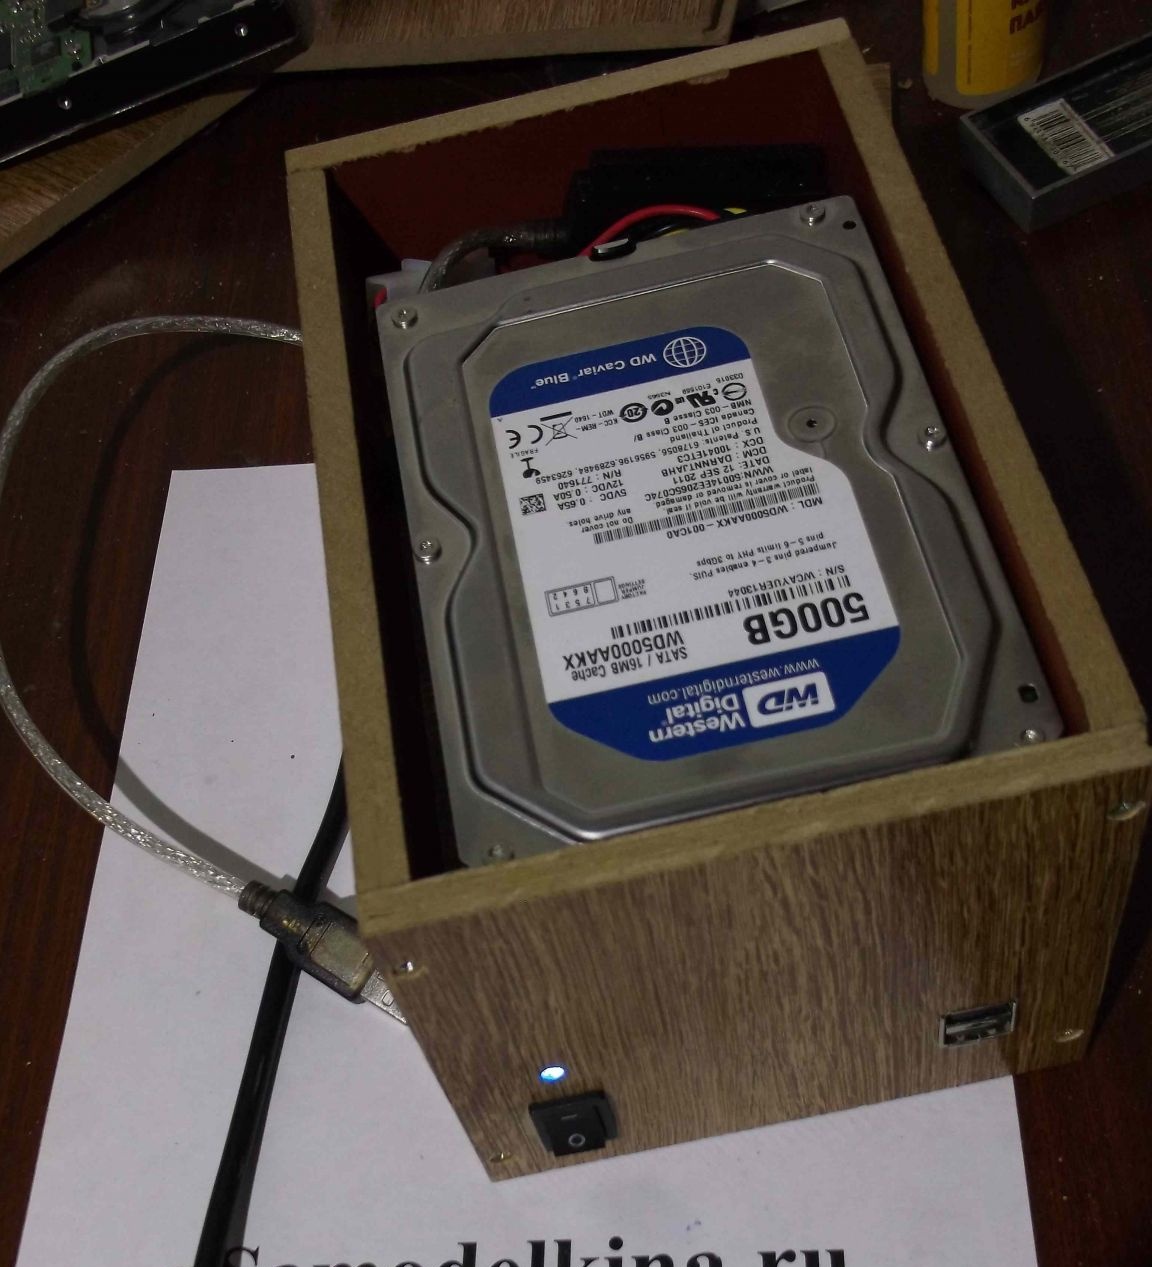
The middle shelf is installed approximately in the middle, so that the power supply fits in the lower part.
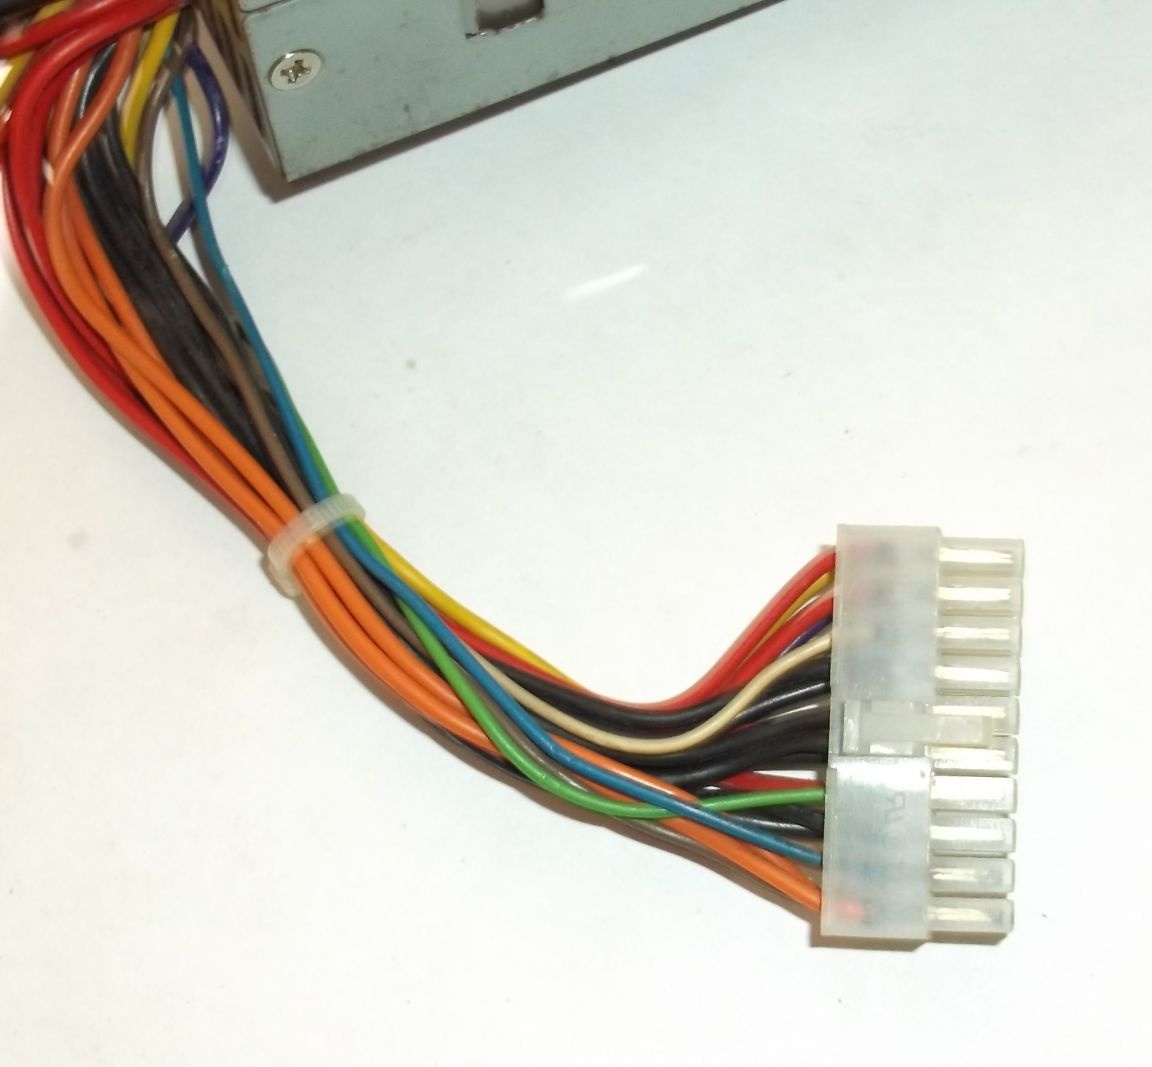
I also want to say that when using a computer power supply, namely when connected to a network, the PSU will not start.To enable it, you need to close the green wire (PS-ON) with any black on the ATX connector of the power supply that connects to the motherboard
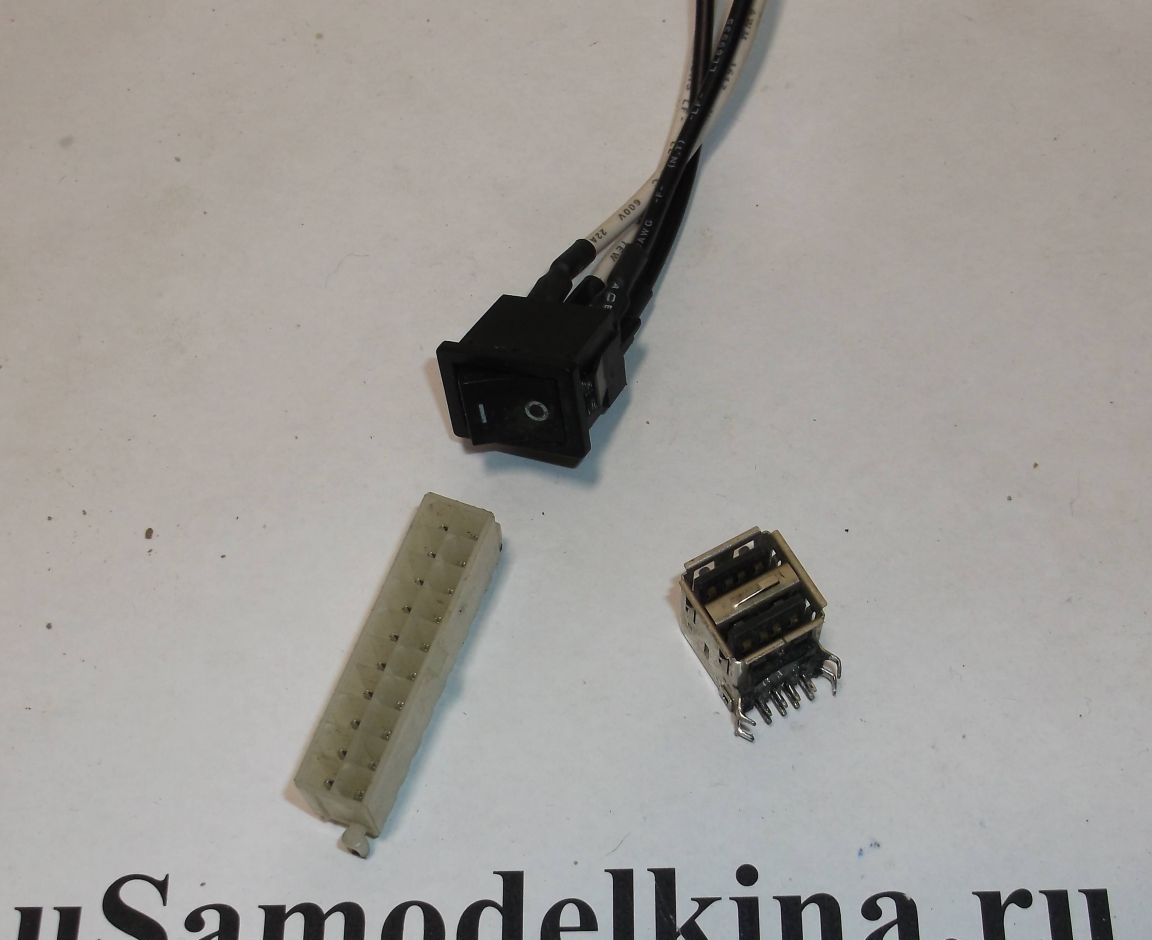
For this, I used a small toggle switch. As it has already become clear that the parts from which this homemade product is assembled are taken from old computers. The USB connector was unsoldered from the old motherboard, from which later on we get an additional option - USB charger. The ATX connector from the motherboard is also useful.
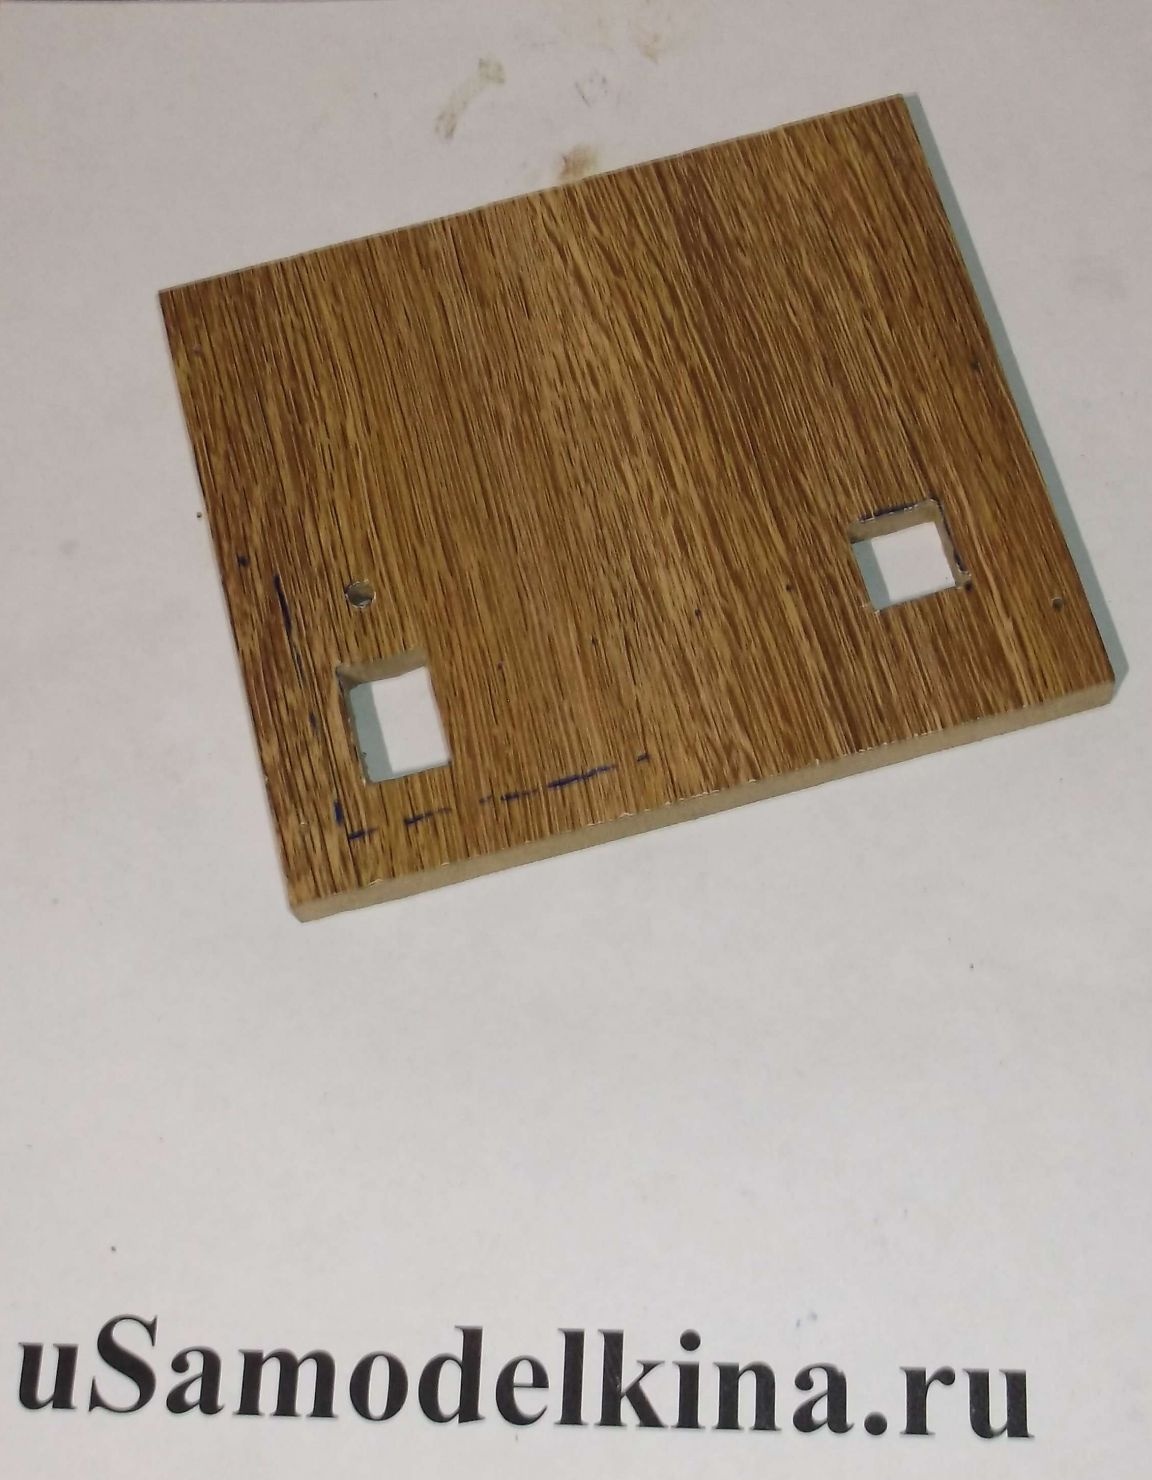
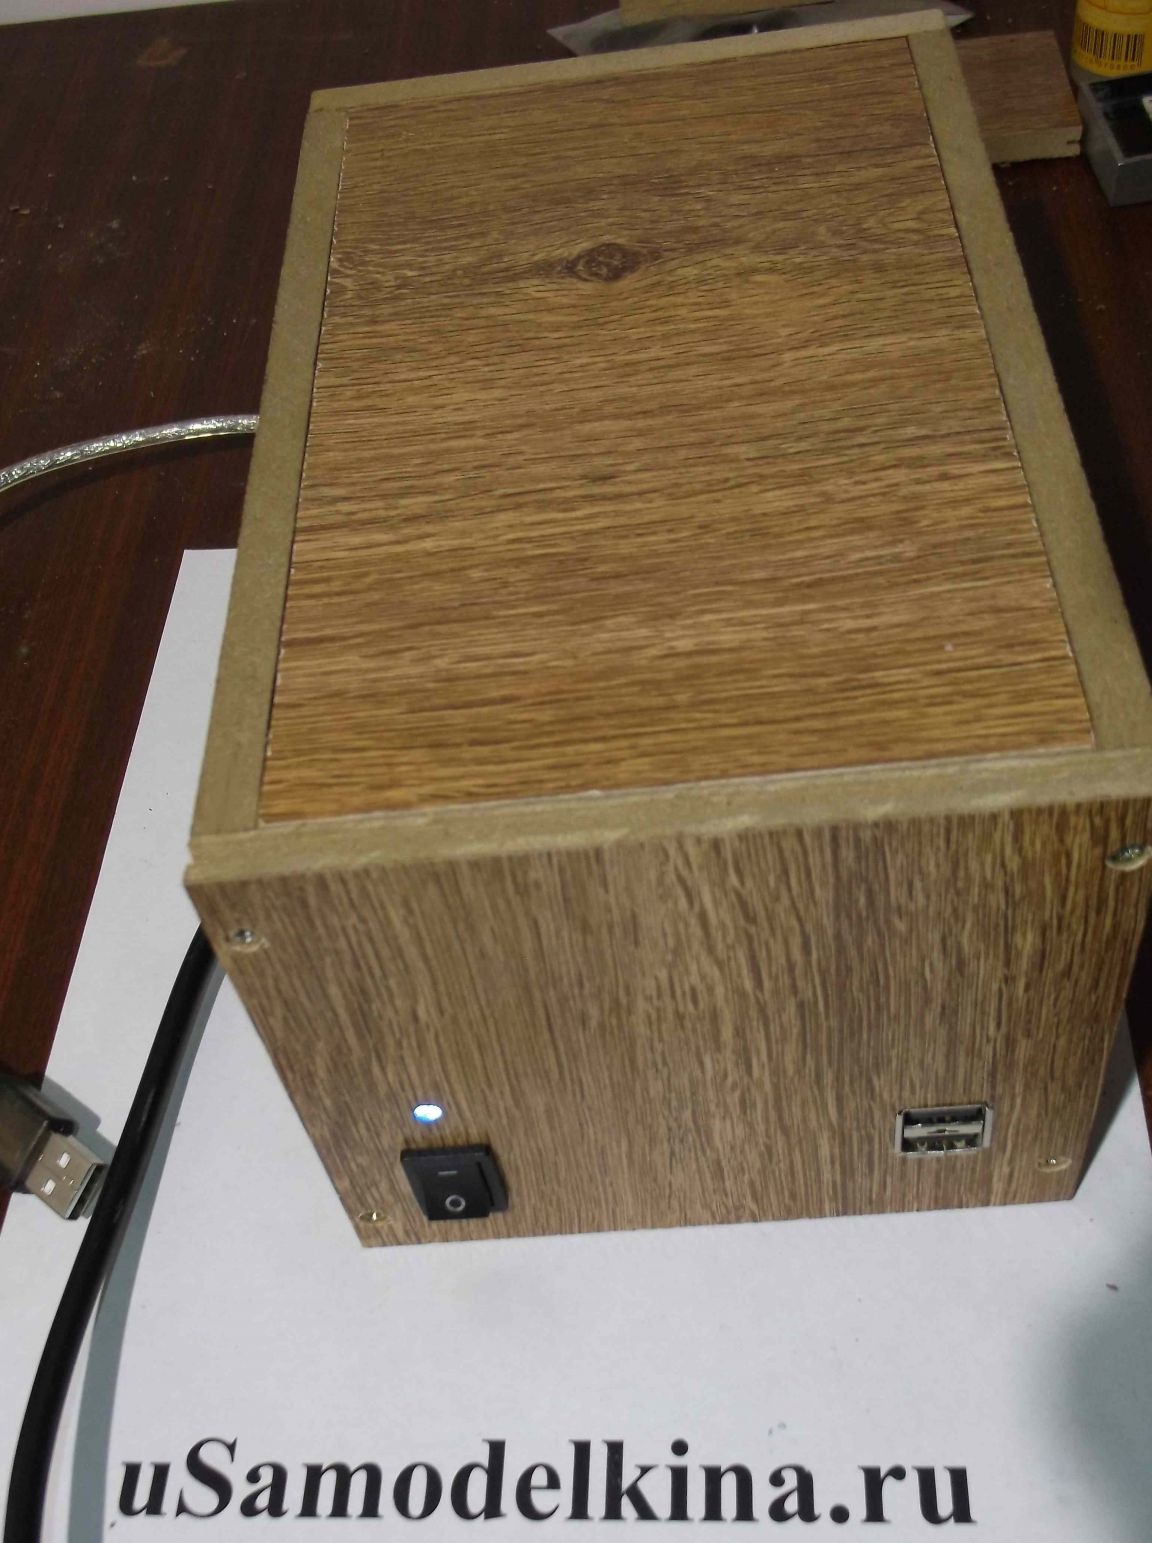
On the front panel, I made holes for the toggle switch, USB connector and LED, which acts as an indicator of work.
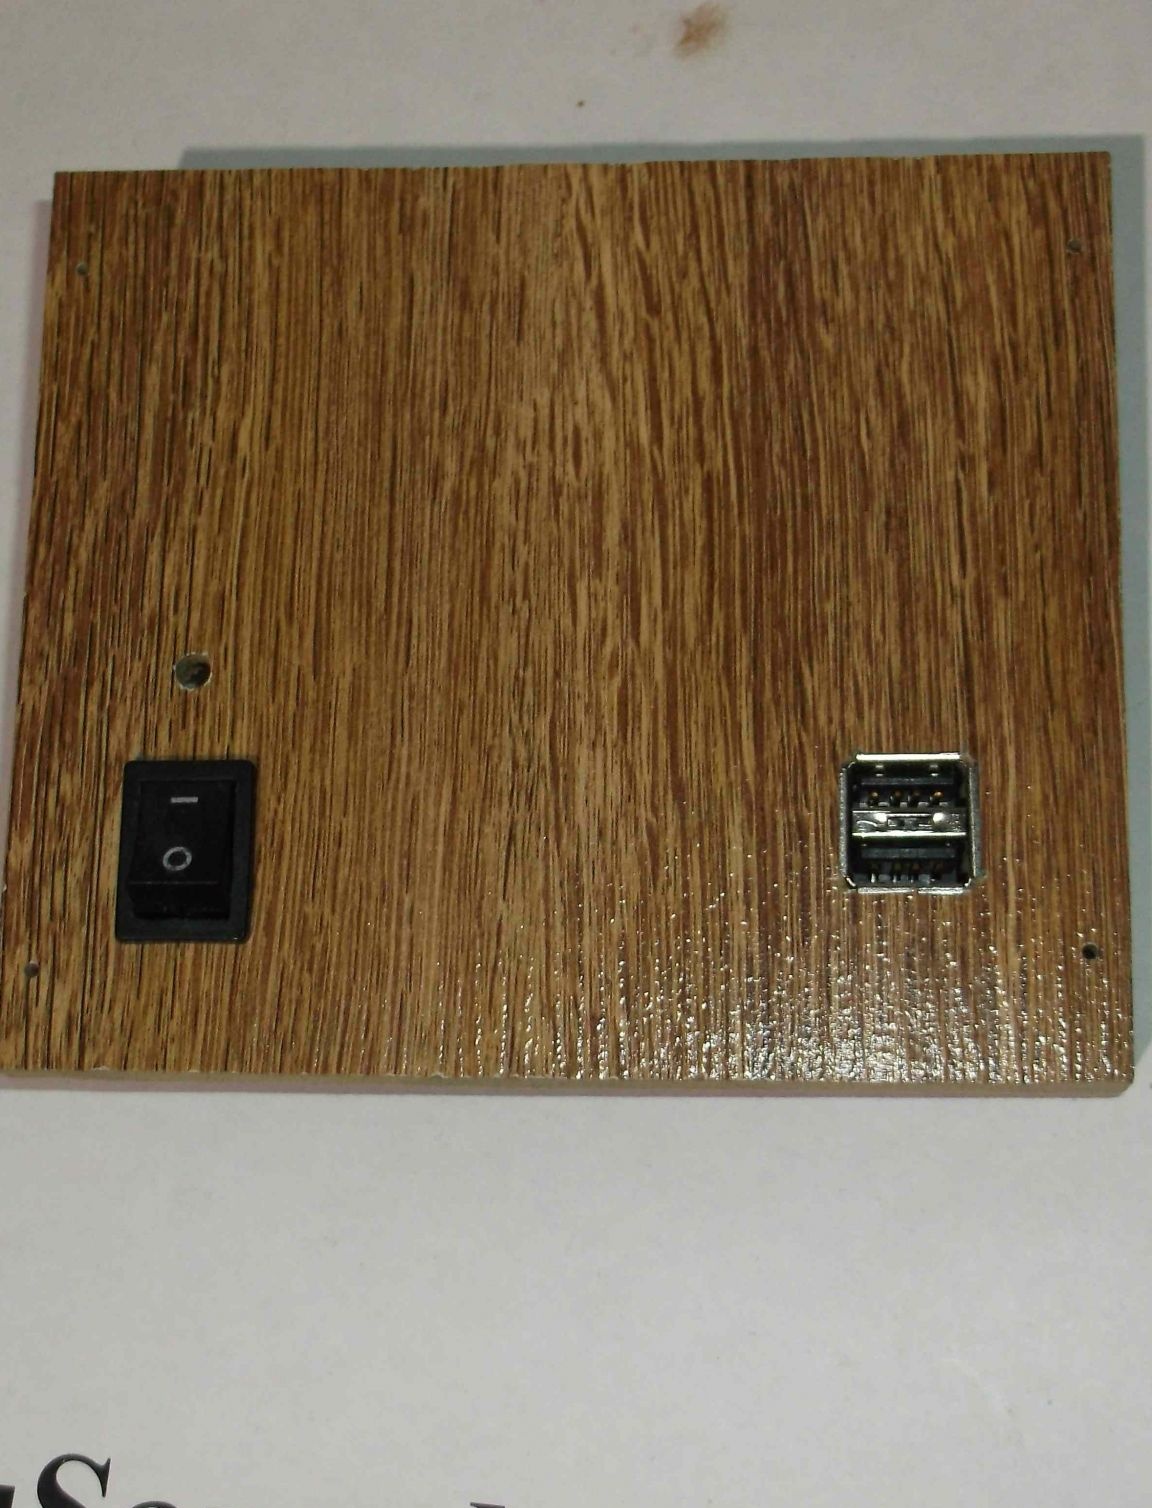
Parts are installed and secured with a glue gun.
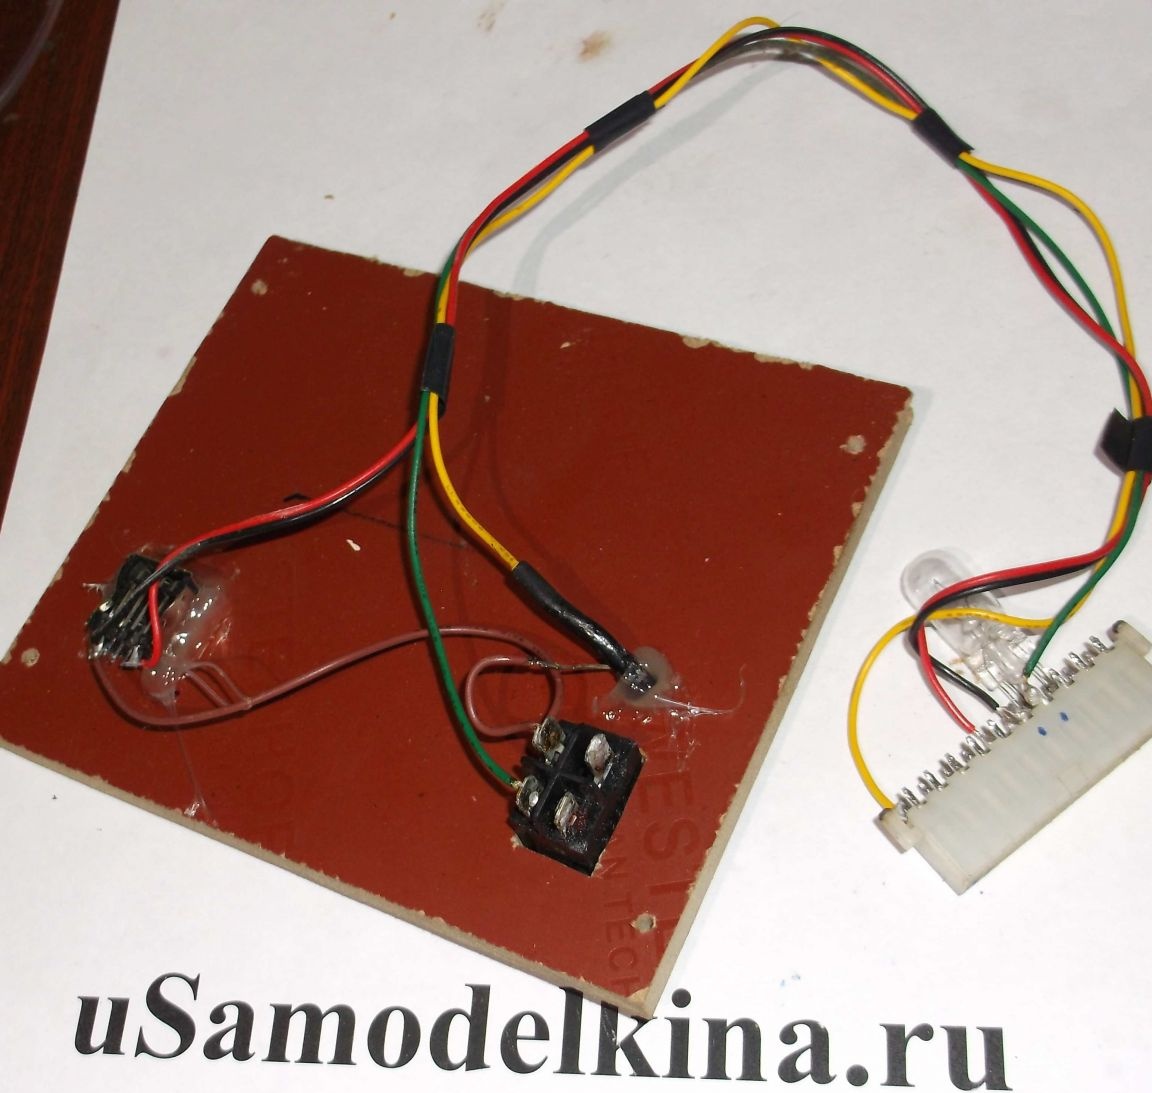
The pinout of ATX and USB connectors is on the Internet. The LED with resistance is designed for 12V. Soldering wires match the color on the PSU. Yellow + 12V, red + 5V, black - "ground", green - PS-ON (for shorting with "ground" and starting the power supply). As you can see from the photo, a 4W incandescent bulb is soldered into the connector auto. It is connected to +5 volts - this is necessary to start the PSU without load. Since if the hard drive is not connected to the power supply, it will not start.
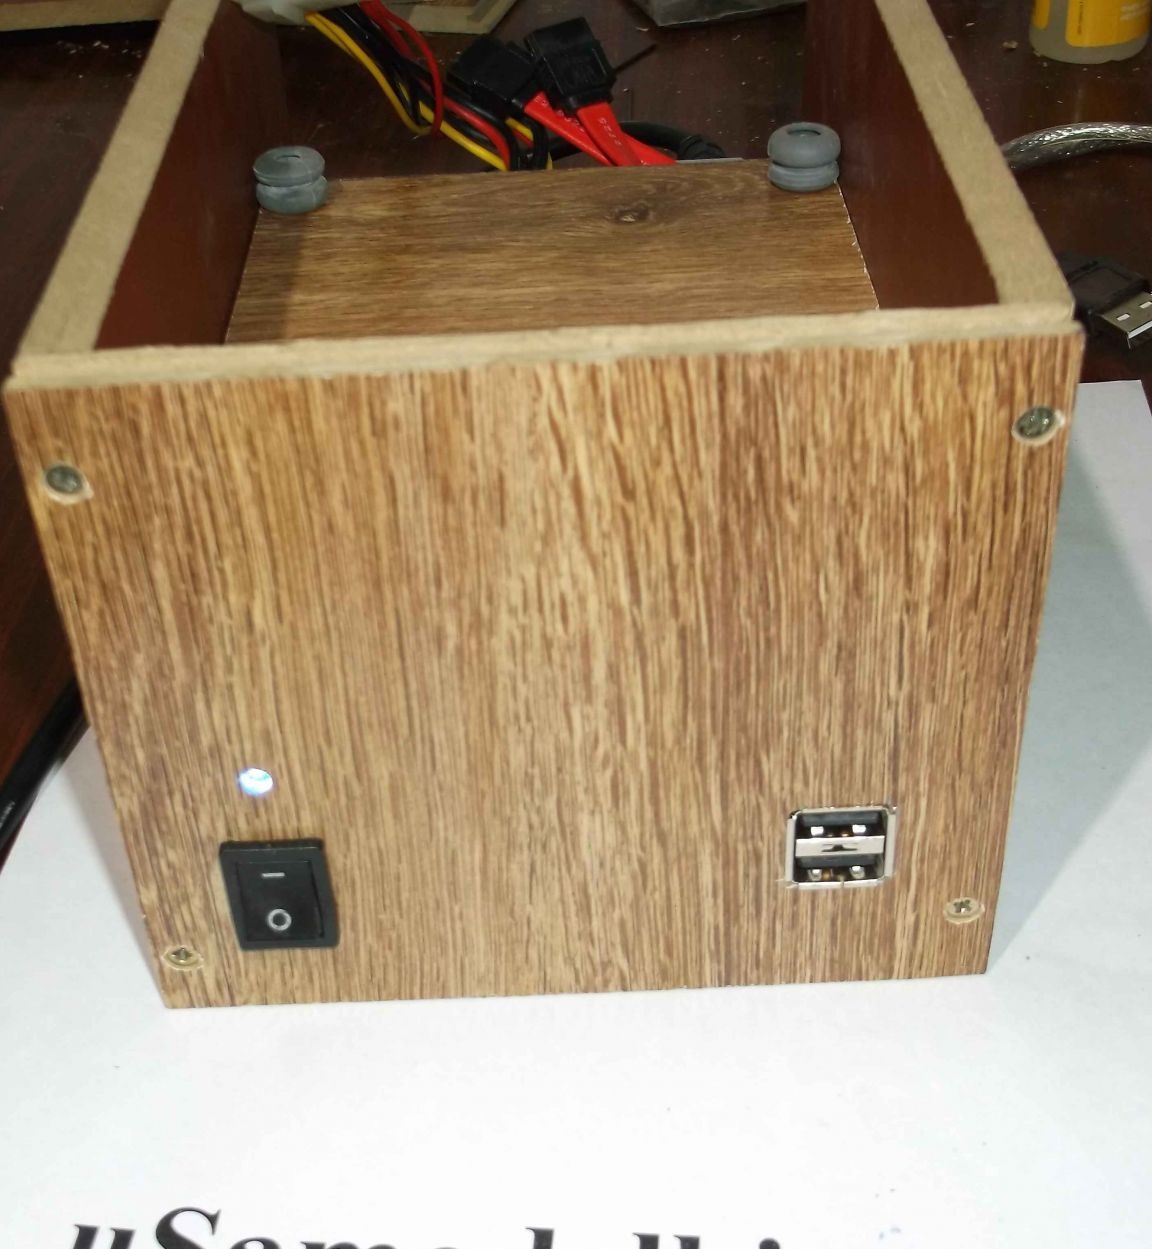
The front panel is connected to the body using thin self-tapping screws for the possibility of re-disassembly.
I hid the SATA cable and power adapter in the PSU compartment.
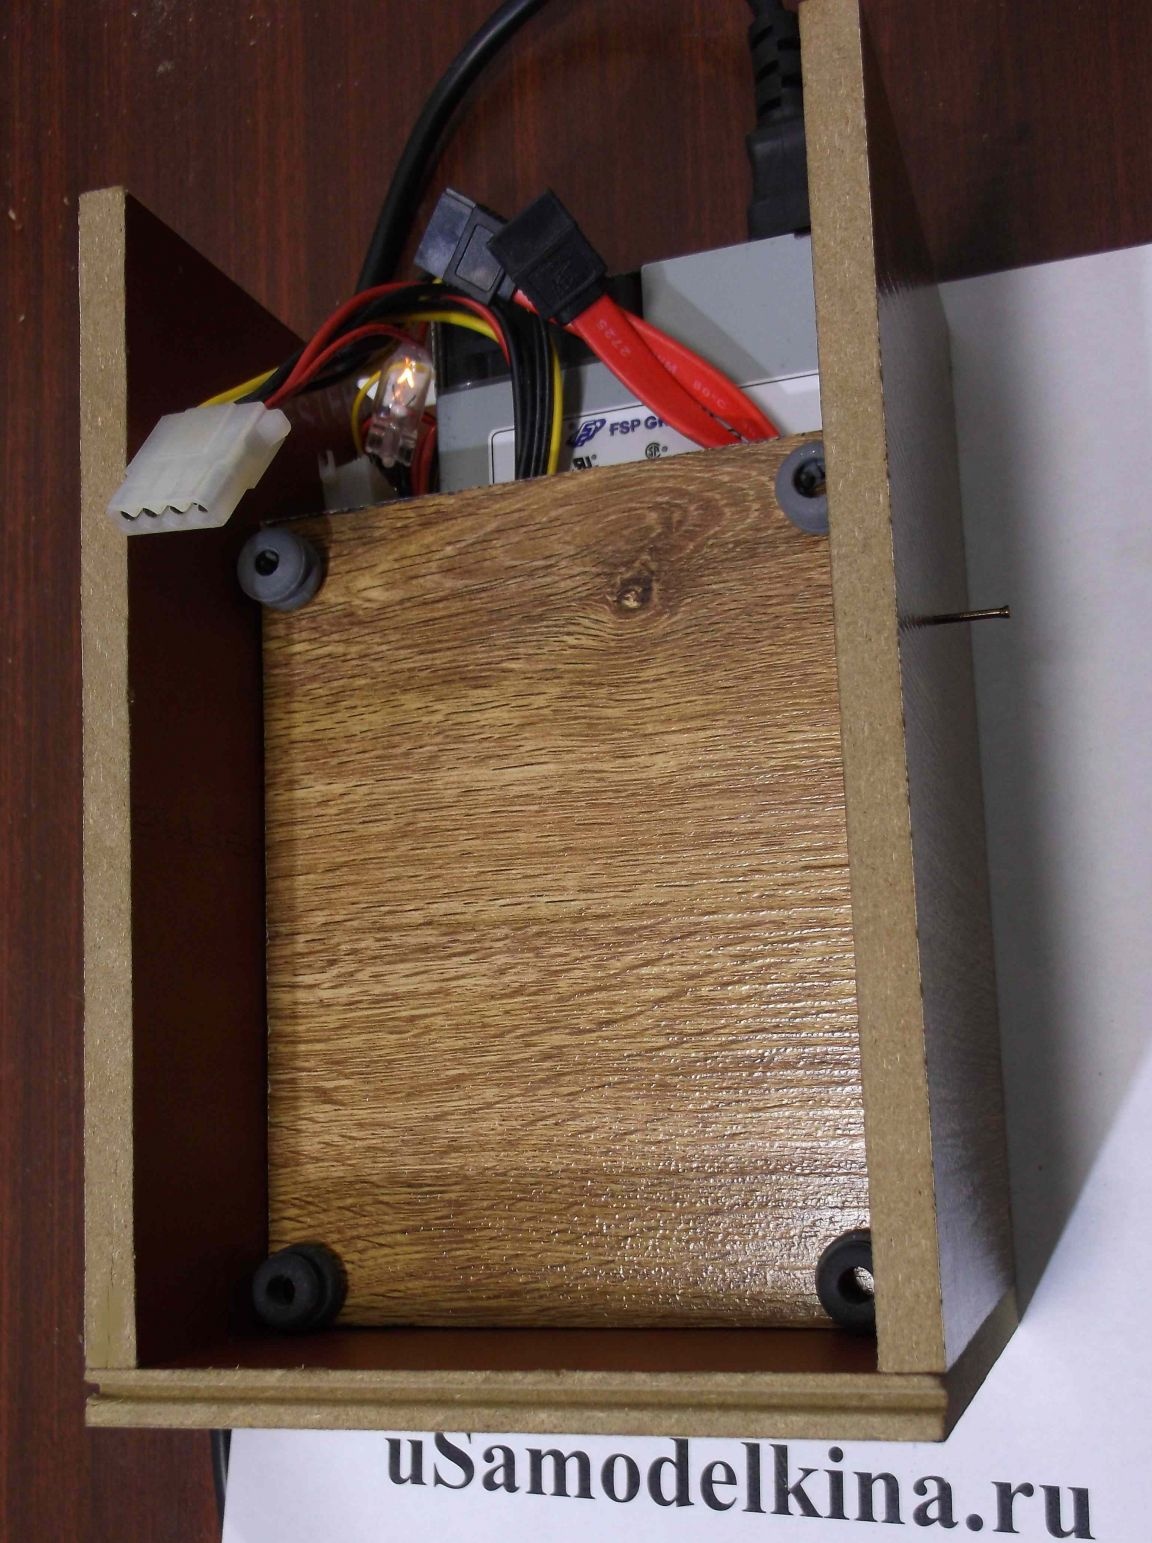
I glued rubber shock absorbers from a CD drive to the middle shelf at the corners, which protect the HDD from mechanical damage.
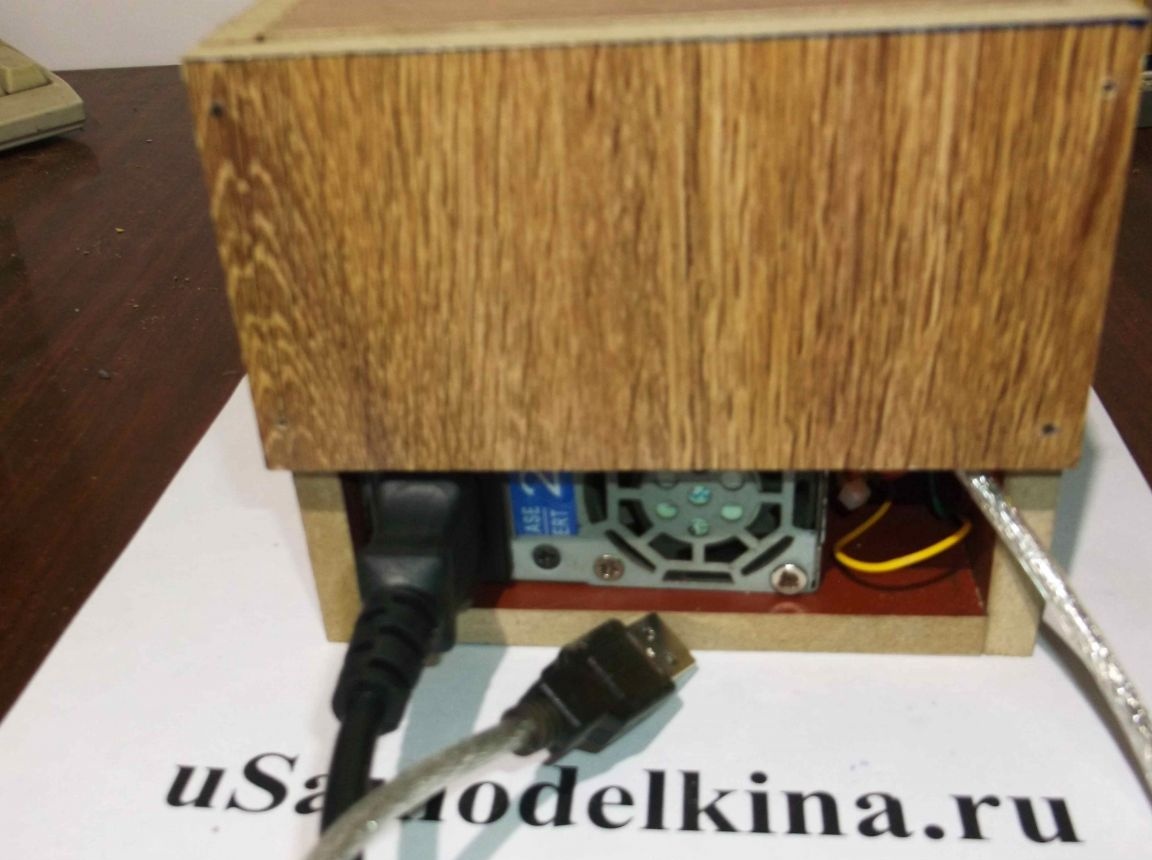
He made the back wall with a gap for connecting the power cable and ventilation of the compartment.
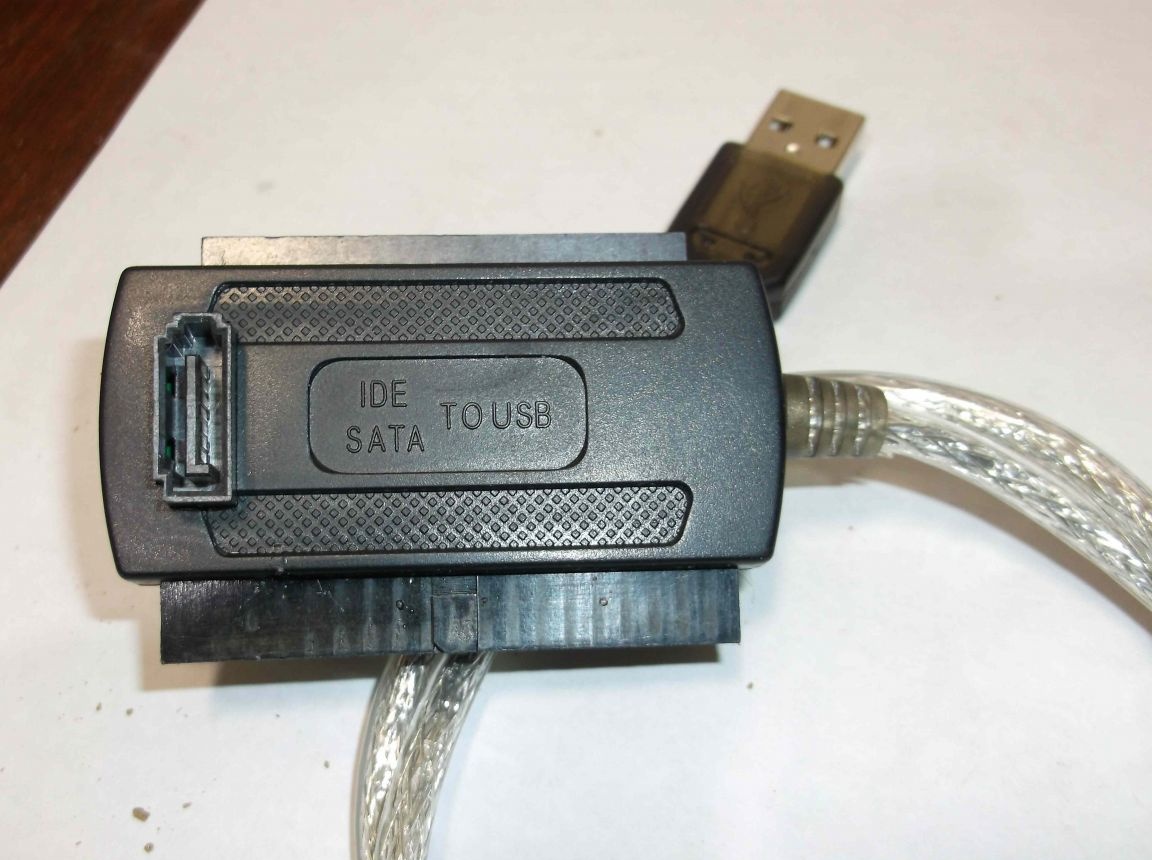
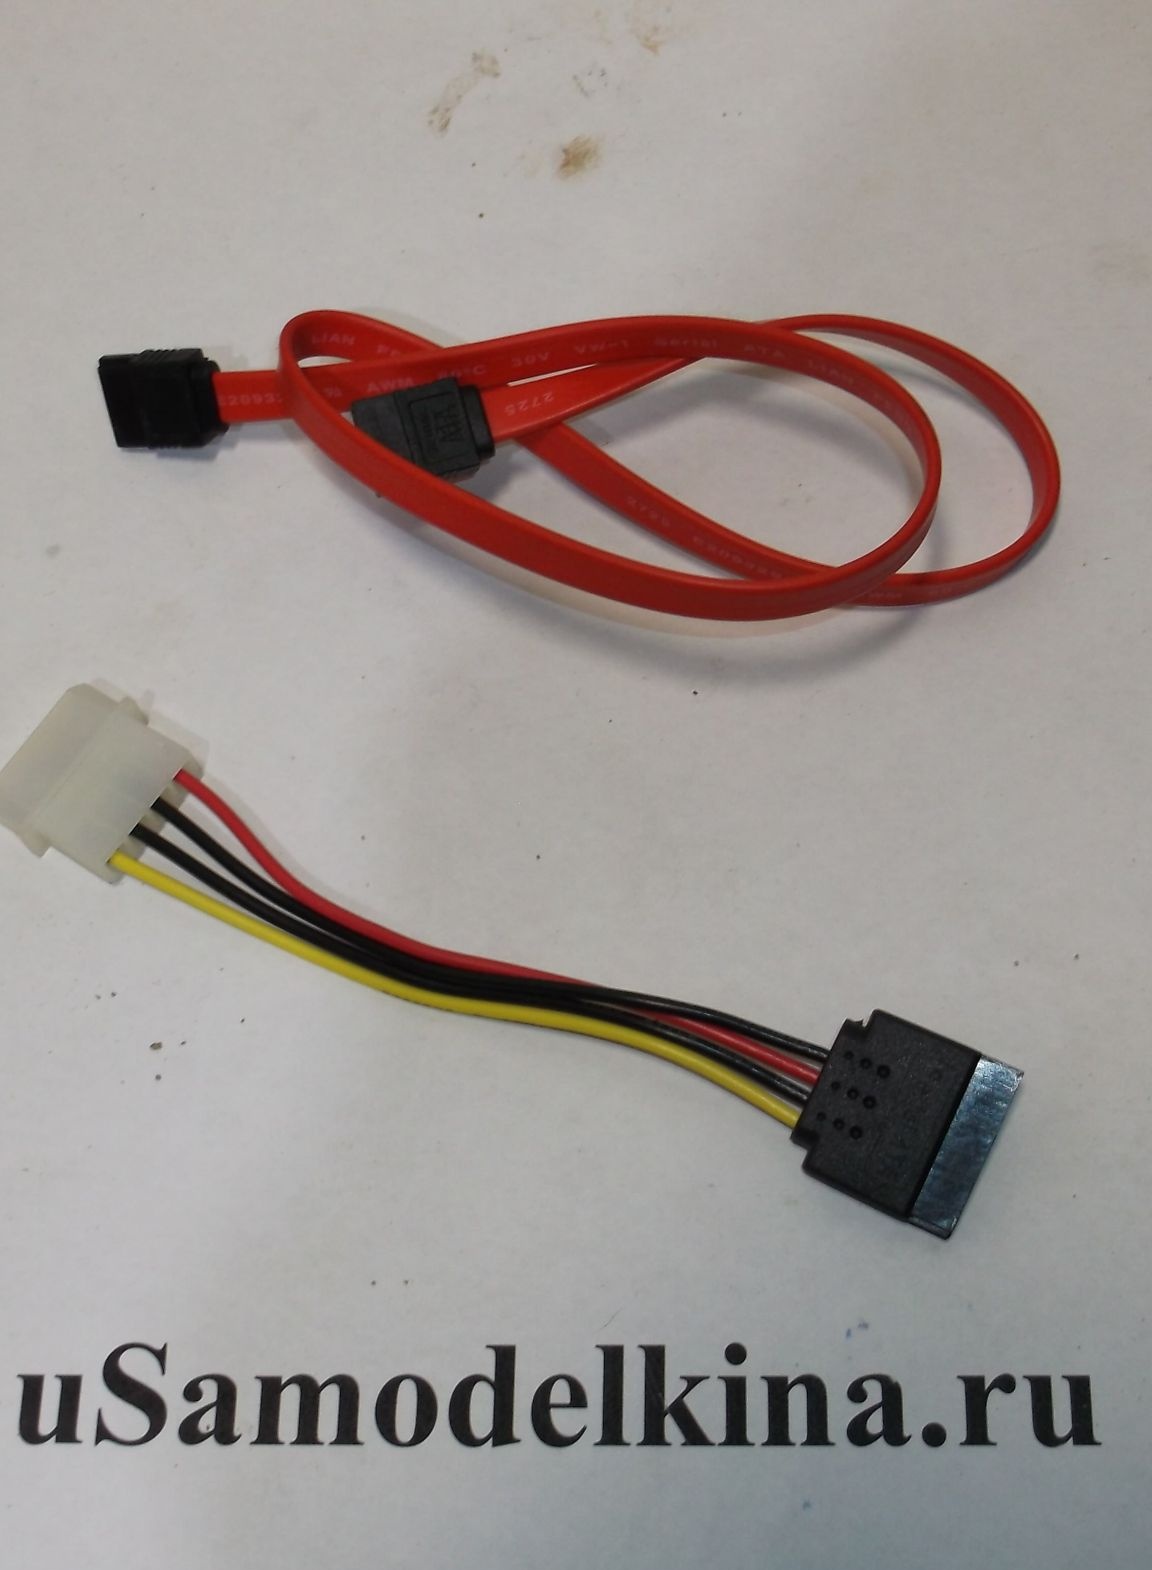
Finally, the adapter is connected. It connects directly to the IDE drive, and to SATA via an additional cable, which is already in the compartment with the power supply.
The top cover can be omitted. Of course, it’s not a factory option and replacing disks is not so convenient, but the space on the table saves decently, in contrast to the open case connection. You can also install small terminals next to the toggle switch and output 12, 5, 3.3 Volts - you also get a desktop power supply with fixed voltages.
Thanks to all! Criticism and advice are welcome.