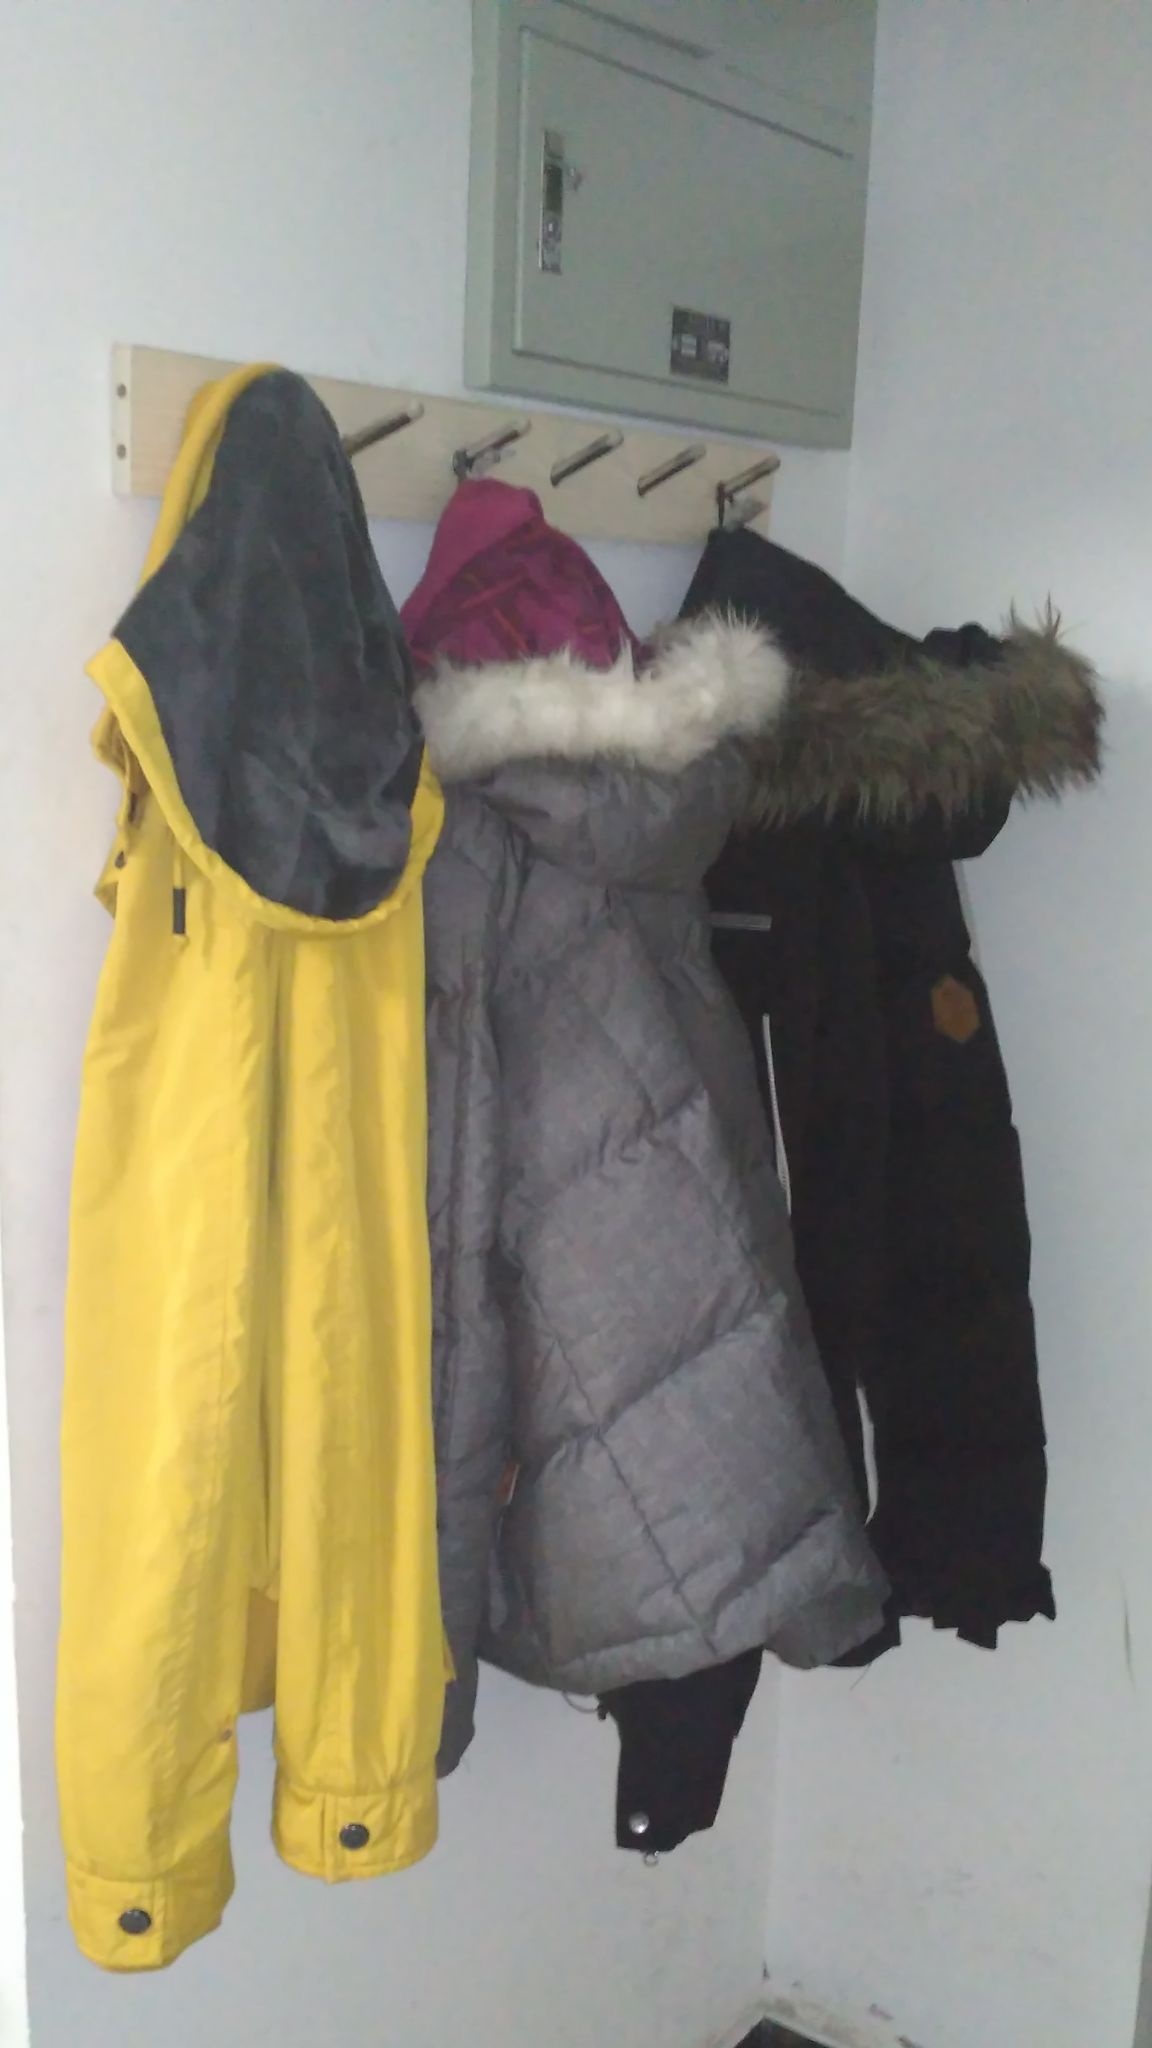
Not only the theater begins with the hanger, but also any living space, whether it is an apartment, a house or a dormitory room. Coming home, the first thing we take off is the outer clothing, which should be stored somewhere. The closet is best suited for this, but sometimes there is not even enough space in the hallway even for him, and then we are saved by a good old hanger or just a few nails driven into the wall.
The design that will be discussed in this article is more complicated than just nails, but you can make it from improvised means using tools that are likely to be found at home by any owner.
In the list of materials I give a list of everything that I used in the manufacture of this homemade, but you can get by with a much more modest set of materials and tools. It all depends on the imagination and capabilities of everyone.
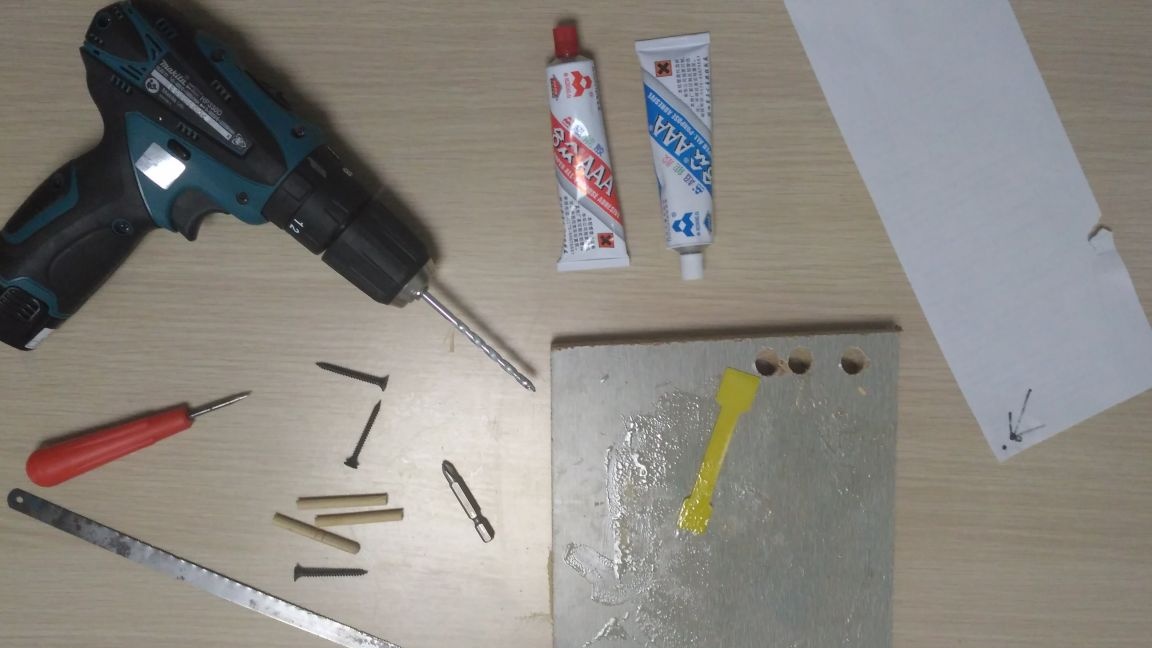
Materials and tools:
- metal tube
- A piece of wood for hooks
- A piece of chipboard for the base of the hanger
- Metal plate for the manufacture of hidden fasteners
- Self-tapping screws
- Chopiki (plastic or wooden)
- Hacksaw
- awl
- Stationery knife
- PVA glue
- epoxy resin
- Hot glue
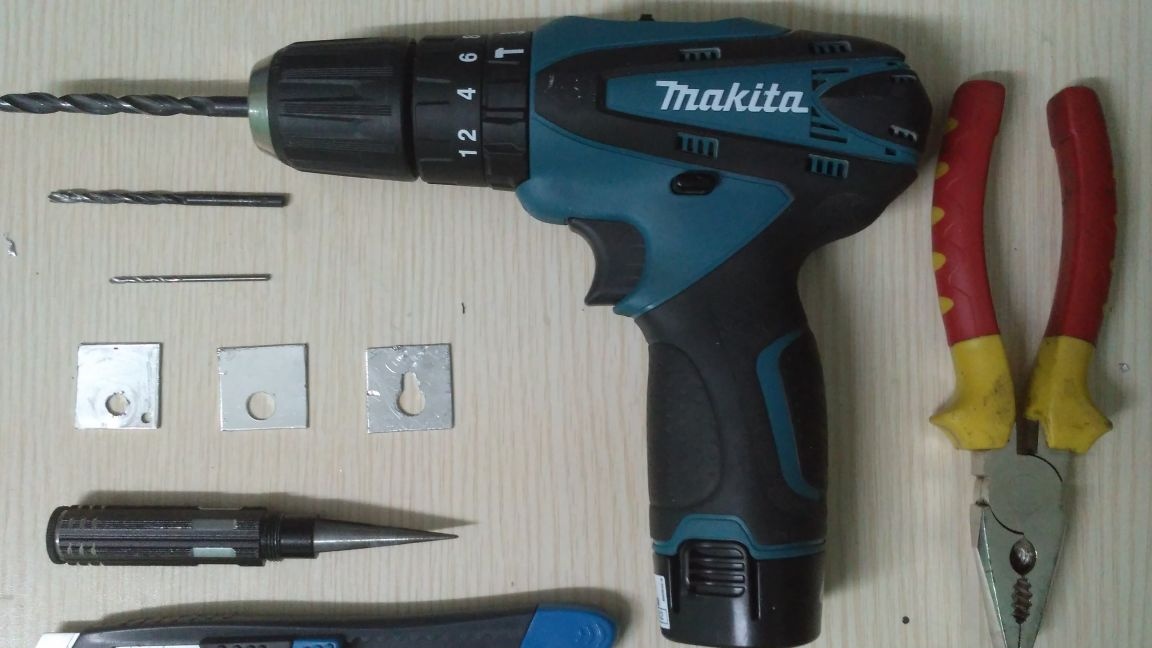
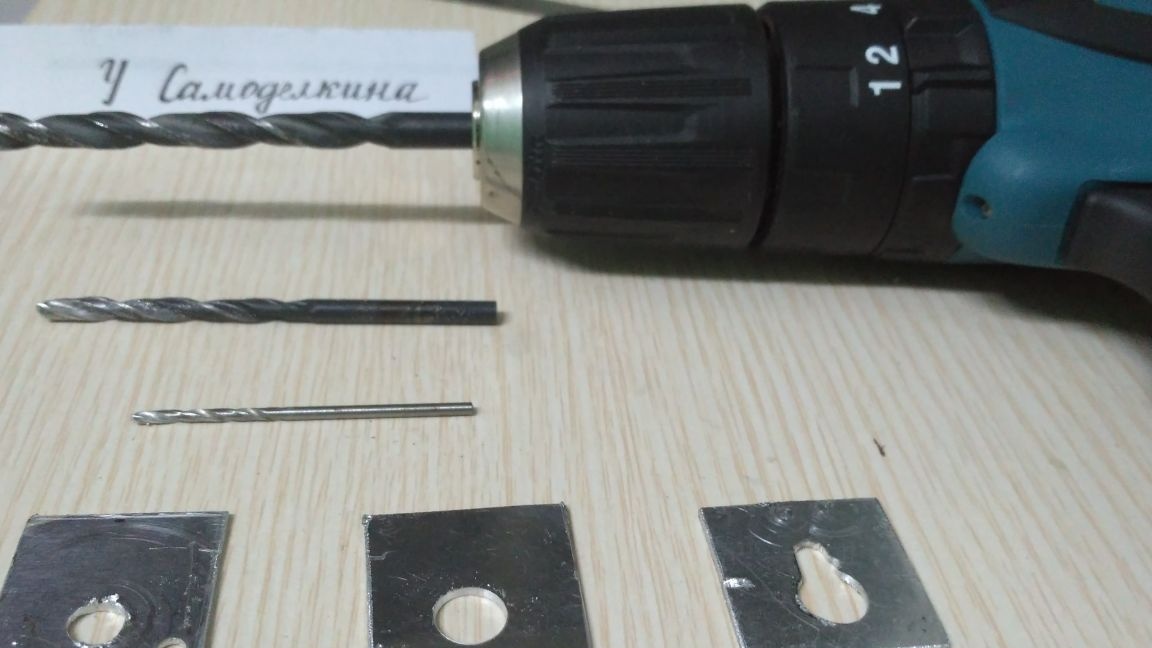
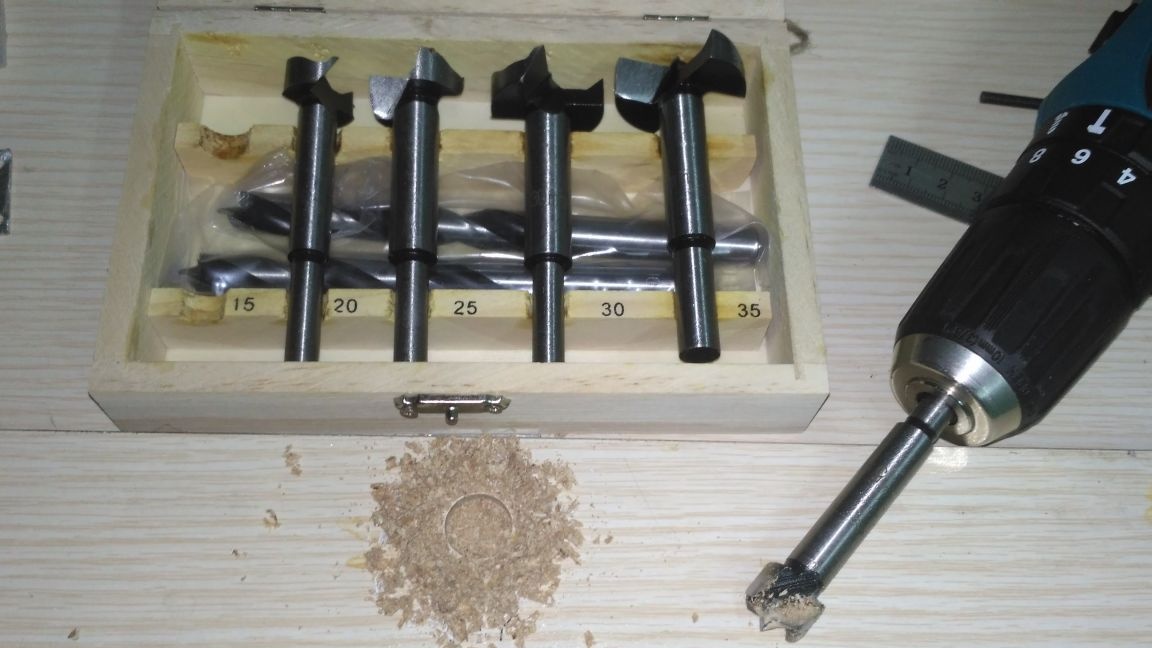
- Drill with drills
- Hammer drill (if you have concrete walls)
Detailed manufacturing description:
Step 1:
Before starting work, it is worthwhile to imagine the final result in as much detail as possible, select materials and tools, and then start directly making homemade products. Of course, you can sketch the drawing, but for such simple constructions it seems to me impractical.
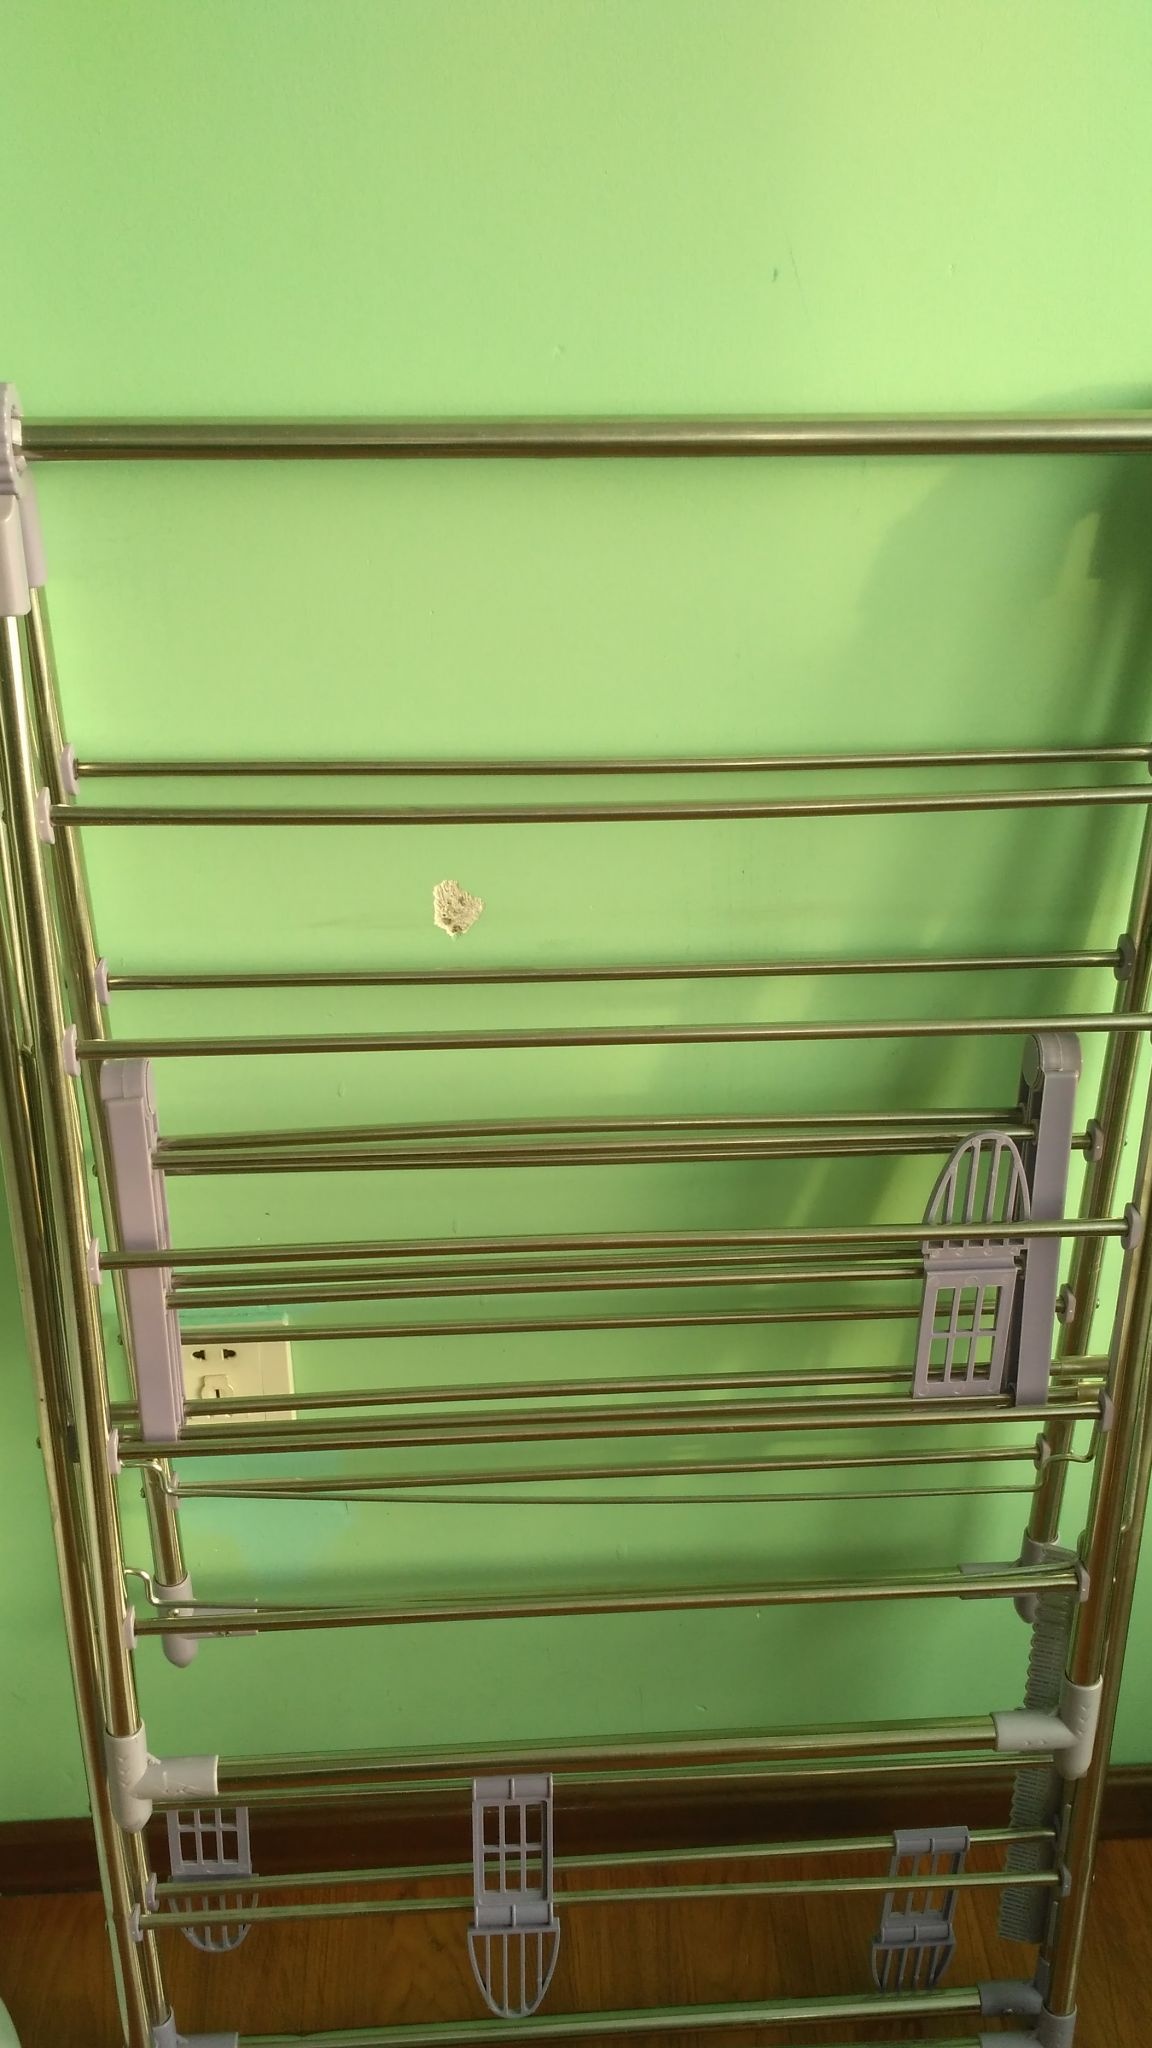
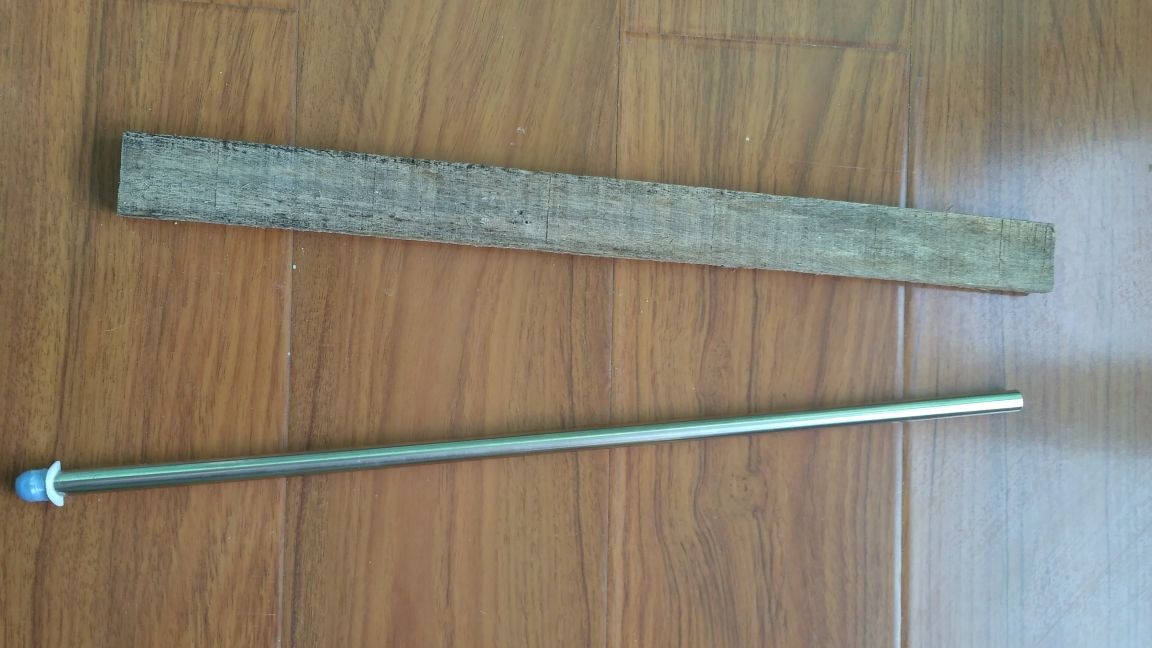
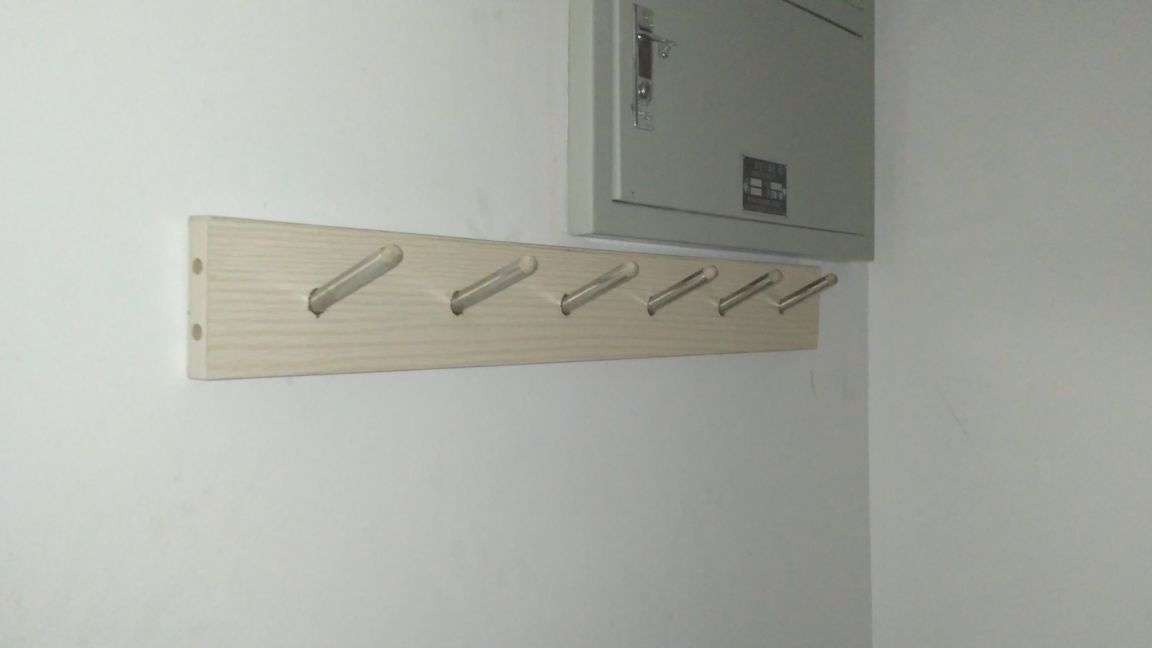
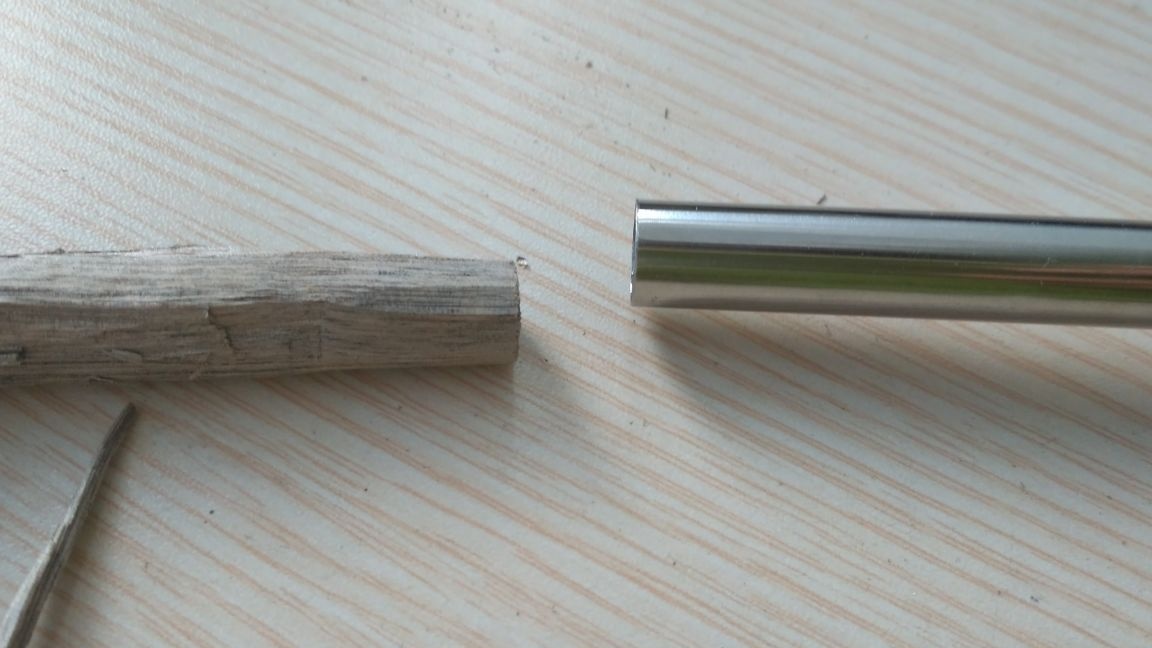
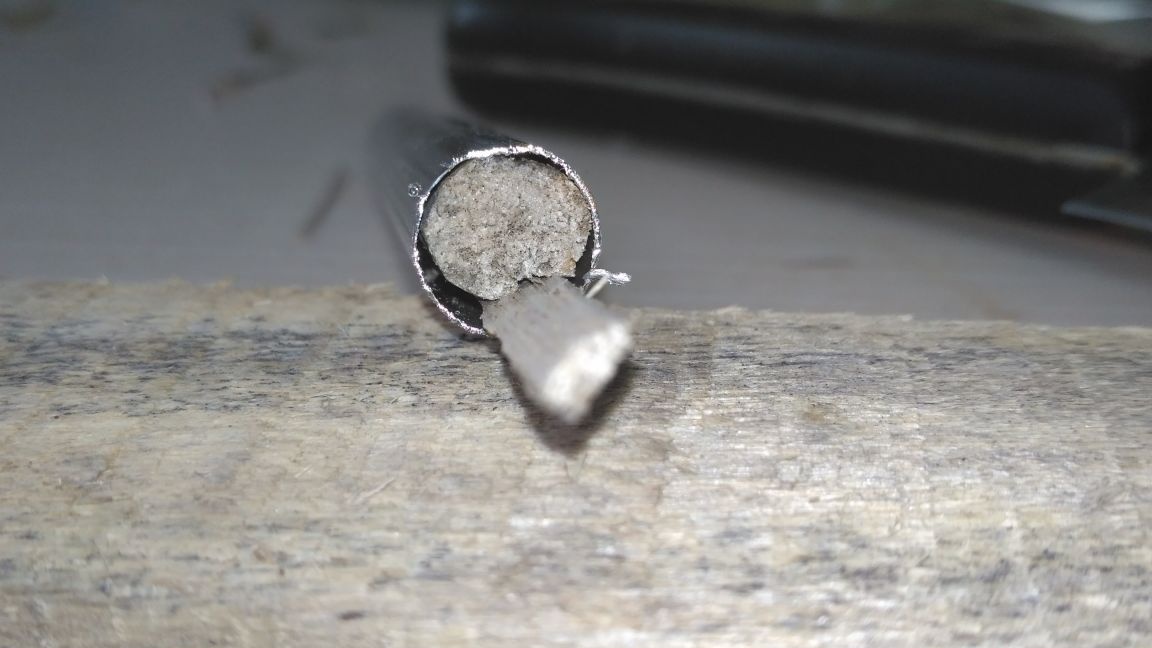
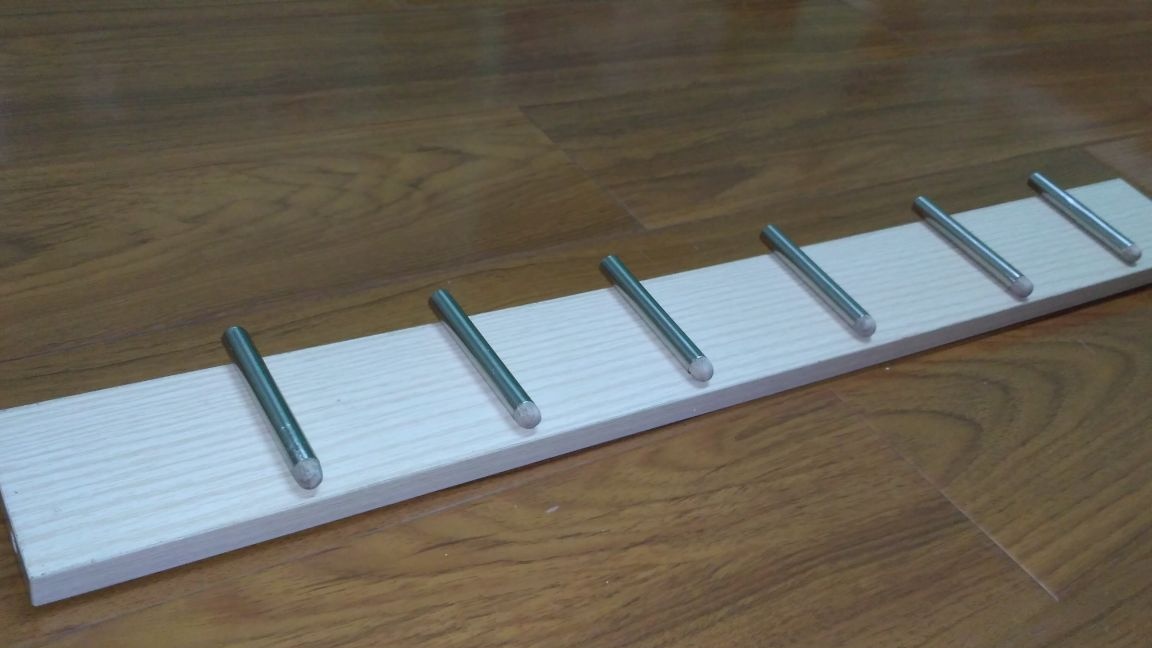
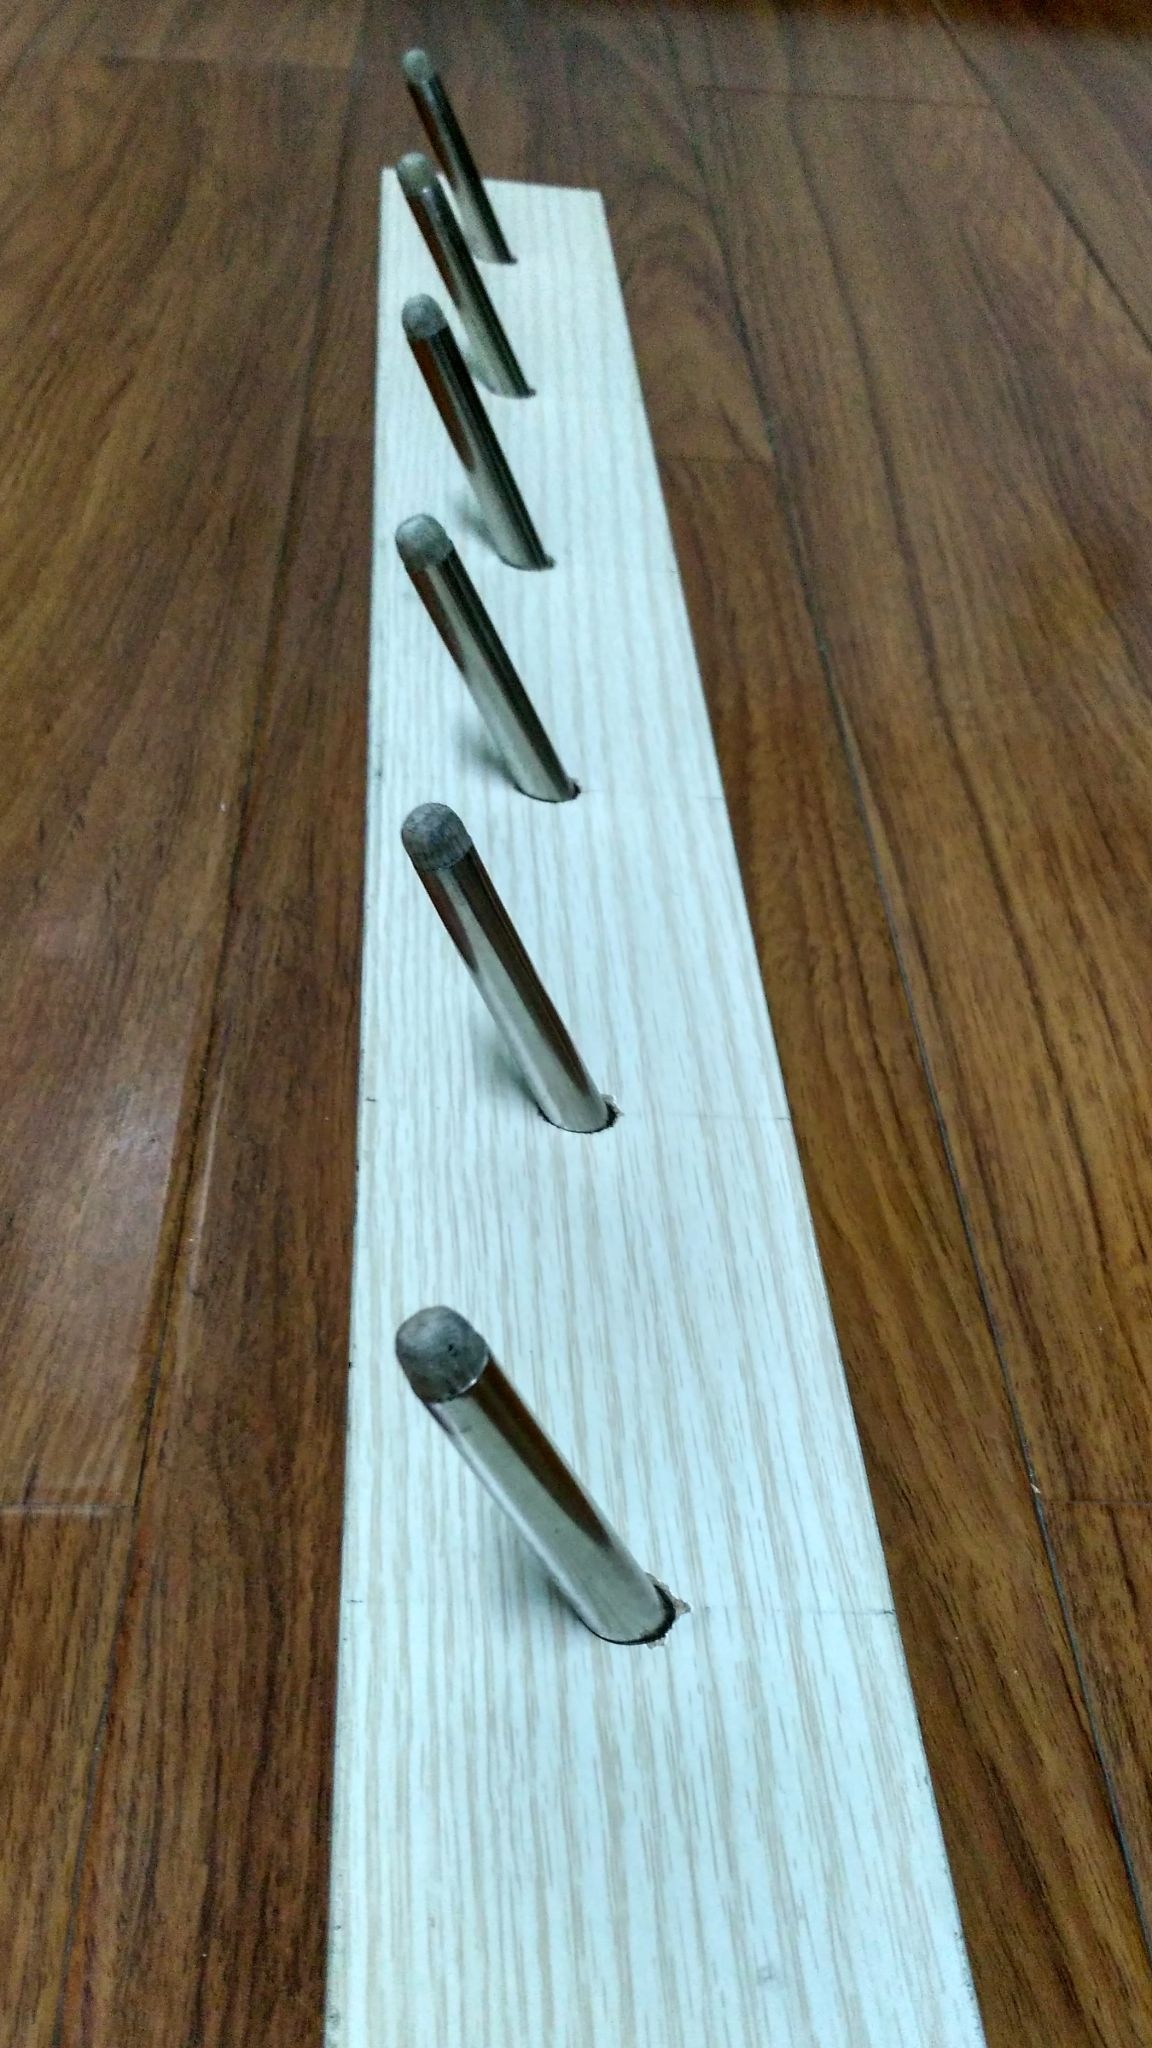
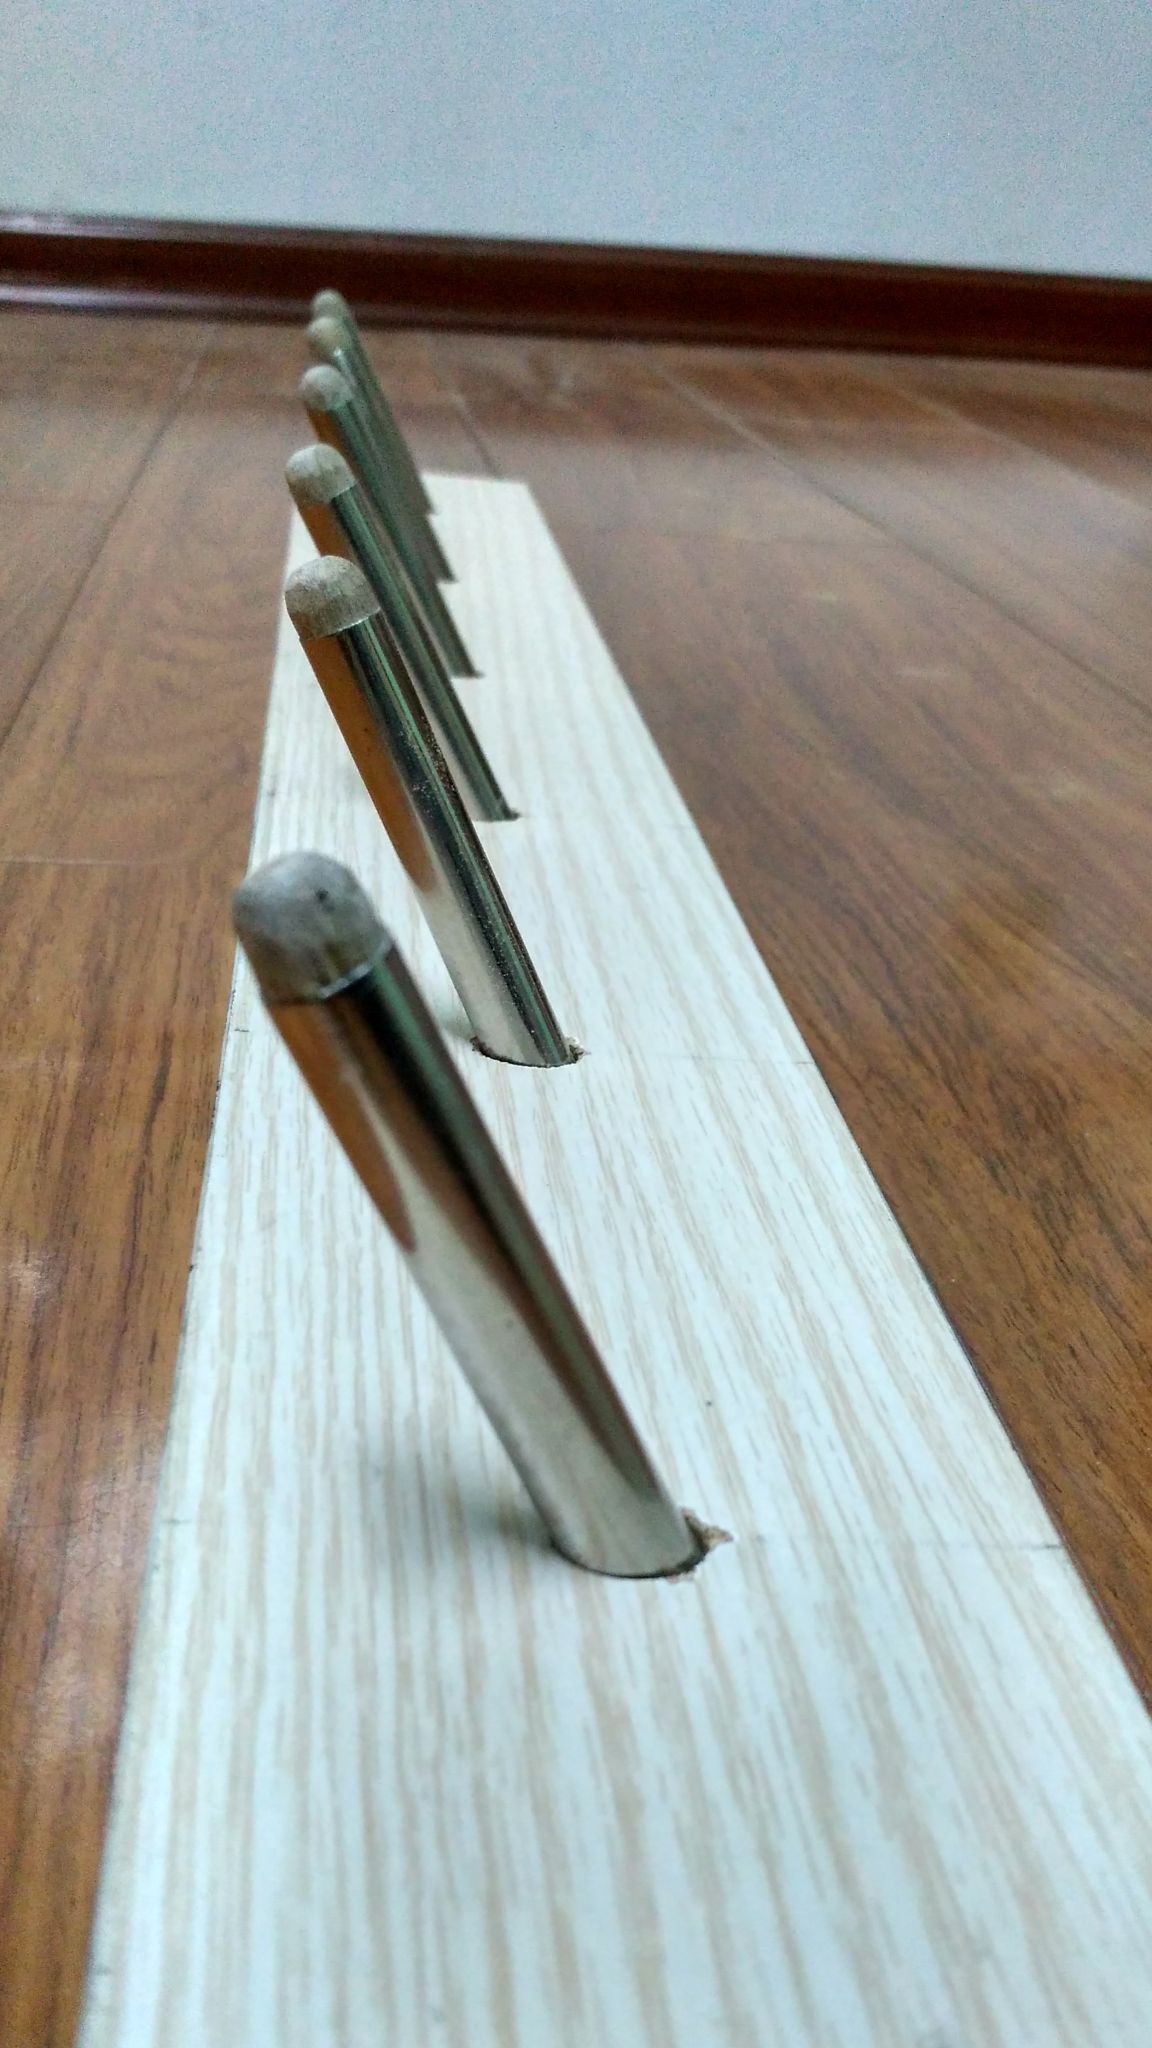
As hooks, I decided to use a metal tube from a clothes dryer. And in order to stiffen this tube and at the same time make tips on the ends of the hook tubes, I inserted a wooden core inside each of the six tubes. It turned out that the whole load will be borne by wooden rods lined with a chrome tube outside.
I myself decided to insert the hooks at an angle into a piece of chipboard that was found on the farm. It was planned to fasten to the wall with ordinary screws screwed directly from the front side. But then I decided that it would be better to make hidden fasteners and thereby make the hanger more aesthetic. As a result, the resulting structure is hung on the wall with three self-tapping screws screwed into the holes with choppers in the concrete wall.
Step 2:
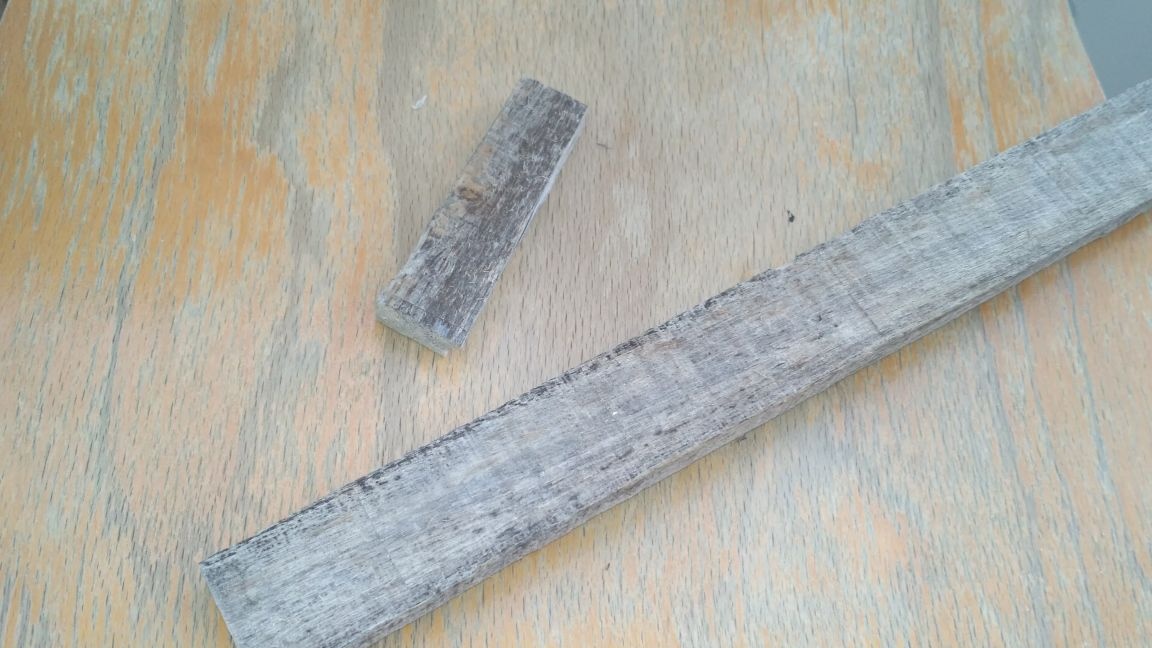
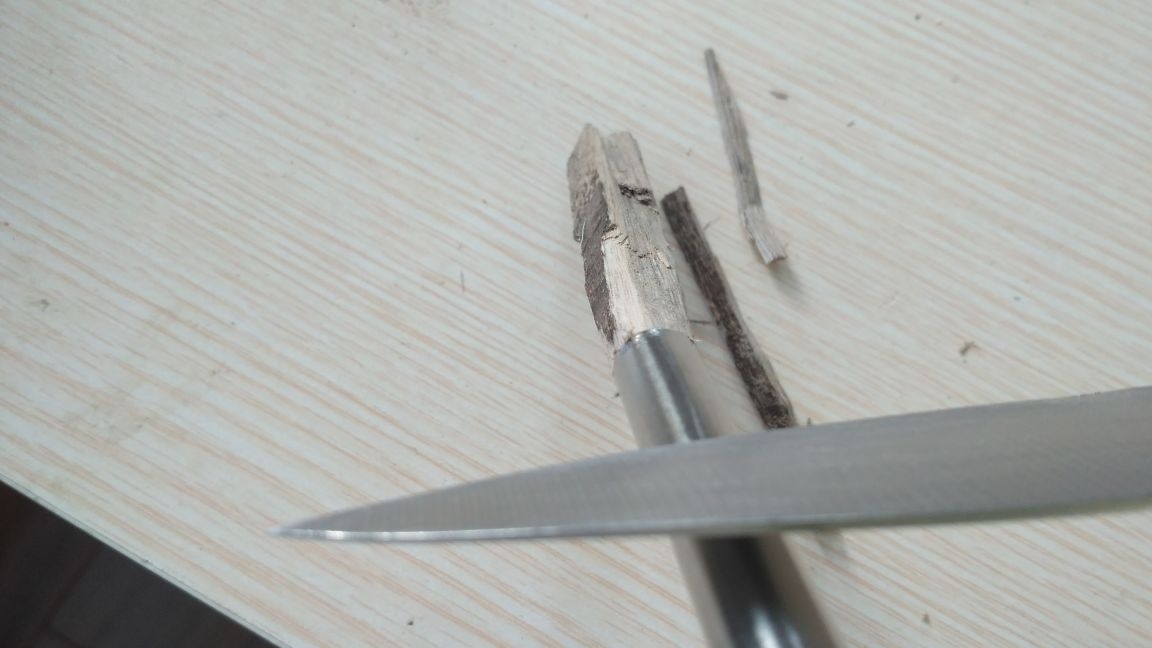
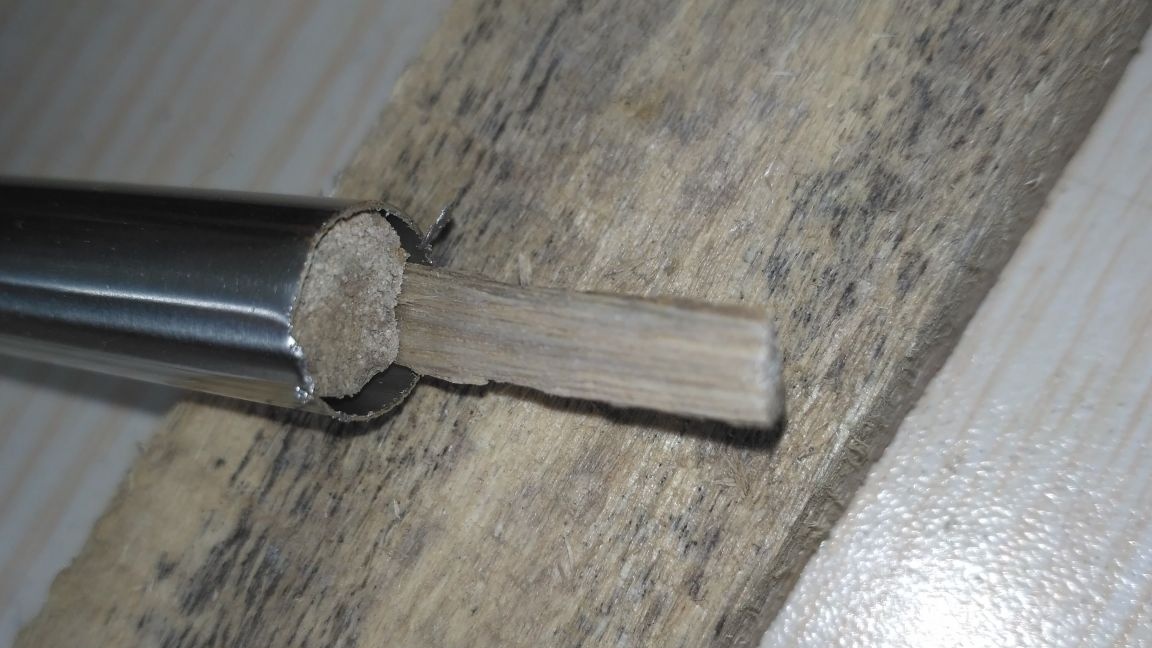
We saw off the bar 1 cm longer than the metal tube (I chose the length of the tube by eye), we press the tube along the end of the piece of wood with a knife along which we cut with a knife a round chop, equal in diameter to the inner diameter of the tube.
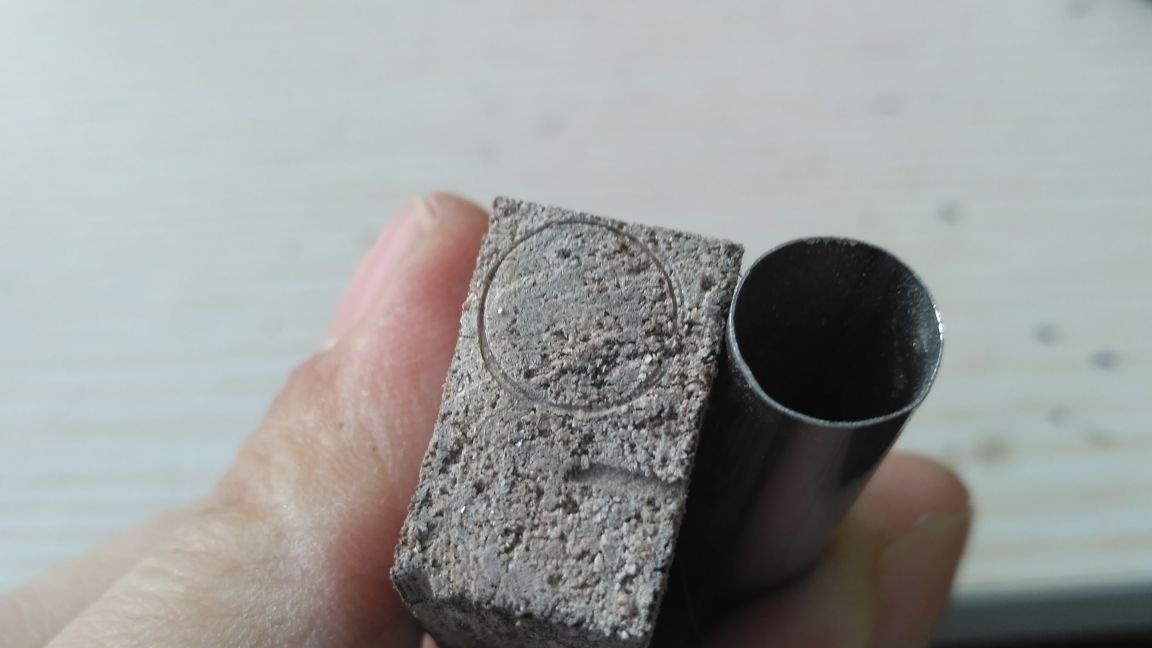
The first couple of centimeters must be done as accurately as possible - this part will stick out from the outside and will be a wooden tip of the hooks.
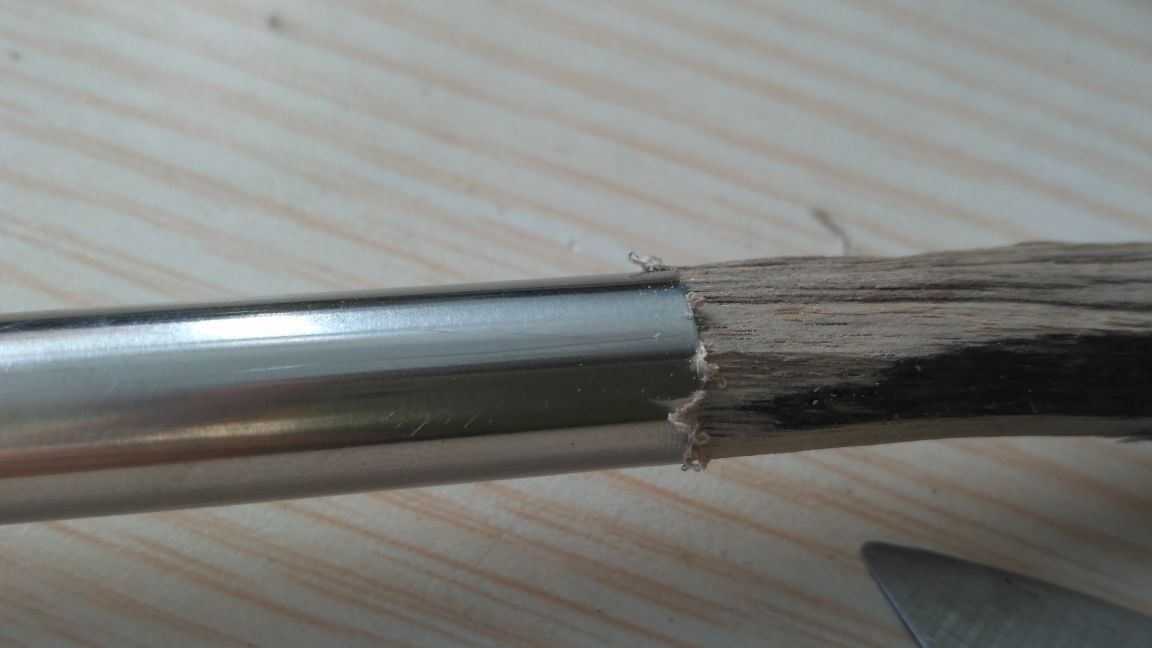
The rest of the wooden core should not be so precisely fitted, but there should not be a very large backlash so that the tube does not wrinkle during operation.
On the reverse side of the tube into the gaps, I always hammered a whisper with PVA glue for the rigidity of fastening to the chipboard base of the hanger.
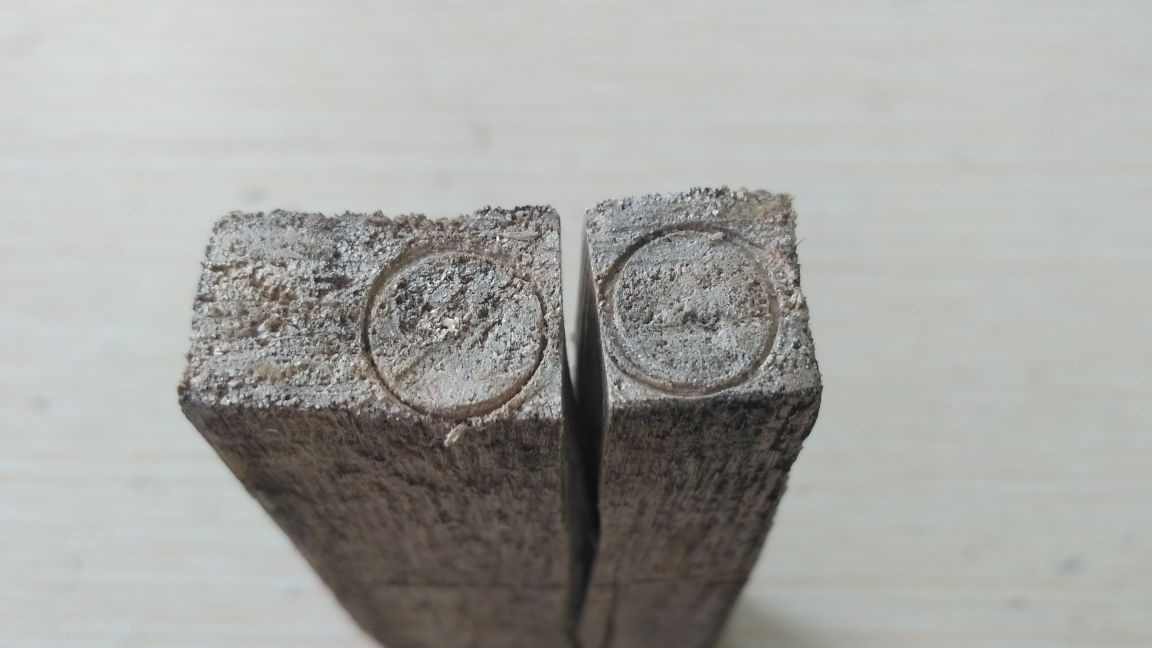
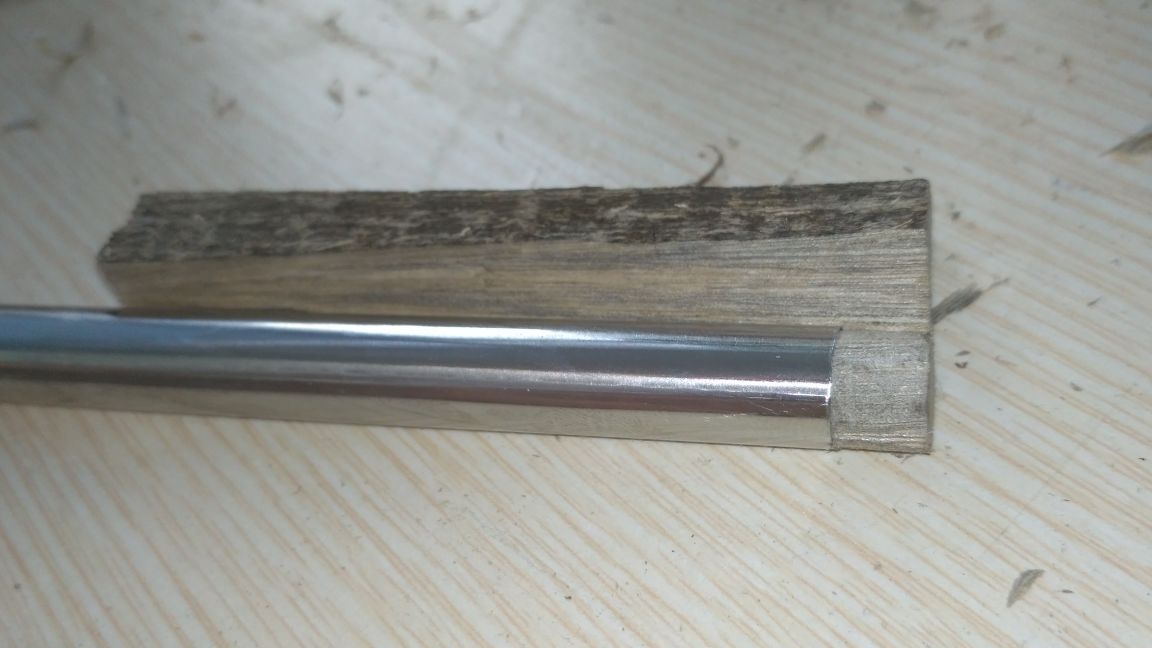
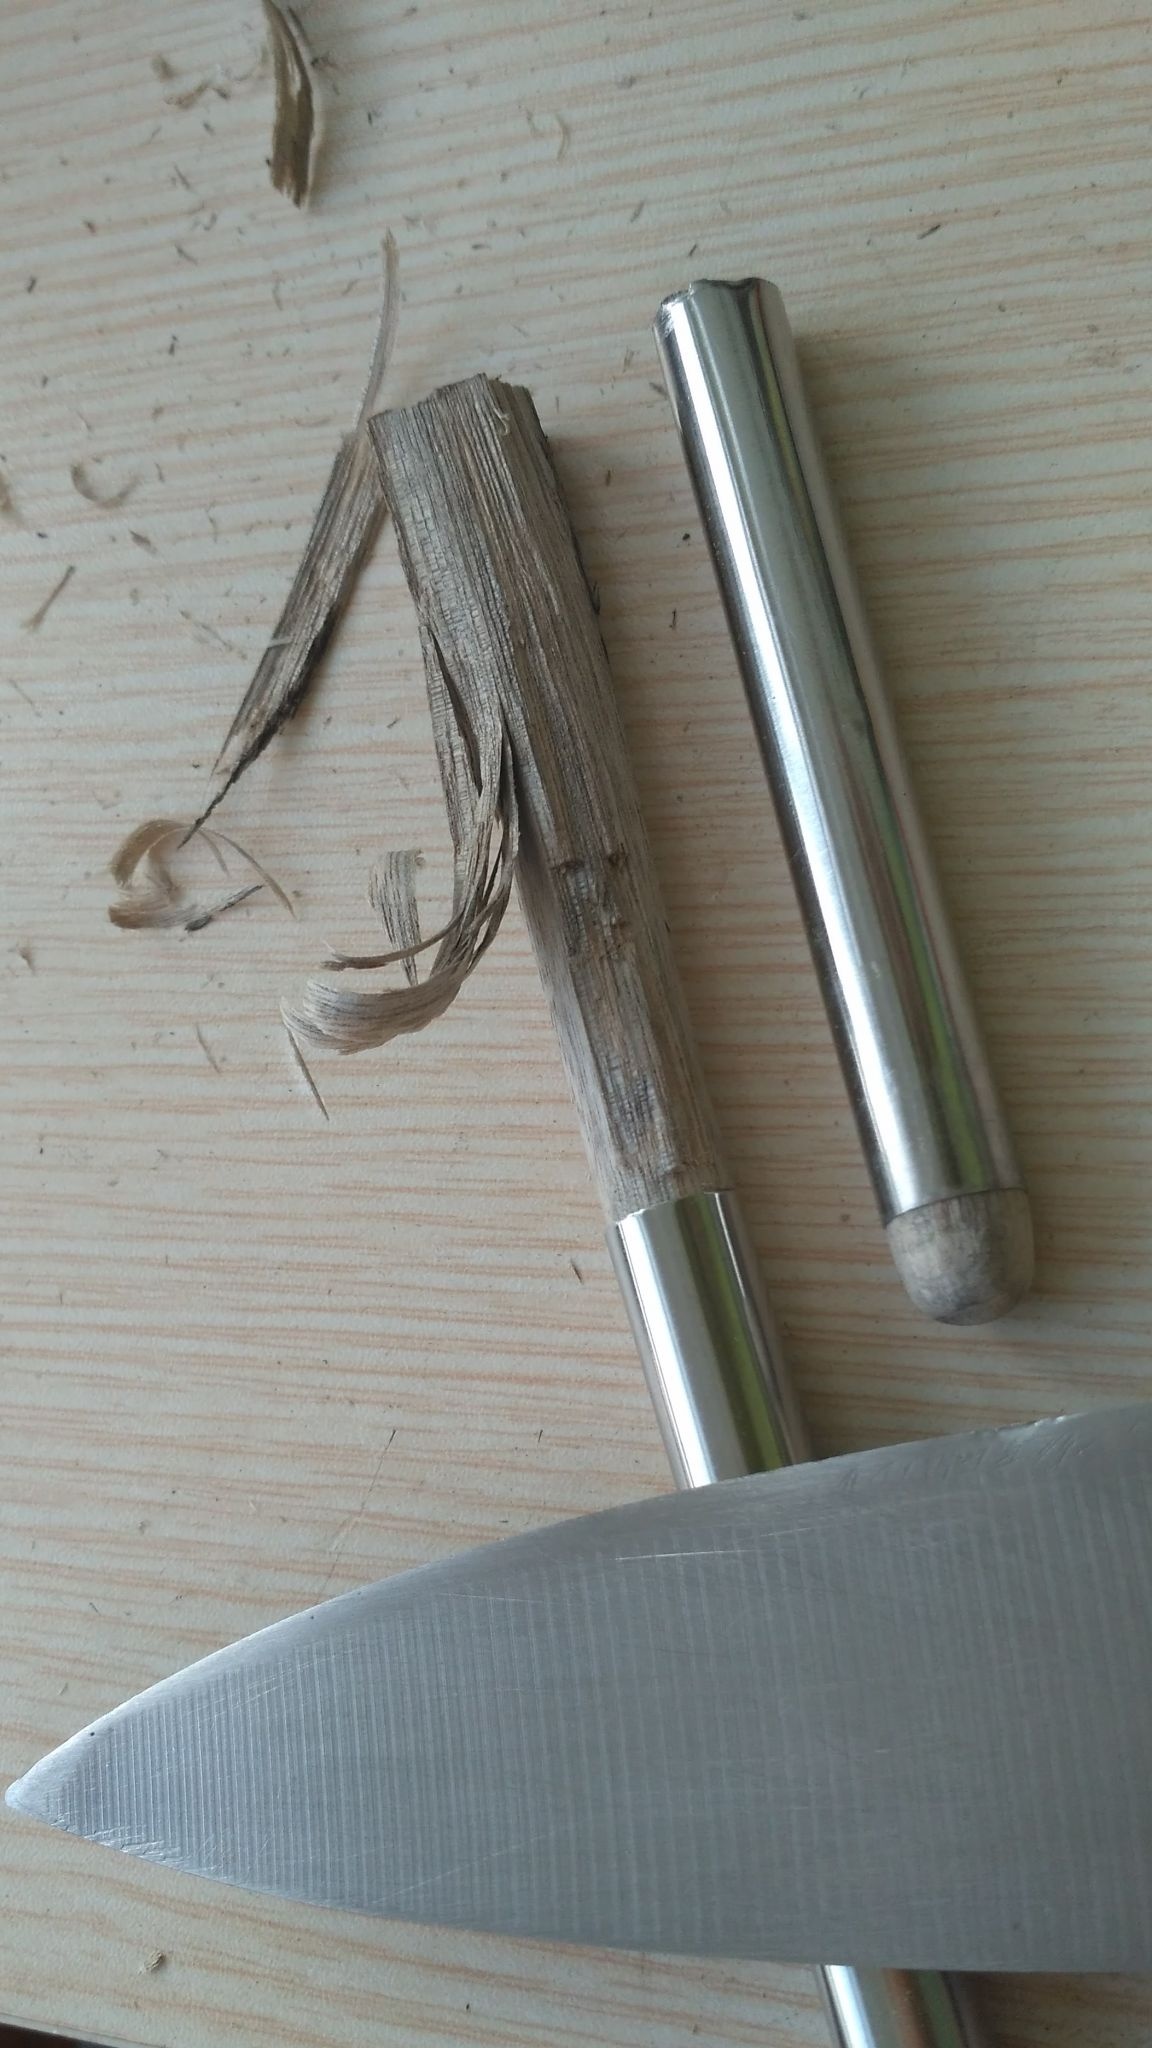

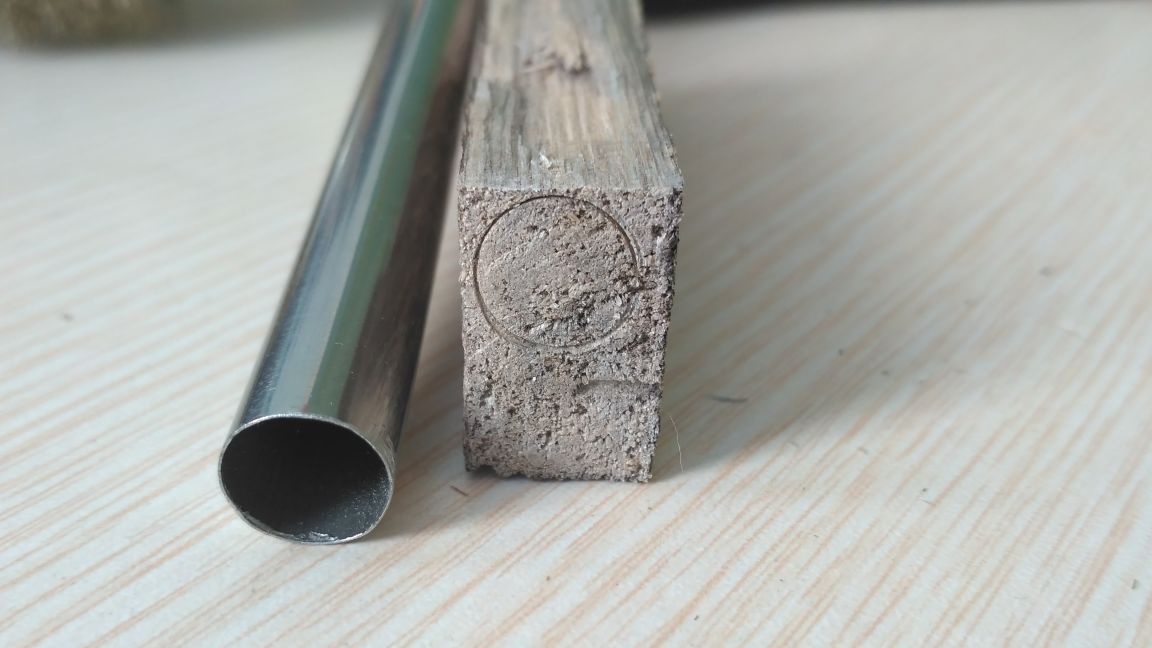
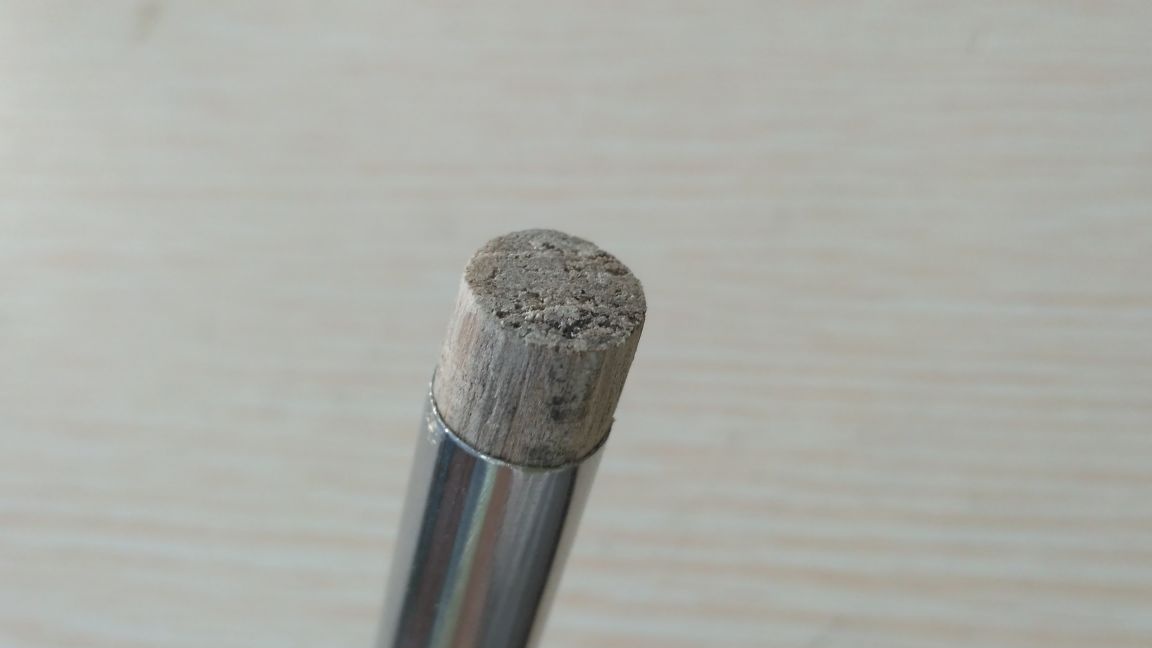
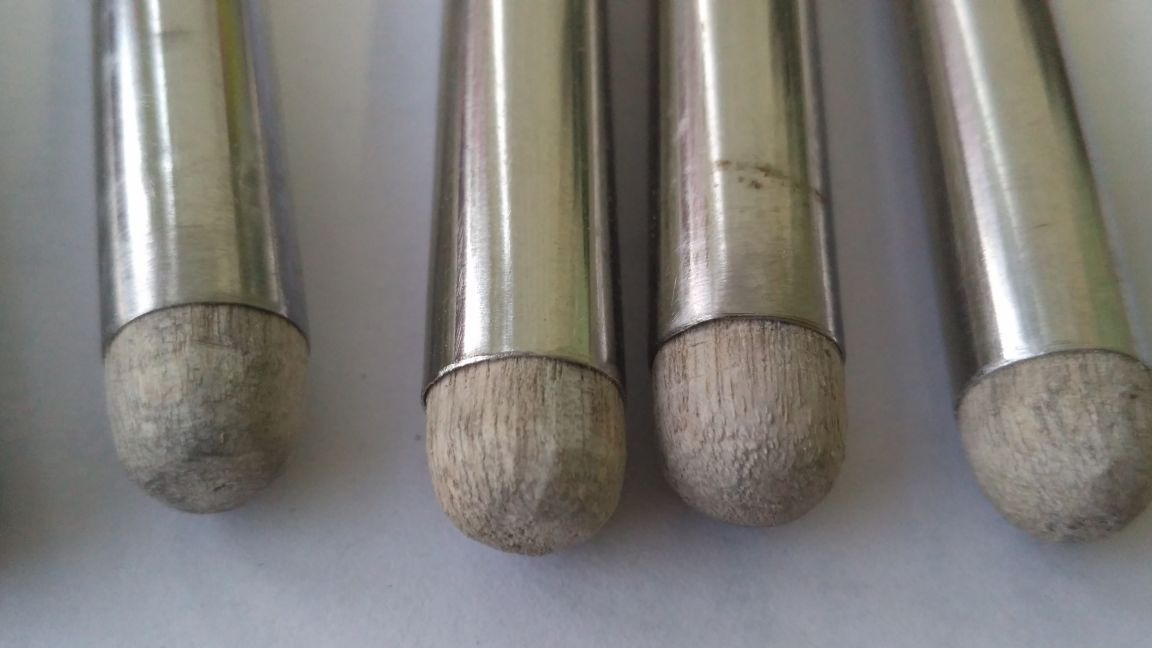
Then we process future hooks with a file, giving them the desired shape. I decided to simply round off, although I originally planned to grind in the form of a pyramid.
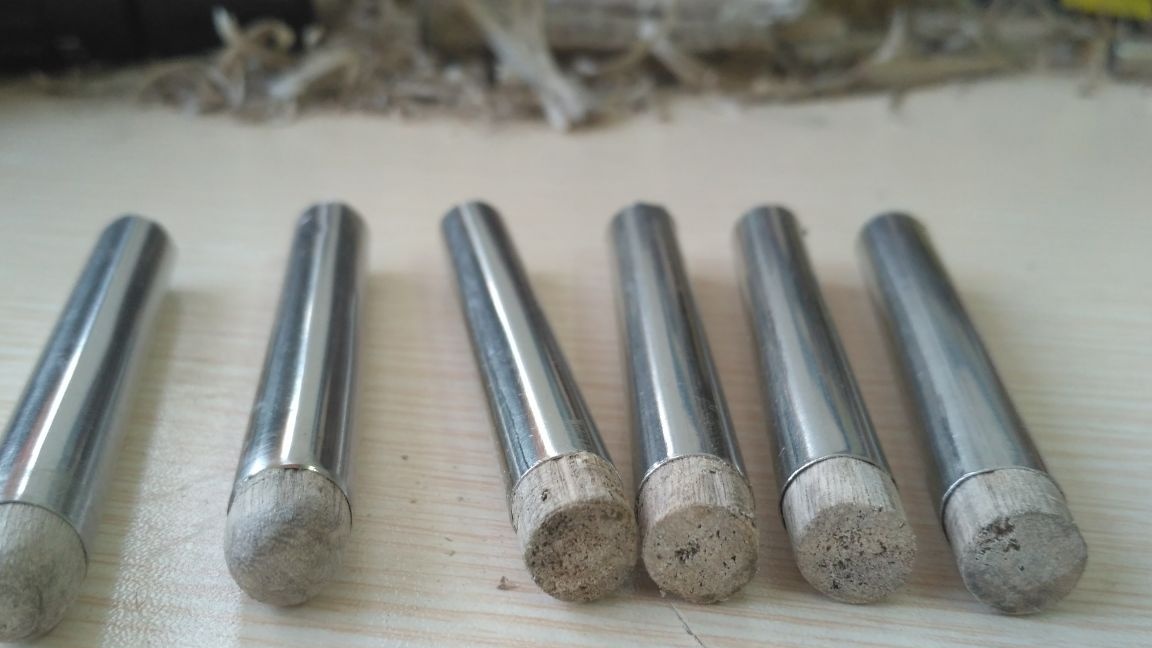
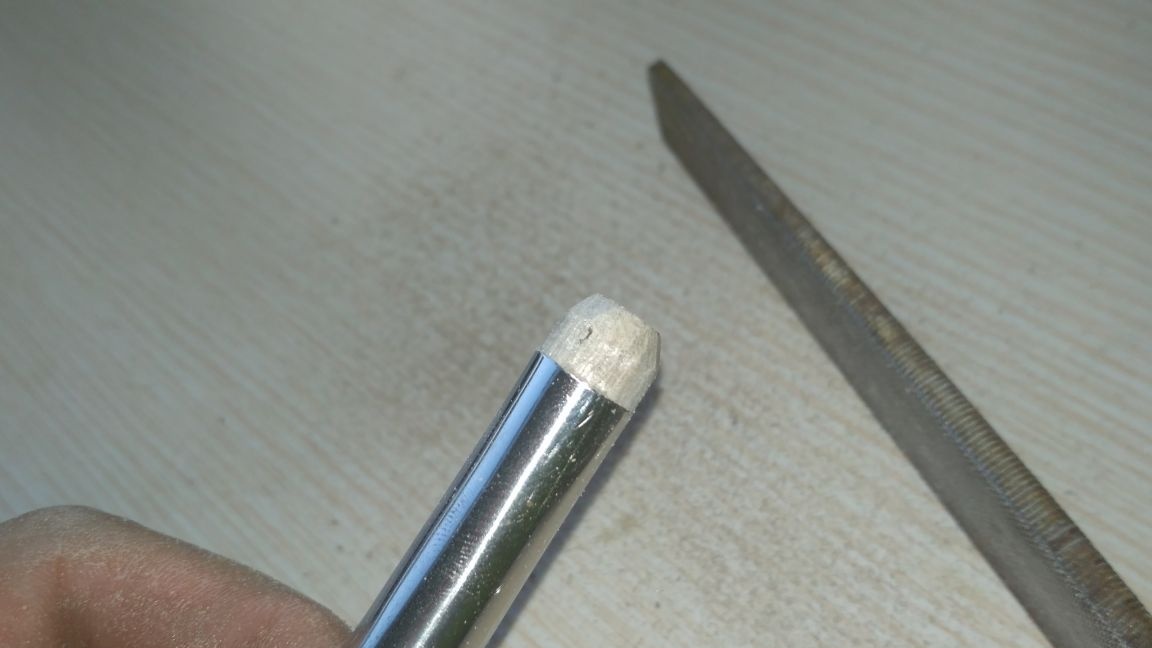
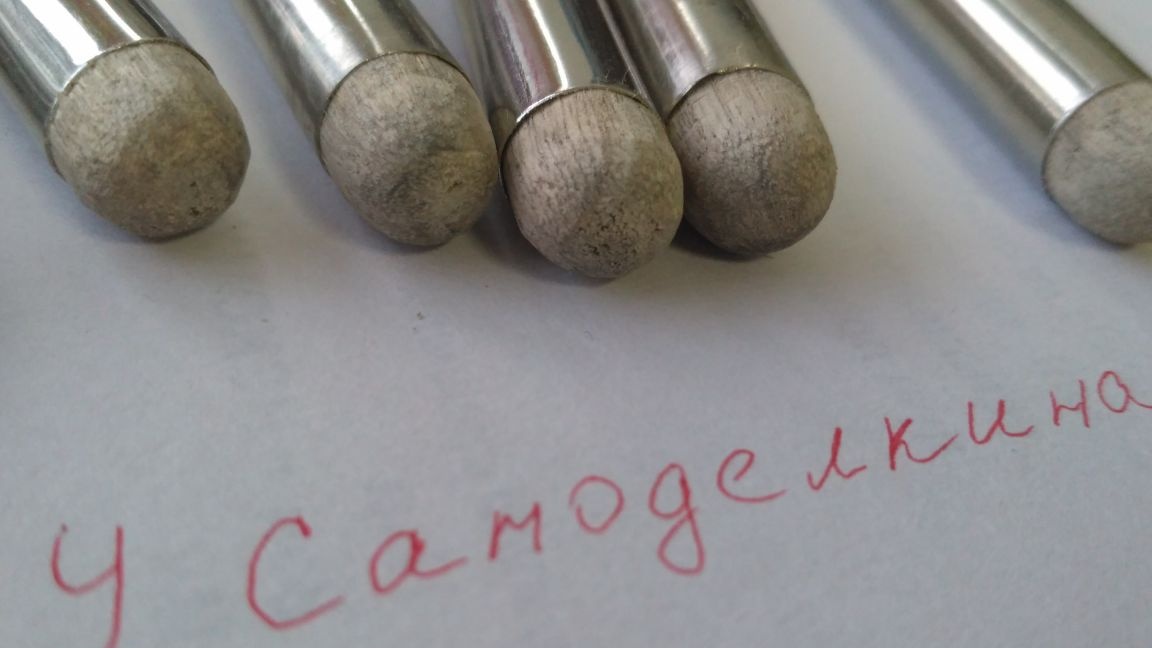
The wooden ends of the hooks can be covered with stain and varnish or soaked with special oil, and then left to dry, taking up the next step. In the absence of either one, I left everything as it is.
Step 3:
When the hooks are ready, we set about making hidden hinges.
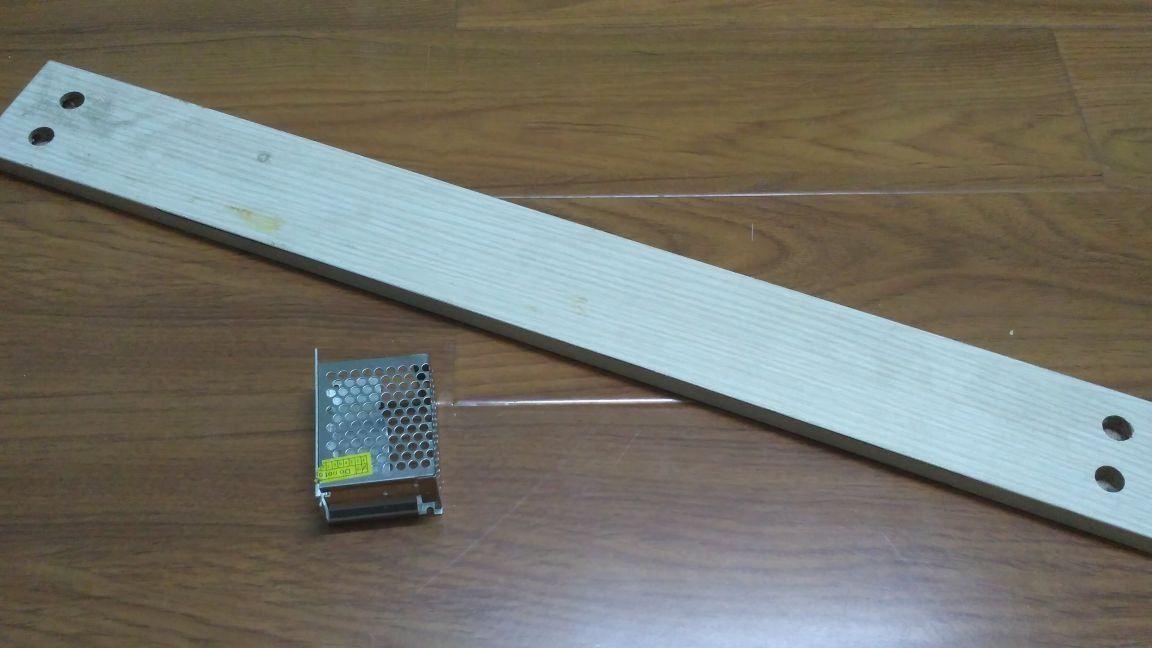
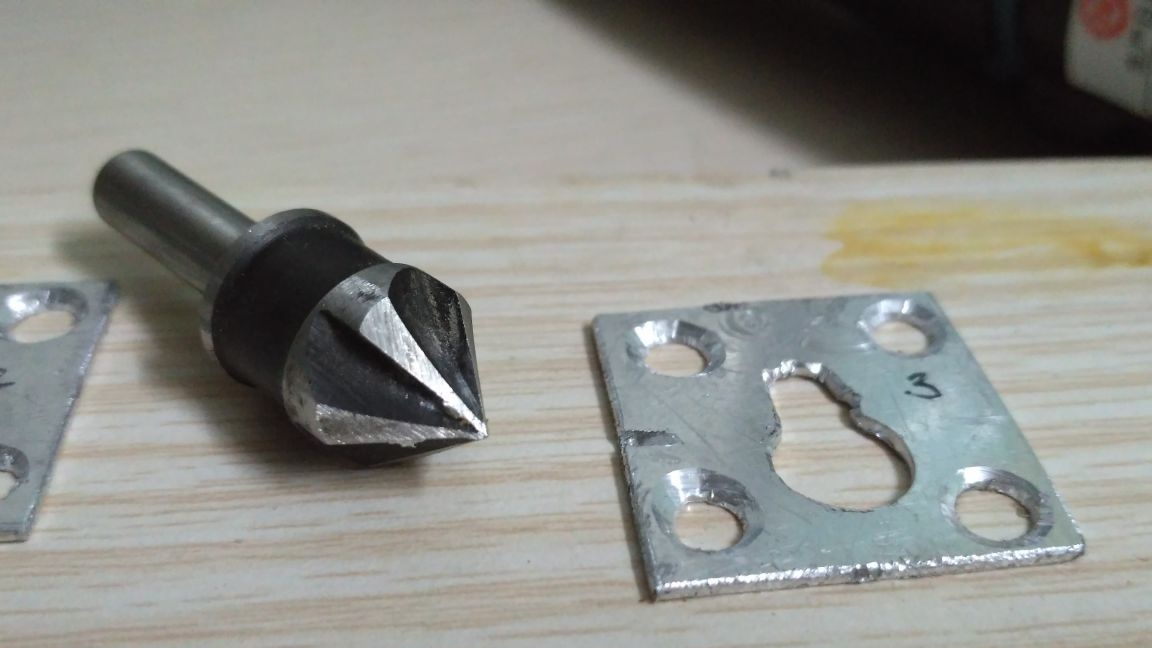
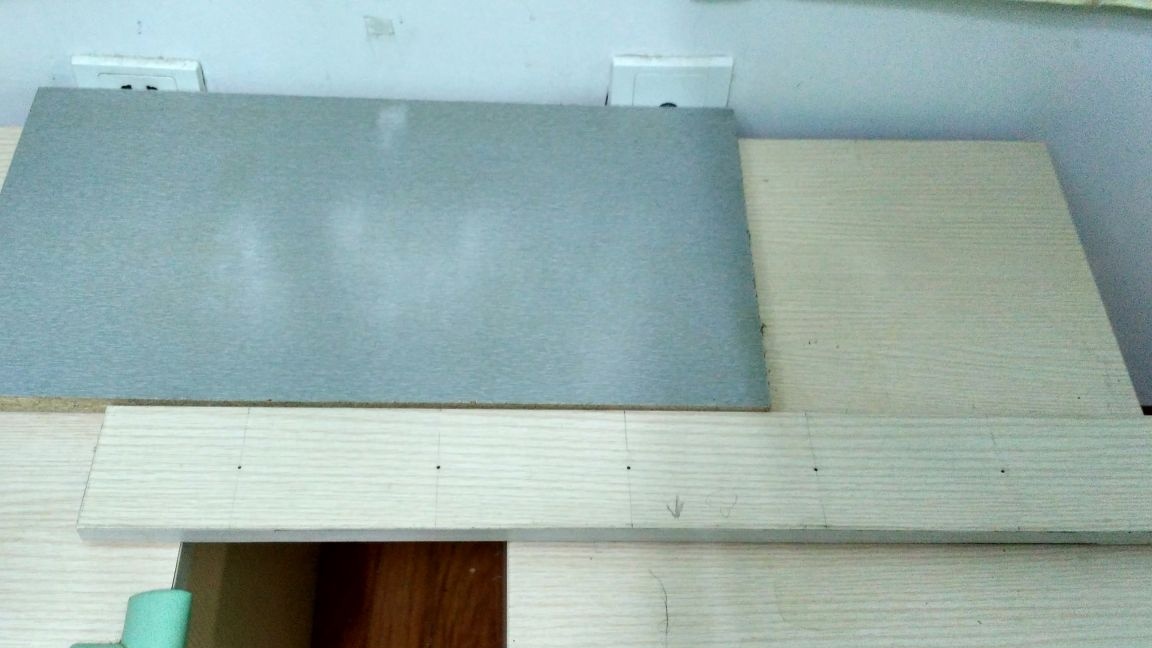
For this, I used a piece of aluminum plate from the body of a burned-out power supply.

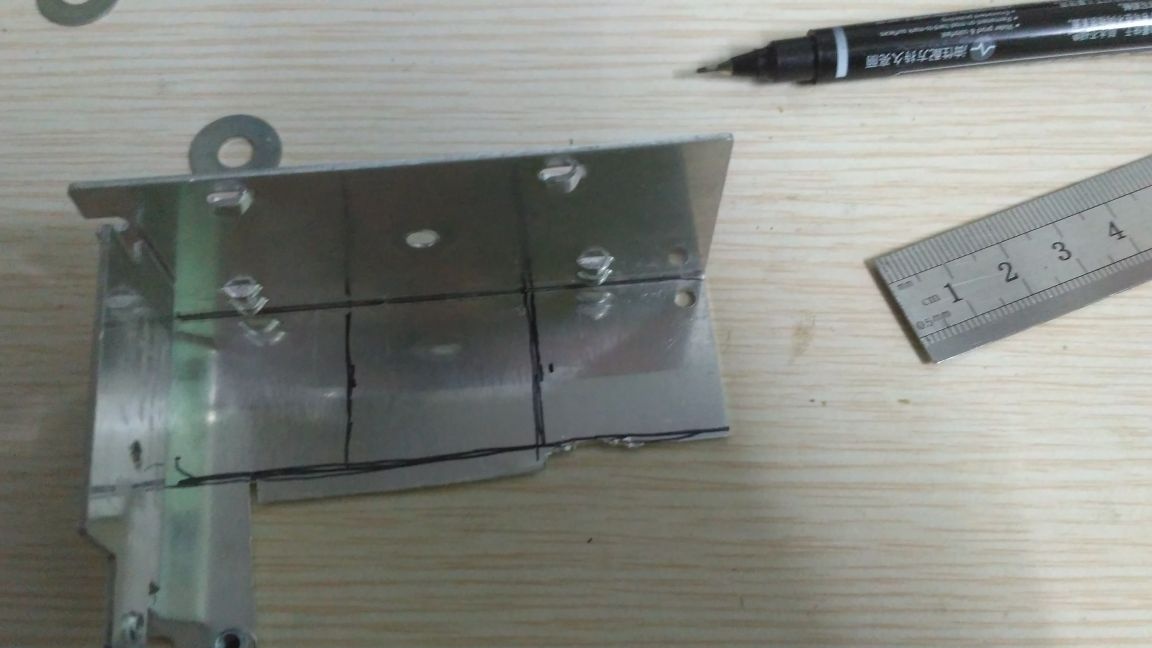
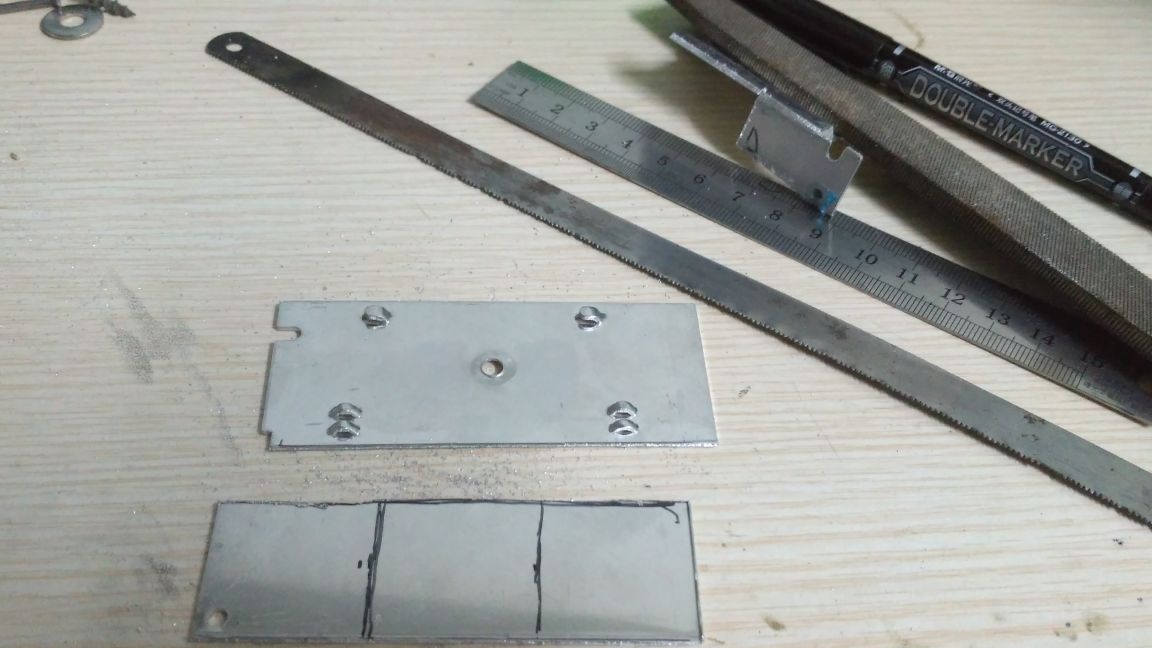
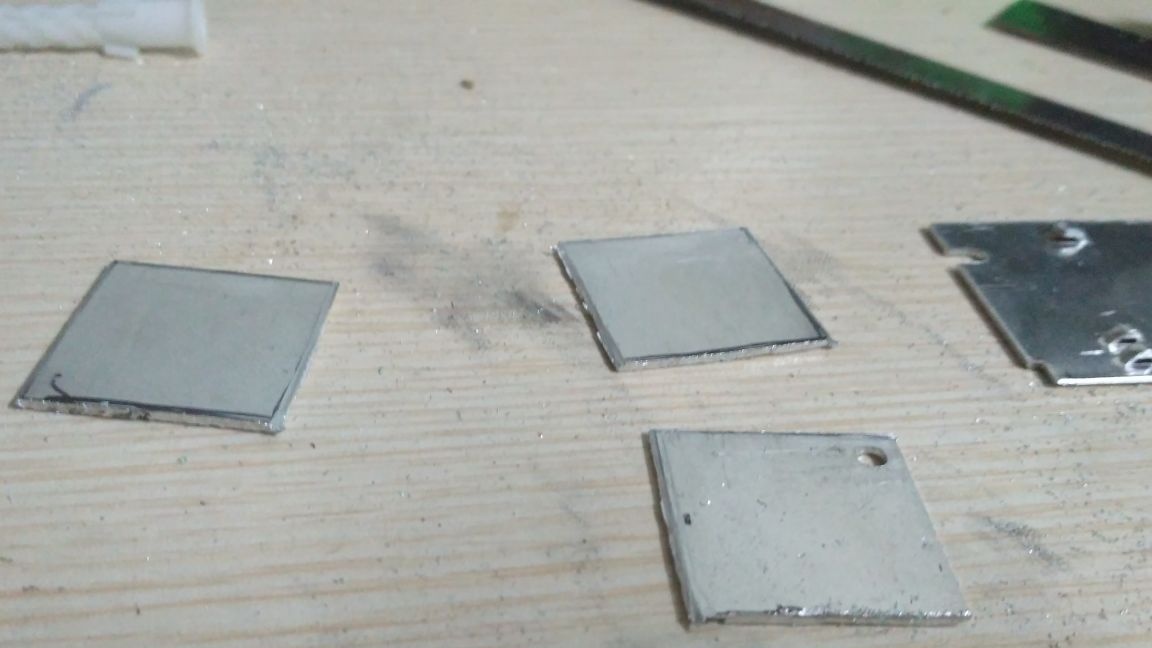
In the resulting square plates, you need to drill holes for attaching the entire hanger to the wall and holes for the screws with which we fix the plates themselves to the chipboard.
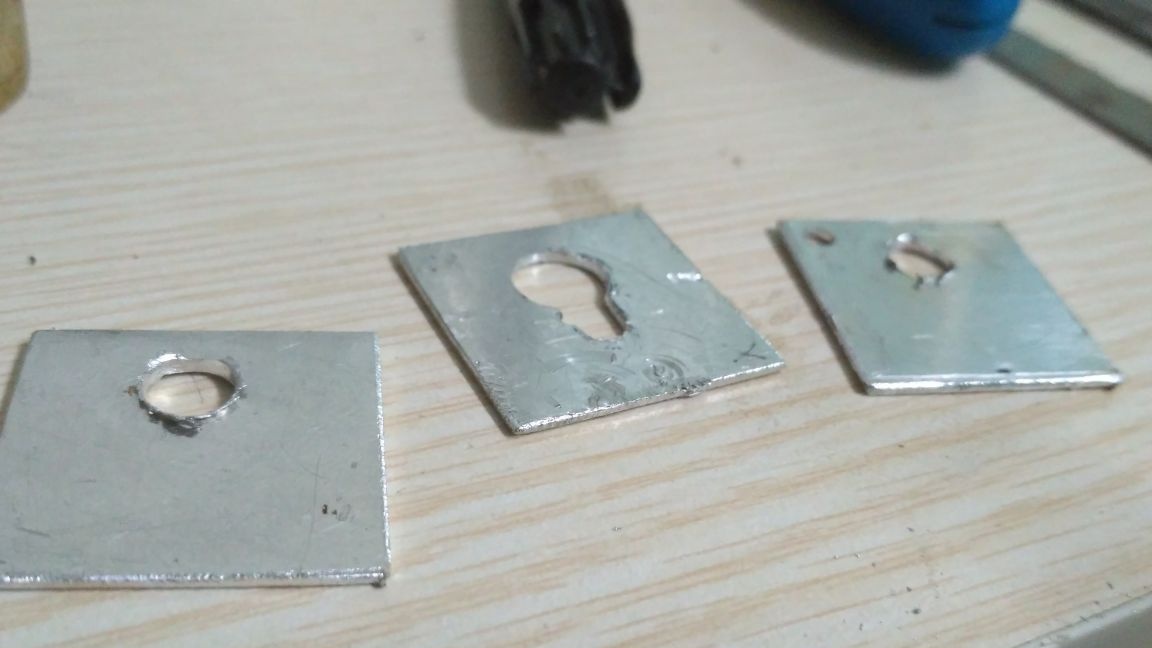
I did part of the work with a screwdriver, and part with a hand drill (I don’t know how it is called device) Well, of course, I finalized the file. At this stage, it would be very convenient to work with files, but for their absence it was necessary to do with a clerical knife. By the way, he cuts aluminum quite tolerably ... rather, he planes.
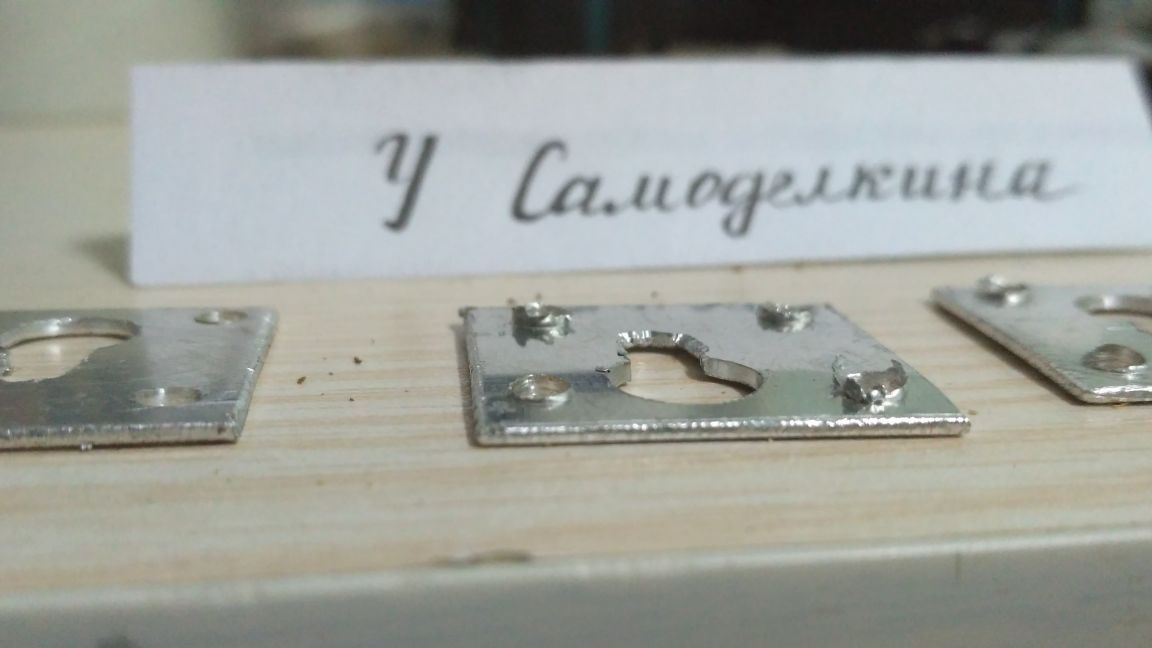
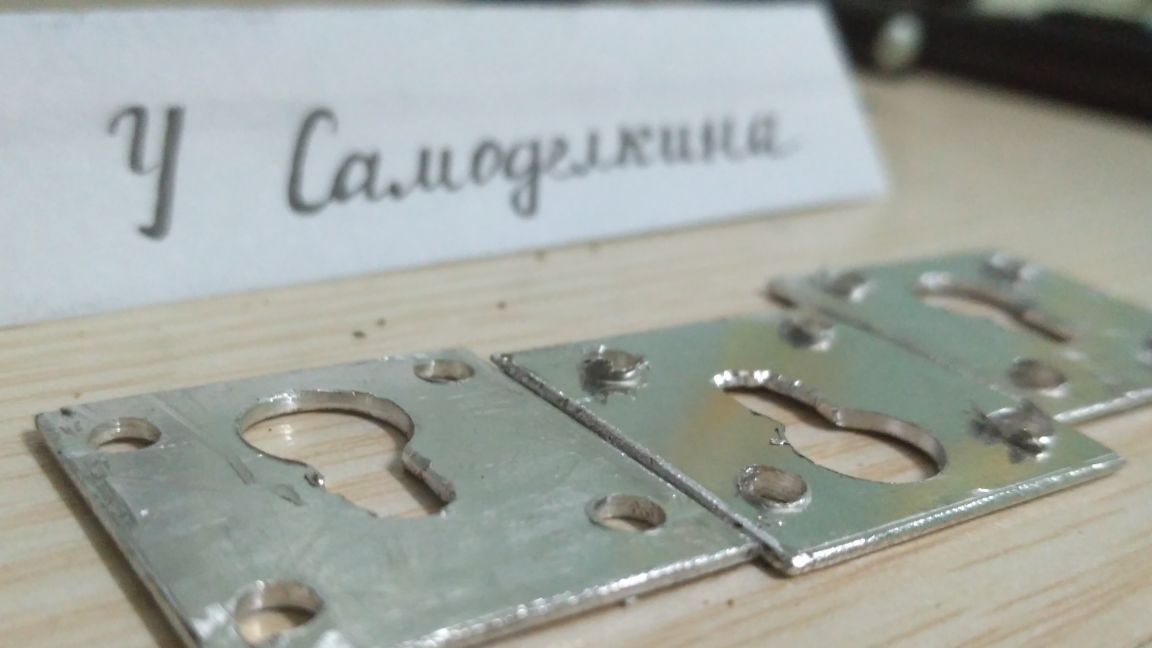
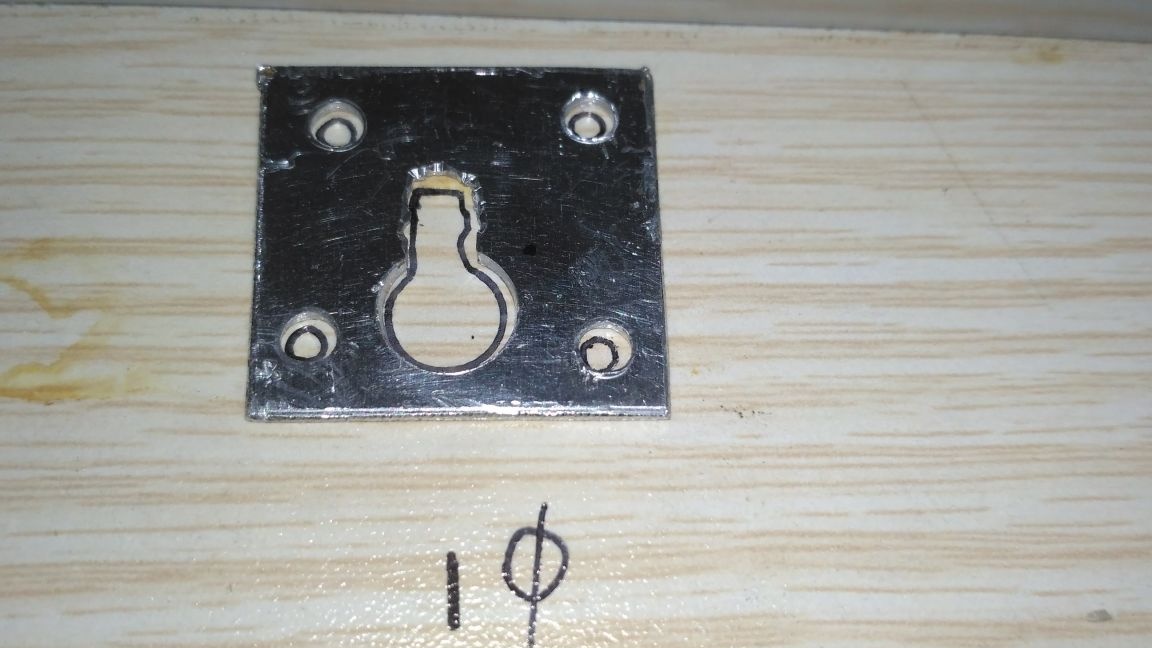
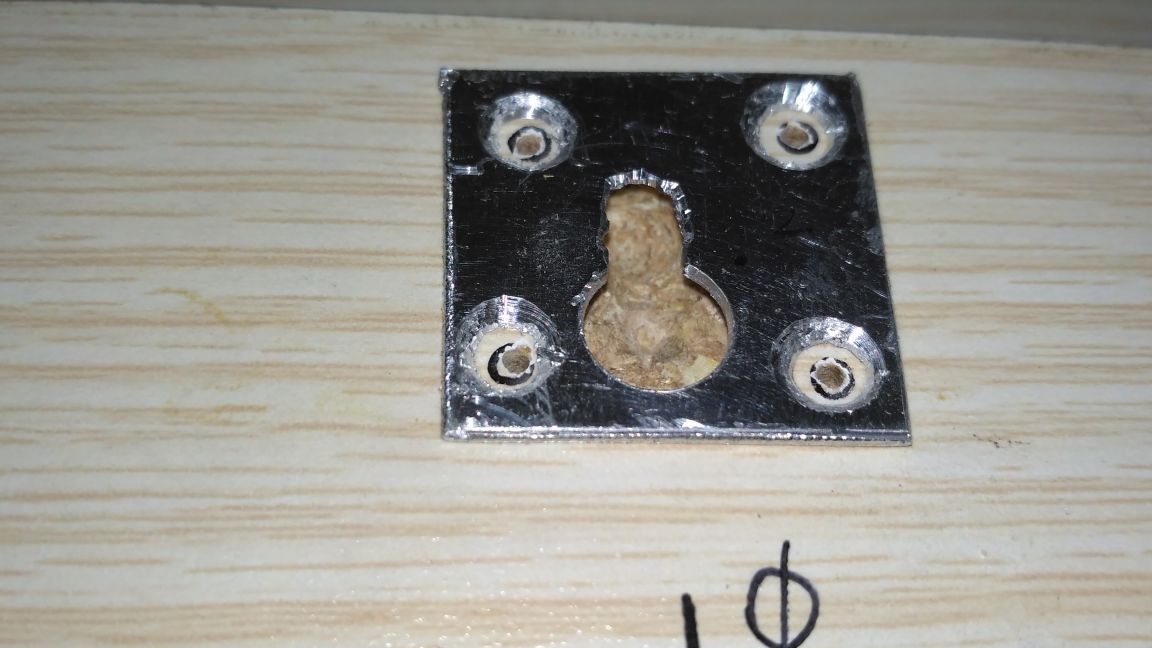
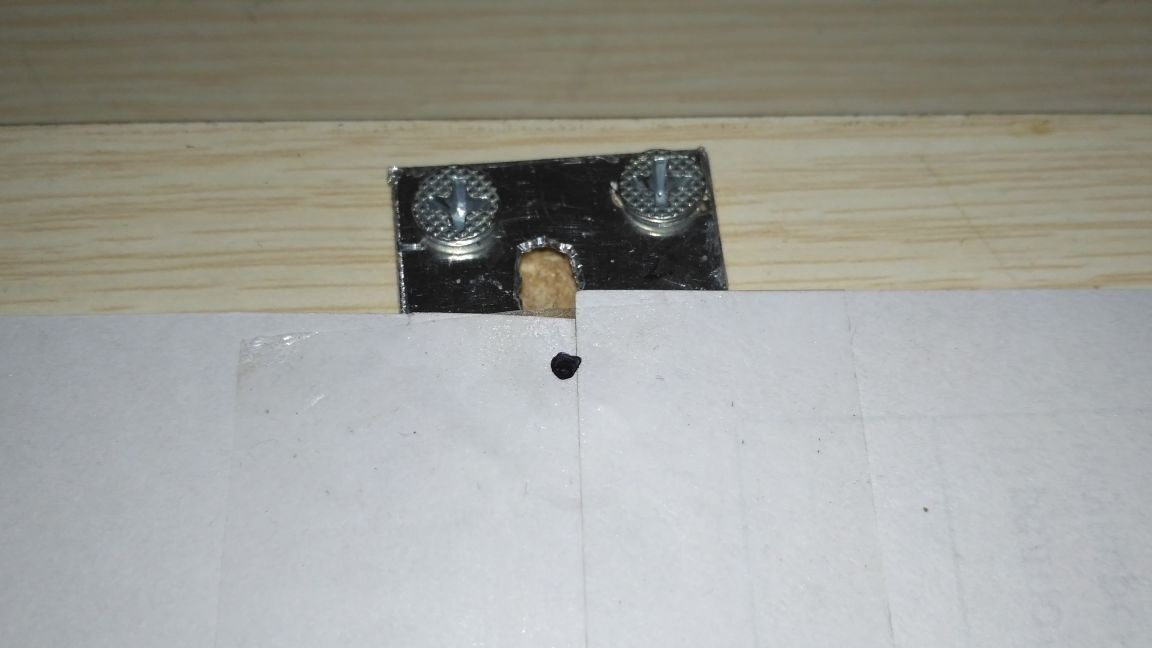
When the holes are drilled and adjusted in diameter, it is worth making indentations for the screw caps with which the resulting loops will be attached to the chipboard.
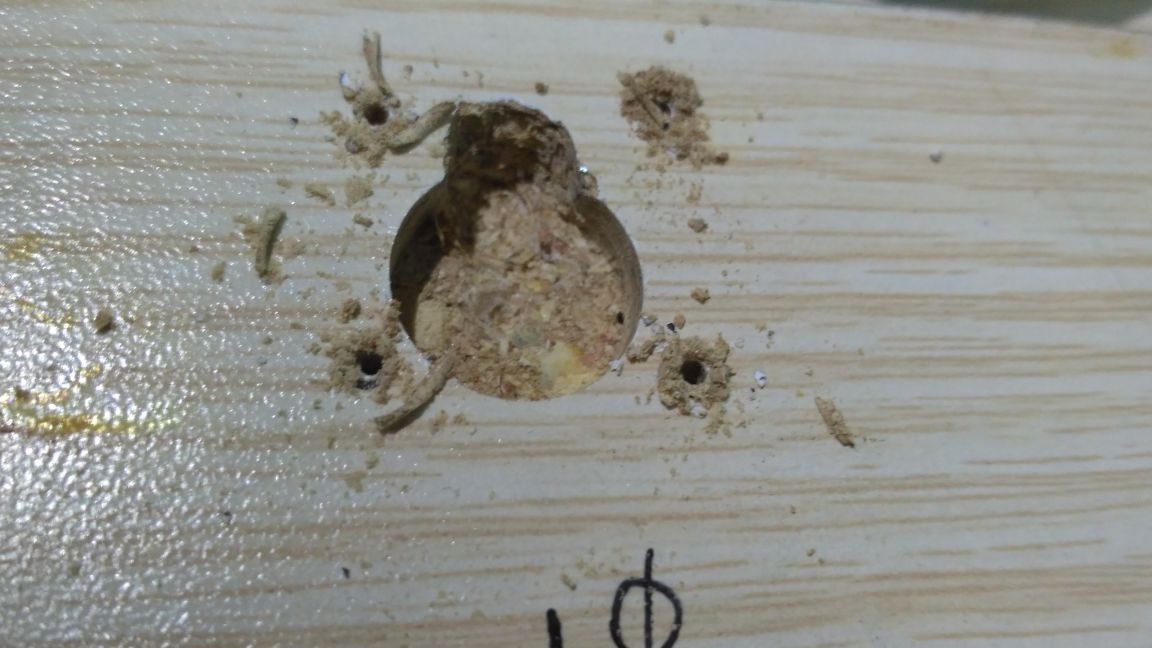
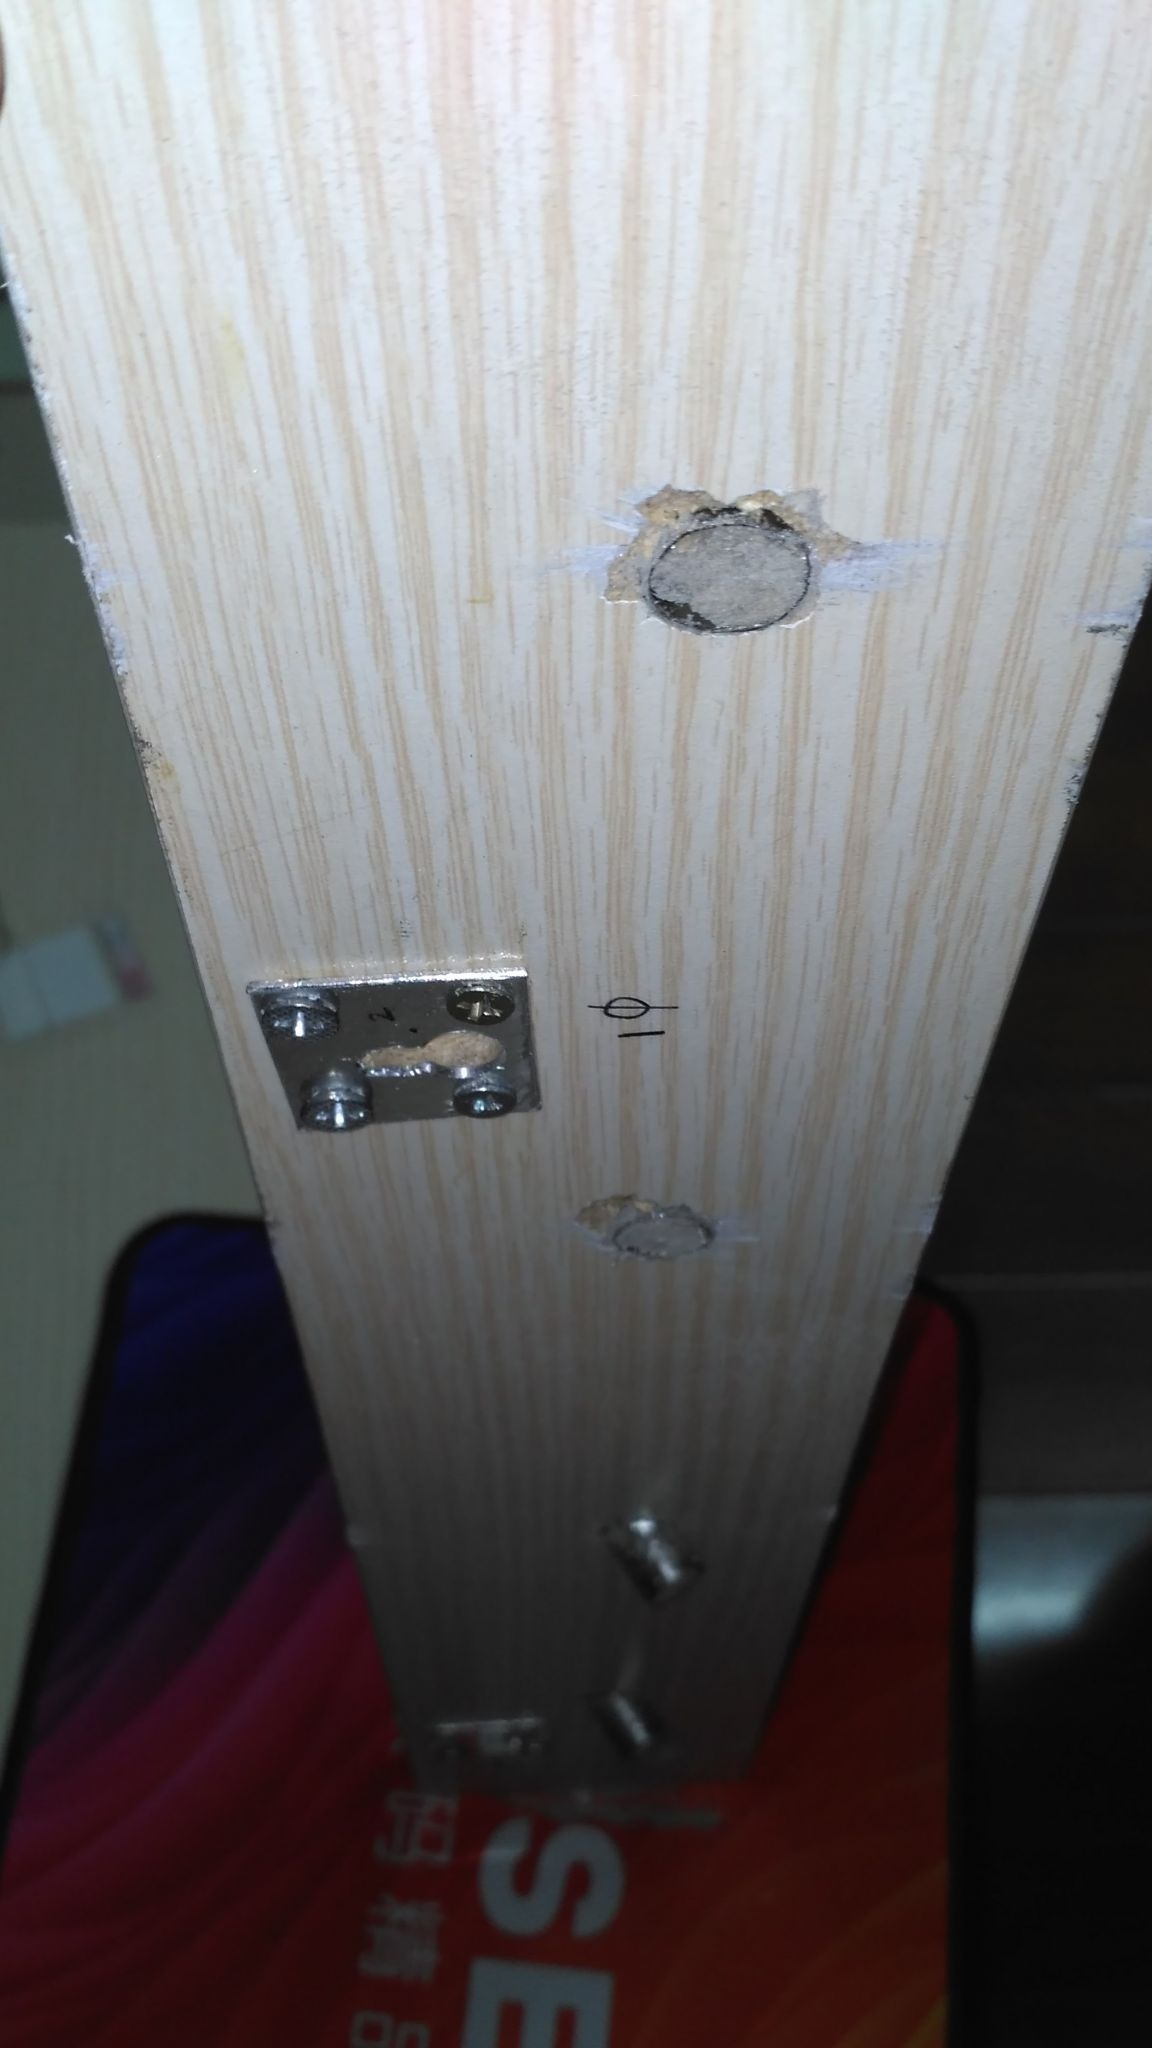
In the chipboard itself, we drill recesses for the bolt caps on which the whole structure will be hung. And for greater reliability, I missed the aluminum hinges with PVA glue, and only then screwed it with screws.
Step 4:
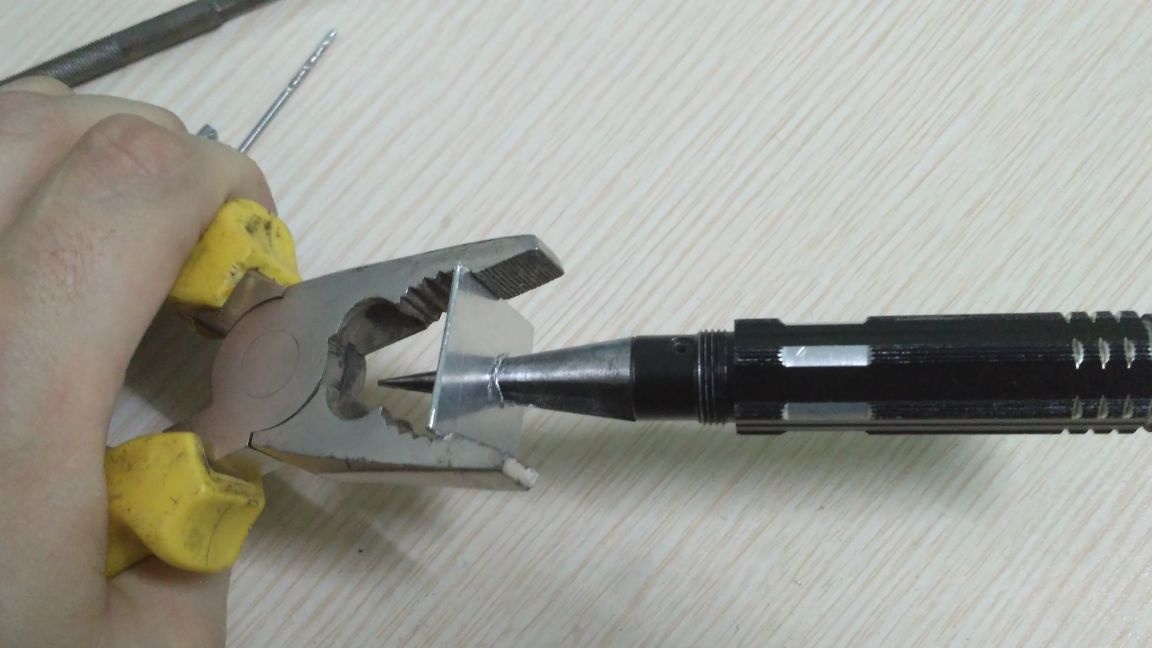
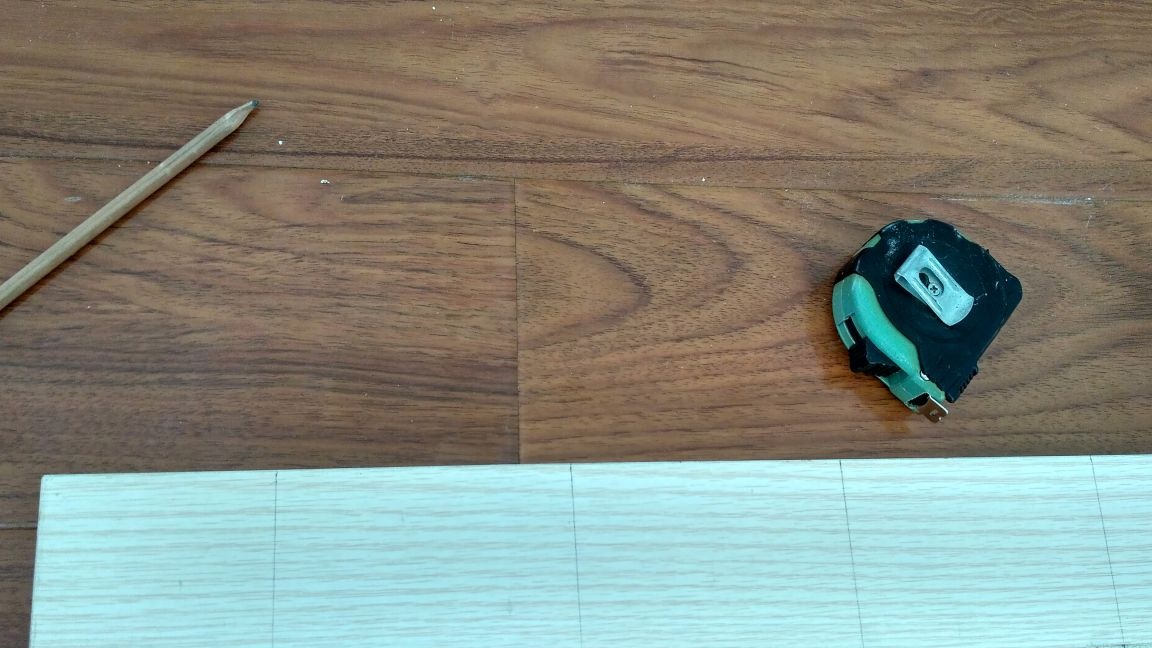
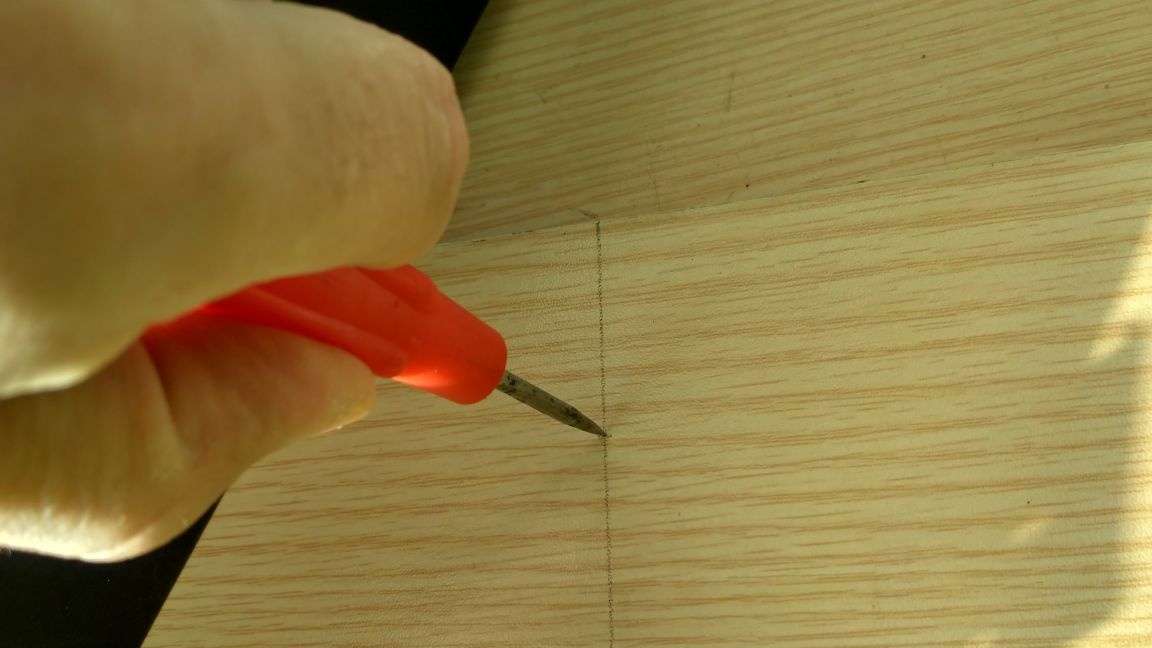
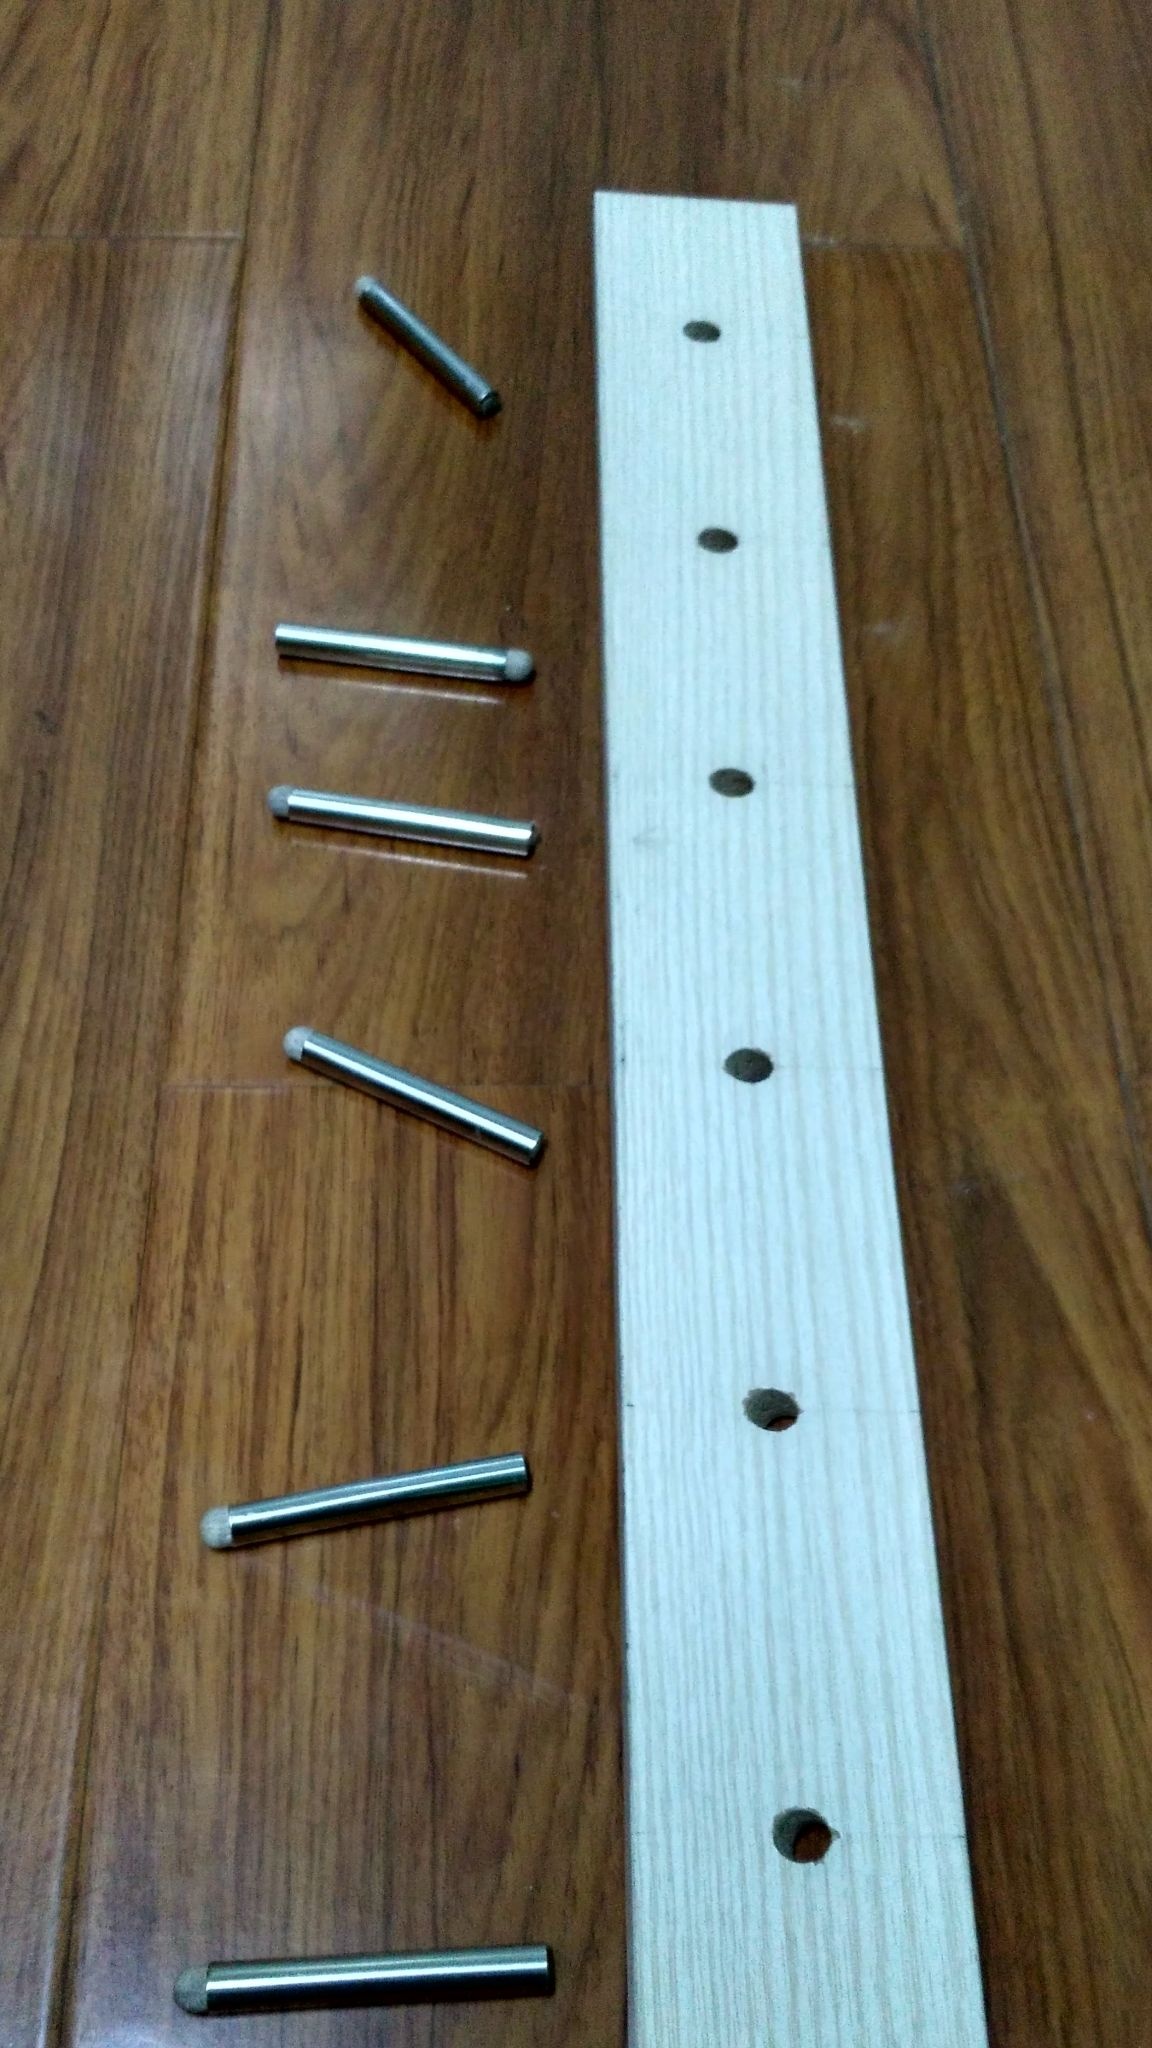
We mark the chipboard, select the distance between the hooks and poke the awl of the drilling site. We will drill at an angle (I chose the tilt angle by eye) so that the clothes do not fall from the hooks.
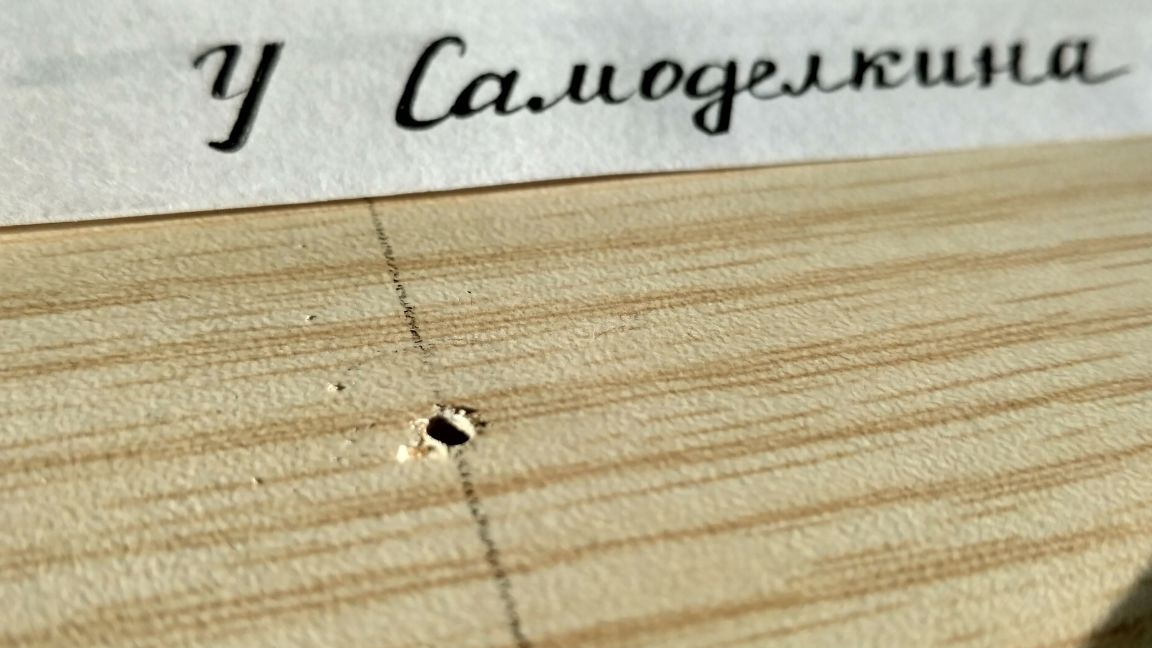
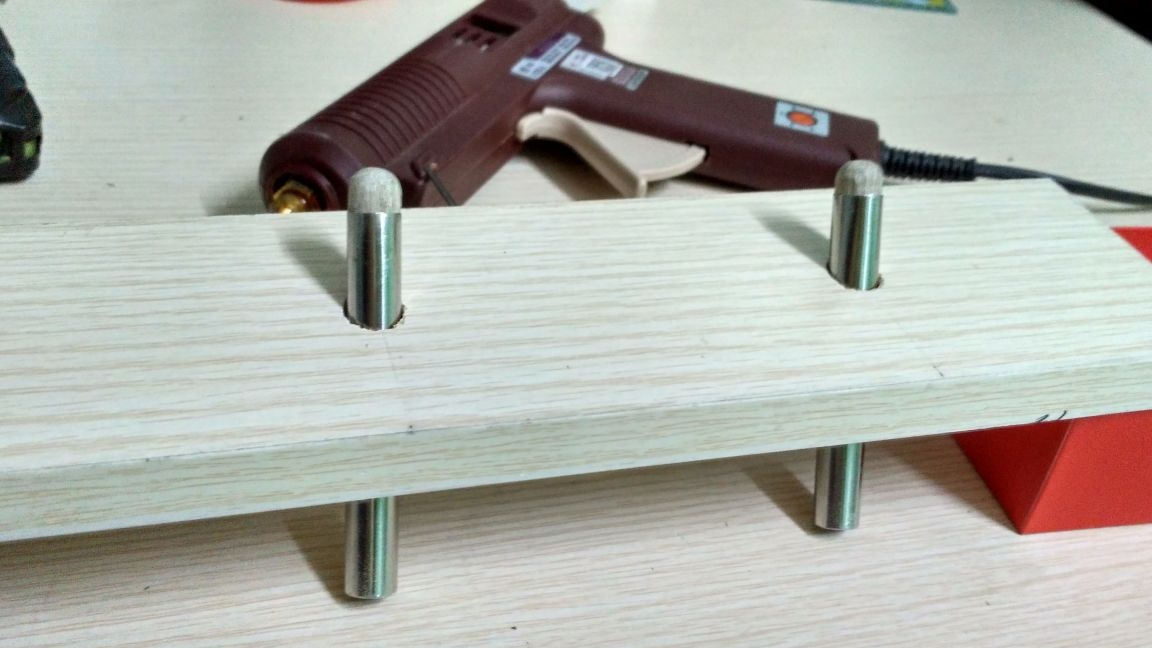
We drill holes in the chipboard and paste the hook tubes into them. I did not photograph the drilling process, as it was inconvenient. The angle of inclination was chosen by eye. At this stage, I needed an assistant, he promoted chipboard, and I did not change the position and the angle of inclination of the screwdriver drilled holes.
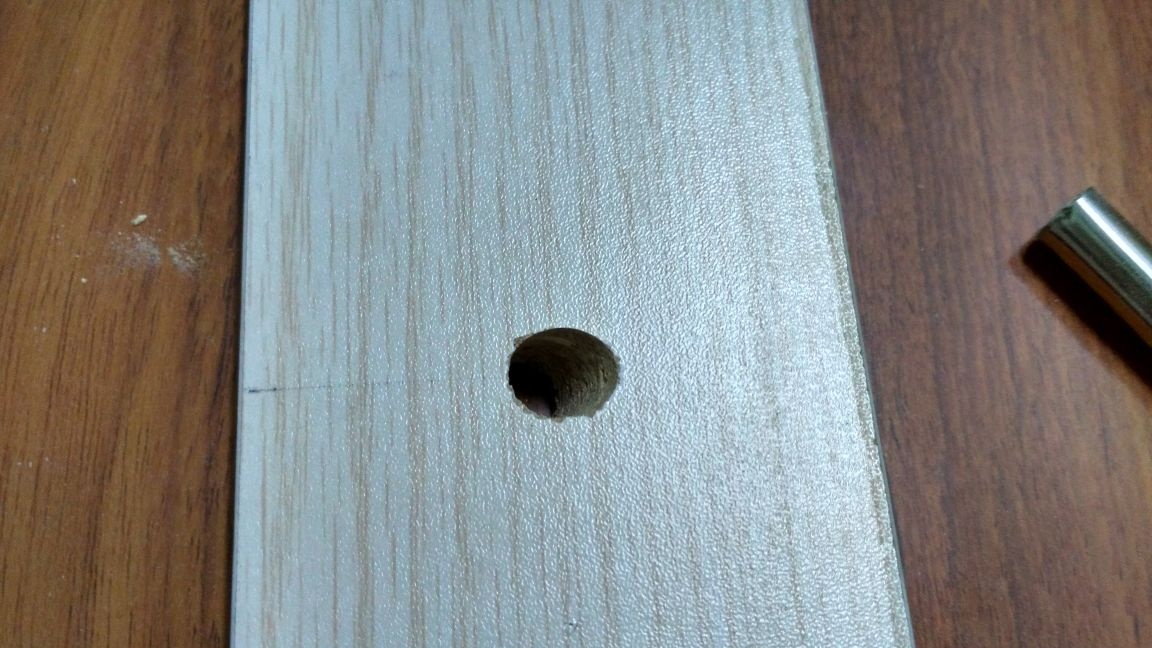
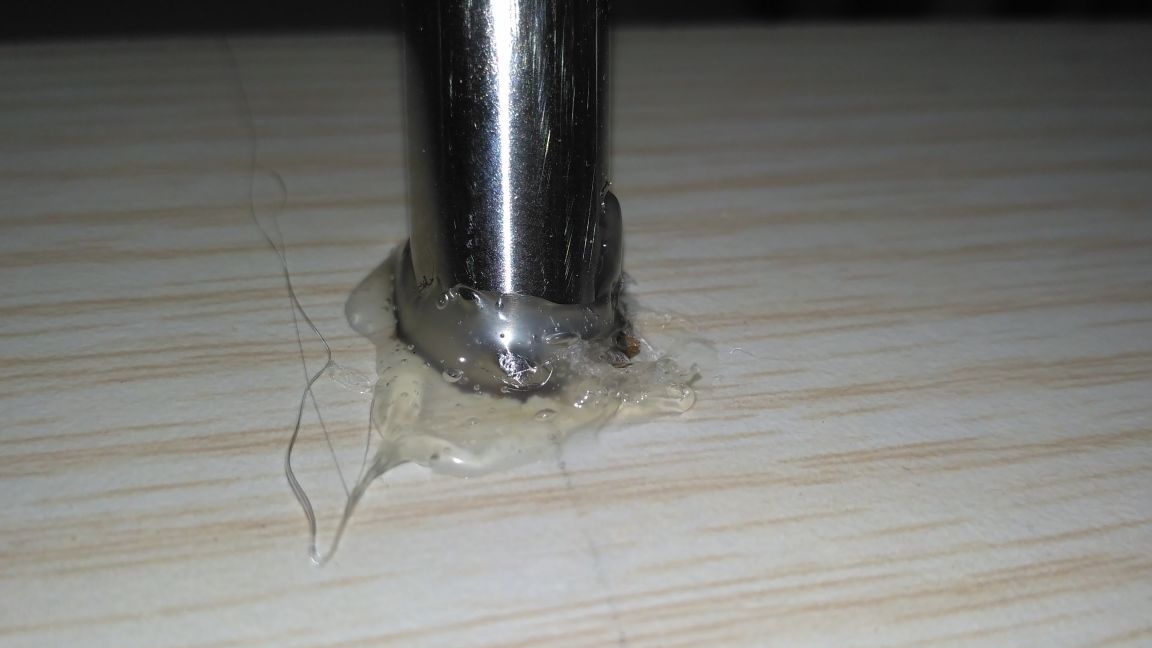
I planned to glue hook-pipes into the holes on an epoxy, but since it dries for a long time I decided to use hot-melt adhesive. Applied glue to the tube by rotating it and gradually inserting it into the hole, so the glue completely filled the gap. I inserted the tubes so that they stick out a little from the back. When the glue froze, sawed off the ends of the tubes with a hacksaw for metal and smeared everything with thermo glue.
Step 5:
When the hanger is ready, we begin to prepare the place for its installation.
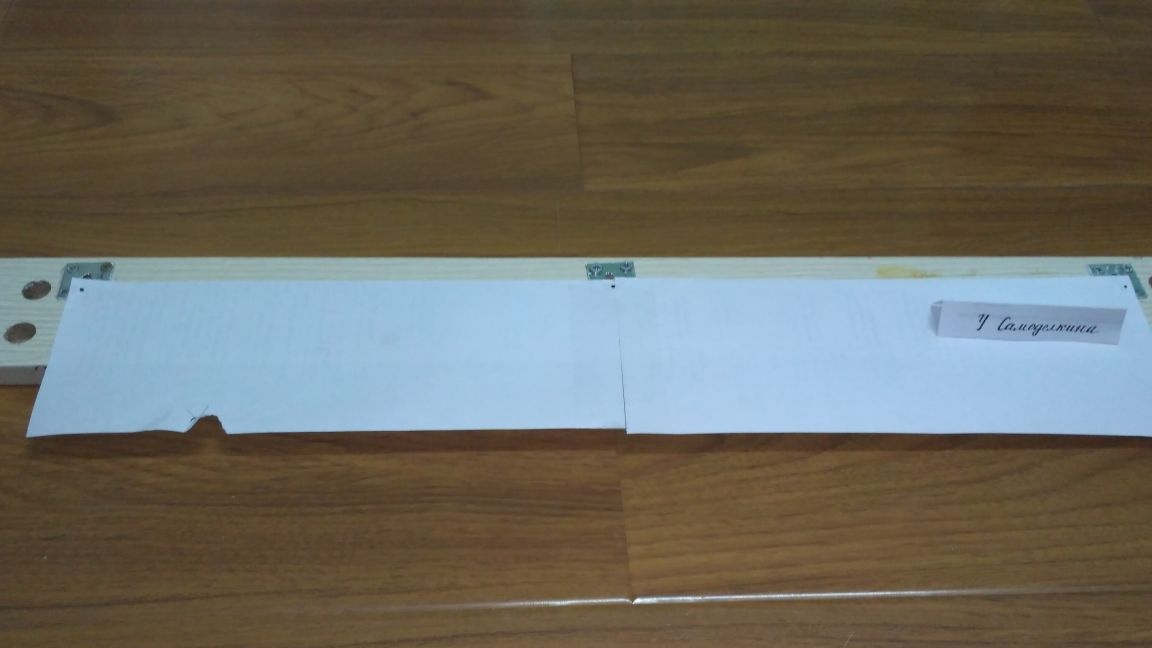
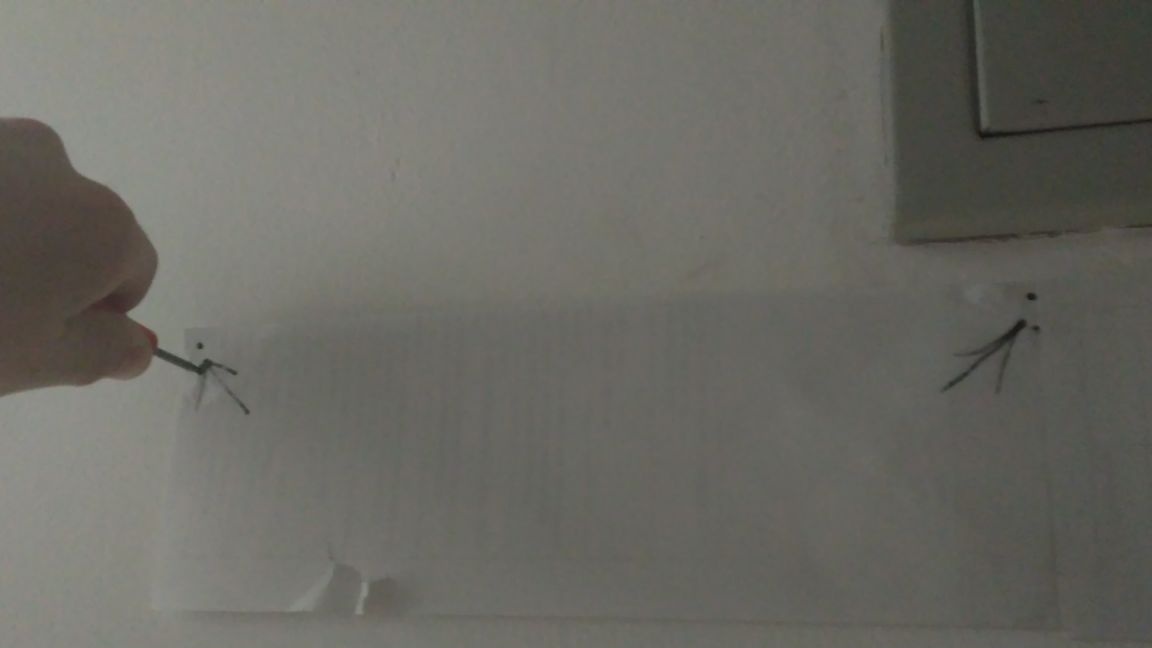
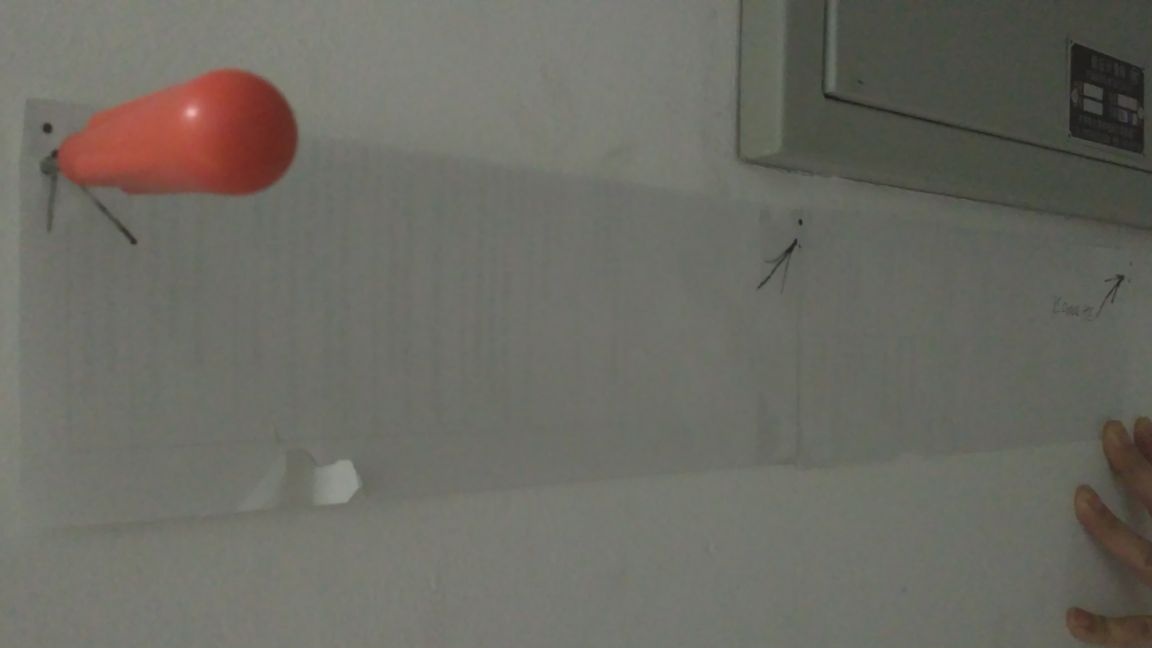
For simplicity of combining hinges and bolts, I made a paper stencil on which I marked three drilling points with dots. Then he put the stencil against the wall and drilled holes with a puncher, into which he chopped wooden chopsticks, having previously coated them with epoxy.

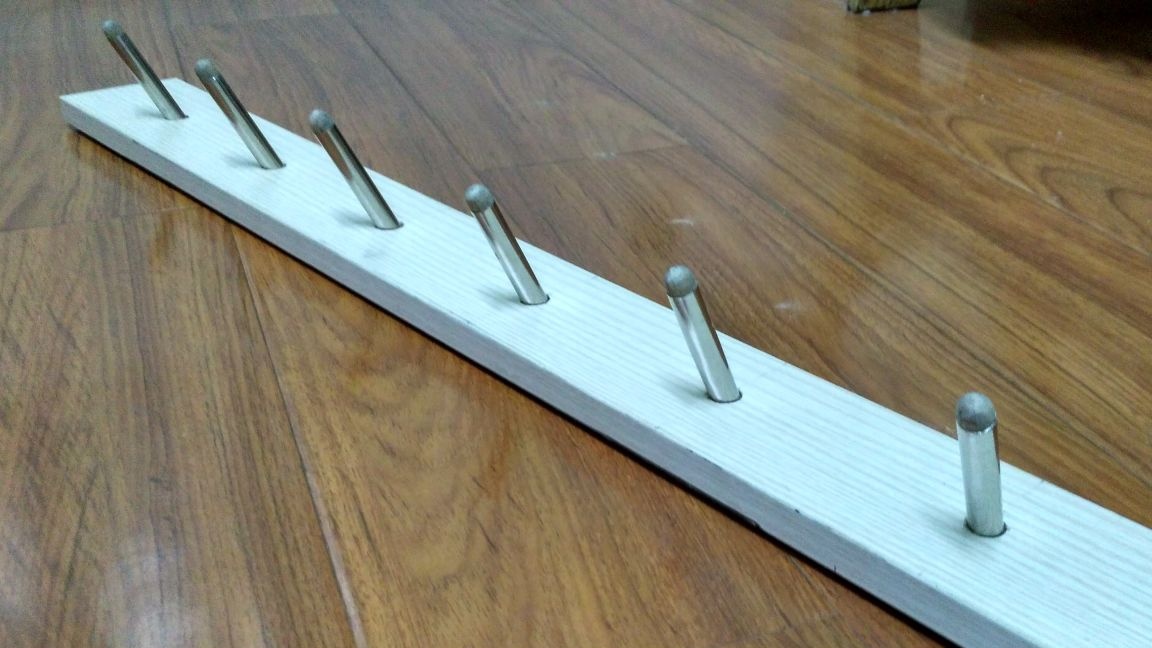
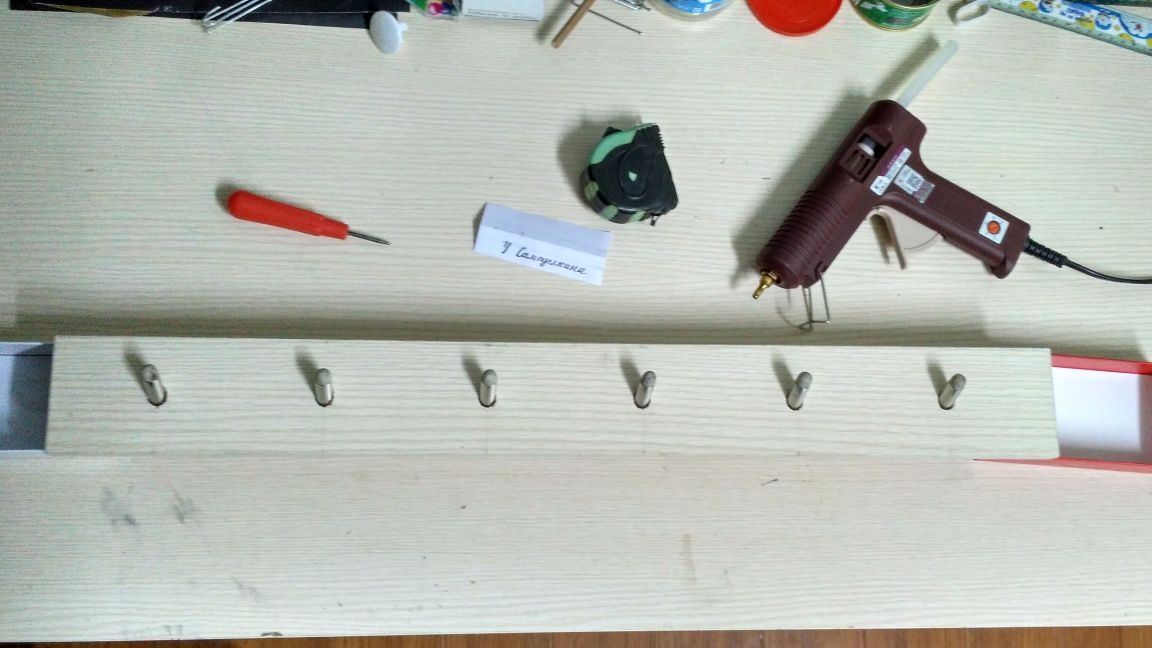
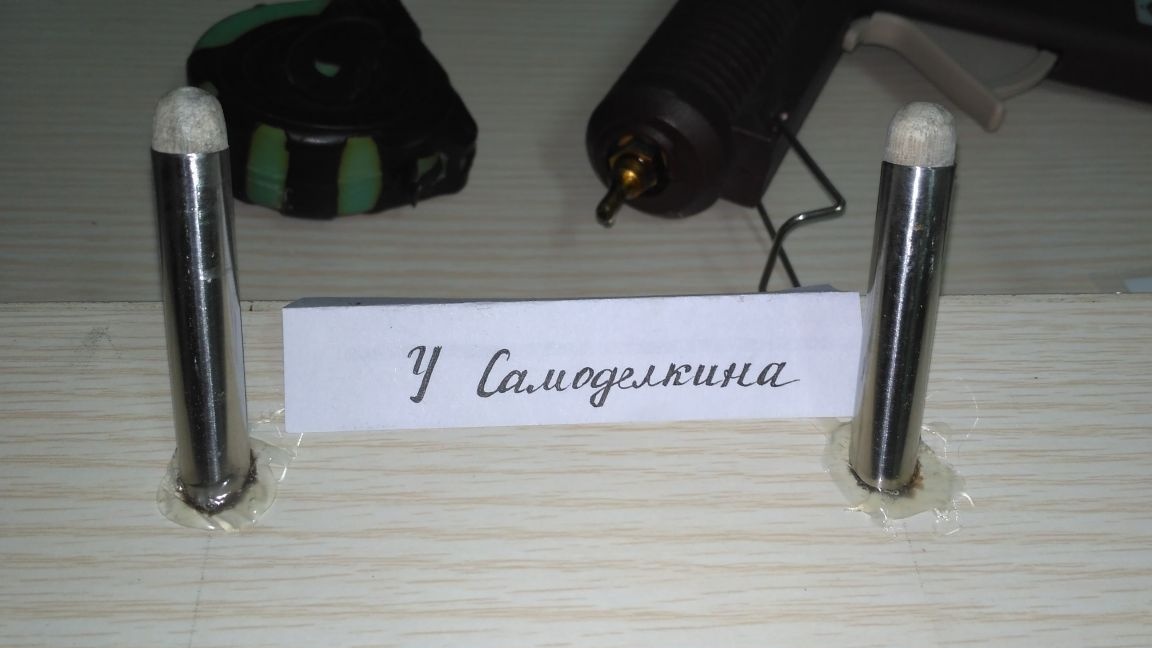
We hang our homemade product on the wall and use it!
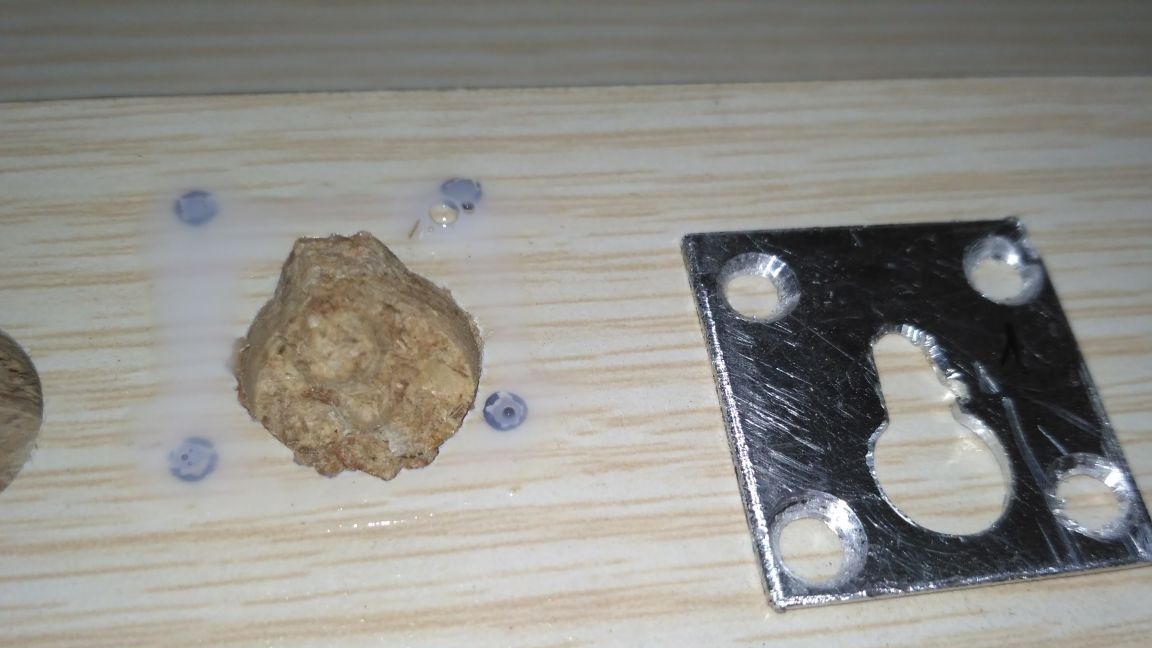
After a week of using the hanger, no significant defects or omissions were identified. Aluminum loops after full load (two jackets per hook) did not deform.
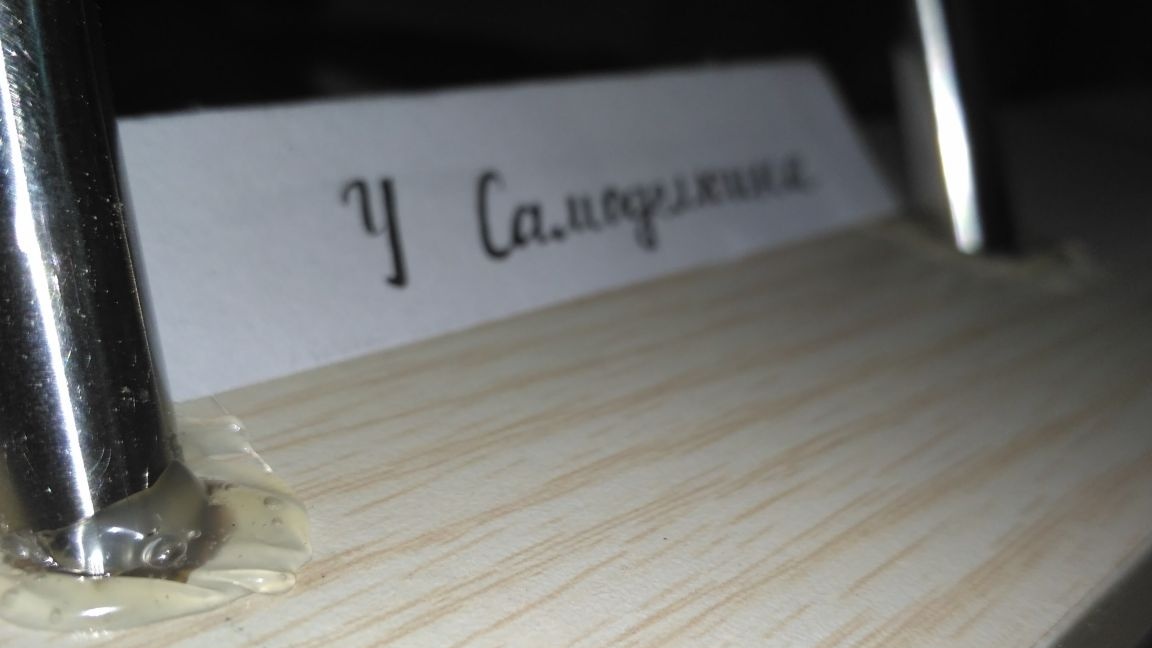
As practice has shown, the use of hot-melt adhesive was a mistake. More precisely, not even the use itself but the method of application. When the glue hardened it turned out to be very difficult and dreary to cut off the excess on the front side. Although his function was like glue, he performed five points.
From an aesthetic point of view, of course, not ideal, but this goal was not set, the main thing was to perform direct functions.
Thanks for attention!