
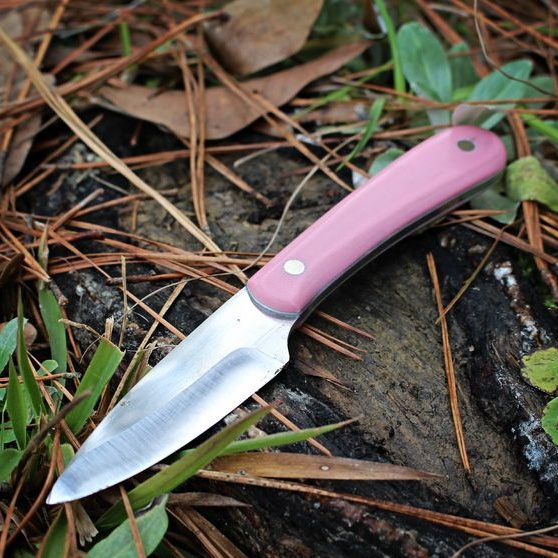
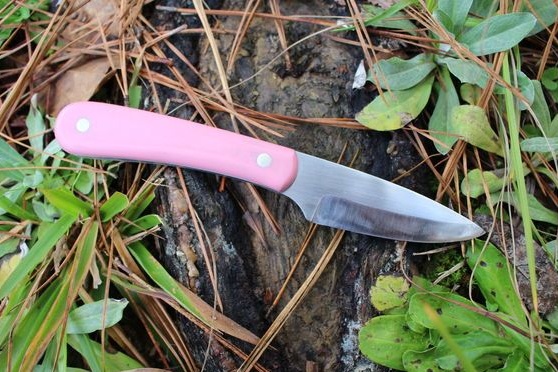
Not only men love knives, among the fair half there are also many fans of this magnificent tool. The author decided to make a quality knife for his sister. Of course, this is not a toy for a child, so it is better to avoid such gifts.
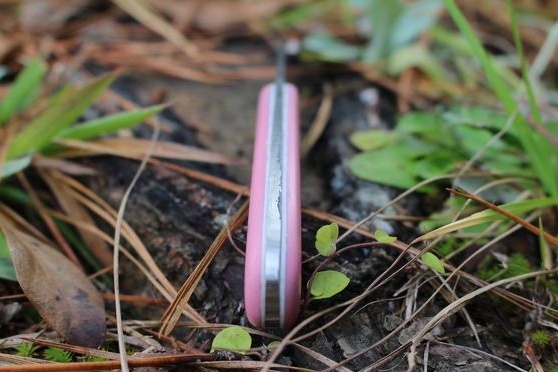
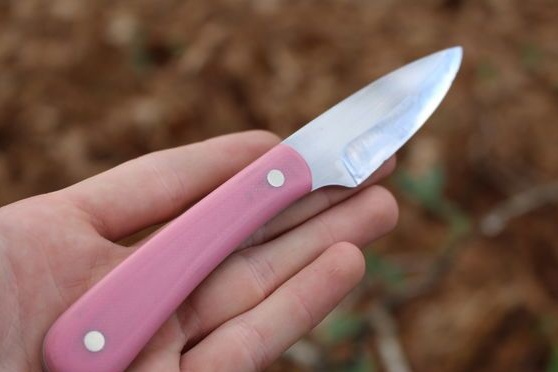
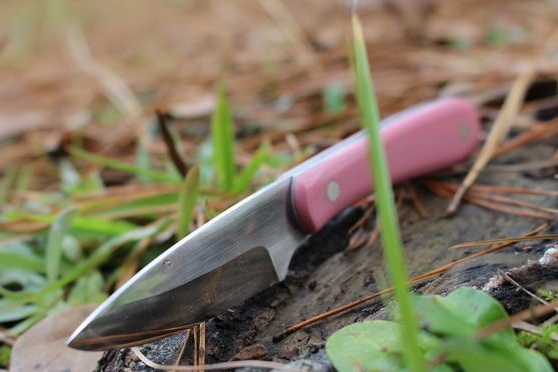
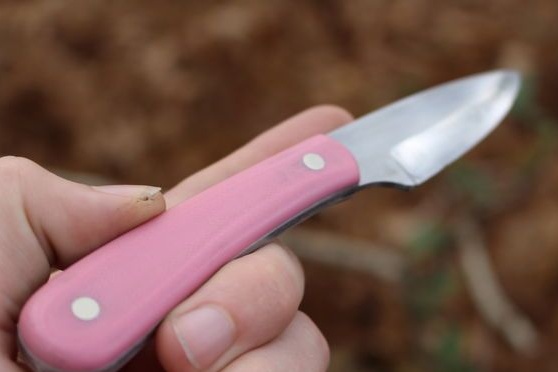
The difference between a “female” knife and a “male” one is its relatively small size, as well as a pink handle. High-quality steel is used, it is hardened.
Materials and tools used by the author:
The author has a fairly wide range of tools, these are:
- ;
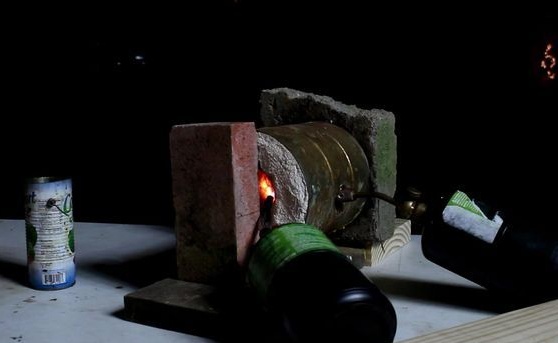
- home-made gas furnace for hardening;
- anvil;
- whetted;
- grinder;
- drilling machine;
- clamps;
- ;
- ;
- domestic oven;
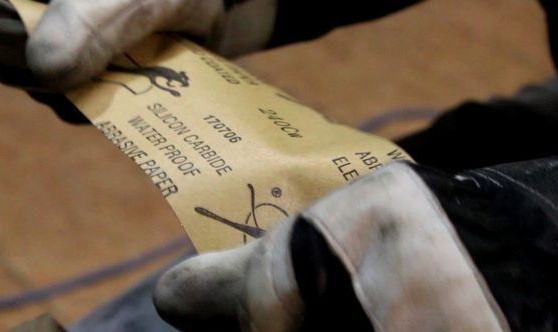
- various grit sandpaper;
- epoxy glue, hammer and other little things.
Material List:
- high-quality steel (the author used the brand 1080);
- rods for pins made of nickel (or brass);
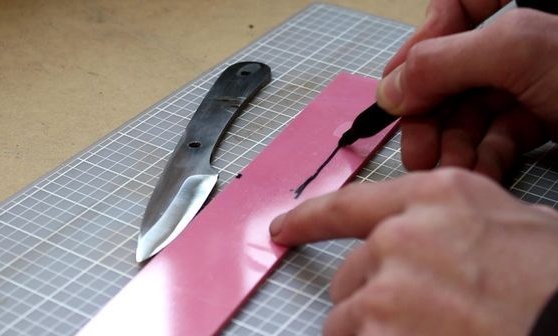
- material for finishing the handle.
The process of making a knife:
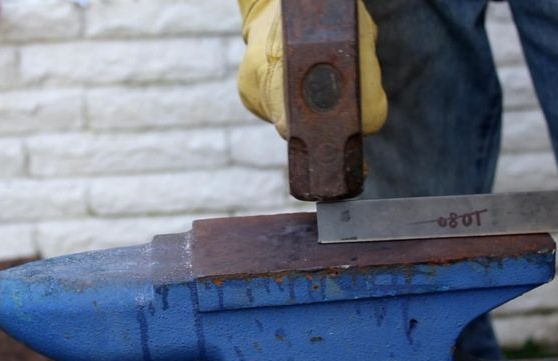
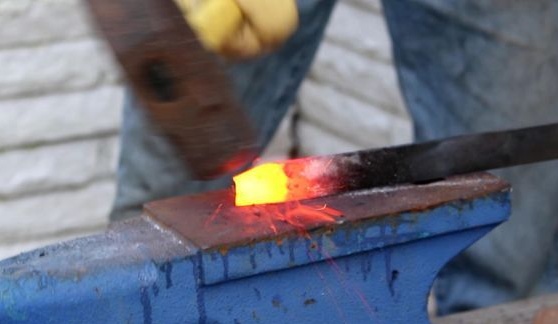
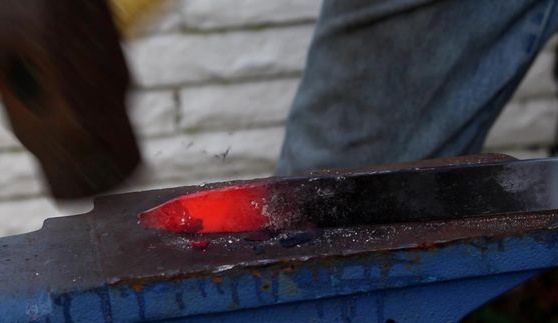
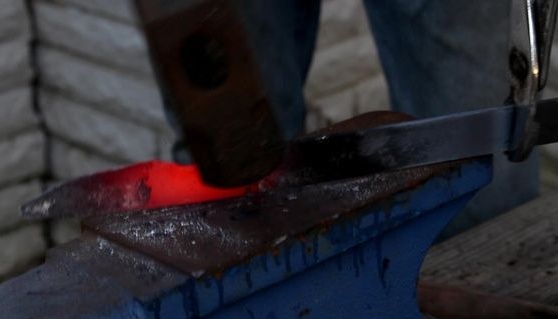
Step one. Blacksmithing work
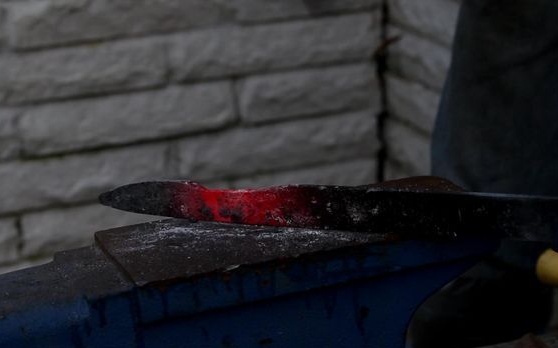
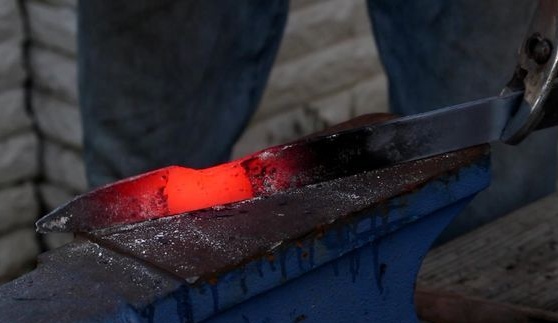
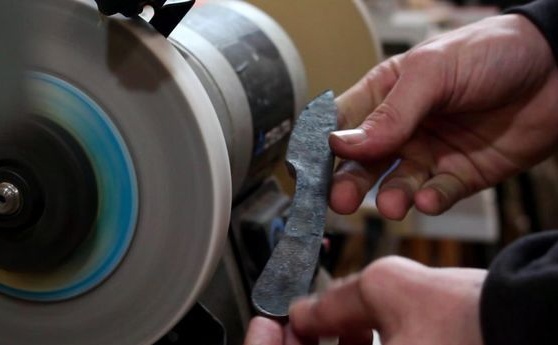
The author immediately proceeds to form a knife profile. This he makes quite a difficult, but professional method - by forging. Since the metal needs to be heated to a red glow, it is hardly possible to apply a knife profile on it. So here you have to work by eye. We take a hammer, anvil and form a vaguely reminiscent of the shape of a knife profile.
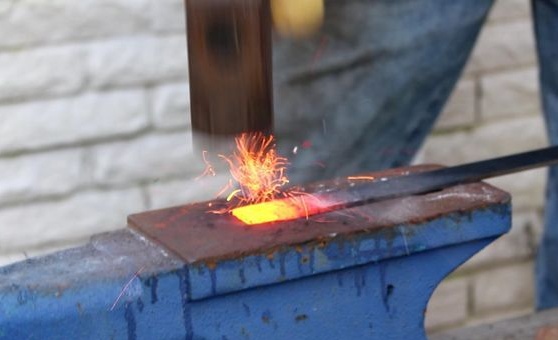

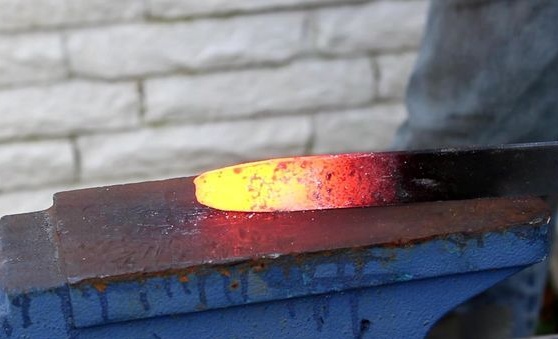
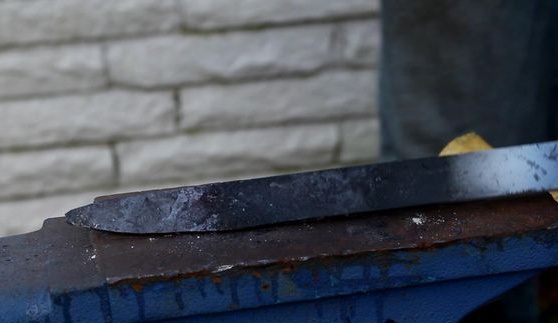
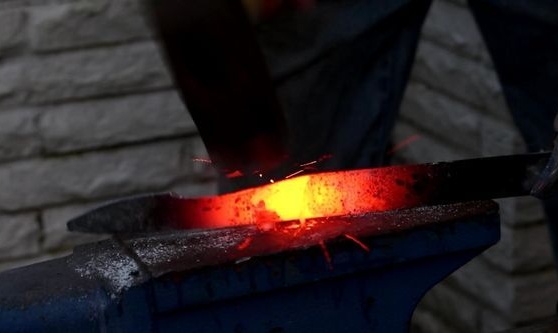
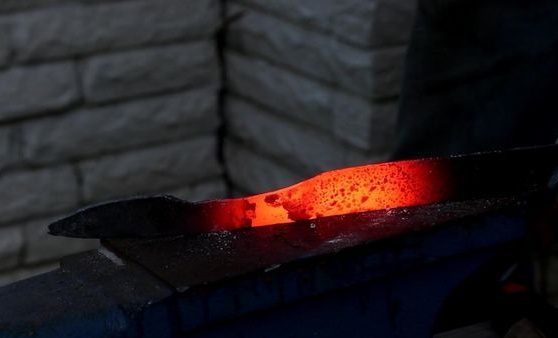

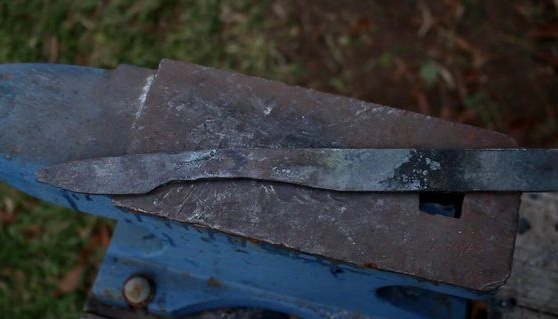
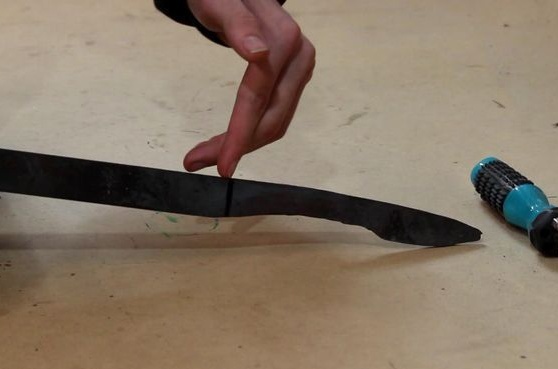
In addition to the blade, the author also forms the tail section, where the handle is located.
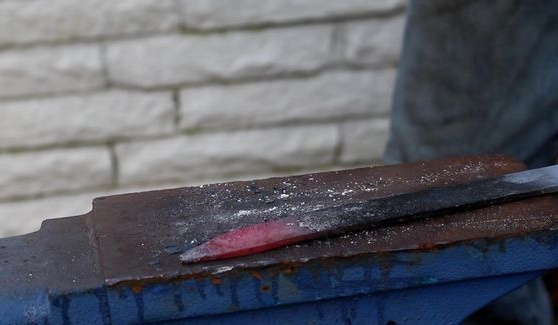
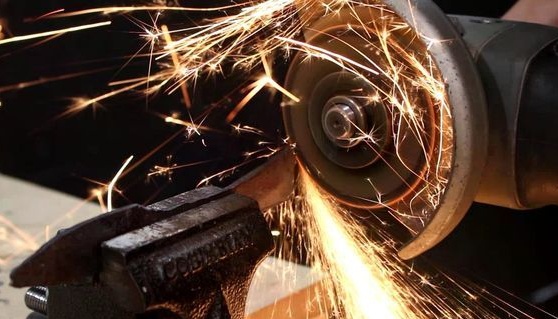
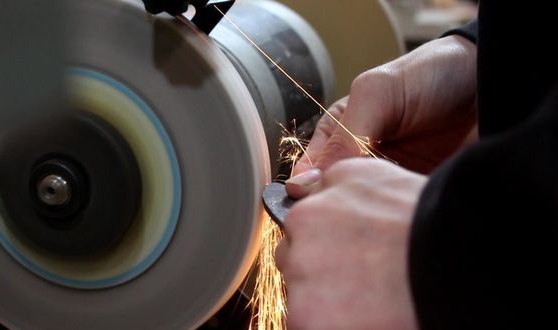
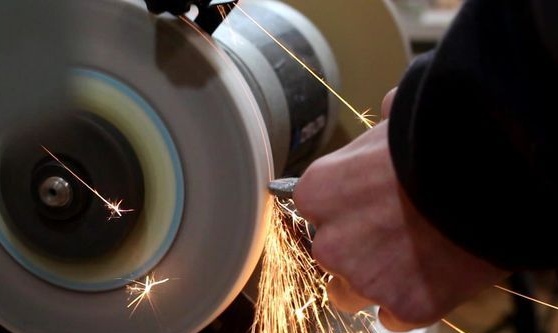
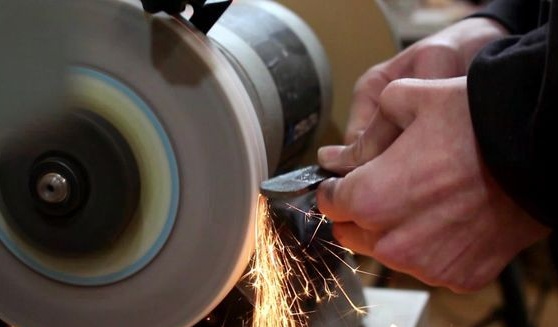
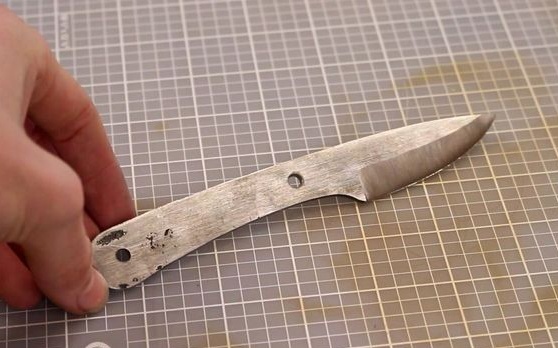
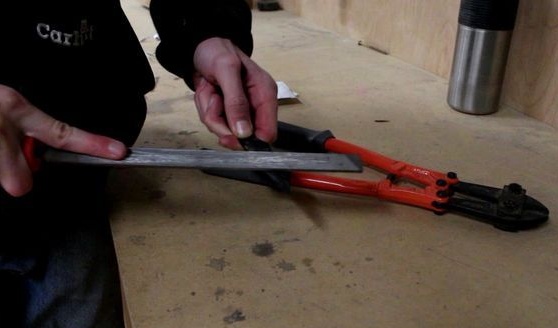
Step Two Coarse grinding
Now you need to process the workpiece along the contour. For this, the author uses a sharpener.
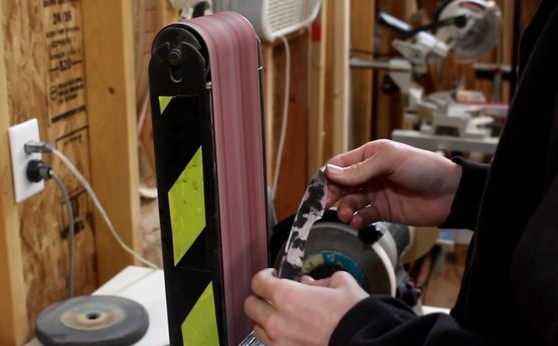
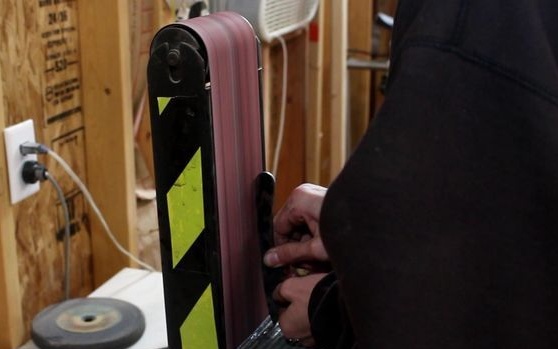
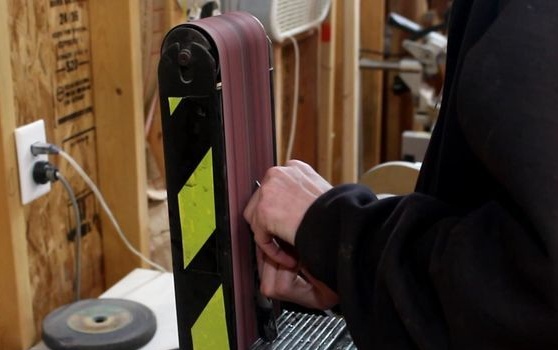
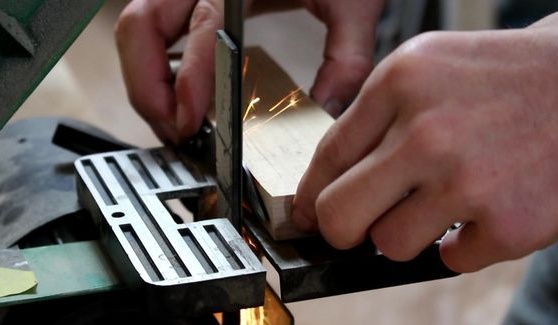
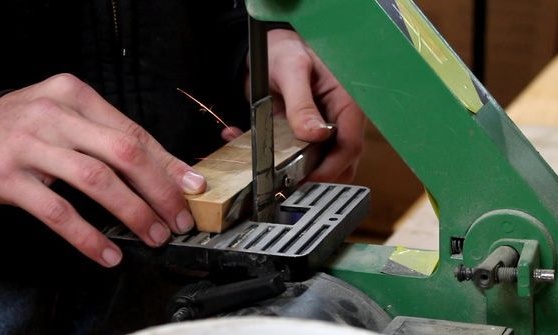
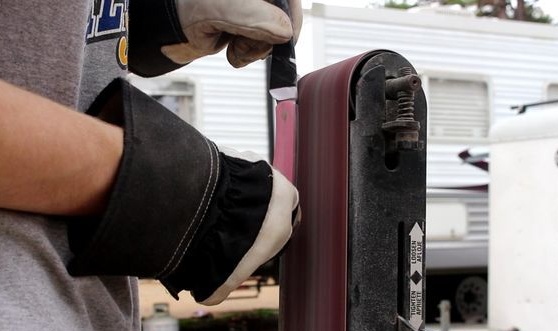
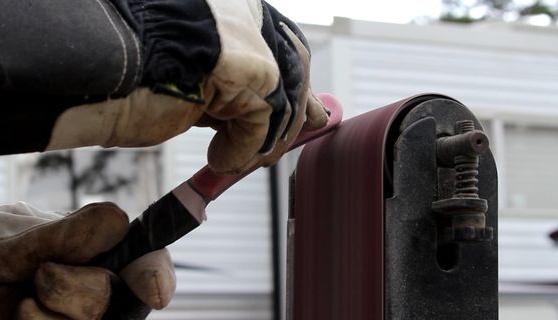
Step Three Grinding planes
Next you have to process the plane. Here, a belt sander is best suited. We make the metal even and smooth.
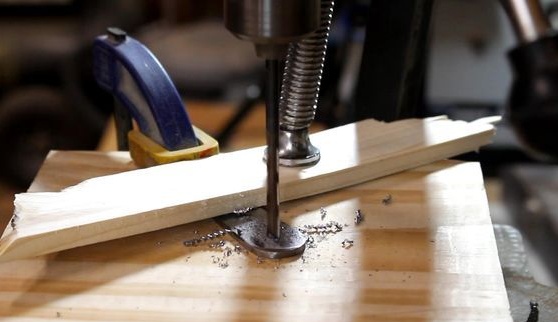
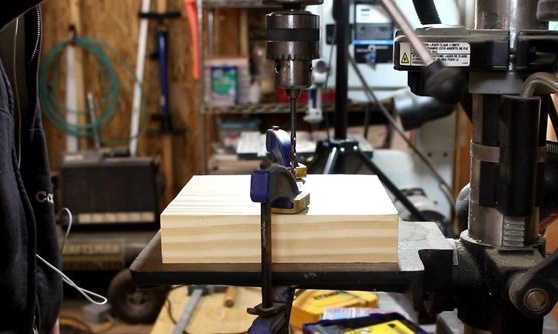
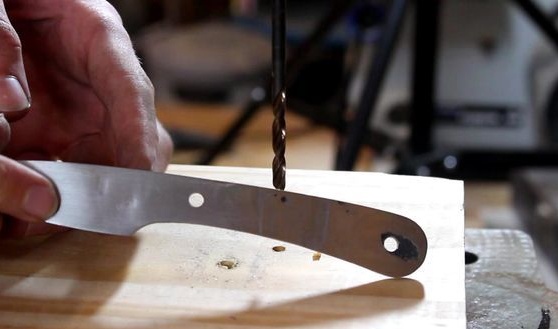
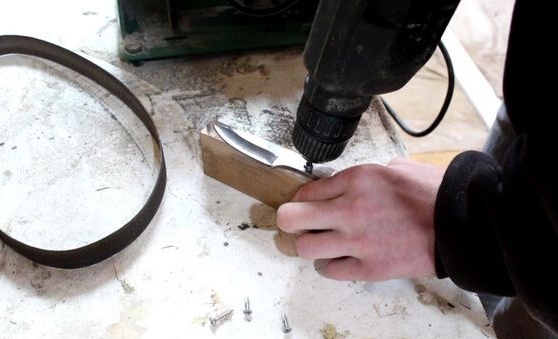
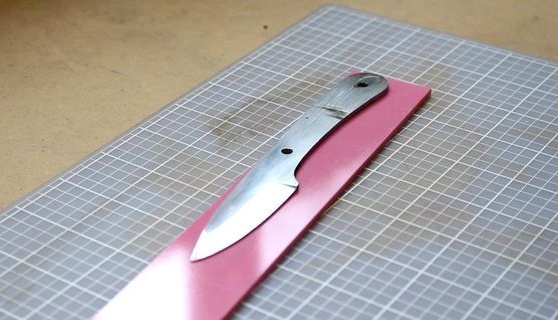
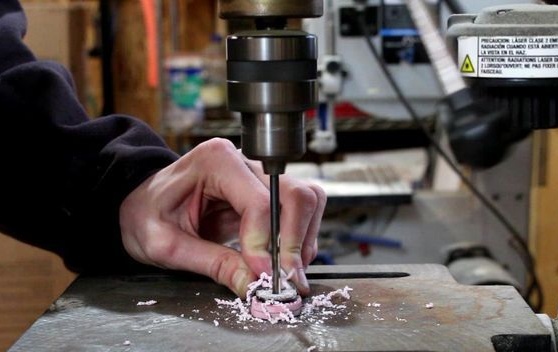
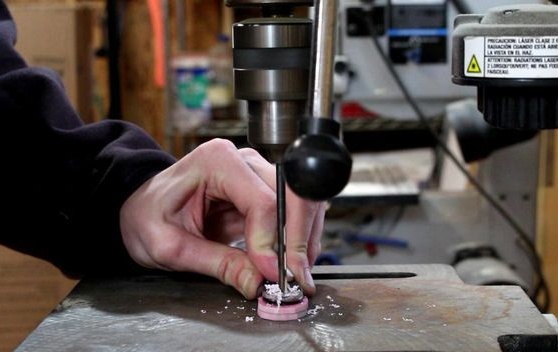
Step Four We drill holes for the pins
Drill two holes in the handle, they will be used under the holding pins. This can be quite problematic, forged steel has high strength. You may need a carbide-tipped drill. It is most convenient to work on a drilling machine.
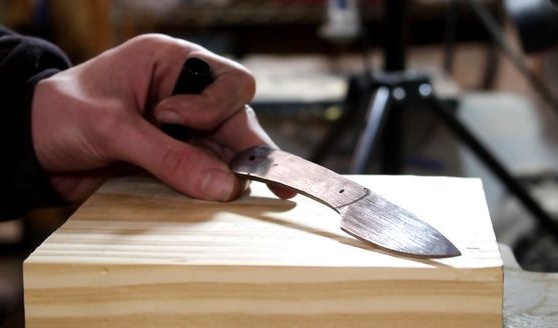

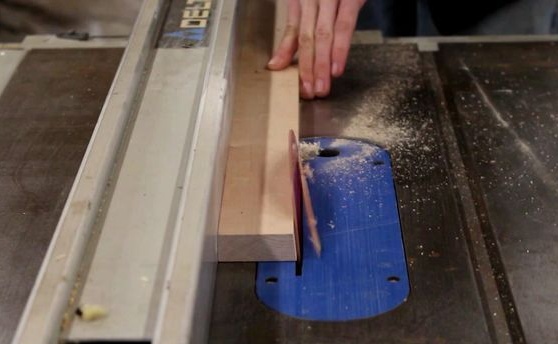
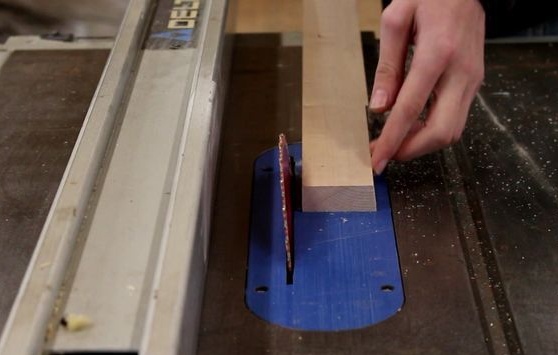
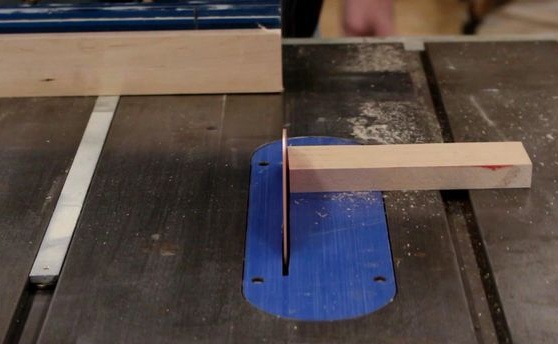
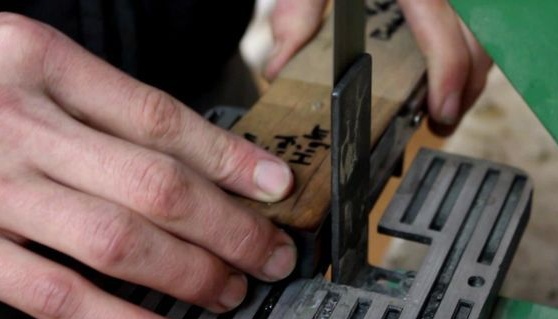
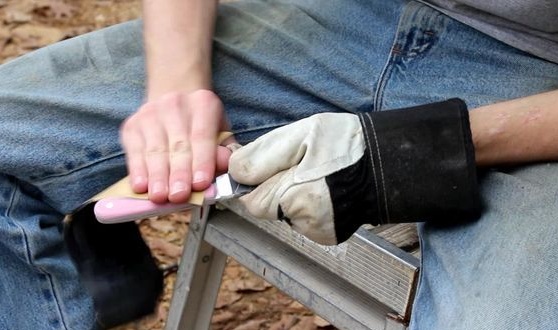
Step FiveWe form bevels
To make bevels, the author needed a wooden block, he cut it with a circular saw. Next, we fasten the workpiece to this block, this can be done with self-tapping screws.
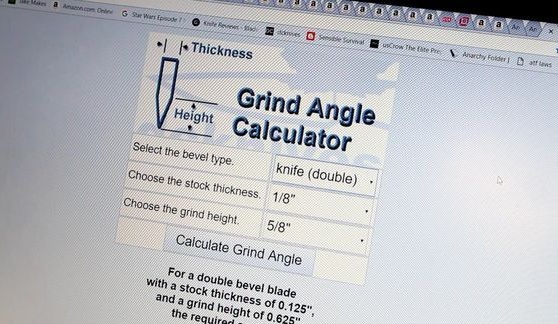
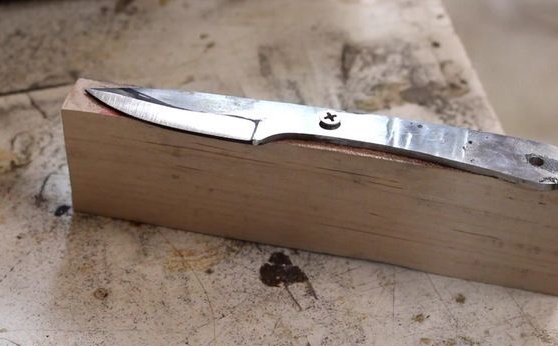
That's all, it will now be very convenient to form the bevels on the blade. Although the metal will heat up, it will not burn your hands. And the bevels will turn out much smoother and faster.
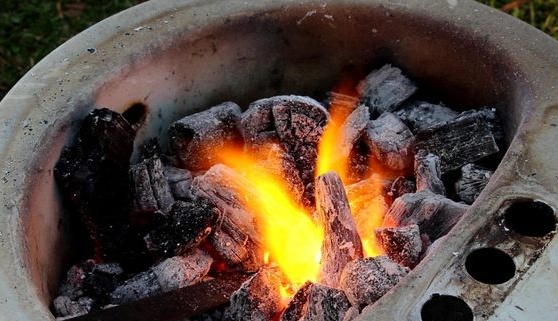
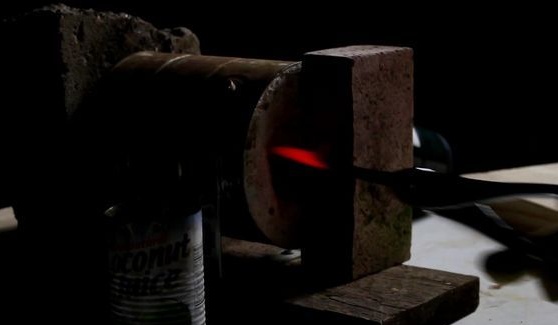
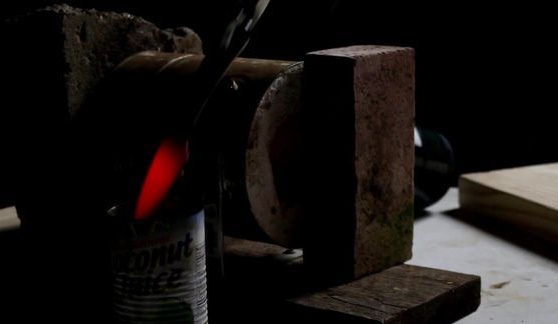
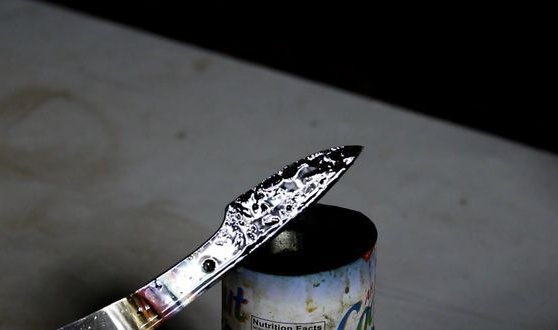
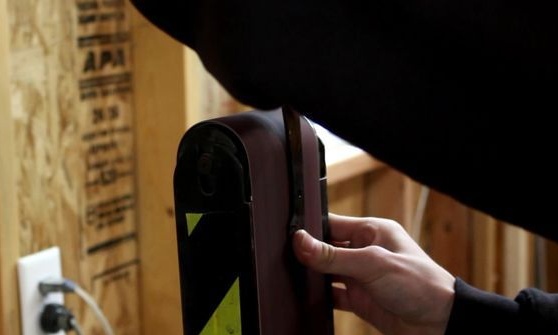
Step Six Quenching
For hardening you have to heat the workpiece to a temperature of 800aboutC (until yellow), and then cool in oil. To perform hardening, sand the workpiece well and complete all metal work. There should be no deep scratches on the blade, since after hardening then removing them will be problematic.

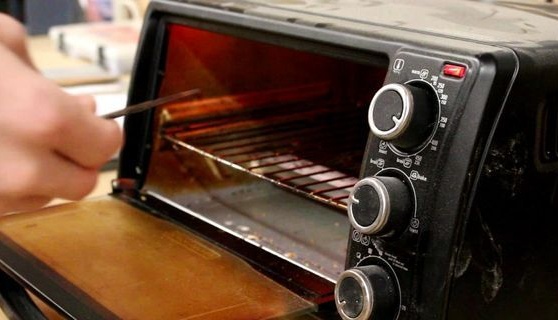
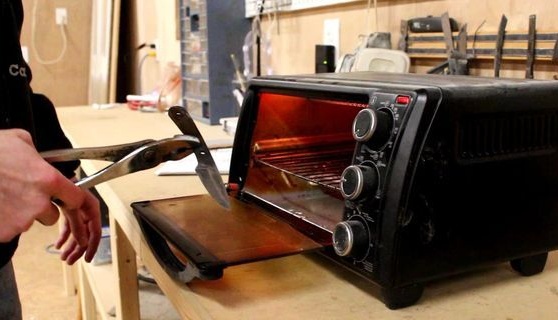
After quenching, metal tempering follows. If you do not do this procedure, the metal will be too brittle. Need the help of the oven, heat it to a temperature of 205-210aboutWith and put the knife to bask for an hour. Then turn off the oven and let it cool when closed with the knife. Vacation is over!
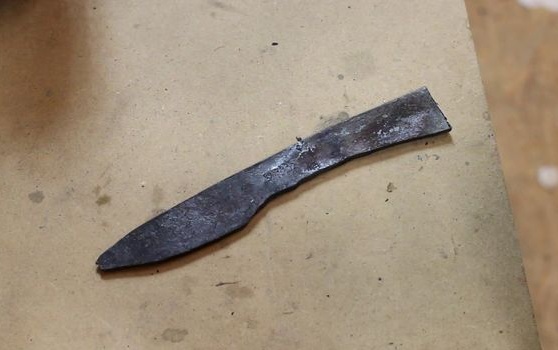
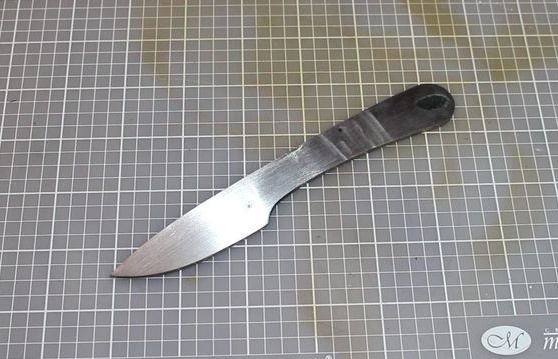
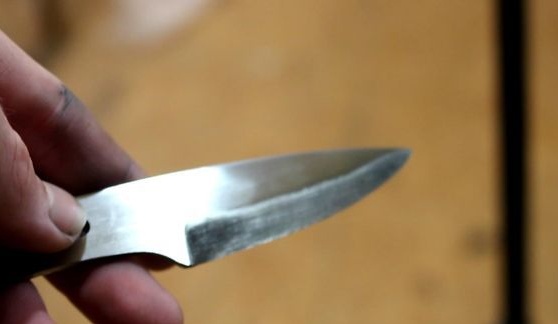
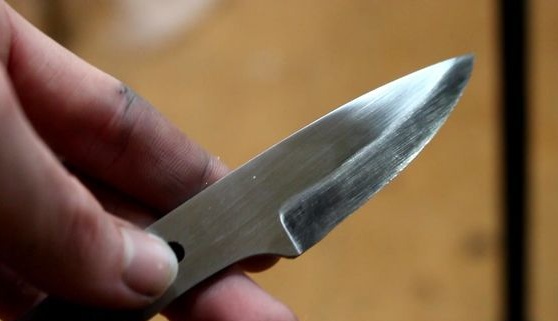
Seventh step. Cleaning
After quenching, the metal will be in scale and burnt oil, then grind it again to a shine.
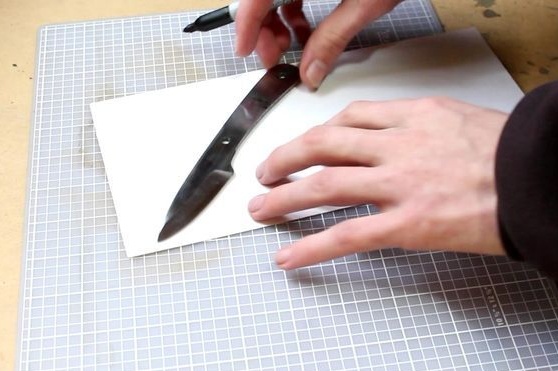
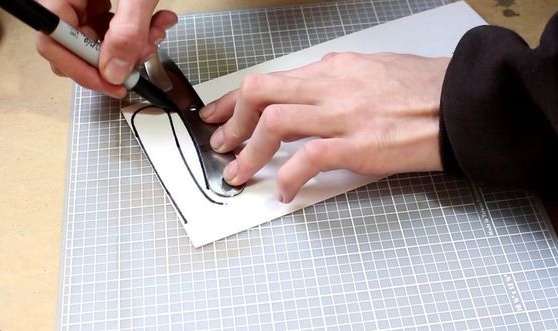
Step Eight. Blanks for pads on handles
For these purposes, the author uses the material G10, it is somewhat similar to fiberglass. We attach the knife, circle the handle and cut the workpiece.

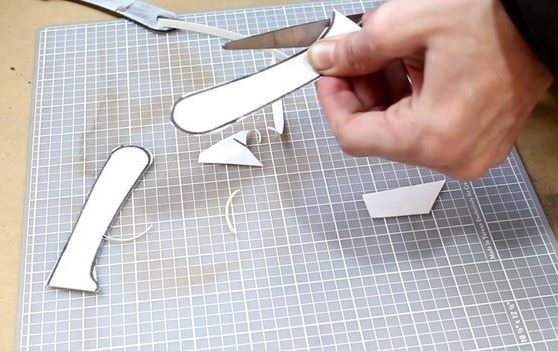
The author also makes gaskets for blanks from white fiber.
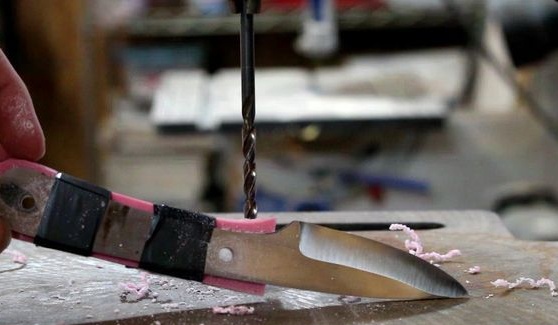
Step Nine. We drill holes and grind the pads
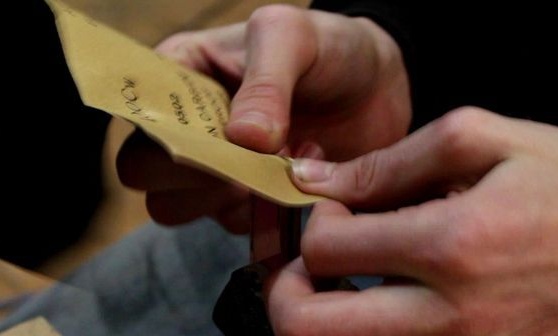
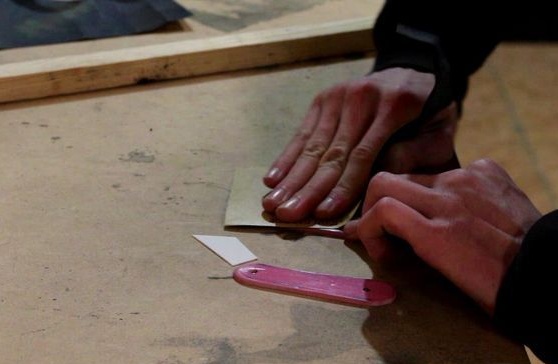
Tape the workpieces to the knife handle with electrical tape and then drill holes. After that, the details can be grinded and brought to the ideal. We use sandpaper.
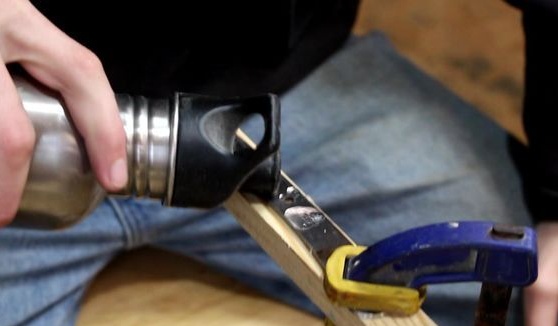
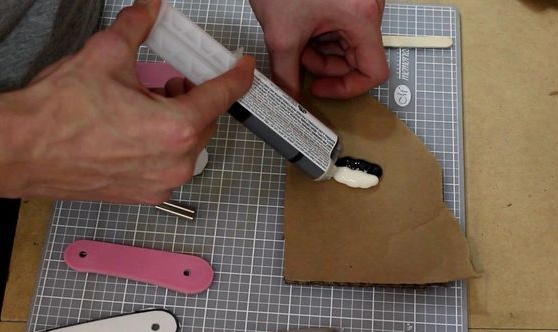
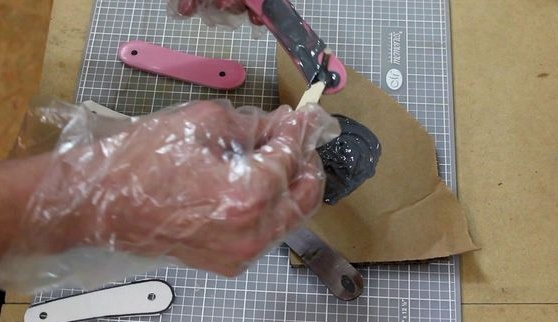
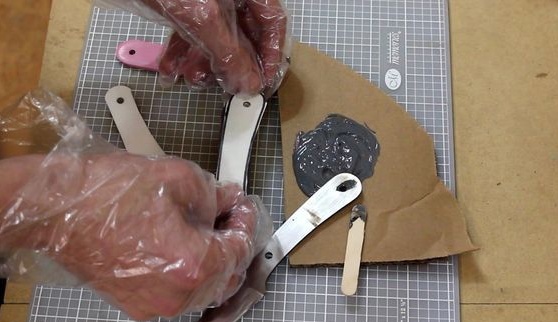
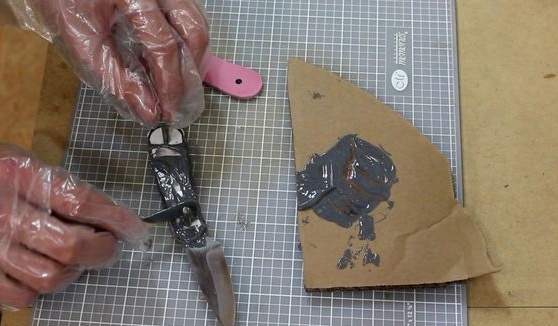
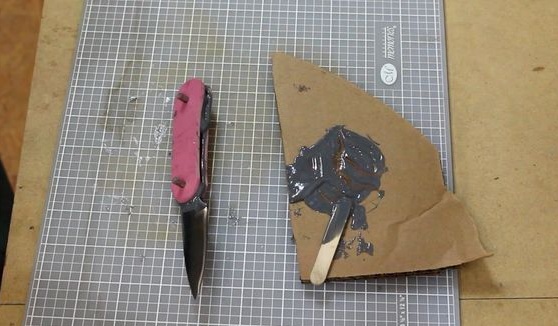
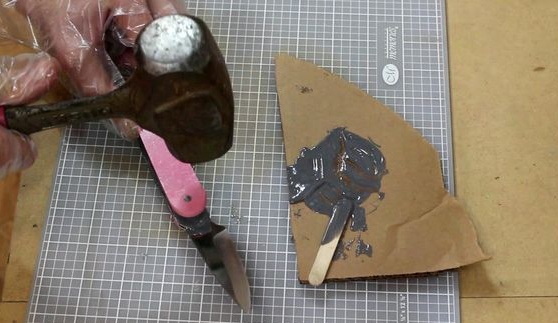
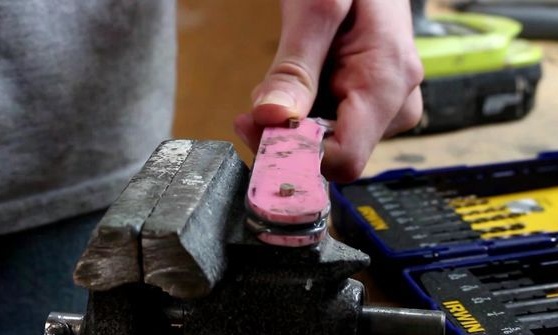
Step Ten Glue the handle
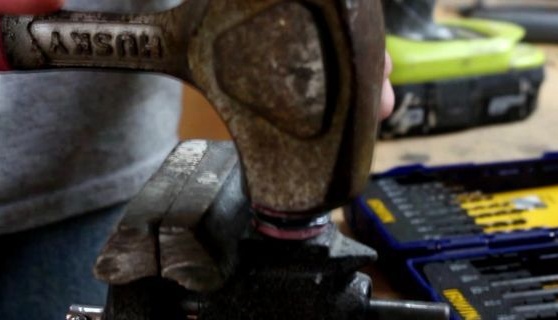
To glue the handle you will need epoxy glue. Before mixing the glue, prepare the pins in advance. We put glue on the handle, install the pins, and then carefully clamp everything with clamps until completely dry.

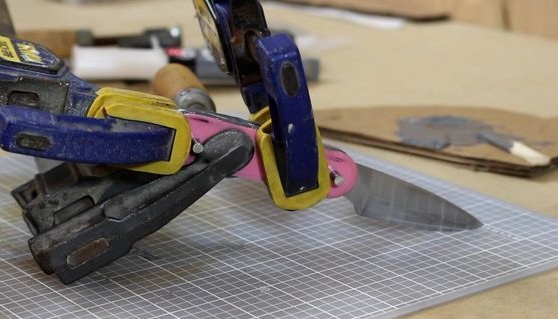
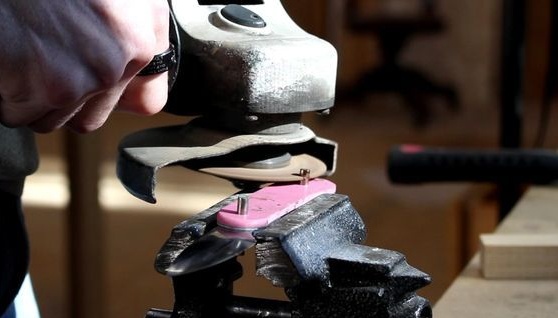
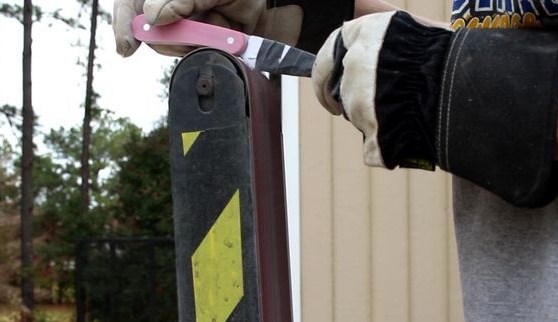
Step 11. Cut the pins and bring the handle to the ideal
The first thing you have to cut off the extra parts of the pins. The author uses an ordinary grinder for these purposes. Cut as low as possible to the handle, but do not damage the handle.


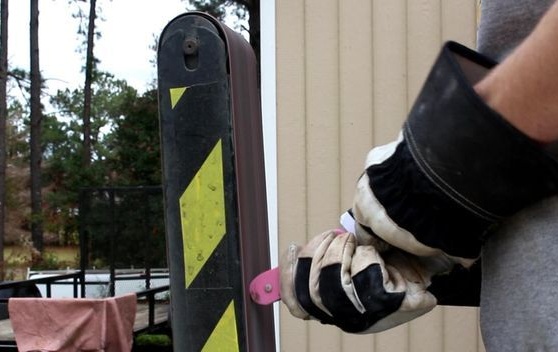
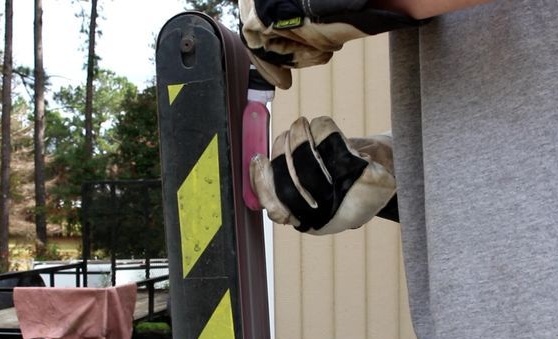
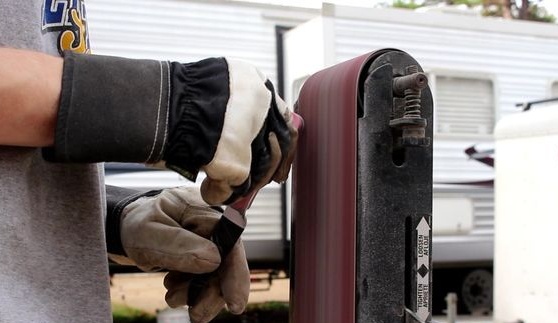
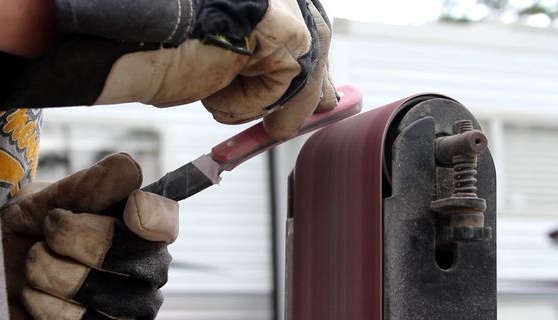
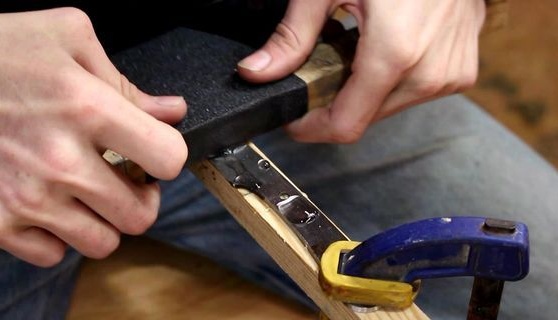
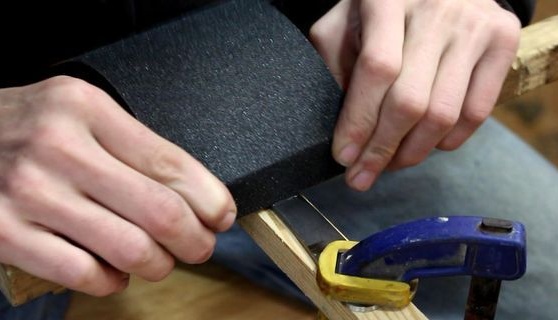
Next, for safety, wind the blade with electrical tape and proceed to grinding the handle. You need to form the final profile, and also grind the pins under one level. It is convenient to work not on a belt sander.
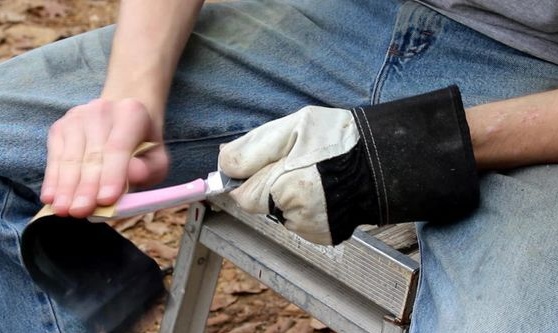
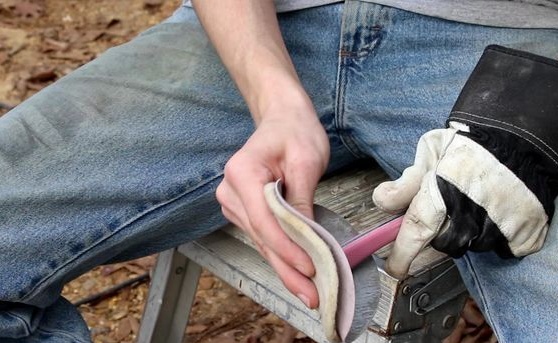


In the end, you will find manual processing. We take small sandpaper and carefully process it. Your task will be to make it absolutely smooth. At the end, you can even polish your hand.
It does not need impregnation, unlike wood, as it is not afraid of moisture.
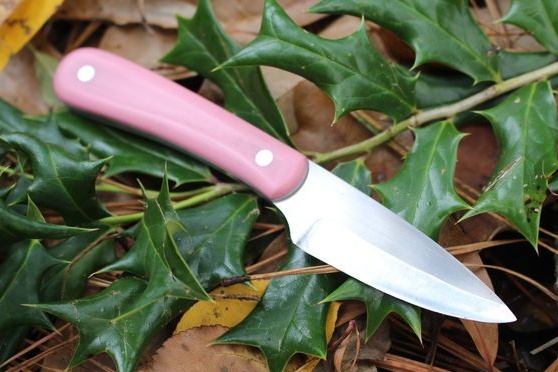
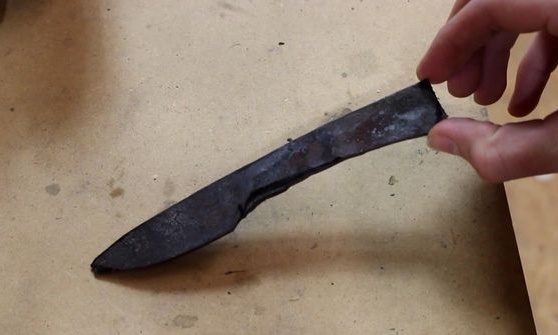
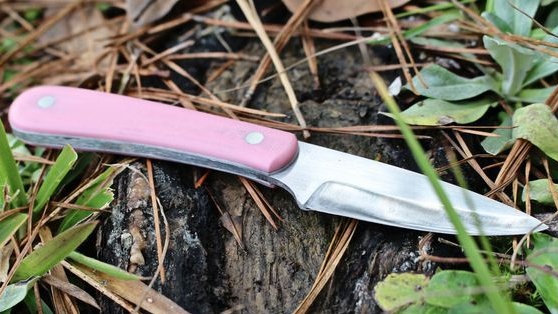
That's all, the knife is ready! The product turned out to be quite high quality and fully claims to be a professional. It used forging, hardening and high quality grinding work.
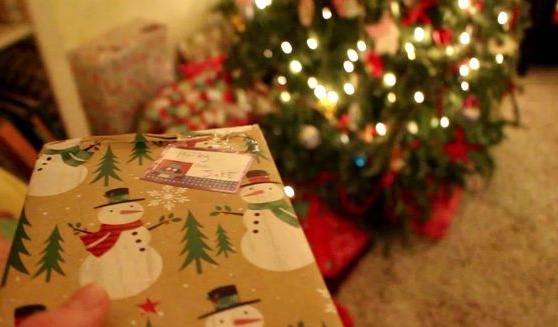
Now the product can be presented. But before this, think about it, because the knife is sharp, strong, which means it can be dangerous for the owner and others.