
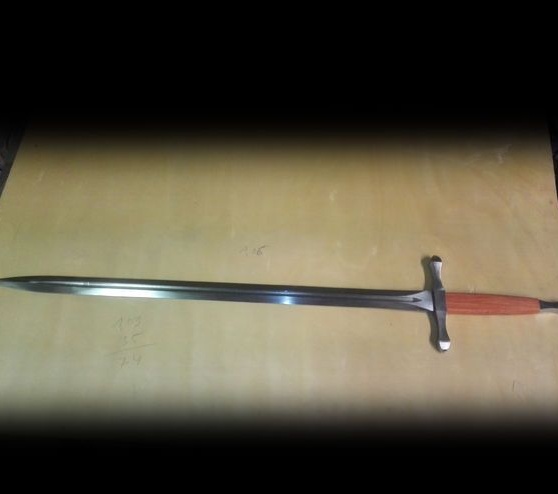
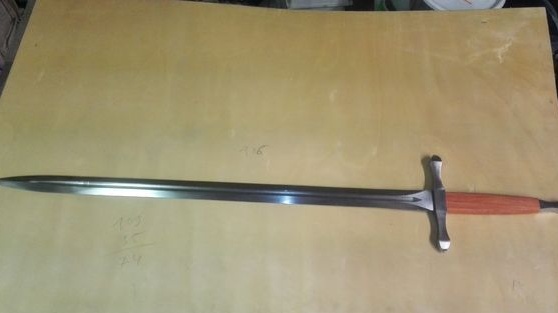
This time we will look at how you can make a cool sword with your own hands. The author claims that it is made in a medieval style, however, it looks more like a sword from various science fiction films.
This tool is made without the use of blacksmiths, the blade is simply cut out of sheet metal. In this regard, such a sword cannot be seriously called an instrument, it is simply an exhibit that can be used at competitions, exhibitions, and so on. However, if you wish, you can make the same sword of good steel and harden.
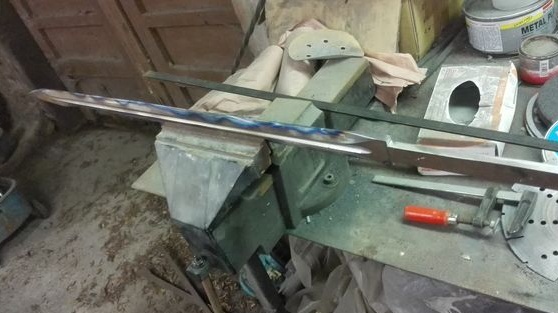
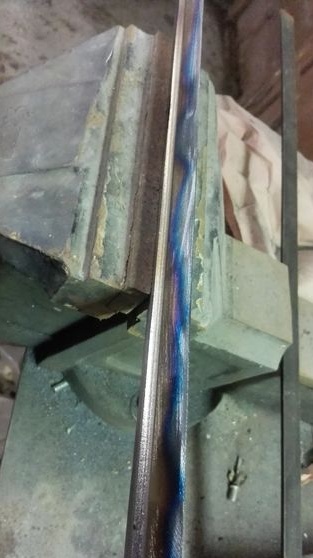
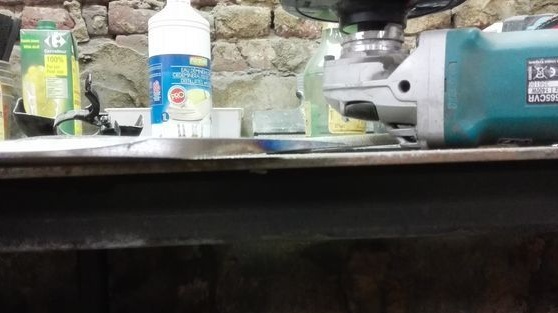
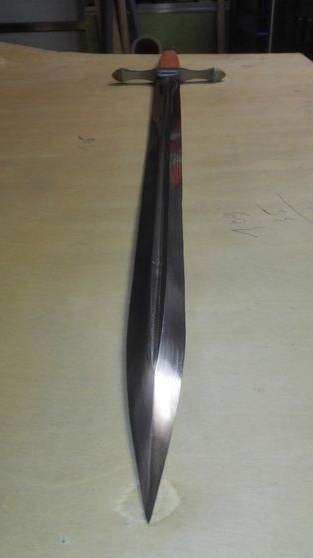
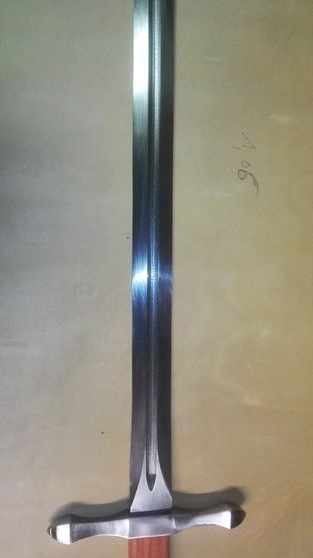
The most difficult in the manufacture of the sword will be the formation of bevels, since they are very long here, when compared with a knife, and also there are already 4 of them. To form the bevels, the author used a milling machine. In principle, this task can be dealt with using a belt sander or even with a grinder using grinding wheels. But all this will take a lot of time and effort.
Materials and tools that the author used to make the sword:
Material List:
- sheet steel for the manufacture of a blade;
- wood for the handle;
- aluminum "bar" for the manufacture of guards.
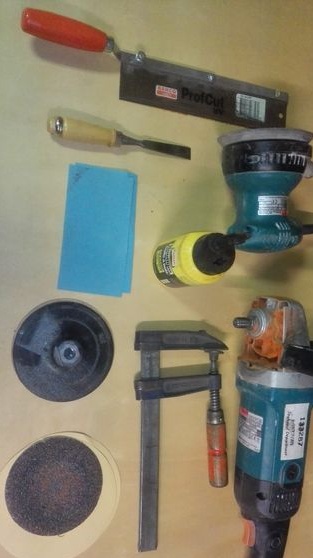
Tool List:
- milling machine;
- ;
- ;
- vise and clamps;
- files;
- sandpaper;
- ;
- a chisel;
- epoxy adhesive;
- polishing wheel and paste (optional).
The process of making a sword:
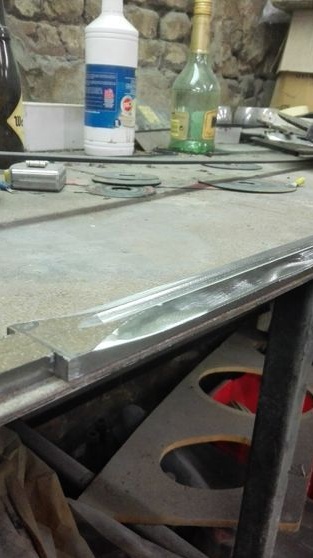
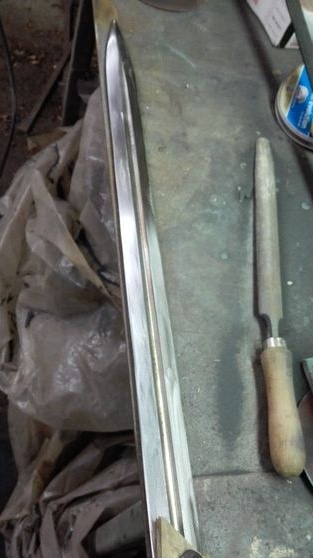
Step one. Blade making
Making a blade is the hardest part homemade. First of all, you need to cut a rough profile of the blade, in principle, this task is not difficult to cope with. We draw a profile on the workpiece, and then slowly, slowly, cut it out with the help of a grinder. The grinder here will need a large, or at least medium. You will also need a considerable arsenal of cutting wheels and a lot of patience.
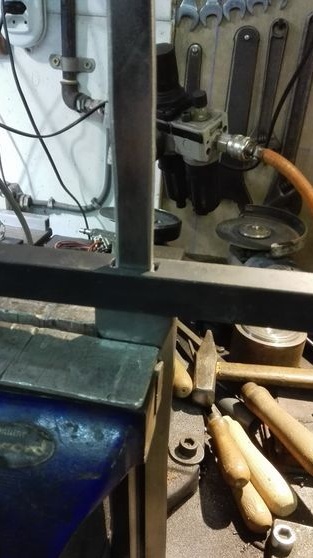
Another profile can be cut with a metal band saw, if available in the arsenal.
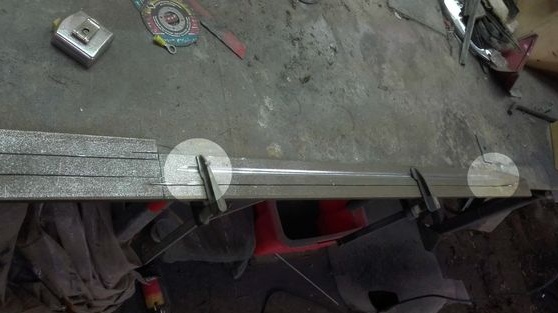
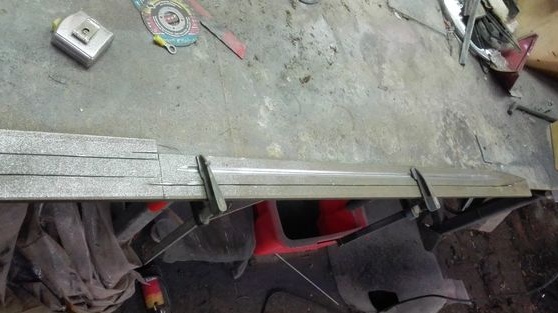
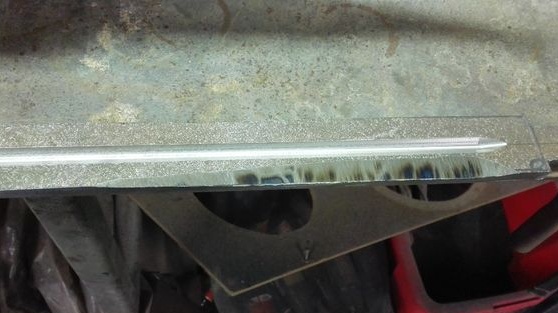
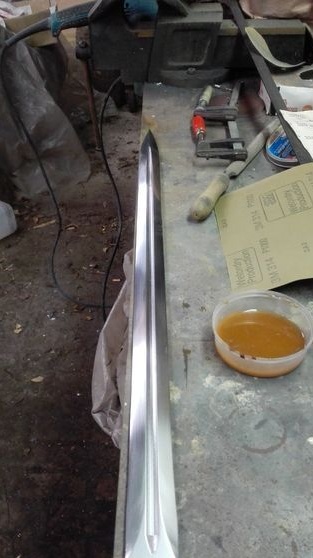
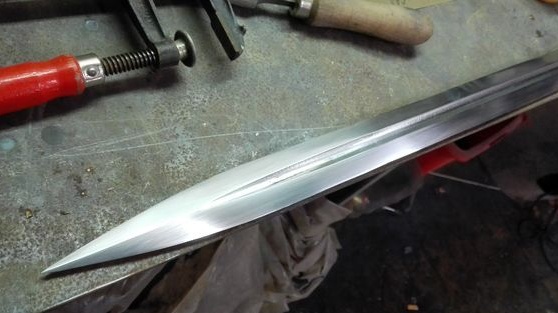
Next comes the more difficult task, this is the formation of bevels, as well as the central groove, called "dol." The central trench can be done first, then it can already be guided by it when forming bevels. Of course, it will be difficult to do it manually, a milling machine can easily cope with this task.
However, you can draw a line of the gutter and try to cut it through the grinder, using thick disks for cleaning, grinding, etc. But this process will take you a lot of time and effort.
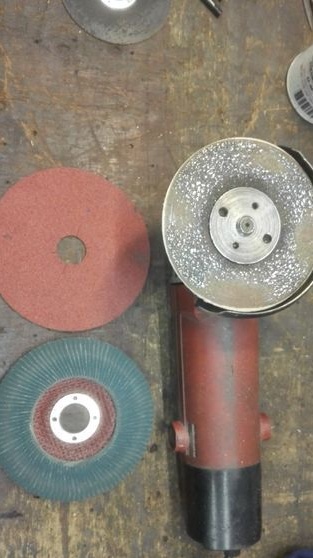
The bevels are most likely to form a non-belt sander.However, if everything is well marked out, you can try to do this work with a manual grinder as well. In the worst case, we use a grinder with grinding disks. Files, of course, here you have to sharpen the metal for months ...
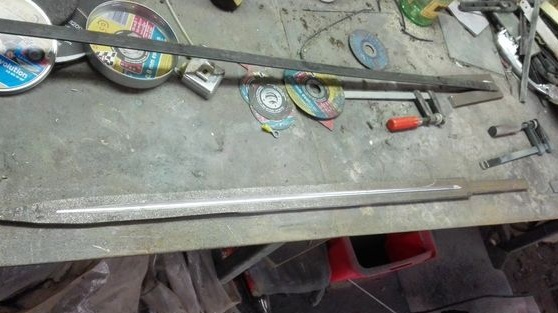
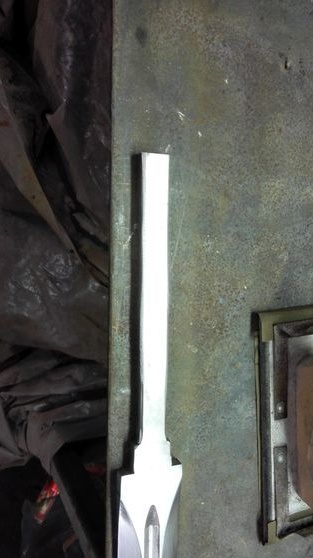
At the end, use a grinder to cut out the tail section, where the handle will be. There should not be any special difficulties.
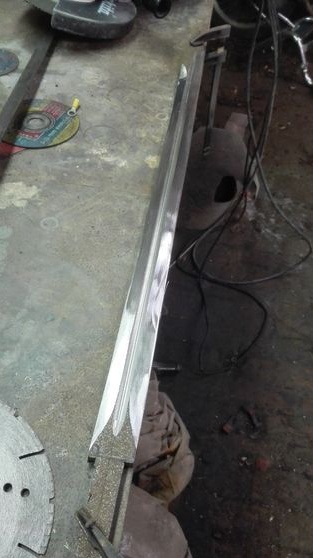
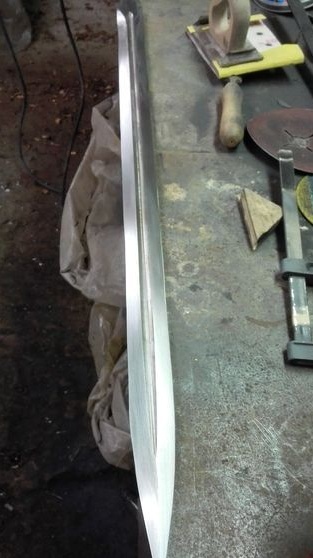
Step Two Surface grinding
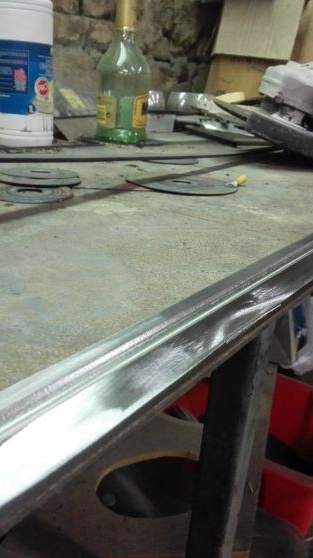
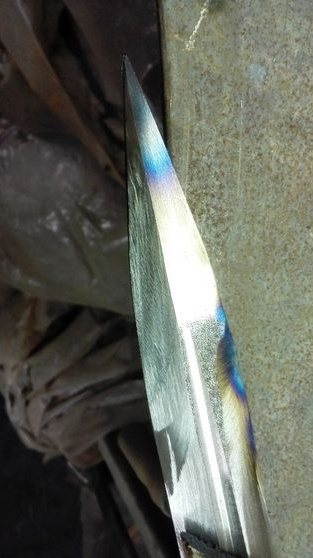
Getting to grinding the surface. Our task will be to make the metal smooth, shiny, to remove all those defects that remained after rough processing. The author does the grinding manually, using sandpaper with a grain size of 320, 500, 800 and 1000. To get an even grinding plane, fasten the sandpaper to the block.
At the end, grind the metal to a mirror finish. For these purposes, the author uses very fine sandpaper with a grit of 1000. To make sandpaper work well, moisten it from time to time in water, so it is cleaned.
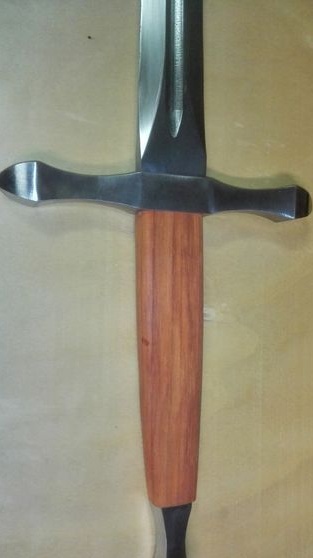
Step Three We make a guard
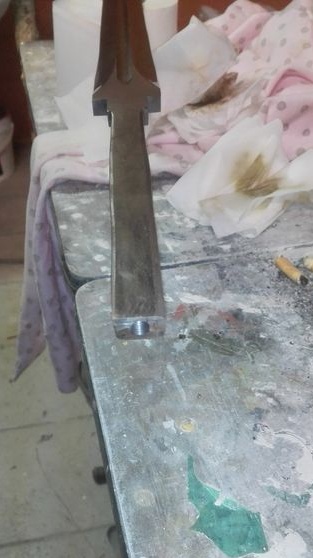
The author makes the gardu of aluminum, since this metal is soft and convenient to process. A rectangular rod is used as a blank.
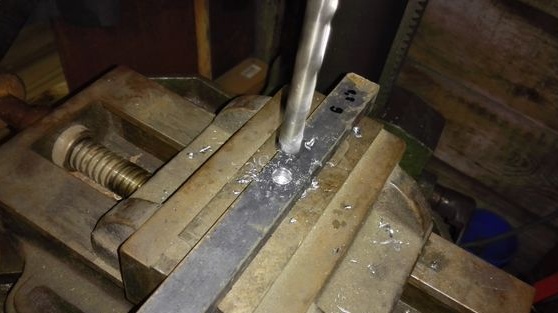
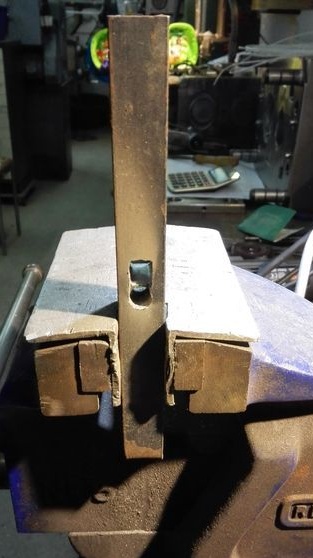
First of all, drill a series of holes in the center. Then these holes with the help of files are bored into one large rectangular. The size of the hole should be such that the blade shaft enters into it.

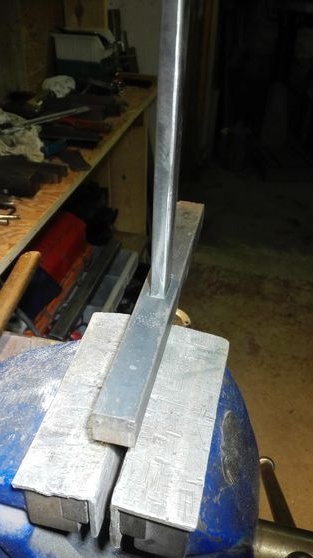
Now you need to create the necessary profile of the guard. This is not difficult, first draw, then cut and grind. It is easy to work with aluminum, it is perfectly processed with files and other hand tools, and you can cut it with a hacksaw for metal. At the end, we grind the workpiece with fine sandpaper.
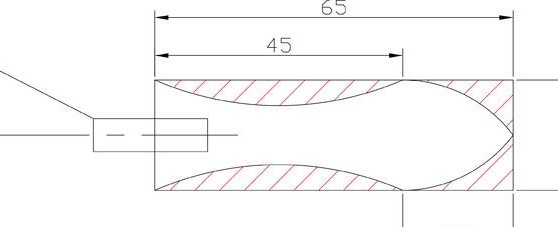

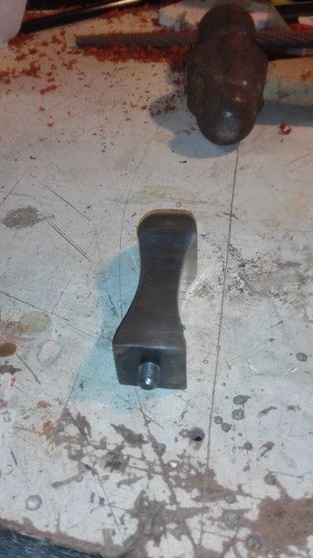
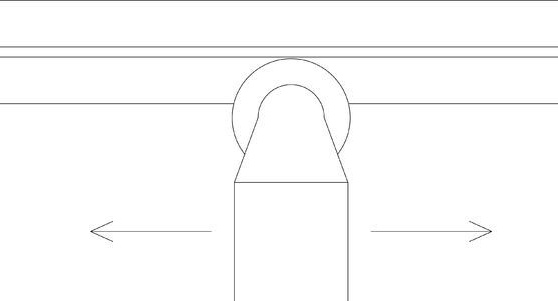
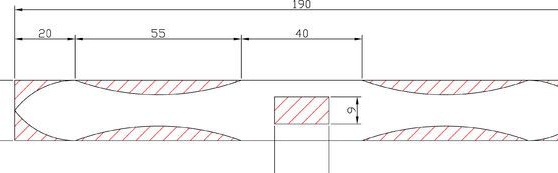
In addition to the guards, you need to make another detail that is worn on the very edge of the handle. It is also made of aluminum. Drill holes, grind, grind. The author has attached drawings of both products.
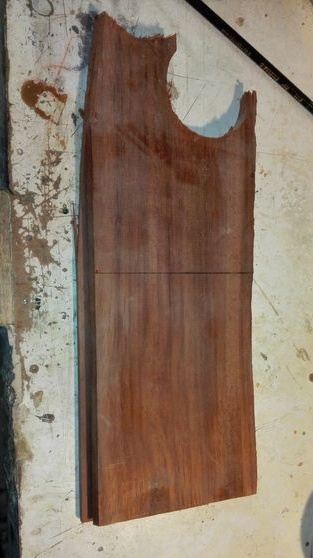
Step Four Pen making
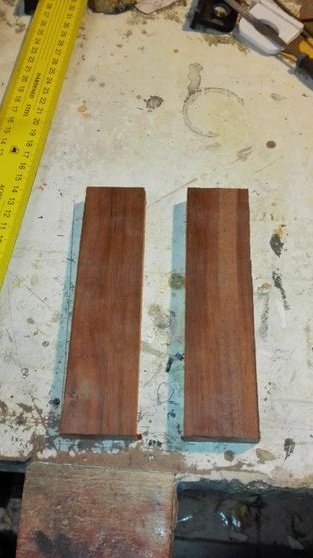
Now you can start making pens; it is made of wood. For these purposes, you will need two whetstones, choose the tree species at your discretion. Cut the workpieces to the desired length, and then draw lines through the center along the workpieces. Here you have to form square grooves, on each workpiece the depth of the groove should be half the thickness of the shank of the sword. Such grooves can easily be made with a chisel.
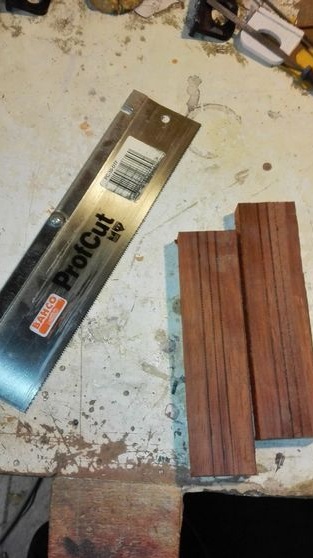
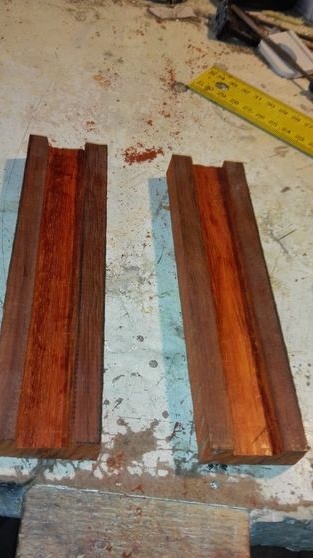
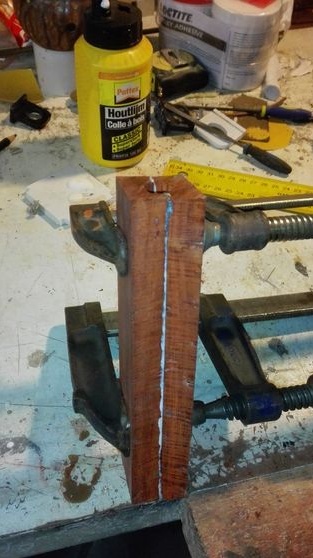
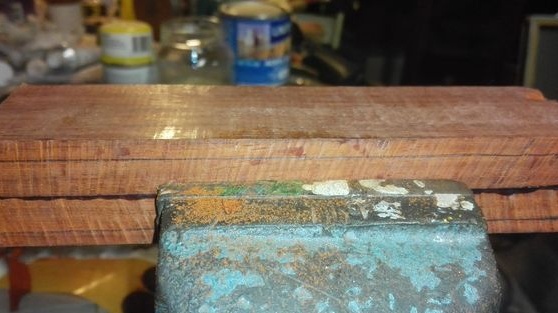
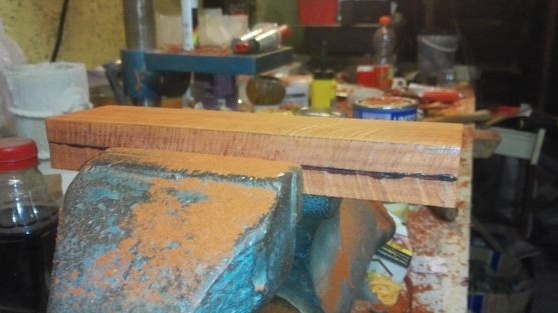
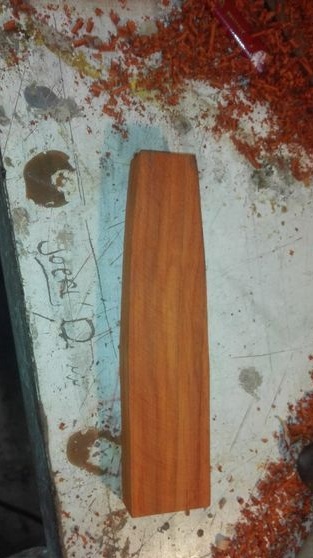
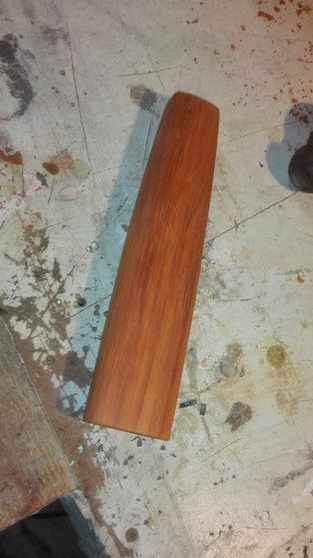
Now glue the two halves with glue on the wood and tightly clamp them with clamps until completely dry. When the glue is dry, take files, sandpaper and form the handle profile. At this step, he should get the finished form. The author polishes the pen with 120 grit sandpaper, and finishes it with 240 grit paper. As a result, you get a hollow pen, into which you can then insert the shank of the sword.
Step Five Getting started with the sword
Now the sword can be assembled, usually epoxy glue is used to glue the parts. Before applying the glue, sand the glued surfaces well and wipe the shank metal with acetone. Apply glue to every detail and collect the sword. First, a guard is installed, and a wooden handle is neatly pressed after it. If there are cavities between the handle and the shank, pour in epoxy glue. In the end, you will only have to install the aluminum part made earlier on the tail. Fix this whole thing and let the glue dry. Typically, epoxy glue dries for a day.
The glue has dried and the time has come for a final finish. If you wish, you can polish the blade to a mirror shine. As for the handle, after gluing it will require additional grinding. Here the remnants of glue may come out, some irregularities will appear and so on. The whole thing is perfectly aligned with sandpaper. Make your hand straight and bring it to perfect smoothness.
In the end, you have to protect the sword from moisture. Lubricate the steel itself with oil, as it will quickly darken, or even rust. Do not touch her fingers with it. As for wood, when absorbed by moisture, it can change volume, crack, which will cause the handle to deform. To prevent this, the tree must be impregnated with linseed oil or other special impregnations. Finally, you can apply wax to the handle and polish it.
If you wish, sharpen the sword, however, the metal here is not intended for the sword to be used for its intended purpose. Of the shortcomings of such a tool, it can also be considered that the sword turned out to be too heavy.
Homemade ready, good luck in the competition!