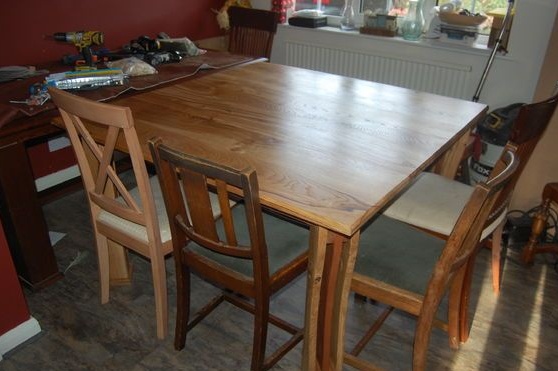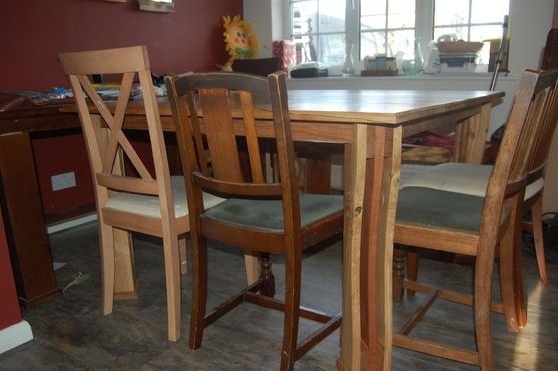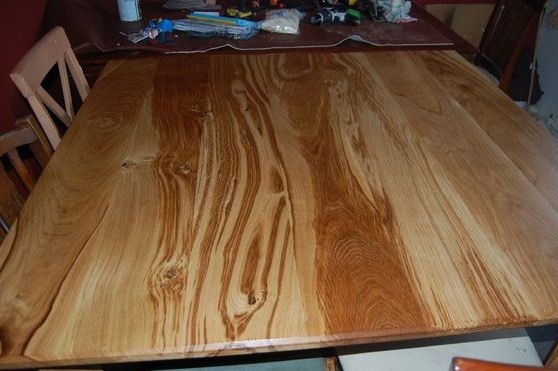
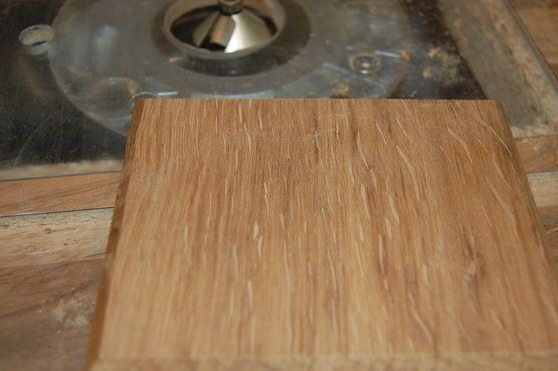
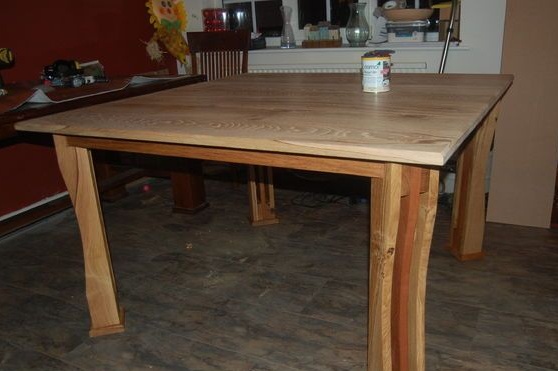
This instruction is for you if you want to make an interesting dining table. Such a table will fit into any interior without any problems. Its distinctive feature is voluminous legs, and it is made of oak. The choice fell precisely on oak because this material was easily accessible to the author, and also looked interesting. Over time, the fungus attacked the oak, thanks to which the wood acquired a dark brown hue.
Each board has its own unique pattern, which makes this material excellent for making a table.
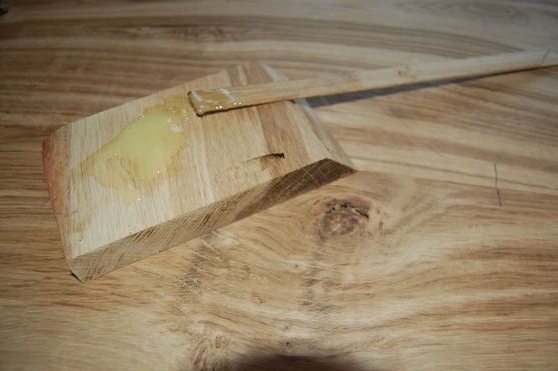
Everything is going mainly on glue, it would be nice to have.
List of materials and tools that the author used:
Material List:
- brown oak planks with a total length of 20 meters (200 mm * 25 mm);
- glue for wood;
- wood screws;
- fixing corners and other trifles.
Tool List:
- pencil and drawing accessories;
- drill with drills;
- manual frezer;
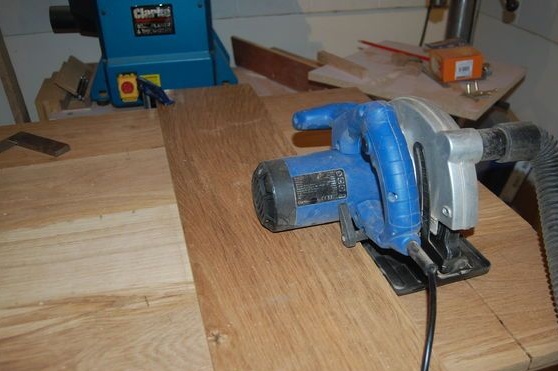
- a tool for cutting wood ();
- oil for impregnation;
- sandpaper (preferably a grinder);
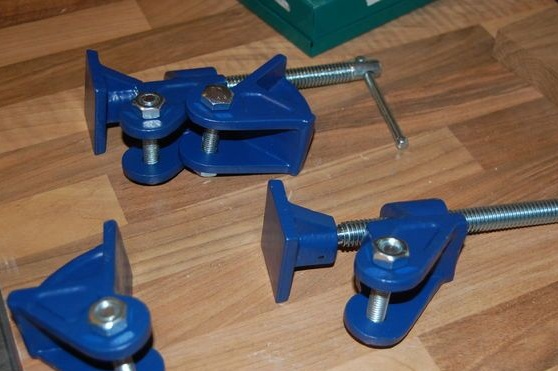
- screwdrivers, clamps and more.
The process of making a table:
Step one. Determined with the volume of materials and sizes
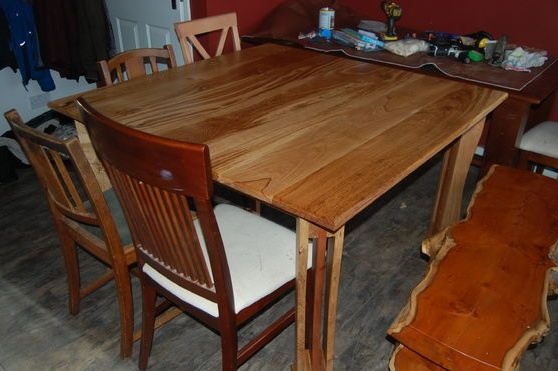
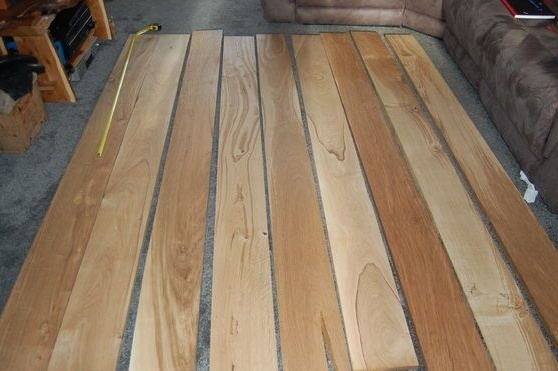
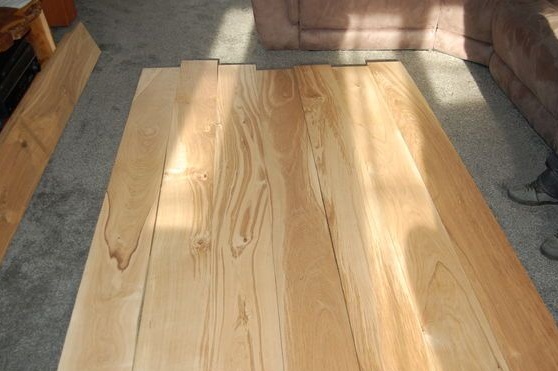
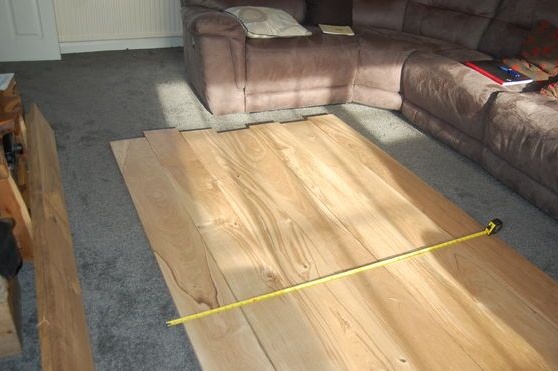
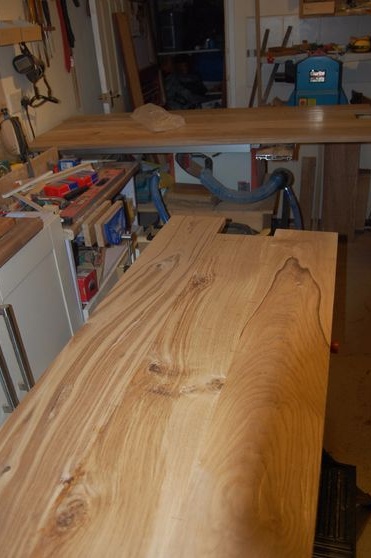
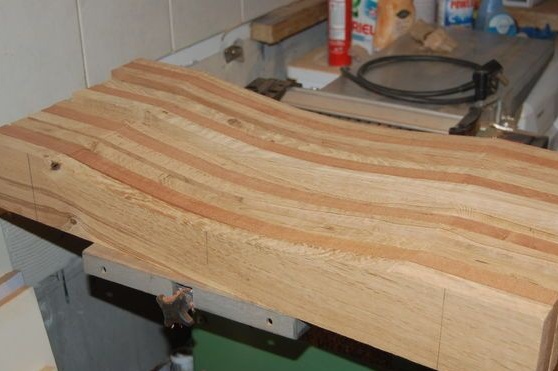
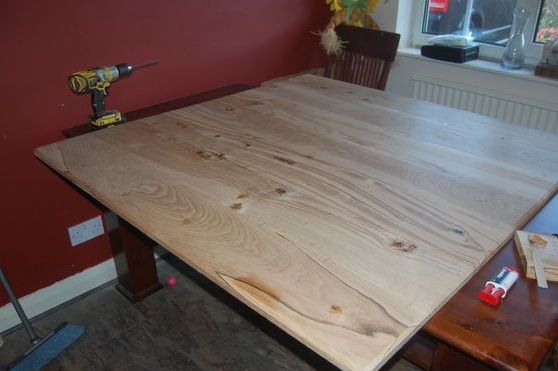
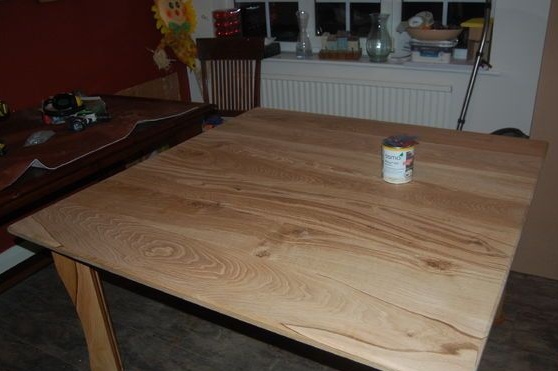
First of all, you need to figure out what size your countertop will be, also consider the amount of material that you have. In total, the author had 9 boards for the manufacture of the table, while he used 7 pieces for the manufacture of countertops. They were chosen depending on the picture, so that everything looked beautiful and harmonious.
Step Two Putting a countertop
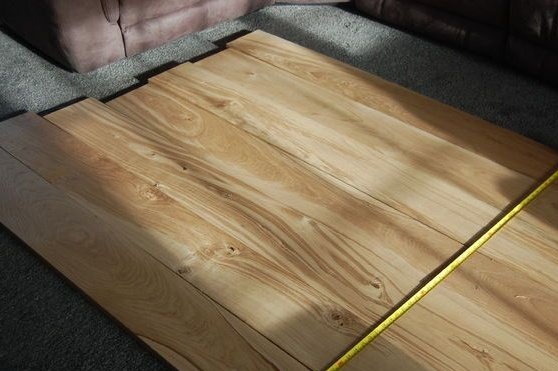
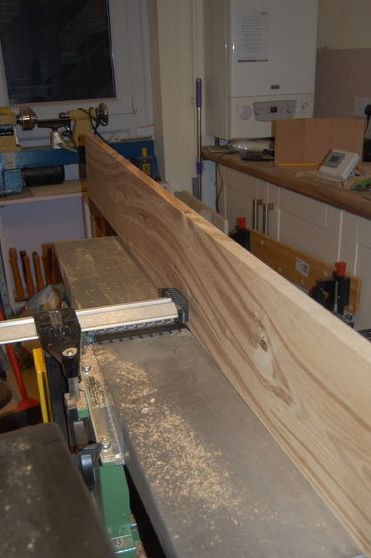
Measure the desired length of the boards and cut them exactly to the same length. To assemble the table, the author actively uses glue for wood, the countertop is also assembled on glue. To solve this problem, you have to make the joined parts of the boards perfectly smooth, they should fit without gaps. You will also need long clamps so that the whole thing can be pulled back later.
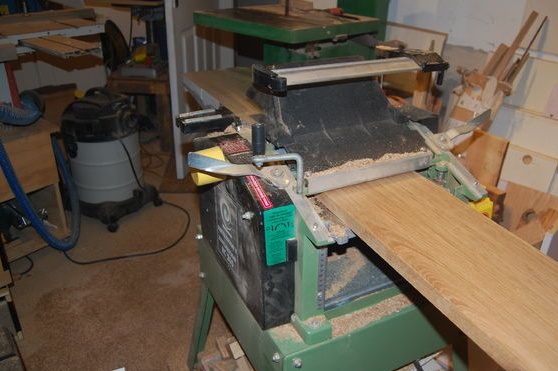
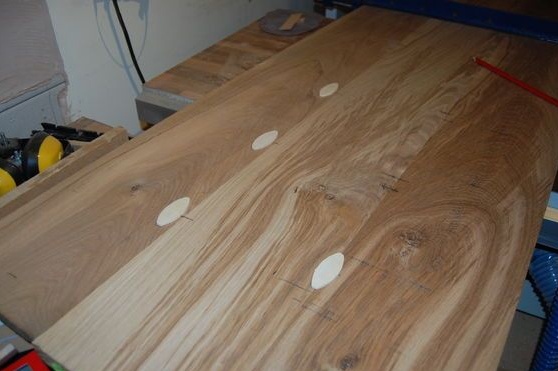
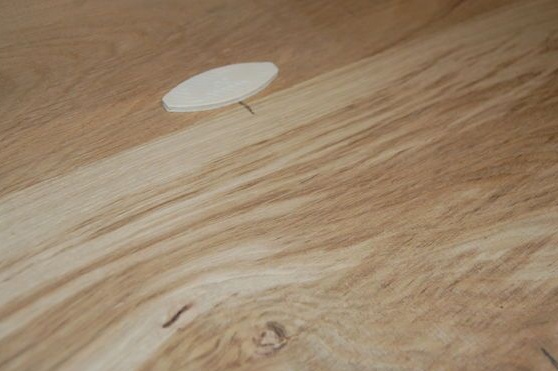
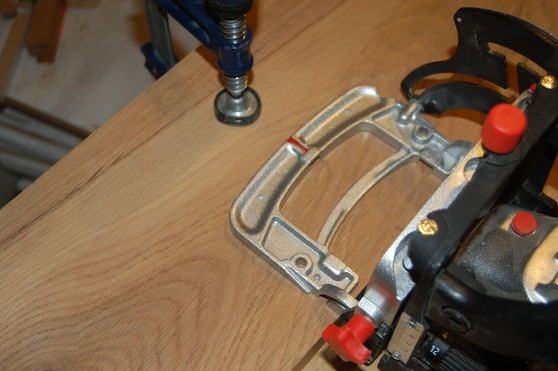
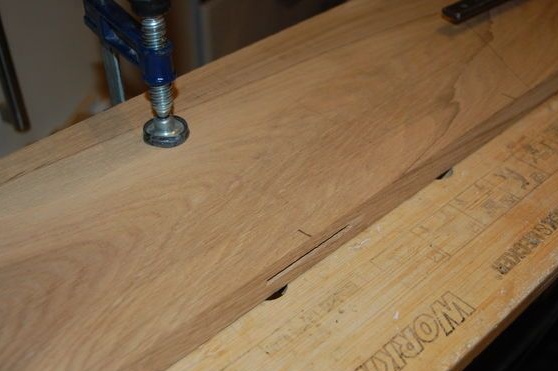
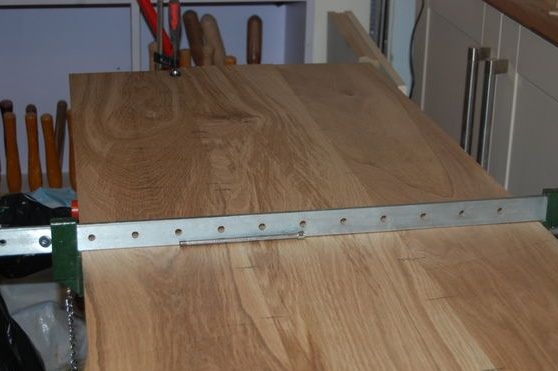
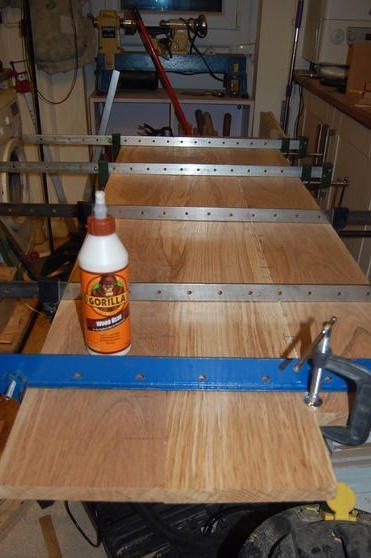
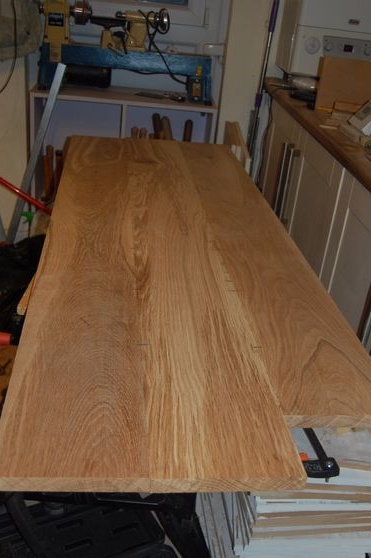
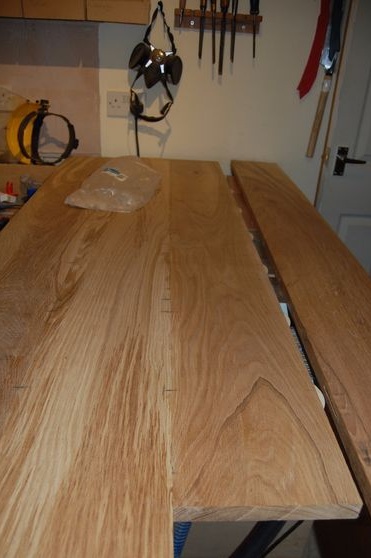
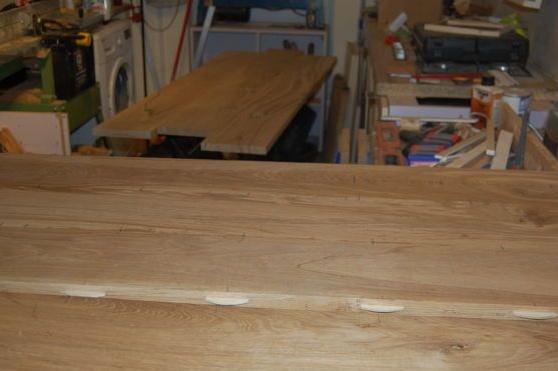
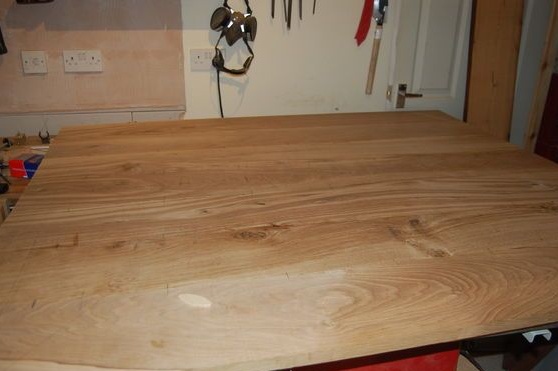

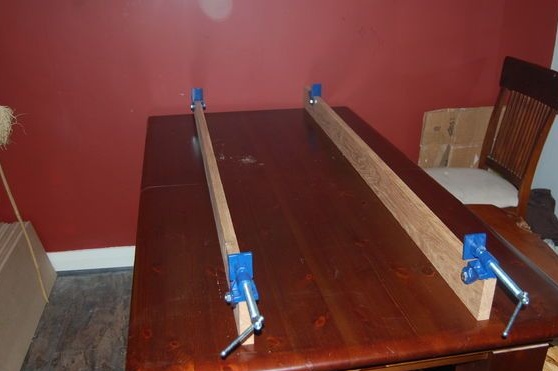

The author first glues the countertop in groups, since the whole shield of seven boards is quite wide. First you can glue a group of three boards and another one of four. In the end, this whole thing sticks together. Apply glue, tighten with clamps and let dry. We remove the exposed parts of the glue immediately so that they do not dry out. After assembly, make sure that the plane is perfectly flat. To strengthen the structure at the joints, you can use dowels.
Step Three Make the legs
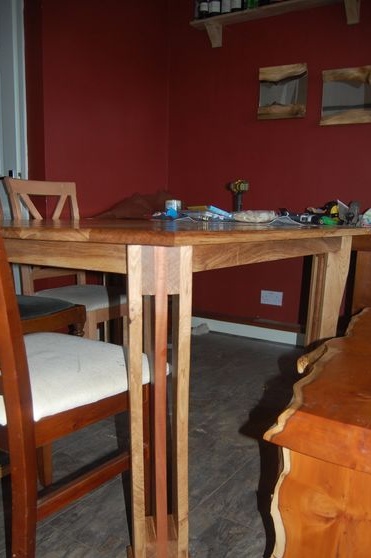
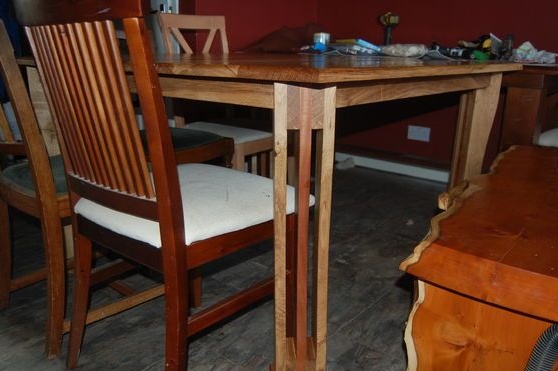
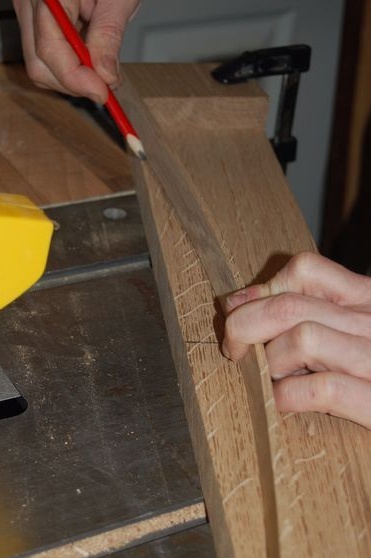
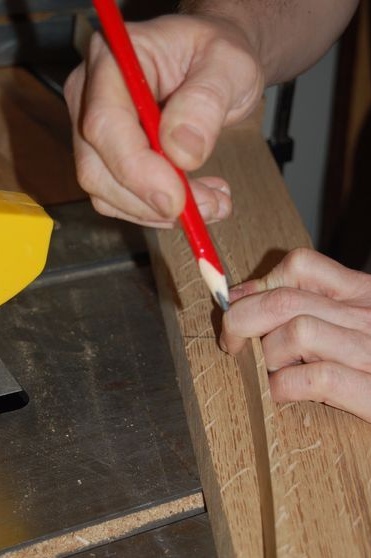
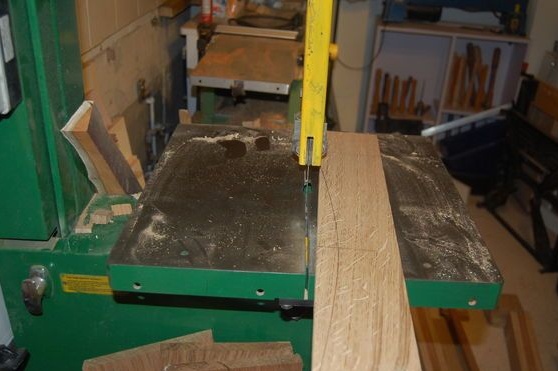
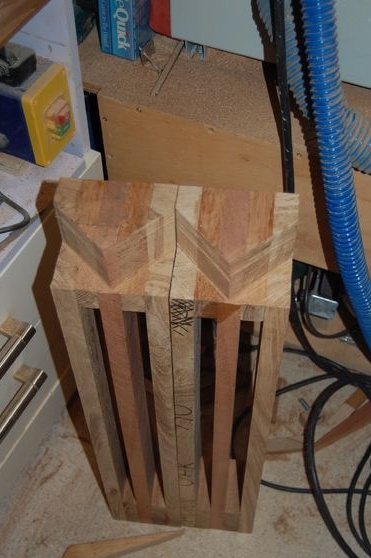
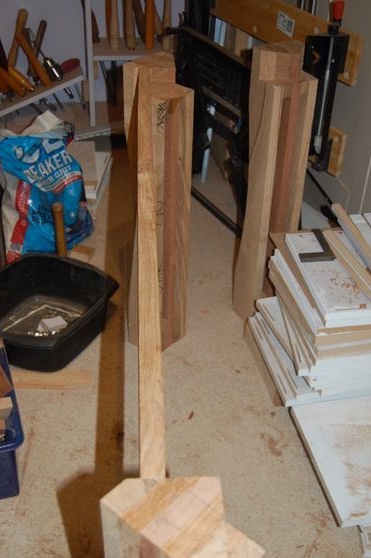
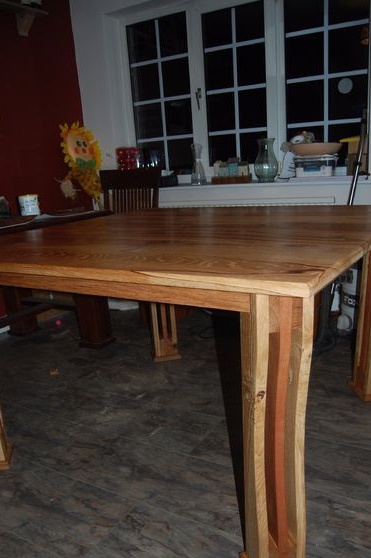
The author attached special importance to the table legs. They are typesetting, from different wood, according to the idea they became voluminous.In addition, the legs have a bend that can be cut with a band saw.
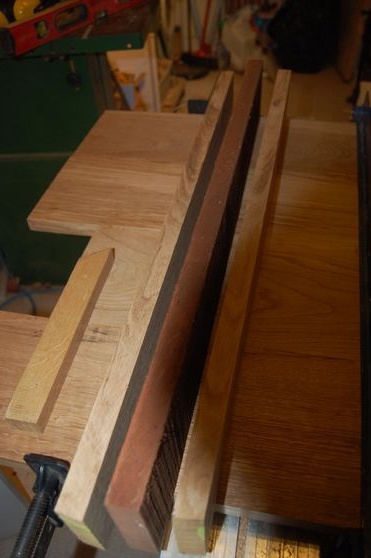
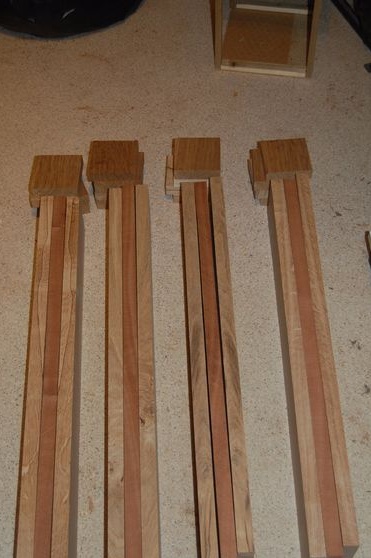
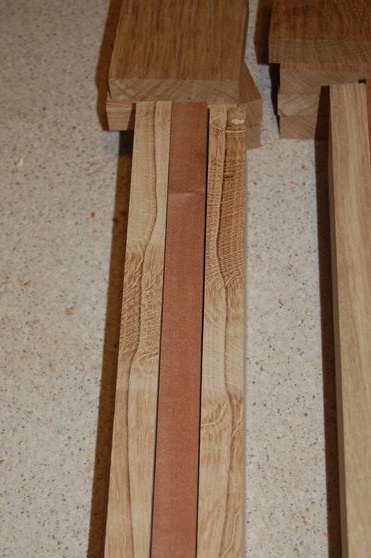

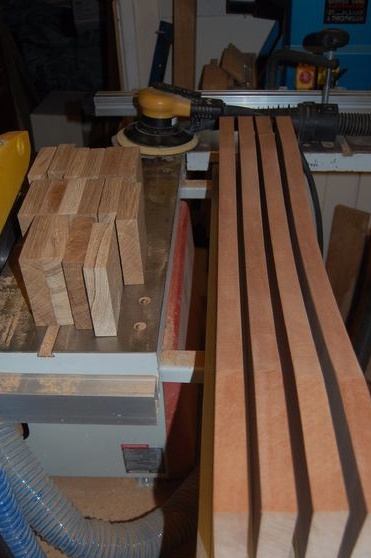
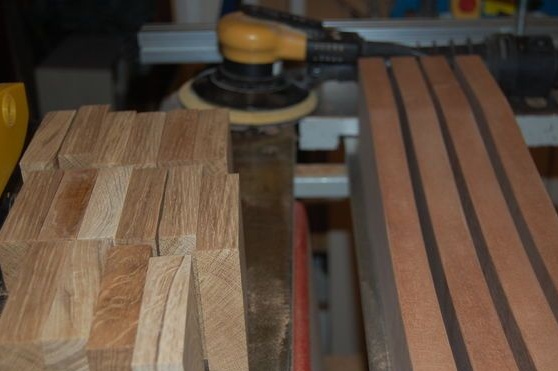
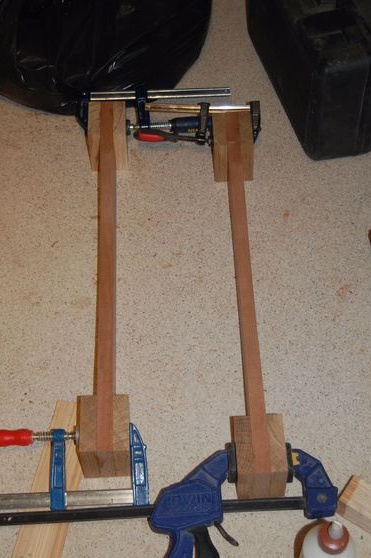
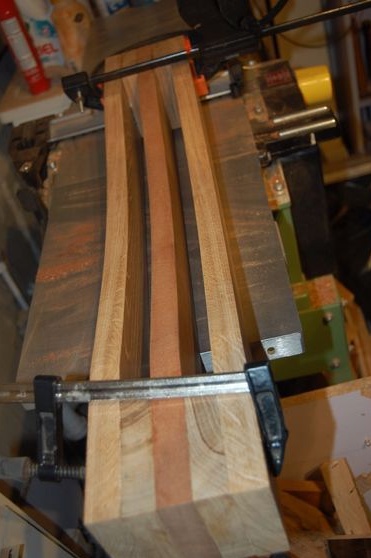
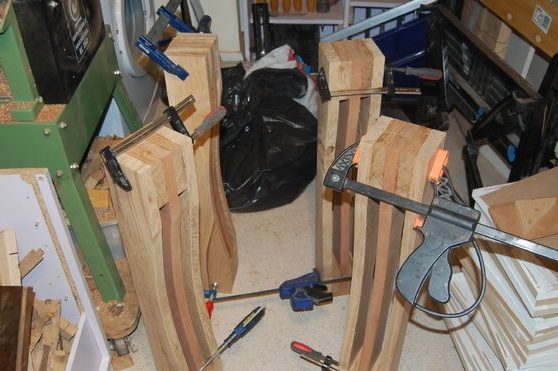
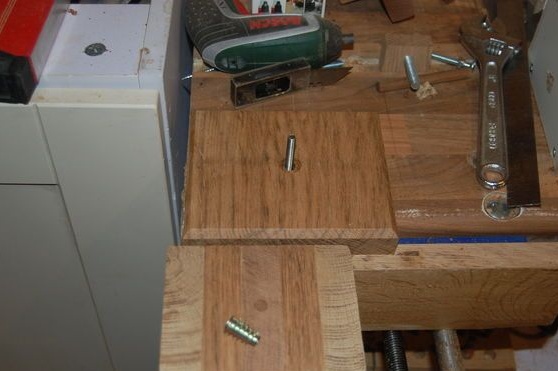
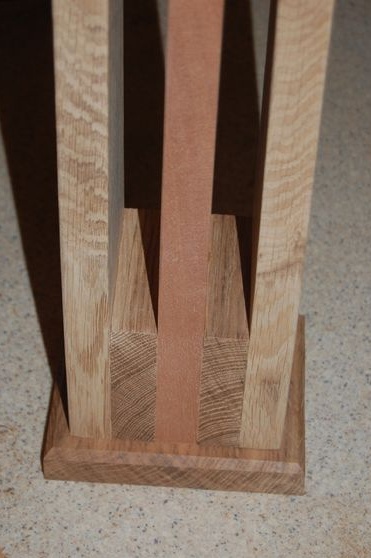
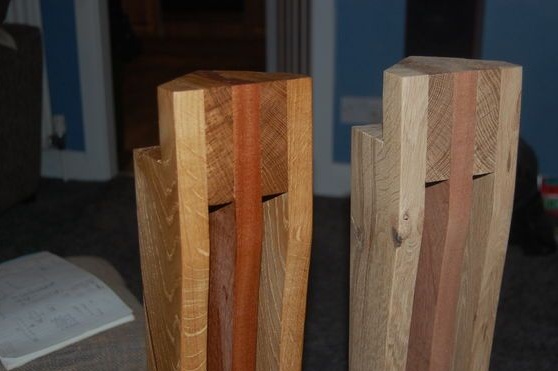
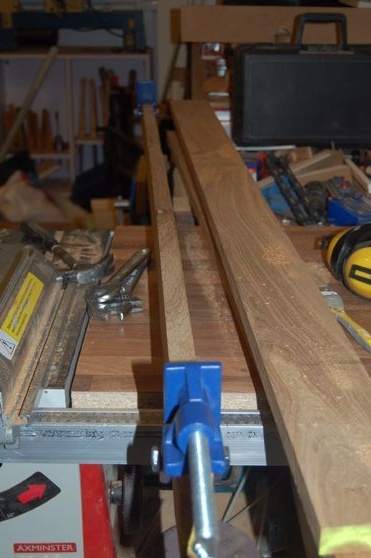
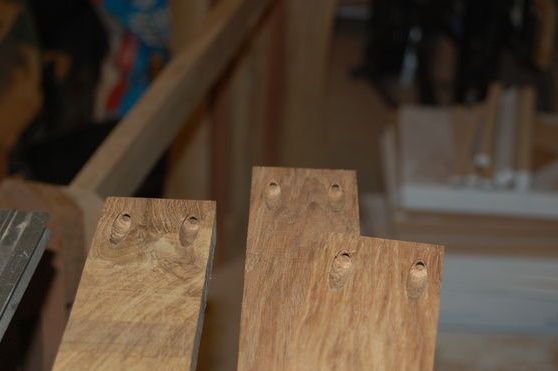
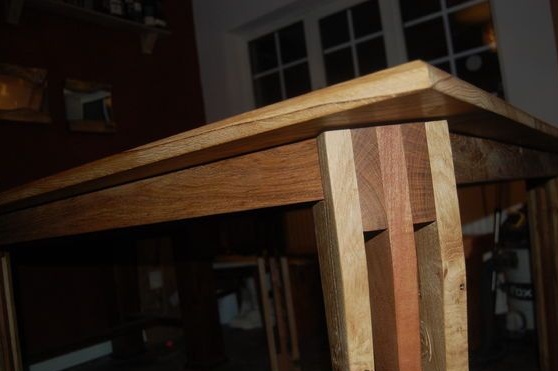
Each leg consists of three boards, cut them to the same length. There is a gap between the boards, it is formed due to the fact that in the upper and lower parts of the legs between the boards there are spacers from the boards. As a result, you will need 12 boards and 16 spacers. As soon as the workpiece is ready, the socks can be glued. We apply glue to the workpieces and tighten the legs with clamps. We leave the whole thing to dry.
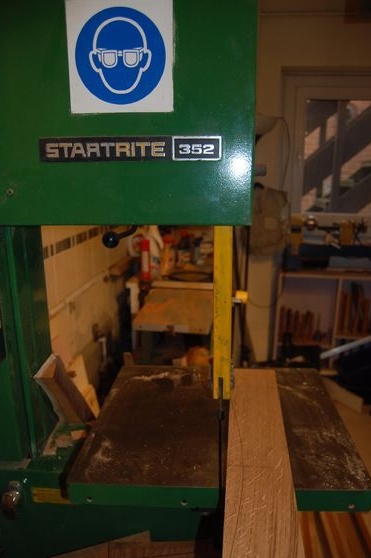
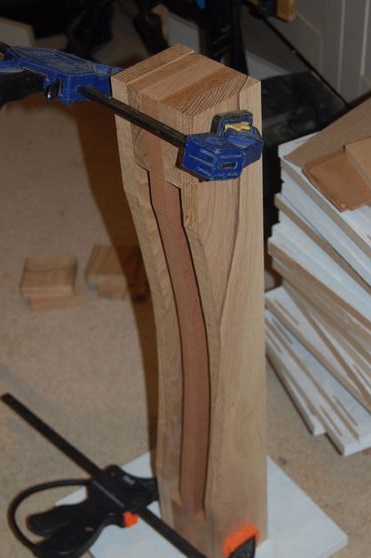
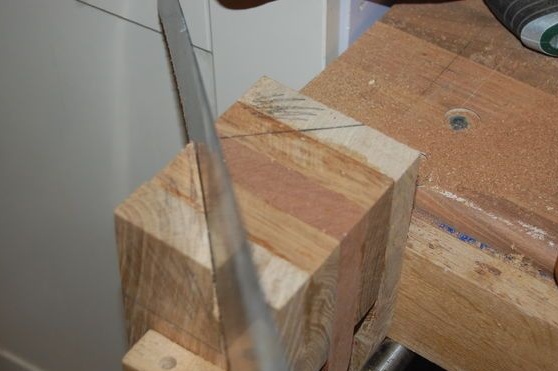
When the glue dries, we turn to the help of a jigsaw or other band saw. We need to cut the bends on the legs, then there should not be any special problems.
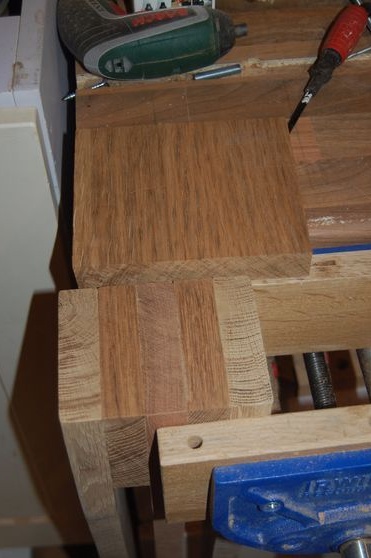
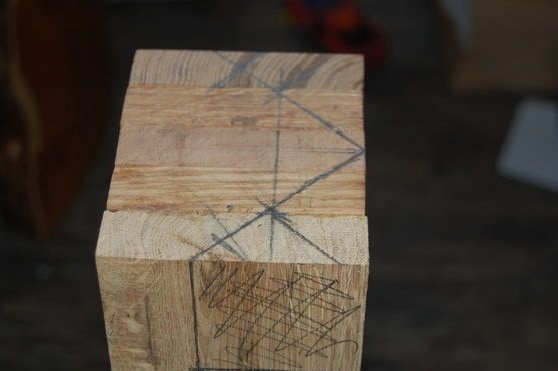
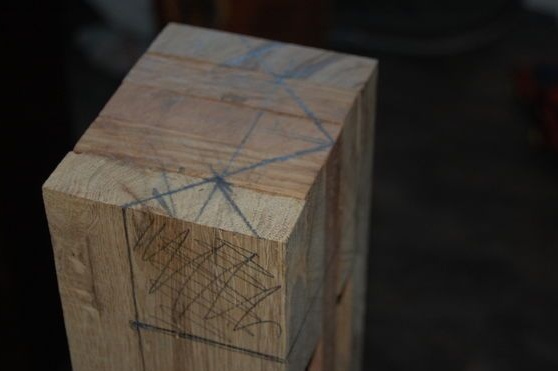
Next, you will again need the help of a saw. In the upper part of the legs you need to cut out the grooves, they are needed to mount the frame. What should they be, look at the photo.
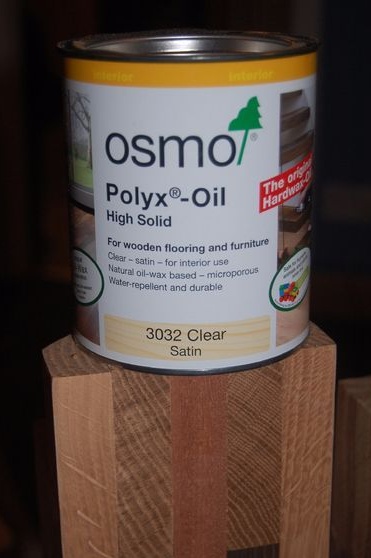
When the legs were ready, the author polished them with 240 grit sandpaper. At the end, they can be soaked with oil, because after assembling the table it will be harder. Oils are different in color, price and quality, choose to your taste.
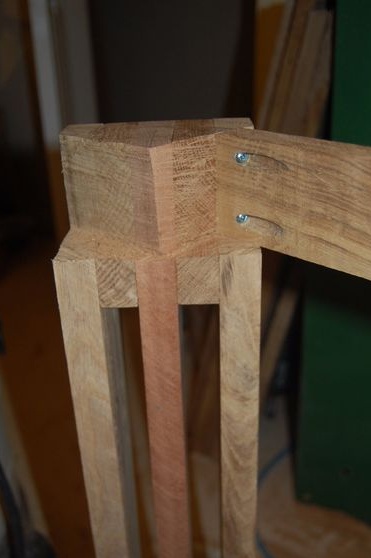
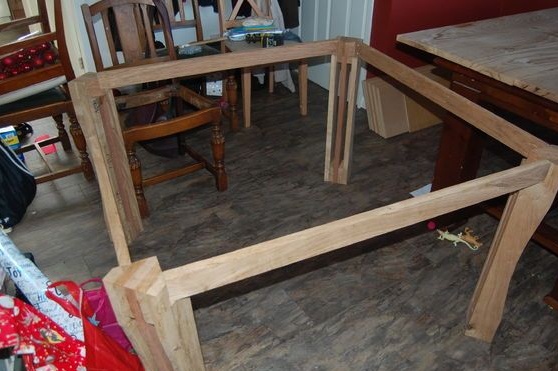
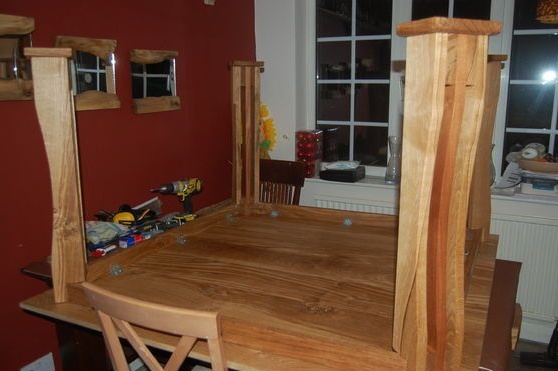
Step Four Frame assembly
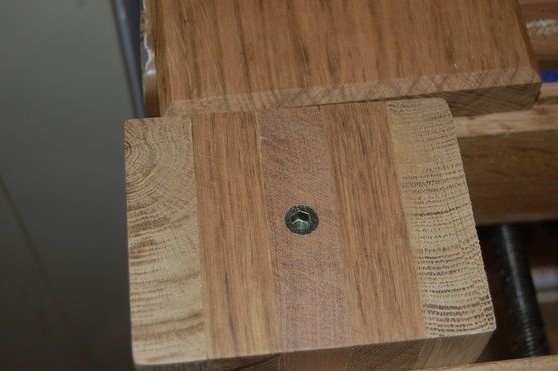
The frame of the table consists of four boards, which are attached to the legs. On each leg at the top, a special mounting place is cut out in the form of triangles. In the boards we drill holes for screws and fasten to the legs. If desired, you can additionally use glue.
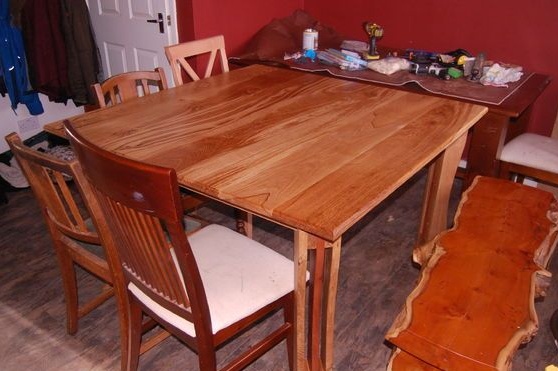
That's all, now we have created something that is already standing on its feet!

Step Five We finalize the countertop
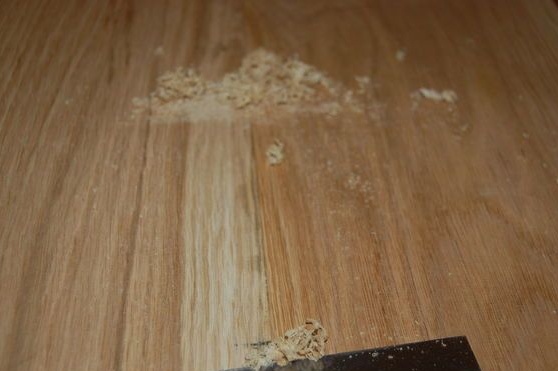
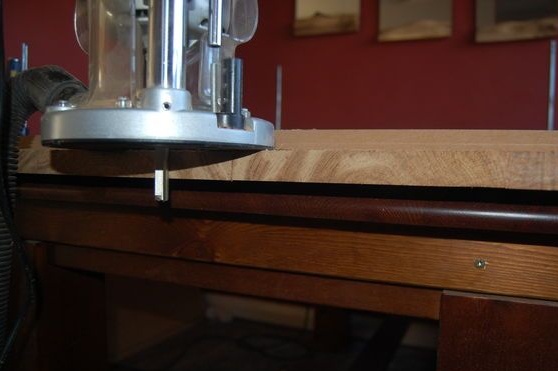
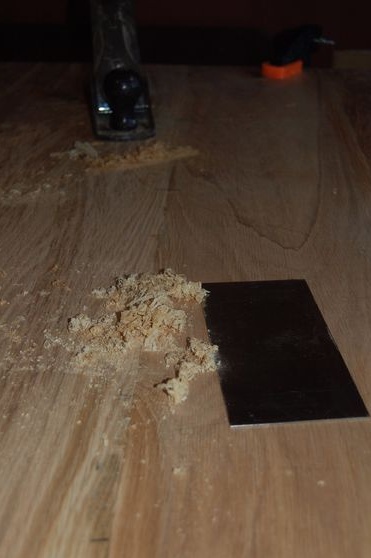
The countertop should be perfectly flat, have a rectangular shape. If this is not the case, take a circular saw and cut off the excess. In the end, the author processed the edges using a milling cutter. You can make them perfectly smooth with sandpaper. It is also highly recommended to smooth the corners of the countertop so that they do not cut their hands while sitting at the table.
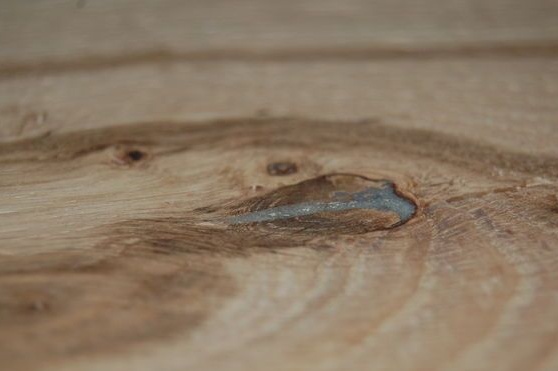
Surely, the outer part of the boards will not be perfect, there will be defects on it. It can be knots, the activity of insects, or even in places the wood can be rotten. But this is all fixable, we clean the problem areas with sandpaper and prepare an epoxy. Apply epoxy resin to the defects and allow to dry. In the end, the whole thing is polished flush, and the material is perfectly smooth and smooth.

Step Six We fix the countertop, grind, apply oil
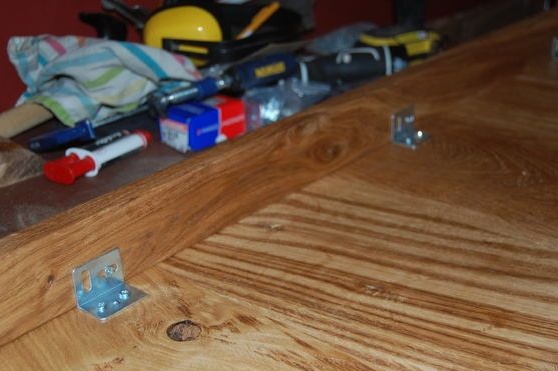
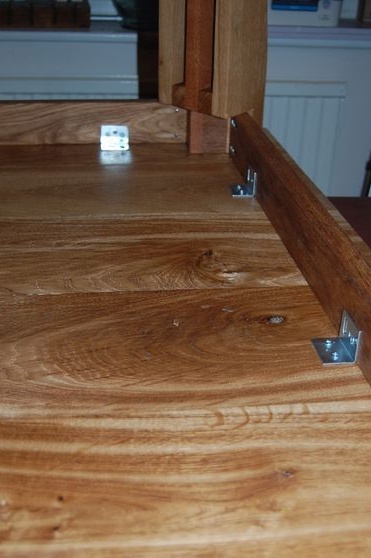
The first thing you have to screw the countertop to the frame with legs. To do this, put the countertop on the table, and set the frame upside down. For fastening, the author uses fixing corners and screws for wood. We drill holes in the right places and screw in the screws. There must be at least three pieces on each side.
Turn the table over and proceed to grinding. To grind such a plane and grind it evenly, it is advisable to use a power tool. A manual belt sander or orbital sander would do well here.
First, take a large sandpaper with a grit of 80 and align the entire plane. Then we reduce the grain size to 120, to 180, 240, 320, 400 ... and make the surface perfectly smooth.
This can also be done manually, however, it will be much harder. For convenience, we fasten the sandpaper on the bar and into battle!
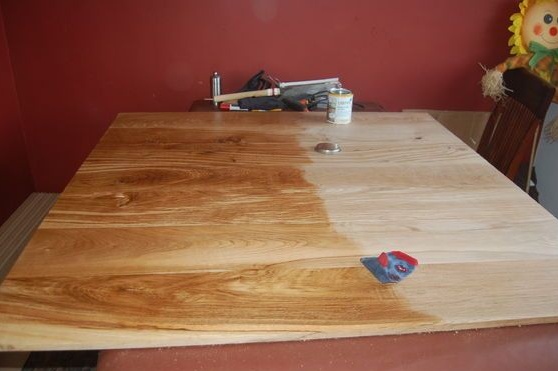
As soon as the entire table is sanded, including the legs, soak it with oil. Oil protects the tree well from moisture, which is very useful, since the table is used for eating. Also, the oil looks great, wood when using it looks natural. We apply oil until the tree absorbs it. After that, if desired, you can polish the countertop.
Instead of oil, the table can also be varnished, though it will be slippery, which is not very pleasant.
Seventh step. All is ready!
That's all, construction wonderful table is completed! It looks quite interesting, and, most importantly, the author is satisfied with his brainchild.