
Surely many have heard of such a concept as plasma. For some, this phenomenon is associated even with mystical phenomena. In fact, plasma is just ionized gas. This phenomenon is formed when a high voltage passes through the gas, for example, like lightning.
Today we will look at how you can tame this amazing phenomenon. We will try to create a plasma at home. The author uses a glass bottle for these purposes, a jar is also suitable, but it is desirable that the capacity be as small as possible. The fact is that for the formation of plasma it is necessary to reduce the gas pressure, and by manual methods it takes a long time.
For homemade the author used the simplest components and tools
Materials and tools used by the author:
Material List:
- a glass transparent bottle (or other transparent container);
- two copper wires;
- ;
- cold welding;
- small rubber tubes;
- a large volume syringe;
- carbon rod (available in batteries, Soviet pencils ...);
- transformer from the microwave;
- a piece of a long copper wire (thin);
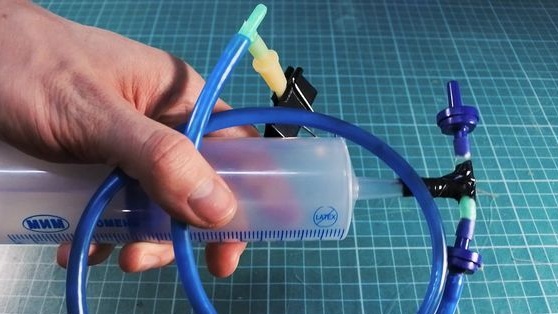
- pneumatic valves for the manufacture of the pump (pumps air from the bottle).
Tool List:
- ;
- ;
- scissors.
Homemade manufacturing process:
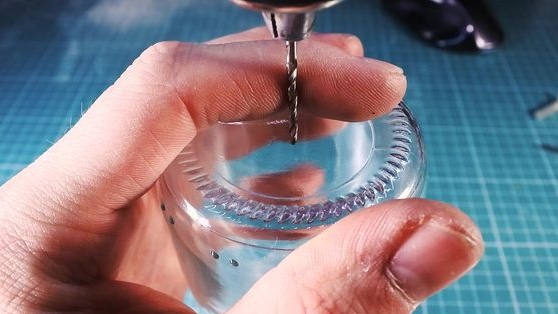
Step one. Drilling ...
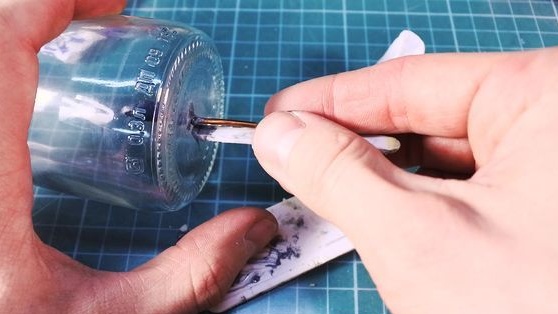
The most difficult step is to drill a hole in the glass, it must be of such a diameter that a wire can enter it. That is, small. For drilling, it is best to use drill bits with special tips designed for this purpose.
A hole is drilled in the bottom of the bottle.
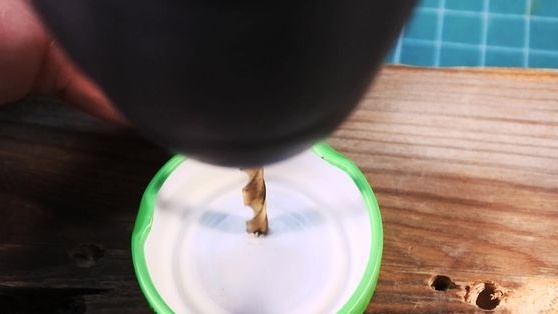
Next, take the bottle cap, in it you need to drill two holes. One hole will be small in diameter (the same as in the bottom), it is used to connect the electrode. And the second hole should be larger, a silicone tube is installed here for air suction.
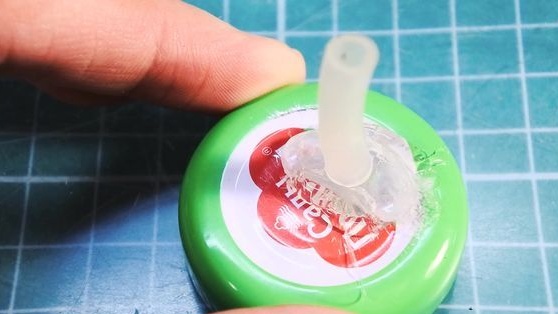
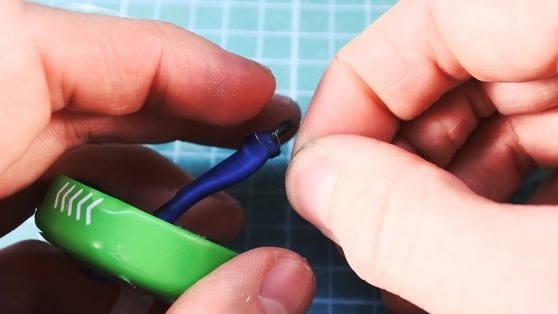
Step Two Install the tube
Insert the tube into the drilled hole and secure with hot glue, preferably on both sides. In order for the glue to adhere well to the metal, it is desirable to warm the lid, for example, with a hairdryer.
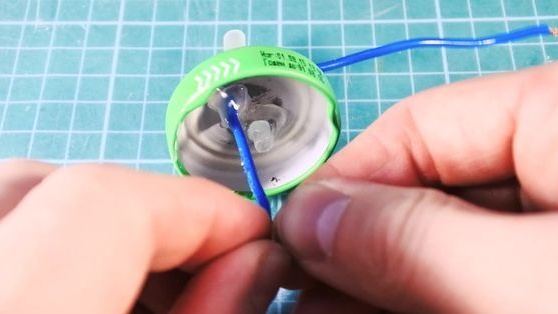
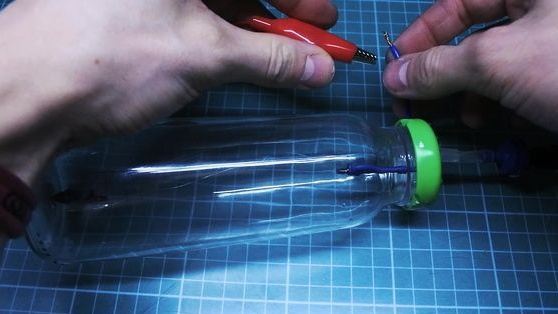
Step ThreeFasten the first electrode
Insert a piece of wire into the cover, strip at the end of the insulation. For tightness, the wire on both sides must be glued with hot glue.
Now you need to make an electrode, it is made of a graphite rod. Graphite is used in pencils, but be careful, graphite can not be found in modern pencils. Check the rod for electrical conductivity, if it conducts current, then this is graphite. Tape a small piece to the end of the wire.
Step Four Second electrode
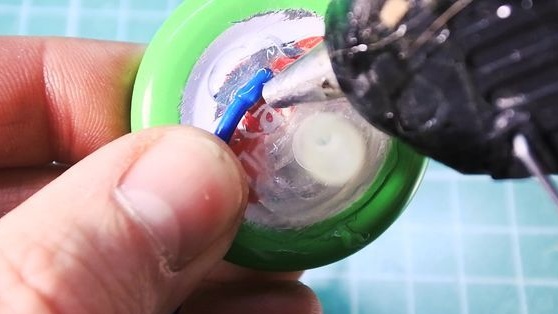
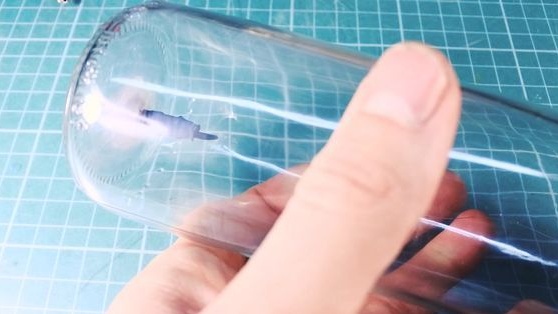
To install the second electrode, prepare a piece of thick copper wire, strip it from varnish insulation and insert into the bottom of the can. Toward the end, wind a piece of graphite. Now we need to insulate the hole again. For these purposes, the author decided to use cold welding. Cut off the desired piece, sculpt with wet hands and thoroughly close up the place where the wire enters the jar. Instead of welding, epoxy is also suitable.
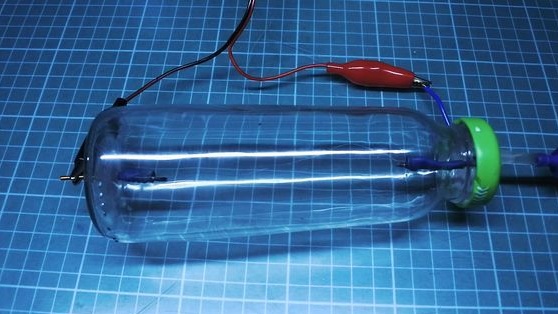
Step Five Ignition system
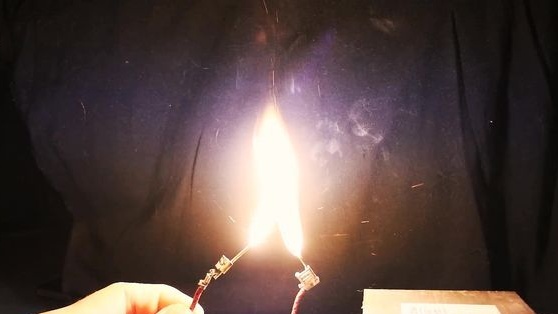
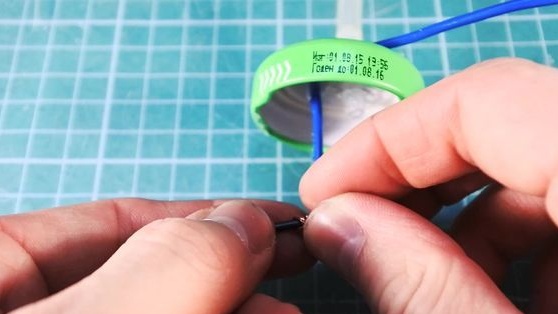
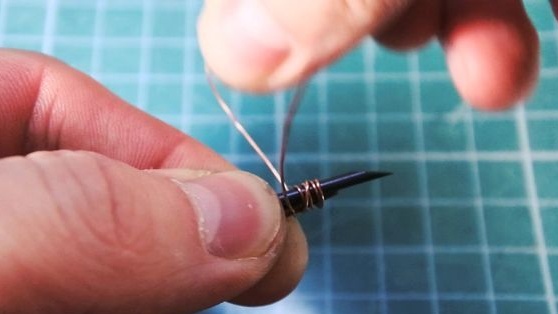
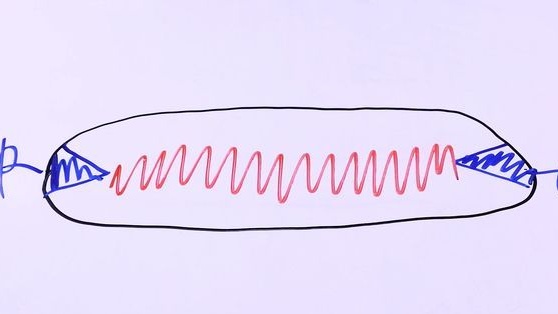
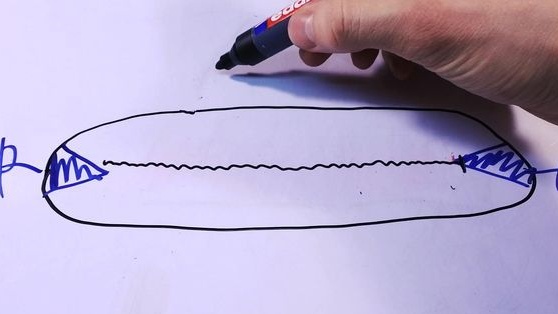
To ignite an arc, a high-voltage surge is needed. In fluorescent lamps, for example, this is done by special starting capacitors, a power increase module, and so on. But the author did not use all this, instead he needed a long piece of thin wire. We fix this piece inside the can between the electrodes. One end is simply wound to one of the electrodes, and the other end is located near the second electrode.
Now, when you shake the bottle, the end of the wire will touch the contact and short-circuit it. As a result, the wire becomes hot, it starts to burn, and plasma is born in the bottle.
Step Six Getting ready for launch
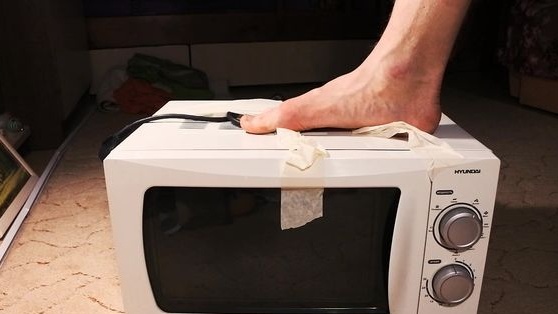
Close the jar tightly with a lid; air must not enter inside. Next, we take the pump, in our case it is a syringe with valves, and we suck air out of the bottle, we need to reduce the pressure.
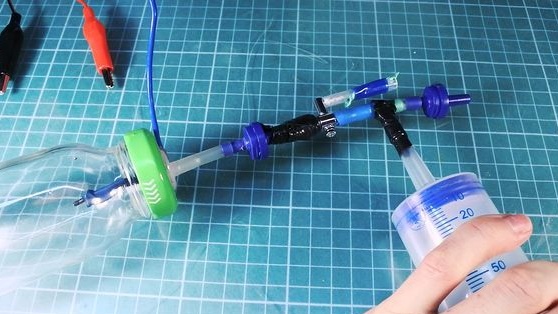
Connect wires from the transformer of the microwave oven to the electrodes of the device, but do not plug it into the mains for safety for now.
Seventh step. Launch!
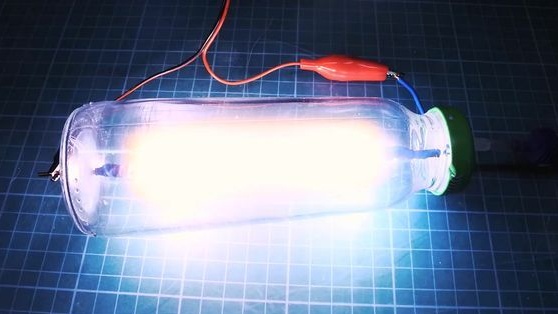

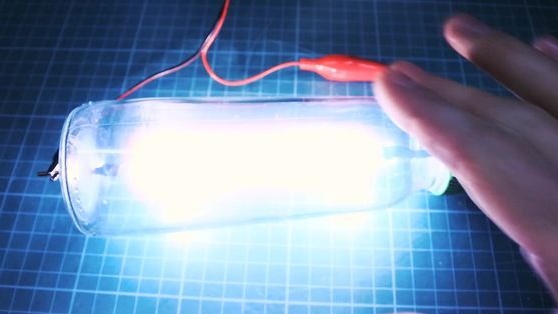
Make sure that in the bank the end of the center wire is close to the electrode. Turn on the transformer and apply voltage to the electrodes. Now shake the jar, the central wire should close the circuit and the plasma will light up with a bright glow! Take care of your eyes, as the light will be very bright.
If everything worked out, congratulations, you do it yourself were able to create plasma at home.