
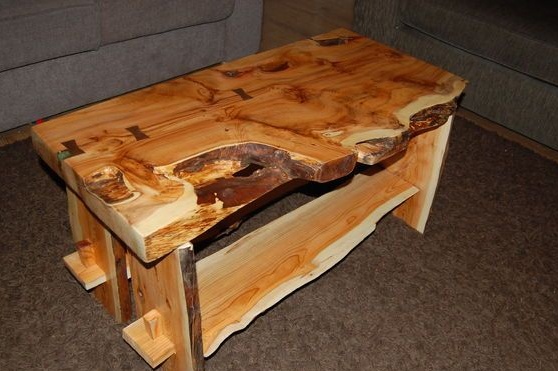
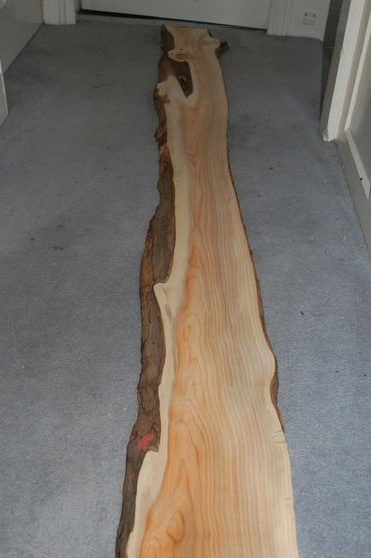
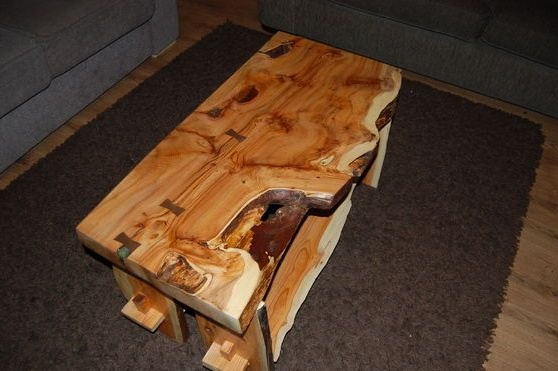
Author homemade He is passionate about woodworking and constantly crafts something, starting from small items, such as boxes, and ending with tables and chairs. This time it was decided to make a coffee table, unedged board of such an interesting tree as yew was used as material. Initially, it was planned to make a table of oak, but these days it is no longer surprising anyone with such wood.
The project is quite simple and does not require a lot of materials. All four legs were made from just one board. As for defects on the boards, such as knots and other irregularities, all these problems are solved with epoxy.
Materials and tools that the author used for homemade:
Material List:
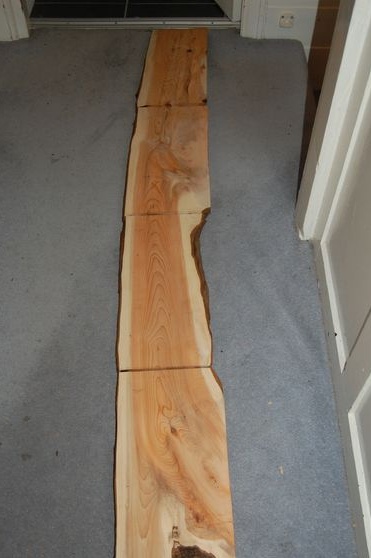
- unedged board (the author used yew);
- a wood board with dimensions of 940 mm x 400 mm x 50 m for the manufacture of countertops;
- one board with dimensions of 200 mm x 1680 mm x 27 mm for the manufacture of legs;
- one board with dimensions of 150 mm x 2080 mm x 25 mm for the manufacture of shelves;
- glue for wood;
- epoxy (to eliminate defects).
Tool List:
- (or drill);
- hammer;
- bit;
- clamps;
- ruler;
- marker;
- a hacksaw;
- a circular saw;
- orbital sander or manual belt.
The process of making a coffee table:
Step one. Let's start with the legs
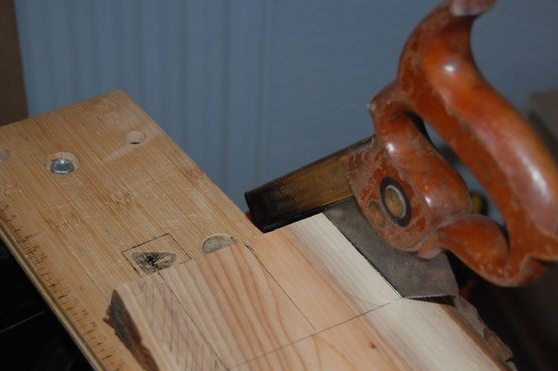
First, the author decided to make legs, as a material for these purposes one board of yew was required with dimensions of 200 mm x 1680 mm x 27 mm. Mark the board so that it is cut into equal parts. Well, then we cut it, it is most convenient to work with a circular saw, but a hand tool is also suitable.

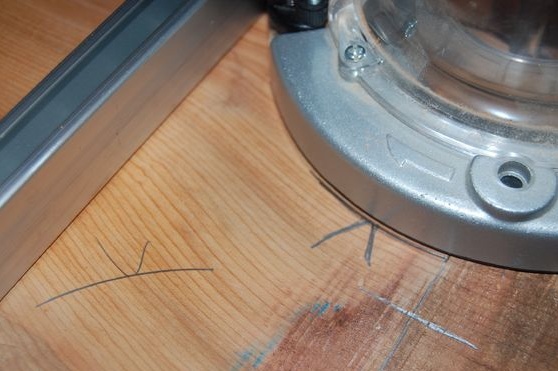


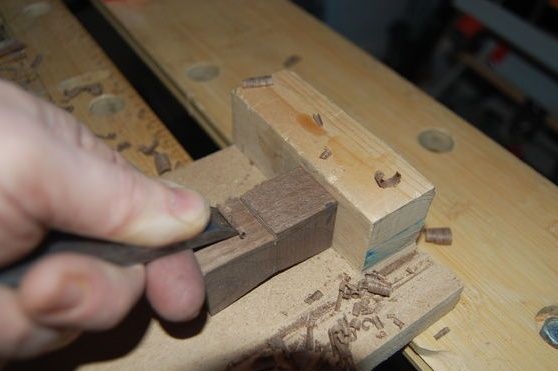
Now you have to make the grooves on the legs, thanks to which the table will stand reliably on the socks. For the convenience of work, the author connects the boards in two pieces, marks out and processes two at once. To produce the necessary grooves will allow. But you can do everything the old fashioned way, using a chisel and a hammer.
Step Two We finalize the countertop
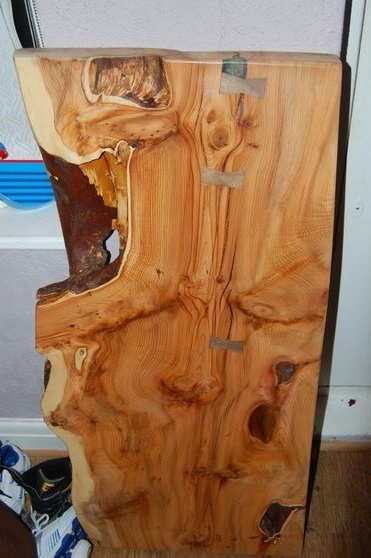
The author made the countertop in the form of one solid wood panel. Its dimensions are 940mm x 400mm x 50mm. Needless to say, as it usually happens, such a large-sized wood material will certainly have flaws. The biggest problem for the author was that the plate cracked, which means that the countertop may not withstand heavy loads.
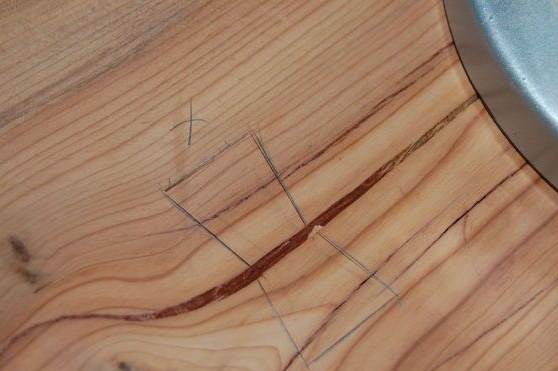
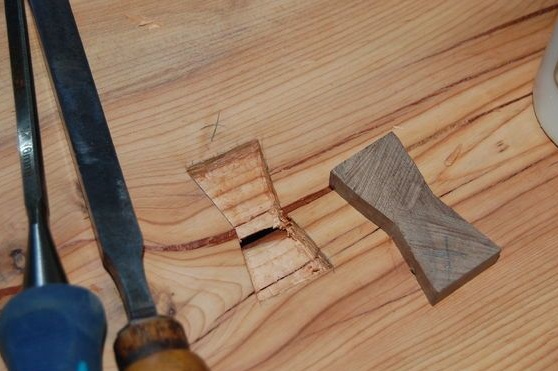
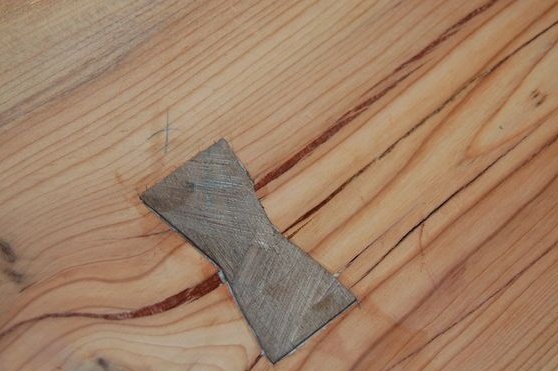
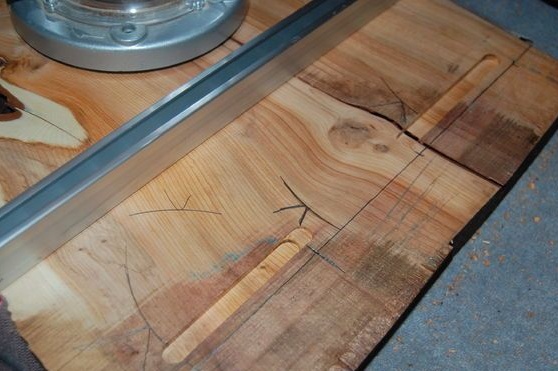
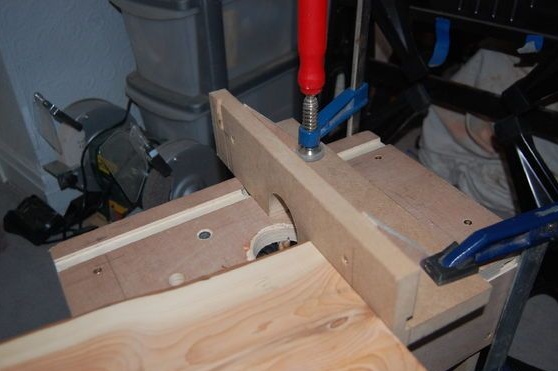
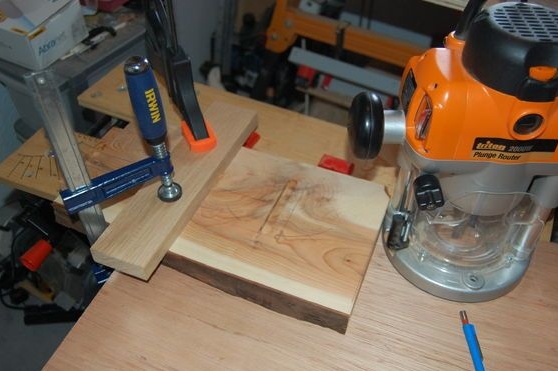
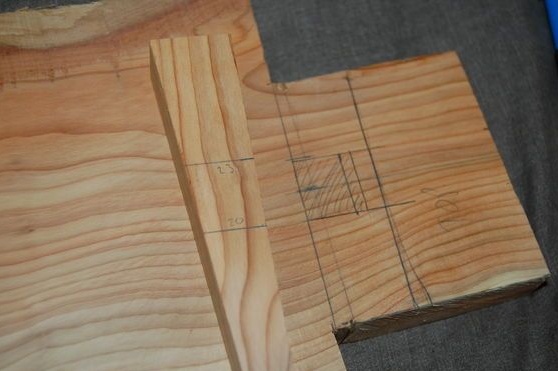
But this defect is not as dangerous as it seems, everything can be easily fixed.You will need a hand milling cutter, wood, as well as epoxy glue. We take the stitch and cut out of it "jumpers" in the shape of butterflies. However, the form can be any, the main thing is that this part does not pop up after installation in the groove.
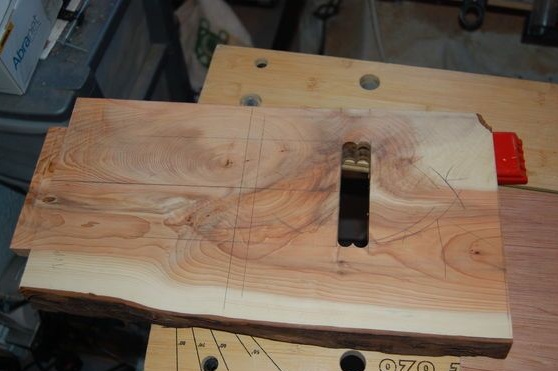
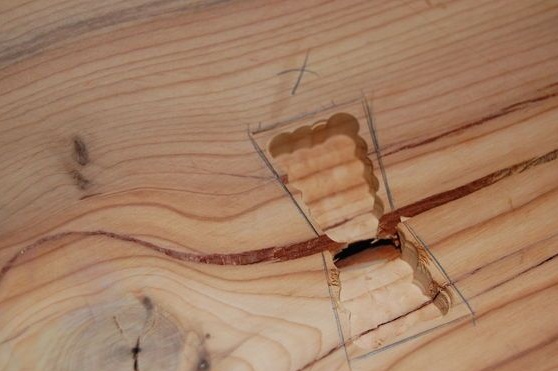
Further, in those places where the cracks pass, we cut out the grooves in the shape of the cut-out “jumpers”. Well, then we apply epoxy glue to the lintels and drive it into place with light hammer blows. When the glue dries, the entire structure will be securely connected. Sand these places to a close.
Instead of epoxy glue, you can also use special wood putty to eliminate defects. Or you can make a putty of PVA glue by mixing it with small wood chips.
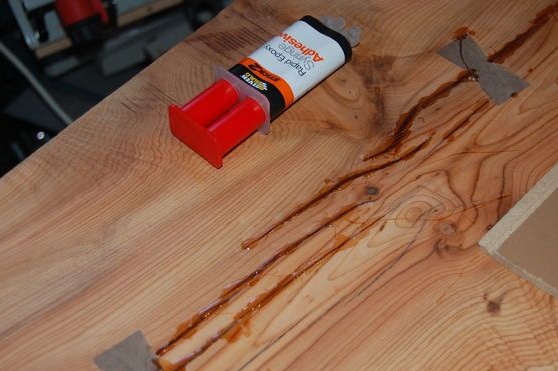
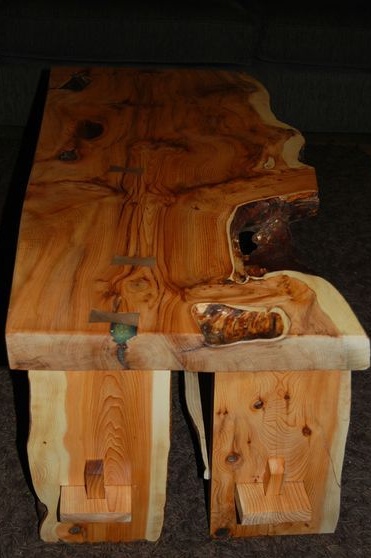
Now there is one more step left; we need to eliminate other defects. Mix epoxy with hardener and fill the gaps. This will further strengthen the countertop, as well as remove cracks. As for knots, rotten areas and other defects, then this is also all perfectly "treated" with epoxy.
When all repair work is complete, sand the entire surface of the countertop. You need to make it absolutely flat and smooth. It is most convenient to carry out such work with an orbital sander or a manual belt sander. But you can do everything by hand, fixing the paper on a stick. When grinding, always remember that the plane of the countertops should be completely flat.
For initial processing, the author uses sandpaper with a grain size of 80, then switches to smaller, 120 grit. At the end, paper is used for 180, 240, as well as 320 units.
Step Three Make shelves
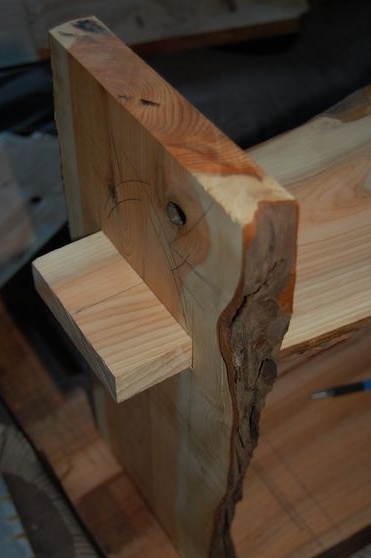
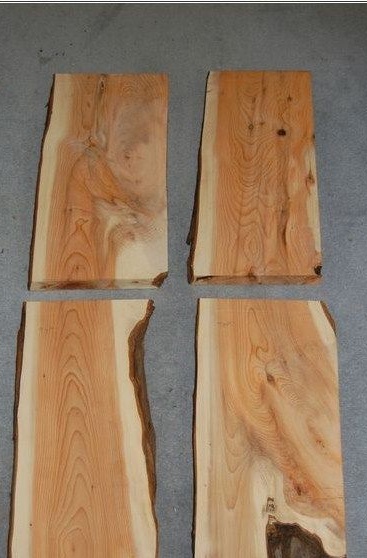
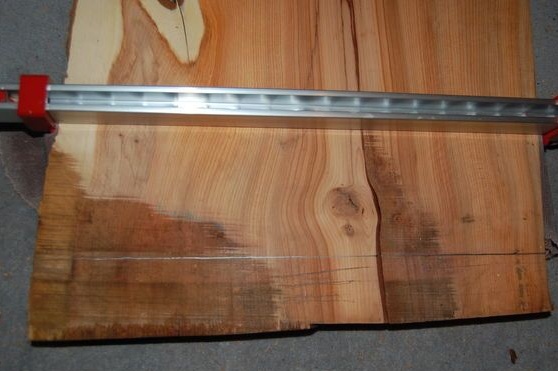
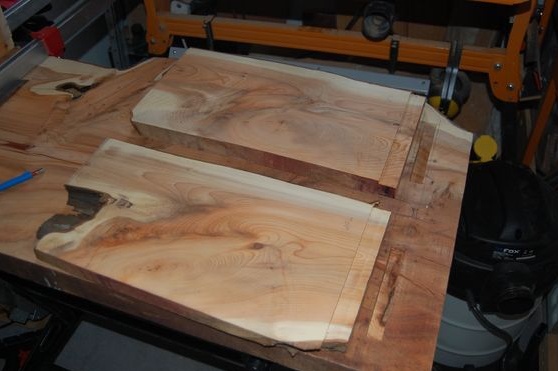
For the manufacture of shelves you will need two unedged boards. We cut them to the desired size, and then grind, eliminate defects and so on. Shelves are attached very simply, it is necessary to make “spikes” on them, which then go into the grooves in the legs. Here accuracy is extremely important, since the edges of the boards have irregularities. We use a pencil, a ruler and carefully mark out everything.
Further, the author cuts off excess from the ends of the boards, thereby forming spikes.
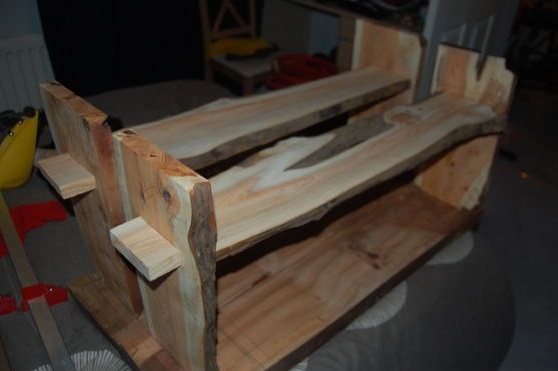
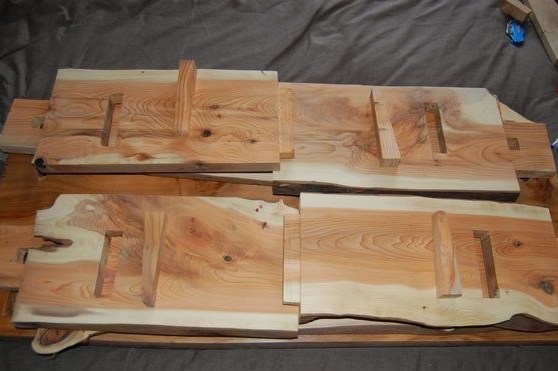
As a result, after assembly, you should get two supports with shelves.
Step Four Fasteners
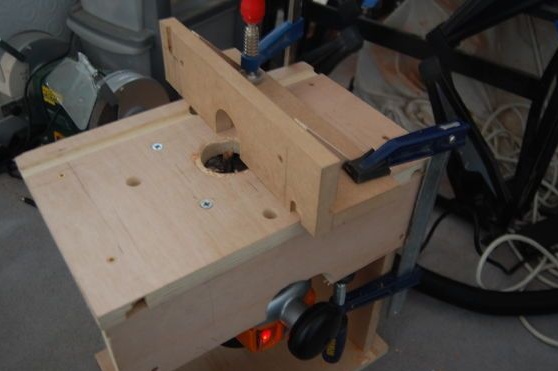
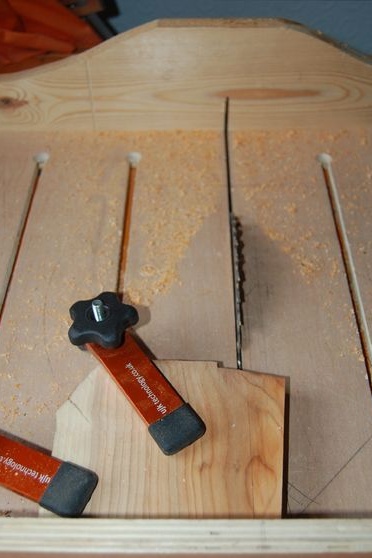
To ensure that the shelves are firmly held on the legs and held the legs themselves, the author came up with special mounts. To do this, cut out square holes in the "spikes" of the shelves. Then pegs of a similar shape are inserted into them. But it is not necessary to make them square, it can also be made round.
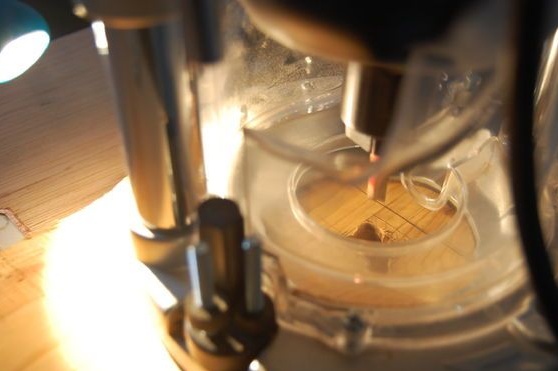
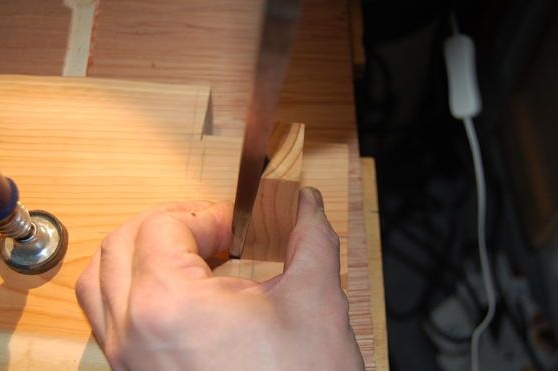
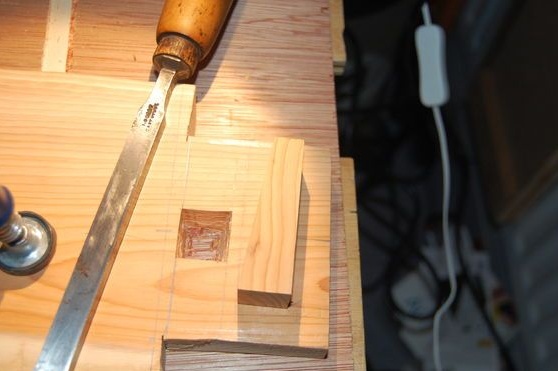
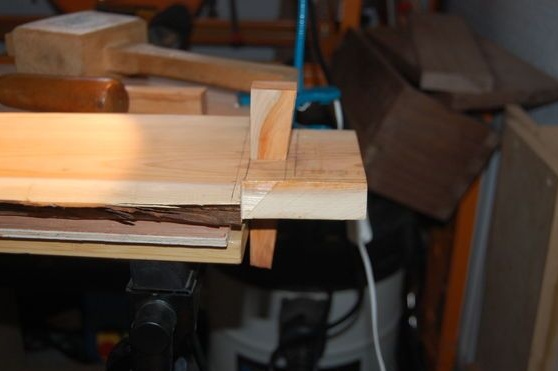
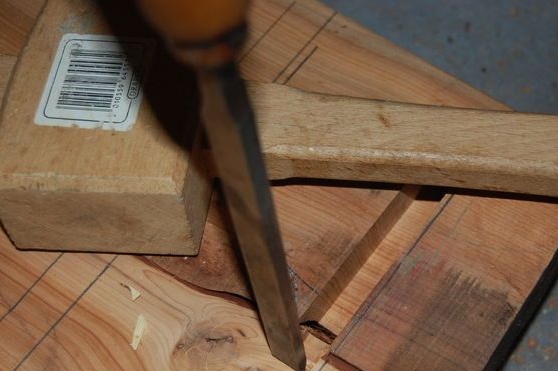
First, we drill holes in the boards of a round shape, that is, a conventional drill or a milling cutter. Next, we change the shape at our discretion, using a chisel. As for the pegs, they can be cut on a circular saw from the remaining pieces of boards. File holes.
Step Five Getting started with countertops
Before assembly, bring all components to an ideal. Wood needs to be properly treated with sandpaper, it should become completely smooth. Further, the tree must be protected from moisture, the simplest option is the use of oil. Today there is a huge selection of oils, different in color, price and quality. We apply several layers until the oil is no longer absorbed.
When you apply the first coat and it dries, sand the surface with fine sandpaper. Then apply the next and so on until the victory. At the end, the surface can be polished with beeswax. Oil will preserve the natural appearance of wood.
The author's wood was poorly soaked, and when one of the family members spilled water on the table, the wood reacted to this event. For reliable protection of the tree, it is recommended to use several layers of varnish, so moisture will definitely not penetrate the tree.
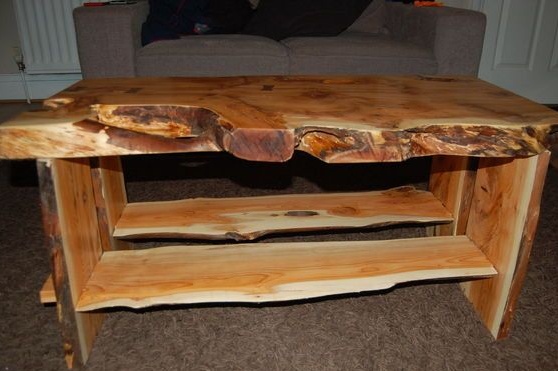
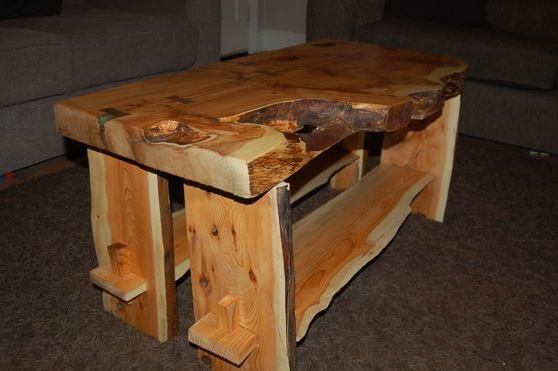
That's all, now the table can be assembled.As I understand it, the author does not use glue, screws, or any other fixing devices for assembly. Thanks to this approach, the table is very easy and quick to disassemble. However, if you have children or animals in your house, the design may not be reliable and not even safe, because if such a heavy countertop falls on your leg, it will hurt.
First, take the legs and insert the shelves into them. On the other hand, we hammer in the made pegs. As a result, you will get two supports. Install on top of them your massive wood stove top and the table is ready. For reliability, secure the countertop from the inside using the mounting brackets and wood screws. You can also use glue.
That's all, the table is ready, enjoyable use!