

A fairly simple and easy to manufacture, automatic feeder for small birds (sparrows, tits, bullfinches, etc.) with removable cassettes from small plastic bottles into which the feed is poured.
As you know, many birds, especially small ones (sparrows, tits, bullfinches, and many others) do not fly south for the winter, but remain wintering at home in their habitats. However, they cannot feed themselves and therefore are in dire need of human help.
And indeed, people from ancient times fed birds in winter. Moreover, I must say that this help is by no means disinterested. After all, if, using winter feeding, attract birds to their summer house or garden plot, then they will willingly visit it in the summer, and therefore destroy a huge amount of harmful insects that appear in the summer in our gardens.
Moreover, this is true not only for summer cottages and household plots, but also for large cities where birds exterminating insects contribute to the conservation of trees, shrubs and other greenery, which are very important in urban conditions.
That is why, many people now make bird feeders of various designs and hang them in the yards of their houses or on nearby trees.
So I decided to make a small feeder for small birds. However, here I ran into one problem. The fact is that in a small feeder, enough feed is placed so that birds can peck it literally in a day, or even in half a day. Therefore, in such a feeder, you will have to constantly pour new portions of food, which is not always convenient.
On the other hand, if you make a large feeder and immediately pour large portions of food there, there is no guarantee that the birds will eat this food completely, because they can simply trample and spread part of the food or it can be covered with snow.
In the end, I decided to make an automatic feeder, approximately the same as they do for home birds. That is, the feed from such a feeder will spill out gradually, as the birds peck it. In addition, I decided to make the feed tank itself removable so that when it is empty, it can be quickly replaced with a new one, with feed pre-poured, as a kind of removable cassette.
To make such a feeder, I need the following accessories:
Materials:
• A wooden board 2 cm thick, 12 cm wide and about a meter long.
• A piece of hardboard (fiberboard), a width of 10-12 cm, and a length of 20 cm.
• Four wood screws, two 4x70 mm in size, and two 4x40 mm in size.
• Two screws with a 4x15 mm press washer.
• Small cloves.
• A plastic bottle with a capacity of 2 liters and several plastic bottles with a capacity of 1 liter with a wide neck.
Instruments:
• Drawing and measuring tools (pencil, tape measure and square).
• Awl.
• Electric jigsaw with a file for a figured cut.
• Electric drill / screwdriver.
• Drill for metal with a diameter of 4 mm.
• Spherical wood milling cutter.
• A feather drill on a tree with a diameter of 25 mm.
• Screwdriver bit PH2, for screwdriving.
• Phillips screwdriver PH2.
• Hammer.
• Clerical or construction knife and scissors.
• Sandpaper.

The order of manufacture of the feeders.
First, we will make the wooden part of the feeder, which will consist of two parts: the base and the shelf for the feed. The base of the feeder will also serve as a canopy, that is, it can be hung on a vertical wall, say a house or a barn, and in the spring it will be easy to remove. For the wooden part of the feeder, you can use not very high-quality boards (croaker, waste, etc.).
Stage 1. Making the base of the feeder.
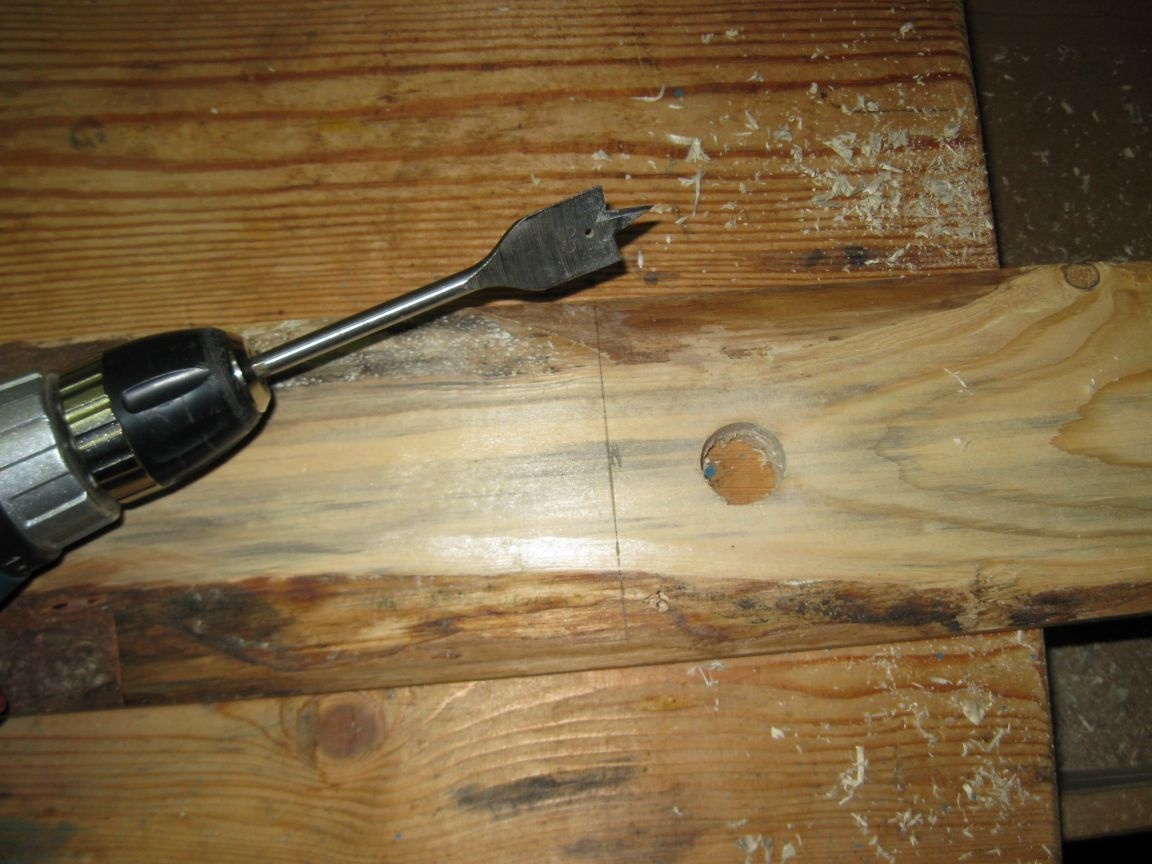
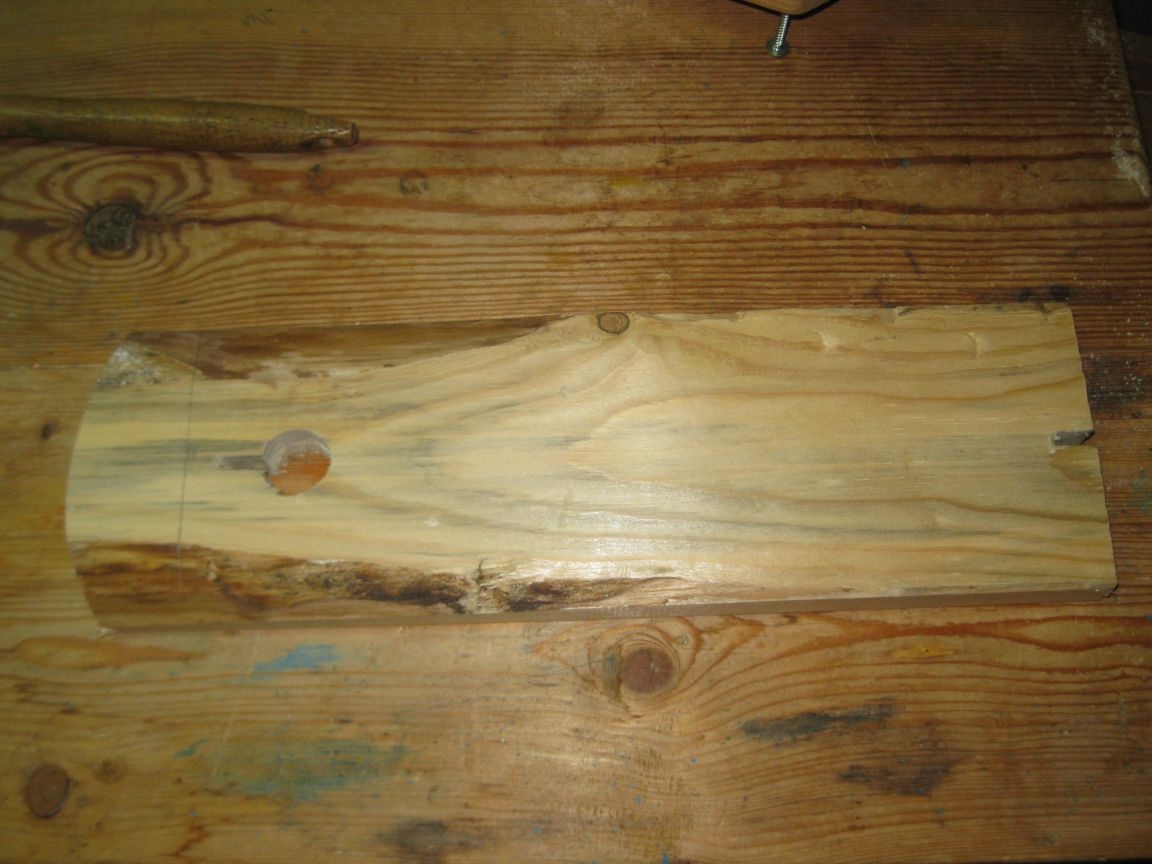
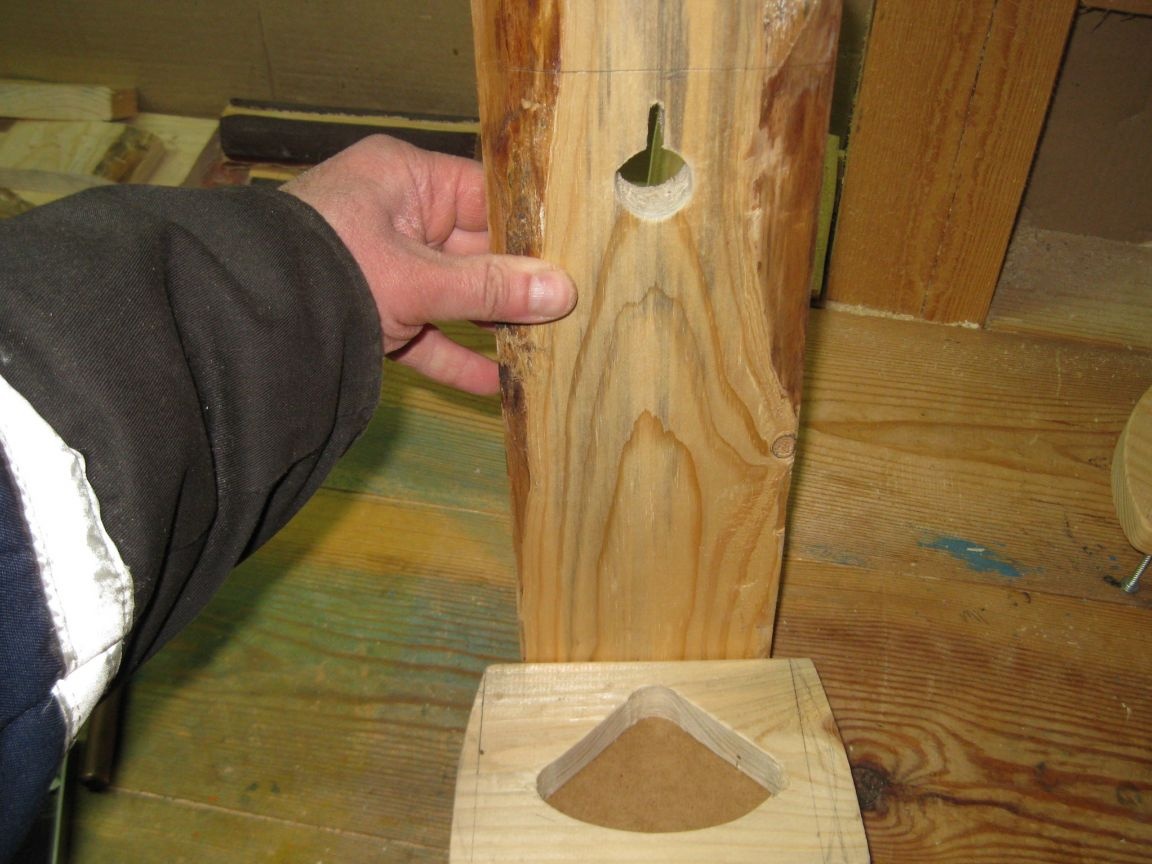
Step 1. Drilling a large hole.
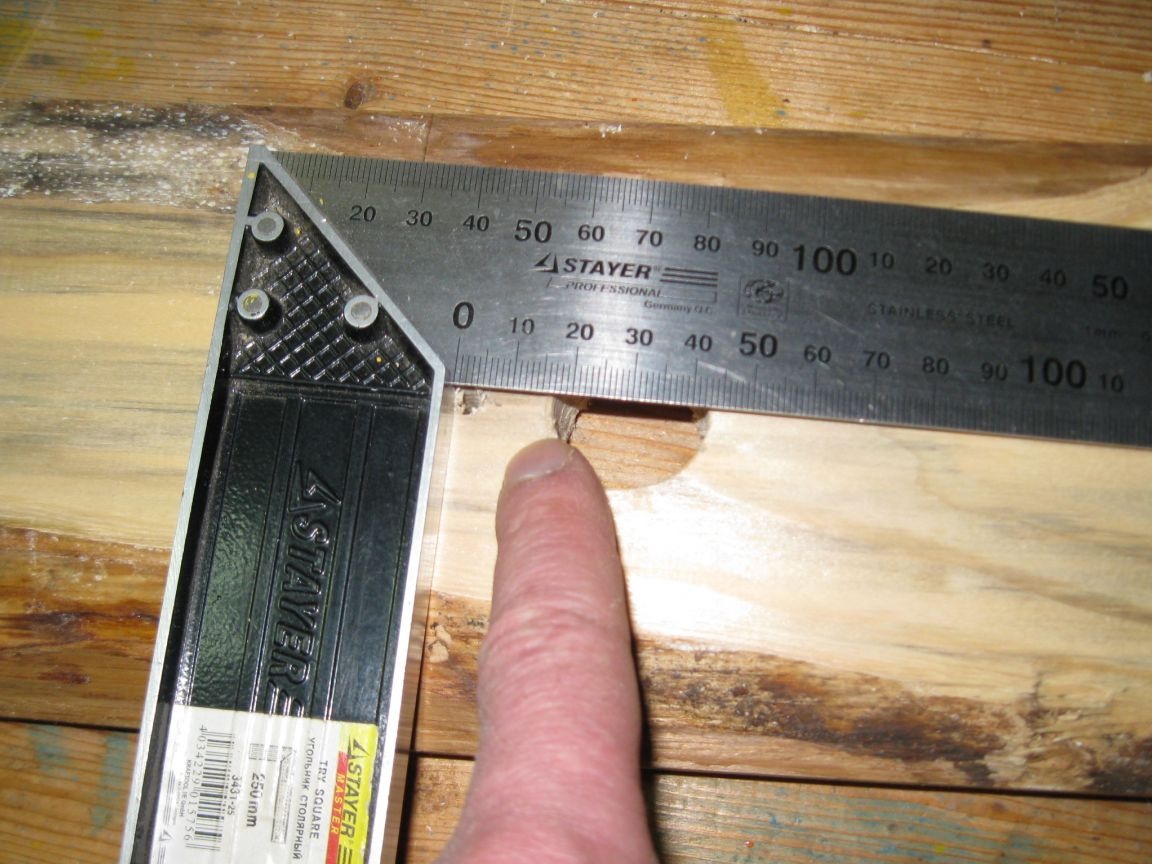
Having retreated from the end of the plank by about 30-35 cm, using a feather drill on a tree, drill a hole in the center with a diameter of 25 mm.
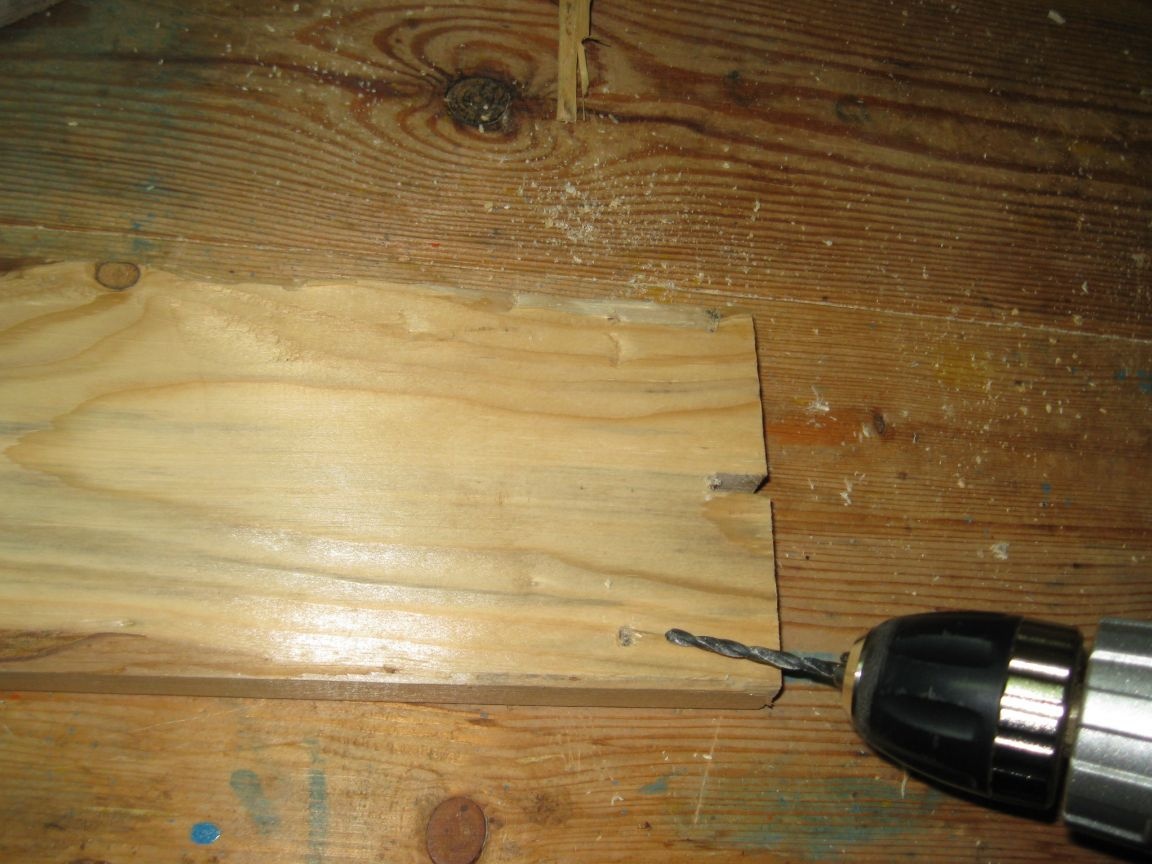
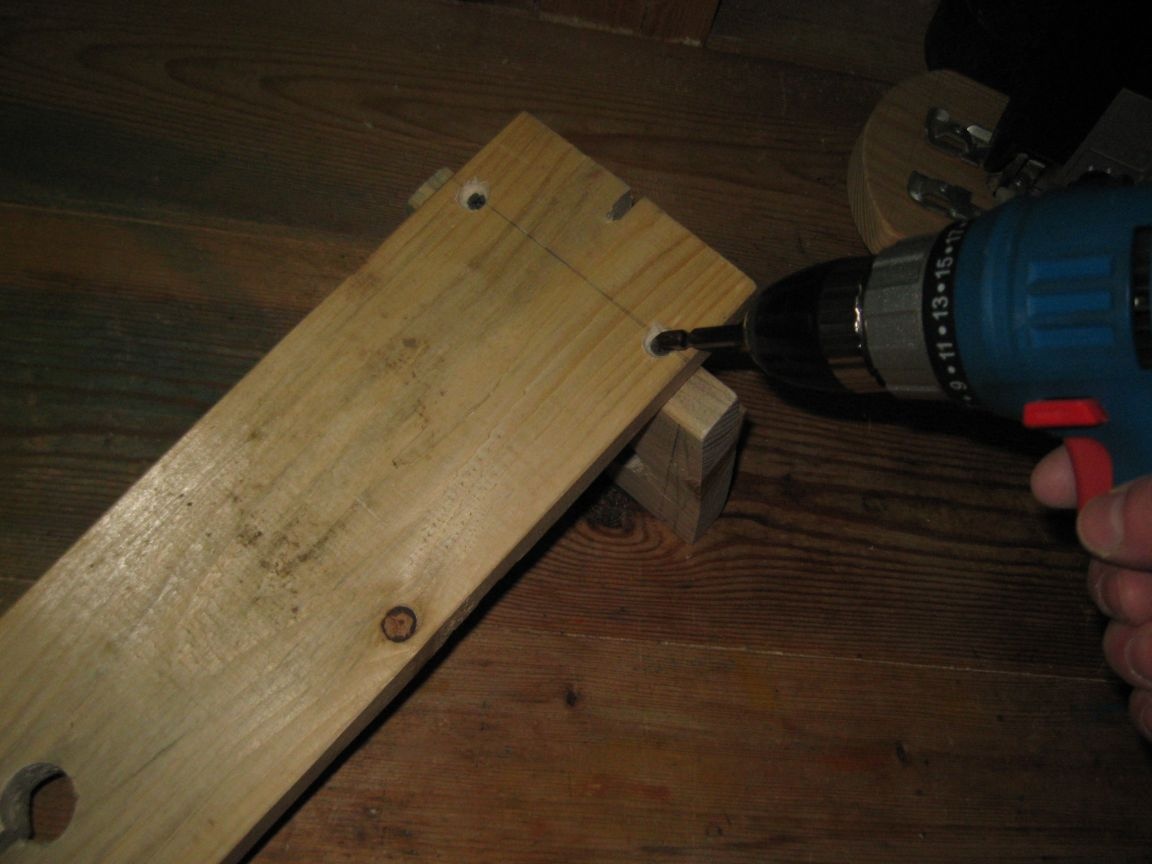
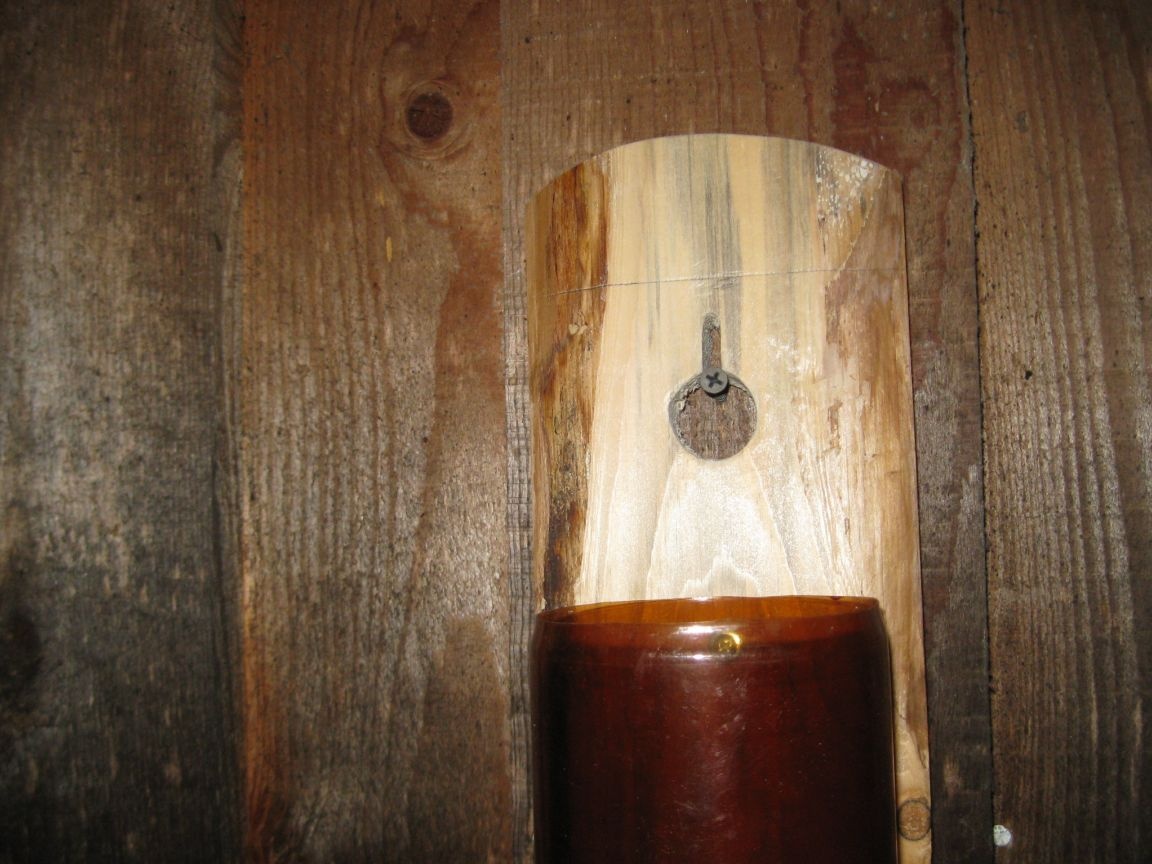
Step 2. Drilling holes for screws for hanging the feeder.
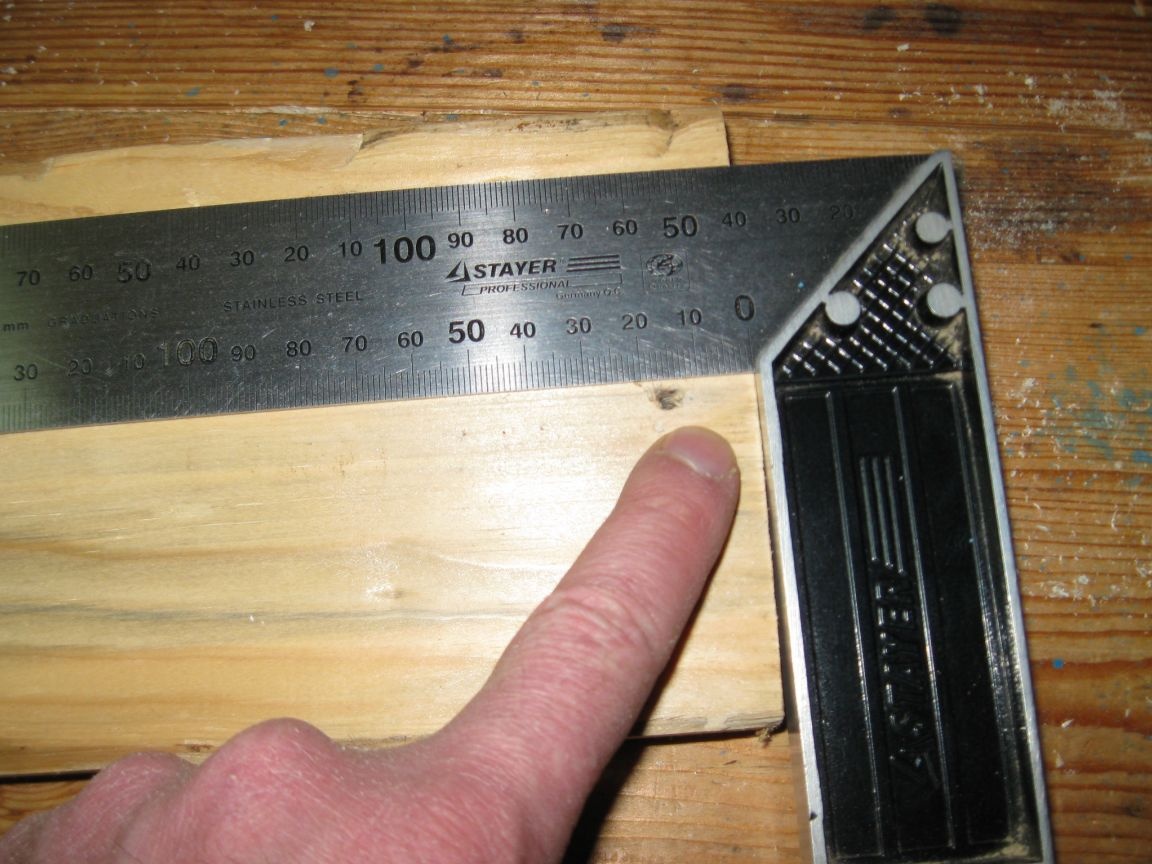
Having retreated approximately 10-12 mm, from the upper edge of the drilled hole, drill a 4 mm diameter hole in the center.
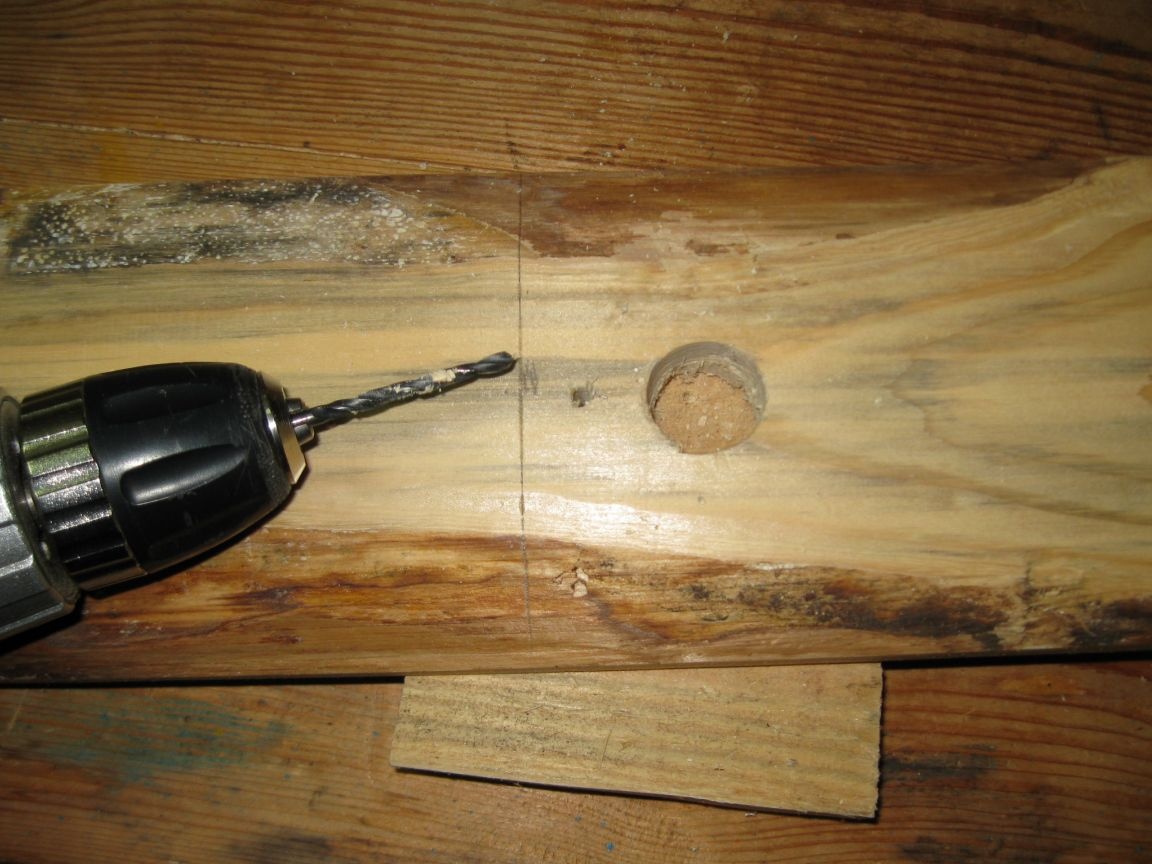
Exactly the same hole, we drill at the bottom edge of the board.
In this case, the distances from the centers of these holes to the edge of the large hole and to the end of the board should be the same.
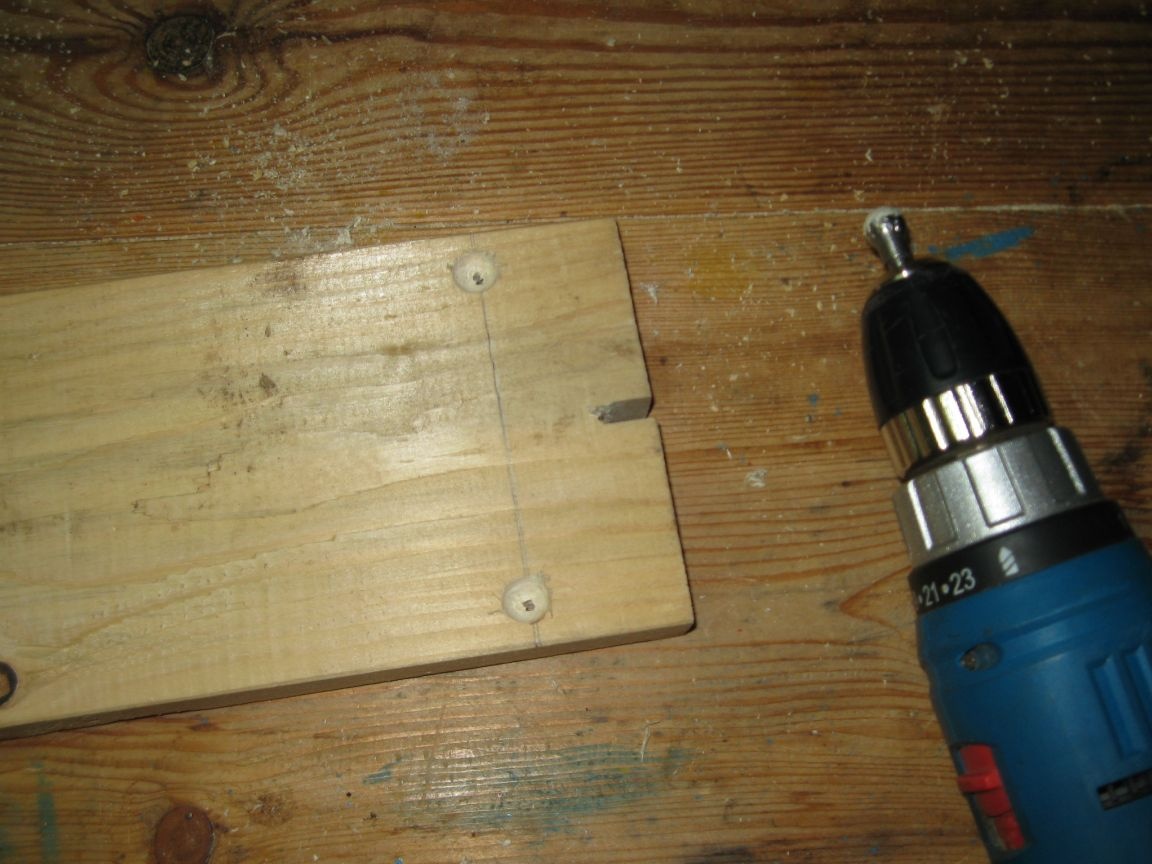
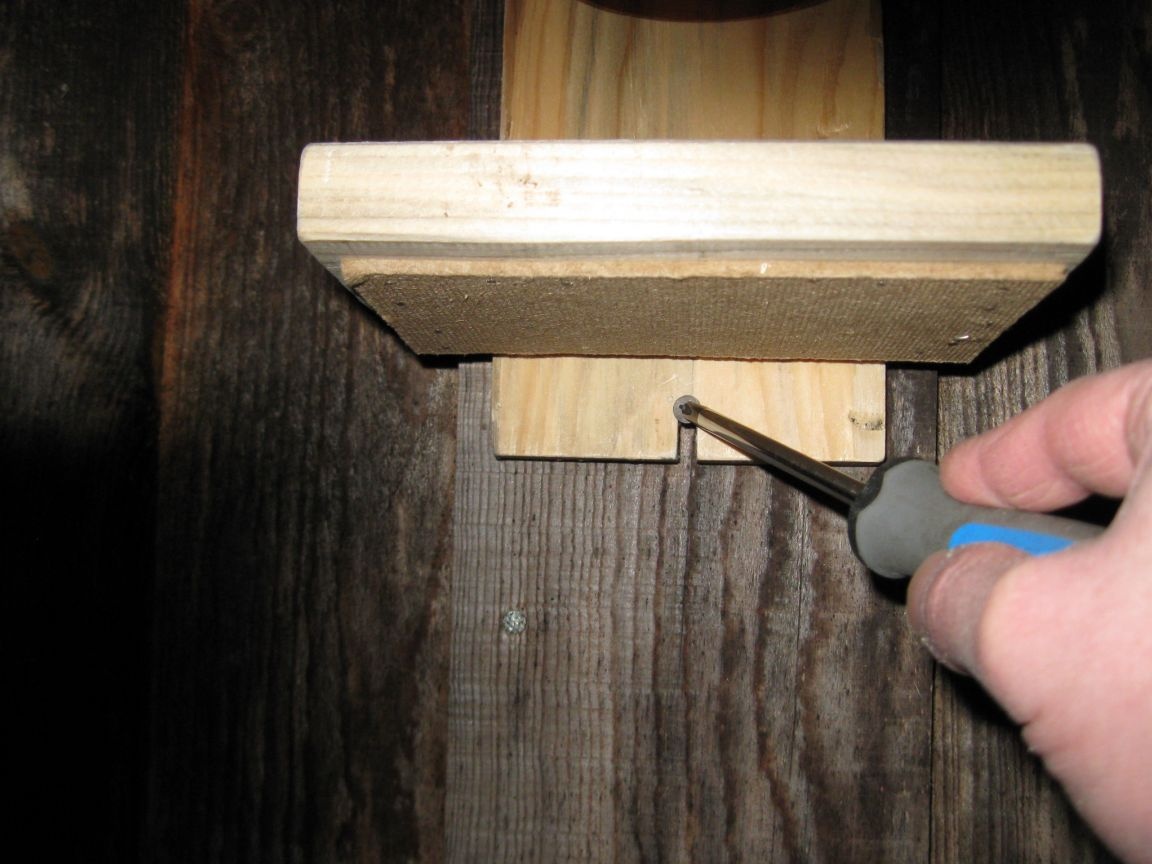
Step 3. Cutting out the slots.
Using a jigsaw, we cut just such a slot under the screw, connecting the large and small holes.
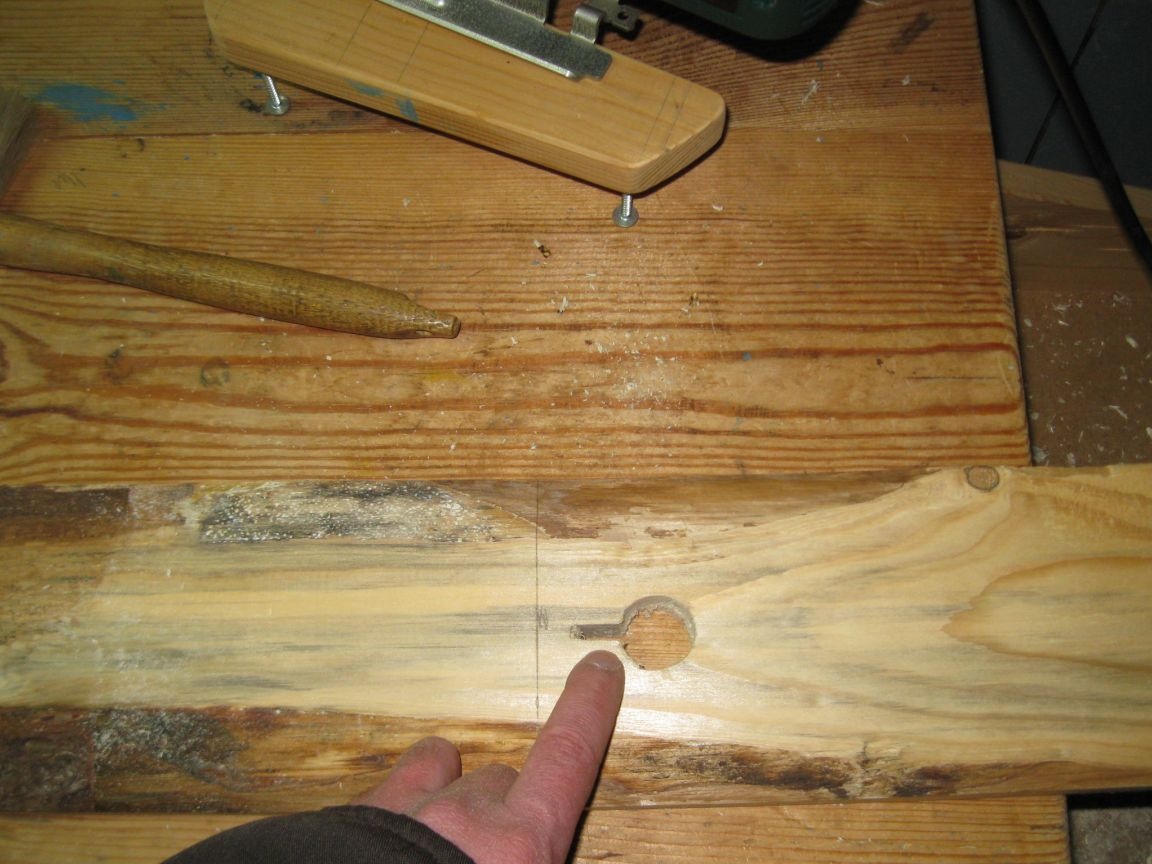
We make the same slot from the bottom, from the end of the board to the bottom hole.
So our canopies are ready. It remains only to saw off the base.
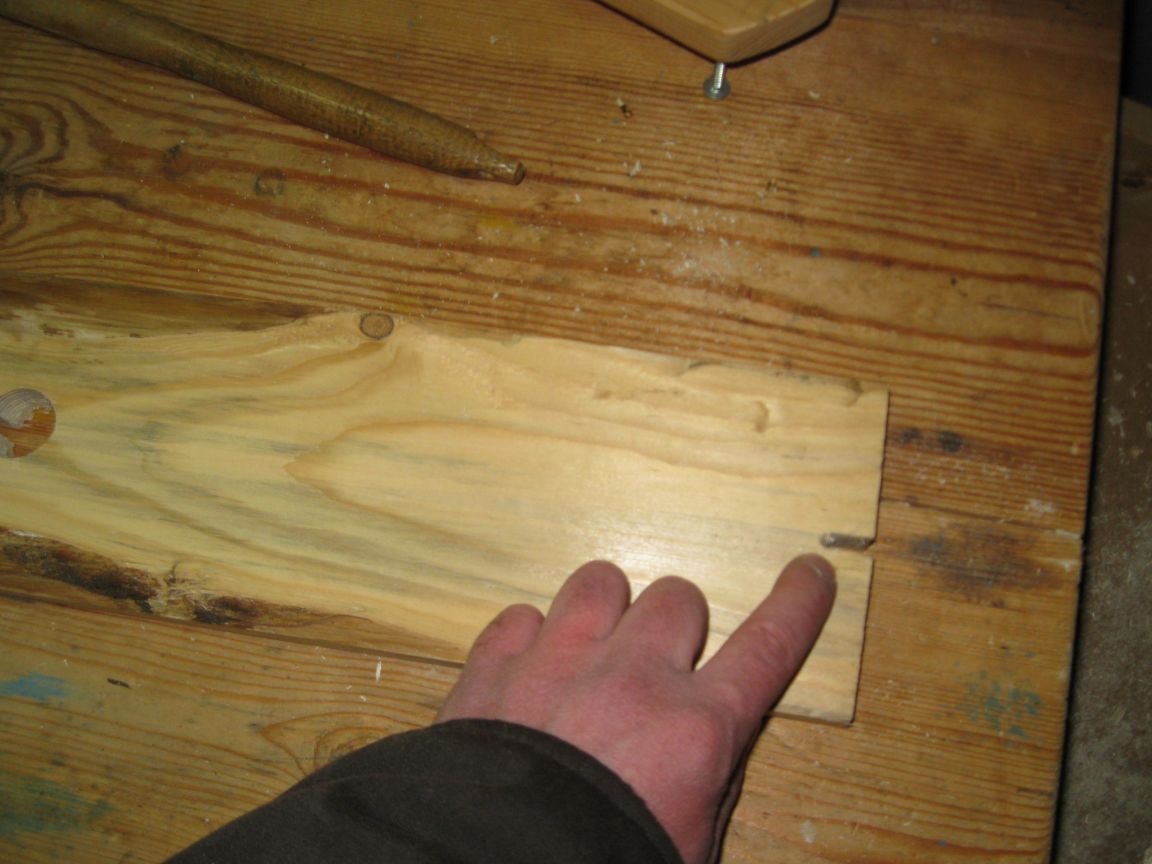
Step 4. Sawing off the base of the feeder.
Using a jigsaw, we finally saw off the board, which will serve as the basis of the feeder.
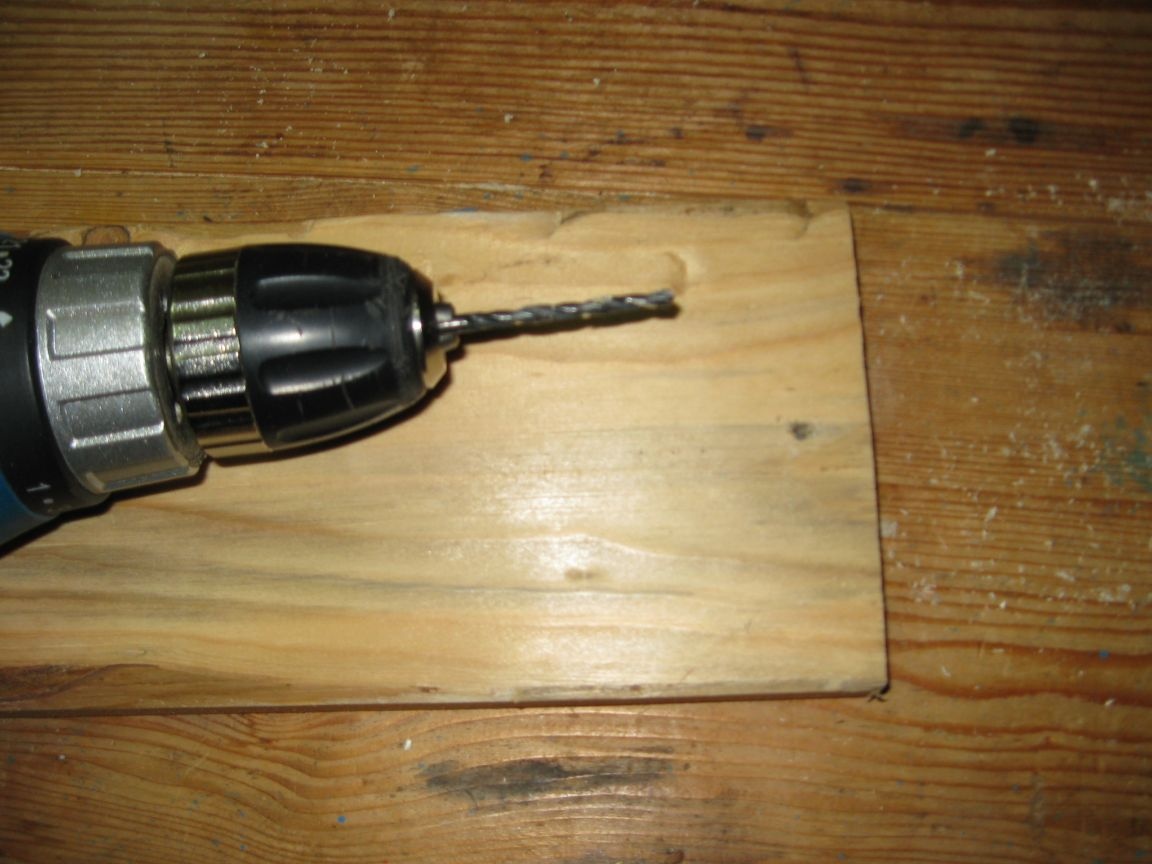
Step 5. Drilling and countersinking screw holes for screwing the feed shelves.
In the lower part of our base, we drill two holes at the edges with a diameter of 4 mm, under the screws, for fastening the shelves for feed.
And then on the reverse side, countersink these holes for countersunk heads of screws using a spherical milling cutter on a tree.
Stage 2. Making shelves for feed.
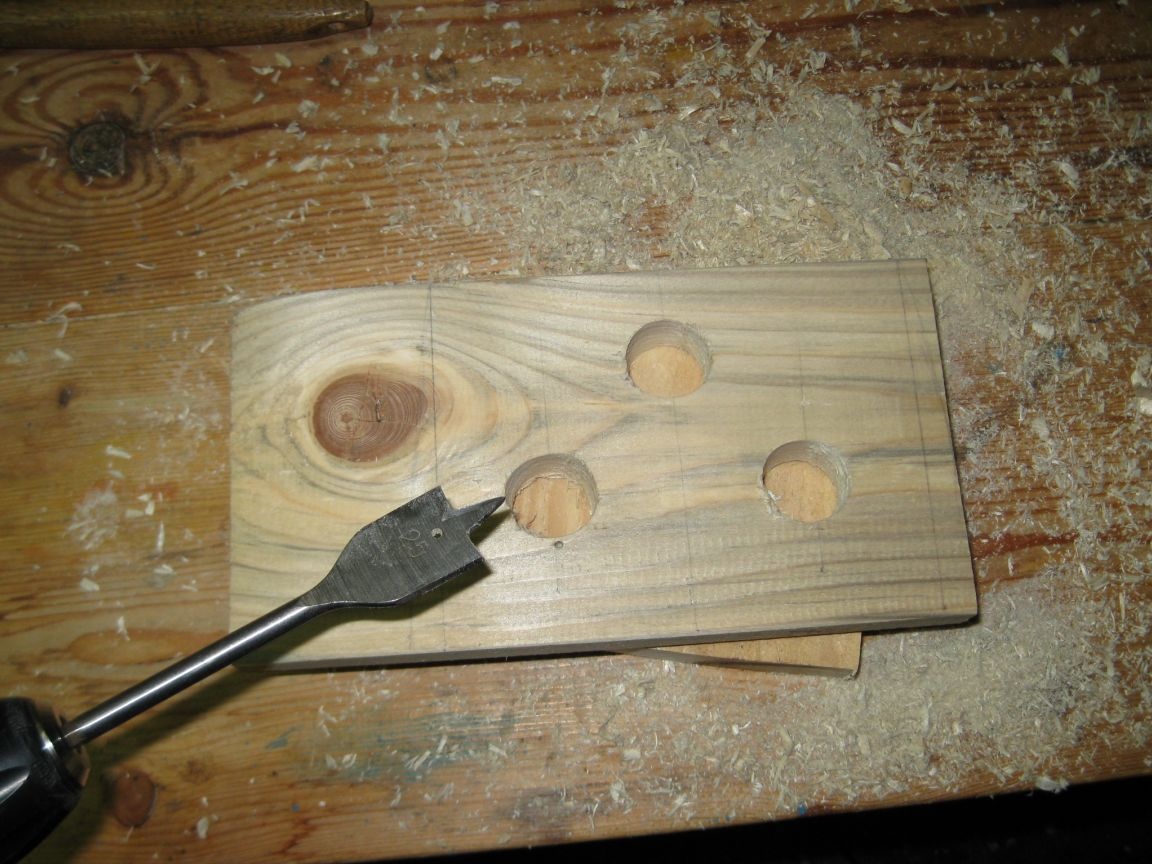
Step 1. Drilling holes in the workpiece.
We mark the plate, which will serve us as a blank for the lower shelf of the feeder, and drill three holes in it with a diameter of 25 mm.
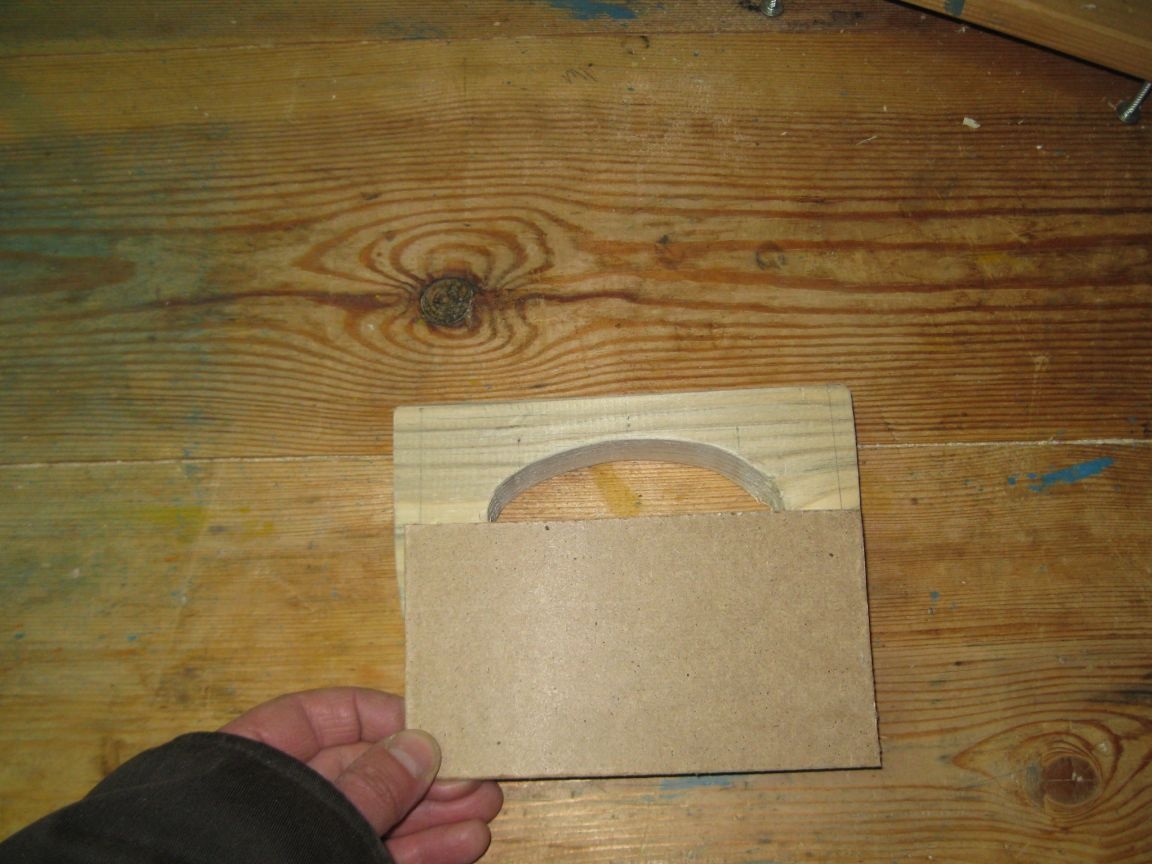
Step 2. Sawing a triangular slot.
Using an electric jigsaw, we cut through such previously drilled holes such a triangular slot.
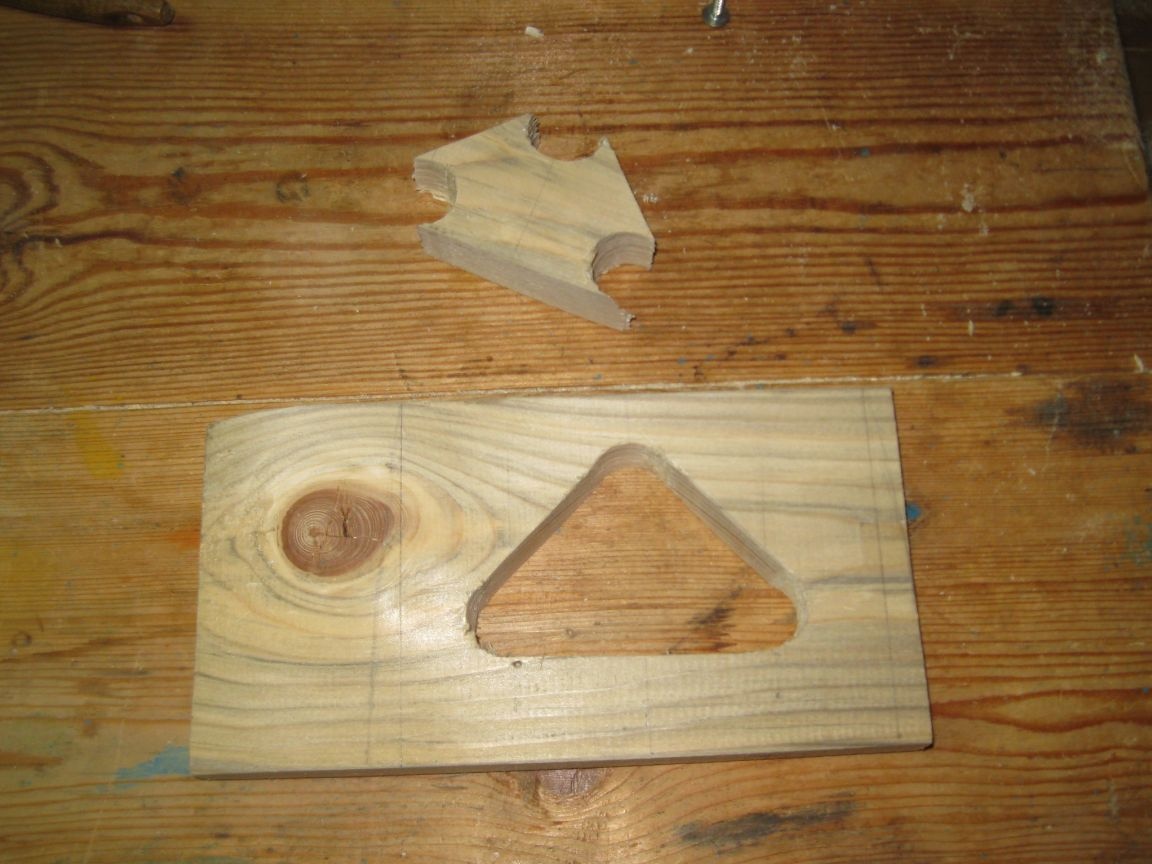
The front of this slot can be further rounded up like this.
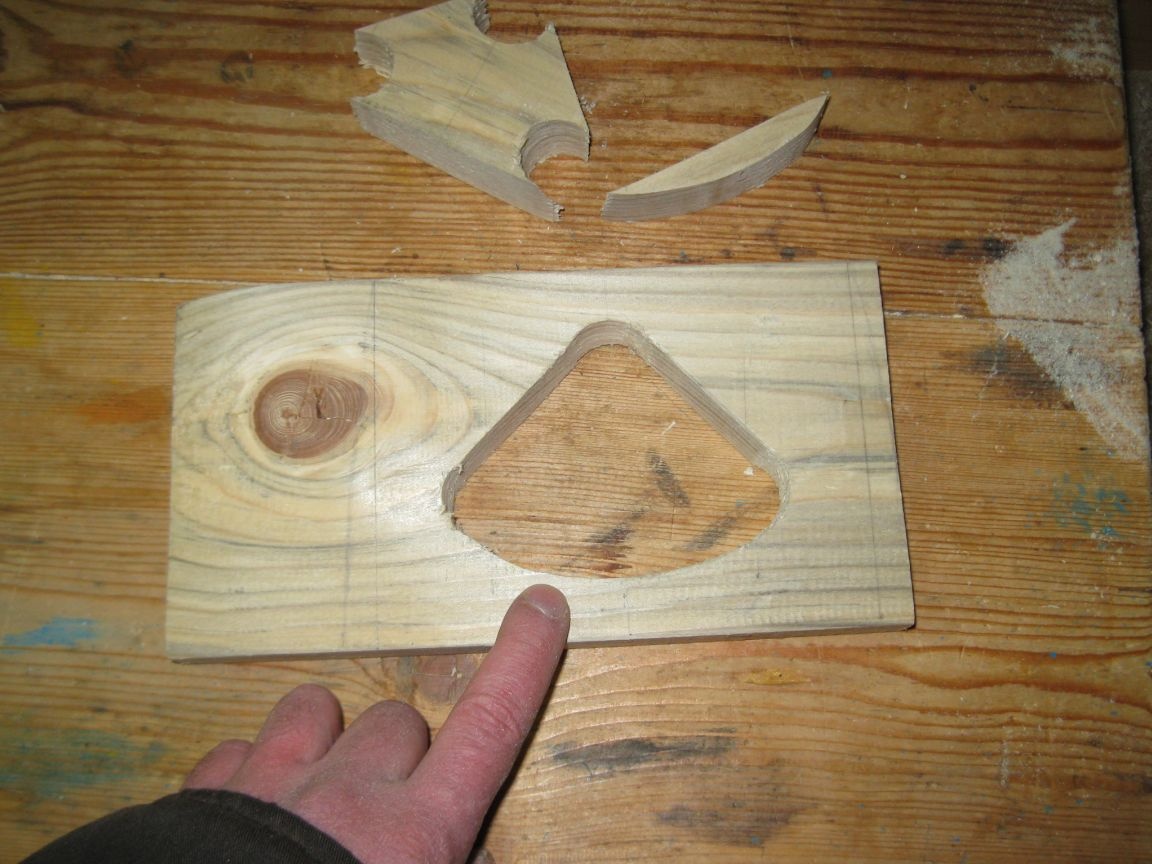
Step 3. Sawing off the feed shelf.
We finally saw off the feed shelf or, more precisely, saw off its excess parts from both sides.
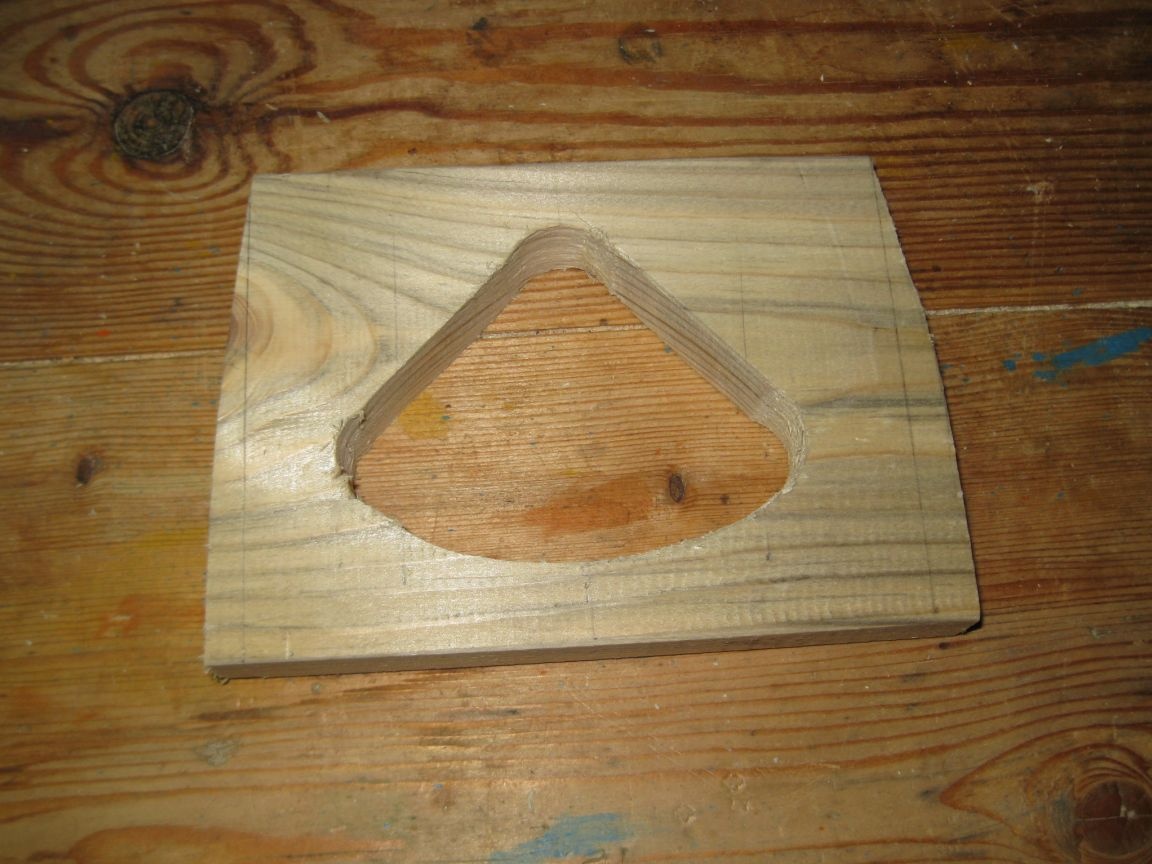
Step 4. Finishing of wooden parts.
We process the shelf for feed, and at the same time the base of the feeder with sandpaper.
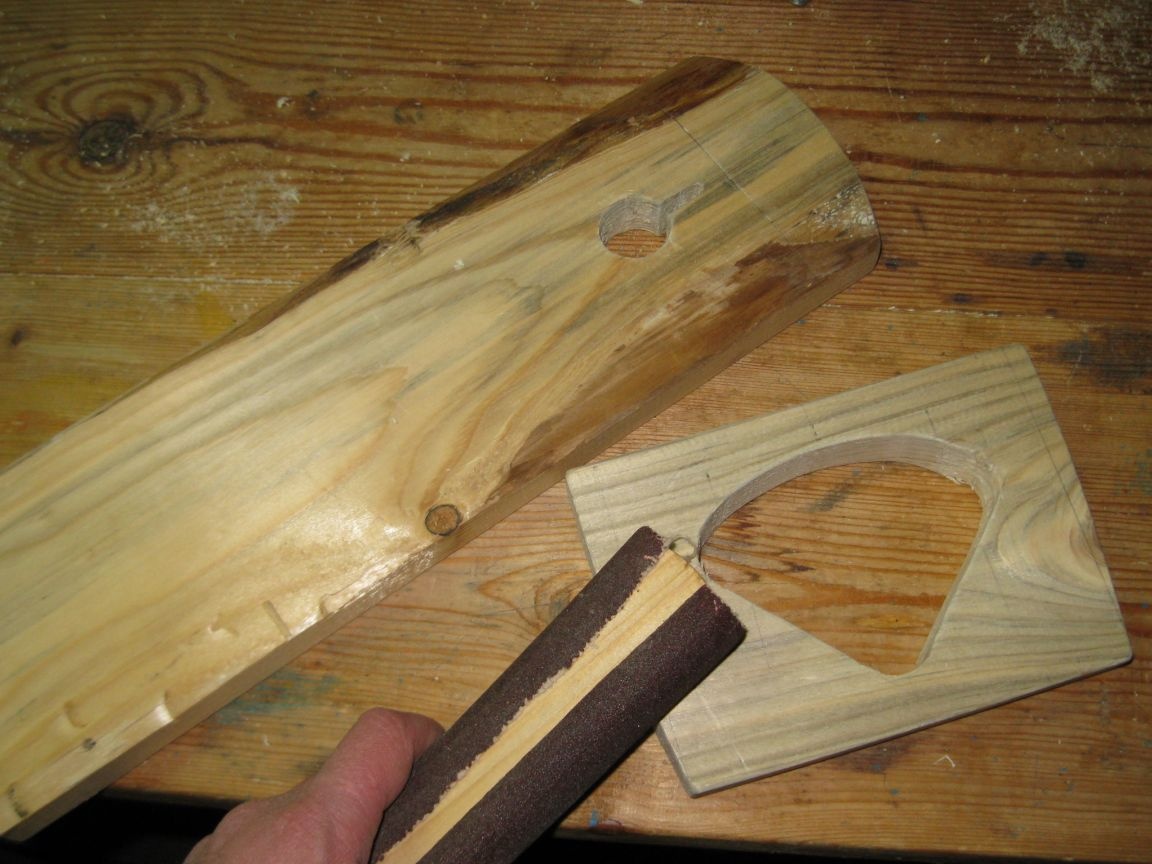
Step 5. Sawing the bottom of the feed shelf.
Using a jigsaw, we cut a rectangle from a piece of hardboard, which will serve as the bottom of the shelf for the feed.
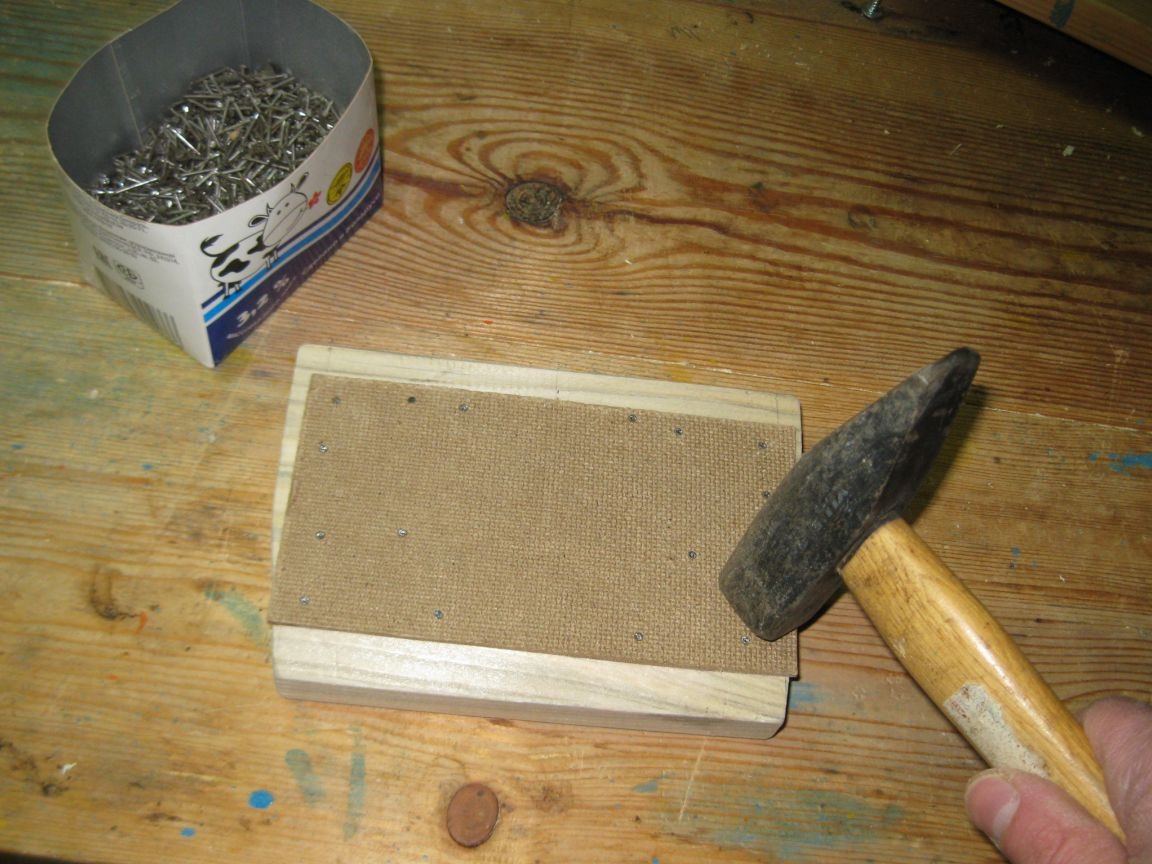
Step 6. Nailing the bottom to the shelf.
Using a hammer and small nails, nail the bottom to the feed shelf.
Stage 3. Assembling the wooden parts of the feeder.
Using long screws, fasten the feed shelf to the base of the feeder.
Stage 4. Production of holder for removable cartridges.
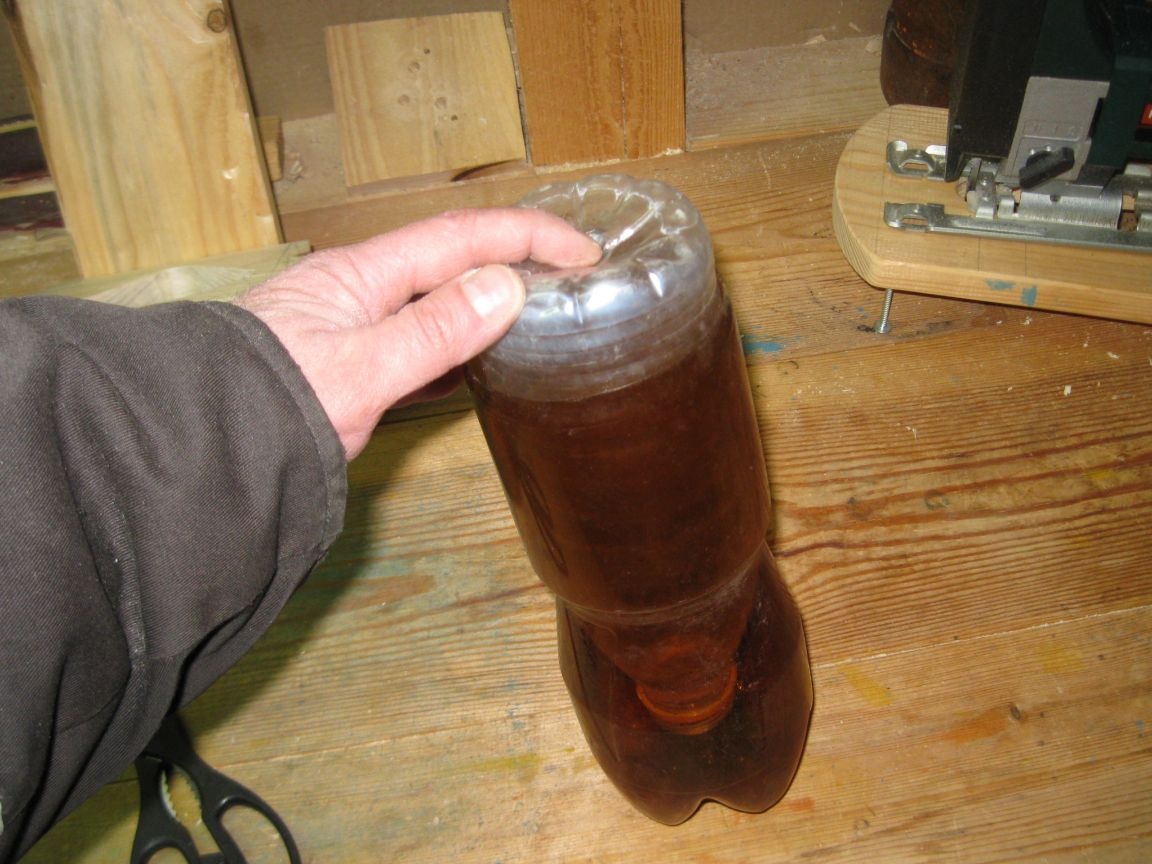
The simplest holder for interchangeable cartridges, which will serve us as liter plastic bottles with a wide neck, can be made from a plastic bottle with a capacity of 2 liters.
Therefore, we select a bottle so that it has some narrowing in the lower part, due to which, a liter bottle inserted into it will be held firmly.
Now we need to cut out this part of the bottle, which in fact will serve as our holder, and attach it to the base of the feeder.
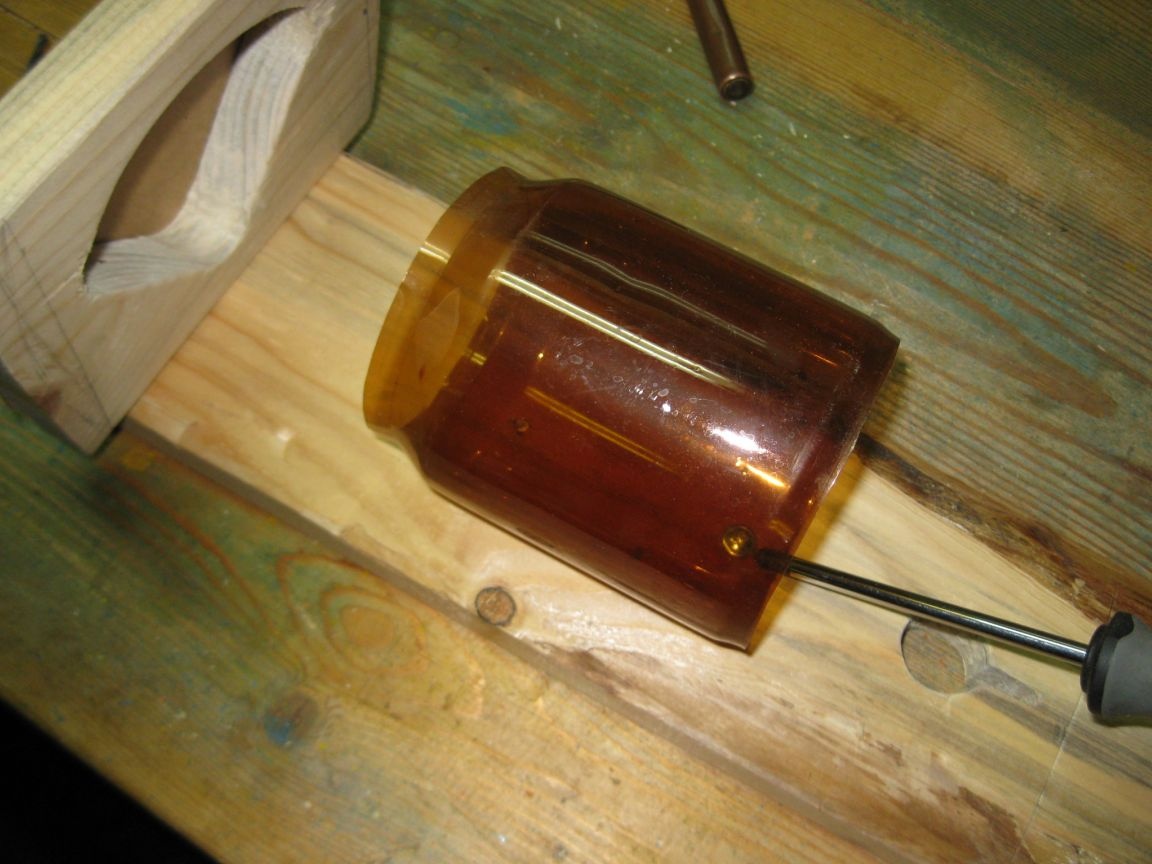
Step 1.Cutting the holder out of a plastic bottle.
Using a construction knife, cut the holder blank from a two-liter plastic bottle.
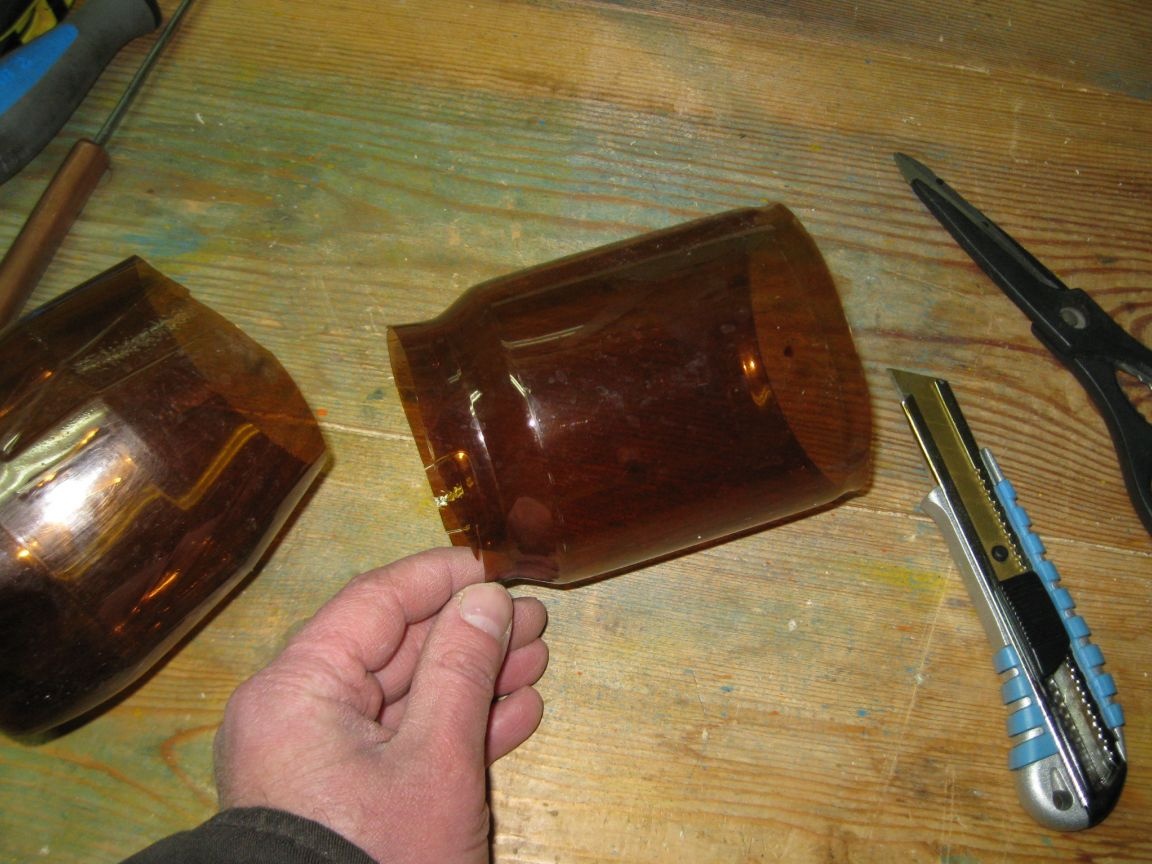
And then, trim its edges with scissors.
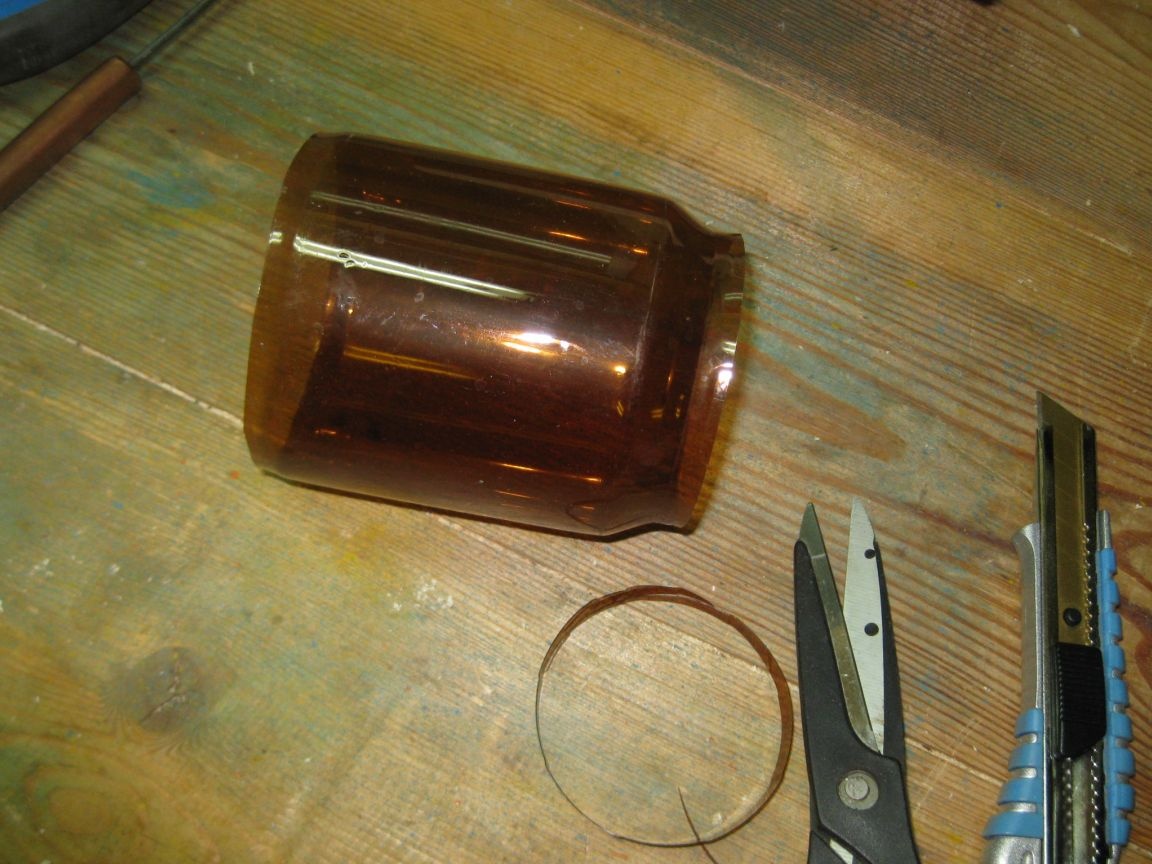
In this way, a replaceable cartridge from a liter bottle will be inserted into our holder.

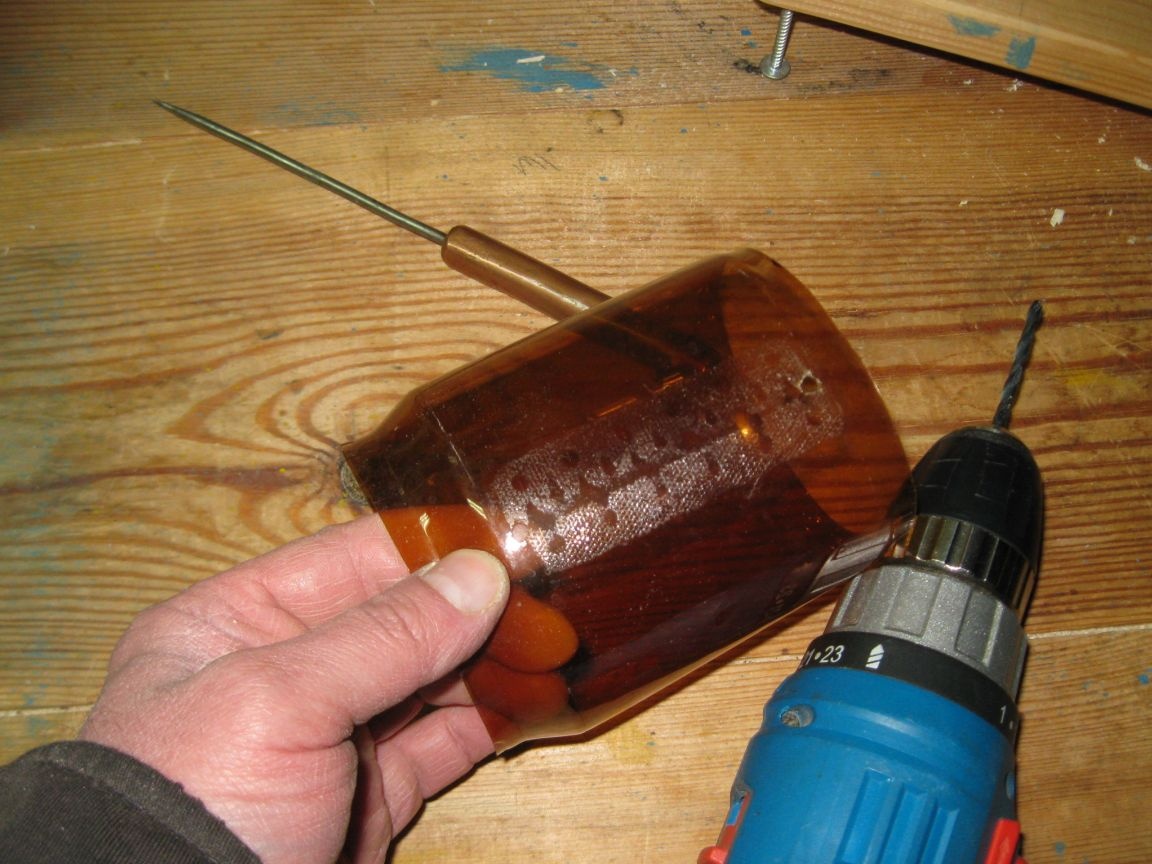
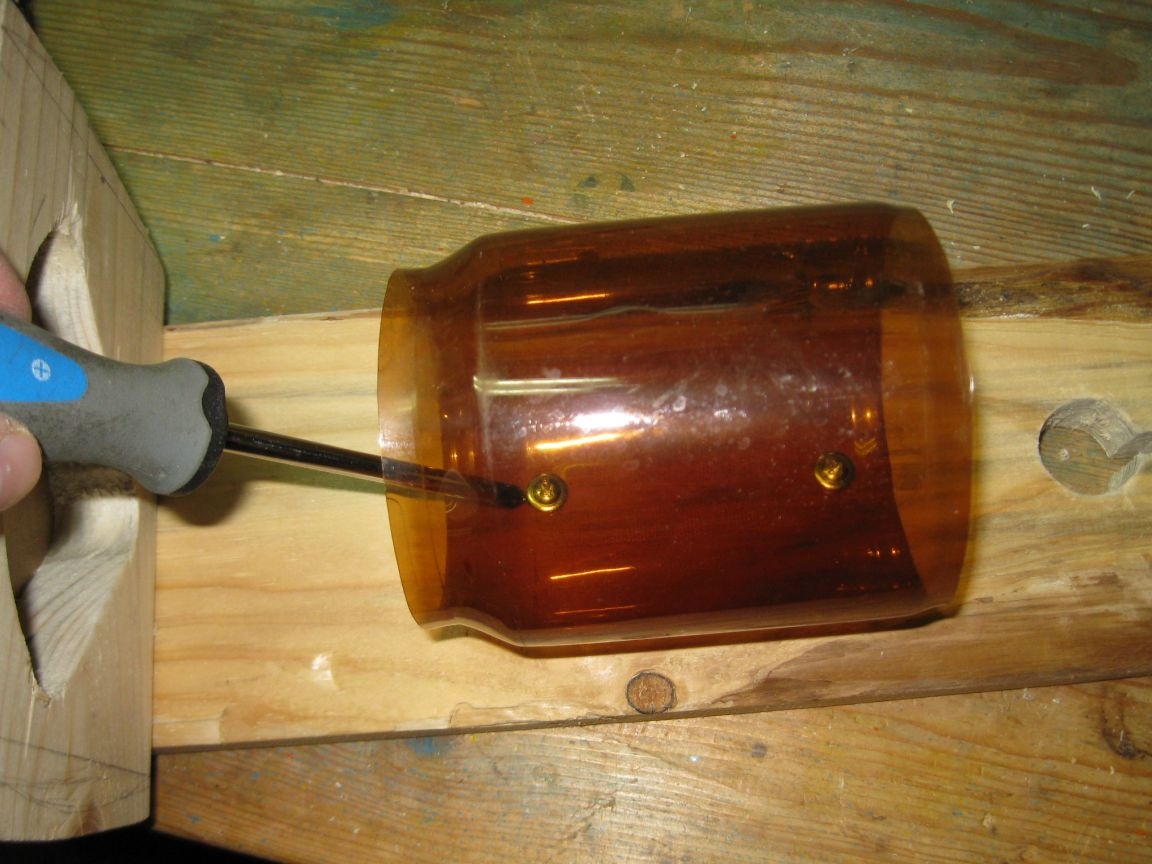
Step 2. Drilling holes in a plastic holder.
We drill in the top and bottom of our holder one hole with a diameter of 4 mm, for screws with a press washer.
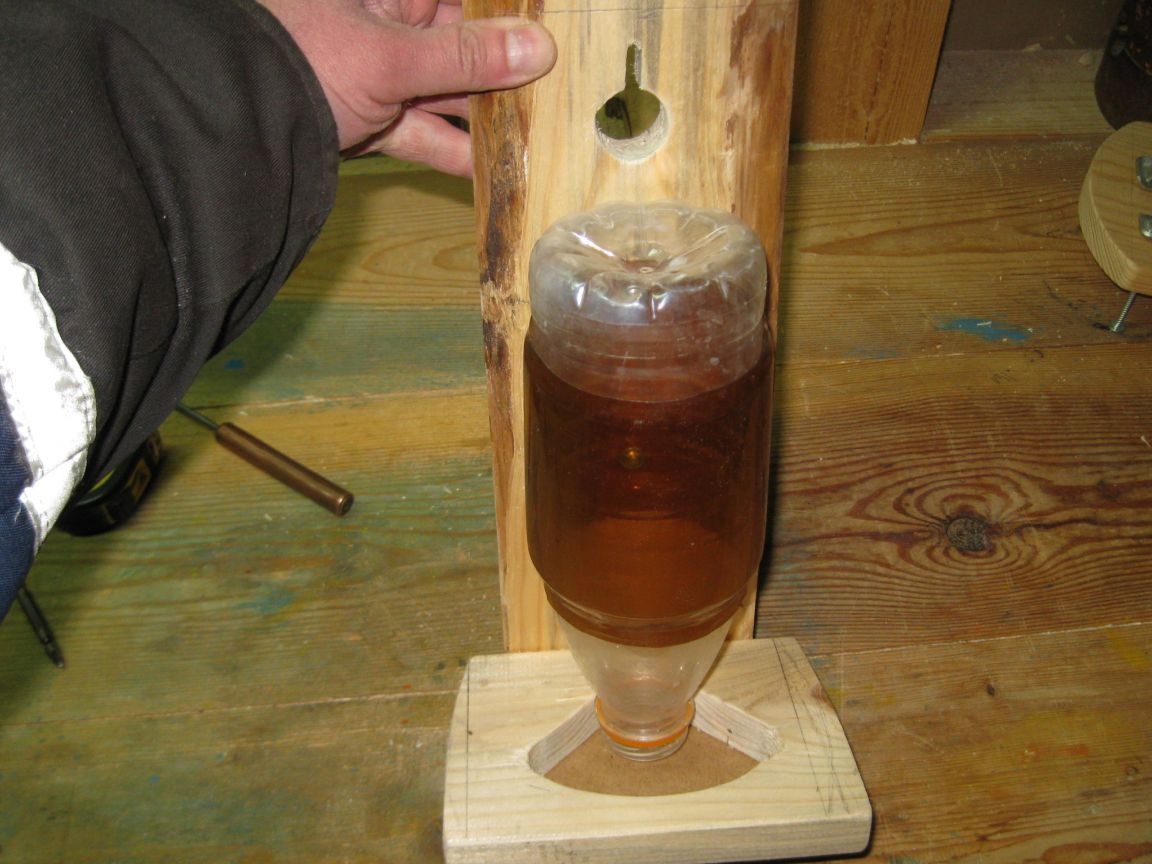
Step 3. Screw the holder to the base of the feeder.
Using a screwdriver, we fasten our holder to the vertical base of the feeder with two screws with a press washer.
It should be noted that the holder must be screwed at such a height that the neck section of the bottle inserted into it is 2-2.5 cm higher than the bottom of the feed shelf.
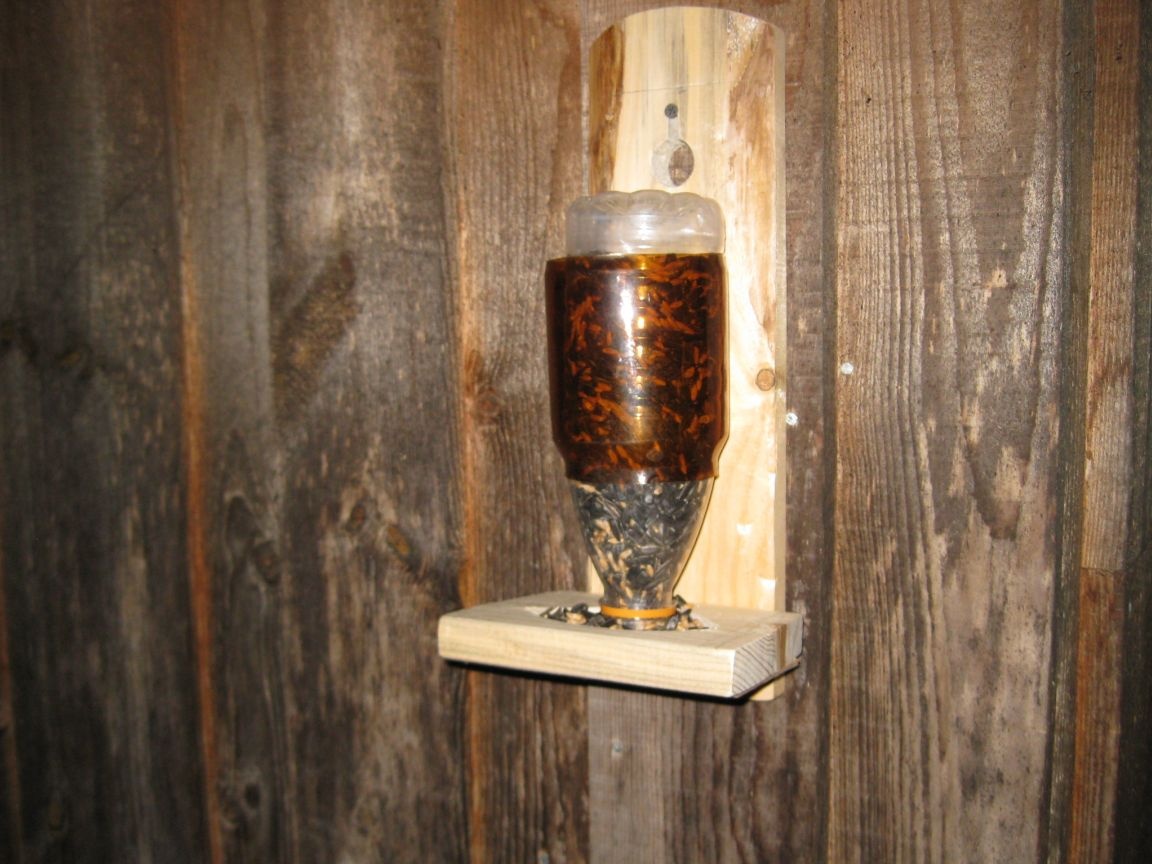
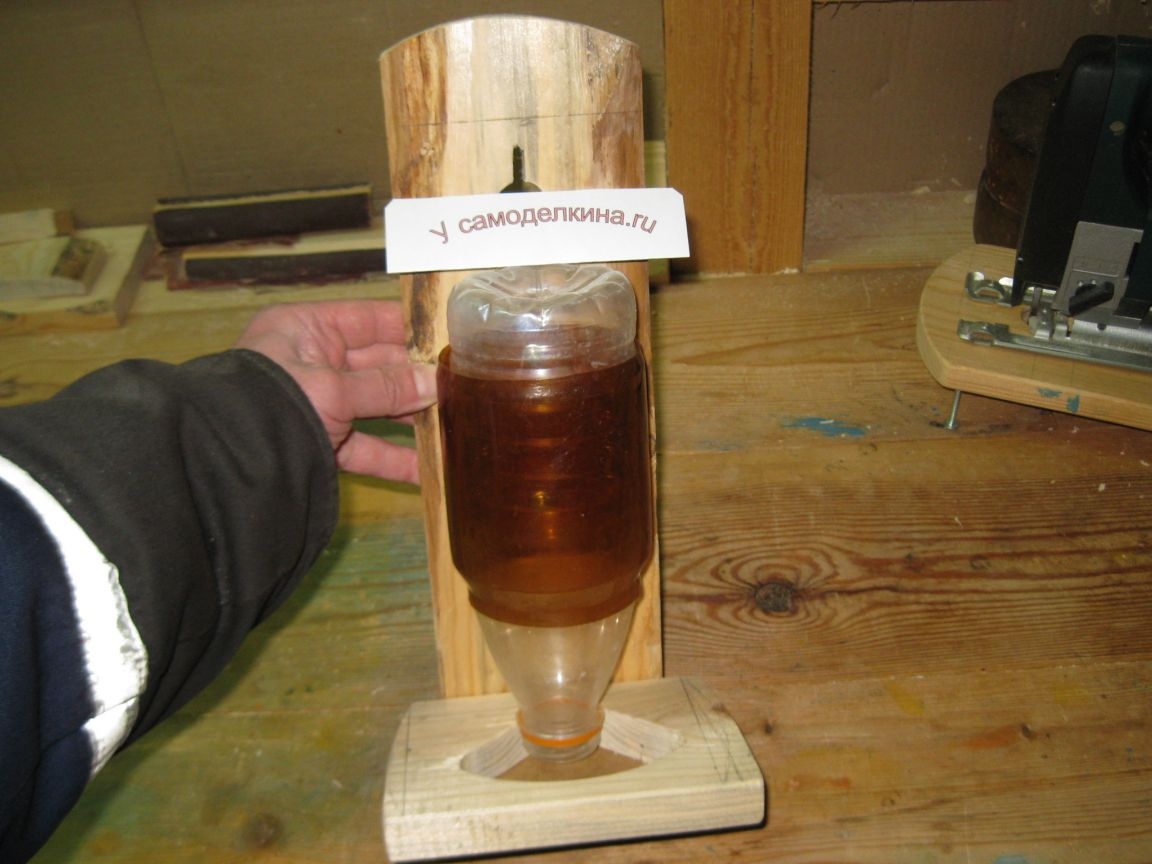
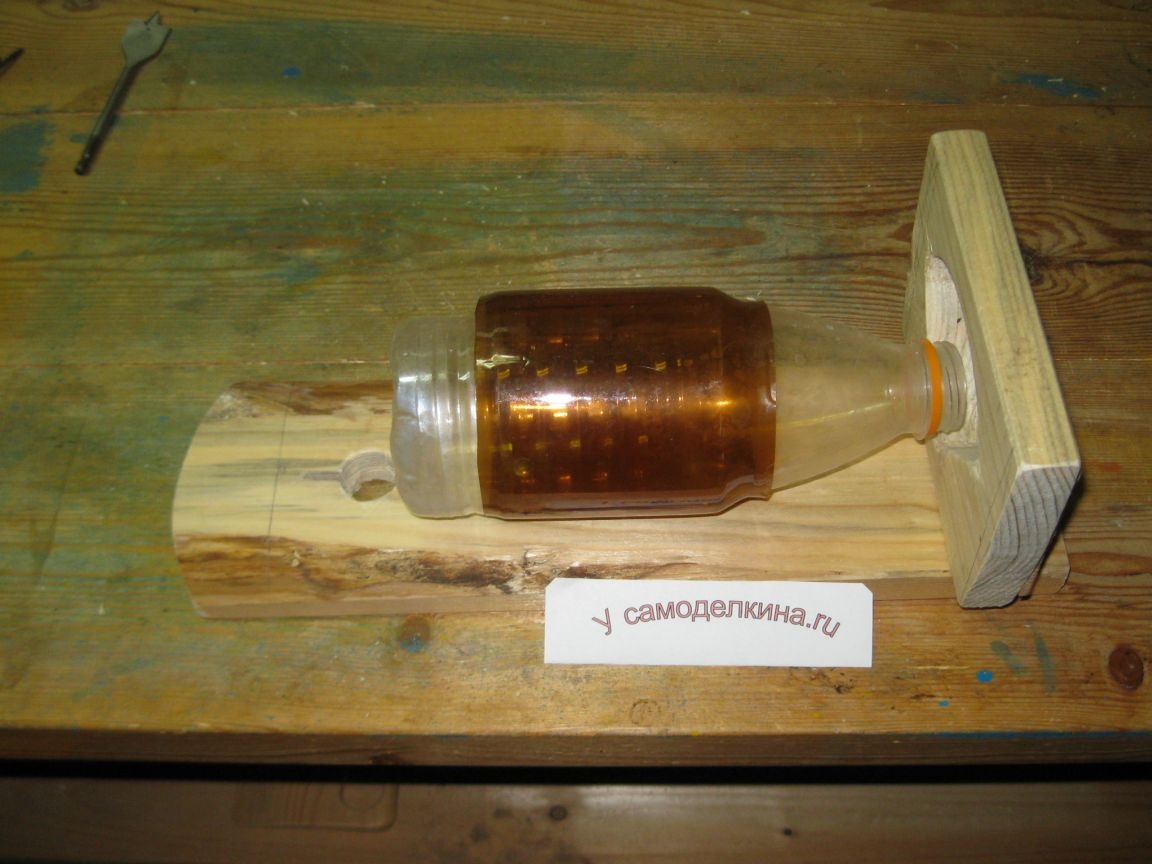
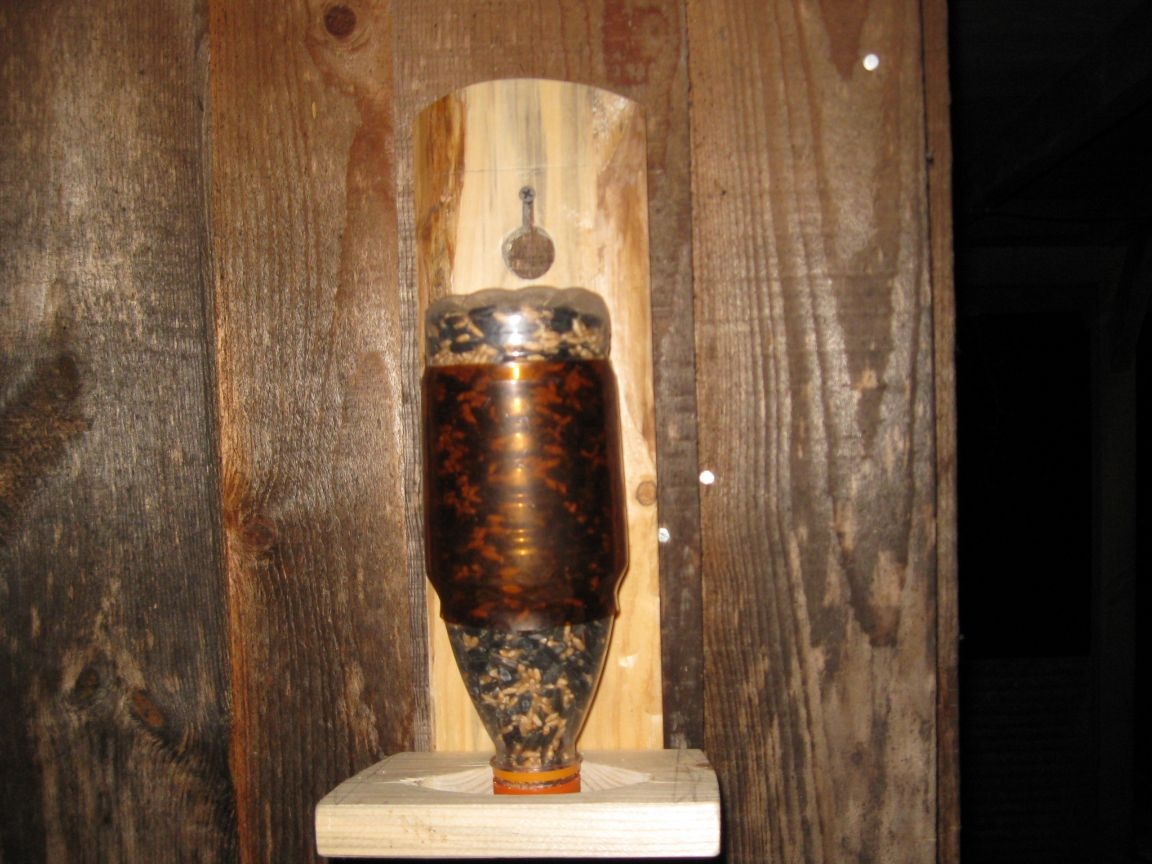
Thus, our automatic feeder with interchangeable cassettes is ready!
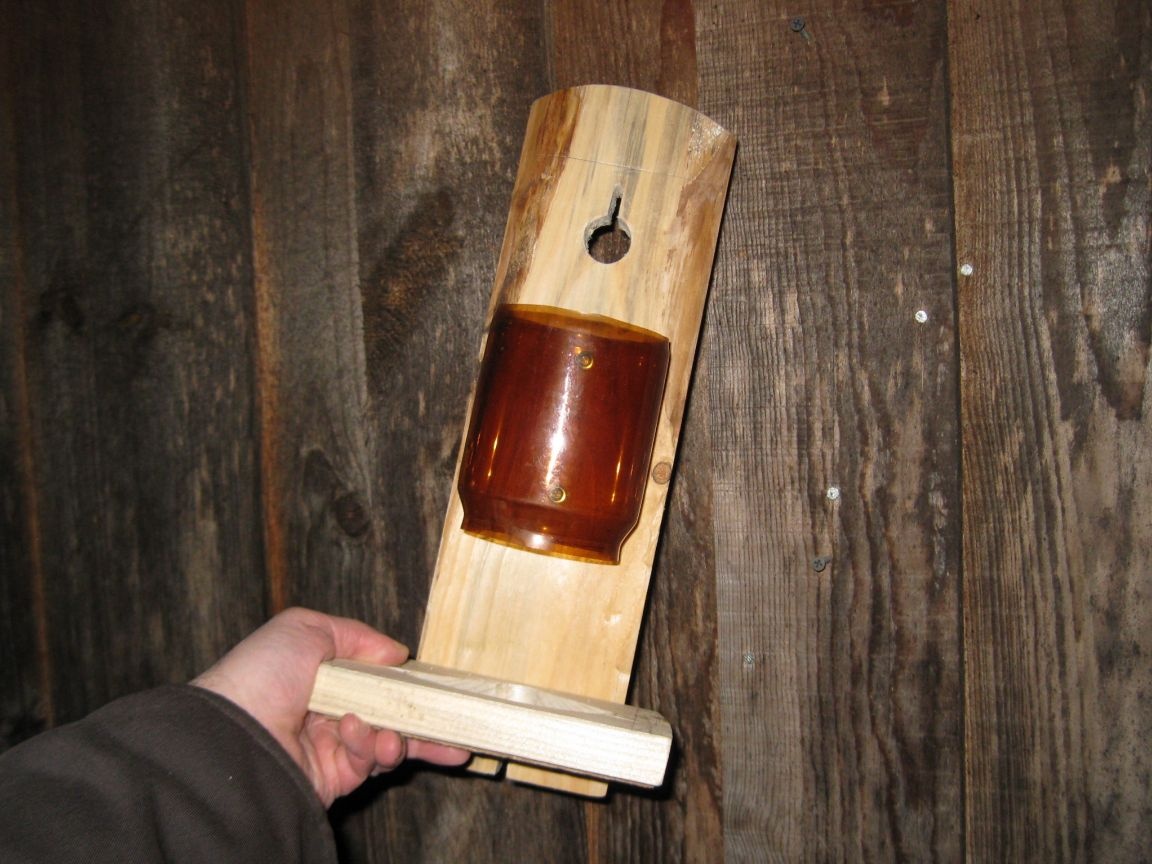
This is how it looks from different angles.

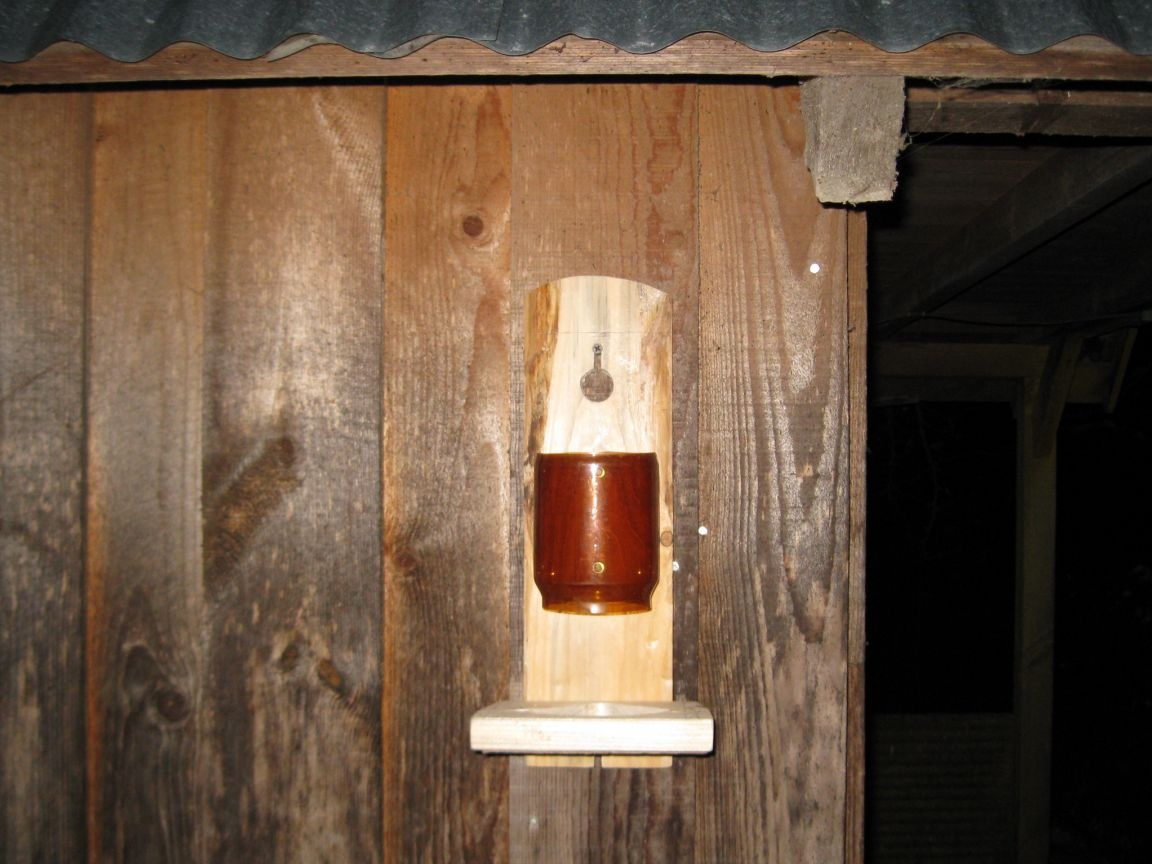
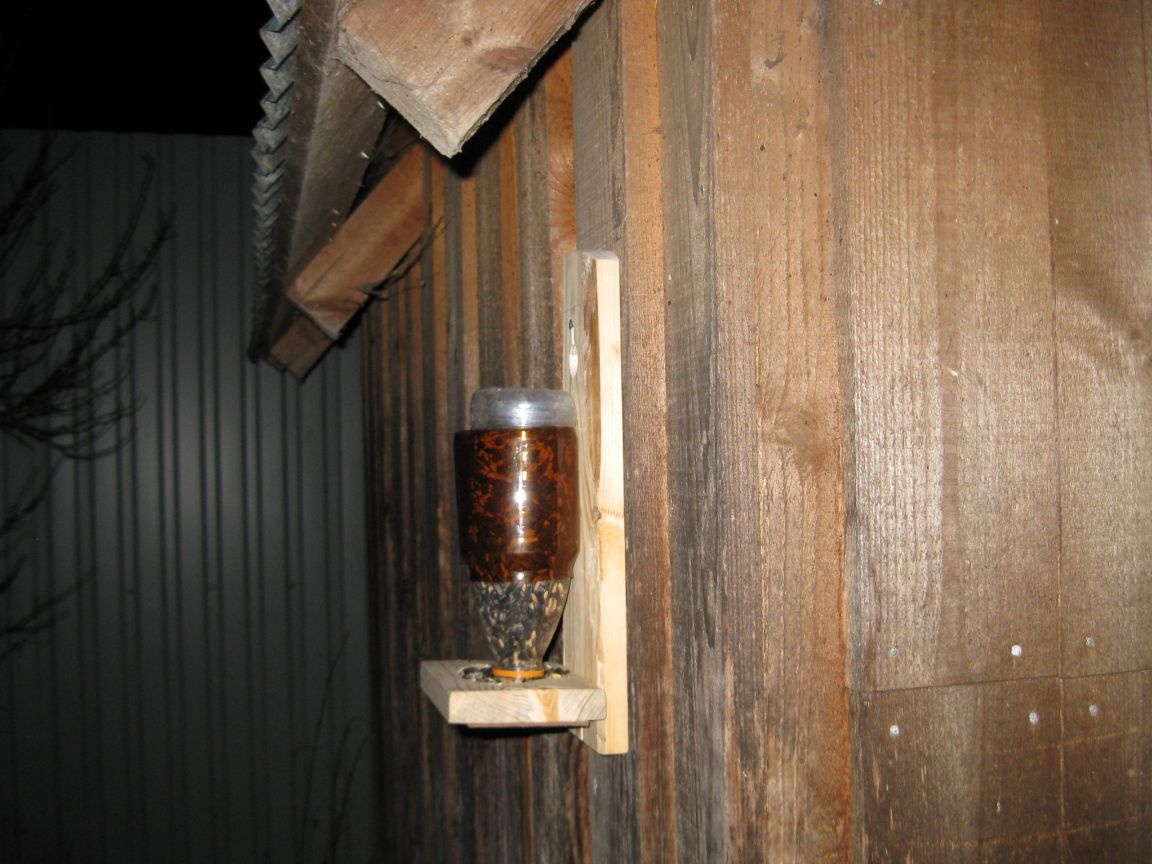
Now you can hang this feeder on the street.
I will hang it on the wall of the barn in the garden so that it is located under the overhang of the roof so that it does not drip water and does not fall snow.
To do this, first you need to screw two screws into the wall, and then hang our feeder on them.
If necessary, the feeder can always be easily removed.
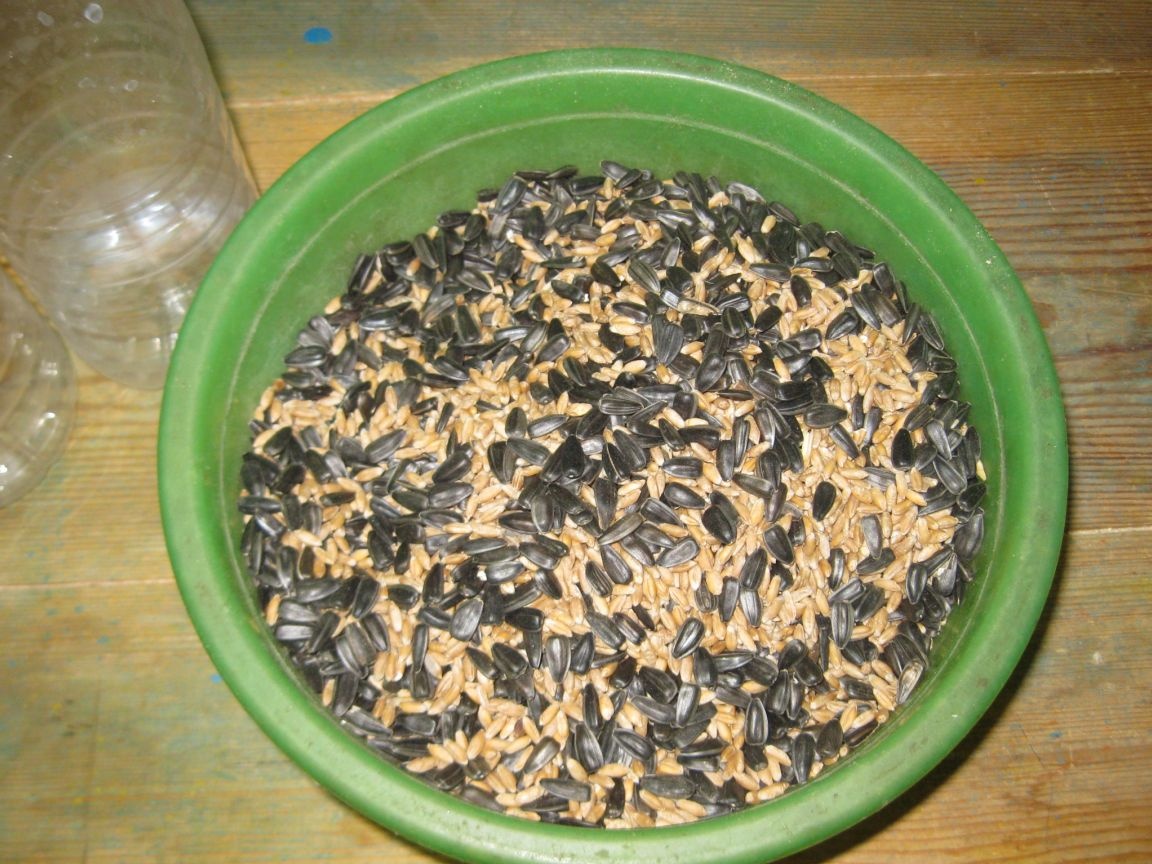
Well, now it remains only to prepare the feed and pour it into the bottles - interchangeable cartridges.
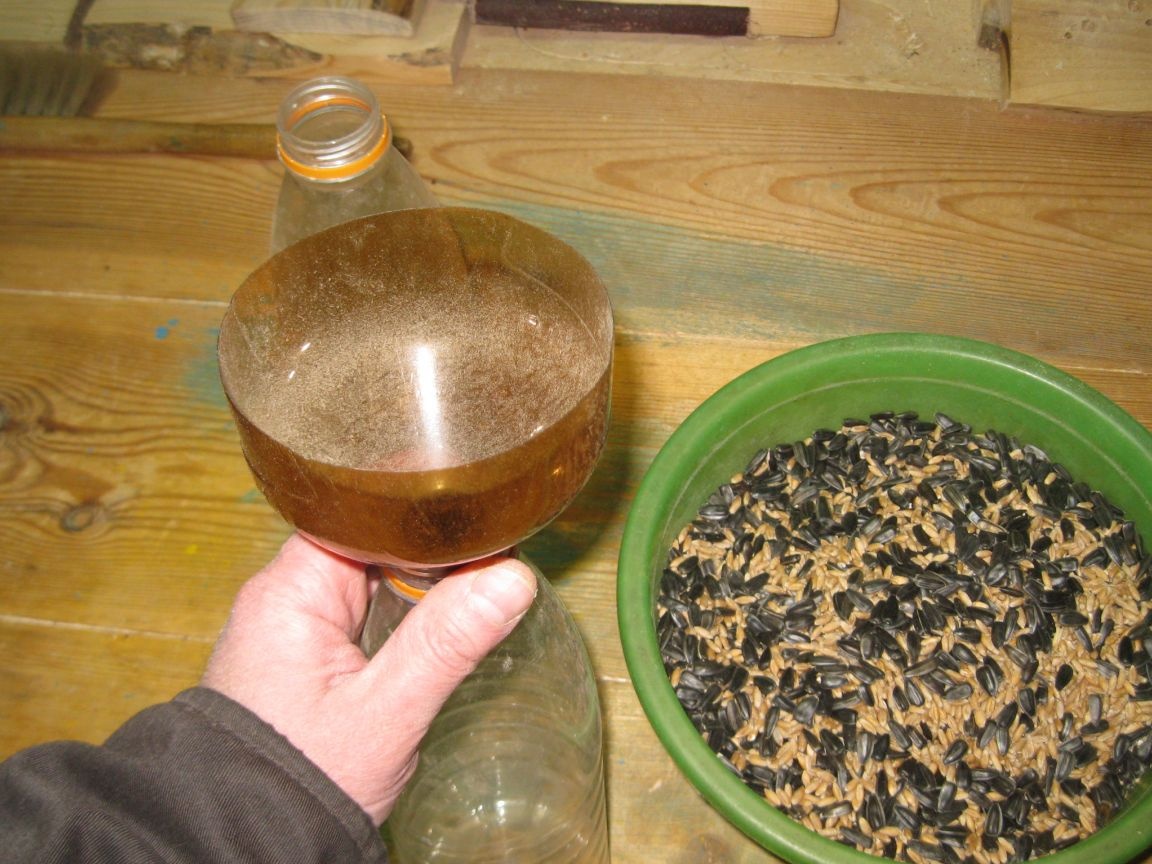
For this, I mixed the seeds with wheat.
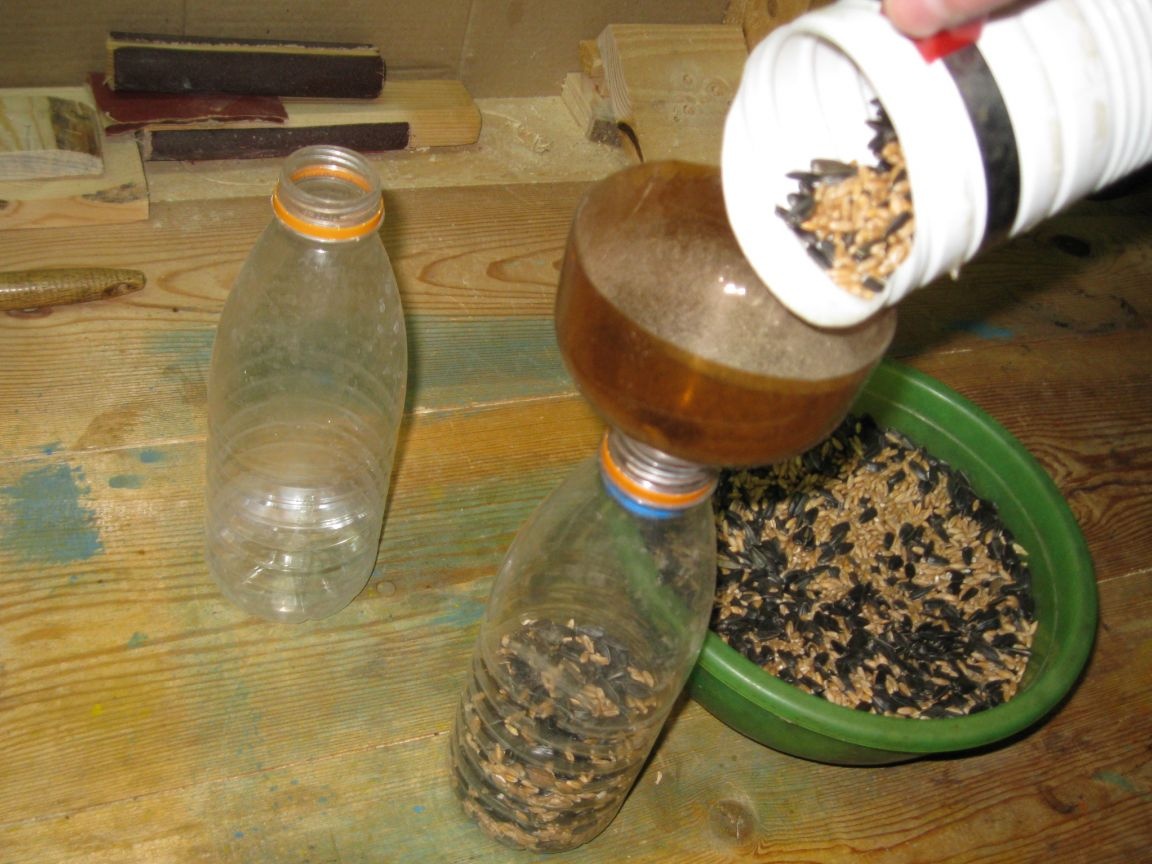
And with the help of such a funnel made from the top of a two-liter plastic bottle, he poured food into liter bottles.
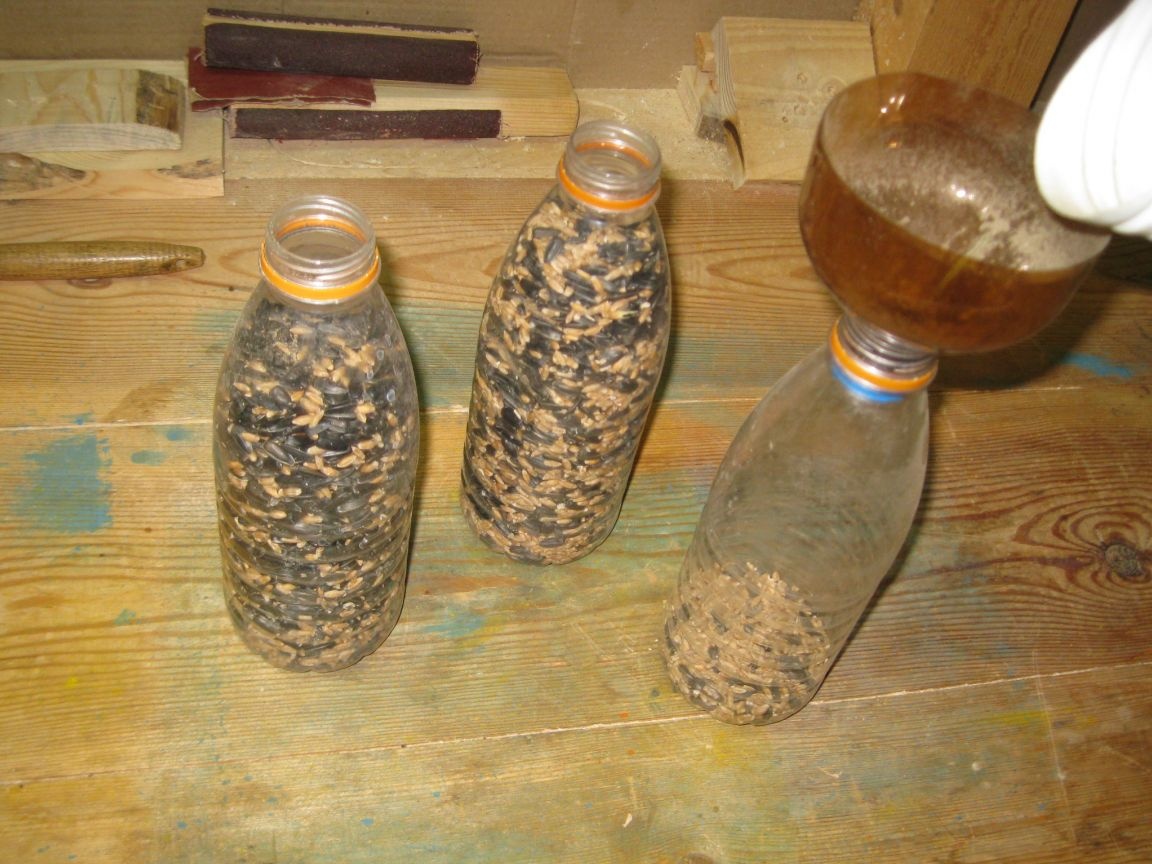
Pour several of these bottles at once - replaceable cartridges.
Now you need to insert the removable feed cassette into the feeder holder.
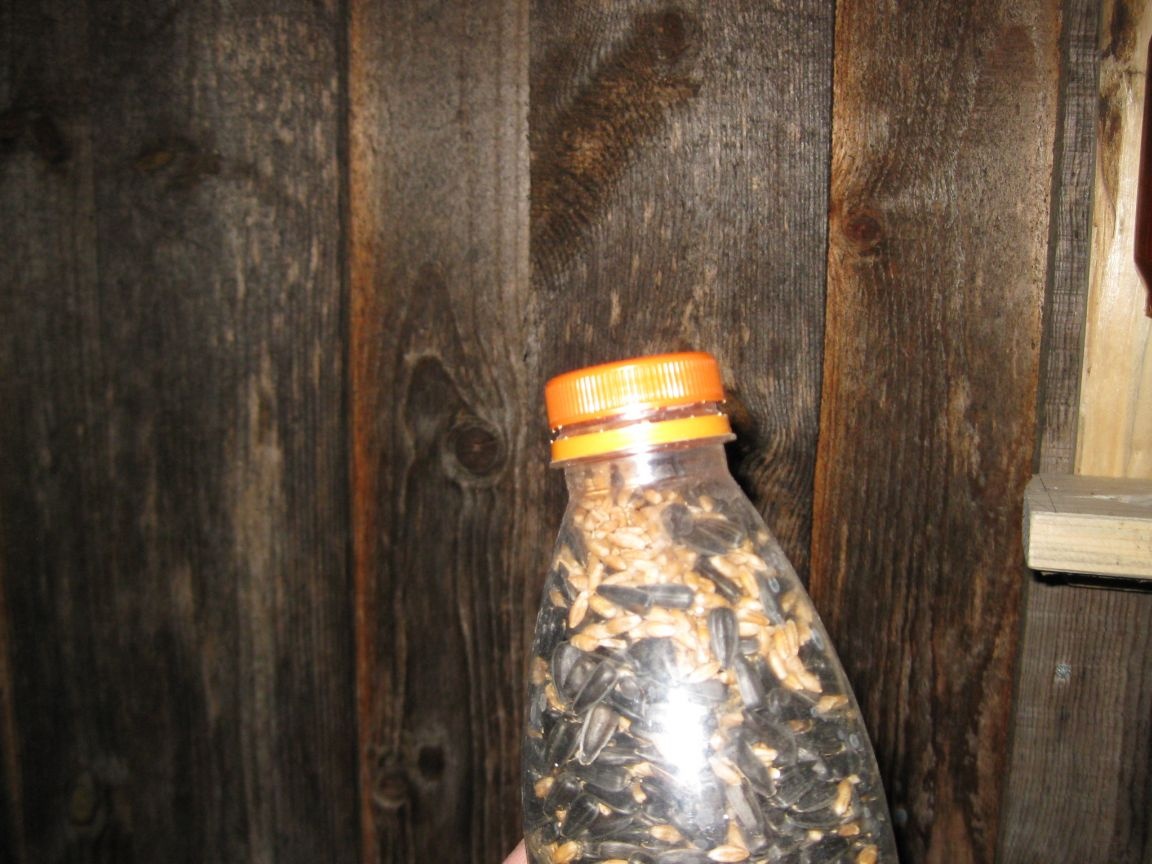
To do this, slightly screw the lid onto one of the bottles filled with feed.
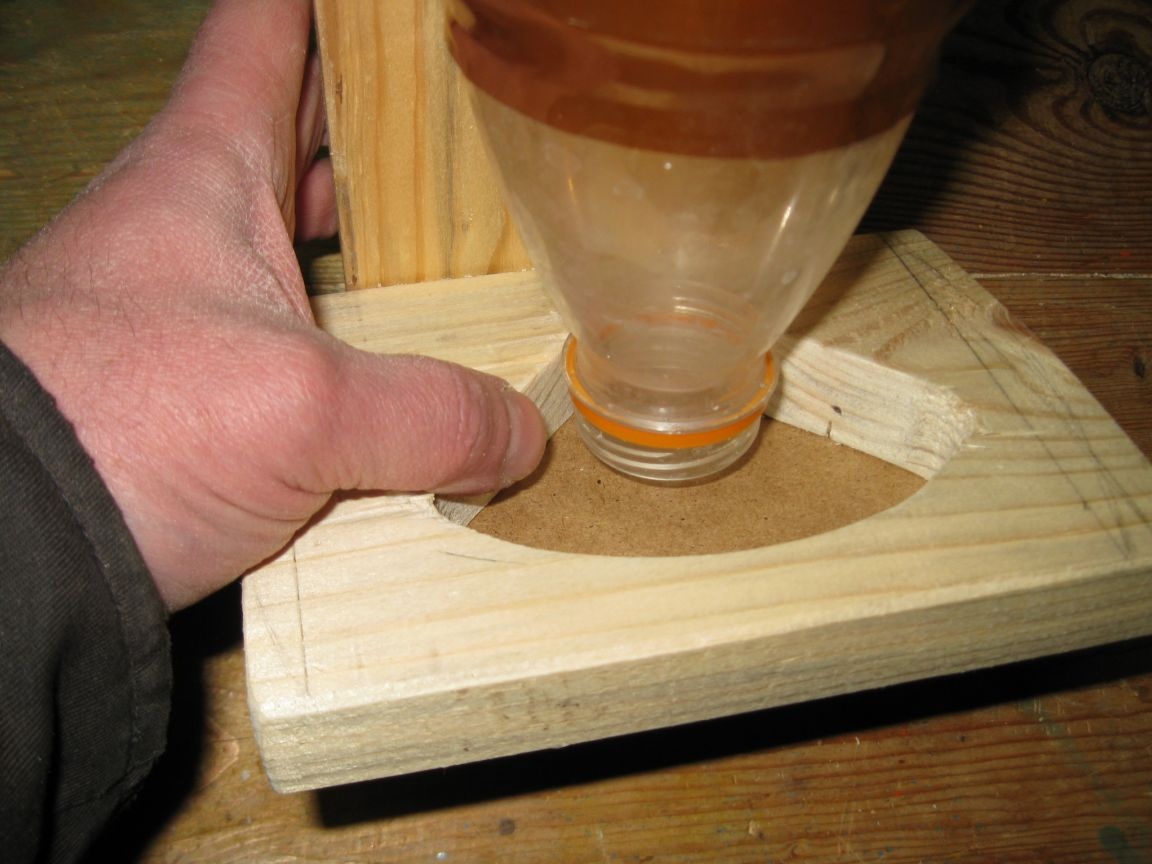
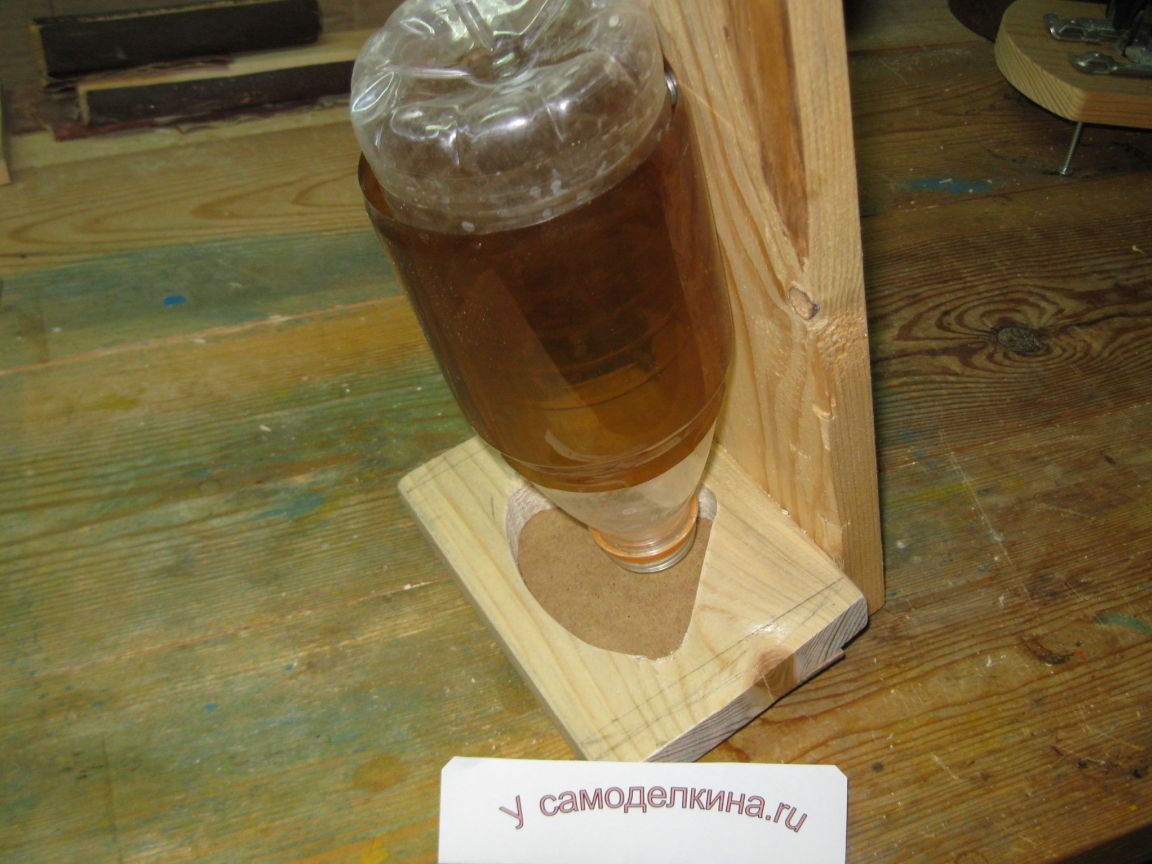
And turning the bottle over, insert it into the feeder holder.
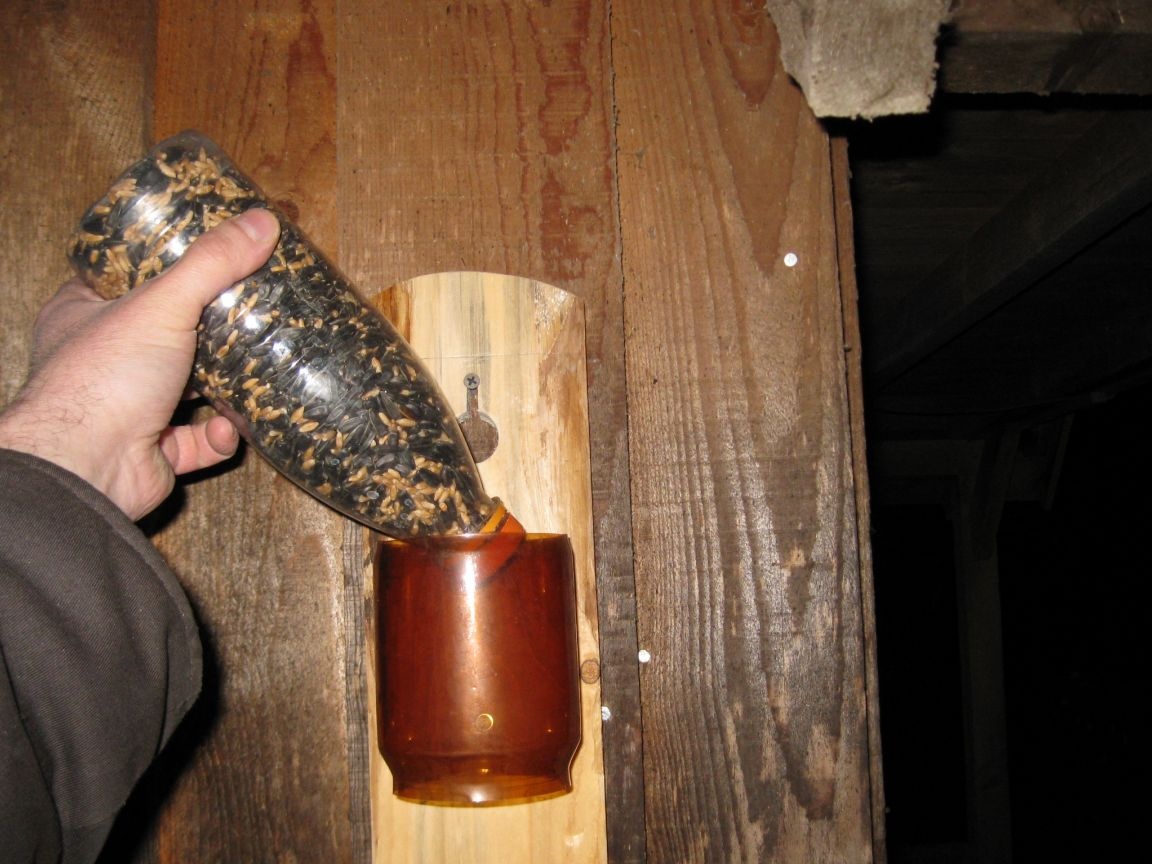
Then carefully remove the lid, so that the feed slightly spills out of the bottle and fills the slot in the shelf for the feed.

Here, by the way, what a feeding trough looks like from different angles.
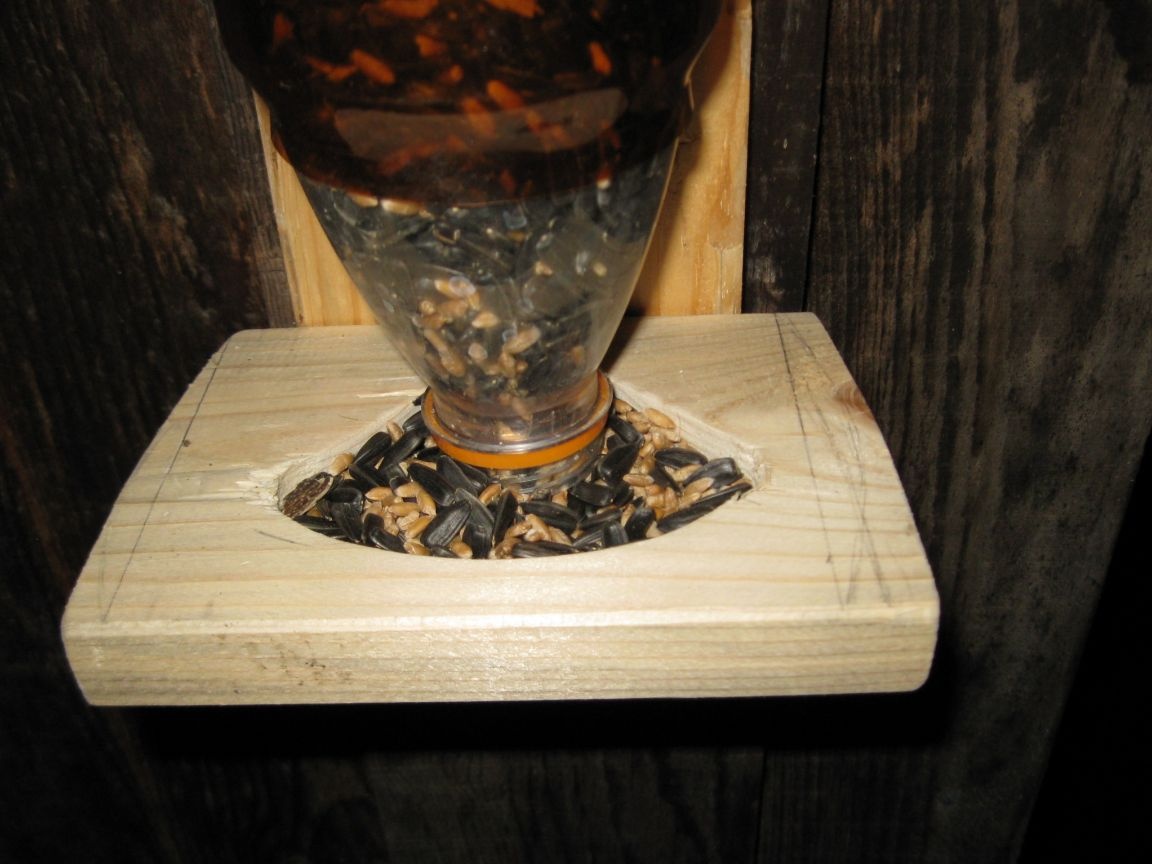
Well, that’s basically it! Now the birds will peck the food that spills out of the neck of the bottle onto the shelf, and as they glue together, new portions of food will spill out, up to the complete emptying of the bottle. After that, you will need to replace the empty bottle-cassette with a new one.
I think one bottle filled with food will be enough for three or four days. Thus, it will not be necessary to pour new portions of food every day, as is done in conventional feeders. Therefore, this type of feeding trough can be useful for those who often have to leave home for a few days, or, for example, summer residents who come to their sites in the winter only on weekends.
Naturally, plastic bottles serving as interchangeable cartridges in such a feeder can be made in different sizes. If you take bottles of a larger capacity, then perhaps the feed in them will be enough for the birds for a week, or even for a half to two weeks. As a feed, you can use not only seeds and grain, but also various cereals, for example, millet, as well as herculean flakes, small bread crumbs, etc. True, it should be noted that most of all, small birds like sunflower seeds.