

Such a stove will be useful for those who have a country house, since there is often a gas pipeline to which gas equipment can be connected without problems. However, no one forbids to power such a furnace from a gas cylinder. If desired, the stove can also be operated on wood, although for such purposes it will be necessary to adapt the blower. In principle, the author uses firewood for cooking.
The oven has a grill (barbecue), so that you can easily cook food in it. Everything is done simply, a small gas cylinder is used as the basis. You will also need a small piece of pipe, door hinges, and a few other pieces of iron.
Materials and tools for the manufacture of the furnace:
Material List:
- old gas bottle;
- door hinges;
- reinforcement (or similar material);
- a piece of wood for the manufacture of pens.
Tool List:
- ;
- ;
- sandpaper (and preferably a grinding machine);
-
- hammer;
- heat resistant paint for metal.
Furnace manufacturing process:
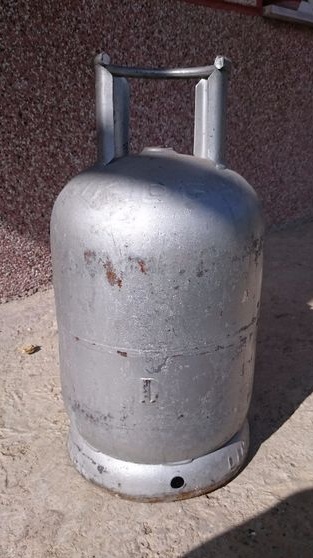
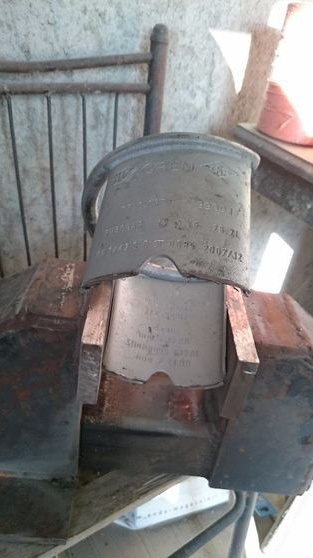
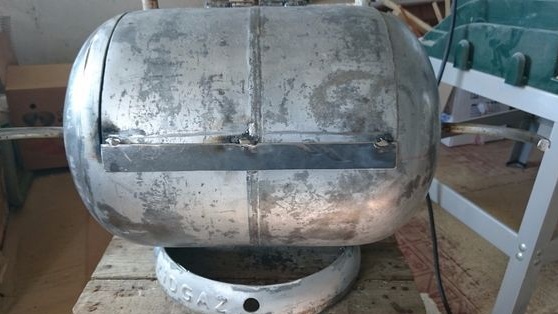
Step one. Prepare the balloon
Dangerously!
The first step is to prepare the cylinder, because if you just start cutting it, it will explode due to the remaining gas vapor. First open the tap and bleed all gas from the cylinder. Next, take an adjustable wrench and completely remove the tap. Turn the bottle upside down and drain the contents.
To completely clean the cylinder of gas residues, you will need water, it is desirable that it be hot, this contributes to the active evaporation of gas. Pour a full container of water, and then drain the contents. The procedure must be repeated several times for safety.
Also, some friends burn a cylinder in a fire, but this approach is less secure.
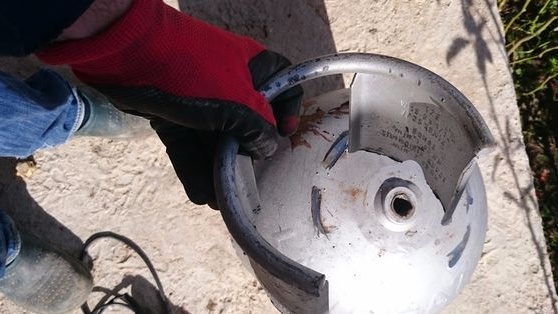
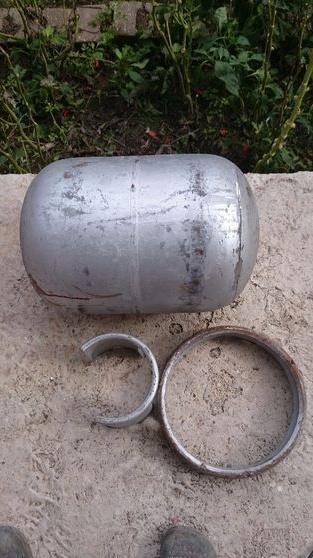
Step Two Cut off excess from the cylinder
Now we take the grinder and cut off all the excess from the cylinder. First, cut the handle, but do not throw it away, it will come in handy to us in the future.
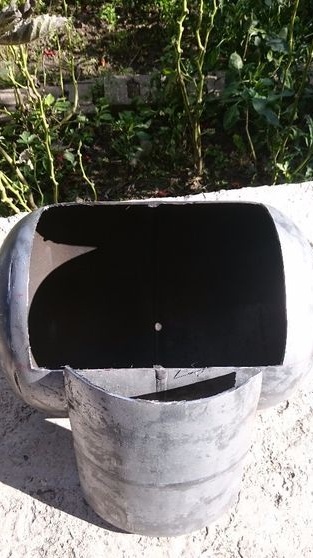
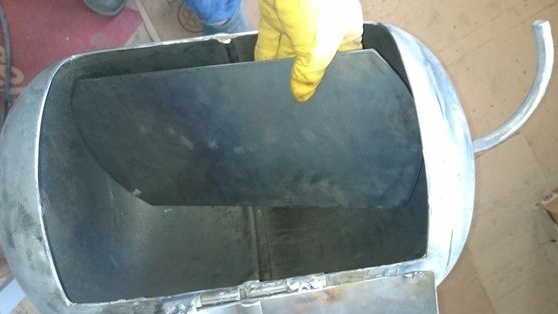
Step Three Cut out the lid
Mark the container so that the door can be cut out. As for the sizes, decide for yourself.In principle, the larger the door, the easier it will be to use the cylinder. We use a grinder for cutting, you can use a gas cutter.
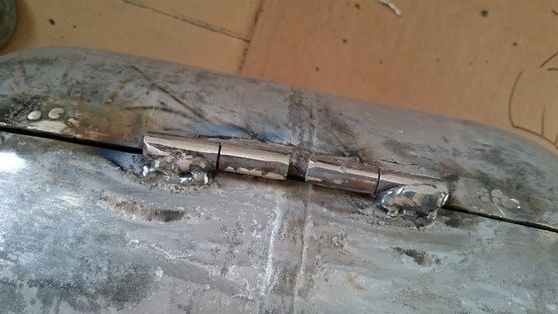
Step Four Fasten the lid
The lid is fastened with steel door hinges. We weld them to the base and the lid. That's all, now the lid can open.
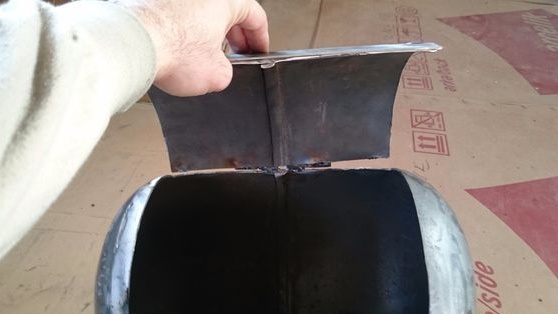
Step Five Decorative plate
At the bottom of the door, the author decided to weld a plate. Due to the additional weight, the lid will be more securely closed, and it looks more beautiful.
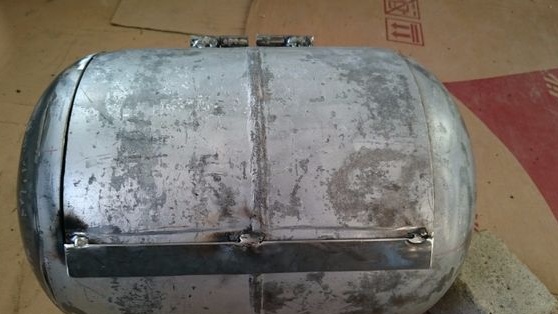
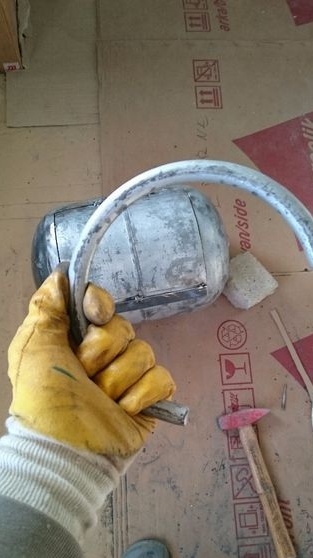
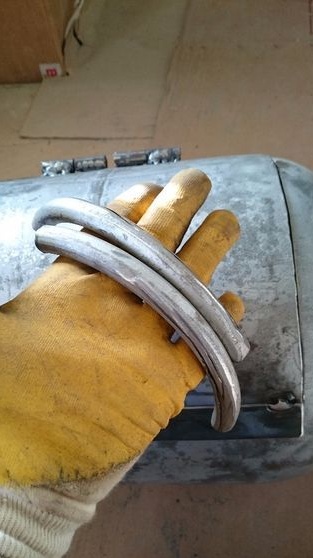
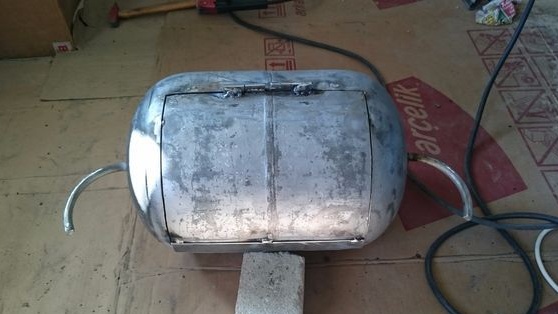
Step Six We fix the handles to the stove
In order to transport the oven if necessary, weld the handles to it on both sides. To do this, the author cuts into two parts the handle of the cylinder and then welds these parts.
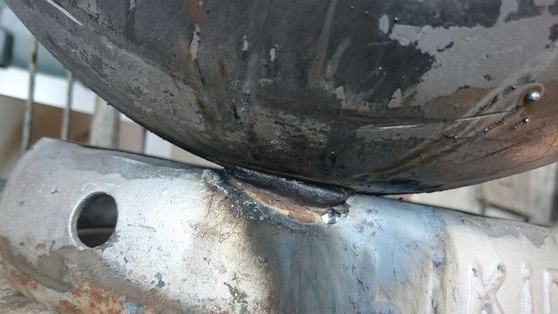
Seventh step. Oven support
In order for the oven to stand confidently on its feet, it needs to be reliably supported. The author makes it from the part that was welded to the top of the container.
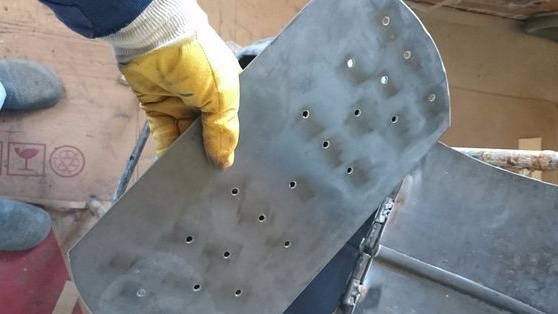
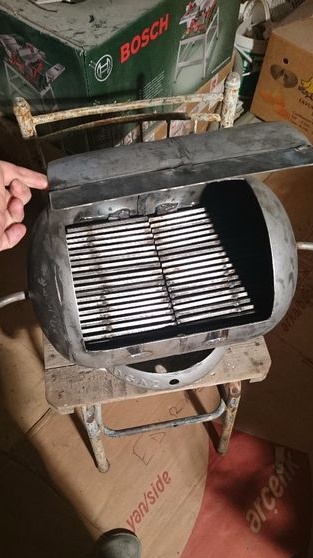
Step Eight. Grate
For efficient combustion, air supply is required, for this firewood is burned on the grate. For their manufacture, the author took a thick steel plate and drilled holes in it. We weld the plate in its place or weld inside the furnace special supports for the plate, then it can be removed if necessary.
Step Nine. Grill
We begin to manufacture the grill. For its manufacture, the author needed steel bars with a diameter of 7 mm. We cut the rods with a grinder and weld the grate. How to fix it, I think, will figure it out.
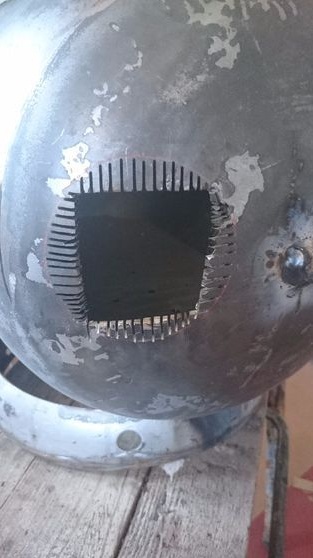
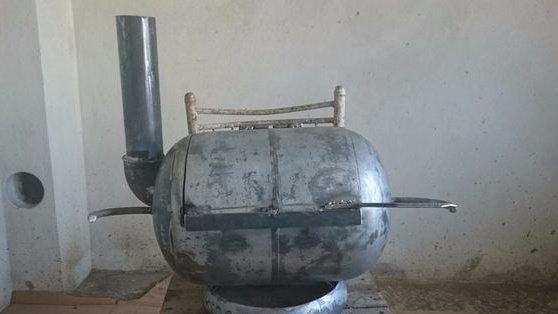
Step Ten Chimney Making
Choose the appropriate side of the furnace and draw a hole along the diameter of the chimney. Since it is impossible to cut a round hole with a grinder, the author first makes a series of slots, and then slowly cuts a circle with a grinder. Of course, the form it turned out is not perfect, but it's better than nothing.
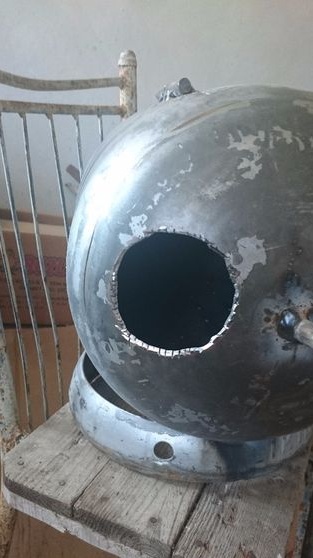
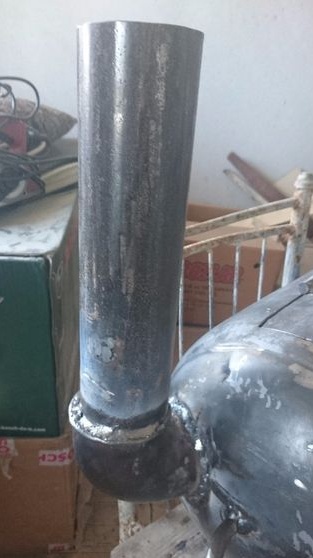
Now you can mount the pipe. Here you will need either a corner for the pipe, or you will have to cook it yourself. We weld the pipe in its place, carefully weld all the cracks so that the furnace does not smoke.
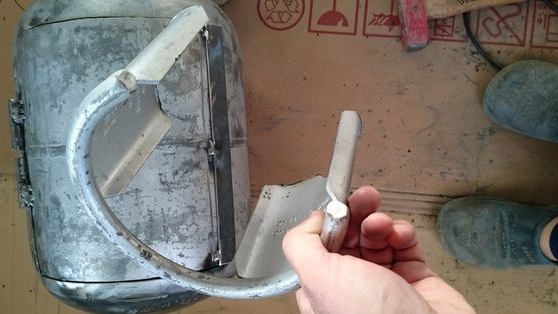
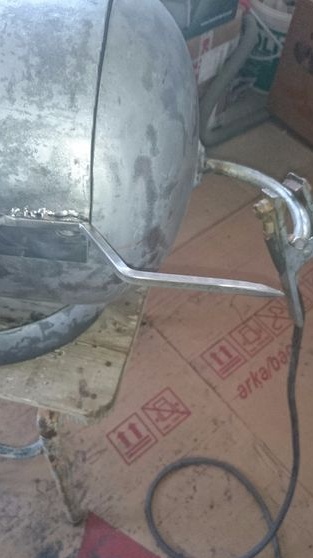
Step 11. The finishing touches
In the end, you have to make a handle for the furnace, for this we take a long rod, and bend it to the desired shape. The longer the handle is, the less it will heat up. Weld the handle to the lid. So that you can grab the handle with your bare hands, the author puts on it a piece of the bar, trimmed to the desired shape.
That's all, the oven is ready, it remains only to paint it. Thoroughly clean the metal to a shine using a grinder or other tools. Otherwise, the paint may burn and smoke when heated. You can also warm the stove on the street to burn paint on it, then it will clean off more easily.
For painting, you will need heat-resistant paint, as the oven heats up very much. You can also simply coat the furnace with metal primer. After that, it will definitely not rust.