
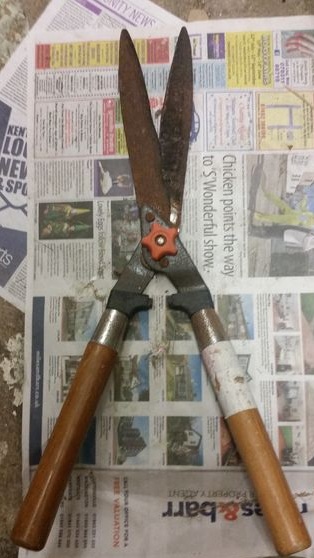
Never throw away old tools, this is a source of good high-carbon steel, which does not go dull for a long time and is fashionable to harden it. This steel is especially good for making knives. This time we will consider a method of making a knife from old garden shears. In the manufacture of the oven will not be used, and for work you will need a minimum of tools.
The main problem in the processing of unannealed steel is that it is very strong, the metal is hard and poorly drilled, polished and so on. Another nuance is that steel can not be overheated, since it is hardened to a certain hardness, and if the metal is overheated, tempering takes place and the steel becomes soft. To steel has lost its former strength, it is enough to warm it to a temperature of 250 or more degrees Celsius.
Materials and tools that the author used to make the knife:
Material List:
- old garden shears (two knives can be made of them);
- brass rods for the manufacture of pins;
- wood for the manufacture of pens;
- oil for wood impregnation;
- epoxy adhesive.
Tool List:
- Bulgarian (hacksaw cut hardened steel does not work);
- sandpaper of different grain size;
- a grinding machine, you can even vibrate (preferably);
- clamps, vice;
- milk;
- pencil, paper, scissors (for the template);
- files;
- a hacksaw for metal.
The process of making a knife:
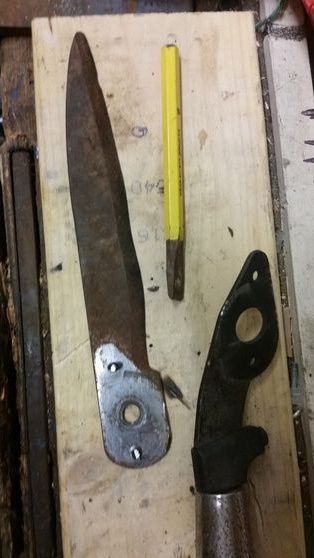
Step one. We disassemble the scissors
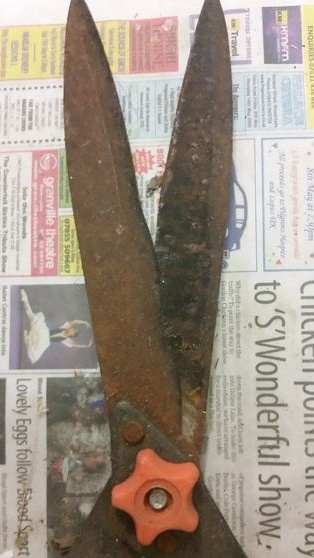
First of all, we disassemble the scissors. We knock down wooden handles from them. The central bolt that holds the two halves will have to grind off with a grinder or on a sharpener. Then knock it out with a hammer and separate the halves.
Treat the obtained parts with sandpaper, you need to clean off rust and other dirt, as working with metal will be inconvenient.
Step Two Pattern and rough profile
The author found the knife template on the Internet already ready and simply printed it on a printer on plain paper. If you wish, you can draw a profile yourself or change the existing one. Cut the profile with scissors. If you are not sure about the shape of the knife, you can cut it out of cardboard first and hold it in your hands.
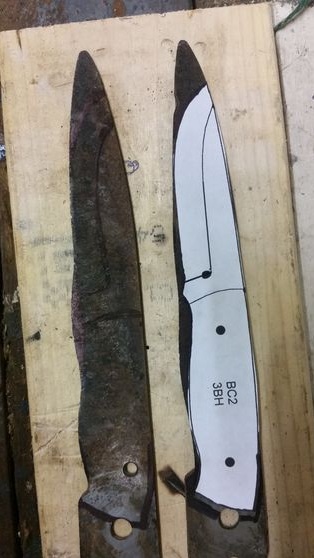
We attach the template to the workpiece and circle with a marker or pencil. The author’s profile of the knife is pretty much like the shape of the cutting part of the scissors, so the number of work with metal decreases sharply.
Now we arm ourselves with a grinder and cut out a rough profile. It is better to back off while cutting from the blade a certain distance so as not to overheat the metal. Periodically cool the metal in water so that it does not overheat.
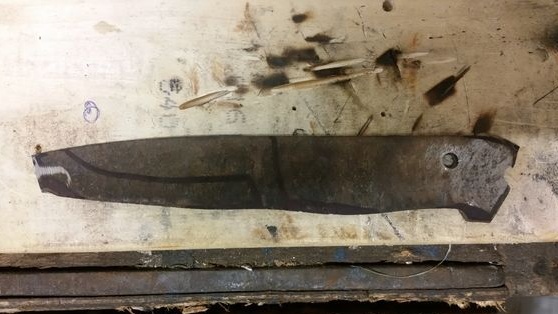
Step Three Profile revision
After cutting with a grinder, the profile will need manual revision. We take good files for metal, clamp the workpiece in a vise and slowly grind it. Working with a file is long and hard, but with this approach you will definitely not overheat the metal.
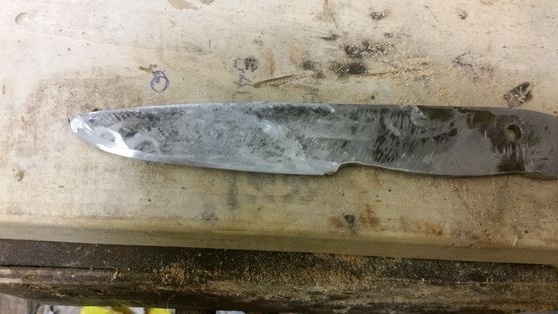
In the end, you have to form the bevels. We transfer them to metal in accordance with the profile. If you want the knife to cut and sharpen well, make the bevels as smooth as possible. But do not overdo it, as a thin blade holds large mechanical loads worse.
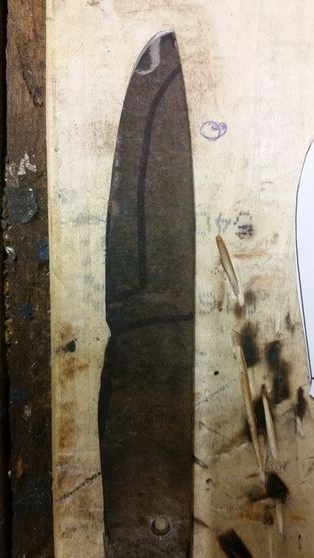
To make both bevels symmetrical, we draw a centering line along the entire length of the blade, usually this is done with a drill of the same diameter as the thickness of the blade.
We form the bevels with files for metal, this is a slow method, but true. You can quickly do everything and grinder, but this approach will be good only if you have experience. The grinding wheel must be placed, and the workpiece often cooled in water.
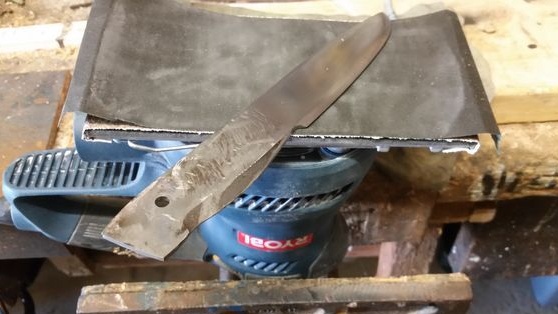
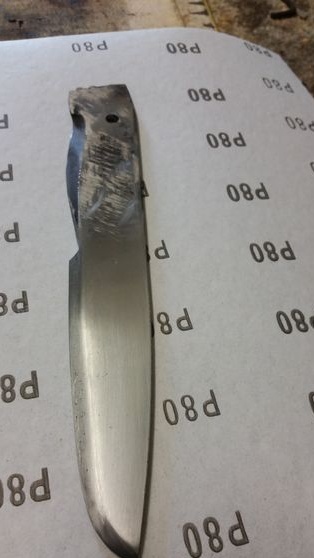
Step Four Grinding
After rough processing, all the metal will be scratched, these defects must be eliminated without fail. The author carries out grinding work using a vibrating machine, orbital or tape is also suitable.
In principle, there is nothing complicated in this work, everything can be done manually. First we take a large emery paper and process the entire surface. Next, when you remove the deep scratches, take a finer sandpaper and grind again. And so on, until the metal becomes smooth and shiny.
As for the tail part, it is not necessary to grind it, the main thing is to remove all rust so that the glue sticks well.
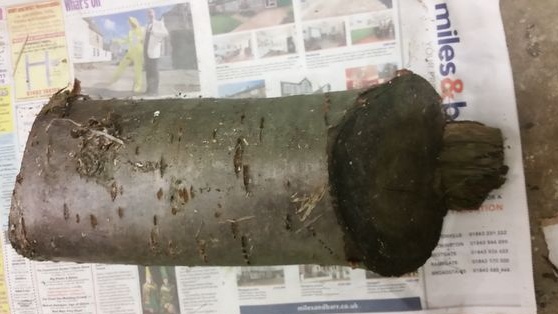
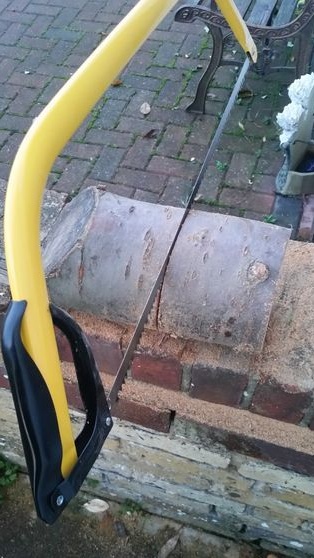
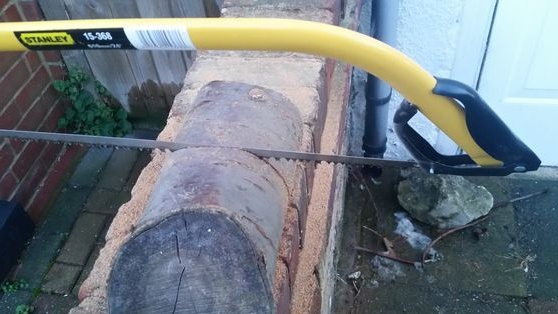
Step Five We get the material for the pen
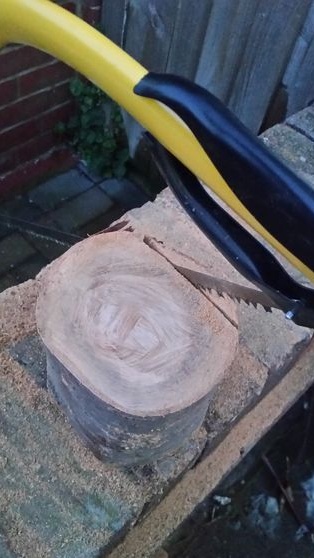
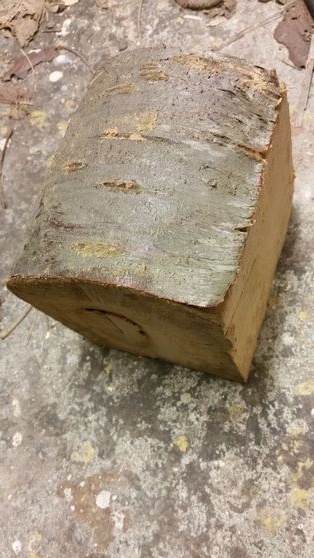
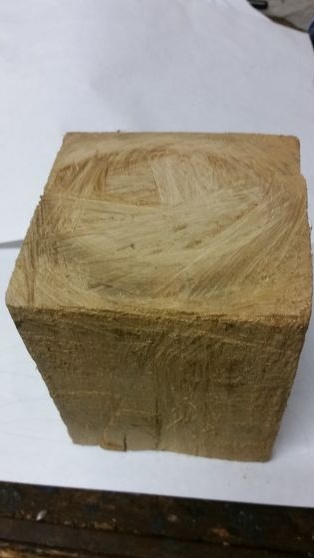
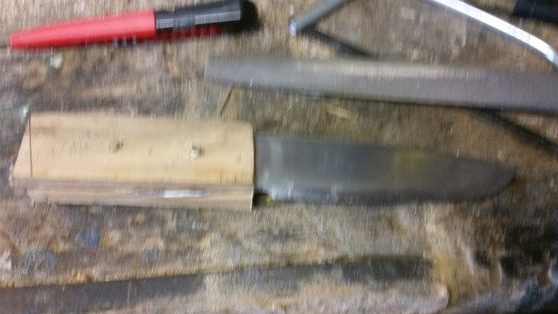
The author decided to make a pen out of the cherry that he had. Cut a tedious piece from the branch and cut out a cube or other figure from it, cutting off the parts with the bark.
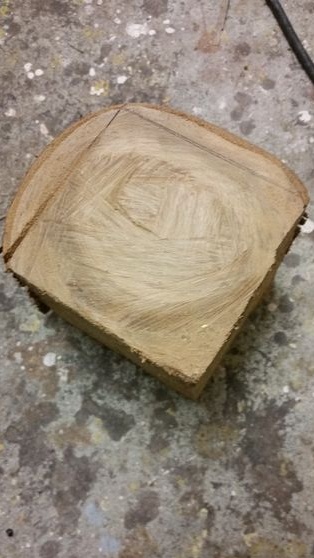
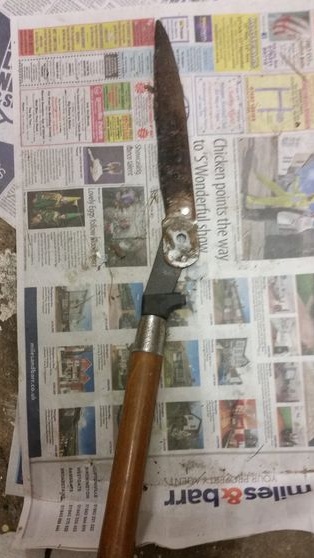
Step Six Fasten the handle
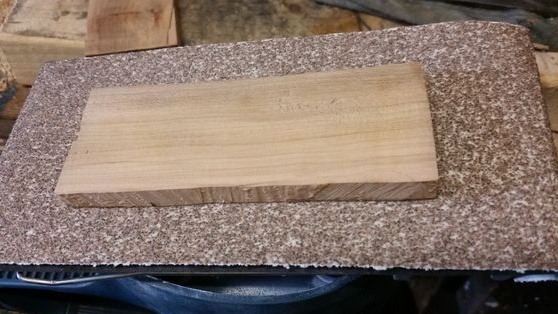
Cut two pieces from the made cube, they will go as overlays on the handles. We attach the pieces to the tail of the knife and drill holes for the pins in them. In a tree, this will not be a problem, but drilling a hardened steel will be problematic. To do this, you will need drills with special carbide tips.

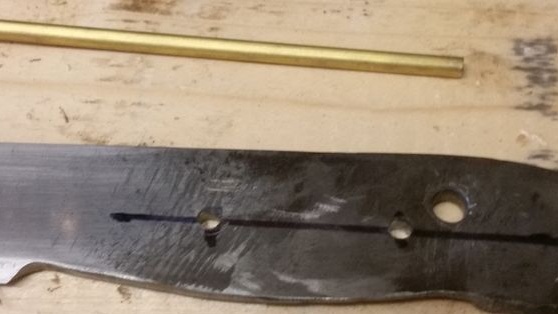
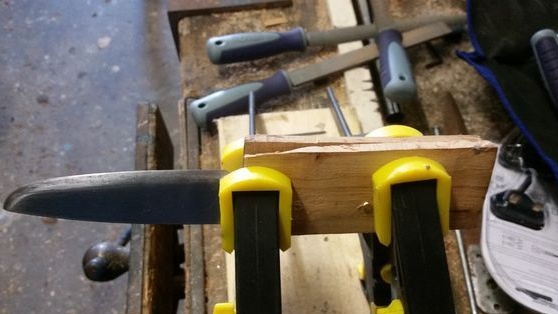
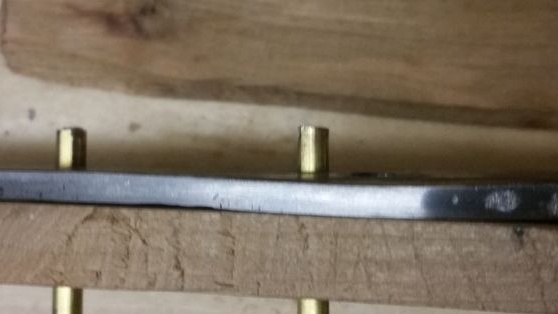
As soon as you drill holes, you can install the pins, they should be clogged with light hammer blows. But do not assemble the handle completely. We take the epoxy resin, mix with the hardener and apply to the lining. Now assemble the handle and hold it tightly with clamps so that the glue connects the parts well. We leave everything to dry for 24 hours, do not rush before this time, as everything will be ruined. If the handle is dried in a warm room or on a battery, the glue dries better. In a cold room, drying may take longer.
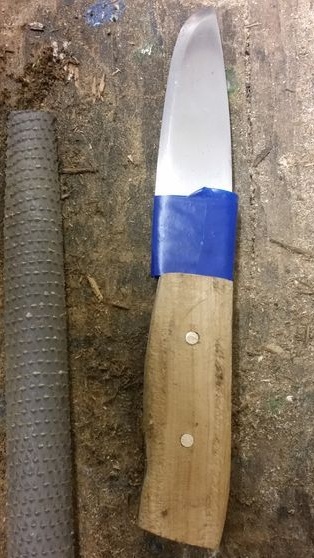
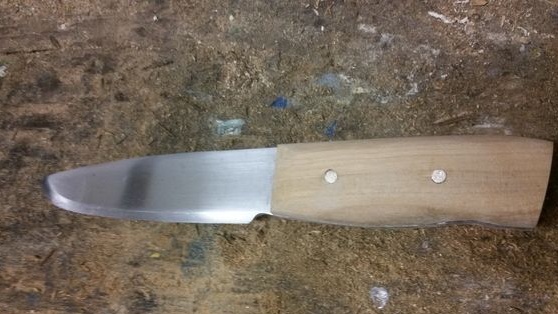
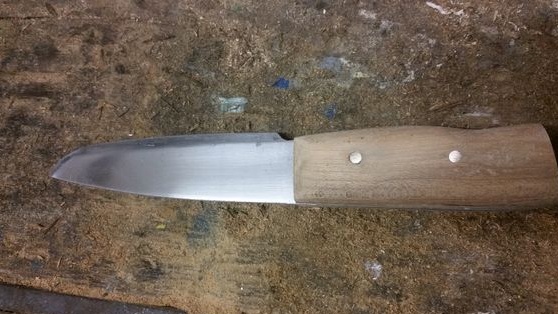
When the glue dries, wrap the knife blade with tape or masking tape so as not to cut yourself. Now proceed to the formation of the handle. Rough processing is done with a rasp, so you definitely will not ruin the handle, if you compare the processing process with a power tool. Then we use a large sandpaper and form the final profile. Finally, we reduce the grain size and make the handle absolutely smooth.
The knife will also have to be sharpened, this can be done with fine sandpaper. Many craftsmen have also successfully used various whetstones for knives, including Japanese water stone. To effectively sharpen a knife with a small abrasive, moisten it with water, while it is cleaned of chips.
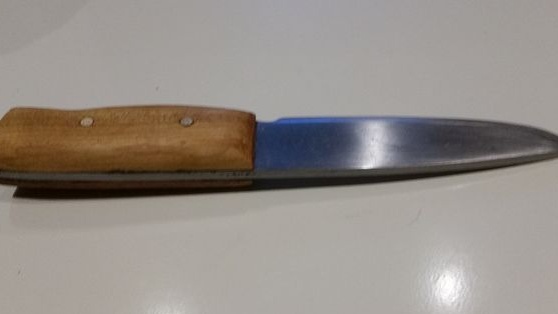
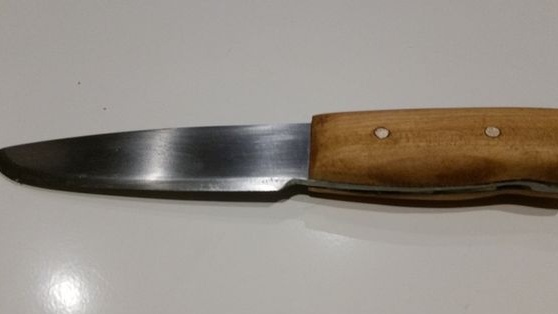
That's all, the knife is ready! There is the final touch, the wood will absorb moisture and the pen will quickly become unusable if no measures are taken.Such measures are oil impregnation of the handle, linseed, or another for wood, is suitable. Apply the first layer and wait until absorbed. Grind the handle with a Christmas tree with sandpaper, then apply the next one, and so on. Layers should be applied as much as the oil absorbs wood. At the end, polish the handle with beeswax or a mixture of waxes and oil, pre-melting and mixing them in a water bath.
That's all, the knife is ready! Be careful and enjoy using it. Sheathe him for safe wearing.