Tools and materials:
1-Dremel (boron machine)
2-glue gun
3-acrylic paint
4-glue PVA
5-paper towels
6-cling film
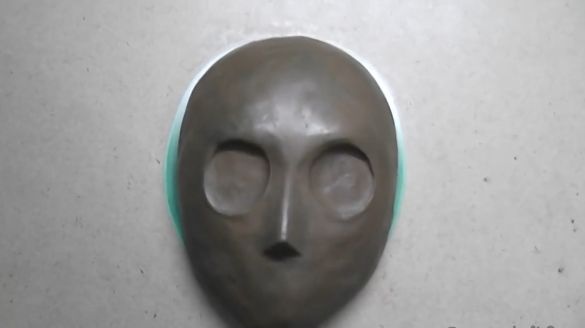
The first step is to make a clay mold.
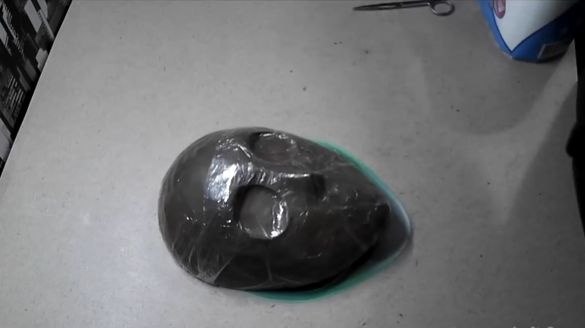
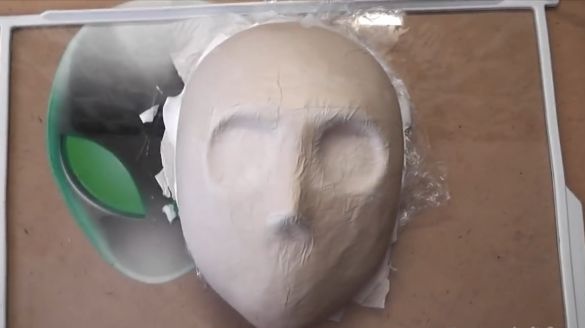
Then you need to wrap the workpiece with cling film.
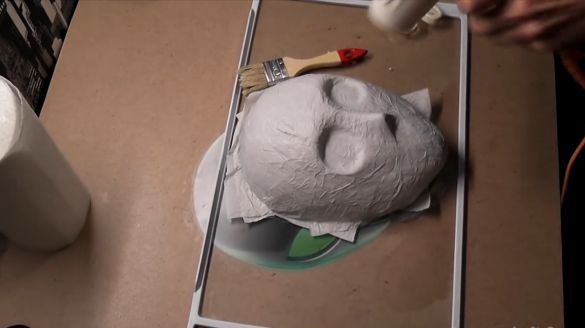
The third step will be to glue the blank with paper towels so of course it is easier and faster, but the air that accumulates between the layers gives the mask an unnecessary shape.
Waves and swellings can of course be smoothed out, but it is easier to strengthen with album sheets, which will give the mask strength and save your time, since this paper is denser.
After all this, you need to remove the workpiece from the mannequin and clean it with sandpaper. The next step is to cover the workpiece in three layers with putty on wood, each layer should dry well.
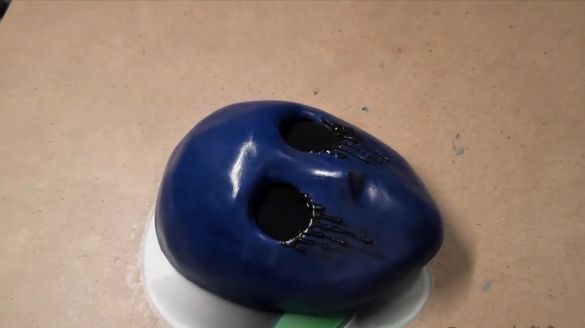
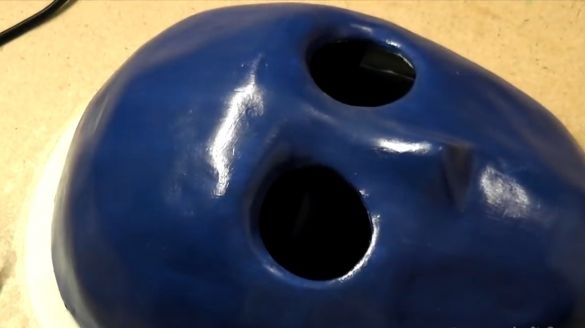
After the mask has dried, you need to drill holes for the eyes and cover the mask with acrylic paint also in three soybeans, allowing each layer to dry.
For greater strength, you need to strengthen the edges with hot glue. The eye holes can be closed with a black stocking. Black something flowing from the eyes can be done with a glue gun and a black rod.
The mask is ready to wear it for New Year or Halloween
Video homemade:

