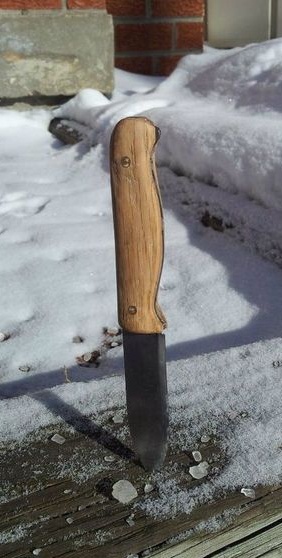
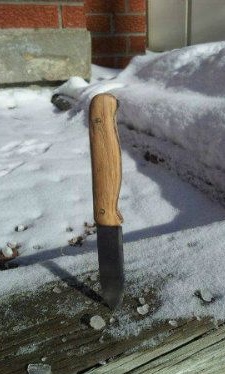
Hello everyone, in these instructions we will study the manufacturing process of the most ordinary knife, which can be used for domestic purposes and not only. The steel used here is of high quality, with a high carbon content, which allows it to be hardened.
As blanks, purchased steel plates of steel grade 1084 and 1095 are used. In order not to buy steel for blanks, you can use old files, parts from various cutting tools, automobile springs, and so on.
The author makes a knife with a minimal set of tools. Generally speaking, you will need something with which you can cut the profile of the knife, and then finally shape it, including bevels, sharpening, and so on.
The whole difficulty lies in the processing of already hardened steel, it can only be processed with a power tool. And if you anneal the metal, it will become soft and ductile, in principle, it can be cut with a hacksaw for metal and processed with files. In the manufacture of knives is very convenient to use.
You will also need a powerful heat source to harden the steel in the future.
Materials and tools for homemadeused by the author:
Material List:
- billets of steel 1084 or 1095;
- wood for the manufacture of pens;
- brass rods for the manufacture of pins;
- oil for wood impregnation.
Tool List:
- paper, pencil, scissors (for making a template);
- drill or drilling machine;
- band saw for metal (hacksaw or grinder as an alternative);
- clamps;
- marker;
- files (or);
- belt sander (useful to have);
- coals, furnace (for metal hardening);
- oil;
- domestic oven;
- epoxy adhesive;
- sandpaper of different grain size.
The process of making a knife:
Step one. Choose steel
In order for steel to become strong and not stupid for a long time, it must be hardened. But only those steel grades that have a high amount of carbon in their composition are subject to hardening. So, for example, steel 1084 is a classic inexpensive material for the manufacture of knives, which is used in America. It is relatively inexpensive and common. The carbon content in this steel is 0.84%.

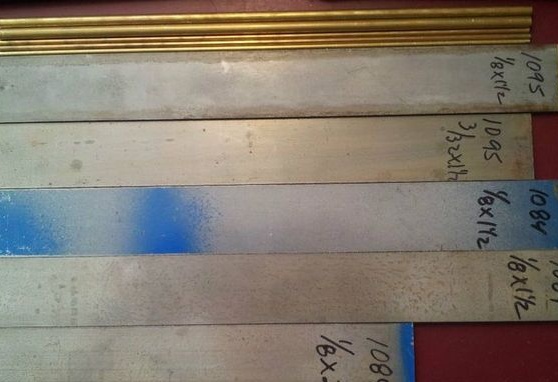
There is also steel 1095, it is also well suited for simple knives. This steel is not very hard, but it lends itself to hardening. The disadvantage of this steel is that it rusts quite strongly and quickly.
Step Two We make a knife project
Now you can begin to make a knife project, with this step the manufacture of any knife should begin. You can develop a template yourself, there is nothing complicated in this, the main thing is not to forget about the sizes of the available blanks. If you have a problem with imagination, you can download the finished template via the Internet. If you wish, you can upgrade it at your discretion.
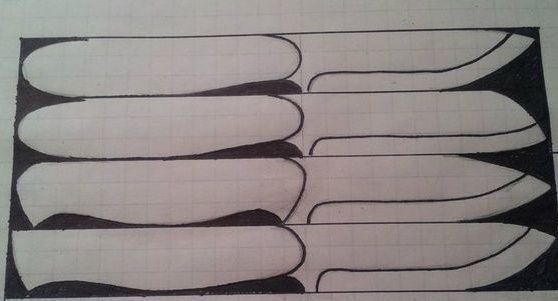

Cut the template out of paper, and preferably from thick cardboard, this will allow you to use one template for quite some time. Also, by the way, you can hold a cardboard profile in your hands and figure out whether the future knife will be more convenient.
The made template is applied to the workpiece and outlined with a marker. The author decided to simply stick his template to the workpiece. This is a convenient method, but the glue should be good, since the template can easily peel off during operation and you get confusion.
Step Three Cut profile
The first step is to cut a rough profile of the blade, it’s not worth bothering here, since after this the workpiece still goes through a long stage of refinement and grinding. Cutting a rough profile is most convenient with a band saw, as it cuts accurately, figured, and after such work less effort is spent on refinement.
Some craftsmen cut the profile with the help of a grinder, and then with the help of it they grind the excess.


After cutting out the profile, proceed to grinding it. The profile needs to be turned in a circle so that it becomes as close as possible to the template. Grind the plane of the blade to remove dirt and make the metal smooth and shiny.


In the end, the most difficult stage of work awaits you - the manufacture of bevels. If they are made with high quality, the knife looks beautiful, and significantly differs in excellent cutting characteristics. To make bevels, make markings on the blade, draw a line that defines the bevel width, and also draw a centering line along the blade with a drill.
After that, take a file for metal and slowly form a bevel. They can also be formed by a grinder, but with this approach, the metal overheats greatly, you need to work wisely. The easiest way, of course, to cope with a similar task with.

Do not forget to drill holes for the pins in the shank of the knife. If this is not done before hardening, then drilling a solid metal will be extremely problematic.
Step Four Getting to hardening the blade
To quench metal, you will need a furnace, in principle, this is not so important, the most important thing is that you have coals and a device that can be preliminarily supplied with air for blowing. You can use a regular hair dryer, vacuum cleaner and so on. The blade must be heated to a cherry or scarlet color, with regard to temperature, it is individual for each metal. Profans working with metal recommend warming the steel until a permanent magnet ceases to be attracted to it.
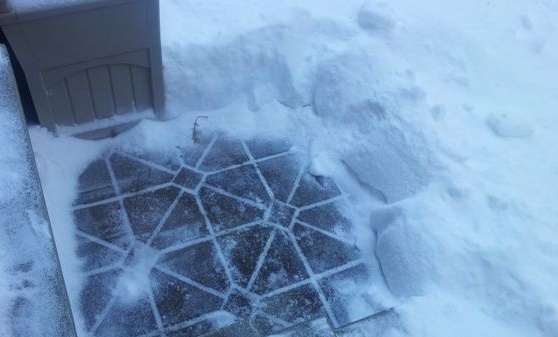
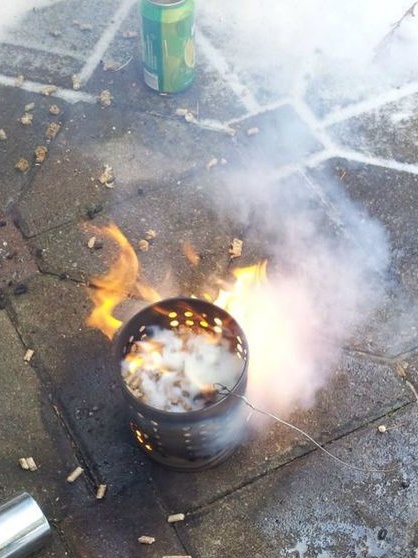
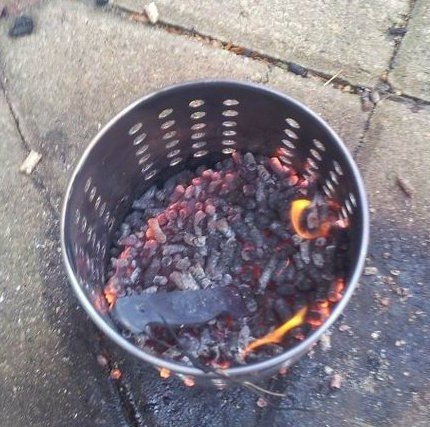
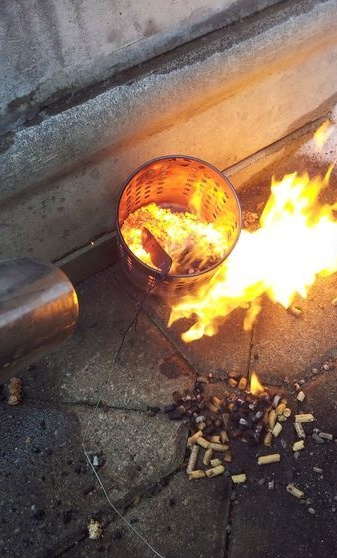
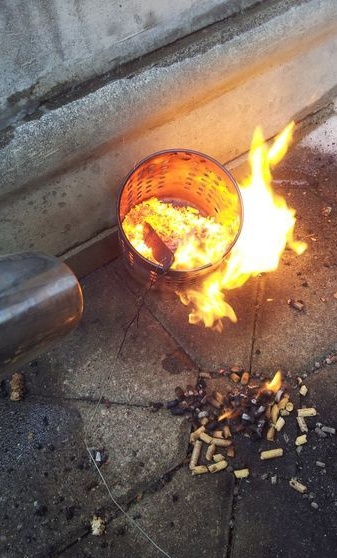
As soon as the metal is heated to the desired temperature, dip it in oil, preferably pure, mineral or vegetable, it does not really matter. It is not recommended to use mining, since it contains many impurities that can damage the outer coating of the blade.


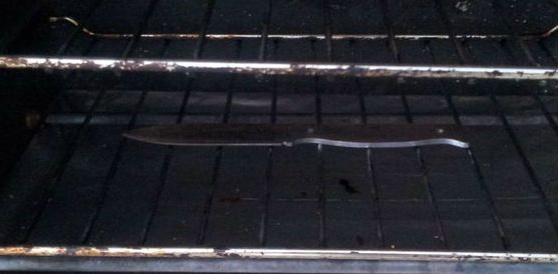
After hardening, there is another stage - this is the release of metal. Steel is heated to a certain temperature, and then allowed to cool gradually. In this case, the metal becomes a little softer, but this does not allow it to crack at high loads. For vacation, you can use a conventional household oven, the temperature regime can be different. Usually they set the temperature in the region of 200-250 degrees Celsius and warm the blade for about an hour, then let the oven cool with it. To make steel even softer, you need to heat stronger, degrees up to 300-350 Celsius.
Step Five Cleaning and sharpening
After heat treatment, the metal will change color, and there will also be scale and traces of burnt oil on it. We proceed to grinding the workpiece. First we use large paper, and then everything is smaller and smaller. As a result, if desired, you can polish the surface of the blade.


Now we have to sharpen the blade, for these purposes a variety of fixturesincluding grinding stones. You can also sharpen the knife with fine sandpaper.It’s best, they say, to sharpen knives with Japanese water stone, just remember to moisten it with water. By the way, emery paper is also better sharpen if wetted in water. In order not to cut yourself with a blade during further work, cover the blade with paper, electrical tape or the like.
Step Six Collect the pen
For the handle you need two thick little things. You can use the bar, but then it will need to be cut lengthwise into two parts. We drill holes for the pins and apply epoxy glue to both halves. We assemble the future handle, install the pins and carefully clamp it with clamps for high-quality bonding. We are waiting for the glue to dry completely.
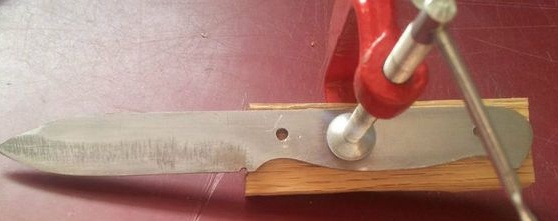
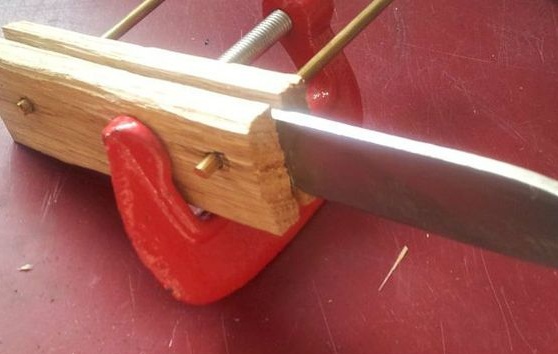
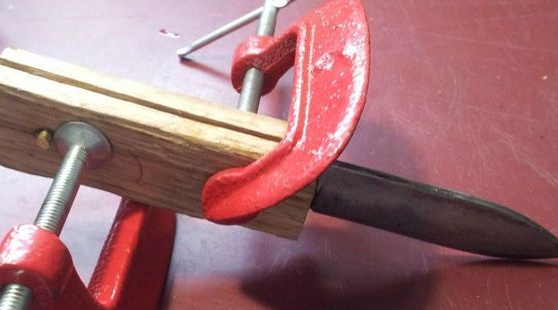


The glue has dried, take the rasp and form a rough profile of the handle. Having formed the main profile, take large sandpaper and continue processing. Then use the emery cloth smaller and smaller until you reach the ideal handle.
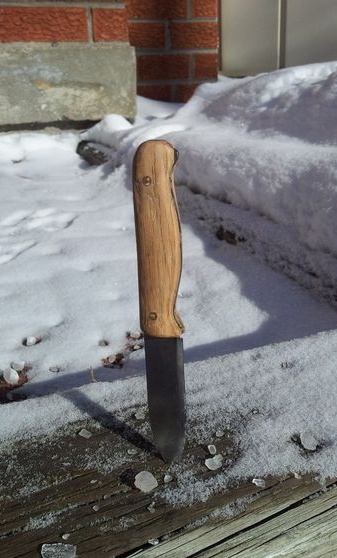
The knife is almost ready, it remains to protect the tree from moisture. Soak the handle with linseed oil or other wood oils. You need to apply so many layers until the oil stops absorbing. Let the oil dry and then polish the handle. As a polish, you can use beeswax and other substances.
