
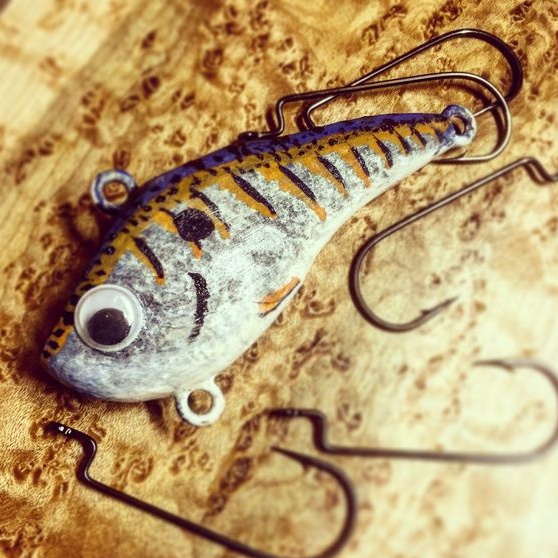
A wobbler is rightfully considered the best bait for catching a predator that hunts in the upper layers of water. He likes to fish for pike, chub, and sometimes also perch and zander. The essence of the bait is that during posting it creates vibrations and noise on the surface of the water that mimics an injured fish. And since outwardly the outlines of the bait strongly resemble a fish, the predator, without even thinking, immediately attacks the tackle.

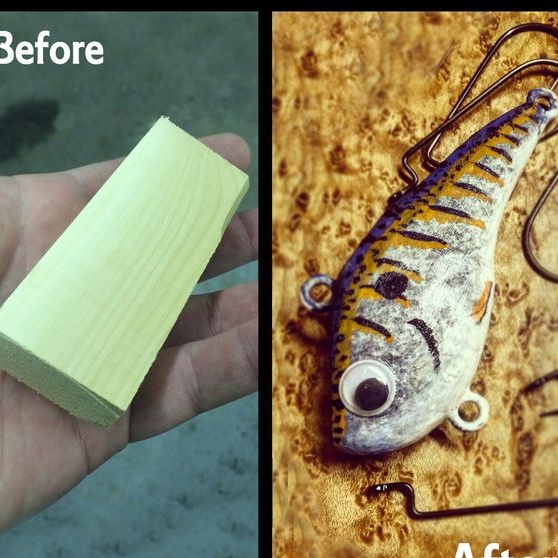
Winter is a great time of the year to tackle gear. you can save a lot on this, because they cost a lot, but they are spent quickly. Wobblers are usually made of wood, this is an excellent material for such a bait. It is convenient to work with it, it is durable, which is a lot of importance, because the sharp teeth of a predator can quickly destroy bait. Well, by itself, the tree is publicly available.
Materials and tools that the author used for homemade:
Material List:
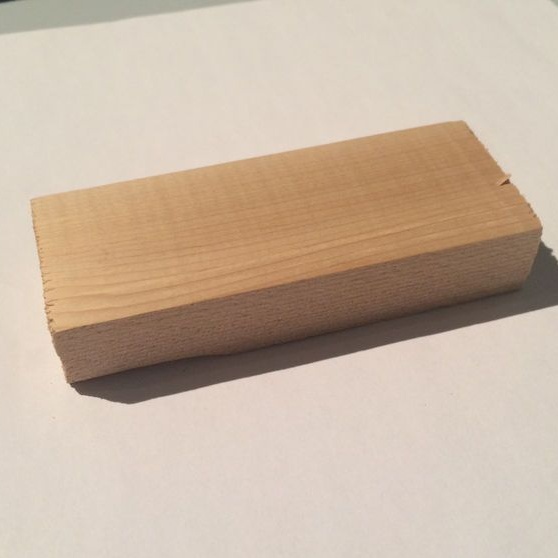
- a piece of a wooden block (or a thick board);
- wraparound steel hinges;
- lead weights;
- fishing hooks;
- paper, scissors, pencil (for the manufacture of the template);
- epoxy adhesive;
- paint;
- eyes from toys (or the like).
Tool List:
- ;
- a stationery knife or another for cutting wood;
- different grit sandpaper;
- clamps;
- the author used.
Wobbler manufacturing process:
Step one. Lure Profile
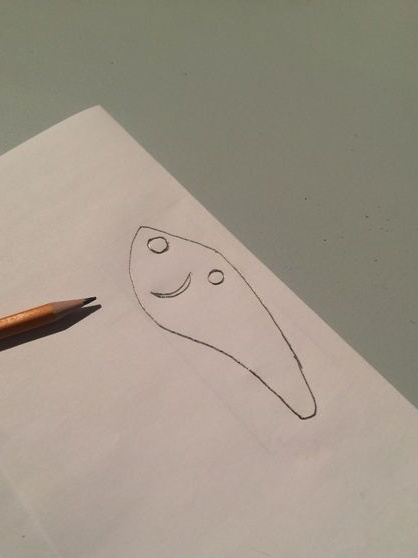
First of all, you need to develop a wobbler profile. If you are not confident in your abilities, you can simply copy the form of the purchased lures or find ready-made profiles on the Internet. The whole bait game will depend on the profile. When wiring, the wobbler should be slightly submerged, and then, when paused, emerge. This is achieved by selecting the desired shape and weights.
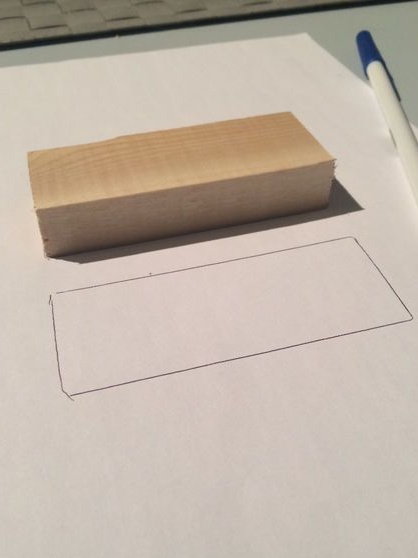
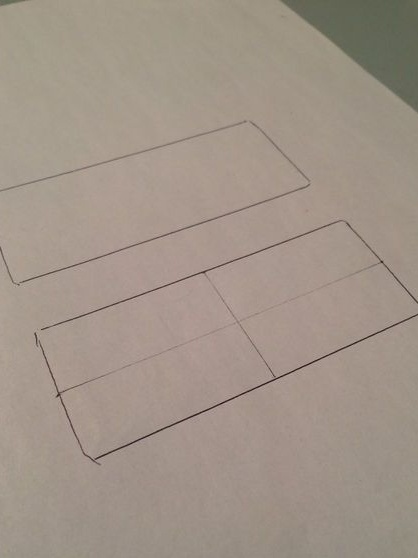
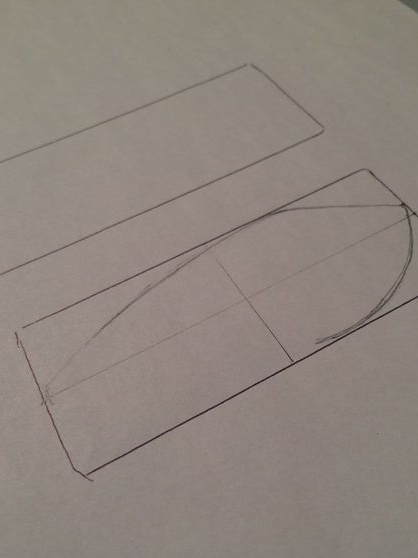
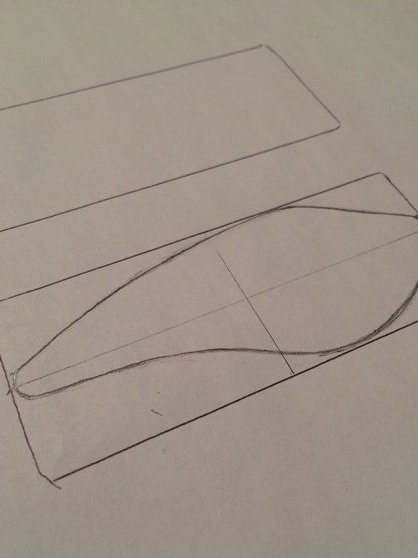
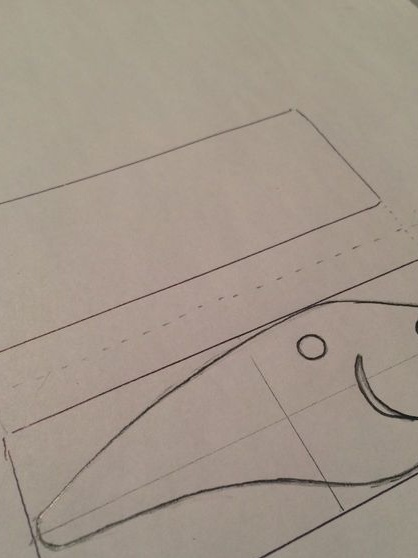
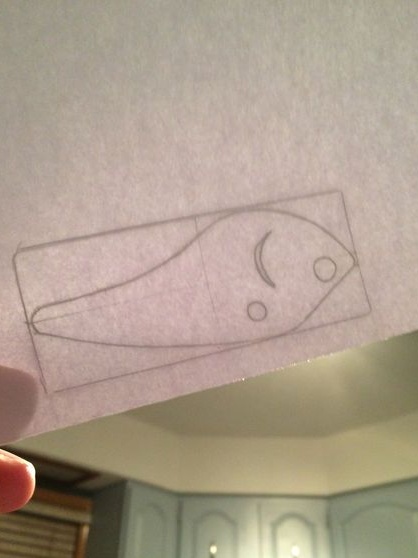

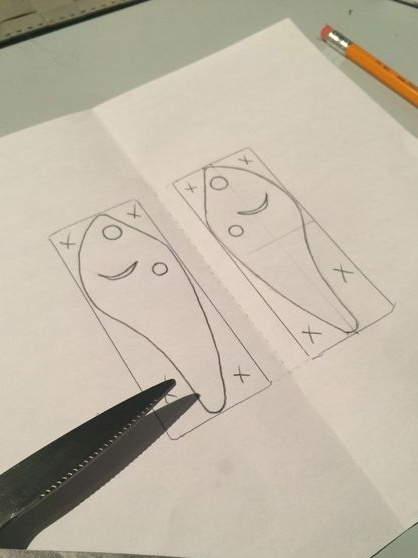
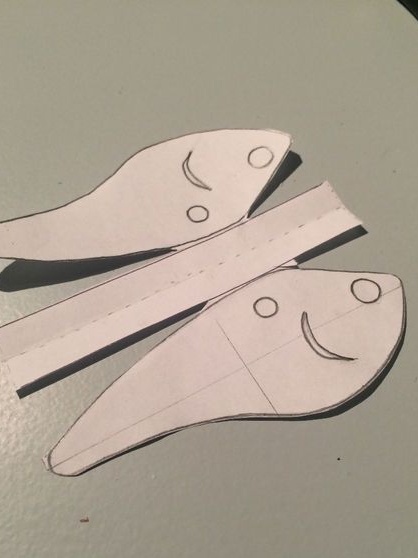
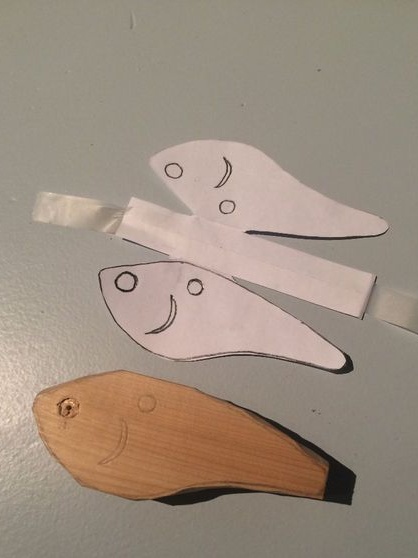
To make a template, take paper and draw two rectangles at some distance from each other. Then in these rectangles you can draw the profile of the bait. When the profile is ready, fold the sheet in half, now the profile can be embedded. As a result, you will get a double tackle profile, that is, the left and right side. This is very convenient, as it will make the fish symmetrical on both sides.
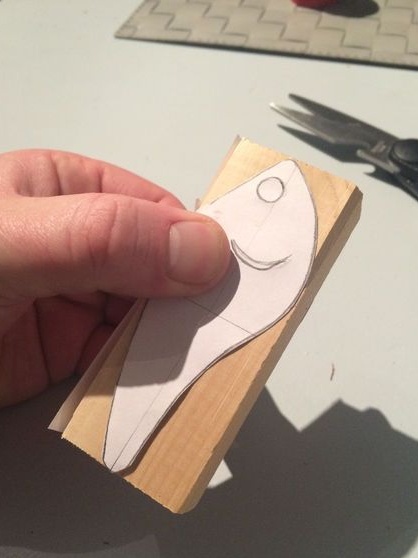
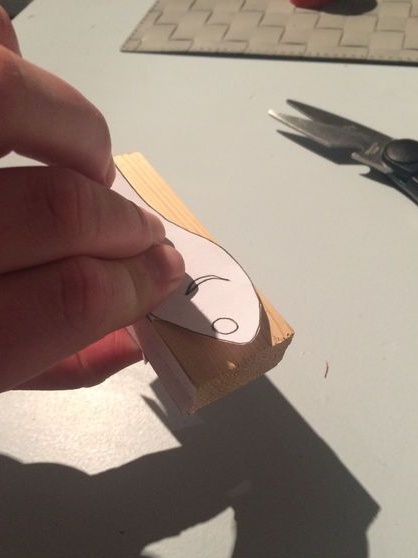
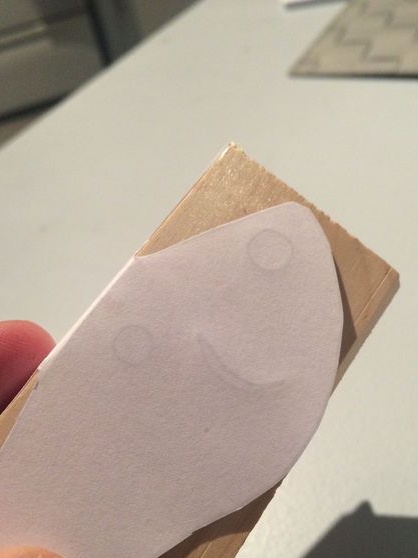
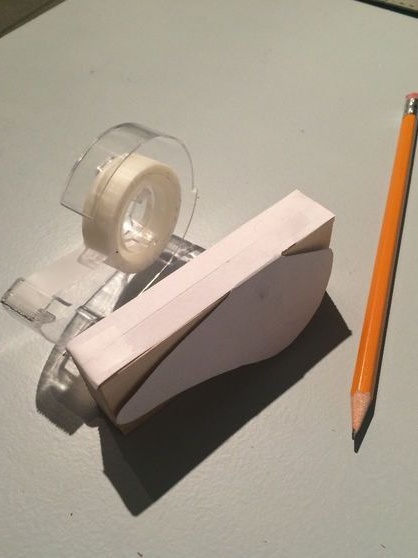
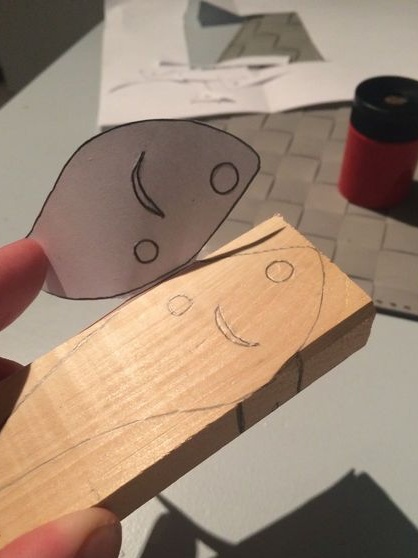
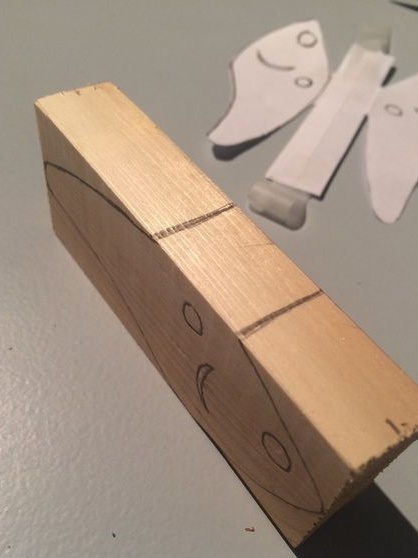
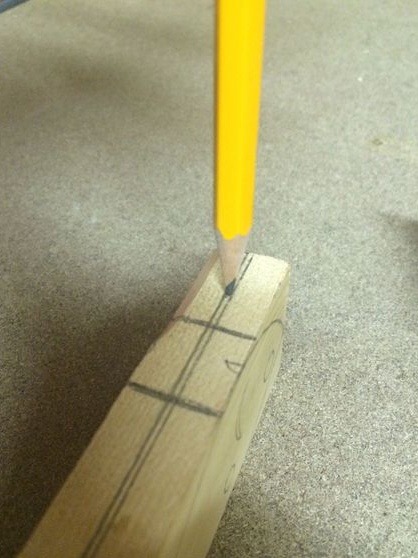
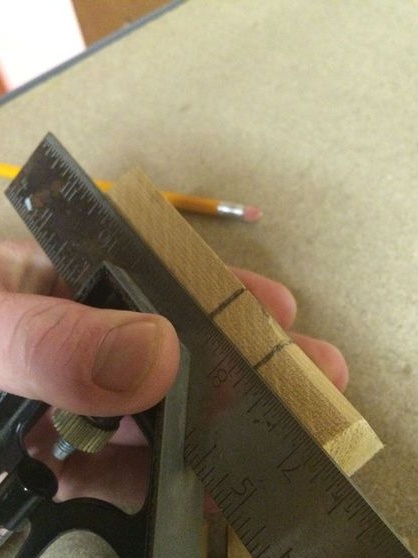
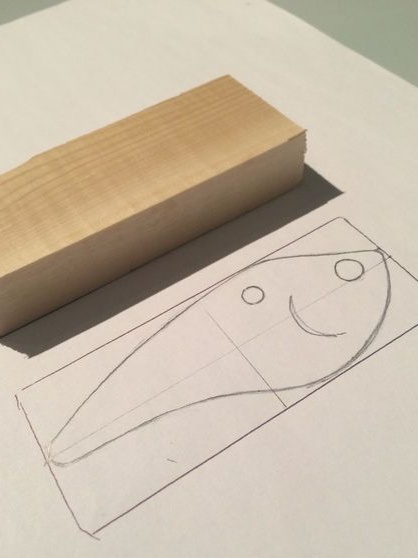
When the template is ready, put it on the workpiece, and then circle with a pencil. That's all, now our profile is transferred to the workpiece. Divide the workpiece with a pencil into two halves so that you do not get confused later.
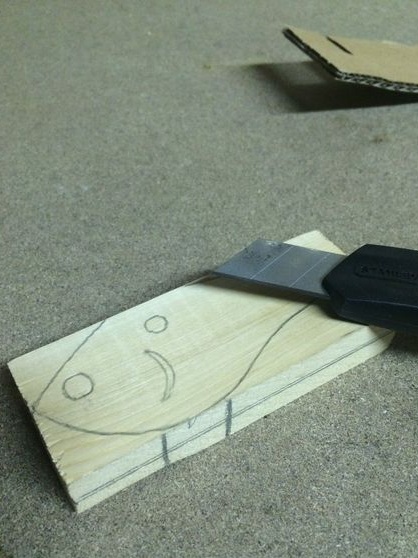
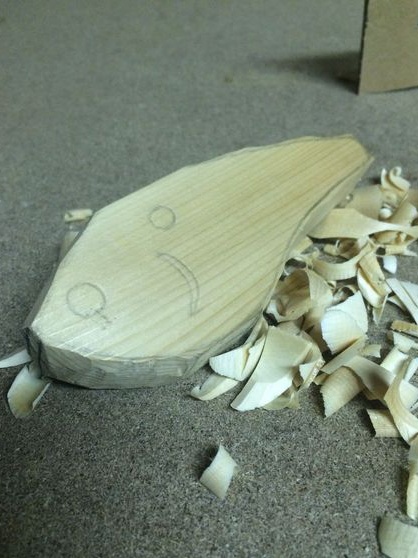
Step Two Rough forming
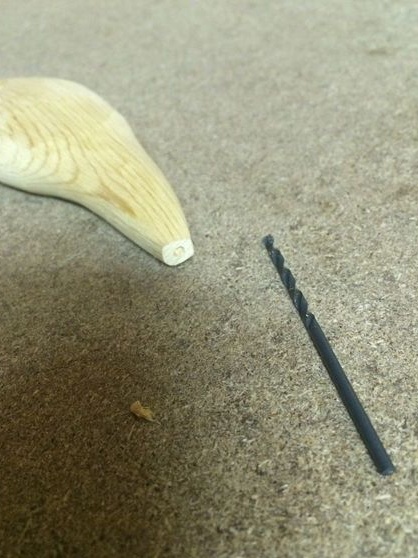
Now you can start making a rough profile of the fish.The most massive parts can be cut, for example, with a jigsaw. Then we take a clerical knife, and preferably a knife for cutting wood and grind off everything unnecessary. Finally, smooth the sharp edges with a rasp.

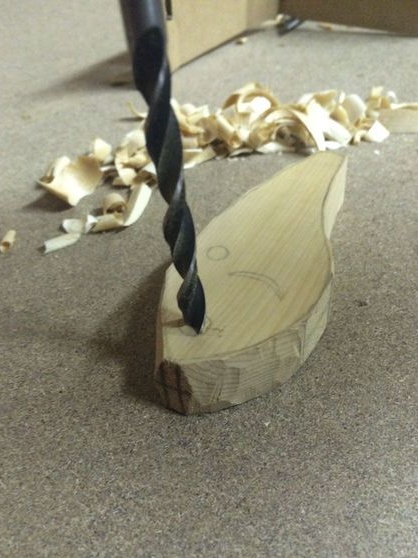
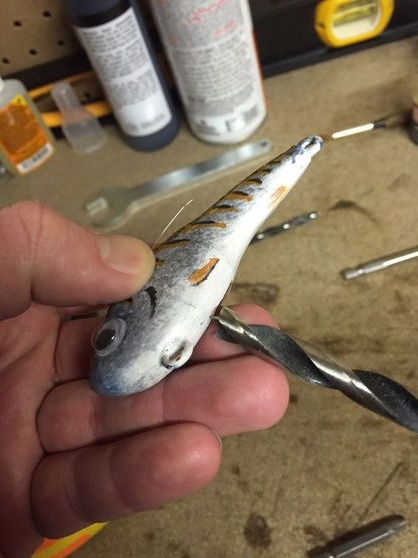
Also at this step we need a drill. Using it, you need to drill the grooves in those places where the eyes of the bait will be.
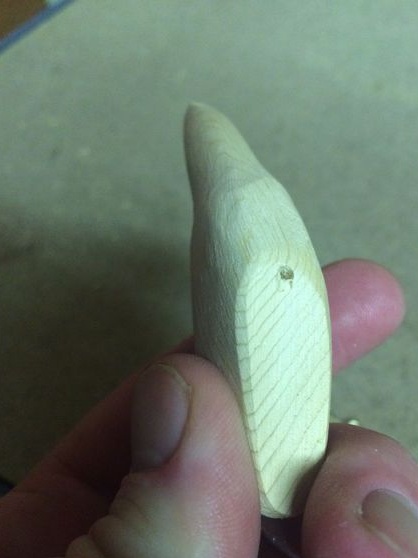
Step Three Getting down to grinding
The author performs grinding on a belt grinding machine; this is a very convenient machine for these purposes. It should be noted that such machines are manual, they are small in size and relatively inexpensive.
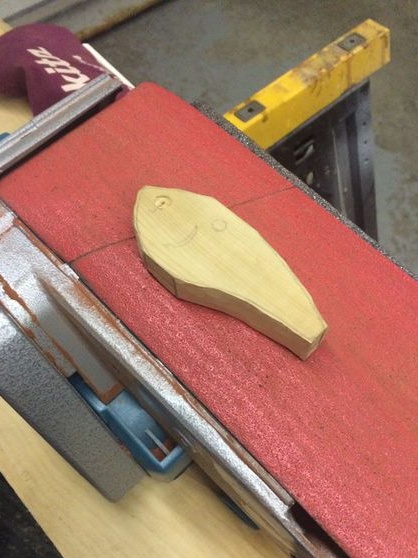
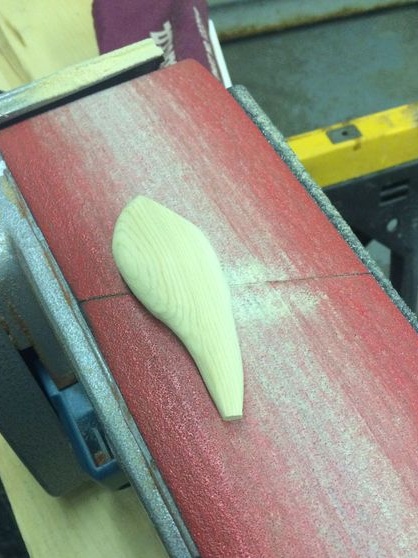
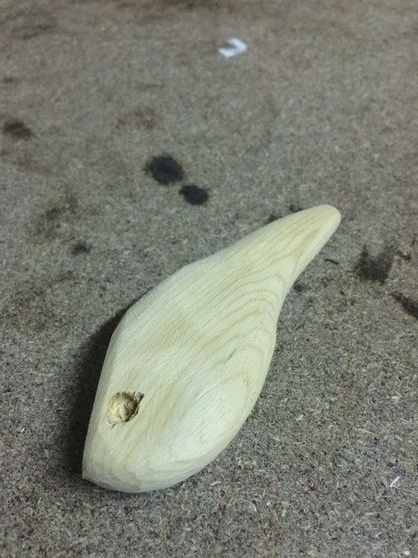
If there is no grinder, no problem, take files and form the main profile of the bait. Next, we switch to large emery paper, as a result, gradually reducing grain size. We form the desired profile and with the help of fine sandpaper we make the tree absolutely smooth.
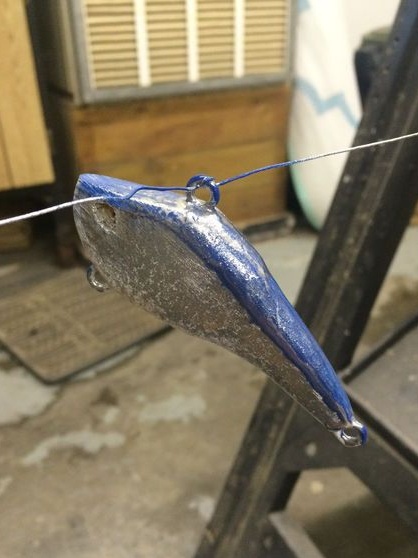
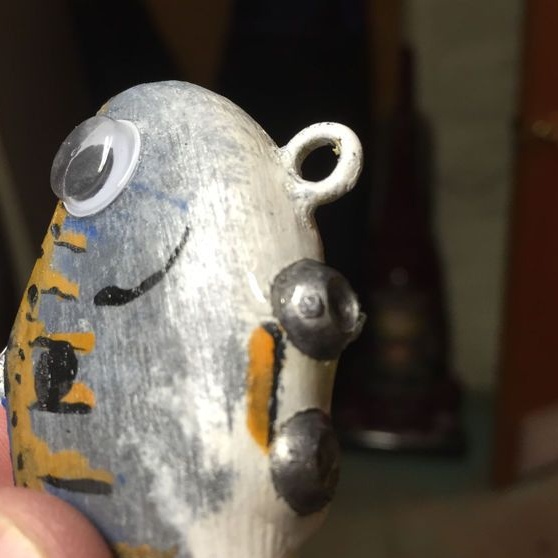
Step Four We establish fixing loops
The bait loops must be fixed very securely, as the fish attacks the tackle with great force, and then it still needs to be pulled out. You can also catch gear on the snag and lose it if it is loose on the fishing line.
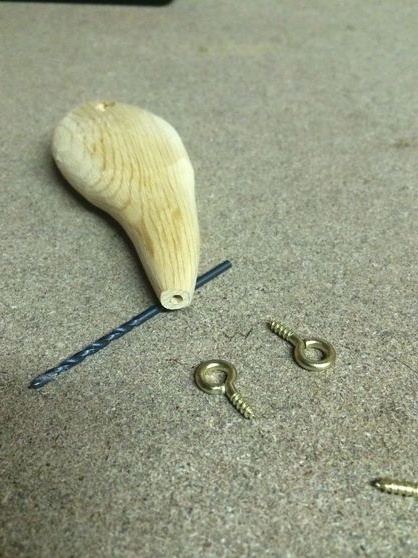
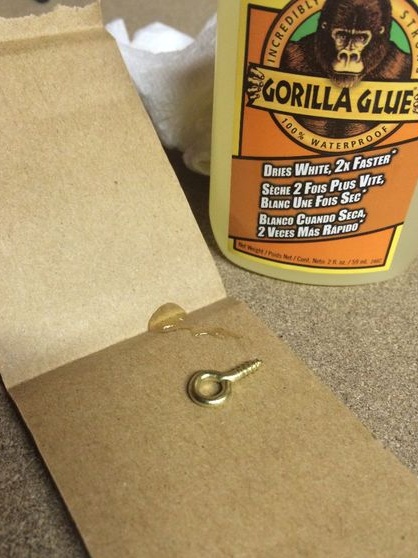
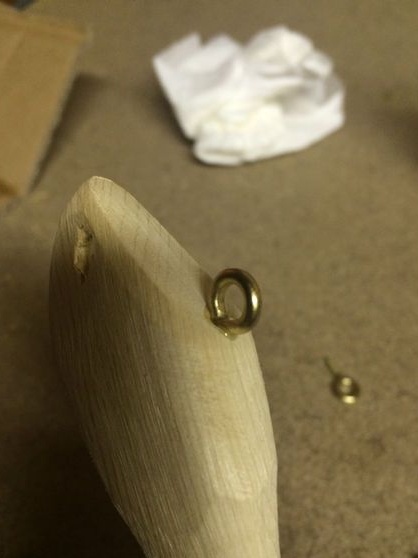
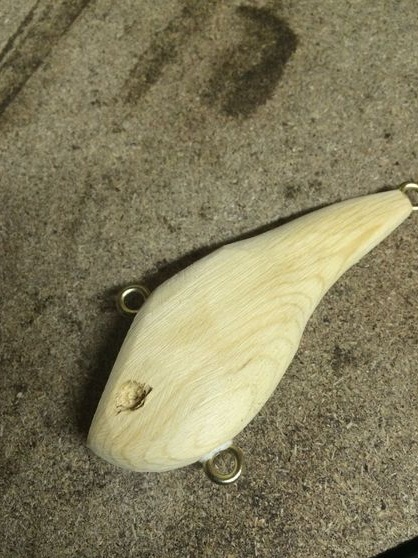
The author used steel loops, they are threaded. Under the loops we drill holes in the right places of the bait. For the most reliable fastening, apply epoxy glue to the thread of the loop and then screw it back into place. When the glue dries, the hinges will be securely fixed.
Step Five Paint the fish
An integral part of the manufacture of a wobbler is its painting. Paint protects the product from moisture, as its contact with the tree is unacceptable. In addition, an interesting coloring attracts a predator better.

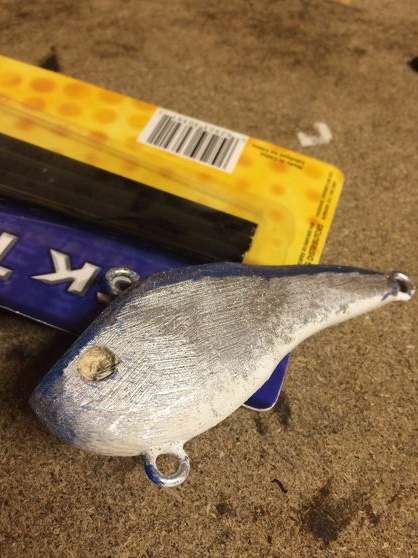

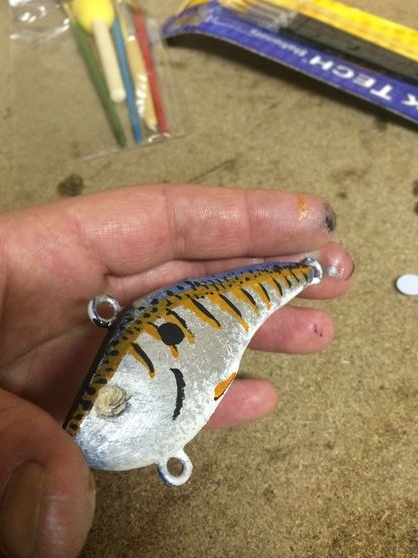
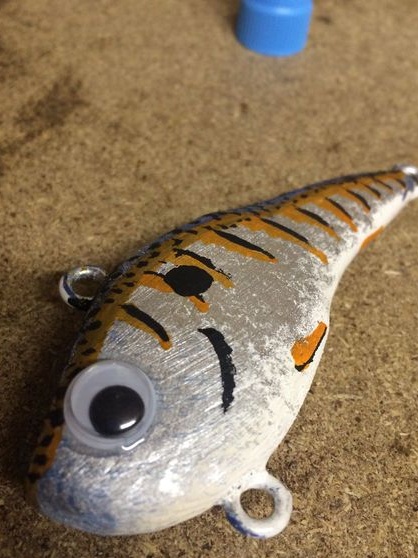

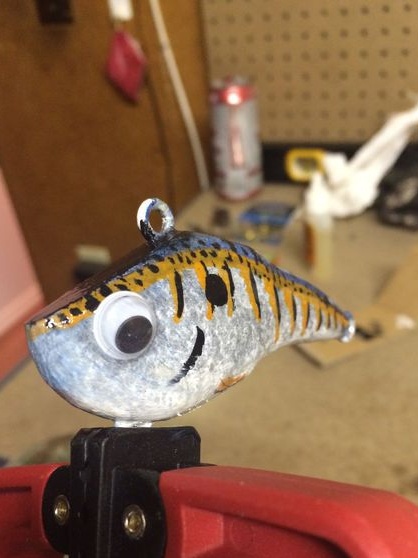
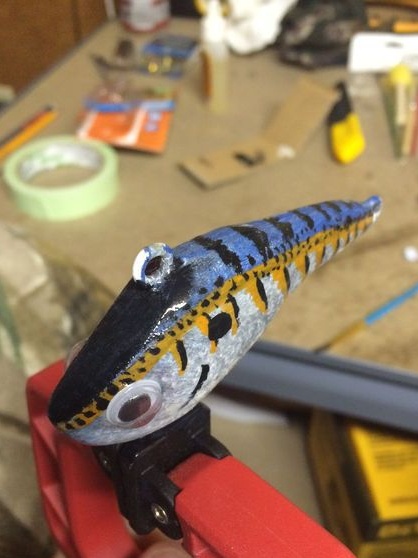
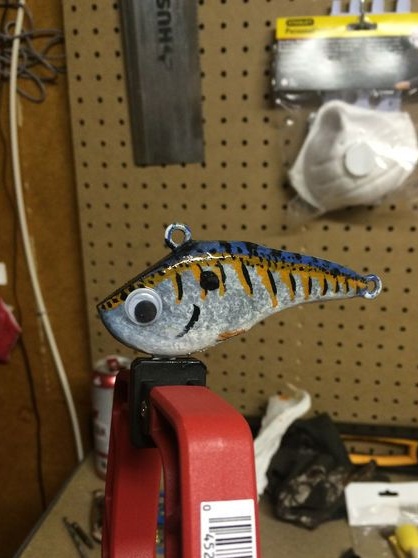
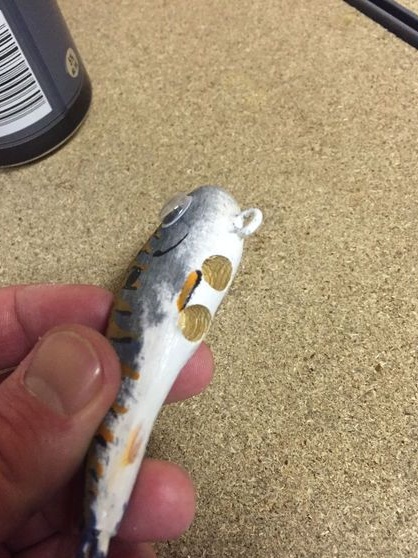
First, we paint the whole fish in silver, it symbolizes the scales. Then we apply strips and other patterns to the fish at your discretion.
An integral part of the bait is the eyes, according to fishermen, it is thanks to the eyes that the predator more strongly “believes” that it is a real fish. Eyes can be found in old toys or made by yourself. Glue them into place using epoxy. We wait until the glue and paint are completely dry, and then apply several layers of varnish on top. It will protect the outer cover well, and the bait will look much better.
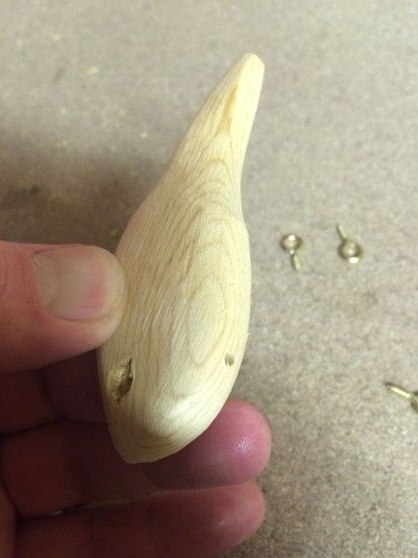
Step Six Wobbler loading
Without weights, the wobbler will simply float at the top of the water like a piece of wood. For it to move correctly, like a real fish, it needs to be loaded. You can choose your own diving depth. Another loading allows you to throw tackle further.
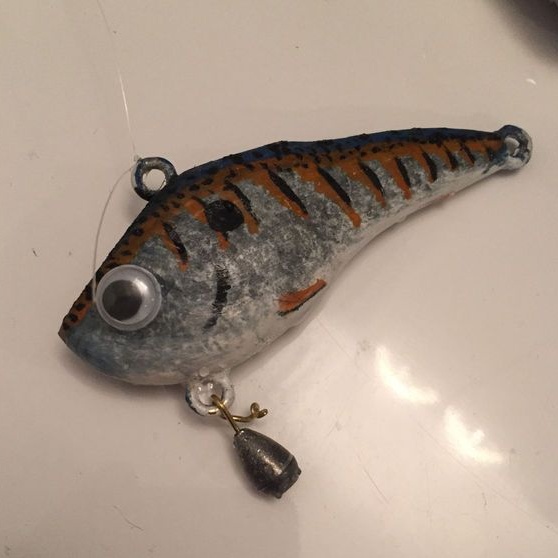
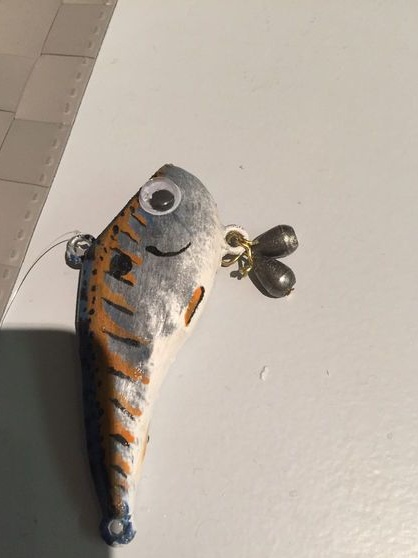
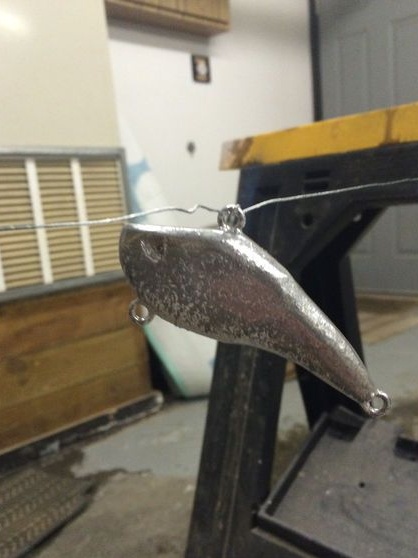
To select the necessary weights by weight, tie them to the front loop of the bait. See how deep it sinks, and pick the right amount and size. As a rule, lead is used for such purposes.
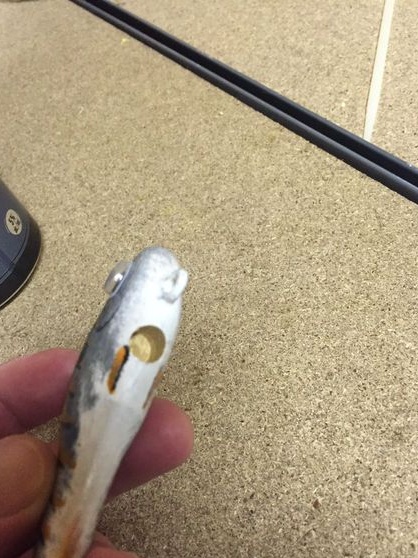
Having picked up the necessary weights, drill holes for their bait under their size. Next, we take epoxy glue, apply it to weights and install them in prepared places. After that, it remains to wait until the glue is completely dry. If you wish, you can completely mount the weights in the fish, and they will not be visible.
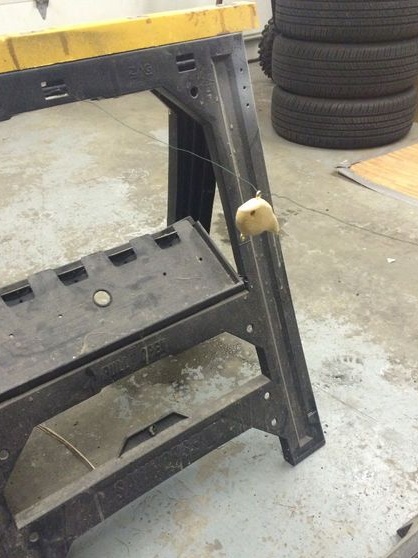
After that, the bait can be tested. Tie a fishing line to the top loop and make water wiring. The author made his bait in February, so I had to test it in a bathtub, where you won’t especially accelerate. You can watch a video of this process. To play the fish more actively, in the front part you can install a blade.
Seventh step. The final stage, set the hooks

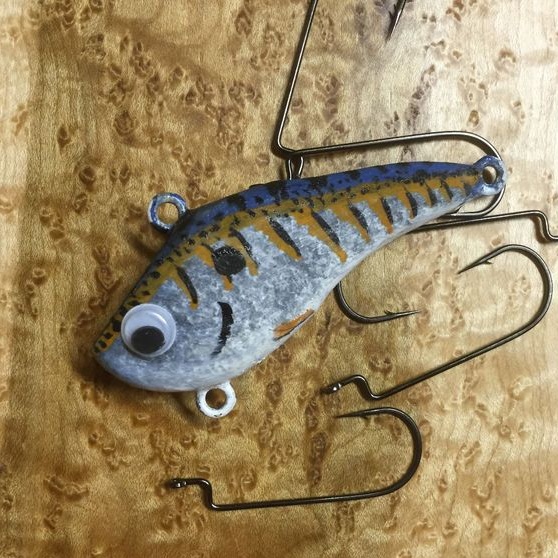
The bait is ready, it remains to install hooks on it. The author decided to use ordinary single large hooks, but this is not a very reliable approach, since the chance of hooking a predator is reduced. It is best to put tees or at least doubles. Hooks are usually put through the ringlet. As planned, two hooks are installed on the bait, one at the back and one at the bottom in the front.
Attach the bait to the fishing line through the carabiner so that it does not twist.It is also advisable to use metal leashes or fluorocarbon so that the toothy predator does not swim away with the bait. Good fishing, no tail, no scales!