

In modern times, more and more technology, lithium-ion batteries are used as batteries. They do not have a “memory effect", unlike Ni-Cd. They can give a large current.
I decided to remake two old flashlights for 18650 lithium-ion batteries, since I have a large number of them. Yes, and get them is not difficult in the repair companies involved in laptop repair.
For alteration, we need a certain number of components:
- actually flashlights;
- ;
- ;
- plexiglass;
- a piece of thin plastic;
- ;
- wires, hot melt, tools.
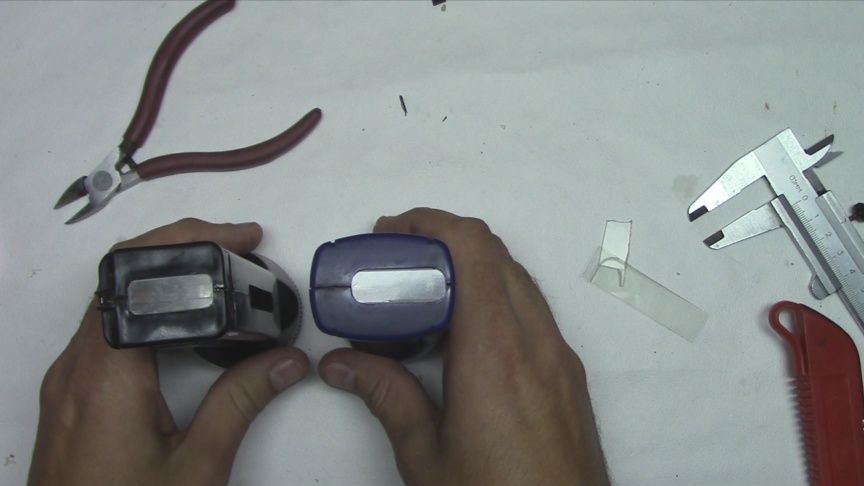
Flashlights of a convenient size for installing 18650 batteries in them, in the amount of two pieces. In principle, you can describe the refinement of one flashlight.
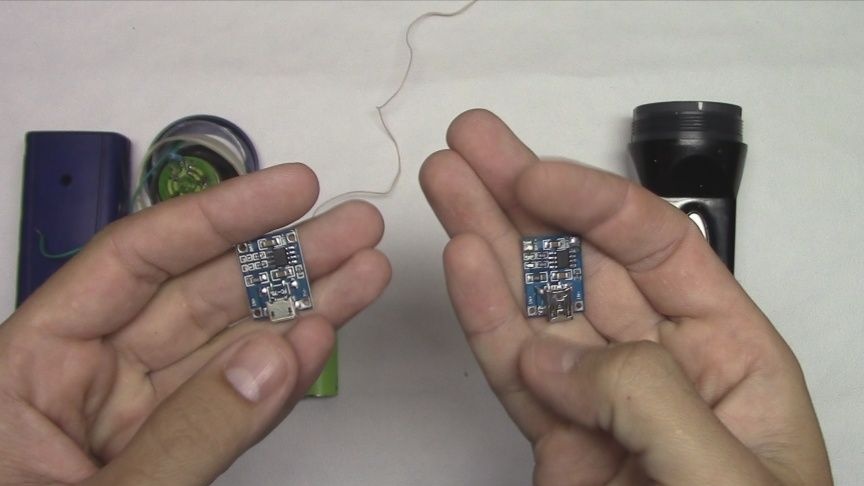
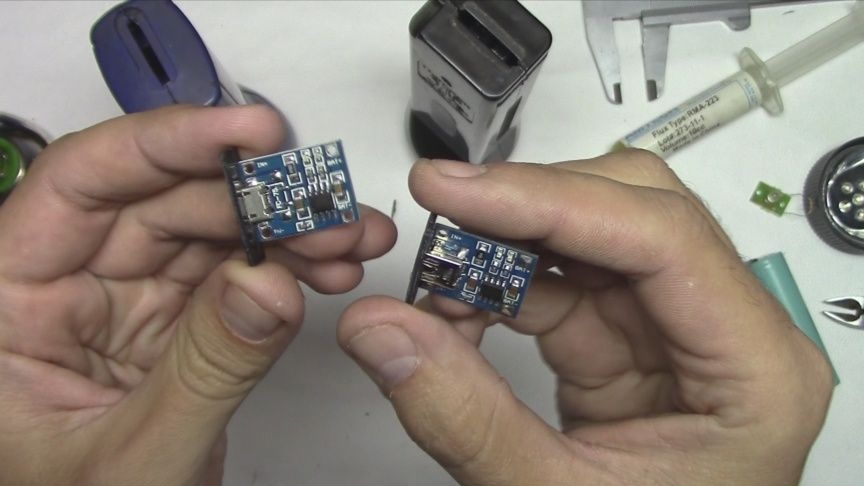
The charge controller boards are different for me. On one Mini-USB, on the second Micro-USB.
These fees can be purchased in China for 15-20 rubles per unit. Also sold in radio stores and radio markets. I have boards without protection (BMS), but we can handle this.
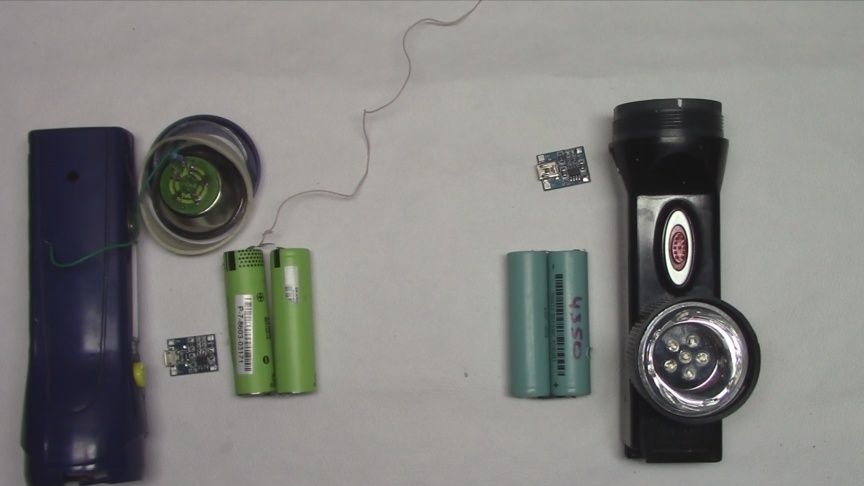
We disassemble the flashlights and take out all of them, except for switches, LEDs.
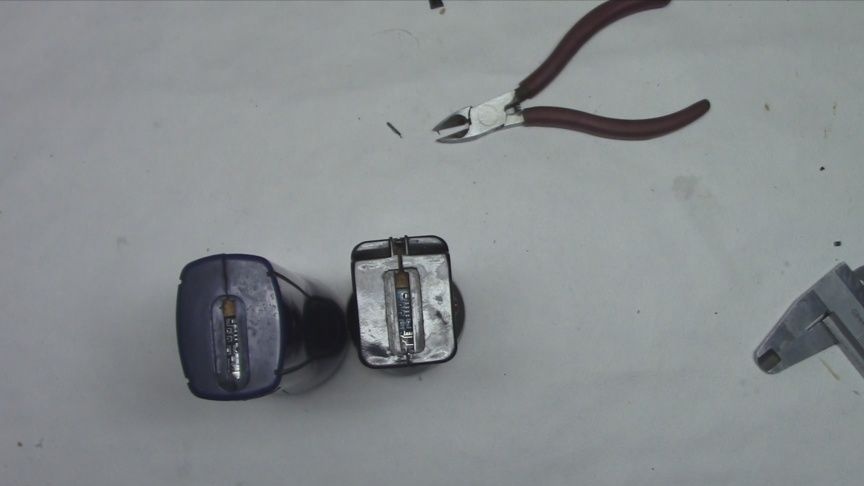
Now we take thin plastic, I have ABS from the old battery. It turned out that it is black, but not scary, on a blue flashlight it will also look great.
We cut out the windows so that they fit tightly into the place where the plug for the charge was previously put forward.
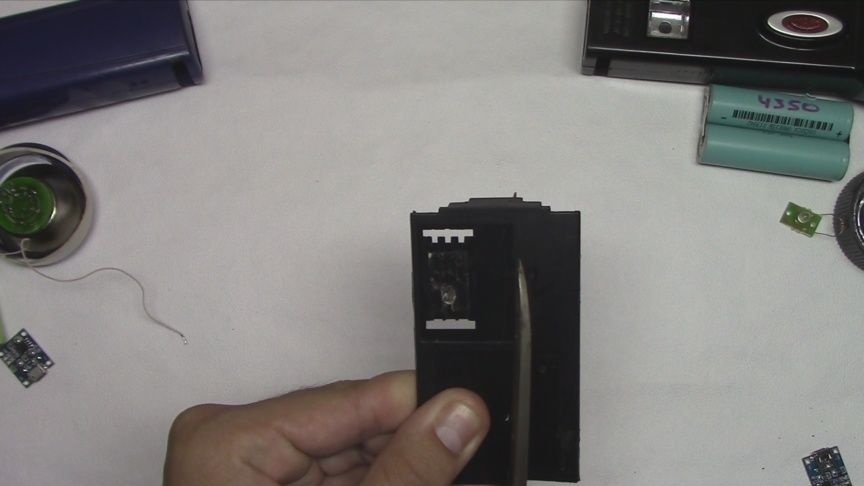
We cut out the right size for the window and the holes for the connectors of our charge cards. It’s not necessary to glue them, they must fit tightly and I will strengthen them later.
Since our motherboards do not have protection against discharge, motherboards from mobile phone batteries are used in this situation. You can buy it with protection, but I don’t have one now. Therefore, I resort to a slightly laborious solution.
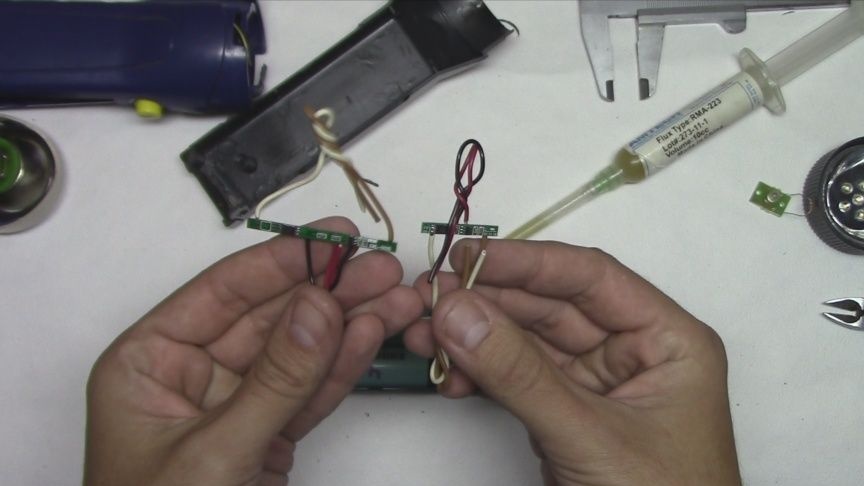
Solder the wires from our BMS to the batteries. We charge the charge controller boards and back them up. In the role of a spacer, I applied segments of wine cork. We strengthen everything with hot glue, but it is possible without it.

We unsolder the switches, my breakers break the plus. On the black flashlight there is a board with an LED. The switch has two on positions, one of which I turned on a single LED, and the second position turns on the main LEDs. On a blue small lamp one position of the switch.
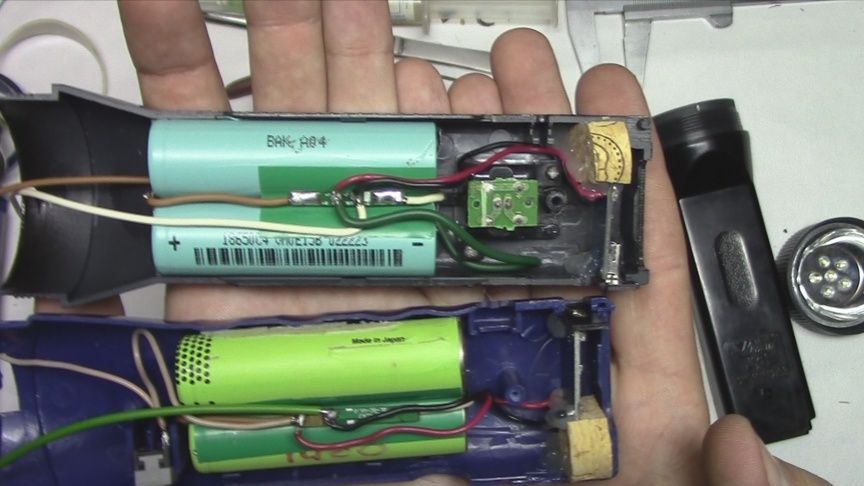
We collect flashlights and solder reflectors and move on to the next stage.
The next step, we cut out two plates of transparent plastic, I have this plastic from the box of the CD. We are sanding with sandpaper to a dull surface, so the light from the LED is more pleasant.
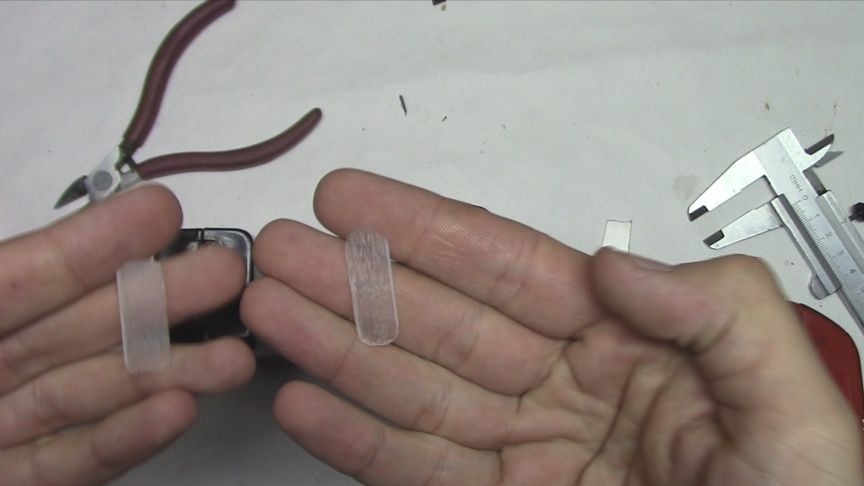
We glue to the place where the engine used to be, which extended the power plug. You need to glue on one half of the flashlight. Suddenly you will need to disassemble the flashlight.
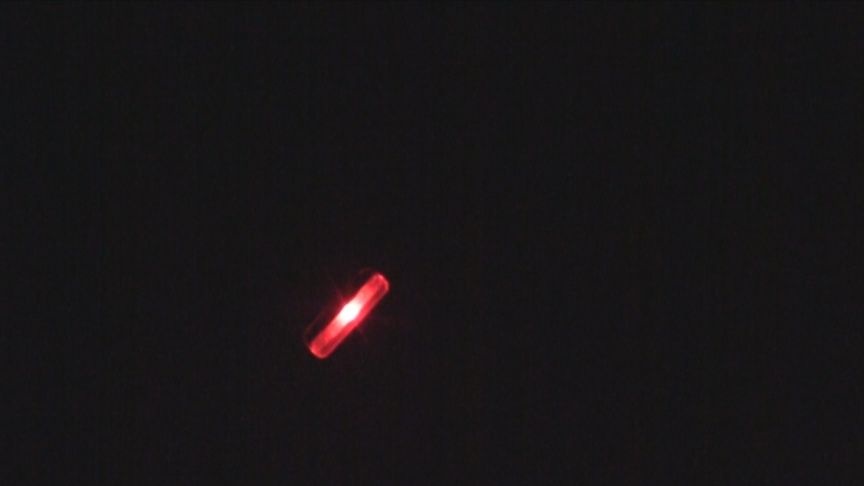
We check the visibility of the charging LED on one flashlight. Seen wonderful. At the end of the charge, the blue LED will light up.
That's how simple it is to modify flashlights for Li-ion.
Details of the assembly, as always, can be seen in the video.