
If you want to learn how to make truly unique furnitureThis manual is for you. To make such a miracle, you need to have a strong imagination and straight arms. However, the main difficulty in making such furniture is finding the right material.
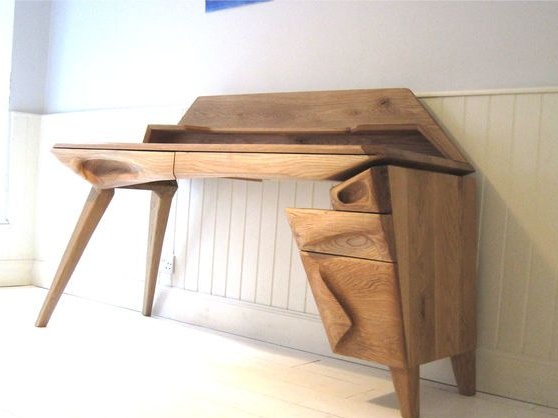
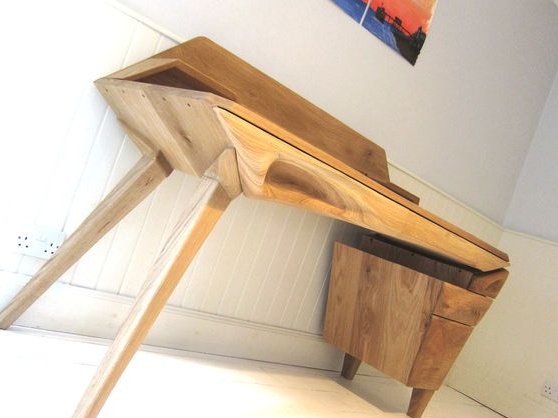
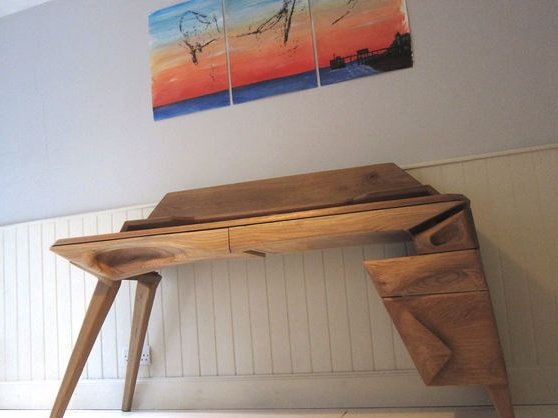
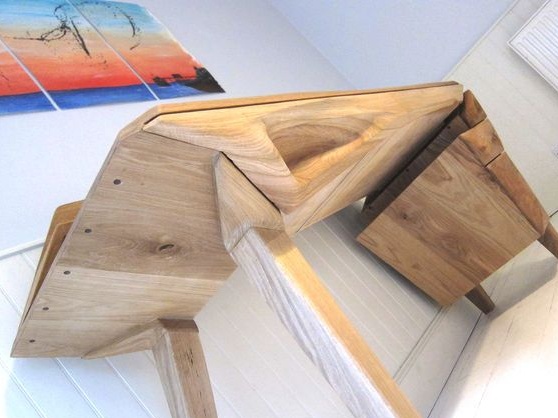
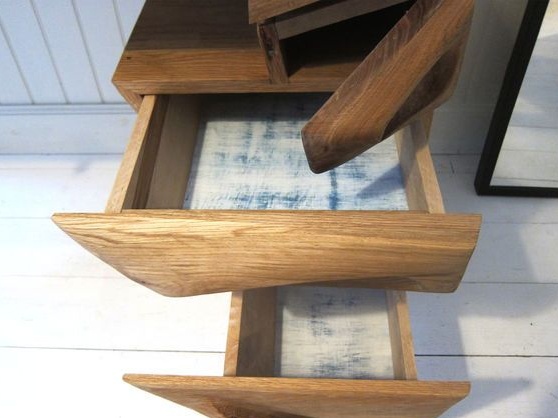
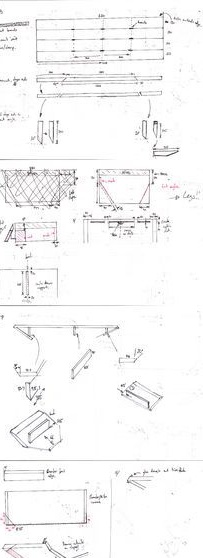
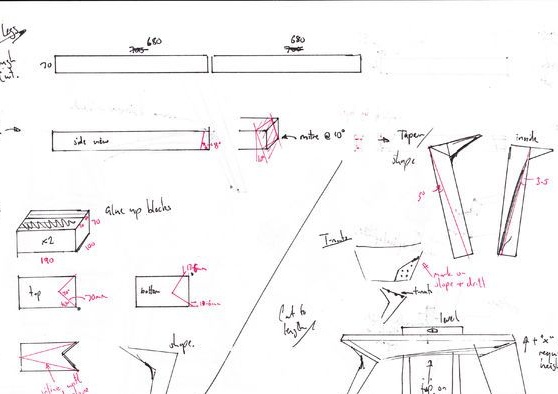
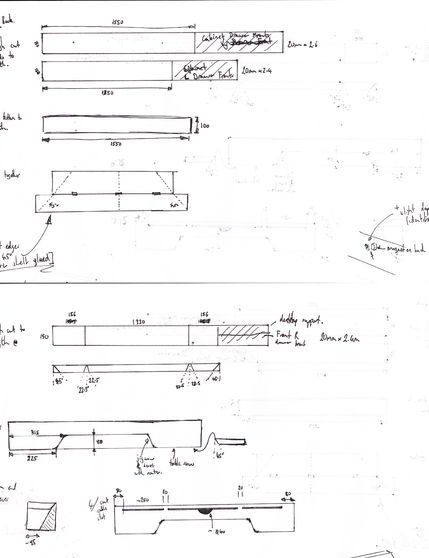
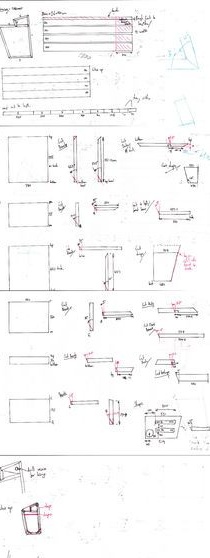
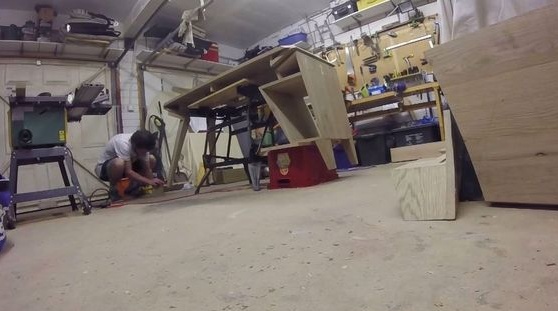
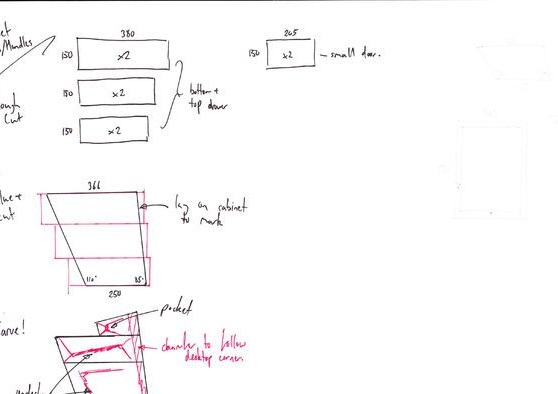
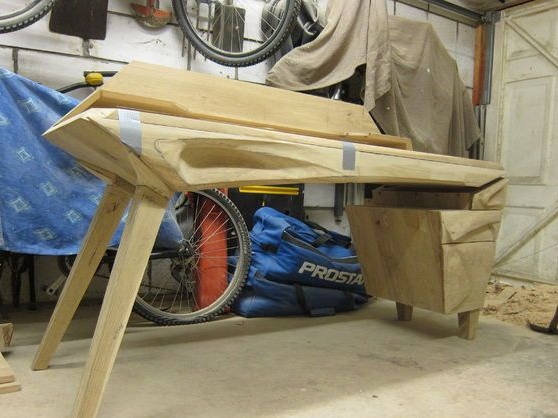
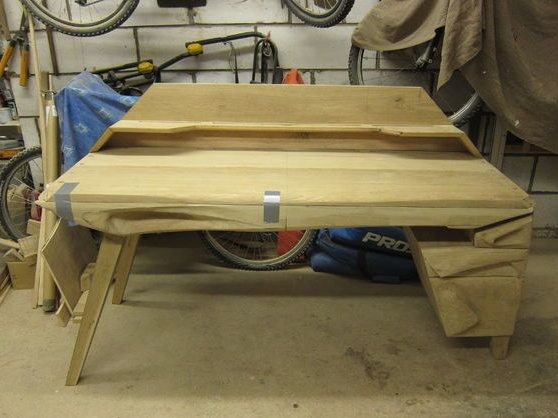
The made little table has two sliding shelves, and also a bedside table. The author first drew the project on pencil on plain paper, and then the table was worked out in more detail in CAD. The most important thing is to decide in advance on the dimensions of all the necessary components for the assembly and, based on this figure, prepare the materials.
Materials and tools that the author used for homemade:
Material List:
- American white oak;
- maple for shelves;
- walnut veneer;
- nuts on M6 m M10;
- connecting bolts;
- rod with thread;
- Danish oil;
- glue for wood.
Tool List:
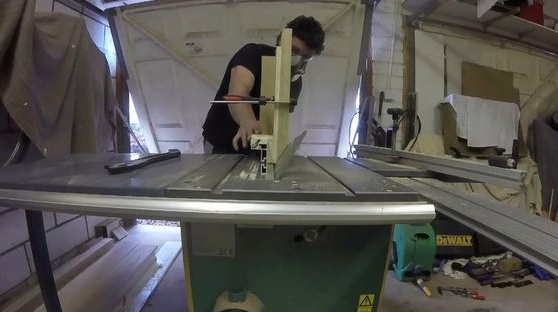
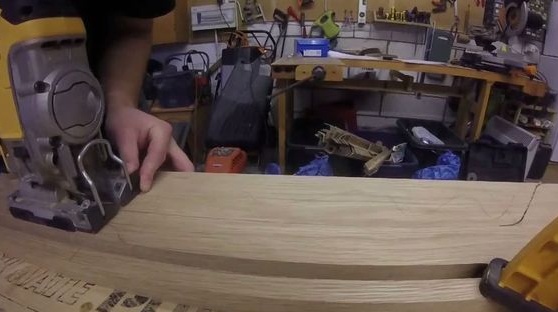
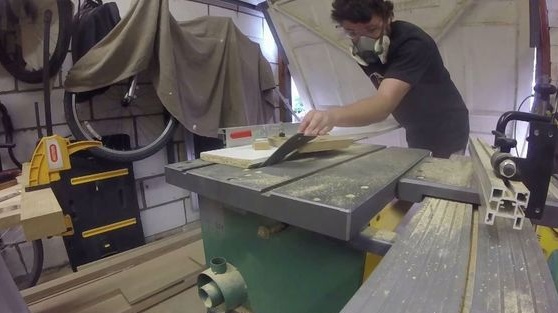
- a tool for cutting wood (miter saw, band and others);
- drill with bits;
- wrenches and screwdrivers;
- milling cutter;
- clamps;
- grinder;
- tape measure, marker, squares and more;
- grinding machines, files;
- respiratory and eye protection.
The process of making a table:
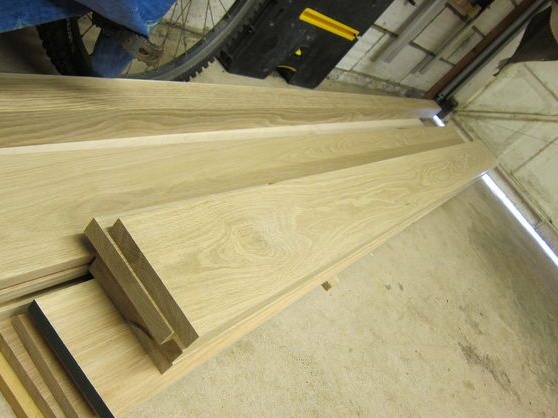
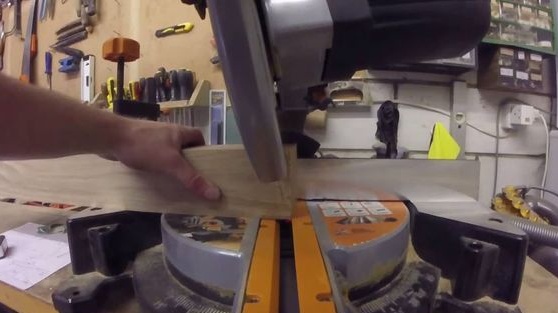
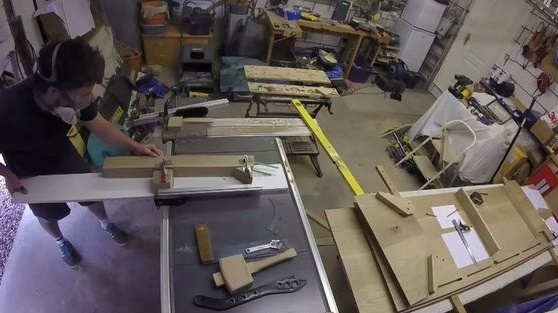
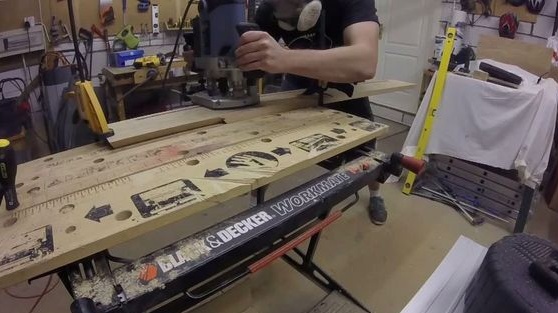
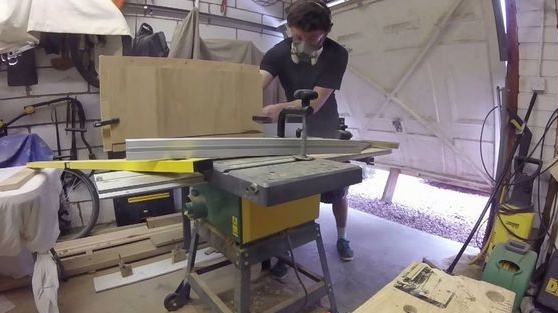
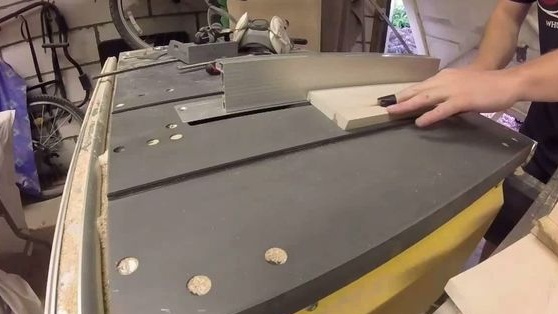
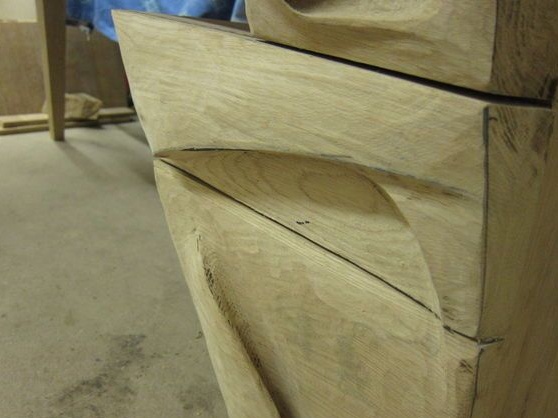
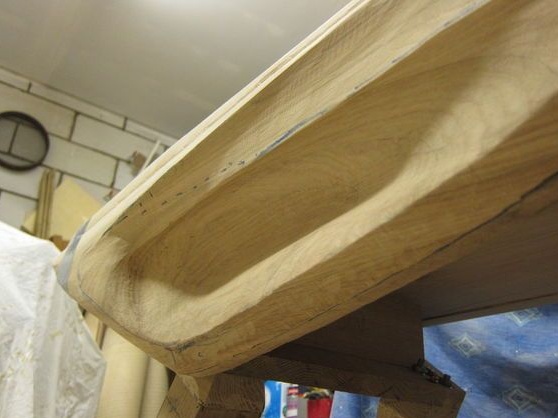
Step one. Countertop Making
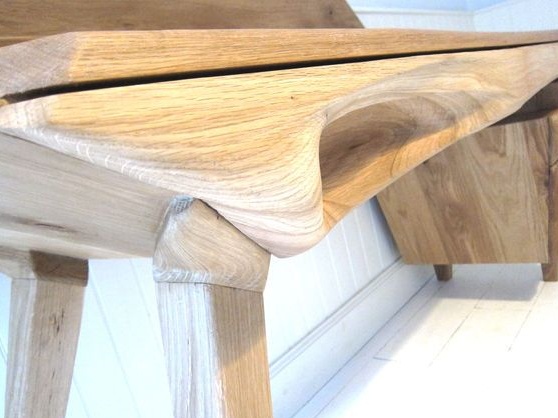
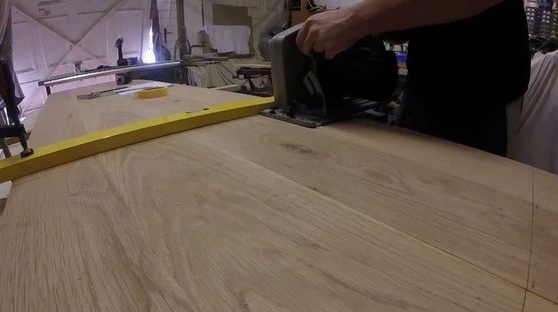
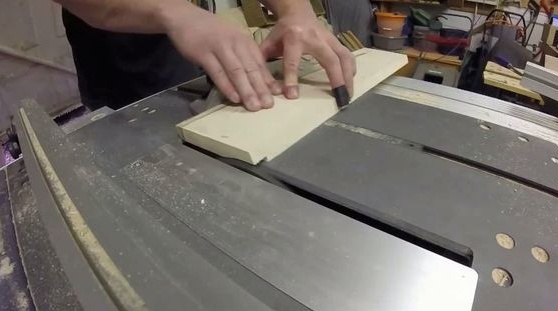
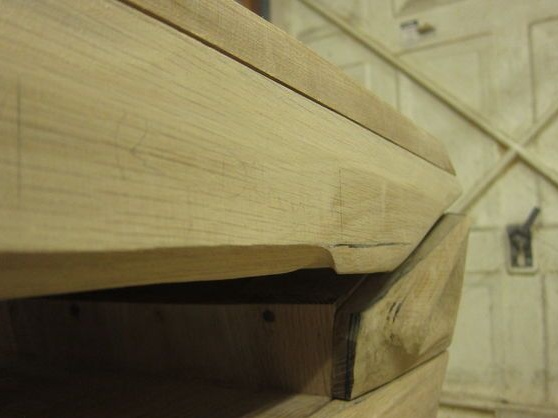
The author made the countertop from boards. Cut them to the desired length in accordance with the scheme. The author cut the boards with a miter saw. Clean those parts of the boards that are joined, as they should be joined without gaps.
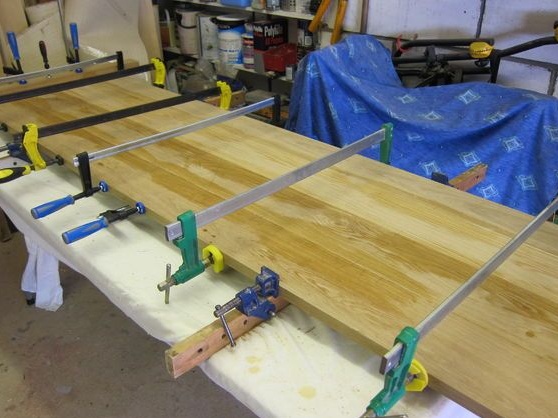
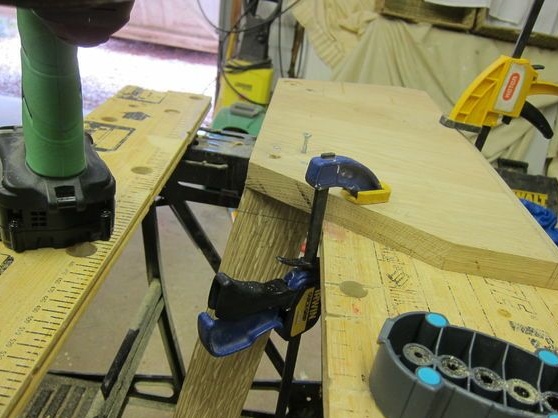
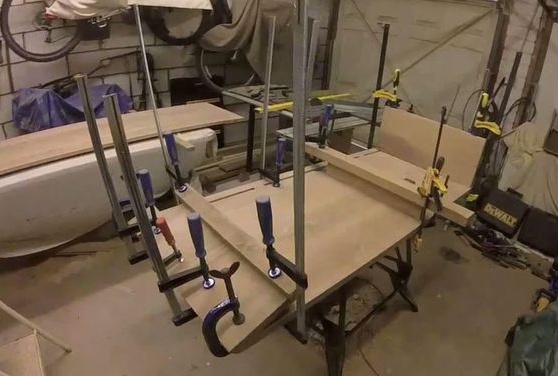
The countertop is connected by gluing, this is not so easy, since the product is rather bulky. You can glue first the first half of the table, then the second, well, and later you can glue just two halves. The author used a lot of clamps and thereby glued the countertop. For a reliable connection of the glue boards, it may not be enough, it is better to use wooden dowels in addition.


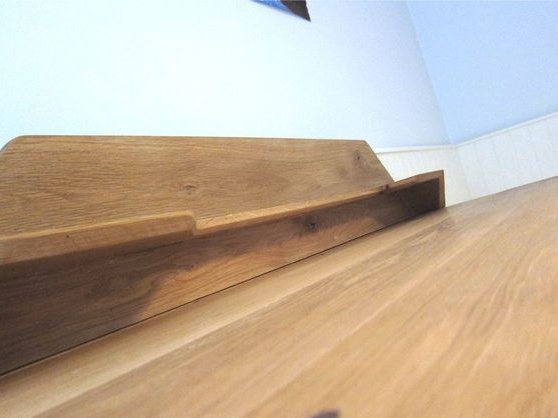
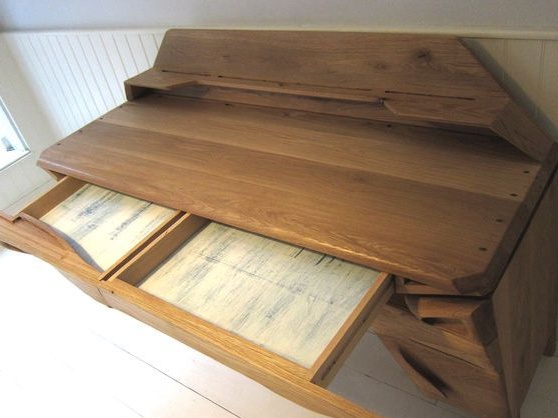
Step Two Making the rear shelf countertops
On that part of the countertop, which will be located against the wall, the author decided to put together a shelf. It will be needed in order to be able to install a monitor. Again, we cut the workpieces in accordance with the scheme and glue the parts. When you get the finished structure, screw it to the countertop with screws.
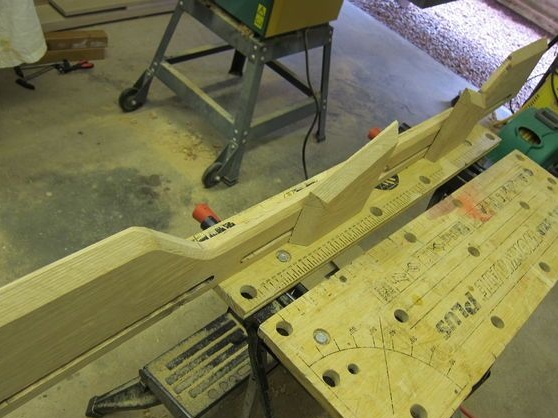
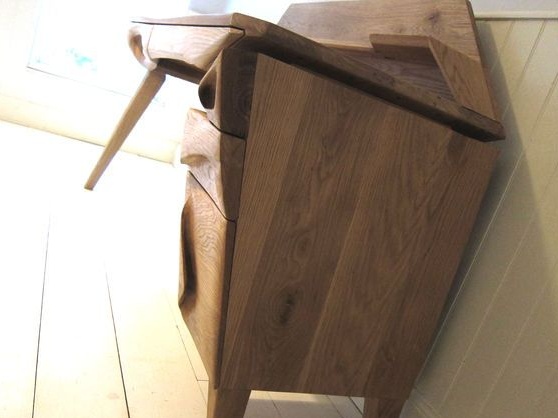
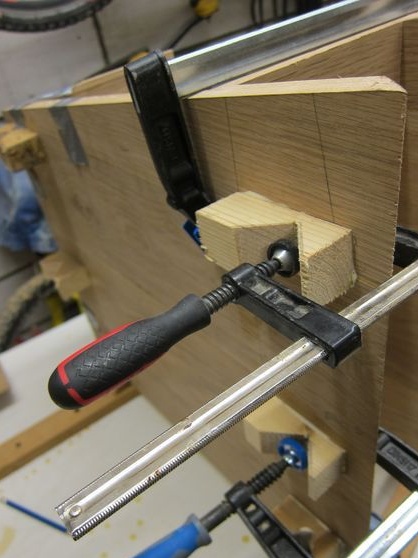
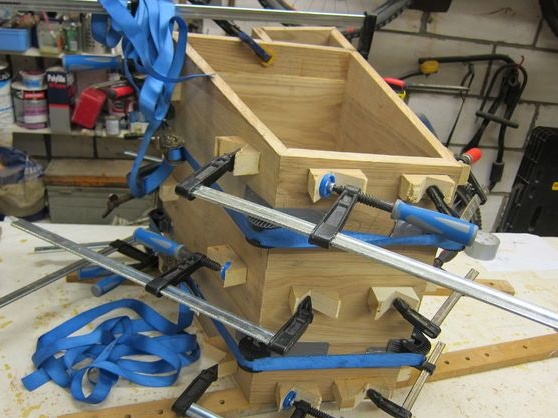
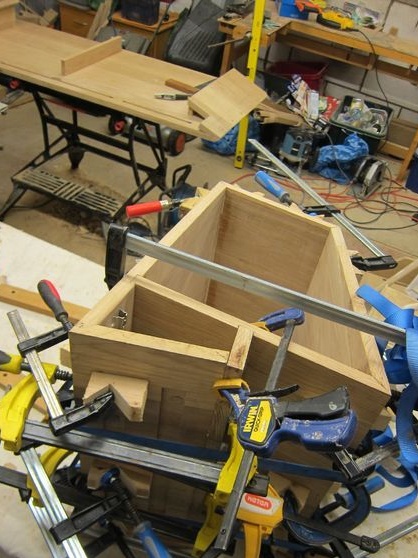
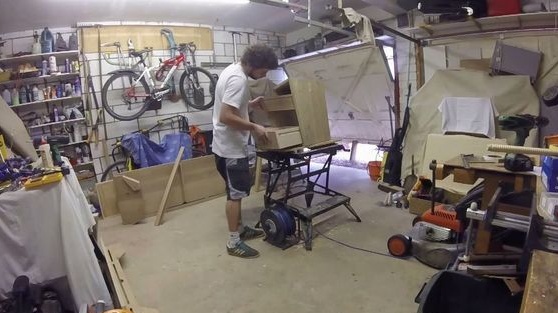
Step Three How to make a locker
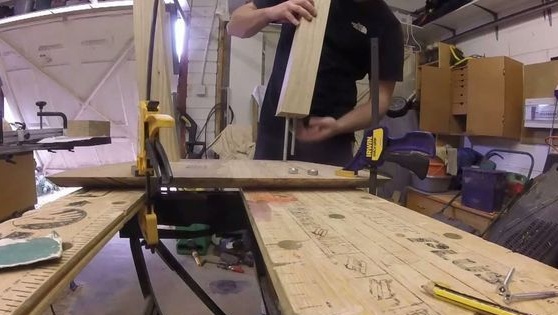
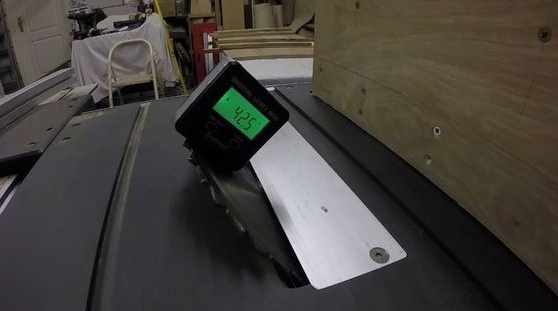
The author’s cabinet is also assembled with glue. We cut the required number of blanks and form the corners for joining. This is a very crucial moment, because if the angle is wrong, the cabinet will be crooked.Apply glue and carefully tighten the structure with clamps until the glue dries. The cabinet is attached to the table with screws.

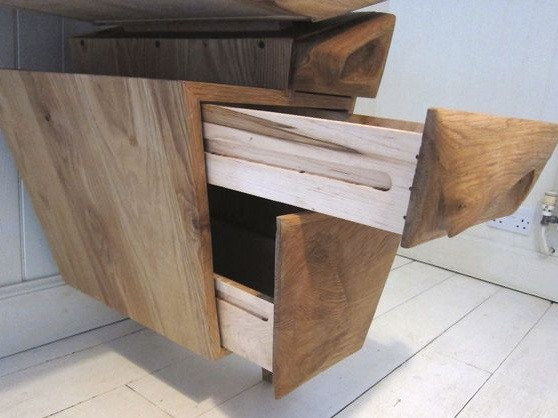
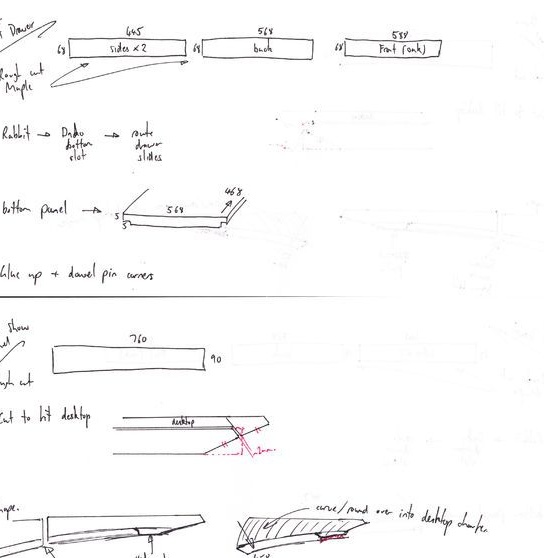
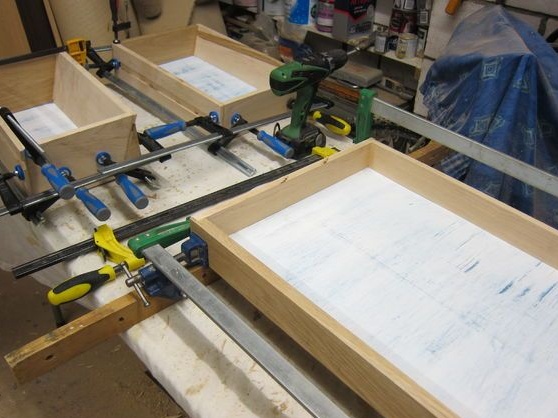
Step Four We make sliding shelves
Boxes are made by the same methodology as the whole table, we cut the blanks and then glue them. The author used plywood as the bottom of the shelves. To get a washed shade, first paint the bottom before installing it in blue. When the paint dries, apply white paint on top. At the end, sanded the plywood a little so that it finds the desired shade.
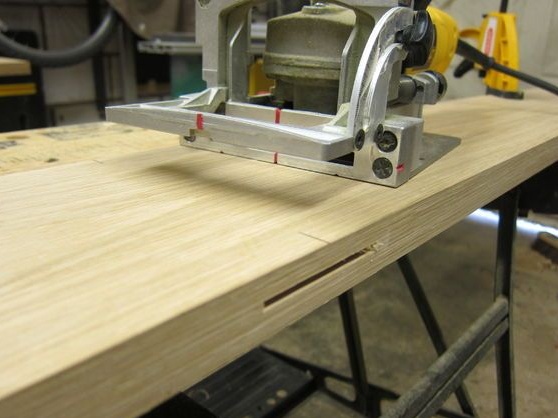
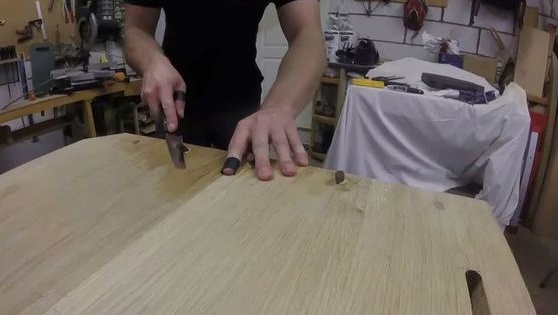
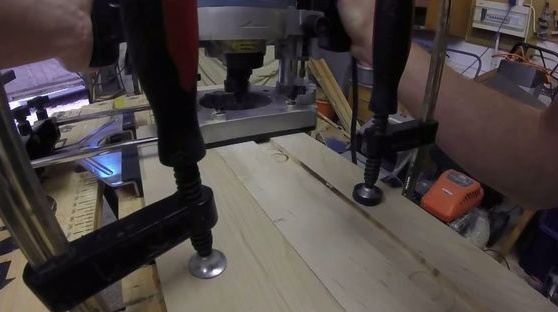
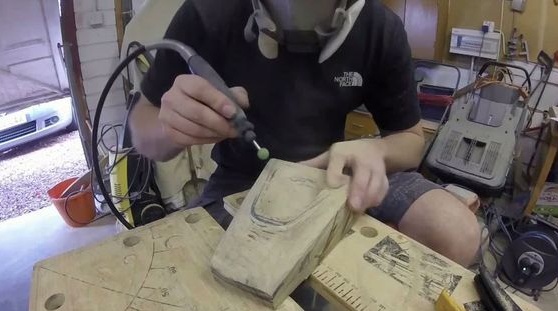
To strengthen the shelves, drill holes in suitable places and install wooden pins on the glue.


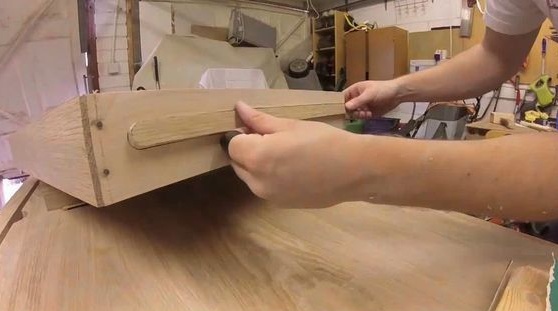
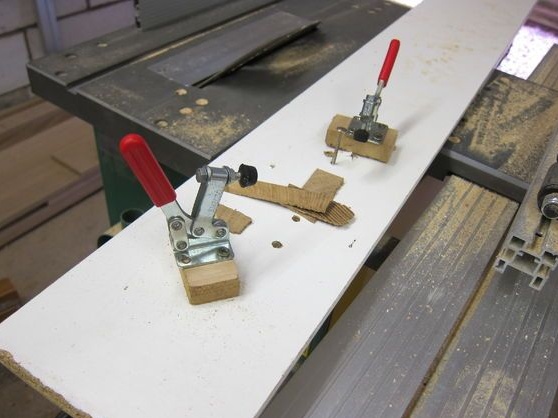
Under the shelves you need to choose the appropriate slides (guides) so that they can easily be advanced. Cut them to the desired size, screw one part to the table and the other to the shelf. We use screws for this.
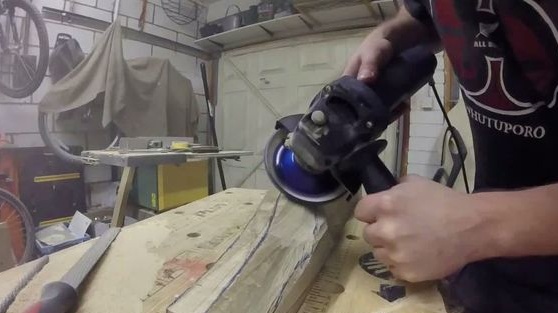
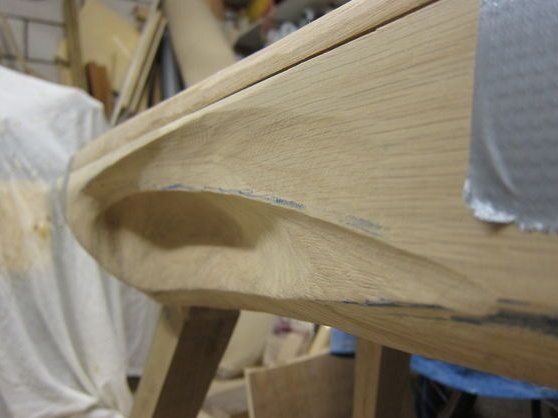
Step Five Finishing touches
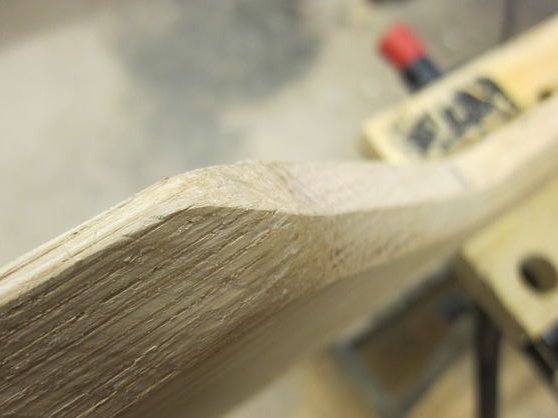
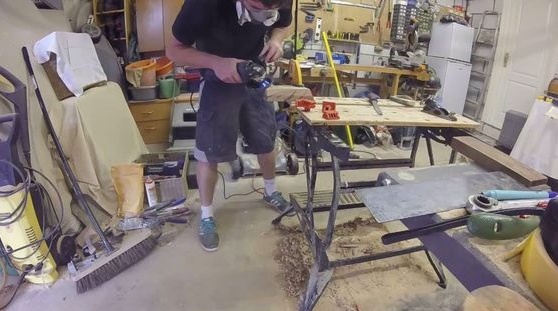
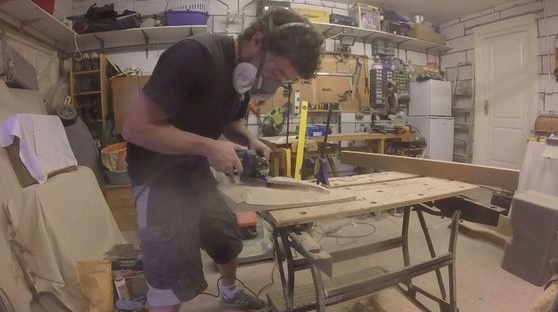
In the end, we are awaiting the stage of finishing the table. It all starts with grinding, it is best to use electrical equipment, since the amount of work is considerable. You will need a manual grinder similar to a belt machine, an orbital grinder, or at least you need to have a vibrating machine.
We grind all the visible parts well, first the author uses a rather rough sandpaper with a grain size of 120. Then we reduce the grain size to 240 and so on, depending on the desired result. Particularly carefully you need to polish the countertop so that it is smooth and easy to wash.

When sanded all the elements of the table, it can now be collected. We use screws and other fasteners, which the author provided for in the diagram. When you assemble the table, make sure that it is strong, check how the boxes and other nodes work. Now there remains the final stage of finishing - oil impregnation. Oil protects the tree well from moisture, which destroys it. In addition, oil makes furniture much more beautiful.
For impregnation, the author uses Danish oil, it is good because it is deeply absorbed into the wood, and then freezes. Apply the first coat and wait until the oil dries. Then we apply the second layer and so on, the procedure must be done until the oil is absorbed.
That's all, the table can be considered finished. If desired, you can polish the countertop or other individual parts. Good luck