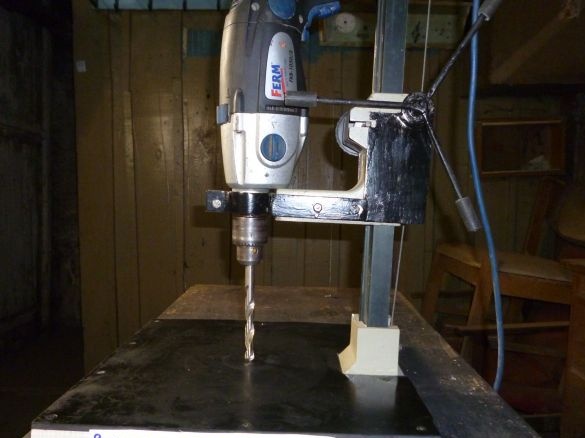
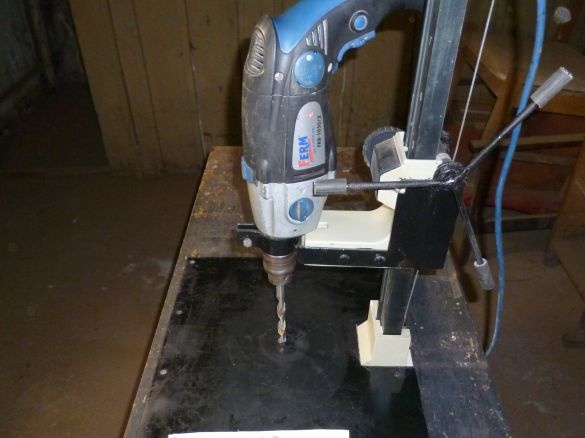
Drill stand, very useful device, allowing you to drill vertical holes without having an expensive drilling machine. You can buy a rack, of course, but making it do it yourself will bring not only material benefits, the pleasure of work has not yet been canceled.
Tools needed.
1. Welding inverter.
2. Drill.
3. Angle grinder.
4. The hammer.
5. A screwdriver.
6. Wrenches.
7. Drills.
Used materials.
1. Metal with a thickness of one and a half millimeters.
2. A metal strip two centimeters wide, three millimeters thick.
3. A piece of water pipe with a diameter of an inch and a quarter.
4. A piece of steel cable with a diameter of three millimeters.
5. A piece of copper tube with a diameter of six millimeters.
6. Sections of steel bars with a diameter of ten and six millimeters.
7. Bolts and nuts for which there are drills.
8. Tight rubber.
9. A piece of the old hose.
10. Black paint.
11. A piece of textolite with a thickness of one centimeter.
12. The electrodes are three.
13. Epoxy resin.
14. Self-tapping screws.
15. Cutting and cleaning circles on angle grinder.
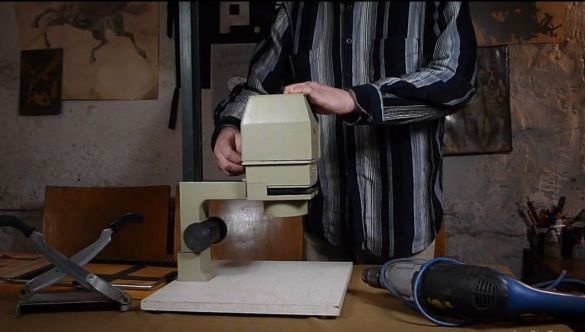
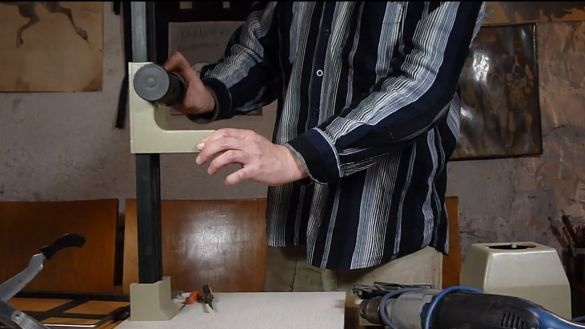
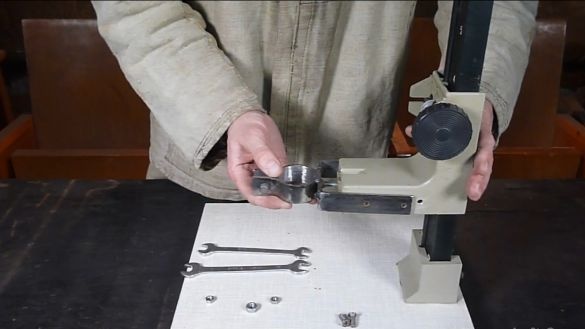
As a basis for the rack, we took the old, technically obsolete, photographic enlarger Tavria.
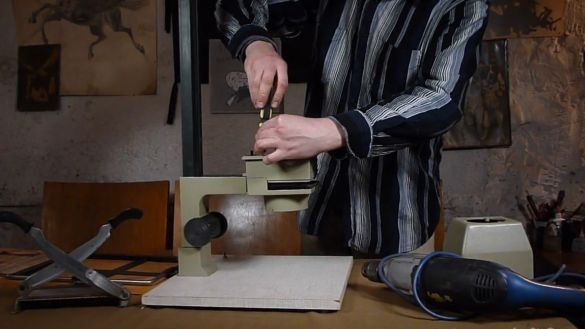
First you need to carefully disassemble it, the lenses in it can be useful for others crafts.
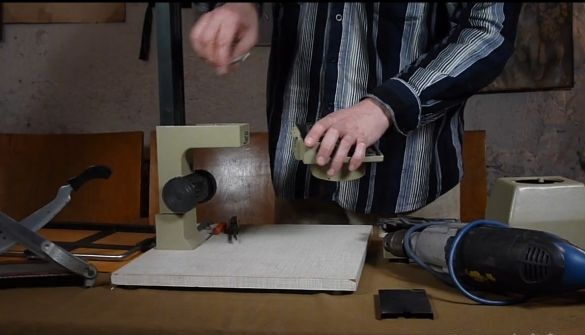
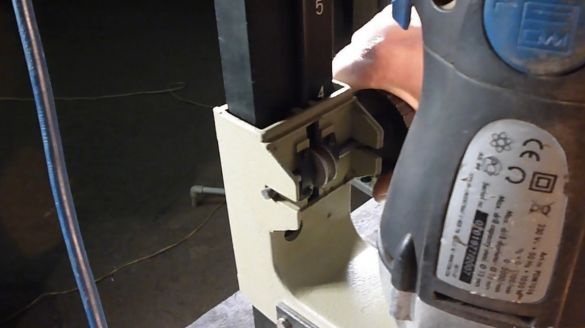
We overturn the lifting mechanism, providing a lower landing of a drill in the future.
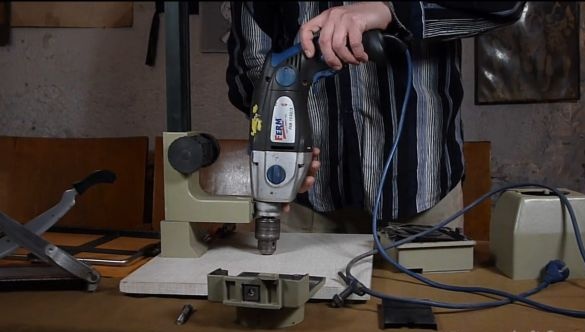
Now you need to adjust the drill to the stand.
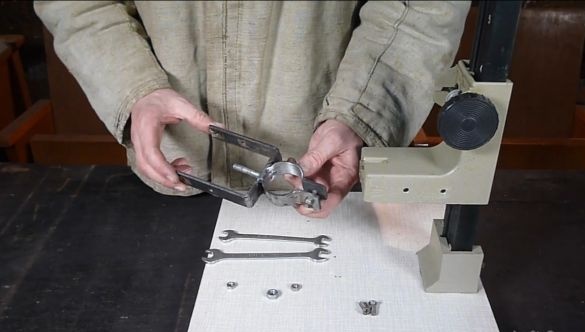
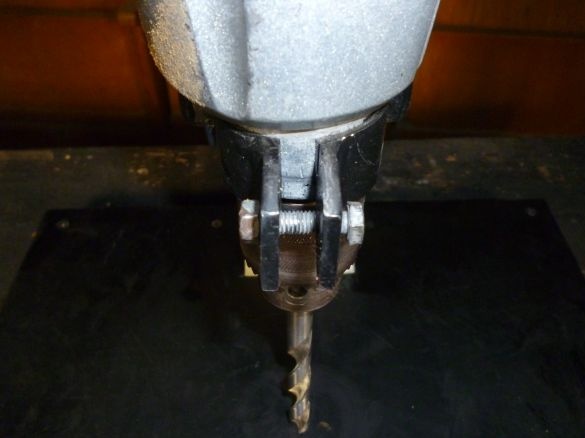
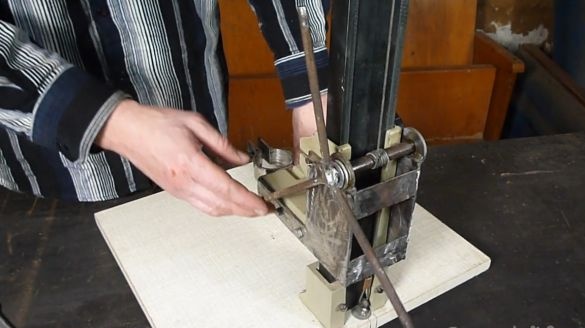
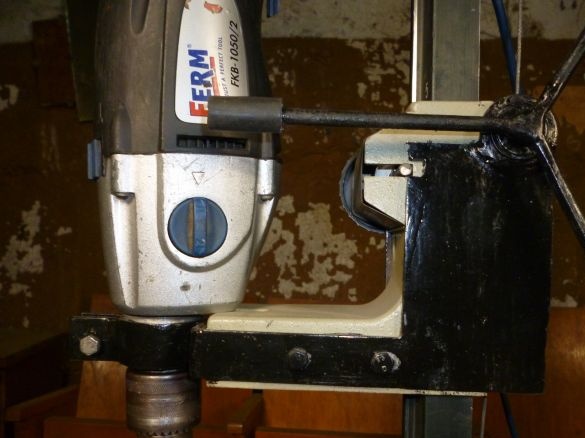
For this we make a clamp. From metal, a thickness of one and a half millimeters, cut three strips to the size of the lifting mechanism. A piece of pipe, an inch and a quarter in diameter, is cut lengthwise on one side and welded to the cut sections of a metal strip. We weld all the parts together and drill holes. I don’t give exact sizes, since photo enlargers and drills can be different. In this center enlarger there was a mounting hole, so an additional bolt was welded to strengthen the structure. In general, it should turn out something like this.
We fix the resulting part to the lifting mechanism.
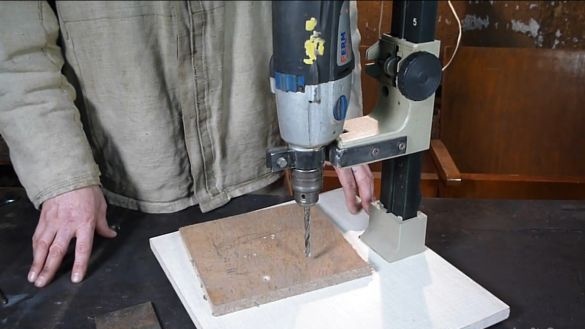
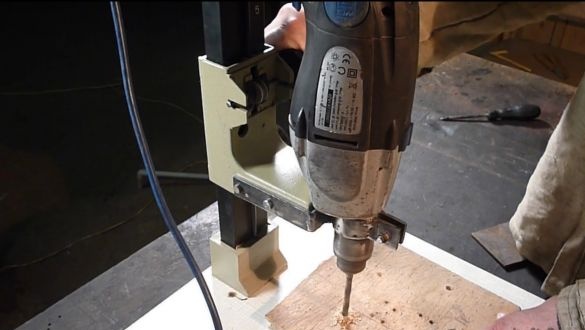
In principle, the rack is ready.
It is a working option for wood, plastic, chipboard and other soft materials.
A problem arises when drilling harder materials. When drilling metal, it turned out that the standard pinch roller cannot provide the necessary pressure on the drill and begins to slip.
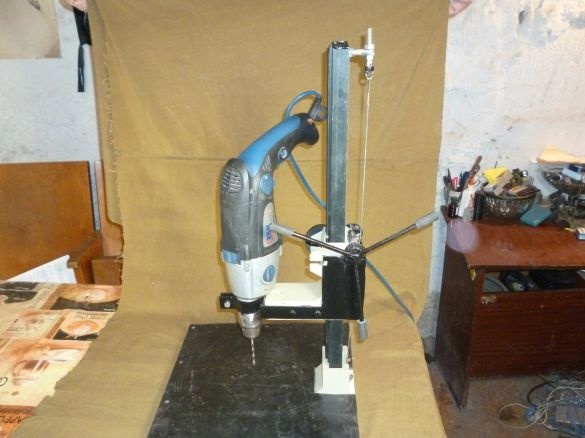
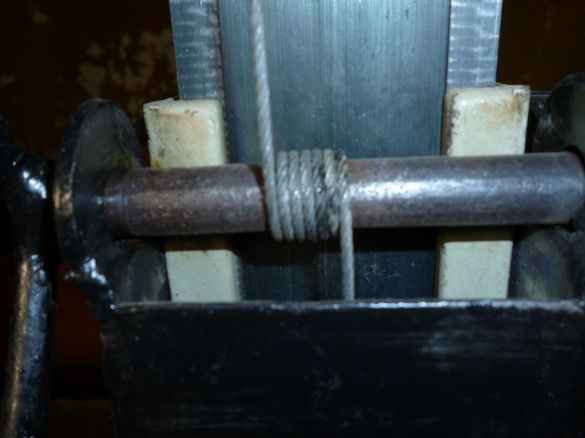
Therefore, we decided to strengthen the clamp with a cable. To do this, another frame was made from the same metal in the back, with eyelets made of washers. An axle of ten millimeter steel bars is inserted into the eyes for winding the cable. Three handles are also welded to rotate the axis.
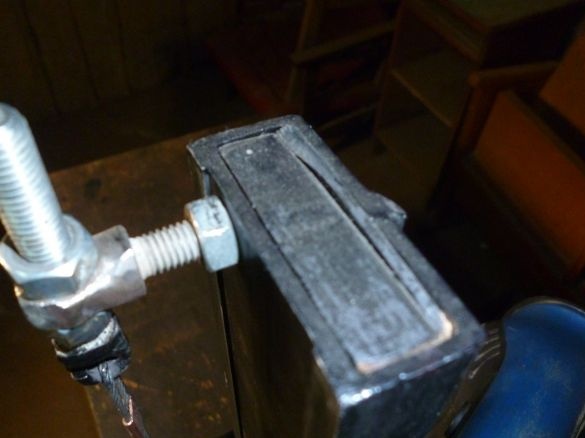
To strengthen the fastening of the cable tensioner, an centimeter textolite is glued to the end of the rack, on epoxy resin.
The torso is wound on the axis for five six turns, to avoid slipping.
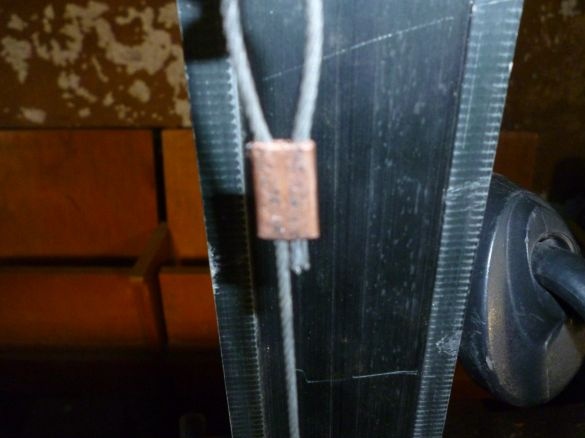
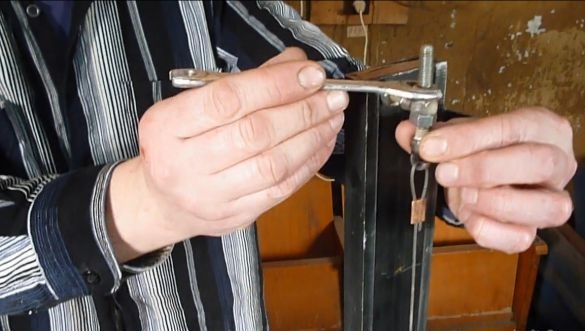
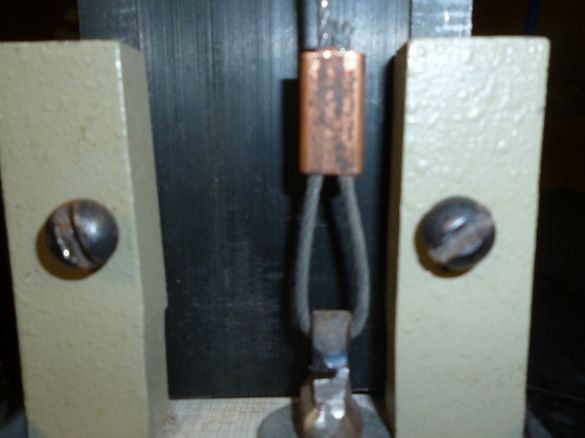
At the edges of the cable we make loops and fix them with a copper tube.
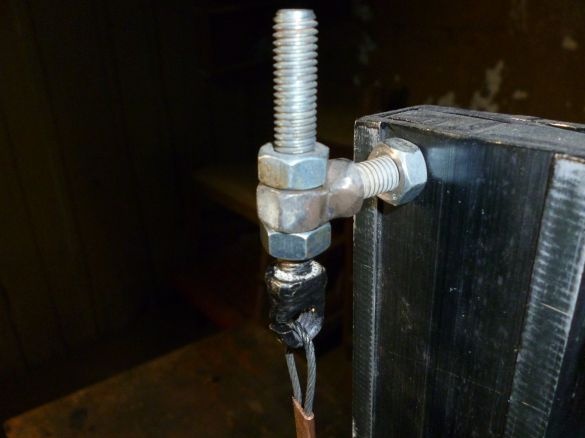
For the tension of the rope made a simple mechanism.
By tightening or loosening the nut, we pull and loosen the cable.
The bottom edge of the cable is attached to the bed.
They painted the resulting structure black and put it on the edges of the handles to trim the old, oxygen hose. To prevent the parts from slipping, thick, hard rubber was screwed onto the bed with screws.
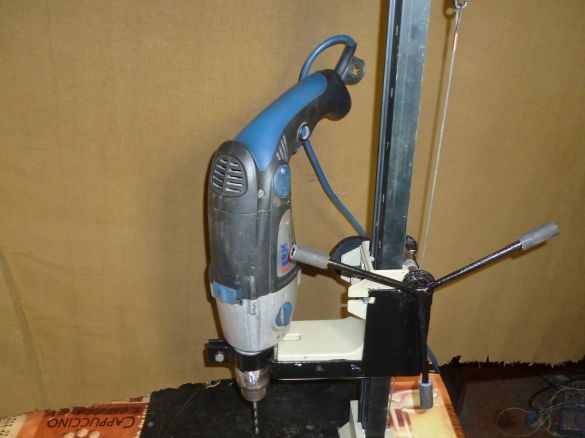
The result was a very suitable, for home use, stand for a drill. Not large backlashes are present but not critical. If you are not engaged in mass drilling of red-hot metals, then this product will be your faithful assistant.
You can watch a video of the rack manufacturing process here.


