Electric transport is gaining more and more popularity every day. This has been made possible thanks to new good electric motors, as well as batteries that are becoming lighter, smaller, more powerful and cheaper.
Many lovers try to make various electric vehicles. do it yourself. This time we will consider the methodology for making an electric carriage.
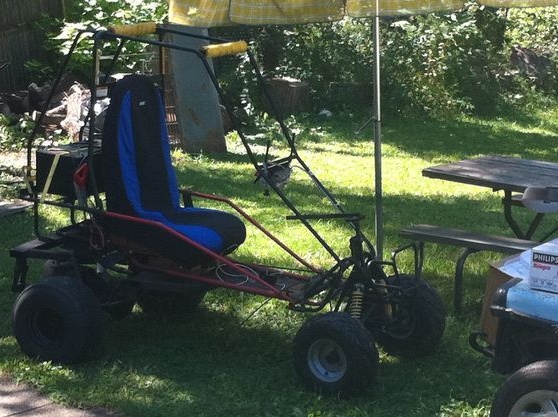
Going to homemade quite simple, though you need to spend some time and brainwash. The frame is for the most part made of steel pipes. A 36V motor is used as a power unit. The engine is powered by three 12V car batteries. The engine is used quite powerful, in combination with powerful batteries, the effect is pretty good.
Materials and tools that the author used for homemade:
Materials:
- steel pipes;
- wheels on the back and front;
- engine 36V;
- three rechargeable batteries for 12V;
- ;
- thick power wires;
- a chain from a motorcycle and an asterisk;
- steel corner, plates;
- Car seat;
- Old springs from the car;
- steering wheel, tie rods and other spare parts from old cars and motorcycles.
Instruments:
- lathe;
-
-
- welding;
- wrenches, screwdrivers, etc .;
- multimeter.
Homemade manufacturing process:
Step one. Choose an engine
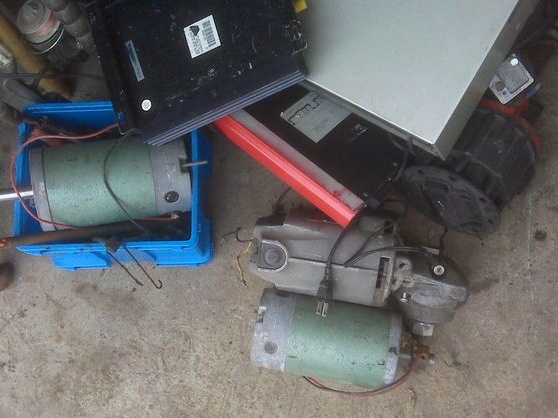
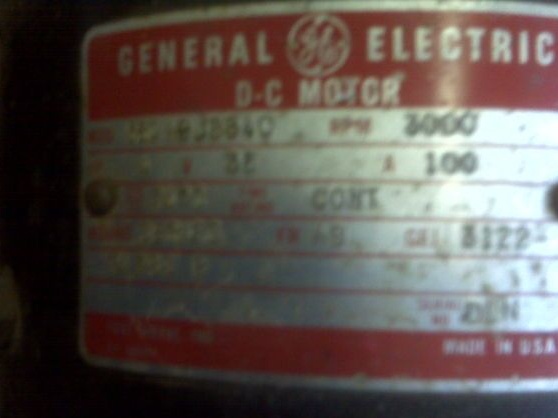
Engine auto used a direct current with a voltage of 36V. This is an engine from General Electric. The choice fell on this motor due to the fact that it had a suitable mount. In principle, the motor can be used with any voltage of more than 12V. A motor from an old car starter and so on is quite suitable. It is more perspective, of course, to use brushless motors.
Step Two Choose batteries
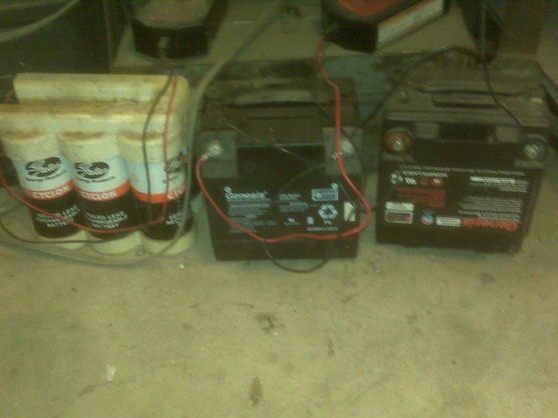
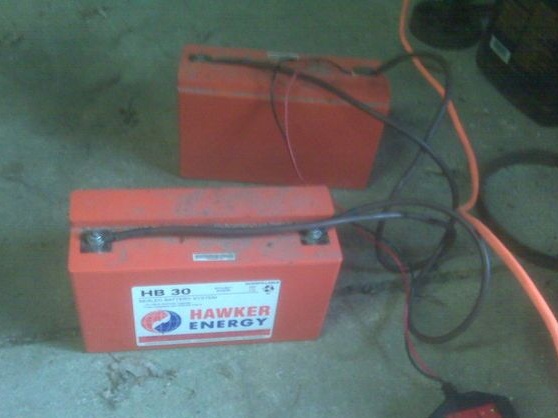
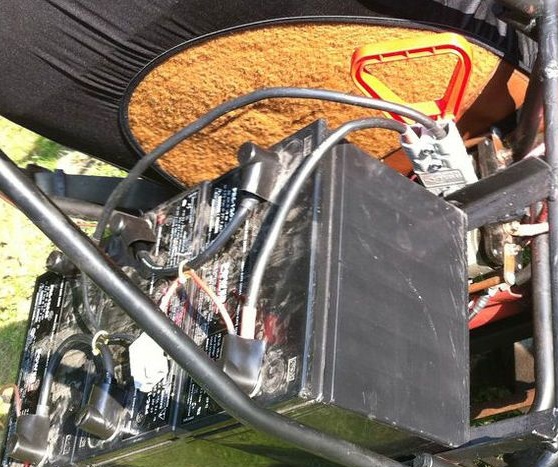
For homemade work, you can use ordinary lead-acid batteries, as the machine is quite large and can carry an impressive weight. You can use lithium batteries, they are more powerful, lighter, though they do not withstand deep charging and recharging. You can also use batteries with a gel inside, they just will not leak out if something goes wrong.
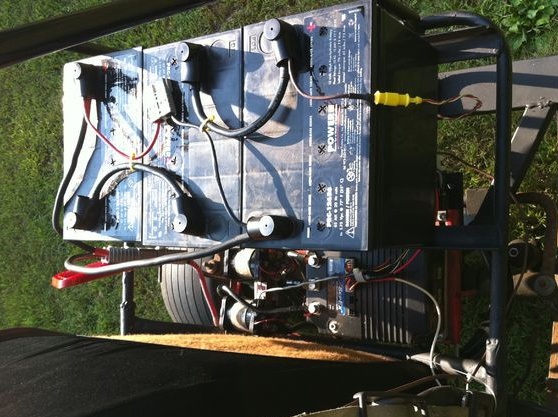
Under three batteries, the author made a frame from a corner. And they are attached with one elastic band. The corner was found in old beds. The batteries are connected in series to obtain a voltage of 36V to power the engine.
Step Three Motor controller
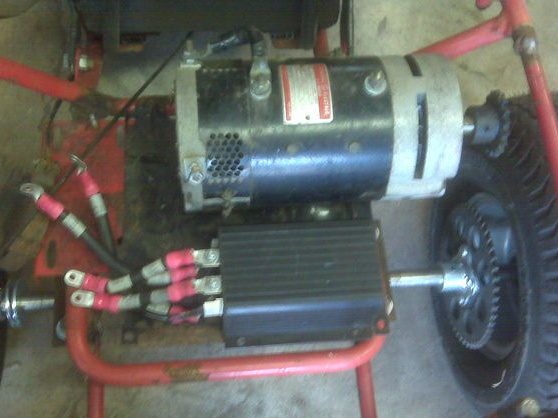
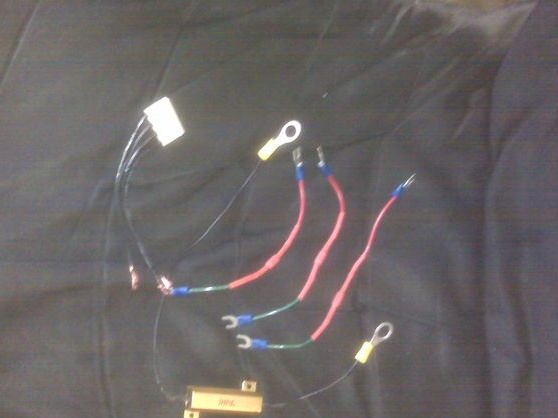
So that the motor does not immediately “burn out” the entire charge of the battery, or does not burn out at all under load, it is necessary to supply power to it dosed. For these purposes, controllers are used. The author installed a controller called Curtis.
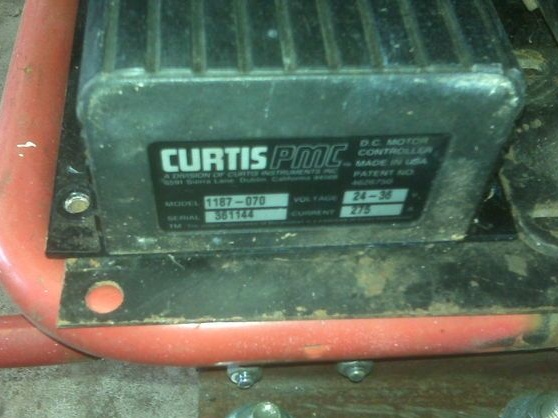
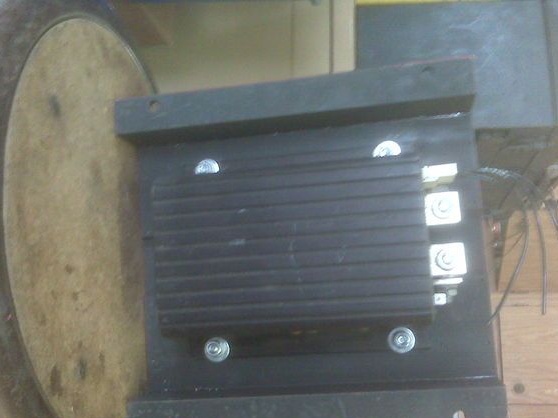
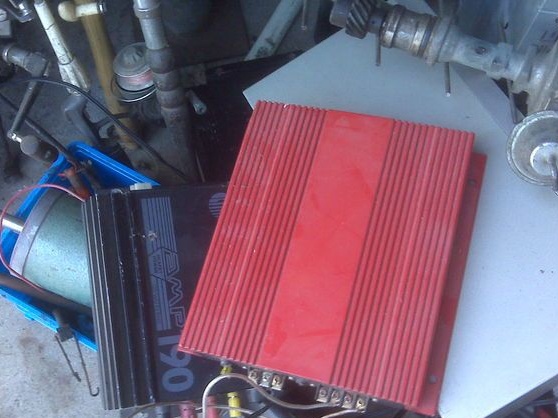
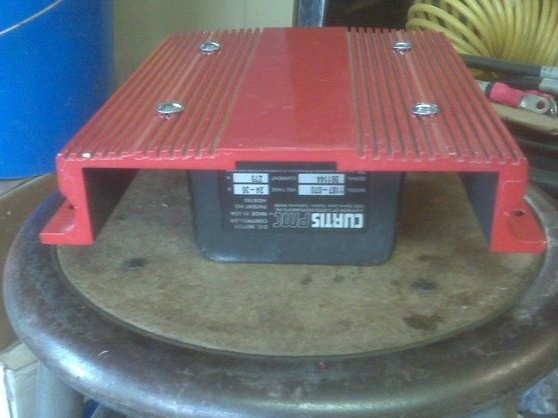
When driving, the controller will warm up, so heat must be removed from it. Make a radiator for it, an old copper or aluminum plate will do, preferably with larger sizes and with fins. Screw the controller to it with bolts. For better heat transfer, use thermal grease.
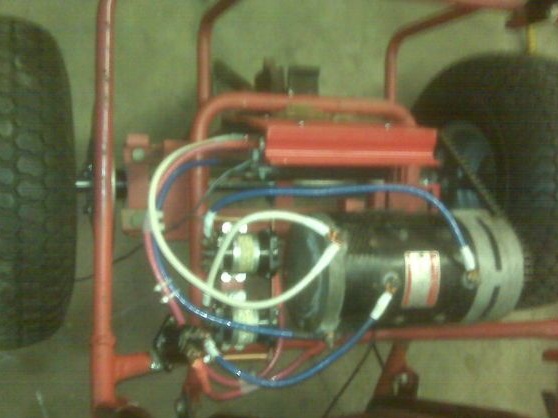
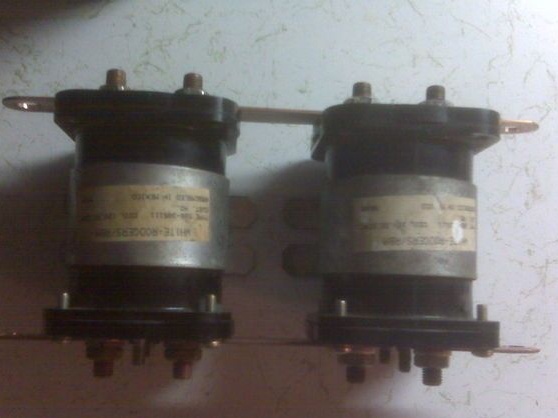
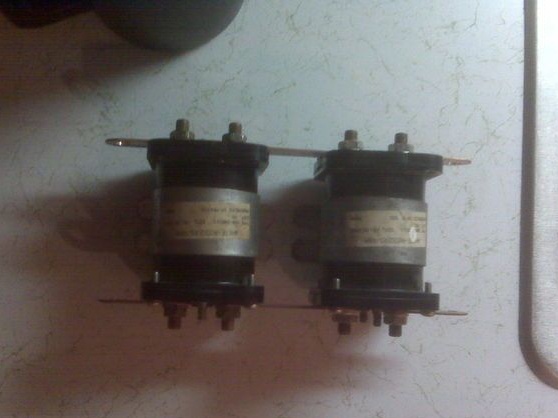
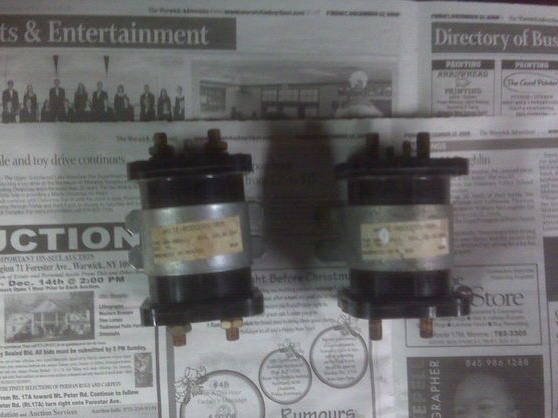
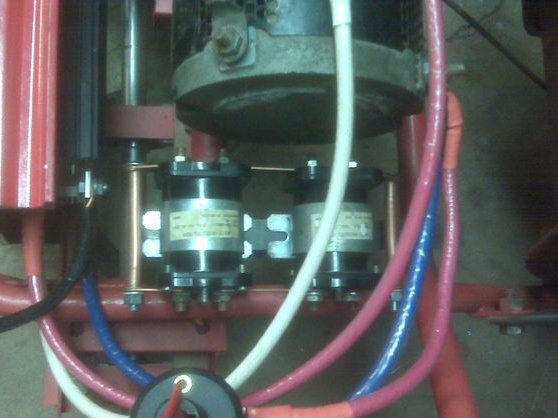
Step Four Reverse relay
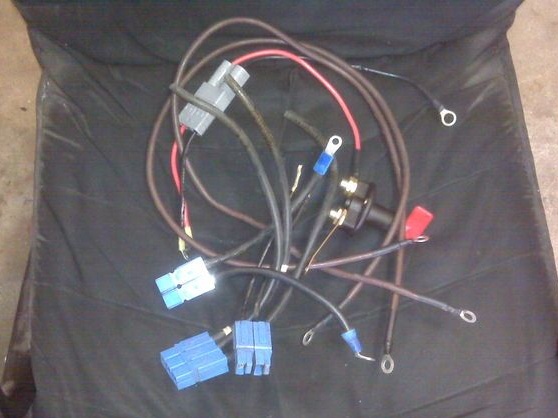
When driving in transport, sooner or later there will be a need to move backward. To do this, you need a powerful relay that could give a plus instead of a minus, and a minus to the engine instead of a plus. The author used devices from a golf cart. Connect and install them as shown in the photo.

Step Five We prepare the wires
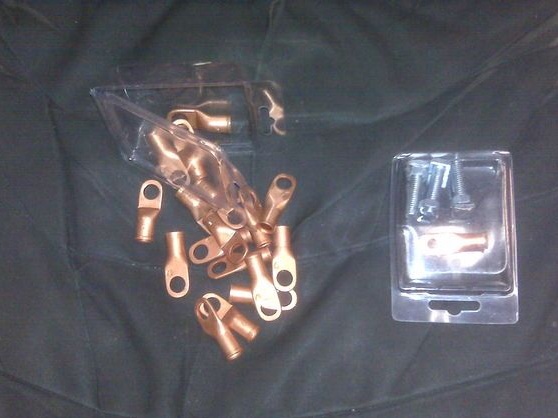
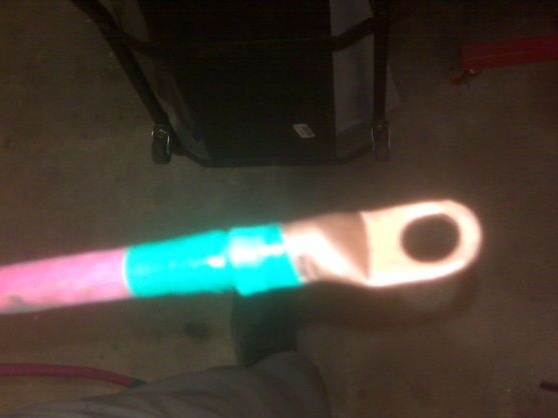
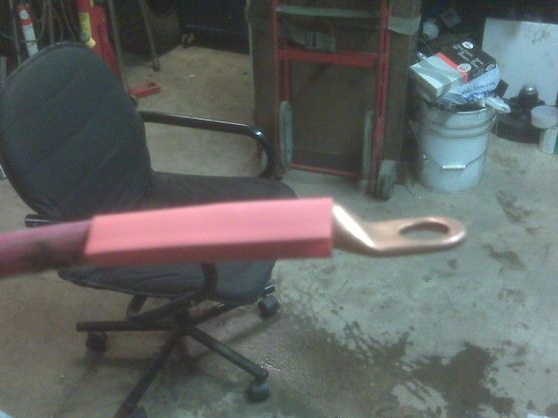
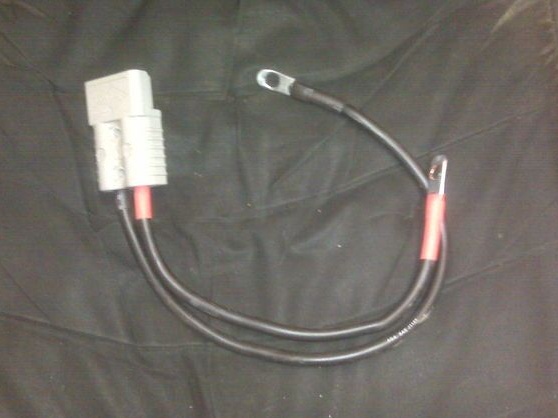
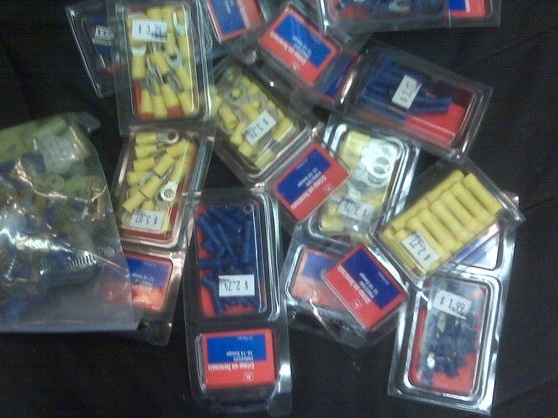
The wires you need are thick, preferably copper, in extreme cases, aluminum. If they do not withstand sufficient current, they will heat up, and as a result, energy will be wasted. The author found wires from an old uninterruptible power supply. On each wire, you need to make copper contacts in the form of loops. They can be bought ready-made, and then installed on the wires. They are fastened by crimping, usually a special tool is used, but you can handle the henchmen.

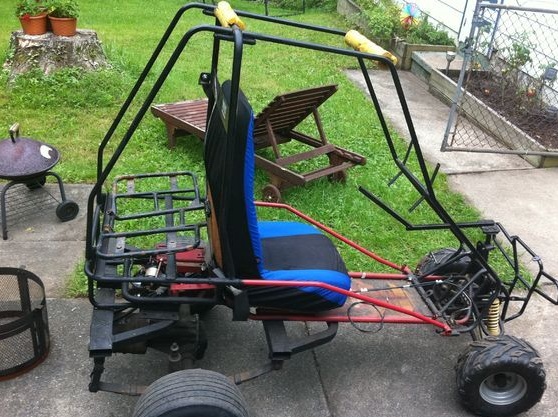
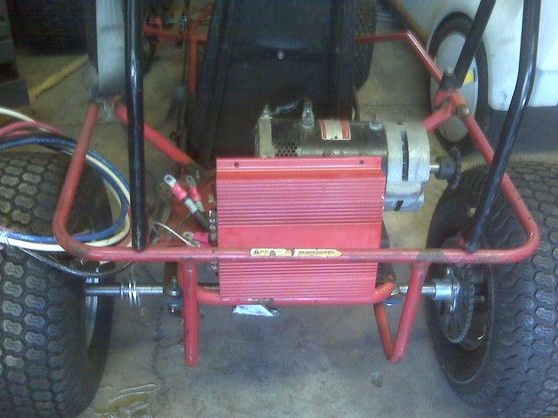
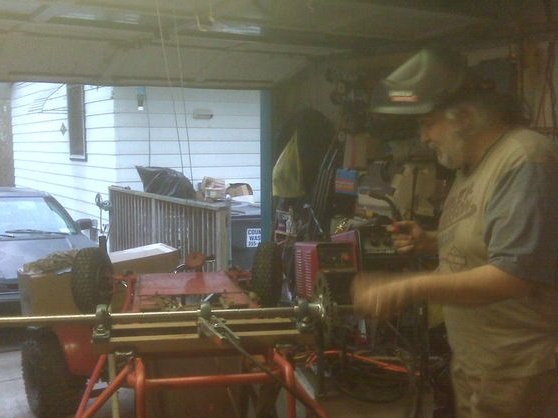
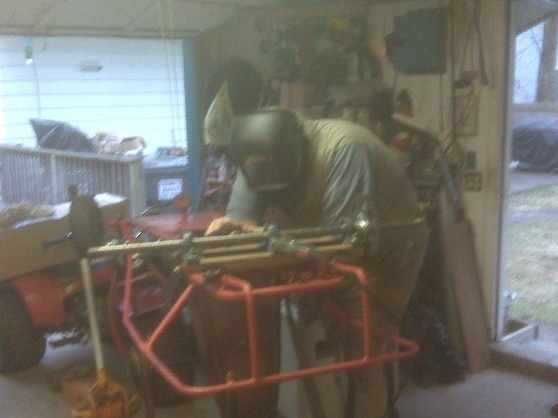
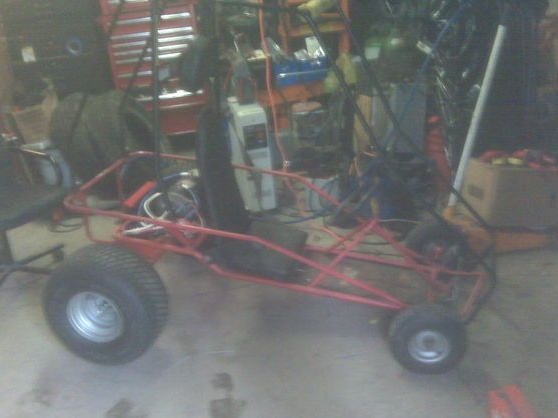
Step Six Assemble the frame
The frame is actually removed from scrap metal. Old pipes are suitable, you can round, and preferably square, a corner that can be found in beds, steel plates and so on. Weld a structure that will confidently support the weight of passengers, as well as keep the wheels in place. There will already need to ponder.
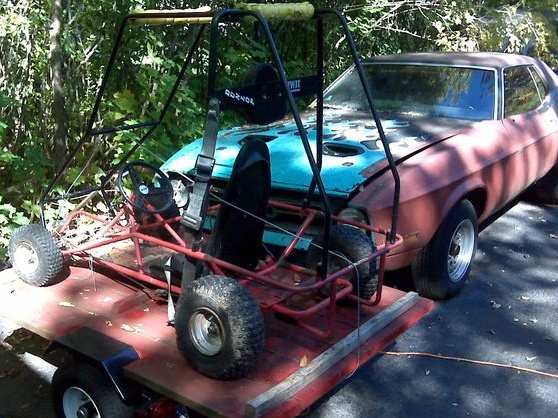
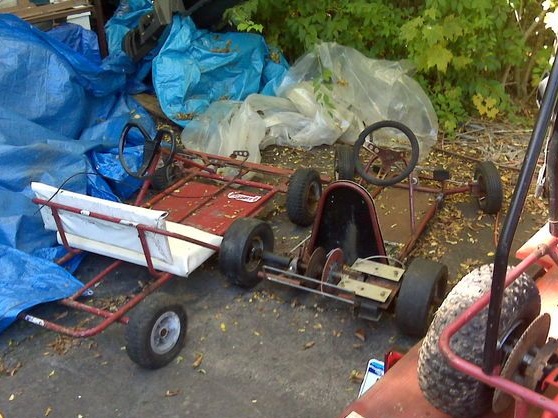
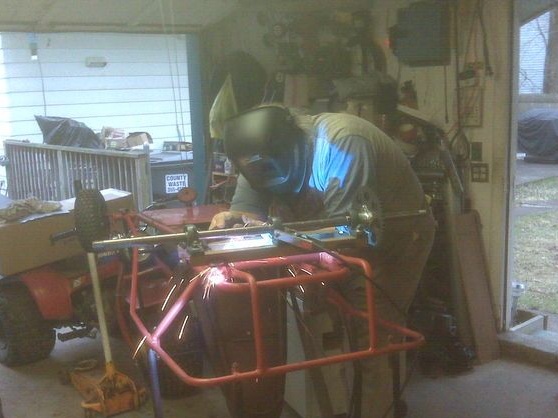
The most difficult will be the manufacture of steering. Here you can use components from motorcycles, various carts, and even from cars.
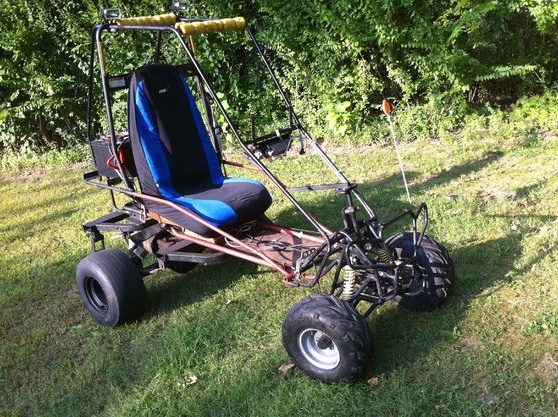
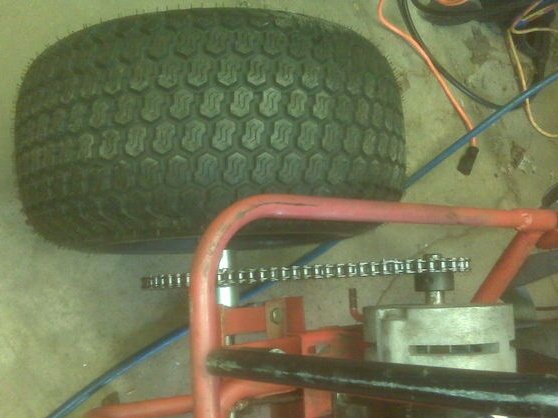
As for the wheels, in principle, wheels from a motorcycle or even a bicycle will do. Such wide wheels as the author’s will be more difficult to find. As a result, at this step you should have a finished frame with wheels, and you can also install a seat. As it is quite suitable car seat, it is advisable to fit it with a non-soaking cloth.
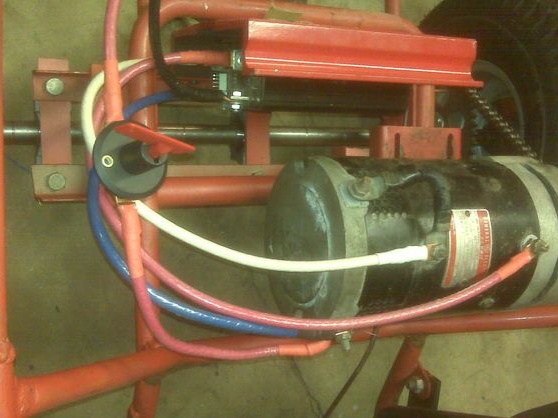
Seventh step. Install the engine
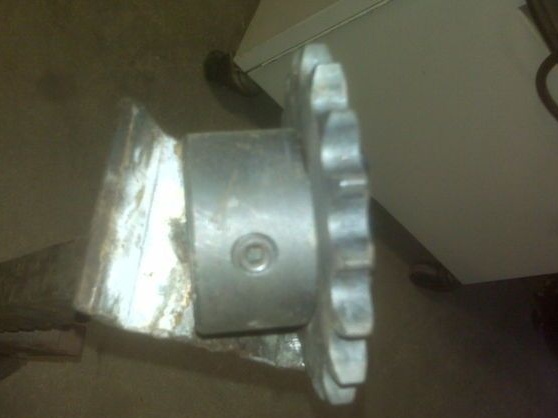
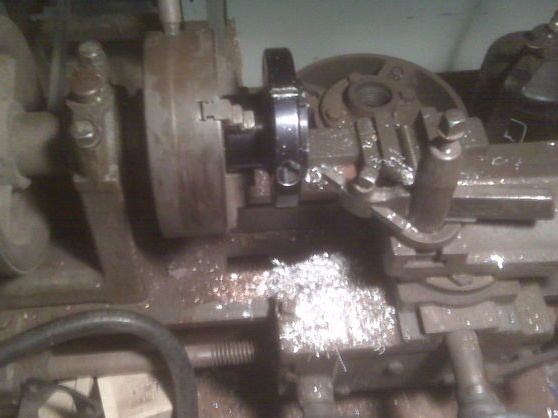
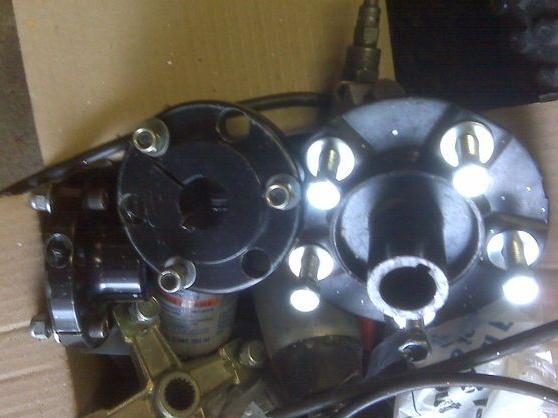
Can be mounted on a frame engine. To transmit torque from it to the wheels, the car used a chain transmission from a motorcycle. We take a small sprocket and weld a sleeve to it so that it can be fixed on the motor shaft. Weld the second big sprocket on the axis of the rear wheels, here you will also need to make an adapter. You can get the necessary details on a lathe.

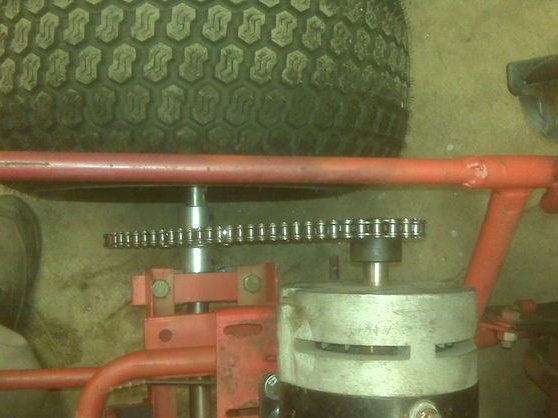
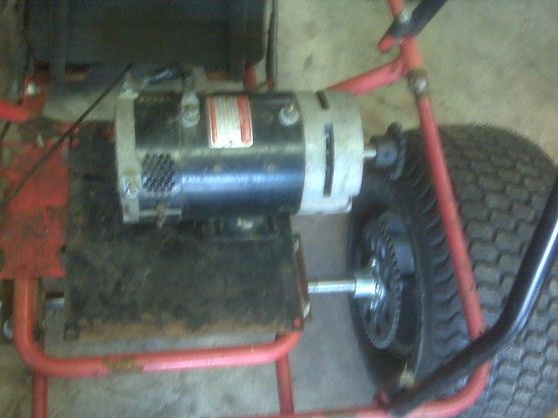
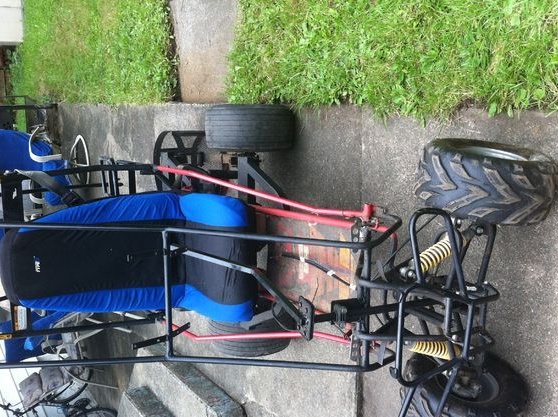
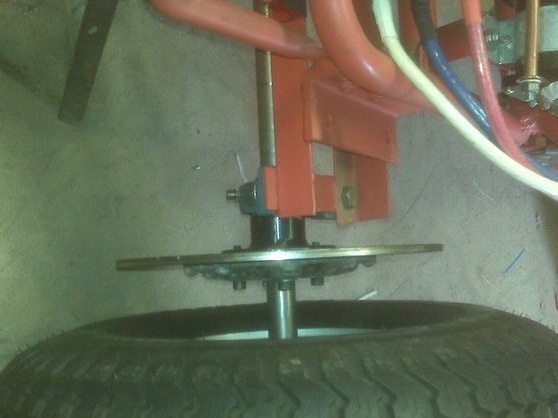
Make sure that the engine can move, this will allow you to stretch the chain. The movement from the engine in this model is transmitted immediately to the two rear wheels with a solid axis. This simple solution, however, is not economical in terms of energy costs. When you turn the wheels will lock and you need more energy than if you used a differential. It is best to transmit the movement to one wheel, but at the same time the patency of the vehicle will fall.
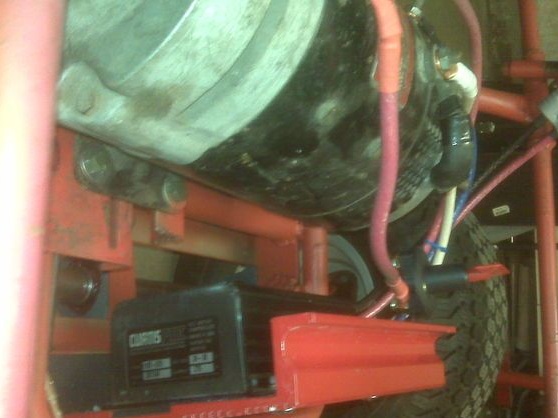
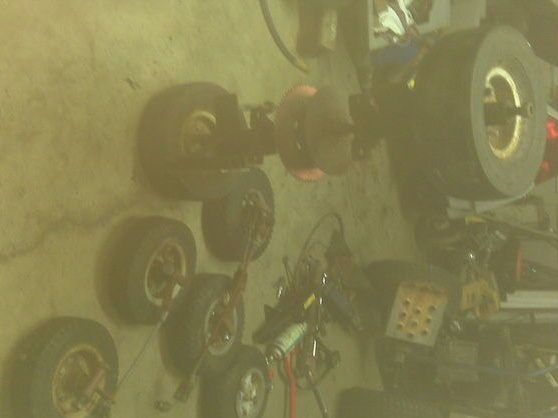
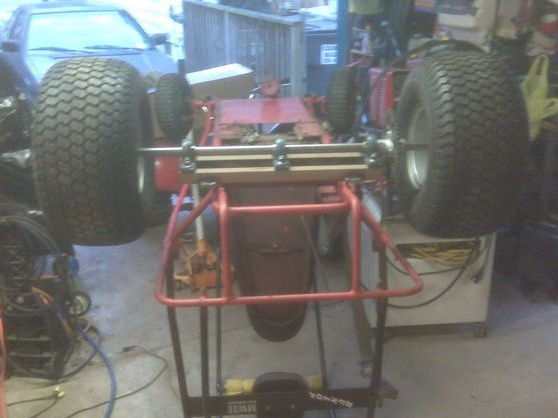
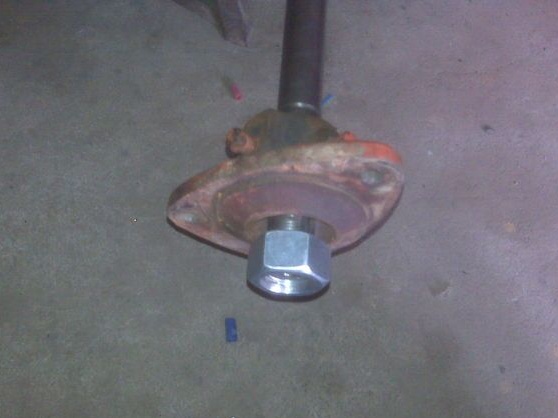
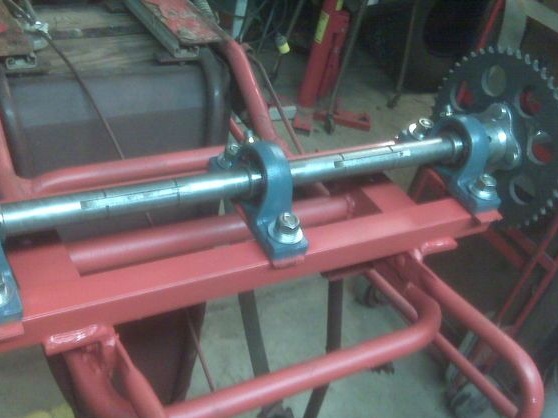
Step Eight. Rear axle and wheels
The author mounts the rear axle on the bearings, the bearings themselves are attached to the frame with bolts and nuts.
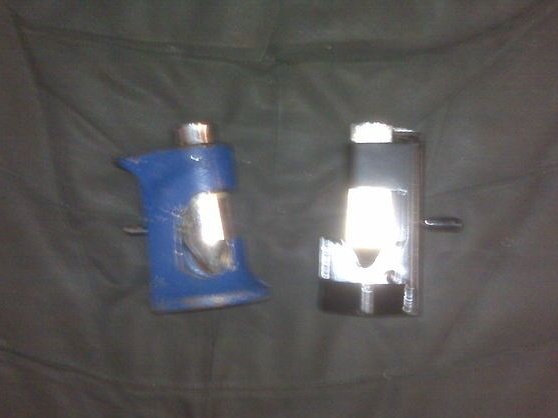
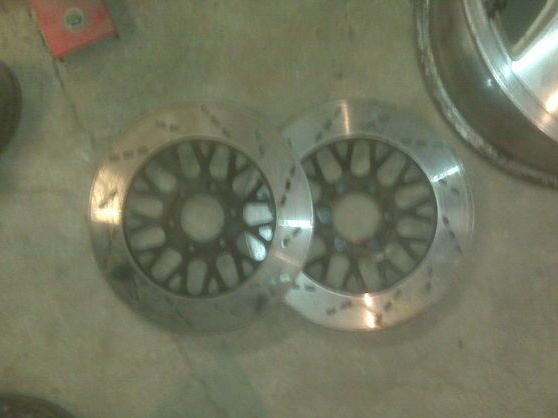
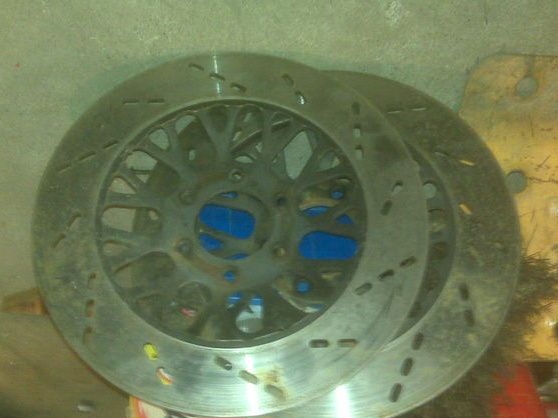
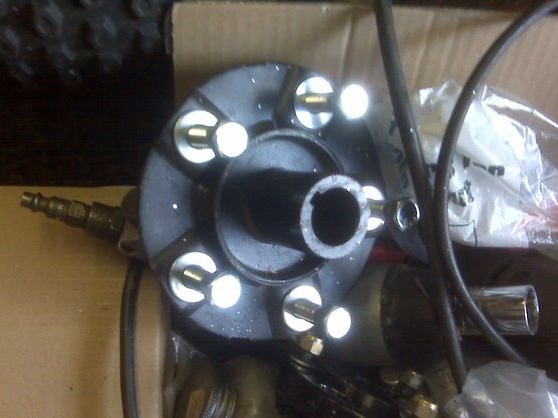
To fix the wheels, you will need the help of a lathe or turner. Under the wheels you will need to grind the hubs. Screw them out carefully using bolts.
Connect the engine to a power source and make sure that the sprockets are welded evenly, otherwise the chain will fly off, and the motor will consume more energy.


Step Nine. The final stage of assembly
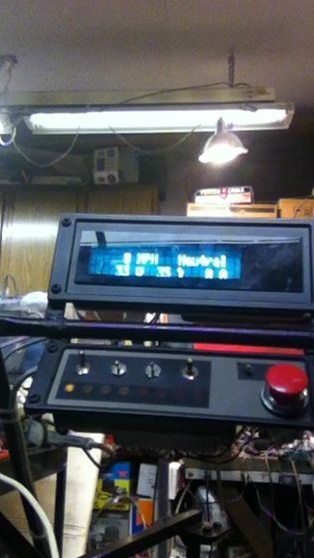
Install charged batteries on the car and connect the motor through the controller.For a car you will need to make an electric pedal, usually it connects to the controller. The author also recommends installing an emergency battery shutdown button, which can be used in an emergency. It should be in a visible, easily accessible place.
Do not forget about the brake system for your brainchild. Usually it is done very simply, a lever is welded, which, when turned on, rubs against the rear wheel, eventually causing braking.
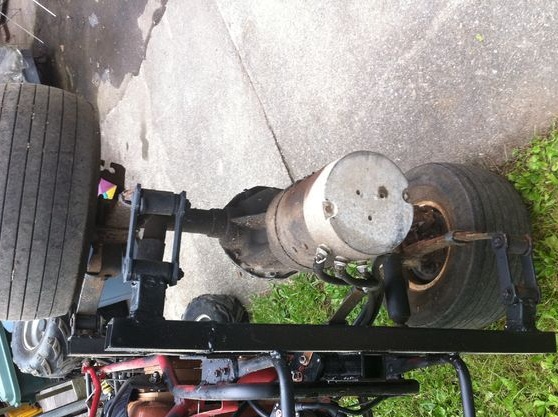
Step Ten Finalization after testing
After some time riding without a differential, the author started having problems with the suspension in the rear. In this regard, it was decided to remove it. Instead, the rear axle from the car was installed along with the springs. The engine is connected to the place where the cardan is supplied. If you wish, you can also make hydraulic brakes when using a car axle.