If you want to do furniture do it yourself and don’t know what, look at such a source of material as wooden pallets. Sometimes they can be found for free or bought for pennies. If the pallets are not very old, you can find quite a lot of good boards, boards and so on.
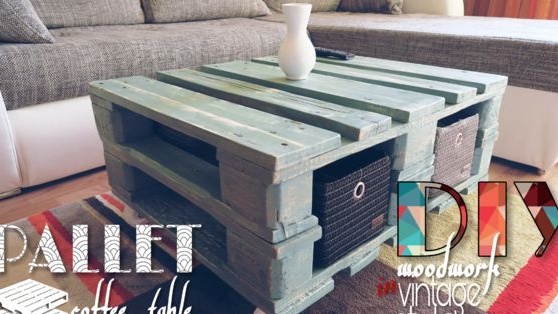
One author decided to make a small vintage coffee table out of pallets. For the manufacture of such a table, pallets do not even need to be disassembled, excess is simply cut off from them, and then they are connected. The main problem here is grinding, in which the wood is completely cleaned of dirt, made smooth and beautiful. For grinding it would be good to have an electric tool similar to an orbital or at least a vibration machine.
If the pallets are quite worn and old, they still have to be disassembled for better processing.
Materials and tools that the author used to make the table:
Material List:
- wooden pallets;
- 4 rollers (so that the table can ride);
- varnish and paint;
- self-tapping screws;
- long bolts with nuts.
Tool List:
- jigsaw;
- (just sandpaper will do);
- or a drill for processing hard-to-reach areas;
- brush;
- ;
- wrenches and screwdrivers.
The process of making a table:
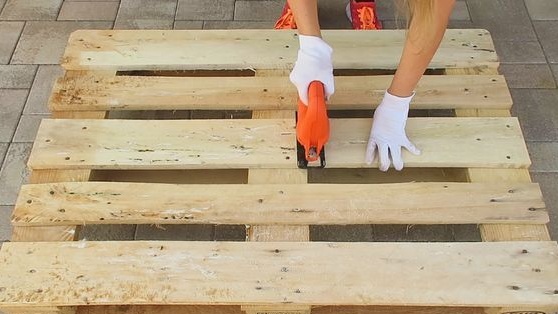
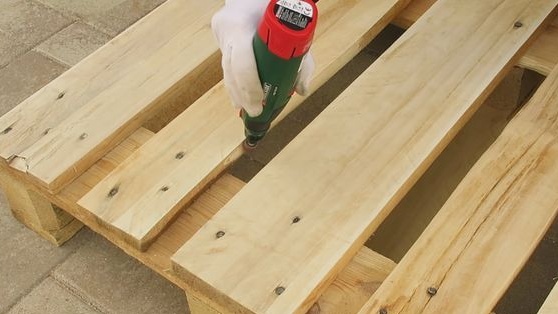
Step one. We cut pallets
First of all, you will need to cut the pallets to the desired size. In total, the author needed 2 pallets. We measure out the necessary parts, cut off the rest. It can be cut with a jigsaw, a hacksaw or other similar tool. The main thing is that the cutting blade has small teeth, otherwise there will be many chips on the edges. The two parts must be exactly the same size.
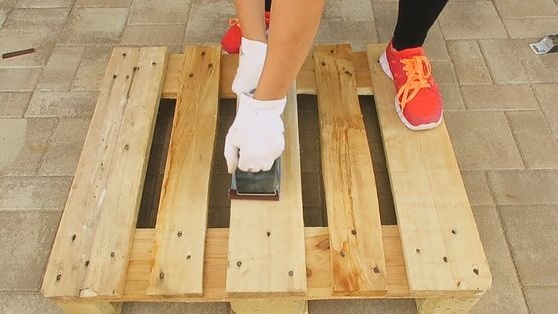
Step Two Sanding pallets
Now comes the longest and most difficult stage of assembly - grinding. It would be good for this to have a manual belt sander or orbital. You can mate manually, if you fix sandpaper on a bar or in a special device. For grinding, the author uses sandpaper with a grain size of 80 units.
To make the table perfectly smooth, the graininess of the paper will need to be reduced over time. It is desirable to make smooth at least the part that will act as a countertop.
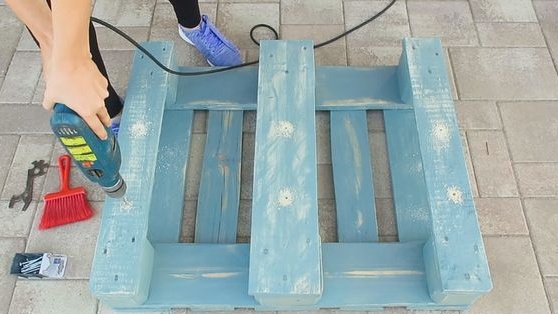
Since the author does not make out the pallets, problems of this kind arise that you cannot crawl into some hard-to-reach places with a tool. Here a dremel or an ordinary drill will come to the rescue.We install a nozzle for grinding and in battle.
Often on a tree you can find knots, pits, rotted areas and other defects. These points are easy to fix, for this you need epoxy glue or hard putty on wood. Fill problem areas with epoxy, and when it dries, sand the surface flush. Do not forget that the wood must be well dried before such a procedure.
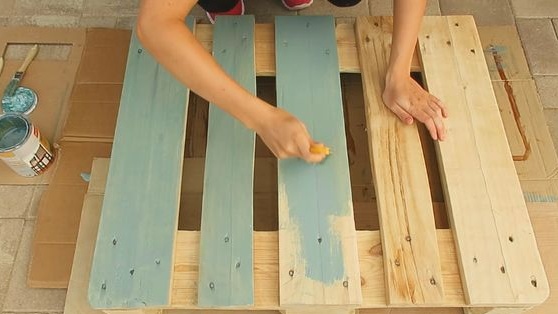
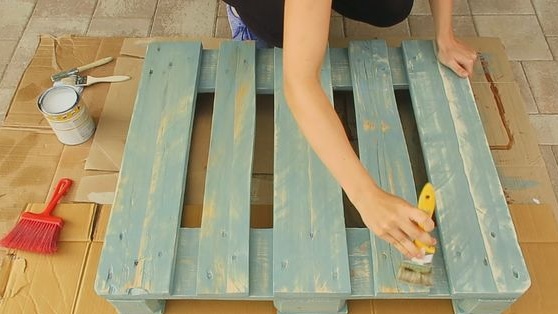
Step Three We paint preparations
It is time to paint the material. Take the paint and apply with a brush. Let the paint dry completely. You can choose the color at your discretion, and water-based emulsion is suitable as a paint. Do not forget that after painting we will still artificially age the appearance.
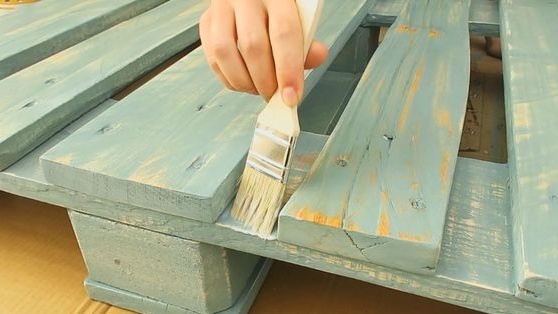
Step Four Make scuffs
To make the table seem old, the author makes scuffs on it. To do this, you need 120 grit sandpaper. We use an electric tool or work manually as desired.

Step Five Varnishing
The table can be varnished, this will protect the tree from moisture absorption, and there will be no stains on it after paint. Before applying varnish, remove all dust remaining from grinding from the workpieces. It is advisable to blow them with air, you can try with a vacuum cleaner or compressor, and you can also vacuum. Apply varnish and let it dry. If desired, you can apply several layers.
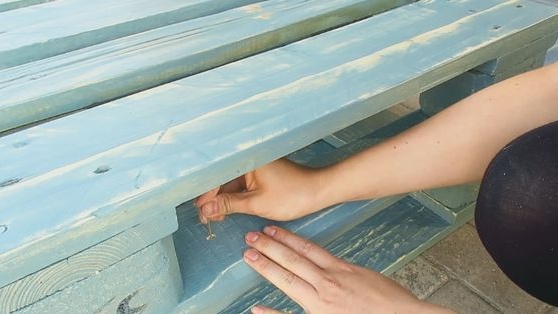
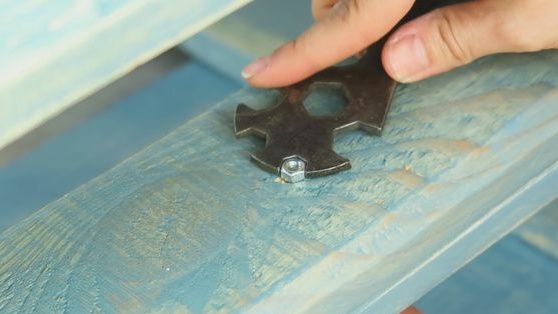
Step Six We connect two parts
Two trimmed pallets now need to be joined together. To do this, the author uses bolts with nuts. We drill holes for them in the right places, insert the bolts and tighten the structure with the help of wrenches. In total, the author used 6 bolts of small diameter.
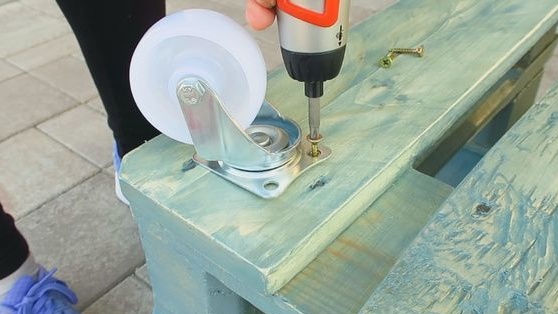
Seventh step. Fasten the wheels
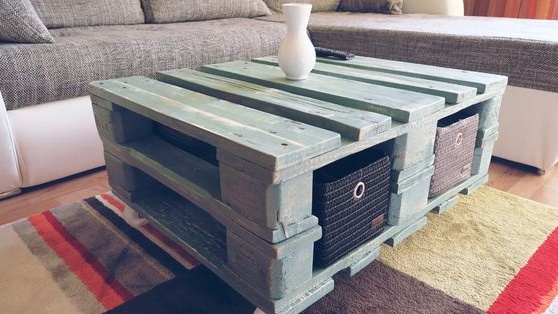
So that the table can be conveniently moved, the author sets the wheels on it. In total, you need 4 wheels from the carts, which can rotate around its axis at an angle of 360 degrees. We take a screwdriver and fasten them with screws.
Step Eight. Completion
That's all, the table is ready! It looks pretty interesting, despite the fact that it is going easily and quickly. The most difficult task in the manufacture will be grinding. But this will not be a problem if you have an electric grinding tool.