If you are interested in the issue of alternative energy and you live in an area where a stream is nearby, God himself ordered you to build a small hydropower station. It is not difficult to make a generator by itself, in this instruction we will look at how to make it from a conventional washing machine. The main problem is to build a dam and raise the water level. As a result, you can send a stream of water to the blades of your turbine and get free electricity.
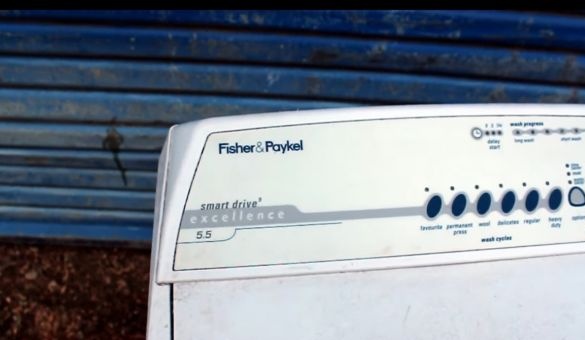
To make a generator, the author used a washing machine from modern models. If you have a machine from the times of the USSR, then it most likely will not work, since they have a different type of engine. Modern cars use motors with a permanent magnet stator, or vice versa. Thanks to this design, we have both an engine and a generator, which does not require an initial voltage to start. Since the engine runs on a voltage of 220V, such a motor will also produce 220V or more as a generator if it is untwisted to the desired speed.
Alternatively, such a generator can be used without problems in the manufacture of windmills.
Materials and tools that the author used for homemade:
Material List:
- automatic washing machine (engine with magnets);
- bolts, nuts, washers and other trifles;
- good glue (silicone);
- materials for the manufacture of turbines;
- a piece of rubber (from an old car camera);
- plywood;
- plexiglass;
- charging controller, batteries and more.
Tool List:
- grinder;
- wrenches and screwdrivers;
- scissors;
- (you need to drill a large diameter hole);
- ;
- .
Hydroelectric power station manufacturing process:
Step one. How does it work?
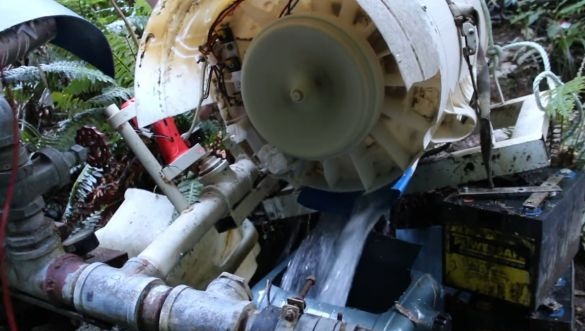
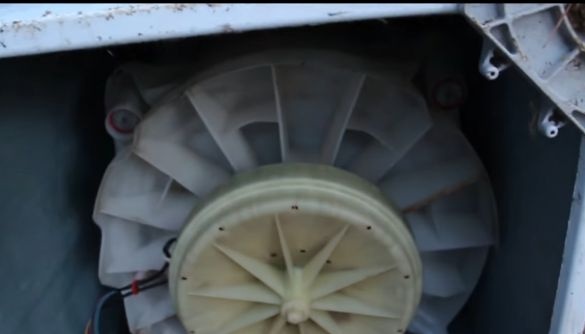
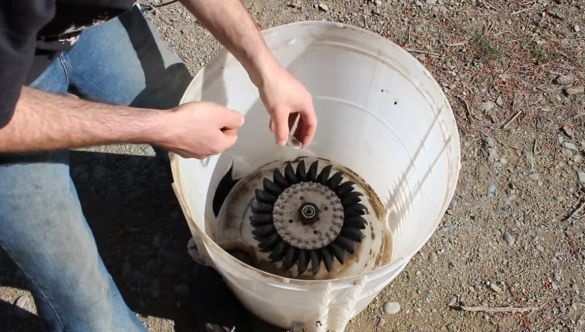
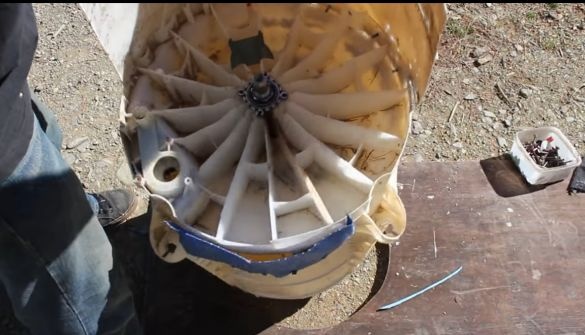
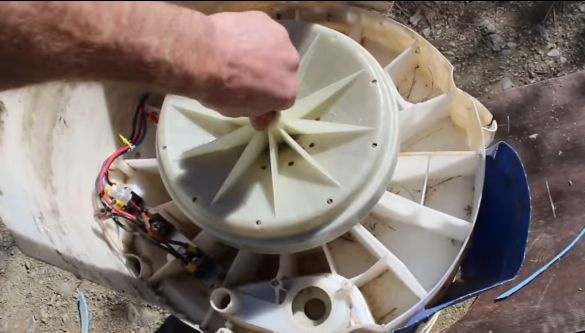
Inside the washing machine casing is the motor shaft on which the turbine (impeller) is mounted. An inlet for water, as well as an outlet window, has been drilled in the housing. When water is supplied through the inlet, the turbine begins to rotate, and the motor-generator generates 220V voltage, although this value depends on speed and load. Further, the current goes to the controller, which already distributes energy to the right places.
Important!
This design, according to the author, can produce enough energy to heat water, turn on the kettle and other rather energy-intensive appliances. But do not load the generator too much, as it starts to heat up.The author’s overheating of the generator led to the plastic melting, and the generator simply fell out of the case. In this regard, come up with overheating protection for the generator, and even better - make a cooling system.
Step Two Disassemble the washing machine
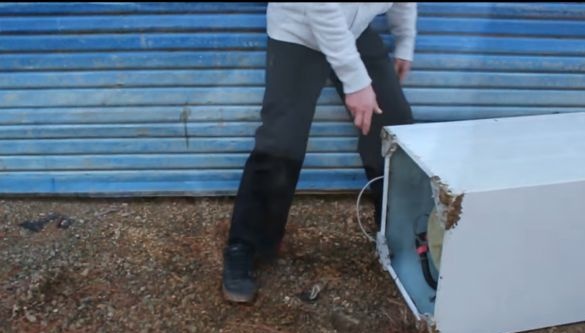
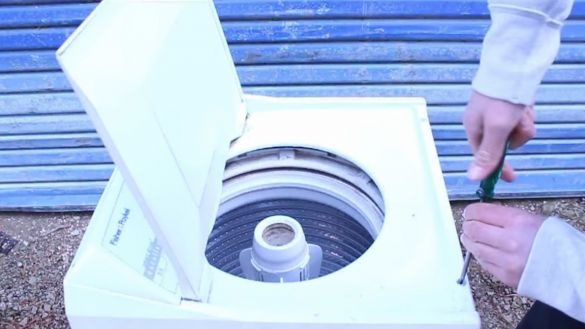
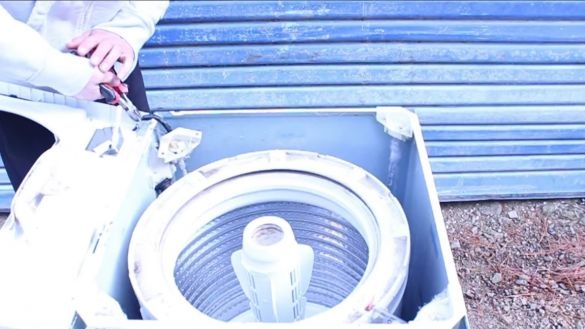
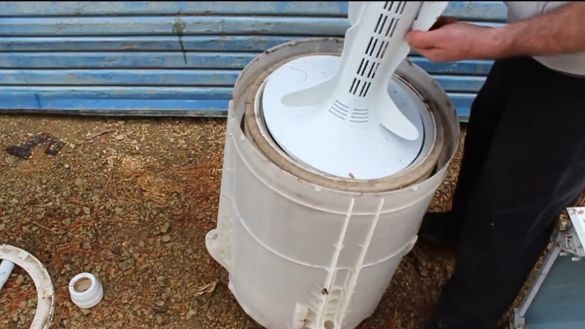
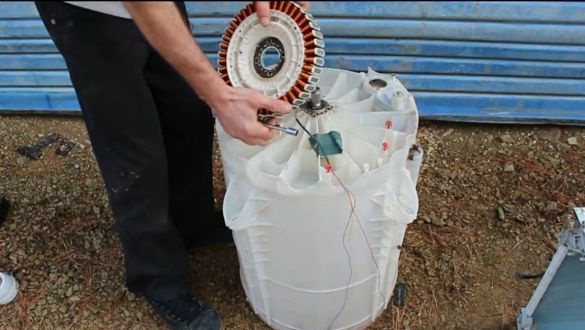
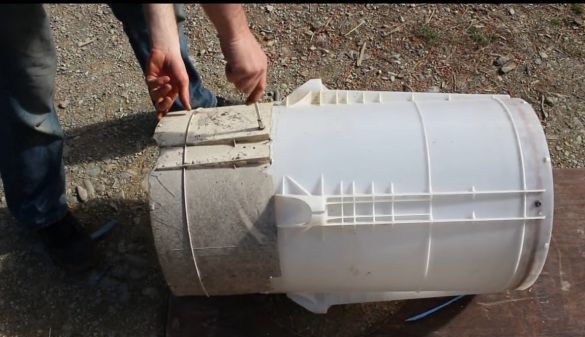
We proceed to the preparation of the components. We take a screwdriver and disassemble the washing machine. They are all sorted out differently, it all depends on the particular model taken. You need to completely disassemble and remove the upper part, only the container with all the filling should remain.
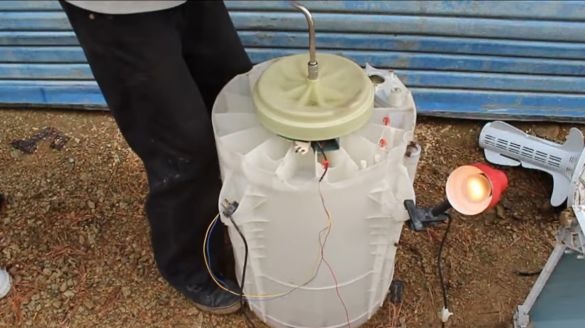
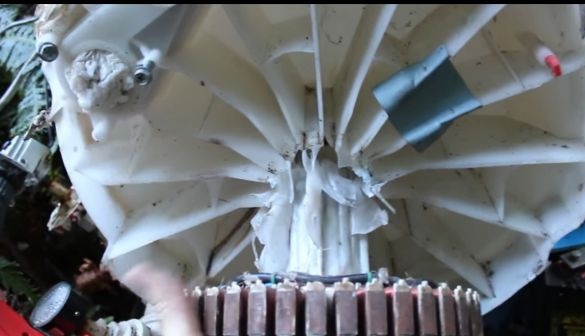
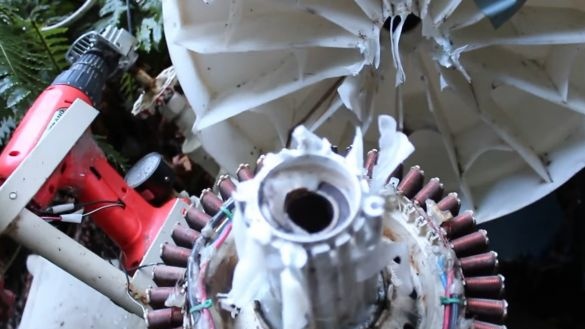
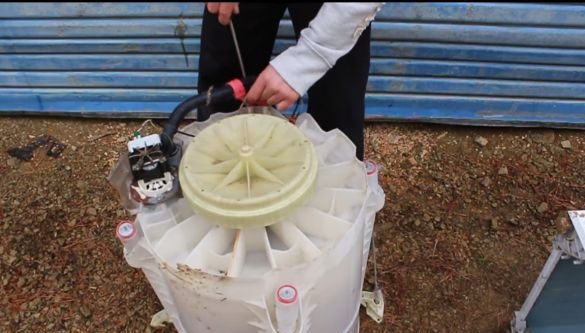
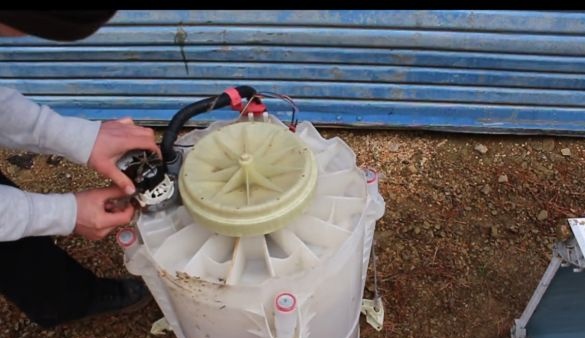
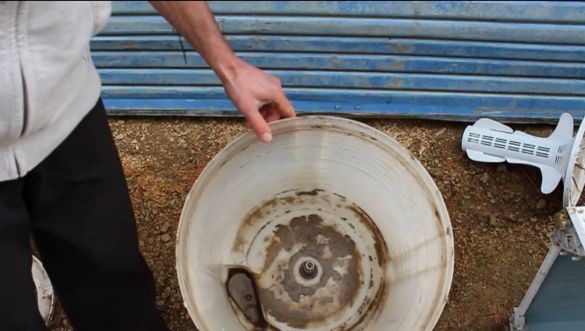
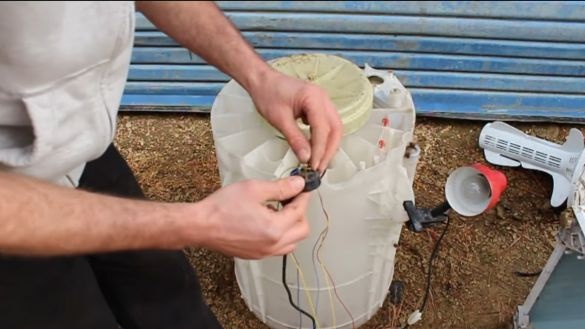
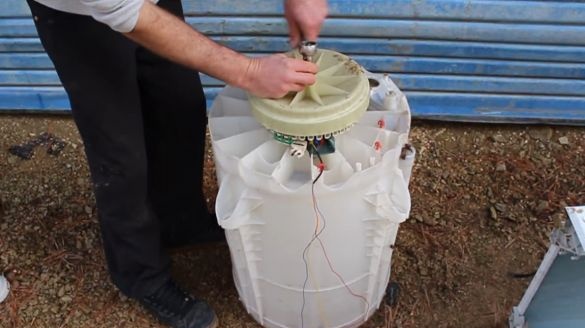
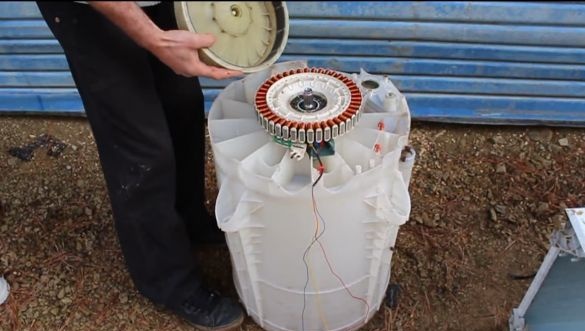
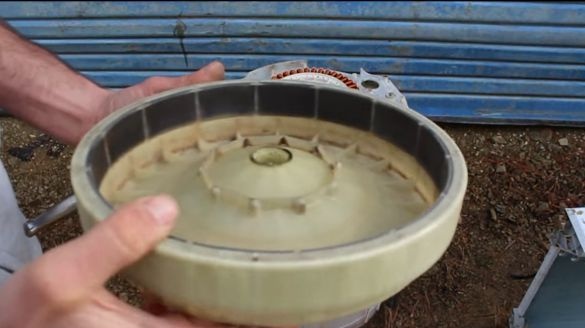
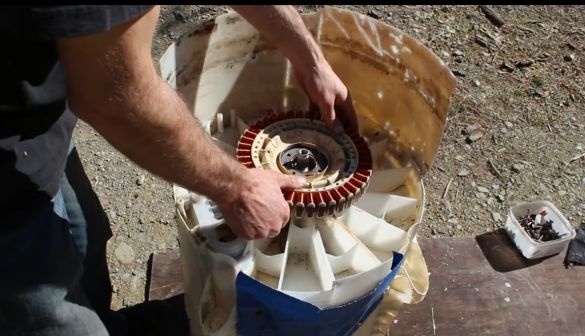
Unscrew absolutely everything from the tank, there are many hoses connected, a pump, a drum and so on. As a result, you should have the inside of the body with the engine. For the duration of the work, the author also removes the engine. As you can see, the stator here is a set of coils, and permanent magnets are installed on the rotor. If there are no magnets in the motor, then to start such a generator it will be necessary to apply the starting voltage to the winding.
Step Three We make a protective gasket
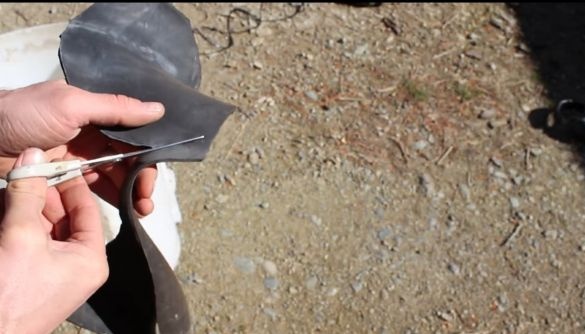
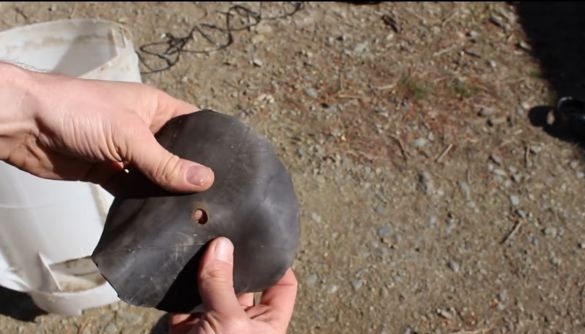
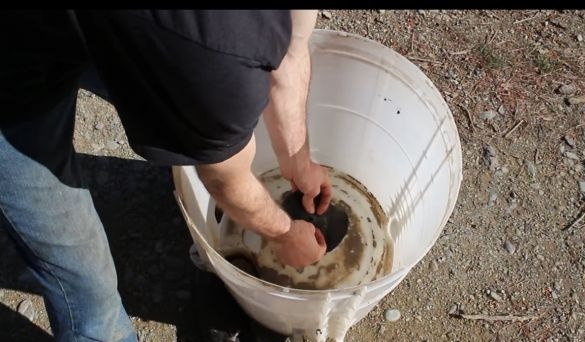
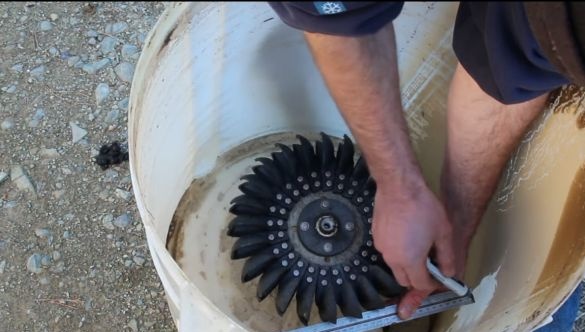
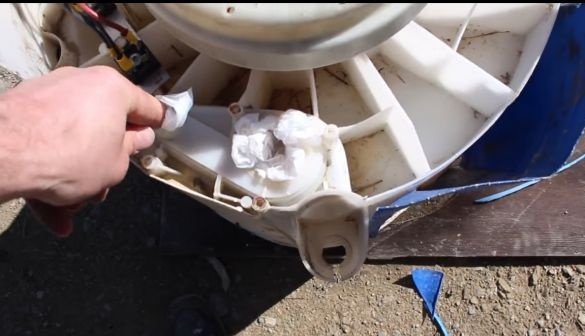
The author decided to install a protective gasket on the shaft. Why it is needed is not clear. Probably so that the water pressure does not affect the gland and does not lead to its rapid wear. The gasket is made from an old car camera. Cut a circle in accordance with the dimensions of the impeller and put on the shaft.
Step Four Install the impeller
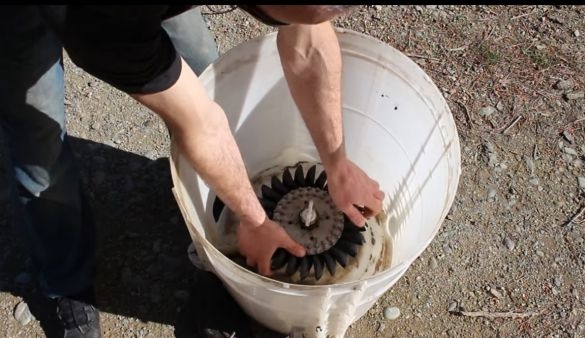
The author kept silent about how the impeller was made. In principle, there is nothing complicated in the design. You will need a disk of suitable size on which to install the blades. The blades are attached with bolts and nuts. We fasten the impeller to the motor shaft with a nut.
Step Five Inlet and outlet
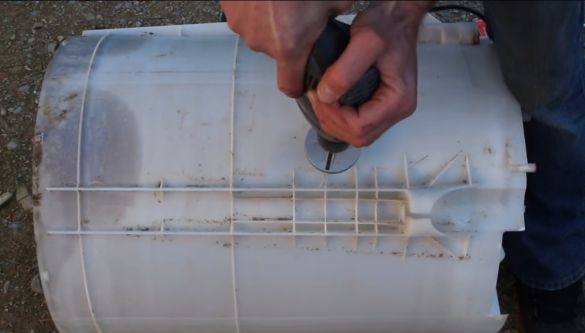
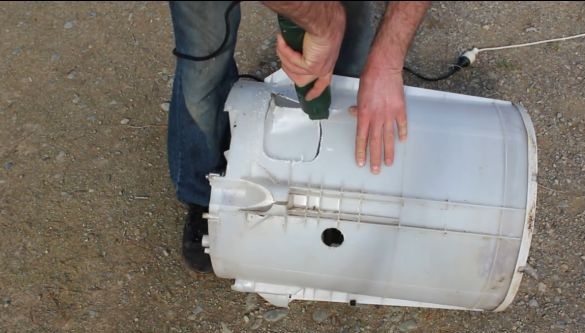
The author drills the inlet using a drill. Its diameter should be such that a pipe can be inserted here, which will supply water inside.
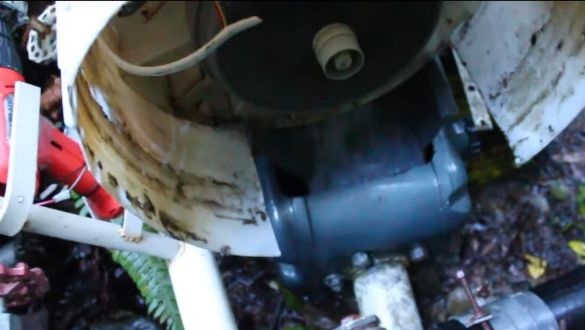
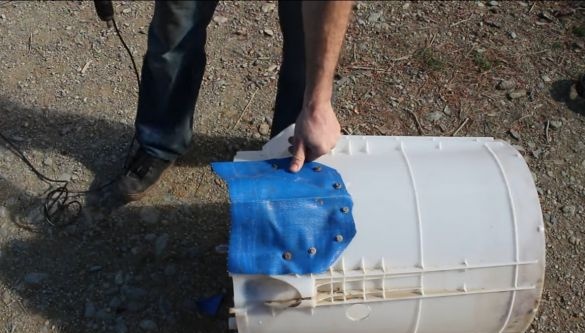
As for the outgoing hole, it is made quite large, it can be cut out with a grinder. The hole should be large so that a lot of water does not collect inside the tank. The author installs a protective shield on this window so that the flowing water does not splash in different directions. The shield can be made of a dense film or other suitable material. The author fastens it with screws.
Step Six Close the container
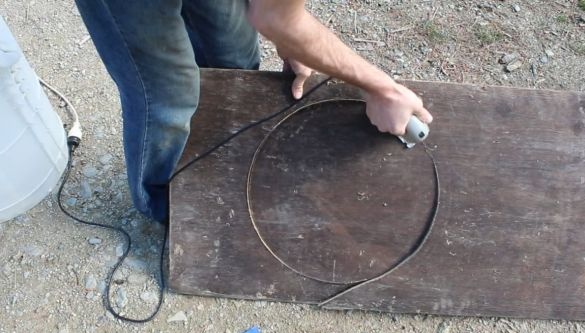
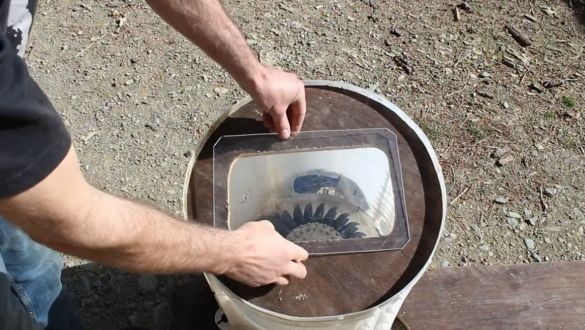
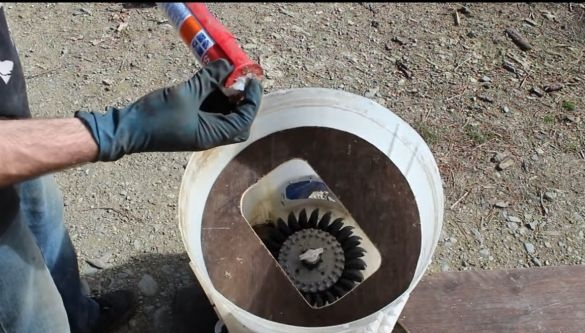
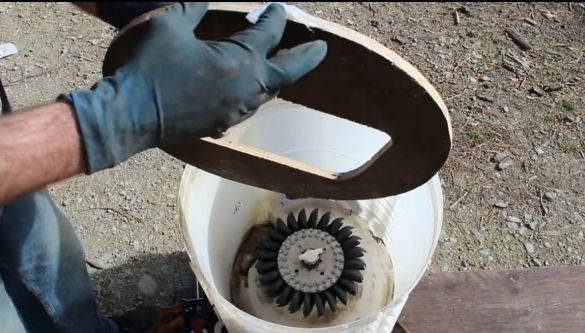
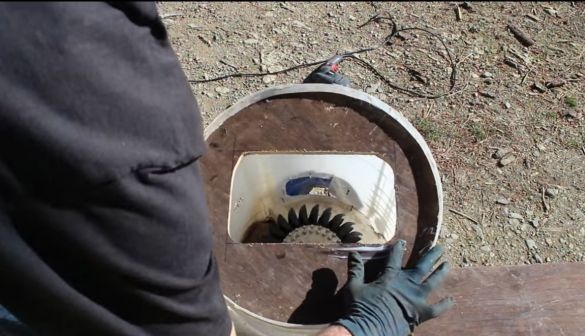
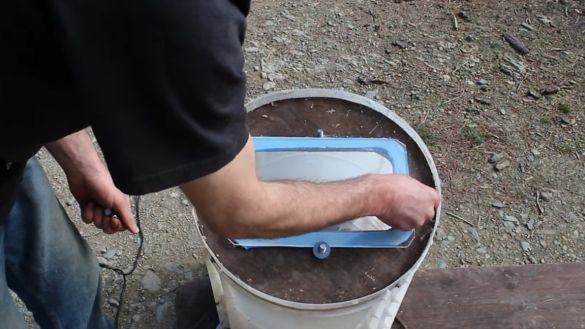
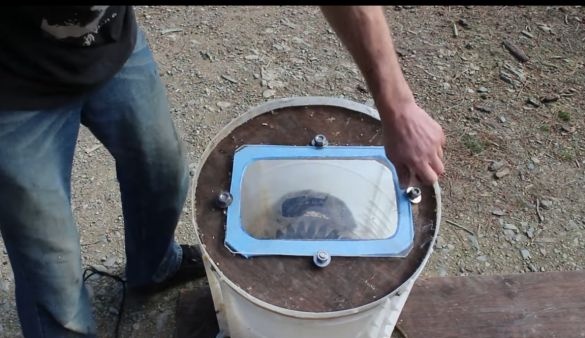
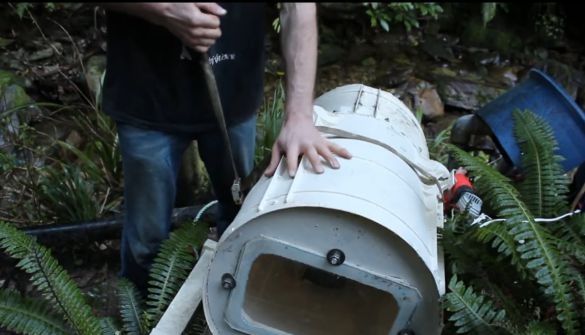
To prevent splashes from anywhere from the hydroelectric power station, the author closes the container and leaves only a small window so that you can observe what is happening inside. Cut out a circle of plywood from plywood so that it goes inside the container. Plywood needs to be painted several times, but it is better to use another waterproof material. In the center, cut a hole for installing a window.
Coat the plywood in a circle with silicone glue and install in its place. We prepare a window, it can be made of plexiglass. We also glue the window onto silicone glue for tightness. So that he would not be squeezed out by the pressure of water, the author drills four holes around and fastens it additionally with bolts and nuts, laying large washers.
Seventh step. Generator side wing
To prevent spray from flying onto the generator and not dripping rain, a protective shield must be made for it. We cut out the desired piece from the remaining parts of the washing machine and fasten it to the body with the help of self-tapping screws, bolts with nuts and so on.
Step eight. Install the generator in its place
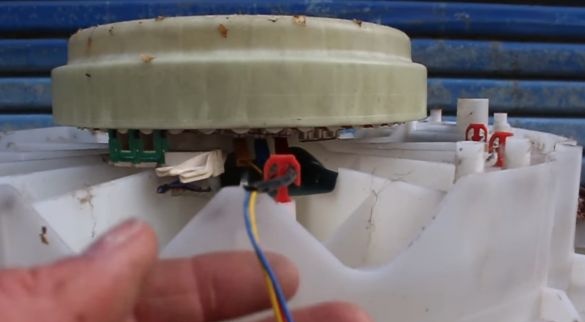
It's time to put the generator in its place. First screw the stator and secure all the necessary wires. Next we fix the rotor. It is highly desirable to fabricate and install an additional impeller for more efficient cooling of the generator.
Step nine Install a hydroelectric power station
Be careful when turning on the generator, as it generates a high voltage, and water is a good conductor of electric current!
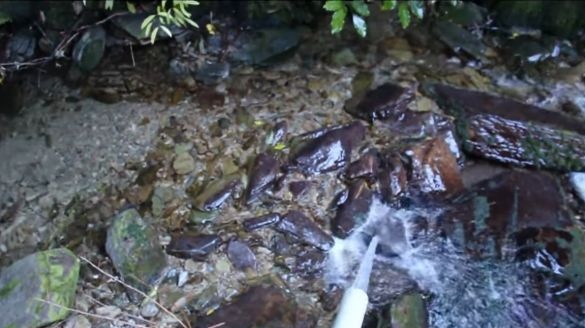
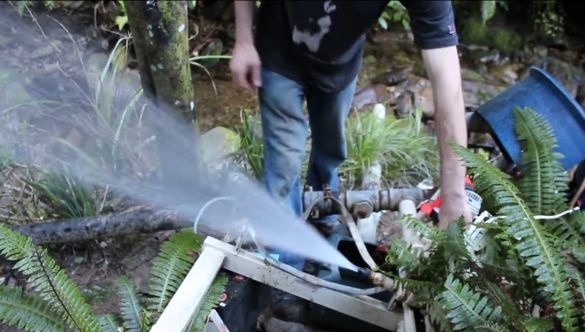
The author uses a pipe to supply water, apparently, it takes water somewhere from a stream that flows nearby. If you install a crane on the pipe, this will be a good way to control the turbine speed. Securely fasten your mini hydroelectric power station and install a pipe to drain water. Before starting, make sure that the outgoing wires are not shorted and laid so that you will not be shocked. Slowly open the tap and check the generated voltage. Do not forget that under load the voltage will sag, so set the generator speed so that it generates about 240V.
Step Ten Electronics…
We start the cable from the generator to the house and connect the controller. If you wish, you can charge the batteries and then distribute voltage from them to your household appliances. This is a good option, since the current in this case will not have surges, unlike the newly generated one. If you have succeeded, congratulations, good luck!

