

Hello to all lovers homemade, I think many people know that with a powerful laser you can burn wood, cut plastic and burn matches at a distance, a pretty interesting thing, so in this article I will tell you how to make a budget cutting laser with which you can conduct interesting experiments, as well as simplify the process of assembling other homemade products.
Before you get acquainted with the description of the assembly process, I suggest watching a video where the work of such a homemade product is clearly demonstrated.
In order to make a homemade cutting laser, you will need:
* DVD drive from the computer, the recording speed must be at least 16X
* Soldering iron
* 3 capacitors per 10 microfarads
* 51 kΩ, 20 kΩ, 30 kΩ resistors
* Pulse IC NCP 1529
* Battery with a voltage of at least 3.7 volts
* Switch
* 2.2 microgenry throttle
* Housing
* Foil textolite
That's all you need to create this homemade product, go directly to the step-by-step assembly.
Step one.
First you need to decide on a DVD drive from the computer, for sure someone has such a mess, and if not, then they are fully available on the radio flea market or computer hardware stores.
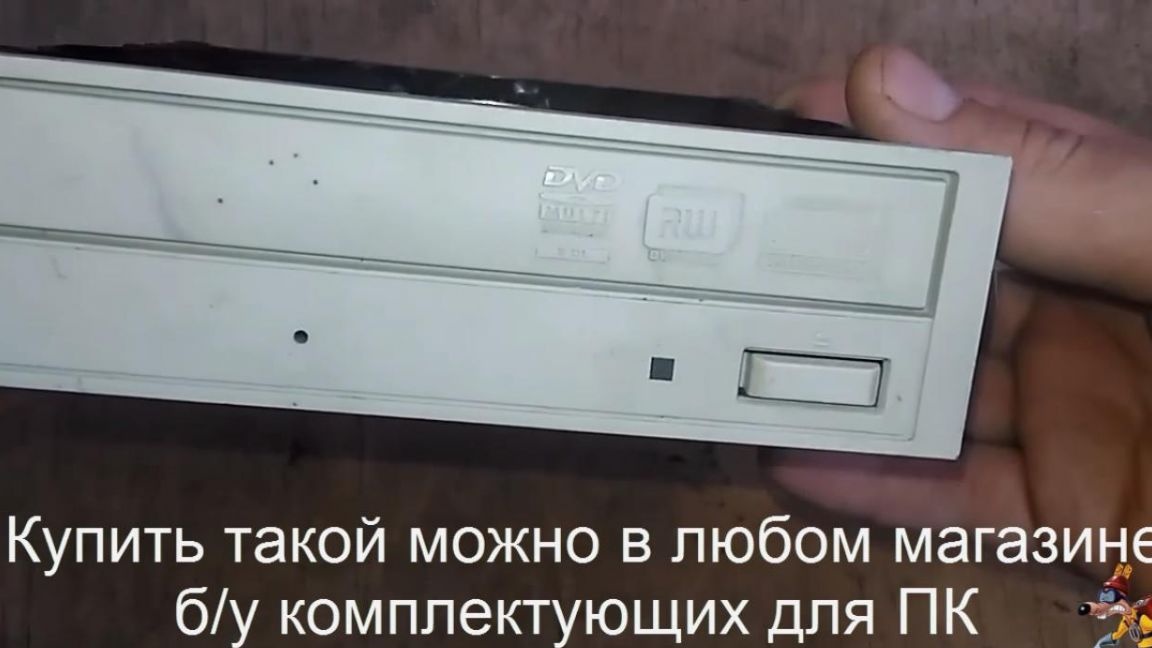
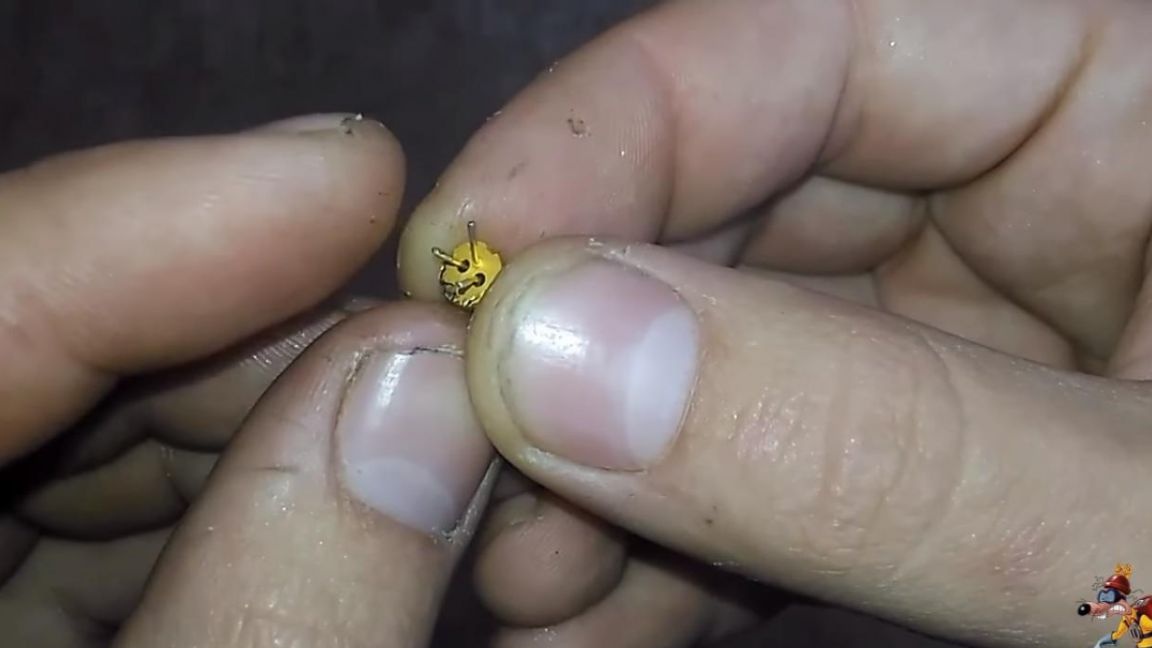
From this drive, we need only one element, namely a laser, which in such drives is usually responsible for writing information to a disk or burning it in another way. It is also necessary to take into account that optical drives that do not have the ability to write information to disk will not work, we also include CD drives in which the laser power is very small.
Once the drive has been determined, it must be disassembled. Having unscrewed the screws on the case, we get to the inside of the drive, here is the circuit and the same laser that we need.
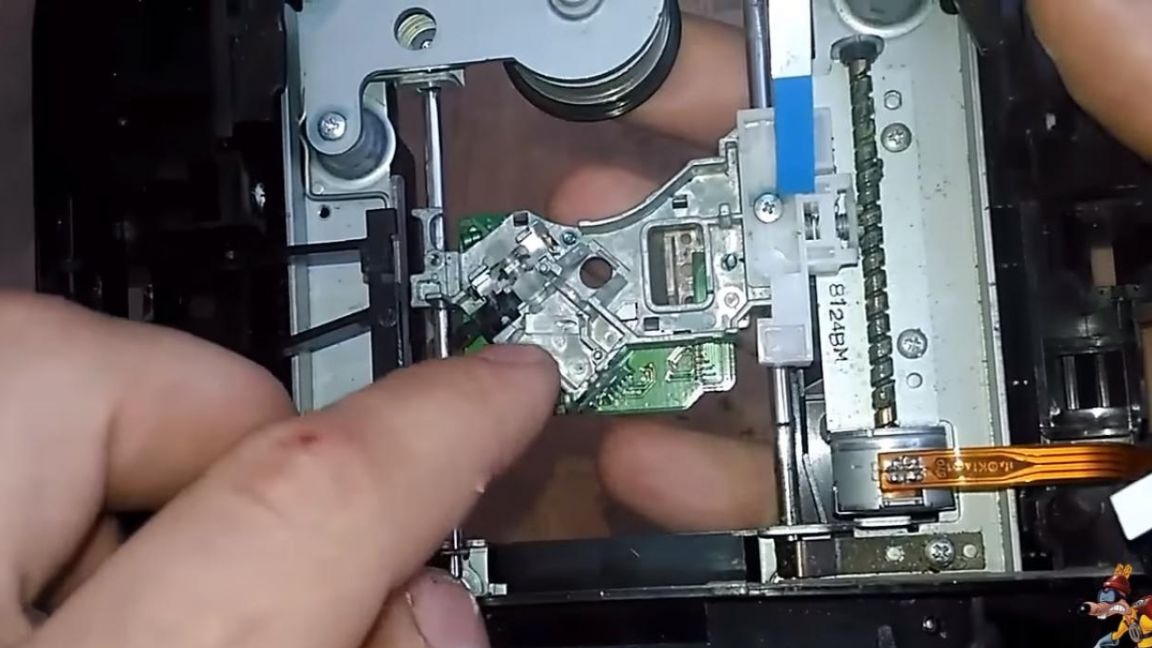
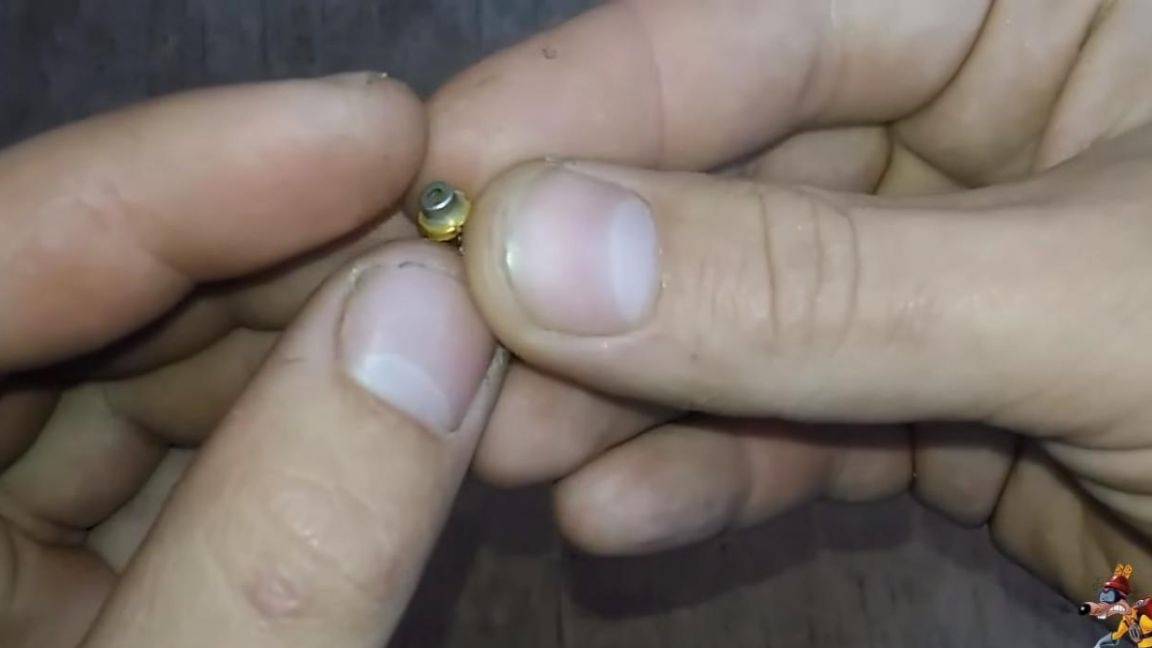
Carefully pull out the laser from the seat, the other components of the drive can also be useful in other homemade products.
Step Two
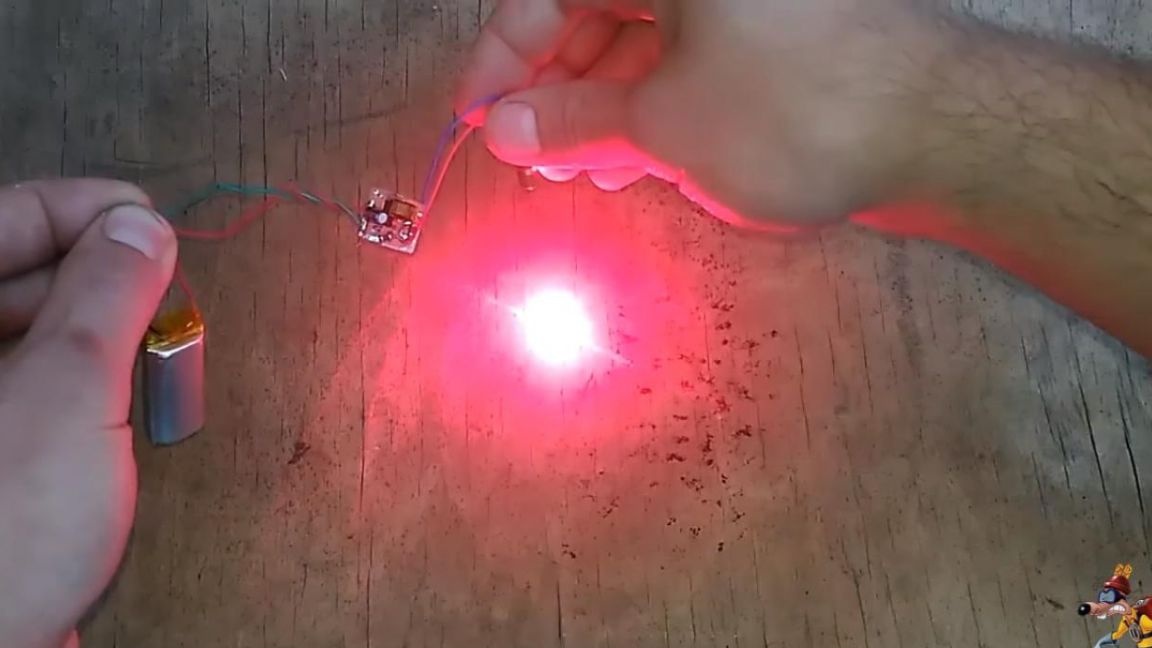
Since it is impossible to power the laser directly from the battery, you need to make a special driver for these purposes.
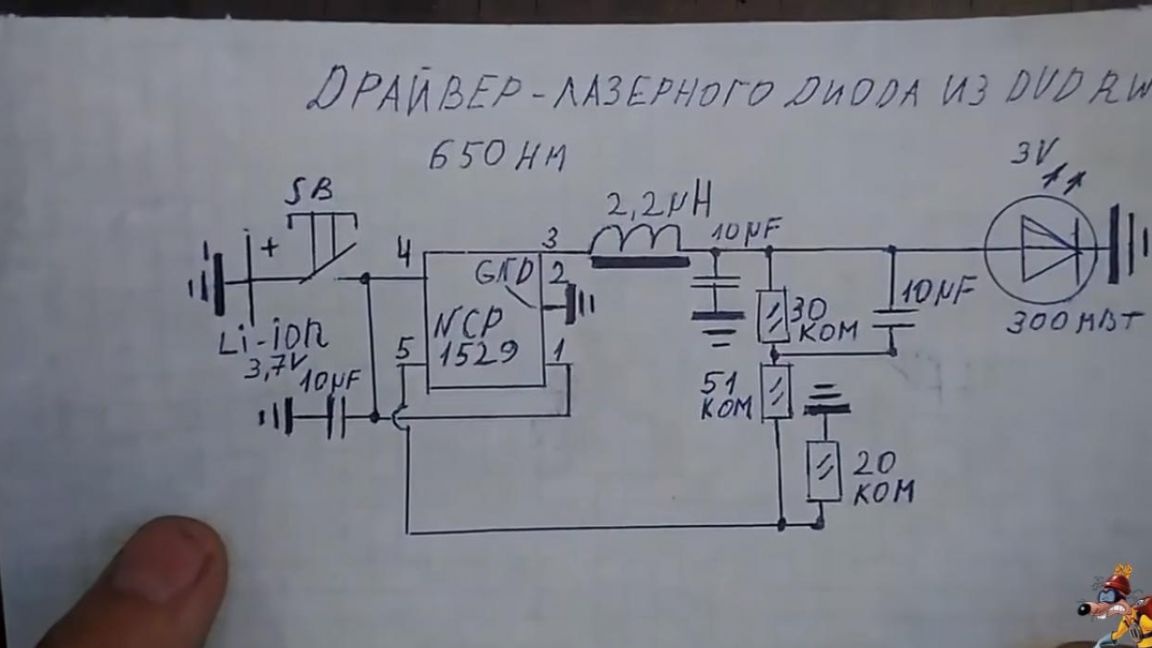
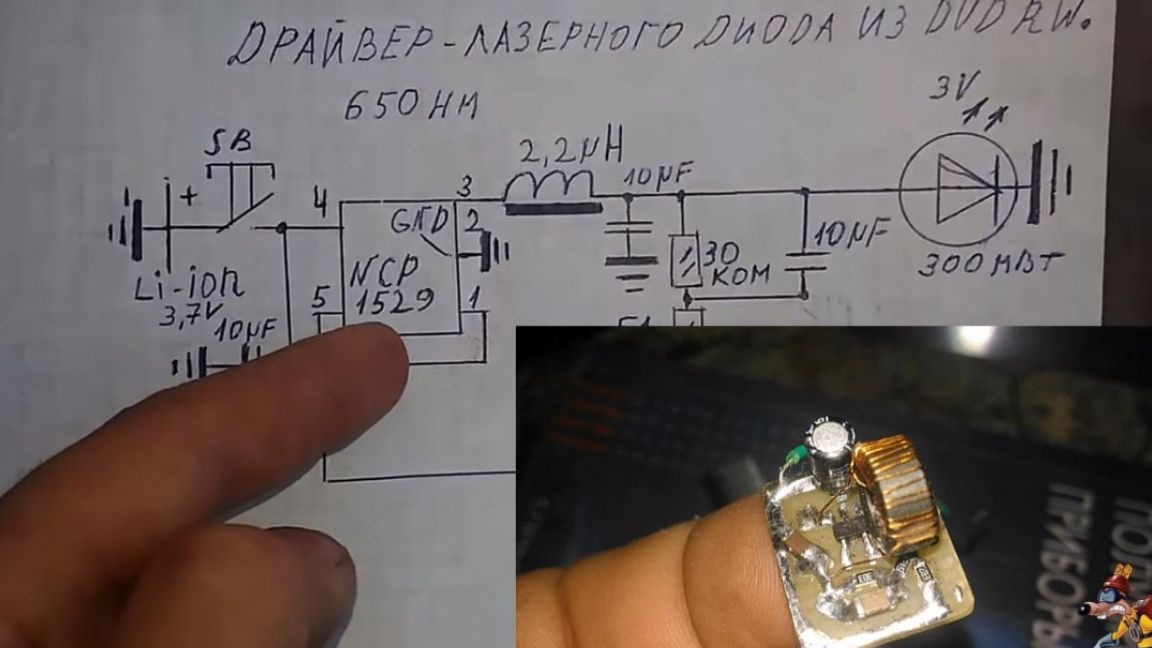
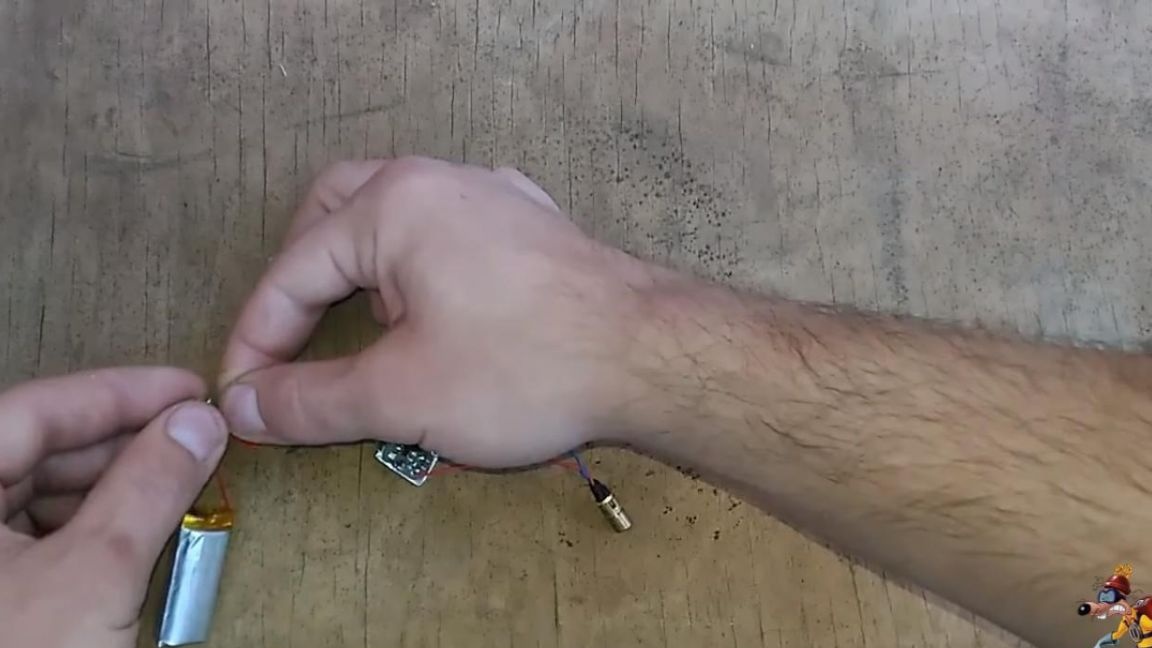
According to the scheme, we design a printed circuit board, you can draw this board in programs such as Sprint Layout, DipTrace. Why did I choose these programs? Because they are fast enough in development and even a beginner will understand it. After that, we take a foil textolite and transfer to it a previously designed board pattern, which can be done in any way convenient for you, be it LUT or photoresist.Then, after etching and cleaning the board, we unsolder the components on it according to the scheme, in this case it is better to use a small soldering iron to avoid overheating of the laser and other components, well, we try to solder the wires to the laser legs as quickly as possible. A positive wire is connected to the left leg, and minus goes to the body, the right leg of the laser is not involved in this homemade product.
This laser works great at a voltage of 3 volts.
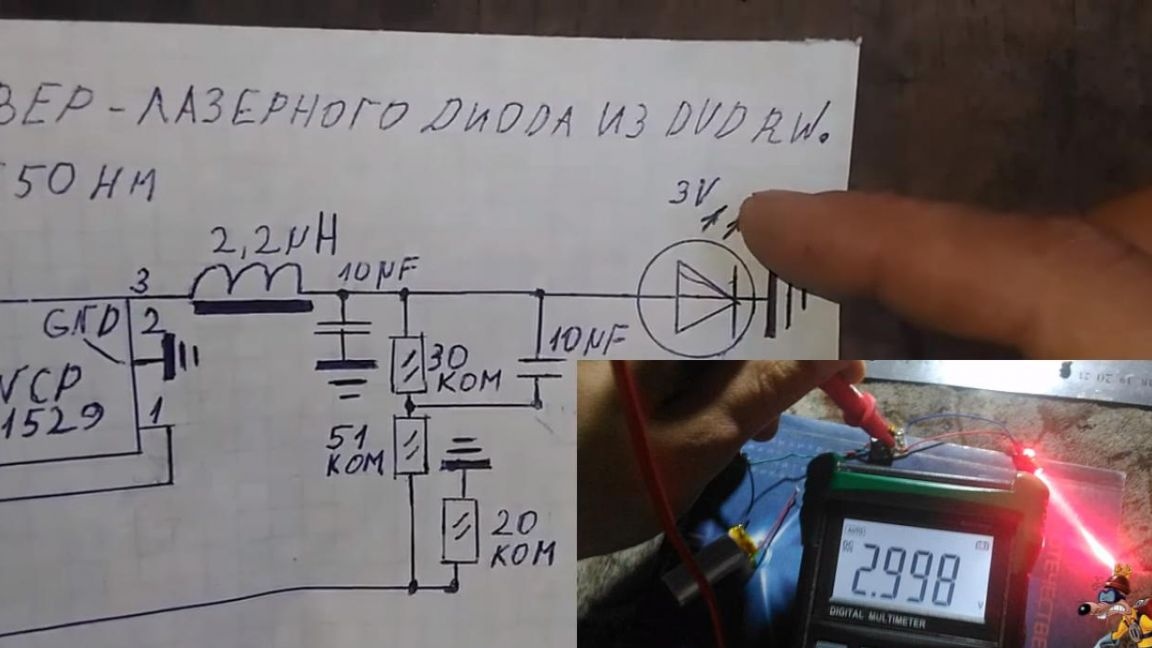
As a power supply, you can use any battery with a voltage of at least 3.7 volts, a lithium-ion rechargeable battery of the type 18650 is also ideal here, its voltage is just the required 3.7-4.2 volts.
Step Three
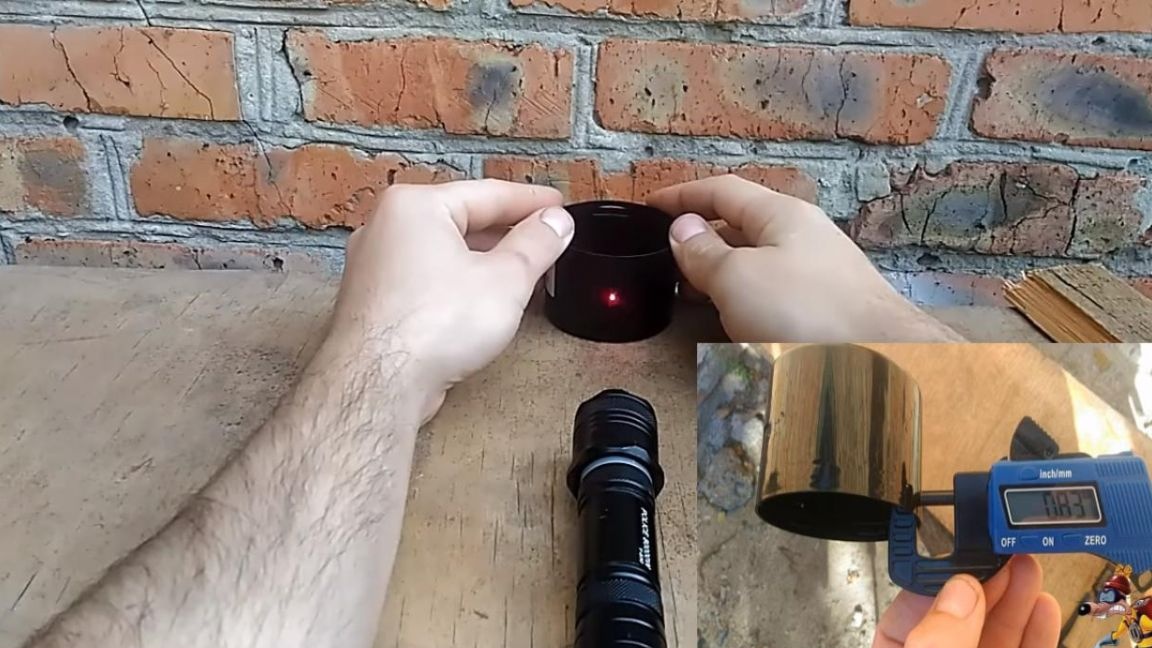
After checking the laser and a home-made driver, you need to make a case for it or take it ready.
Since all the components fit perfectly into the case from the shocker, it was customary to use it, the power button also remained in place.
If there is no such case, then you can do something similar from a thin-walled pipe, in the case of an aluminum pipe, the insides must be insulated in order to avoid a short circuit.
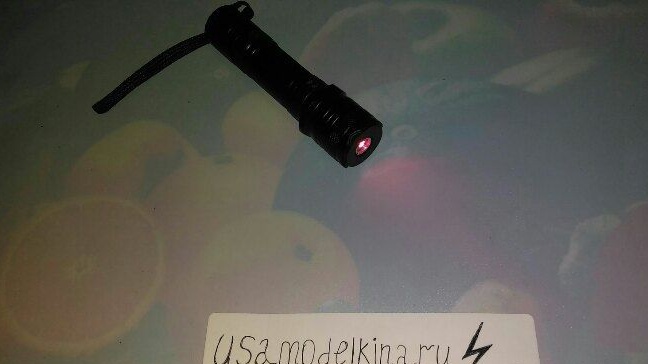
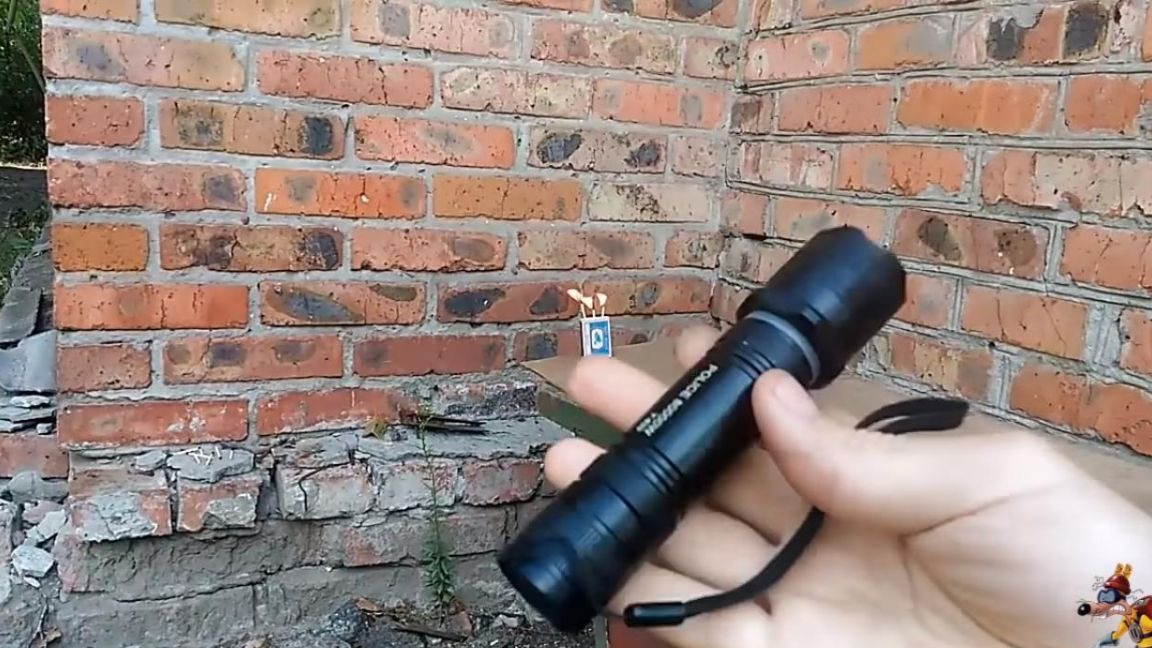
Well, the homemade cutting laser is ready, which means that it is time to begin its tests. This laser burns out well enough on wooden surfaces, melts plastic and sets fire to matches at a distance of one and a half meters, which I consider worthy for such a small laser, as well as easily accessible and inexpensive.
If your goal is to melt with this laser, then you need to take into account that white and shiny plastics having a high reflection coefficient will not melt, the problem is solved with a conventional black marker.
That's all for me, thank you all for your attention and successful homemade goods and creative ideas to everyone.