
Slowly electric vehicles are gaining more and more popularity. It remains only to wait a bit, and now we will all be dissecting on electric motorcycles, cars and other equipment. And those who do not want to wait, just pick up and make electric vehicles here and now.
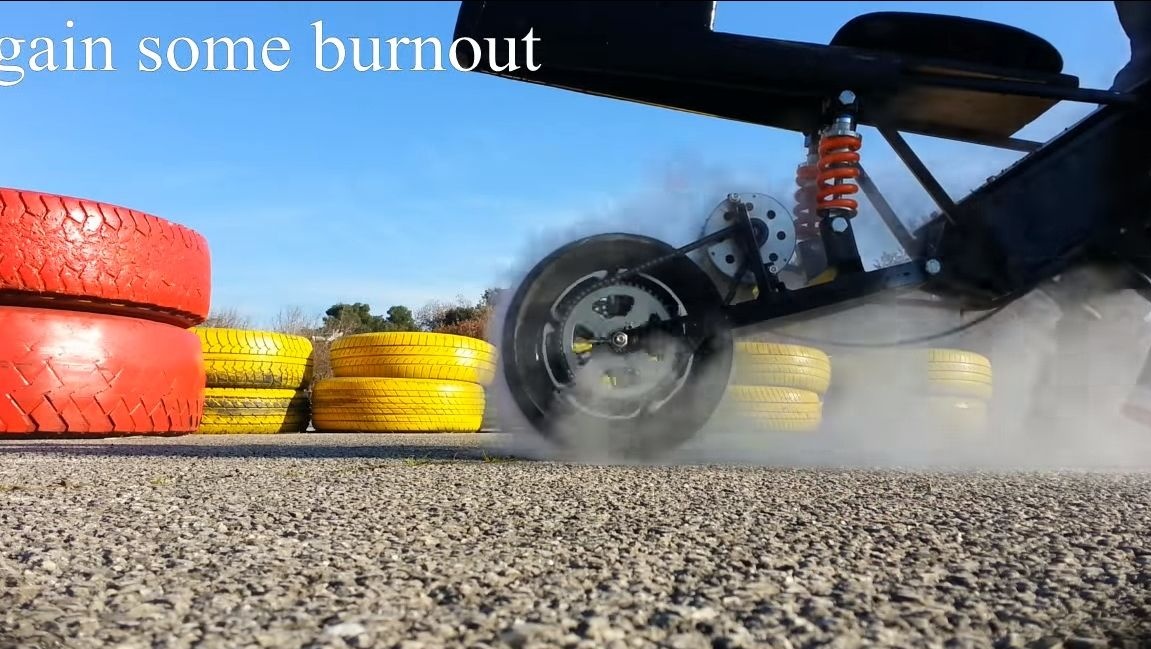
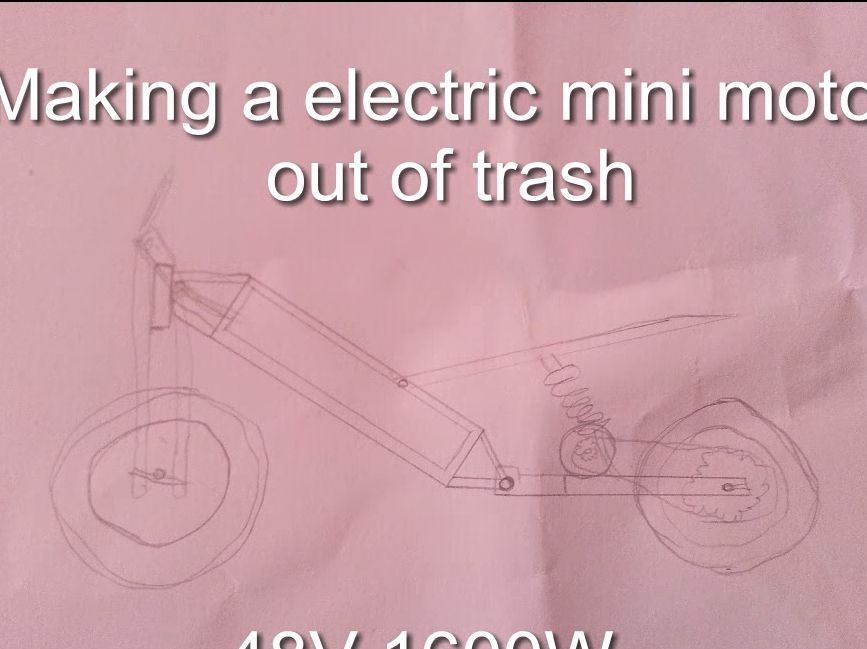
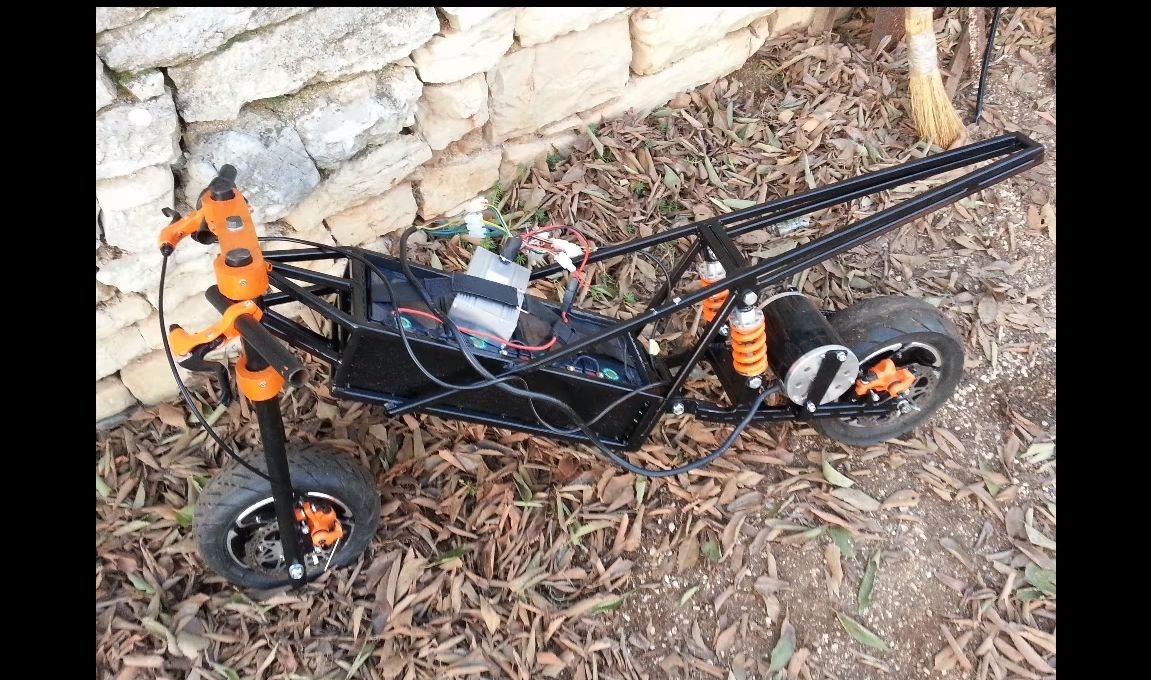
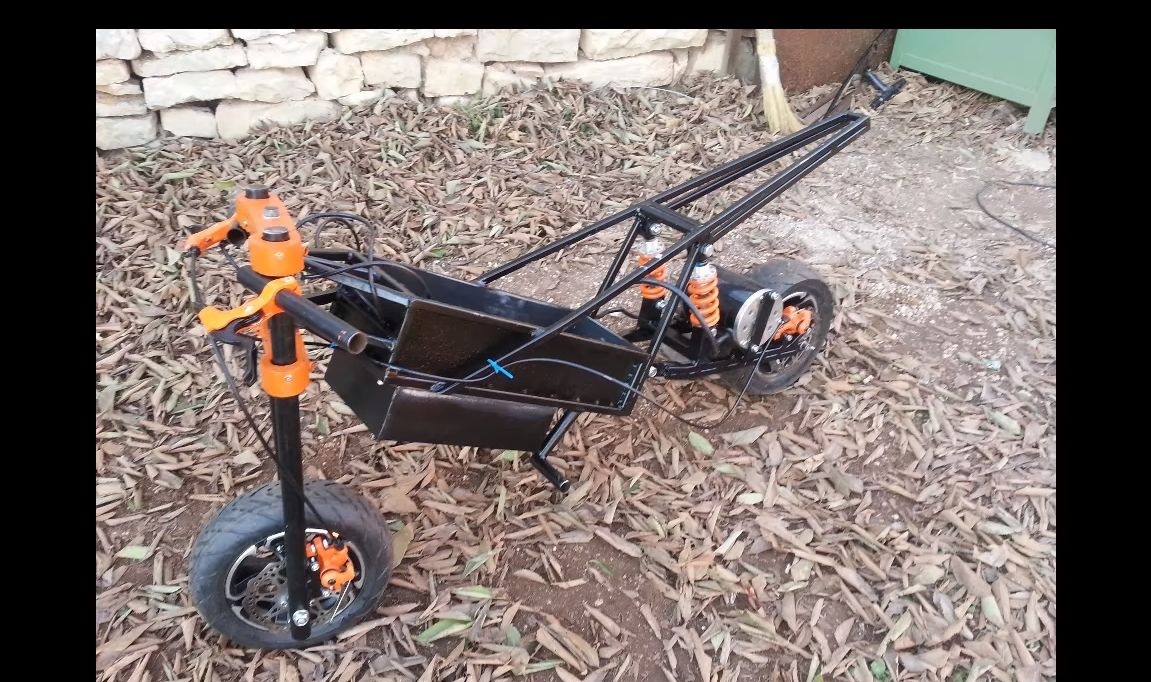
As an example, we will look at instructions for making a mini-motorcycle that runs on electricity. The speed of this unit is about 50 km / h, which is quite a lot for such a small bully. The engine used produces 1.6 kW of power, and is powered by a voltage of 48V.
The whole structure is not going to be complicated, but you need to buy something. You will need wheels from a scooter or motorcycle, as well as an engine, batteries and more. Let's consider in more detail how to make such a small monster.
Materials and tools that the author used for homemade:
Material List:
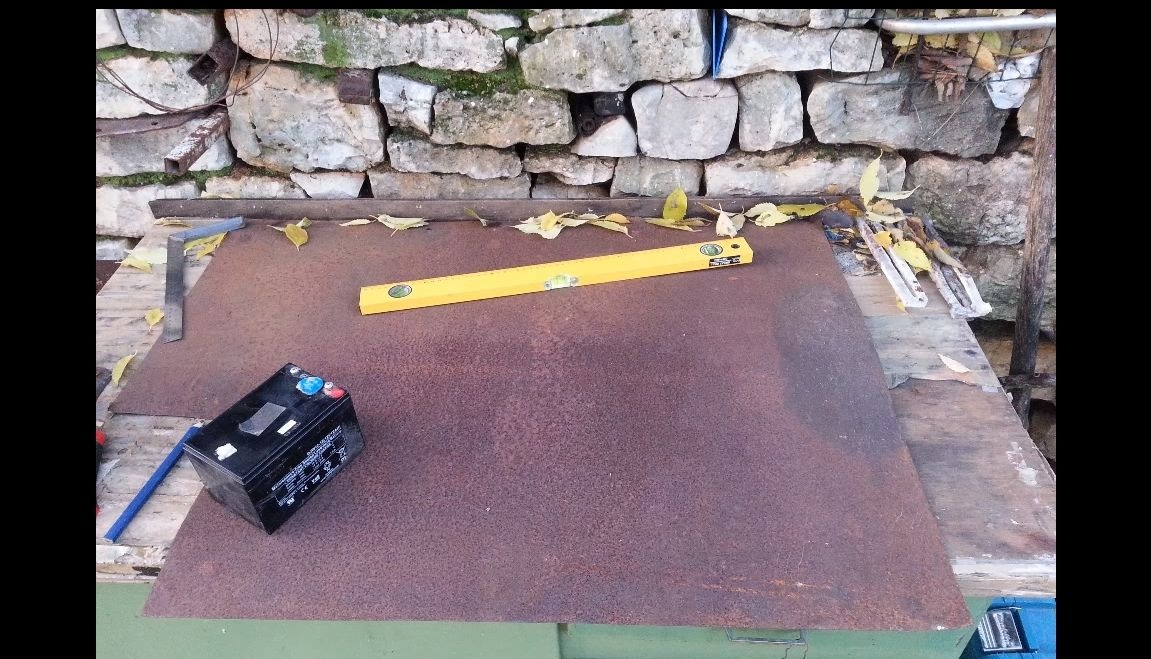
- batteries (the author used 4 pieces of 12V);
- ;
-
- foliage metal;
- bearings;
- steel pipes;
- square steel pipes;
- bolts with nuts;
- two shock absorbers;
- plywood.
As well as wires, glue, paint, switches and other little things.
Tool List:
-
- welding;
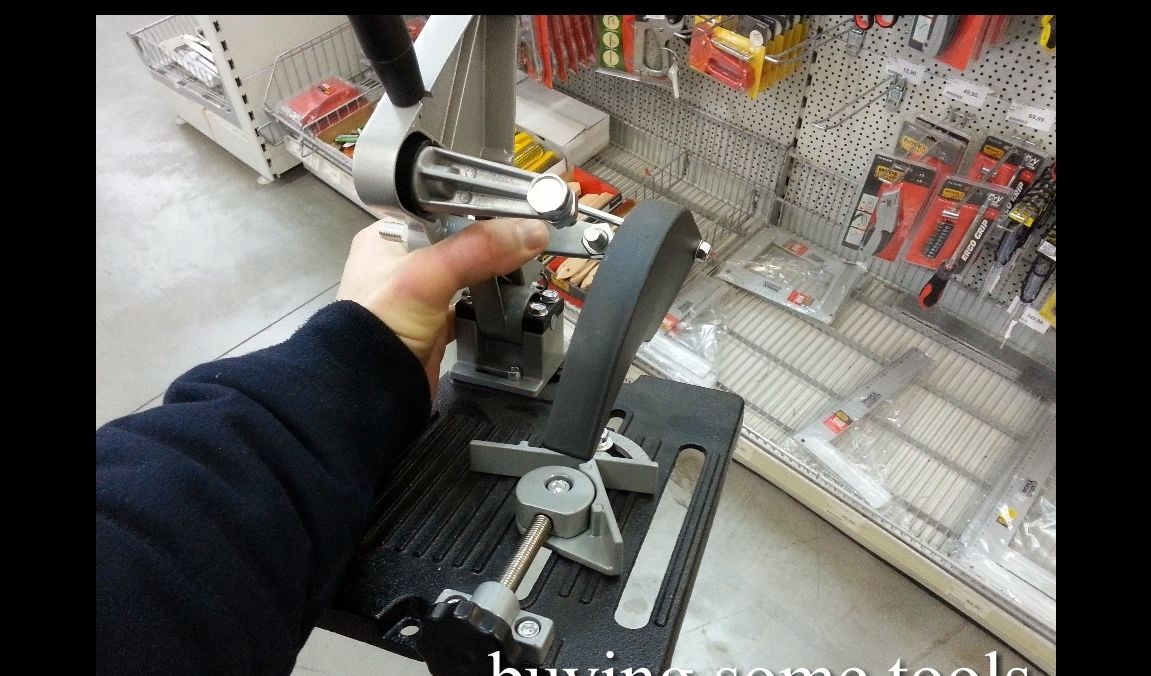
- mitral saw (desirable to have);
- construction line;
- clamps;
- jigsaw;
- drill.
Motorcycle manufacturing process:
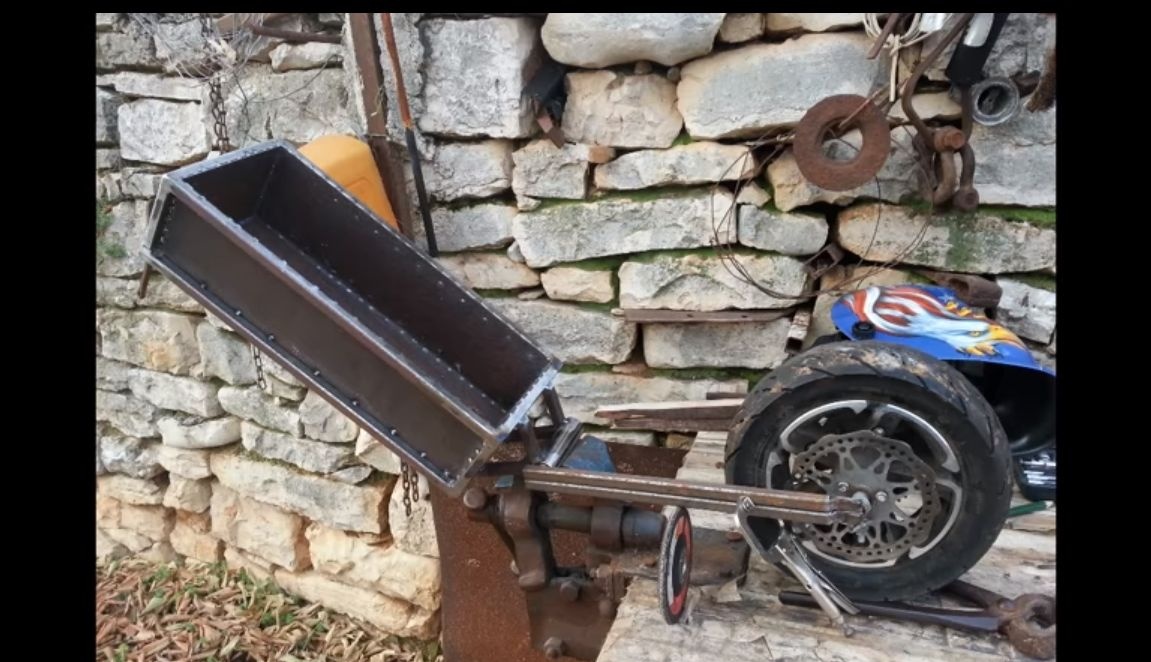
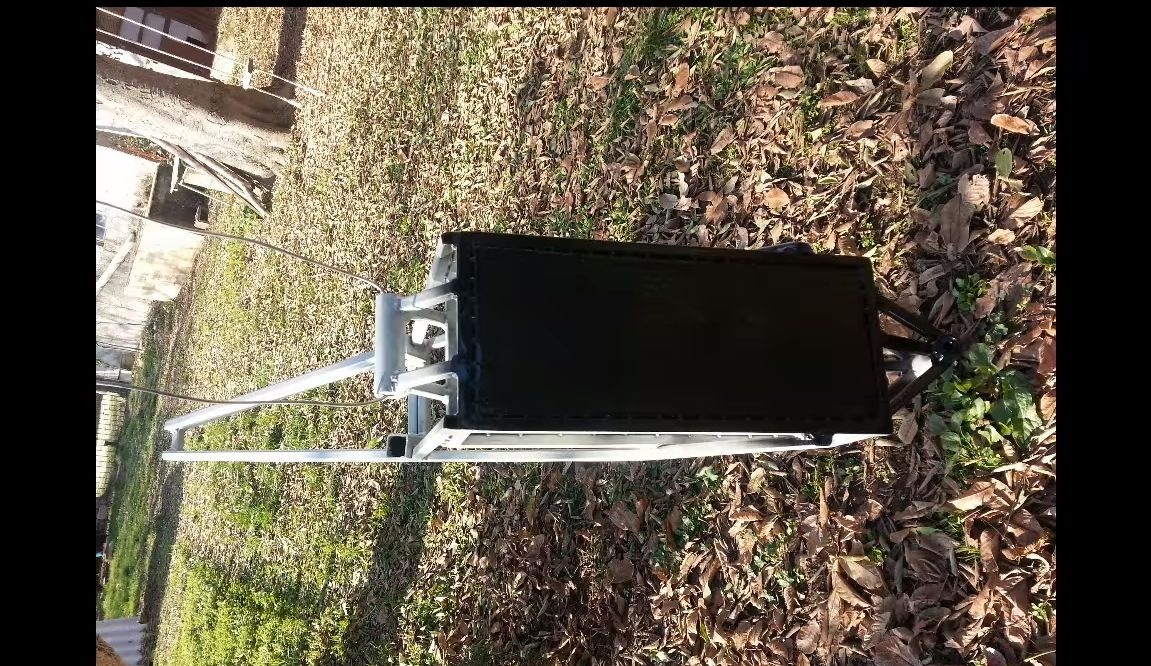
Step one. We make a compartment for batteries
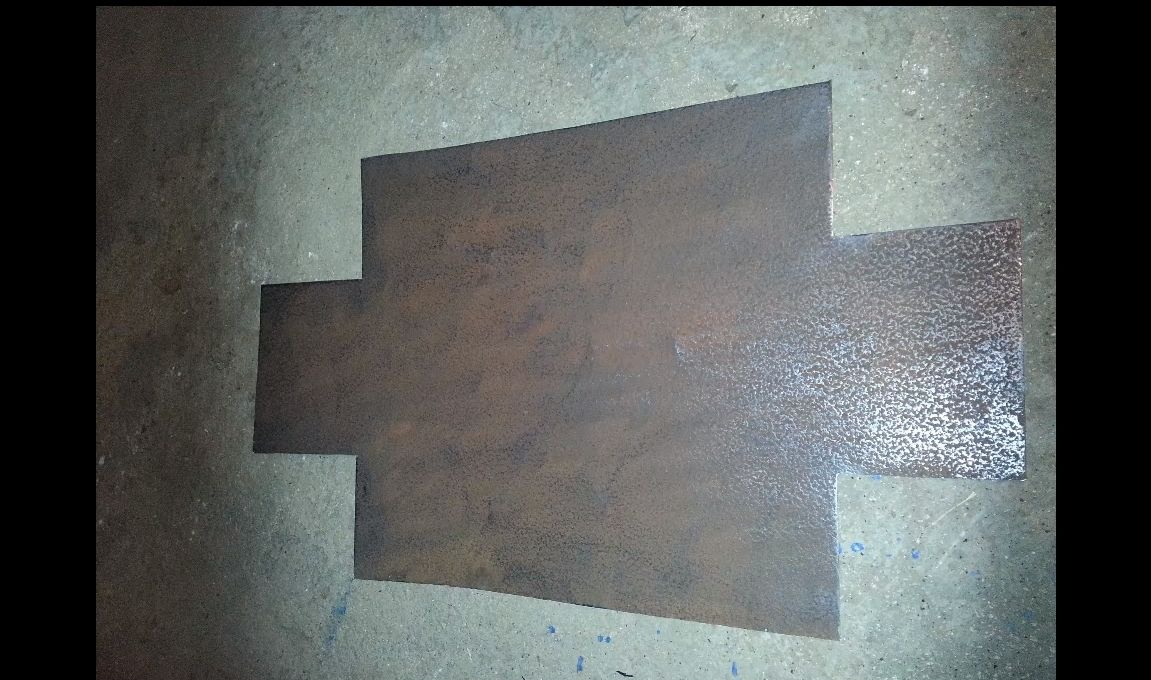
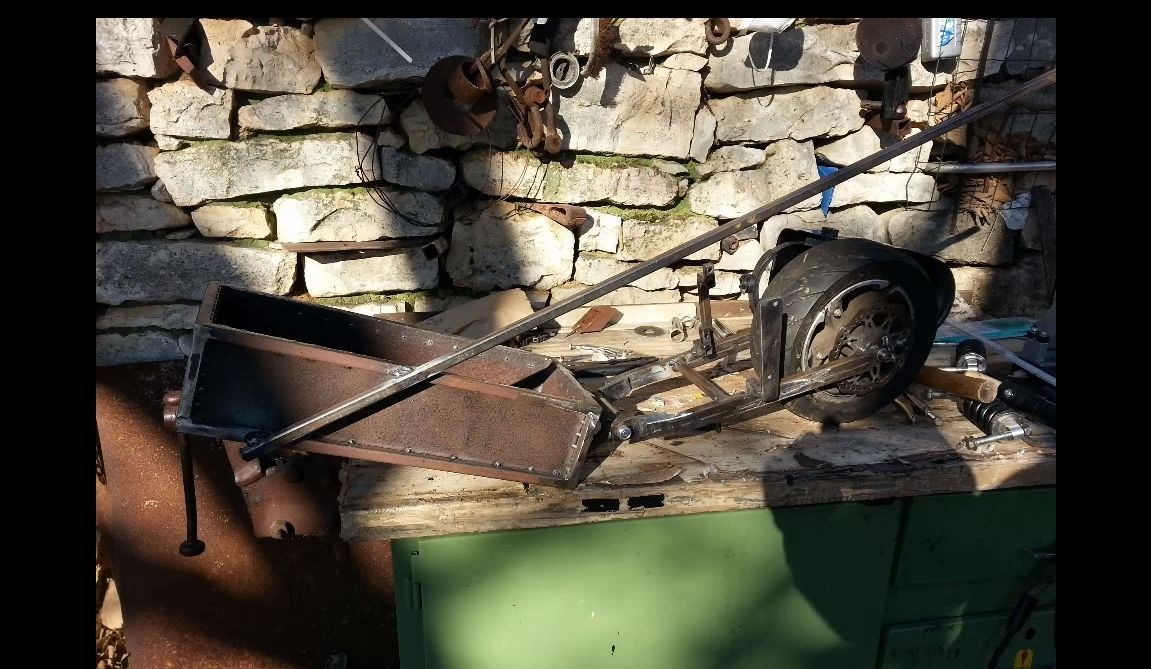
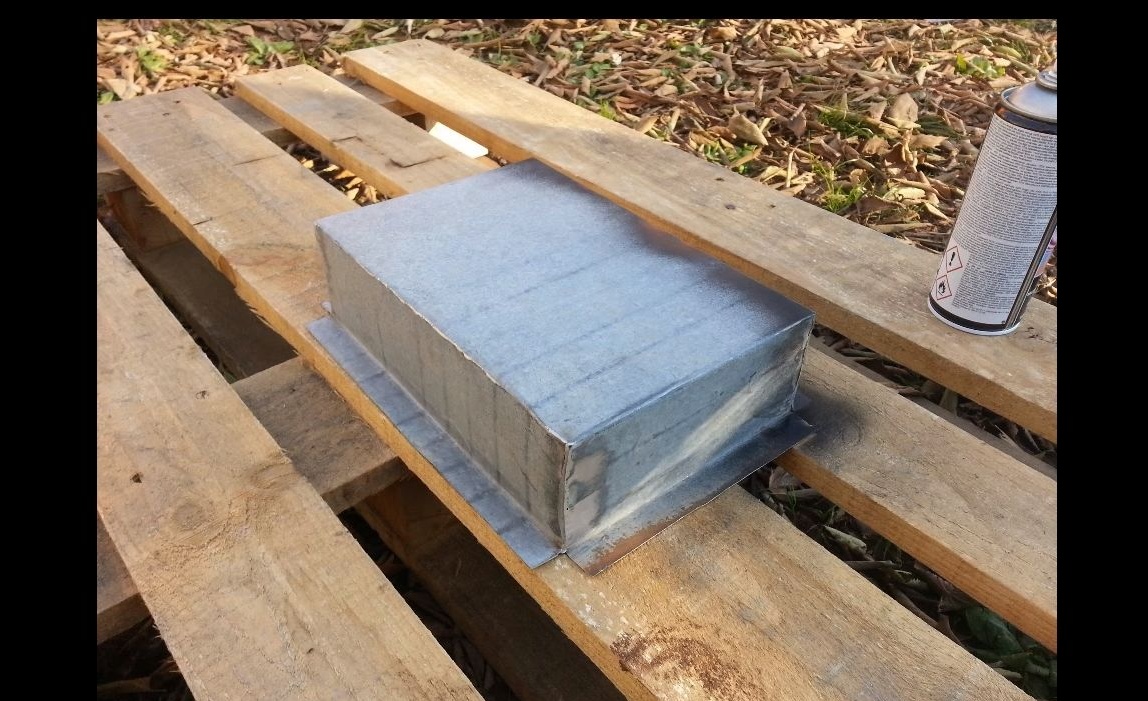
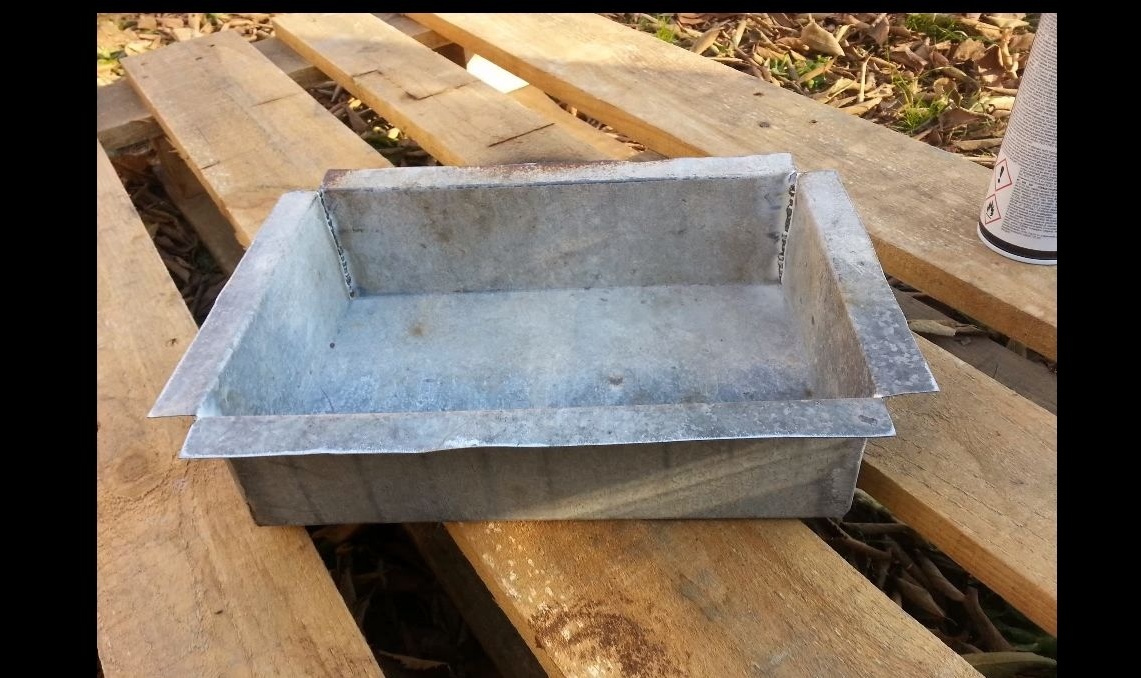
First of all, we begin to manufacture the battery compartment in accordance with the scheme. The compartment should be quite large and strong, it must accommodate 4 batteries, which weigh a lot. Its author makes of sheet steel. We cut the workpiece, as in the author, and then just bend the edges and get a container. Brew the joints of the box, the seams should be strong.
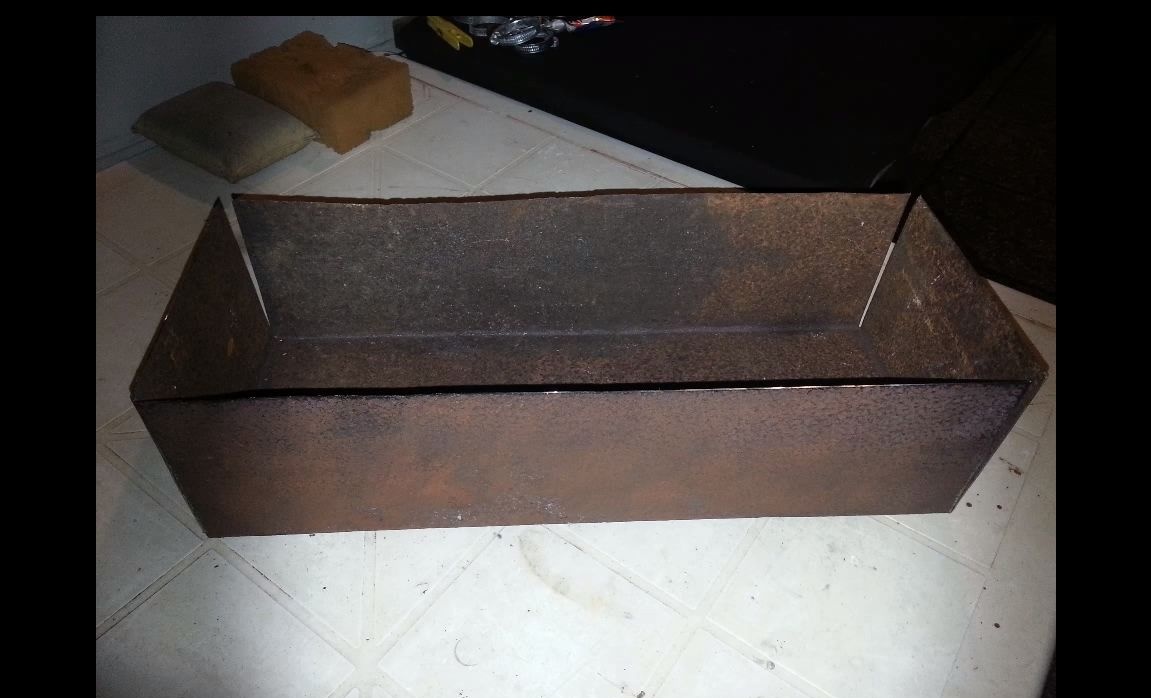
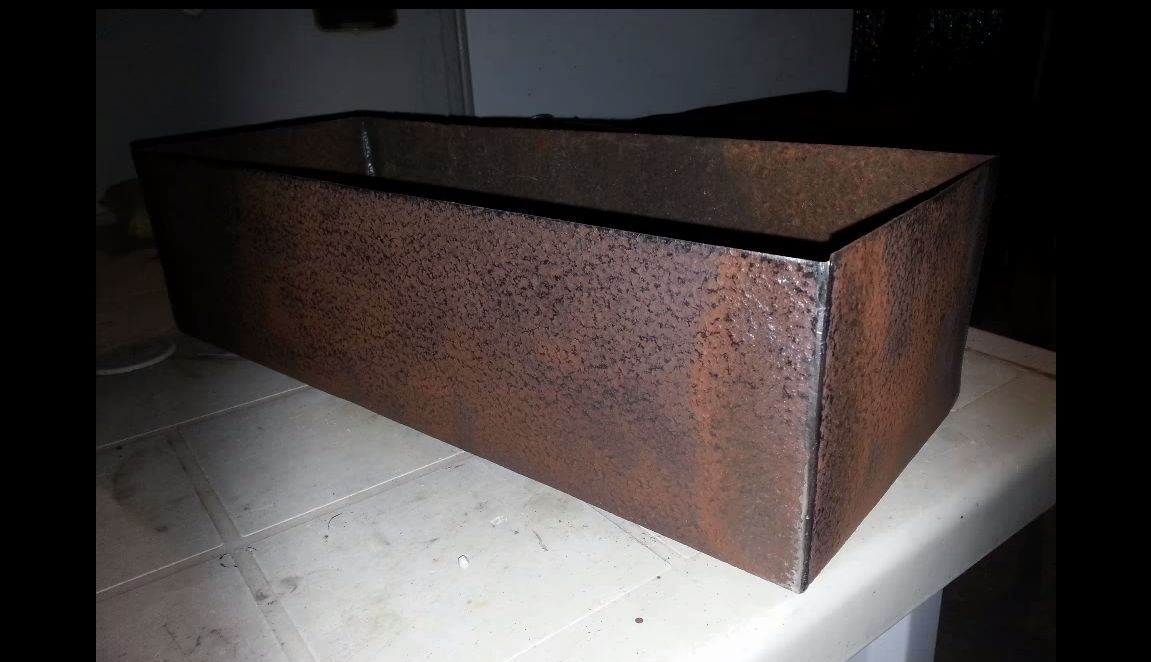
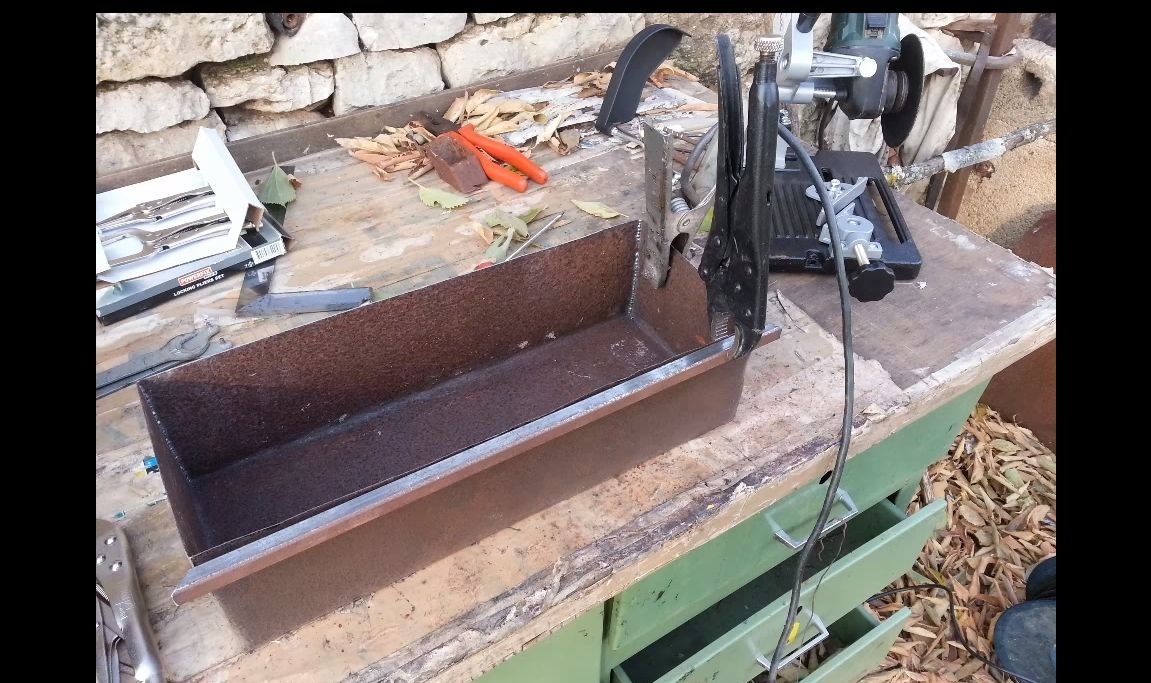
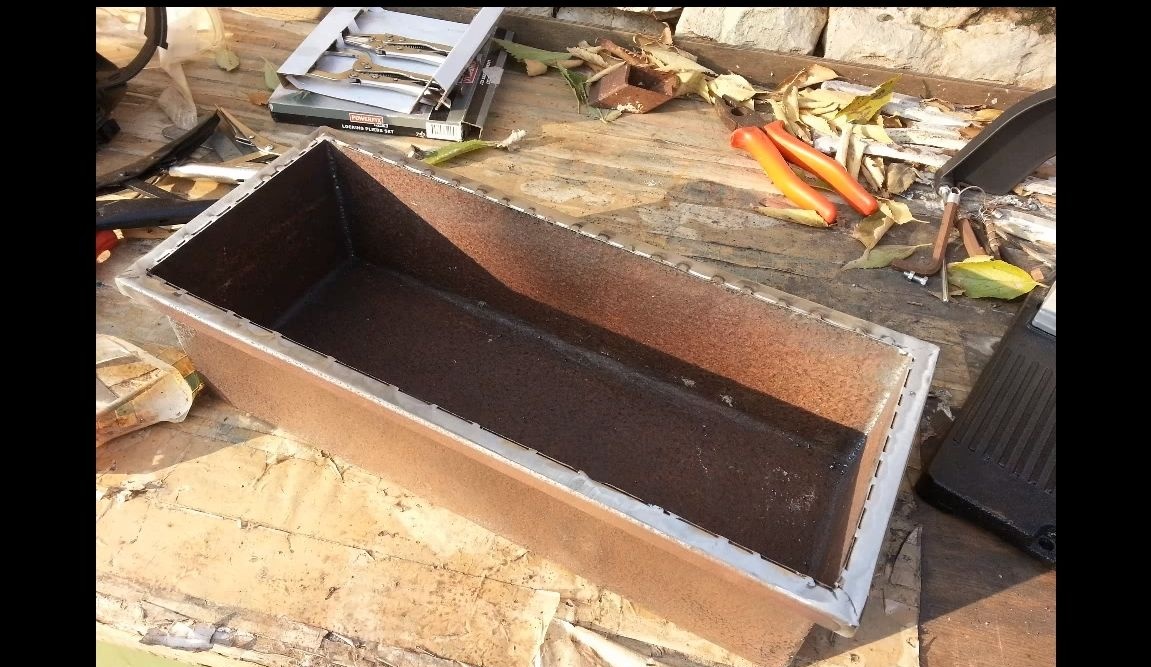

Since the compartment is part of the frame, it needs to be strengthened. For these purposes, the author used square steel pipes. Cut off the necessary segments and scald the box in a circle.
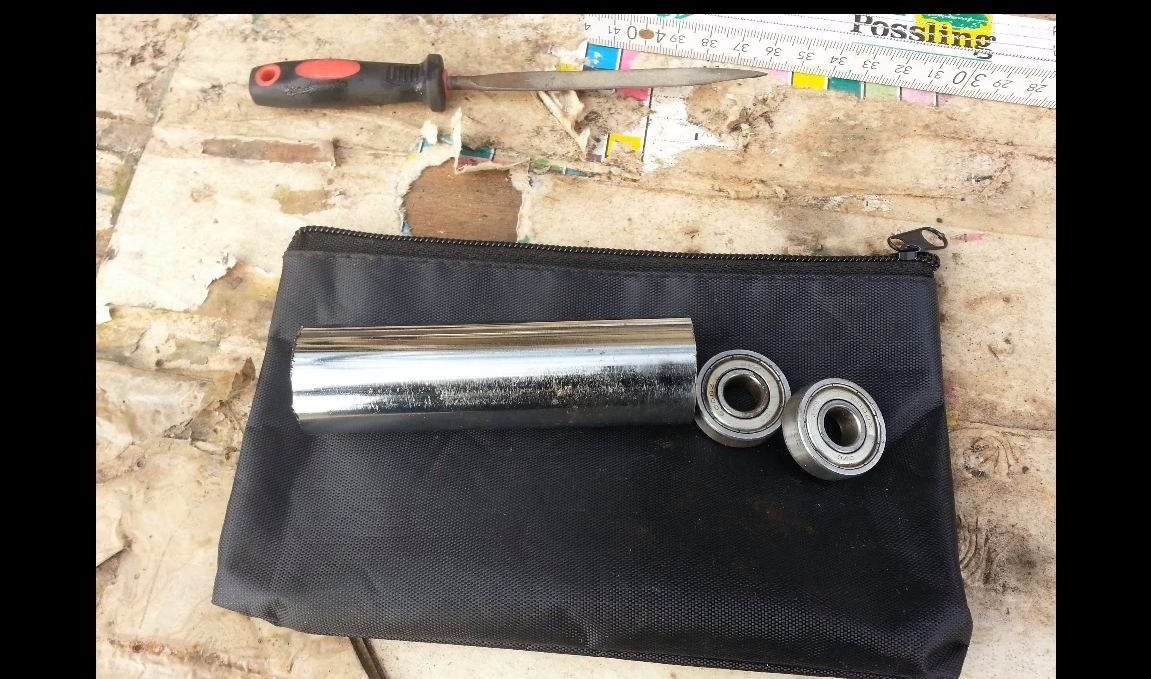
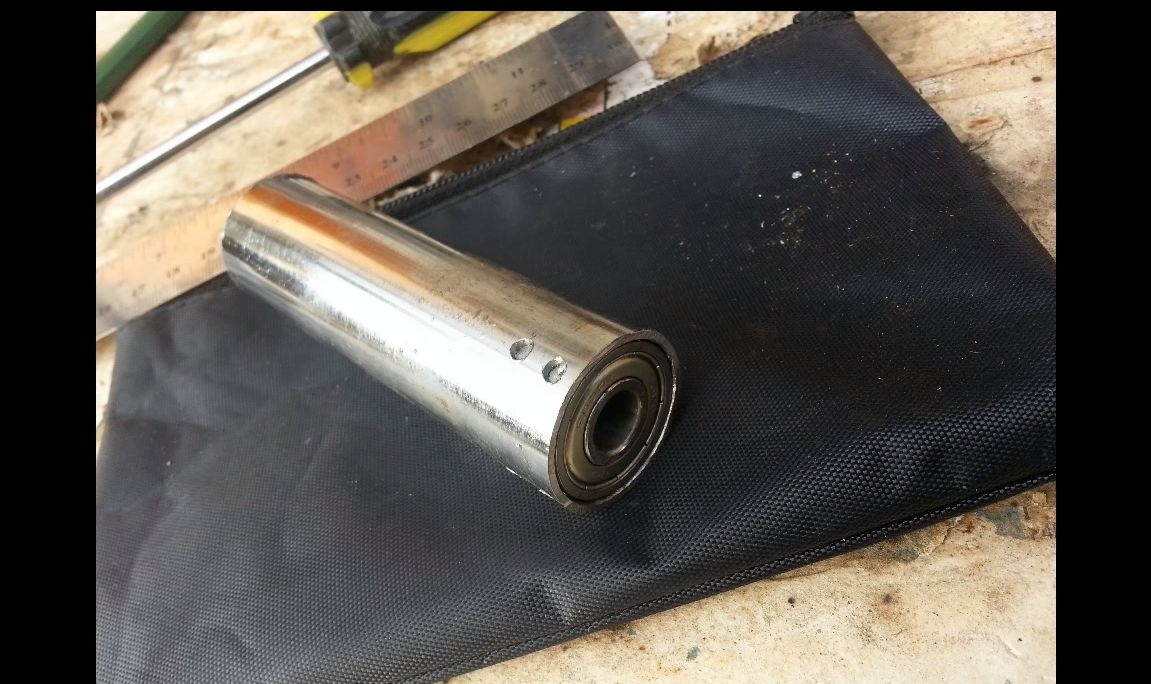
Step Two Connecting axis
The frame provides for the presence of shock absorbers, in connection with this, the rear fork is movable. To solve this problem, we take a piece of steel pipe and press in two bearings on both sides, do not forget to grease them well. Weld this pipe with bearings to the duct using square steel pipes.
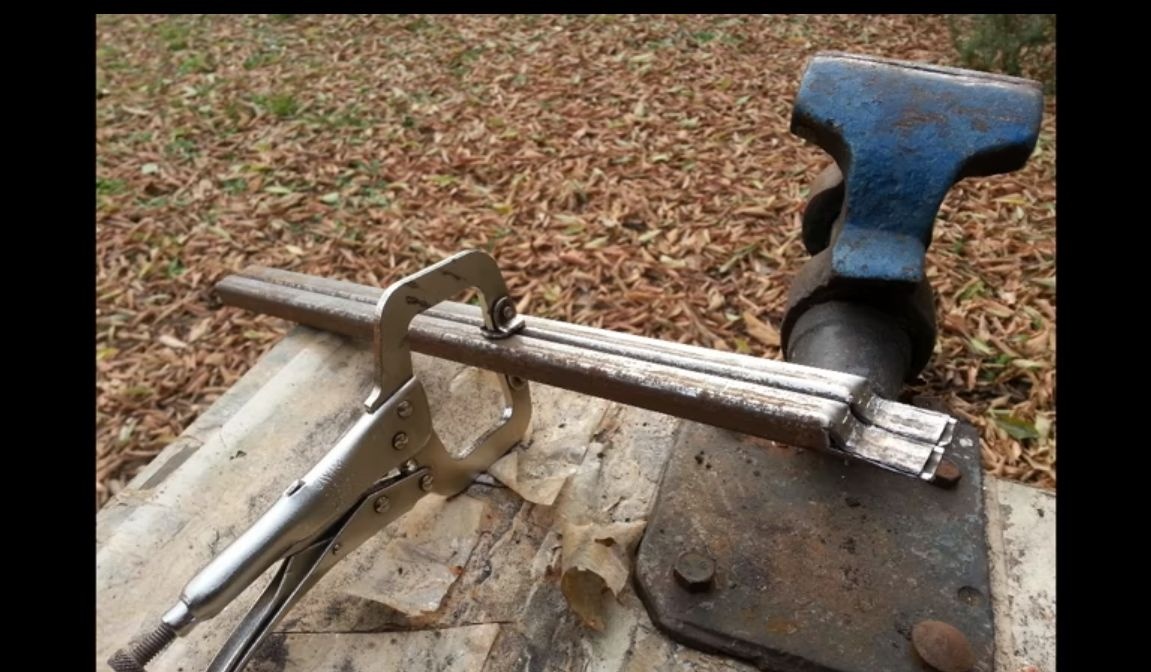
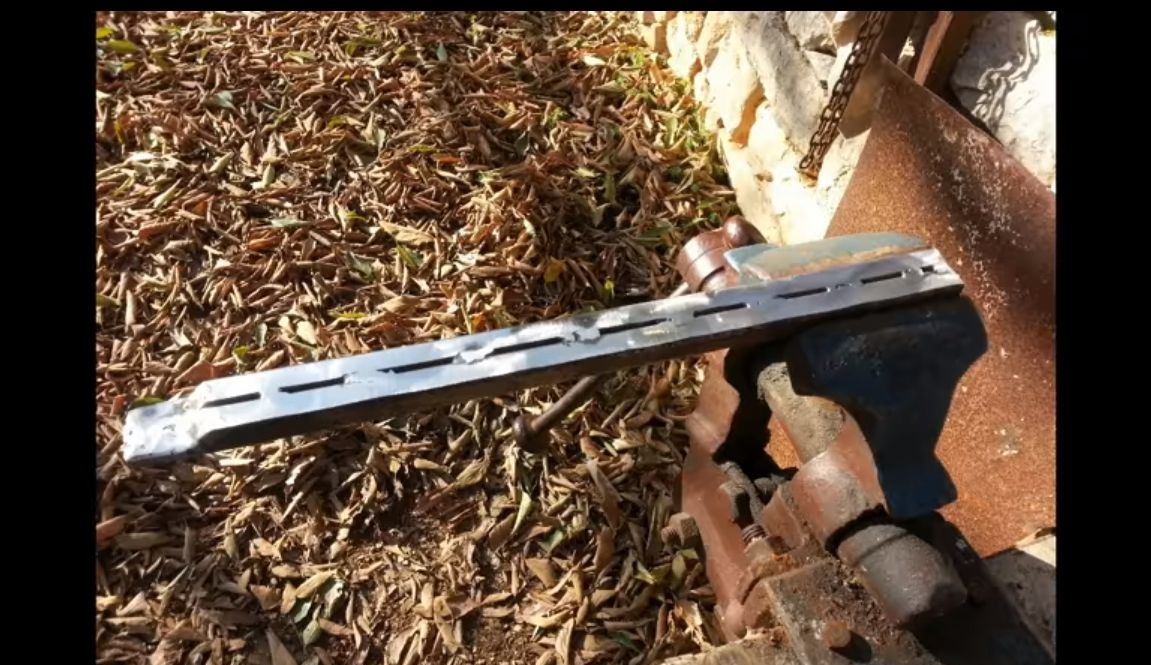
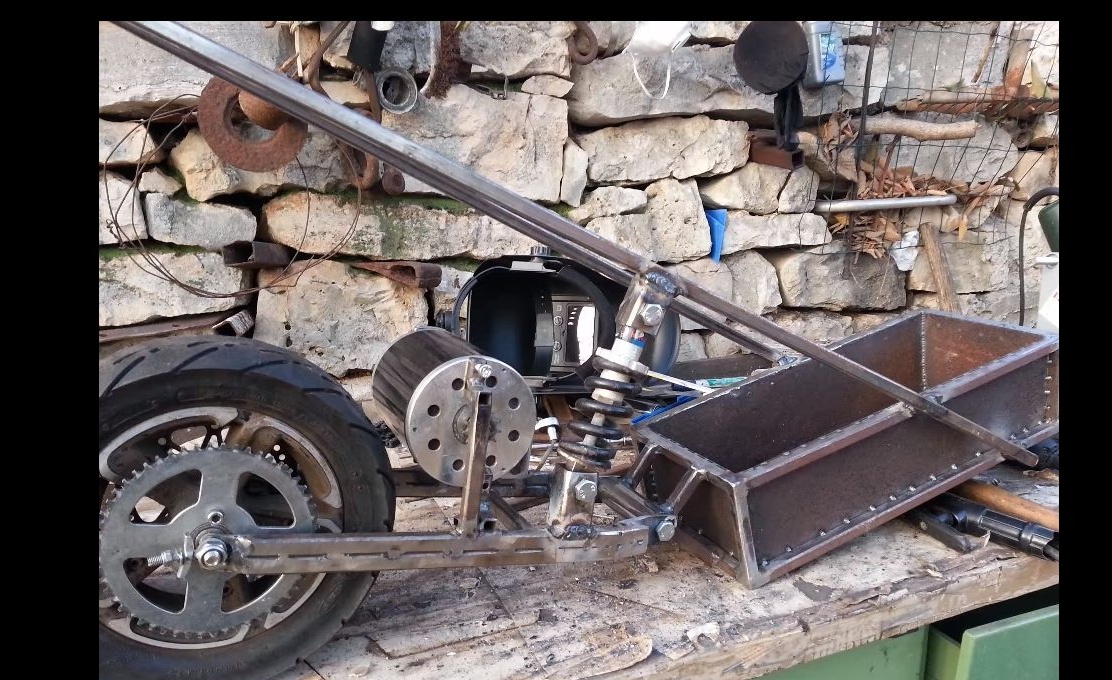
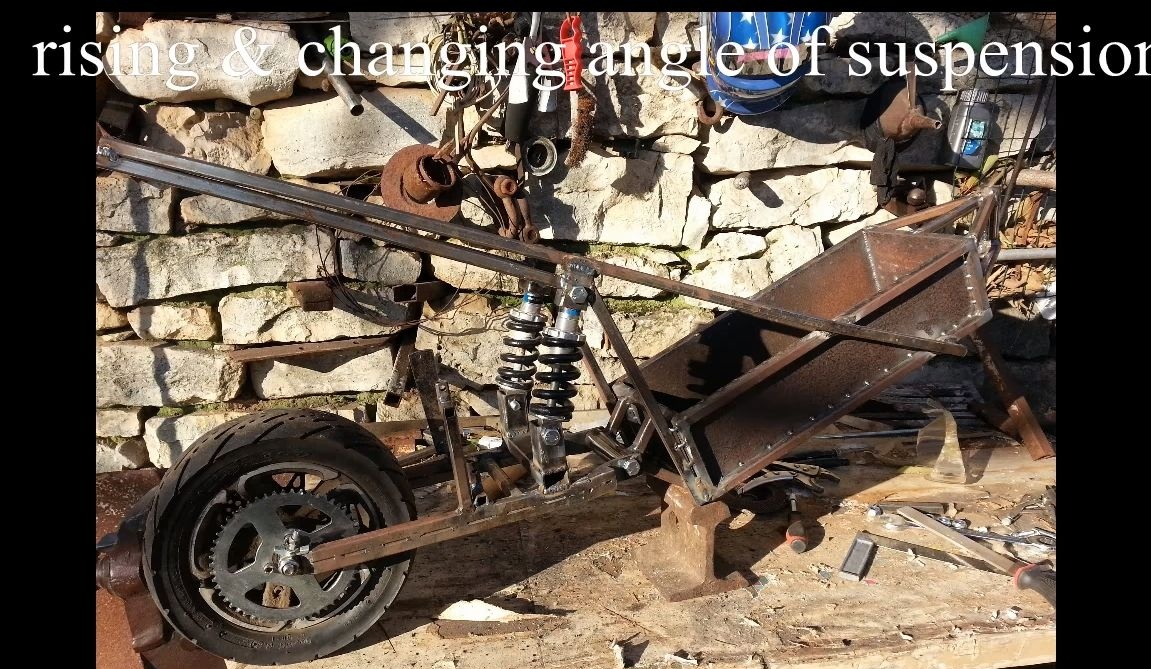
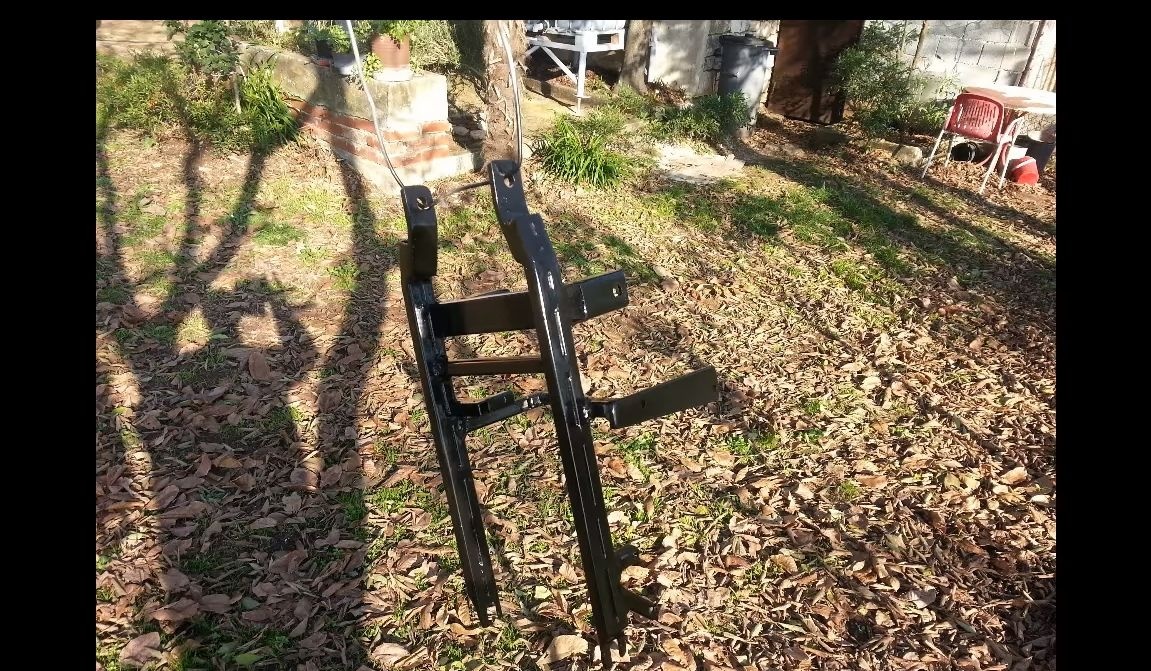
Step Three Making the rear fork
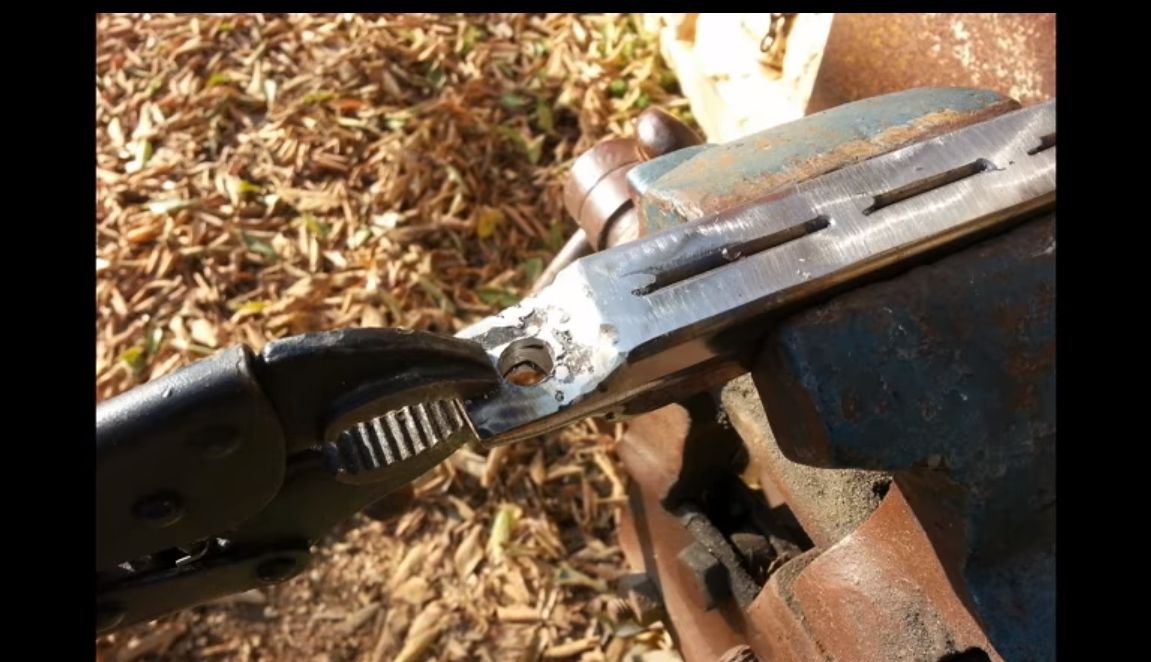
The entire rear fork is made of square steel pipes. Cut the pieces necessary along the length and weld in pairs to get high rigidity.The ends of the plugs you will need to make flat to install the axis. We use grinder and welding. Strip welds and drill holes for the wheel axle.
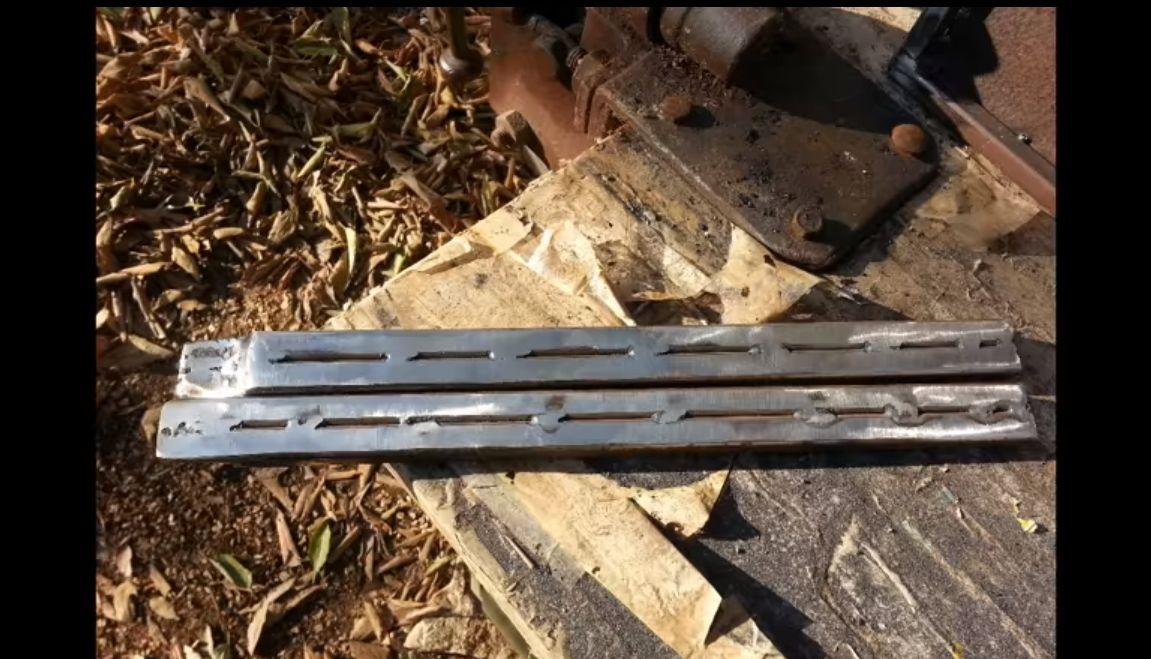
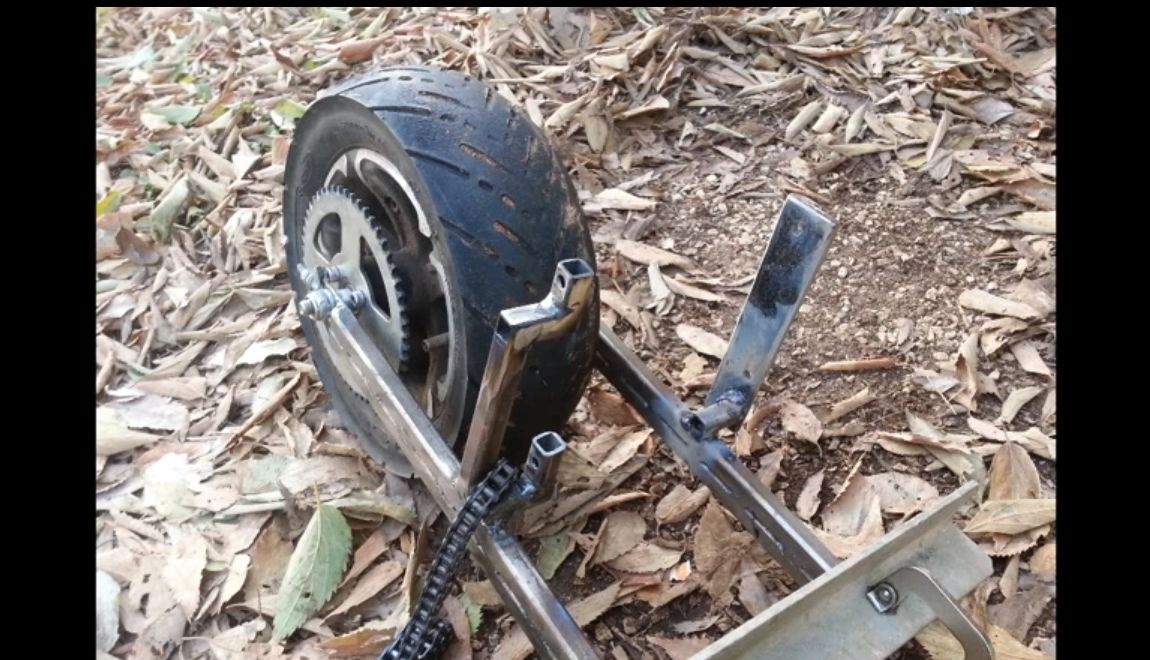
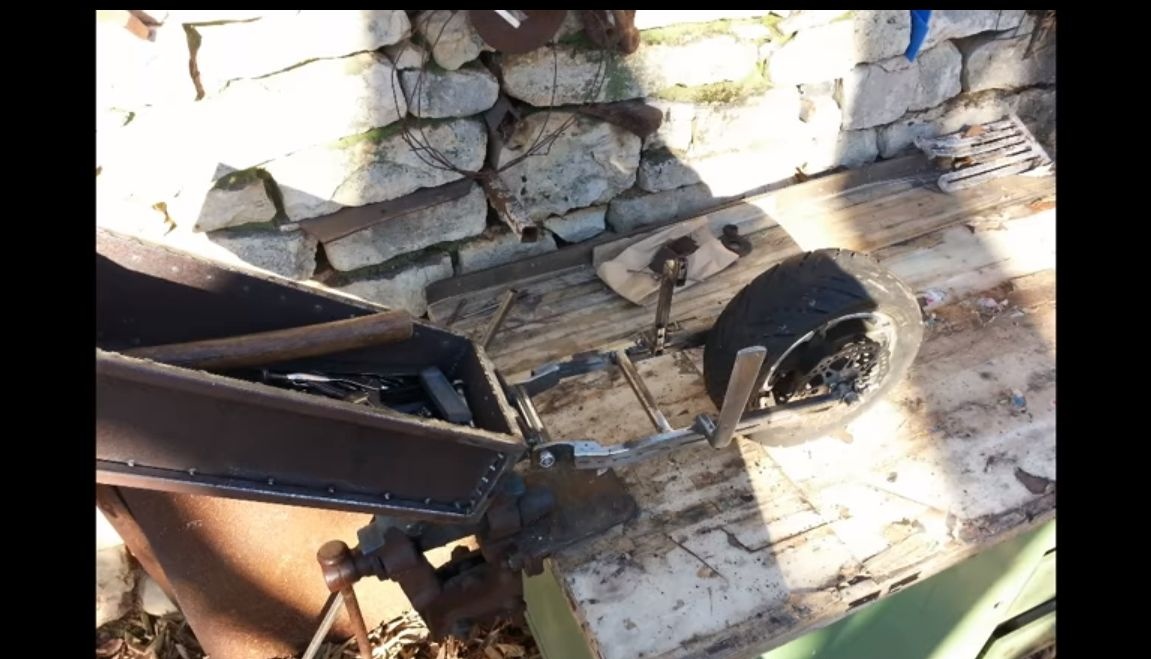
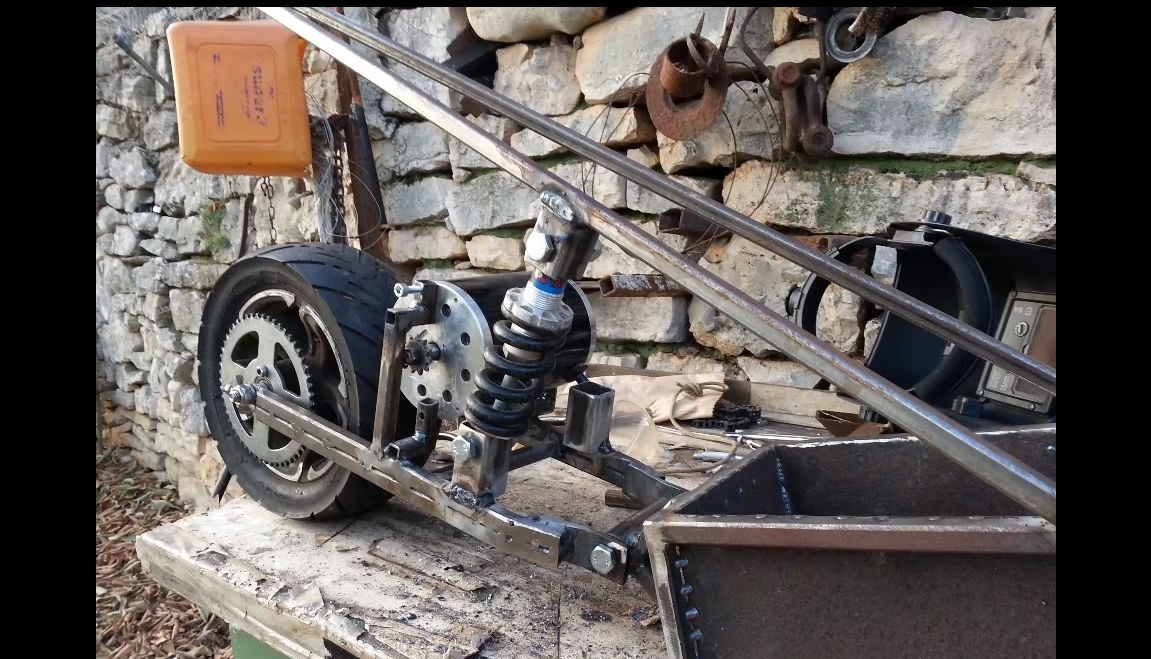
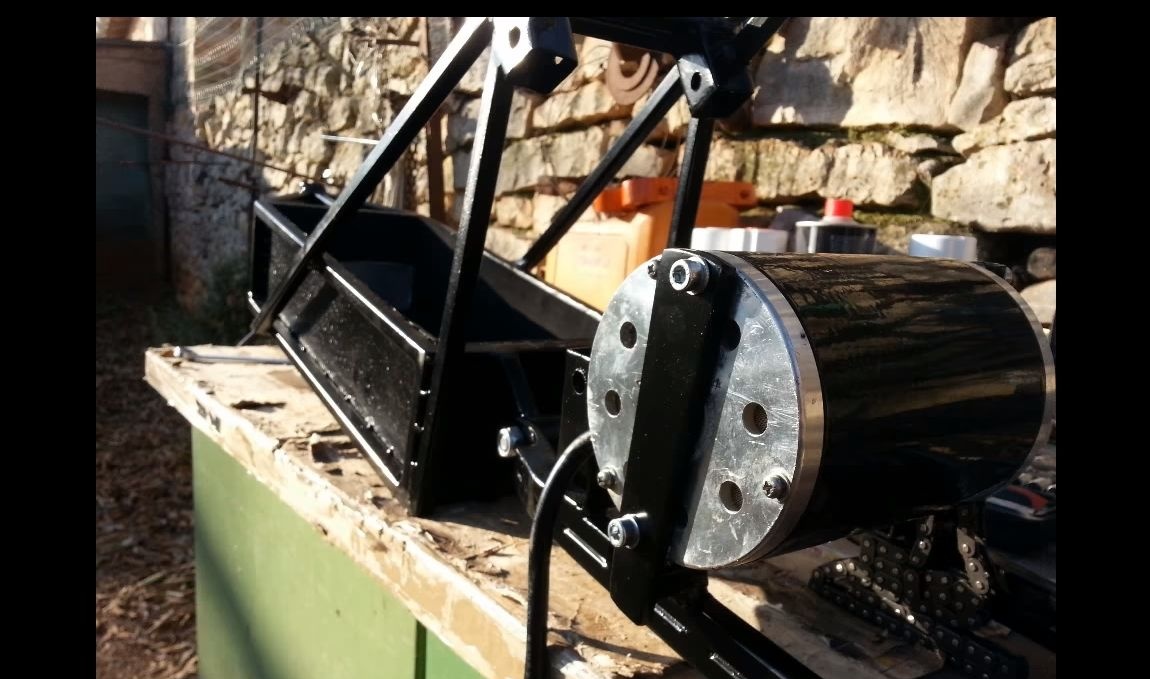
Weld a piece of square pipe in the center of the fork, it will hold both levers of the fork together. You also have to weld a bracket for installing the engine to the fork and brackets for installing shock absorbers. They are also made from square pipes.
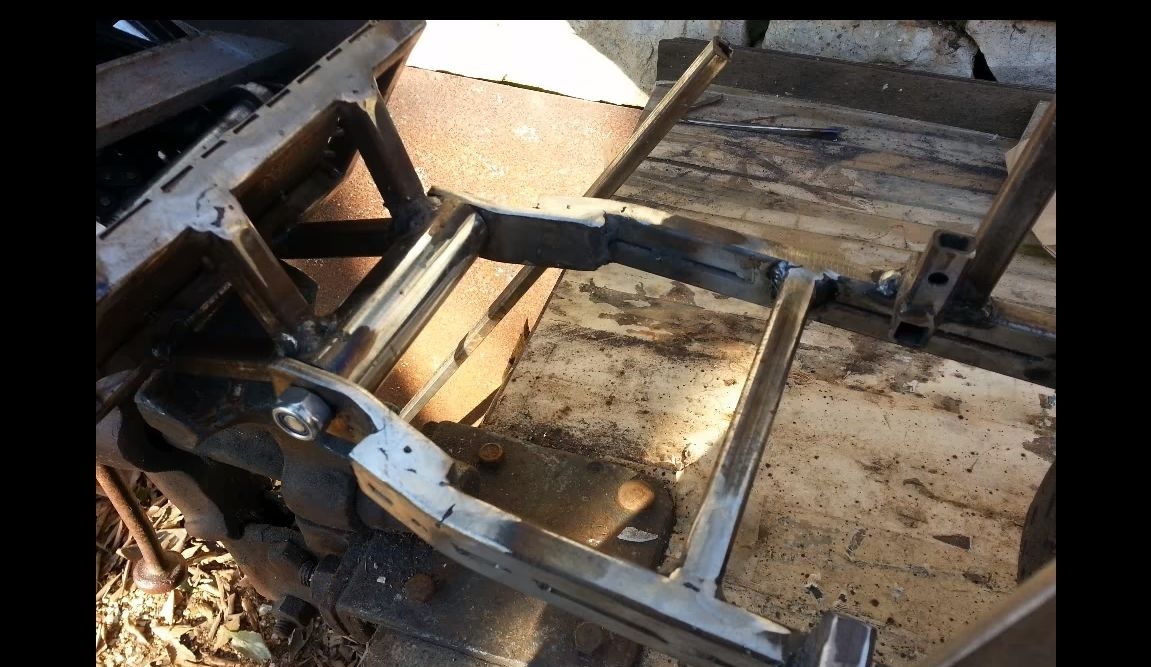
At the end, we narrow the plug and weld thick steel plates in which the holes are pre-drilled. Now with the help of these “ears” we attach the rear plug to the battery compartment using a long bolt with a large diameter nut.
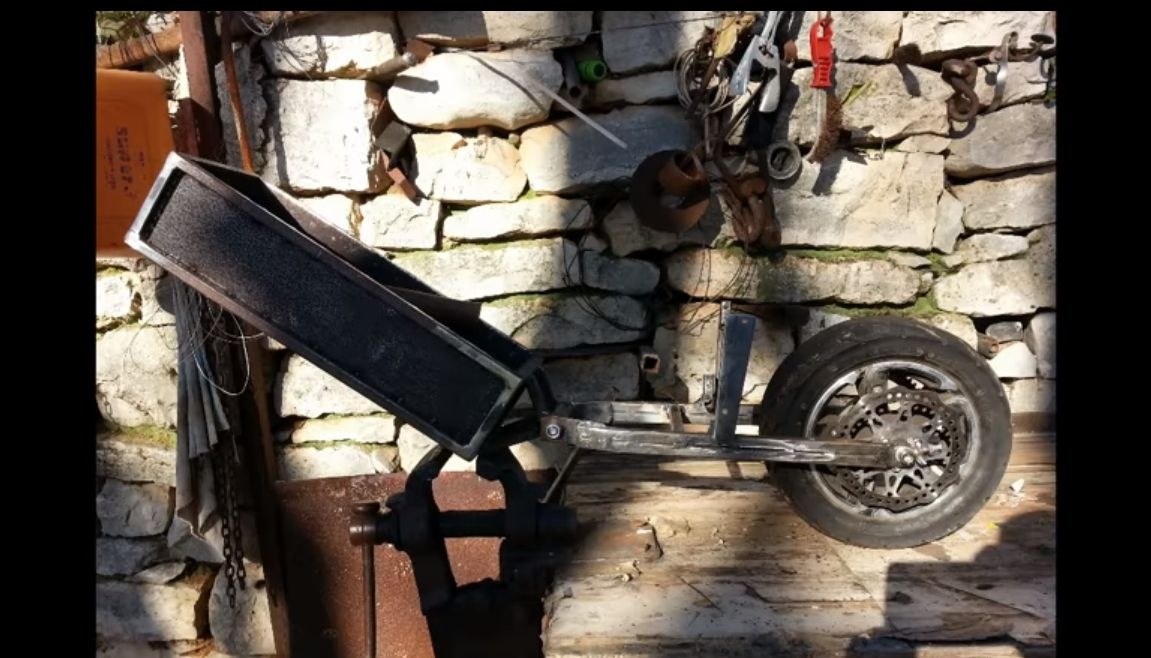
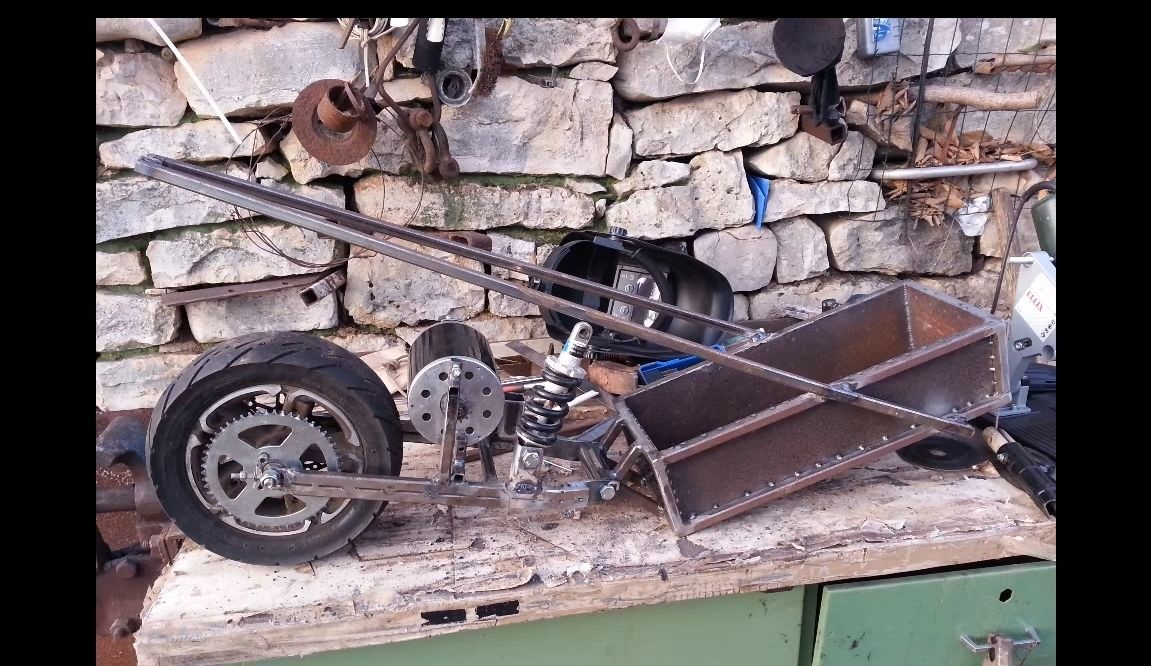
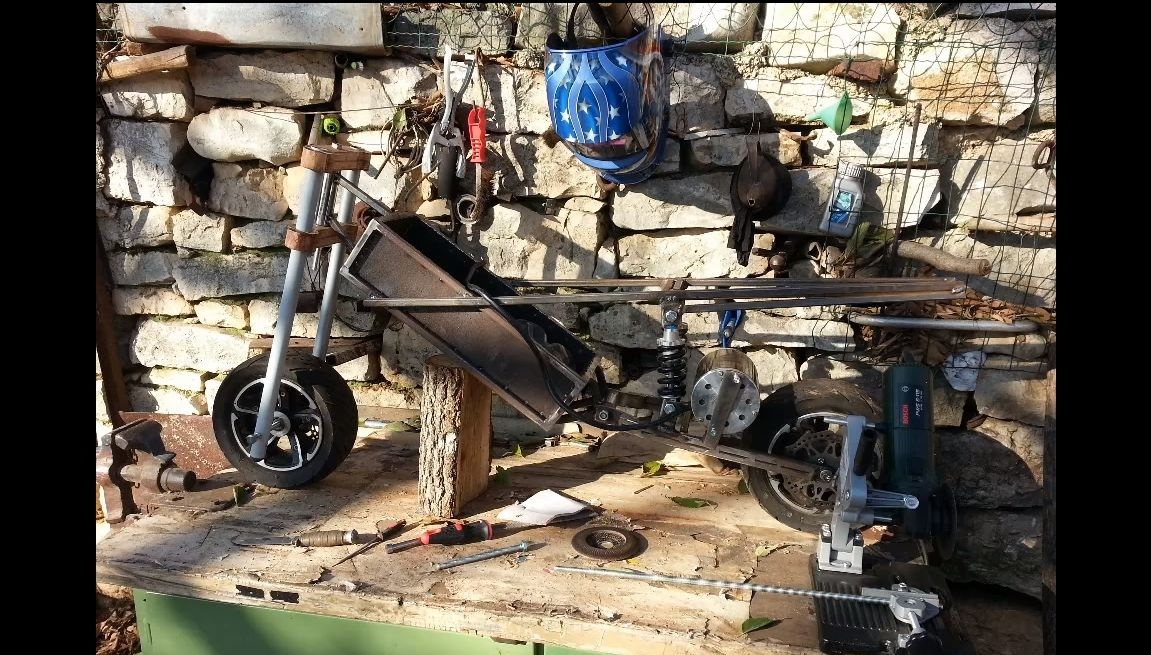
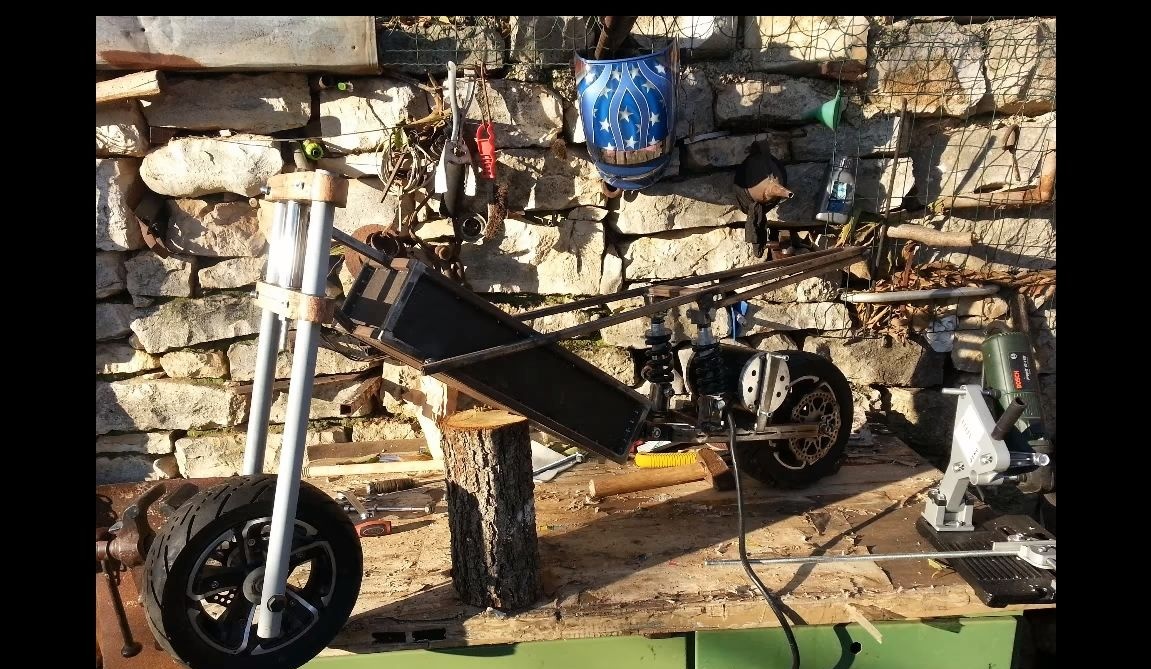
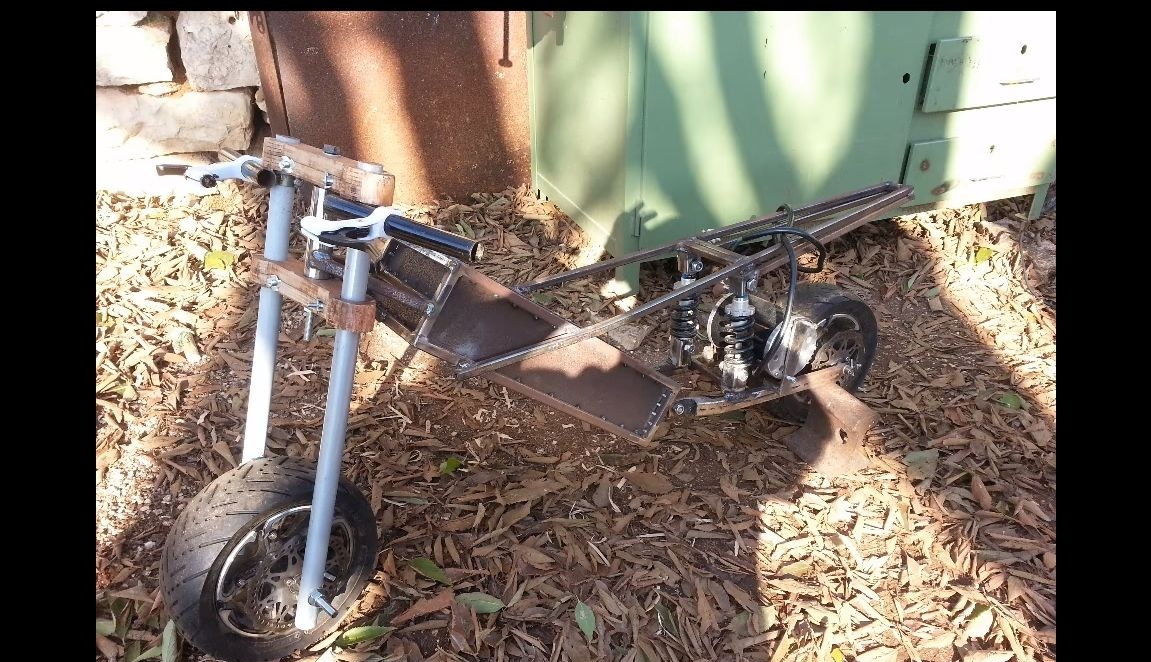
Step Four Final assembly of the rear frame
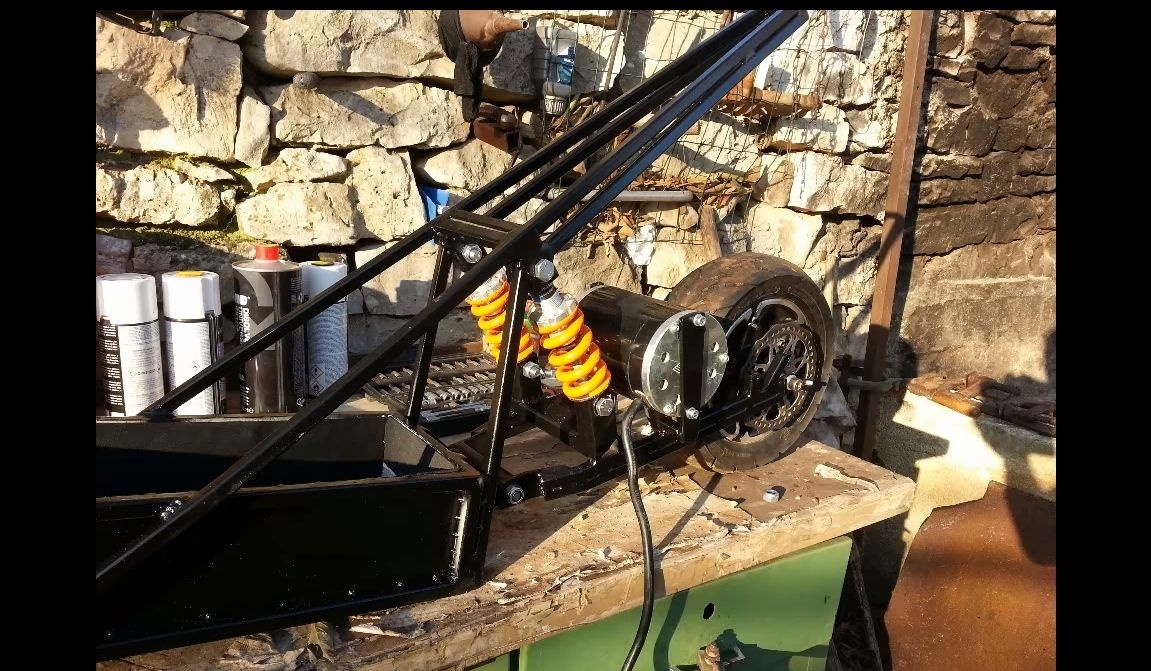
You will need two long square pipes. Weld them to the battery compartment at an angle so that you can then attach the shock absorbers of the rear fork to them. Fasten the frame at the back with pipes so that the frame can easily support human weight. Secure the shock absorbers with bolts and nuts.
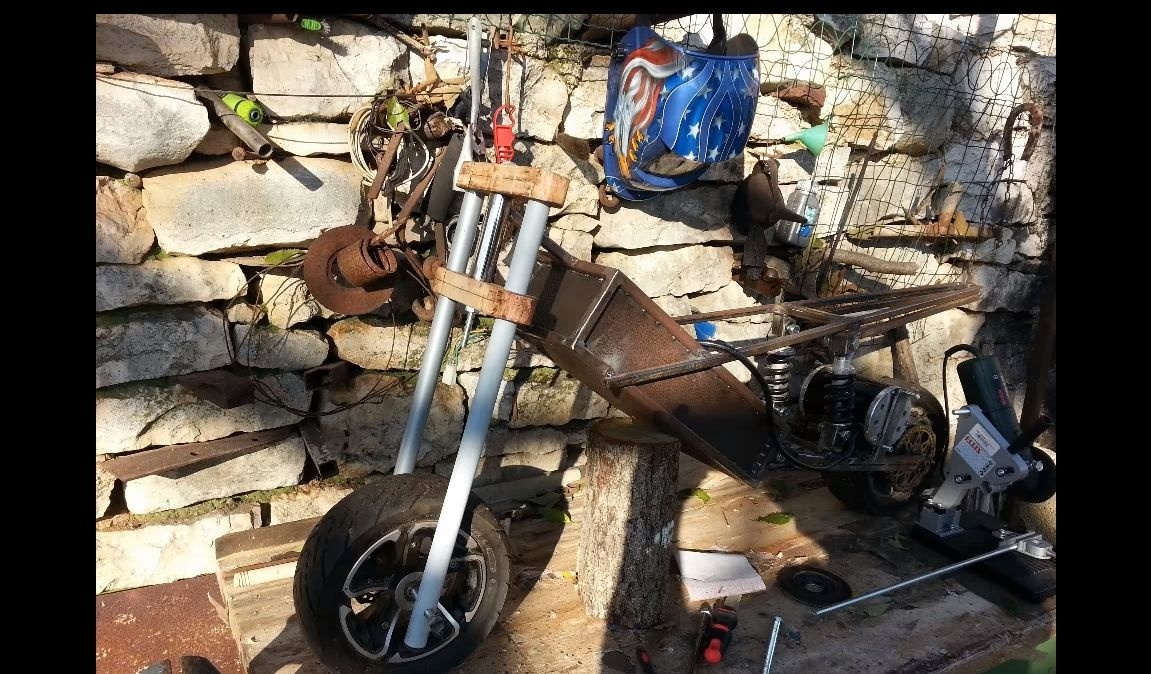
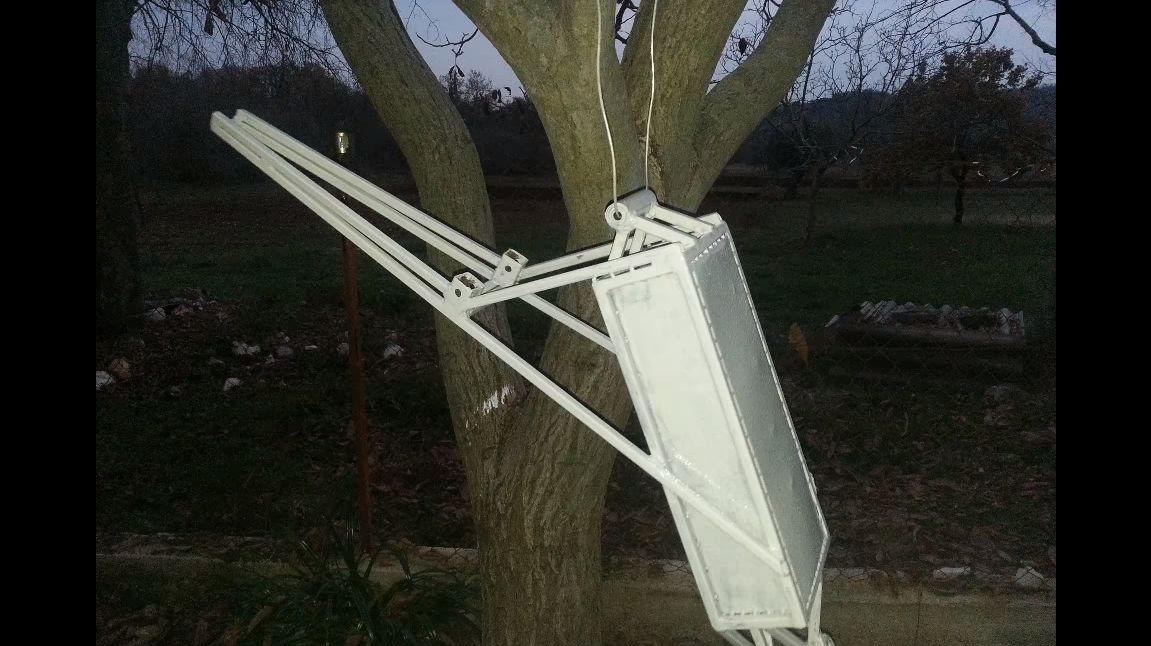
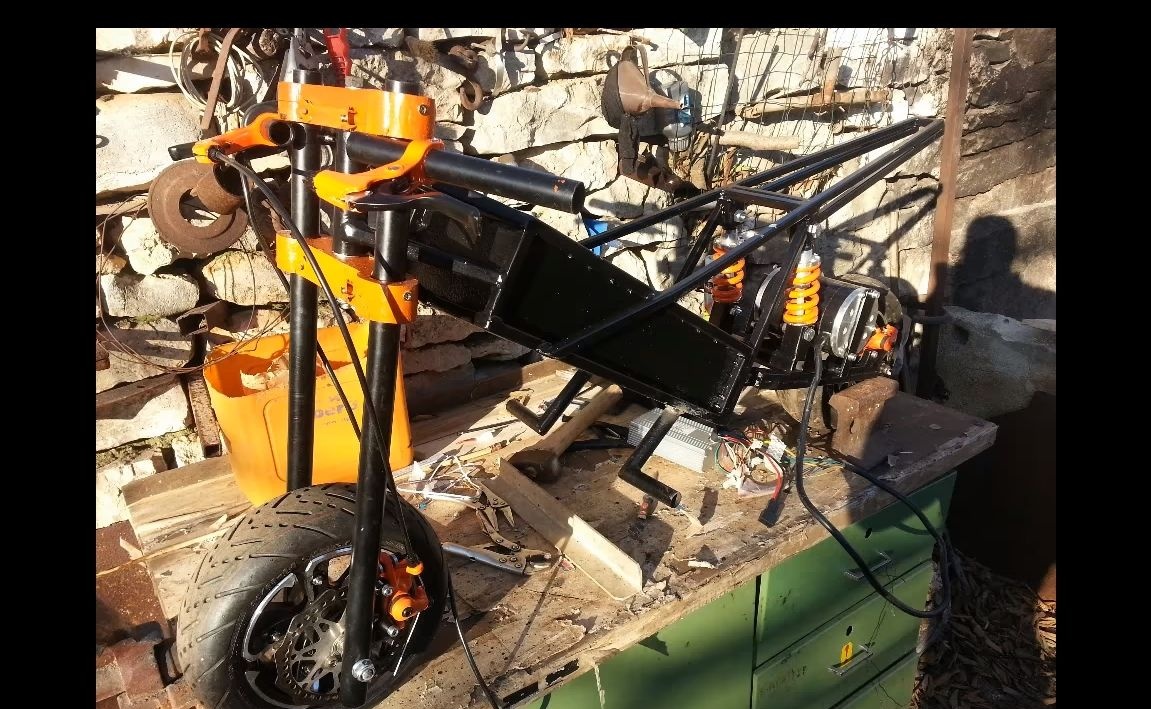
Step Five Front Fork Making
For the manufacture of the front fork, pipes can be used, and even aluminum is suitable, this will facilitate the design. Plywood will also be needed, from it we make brackets that will hold two pipes together.
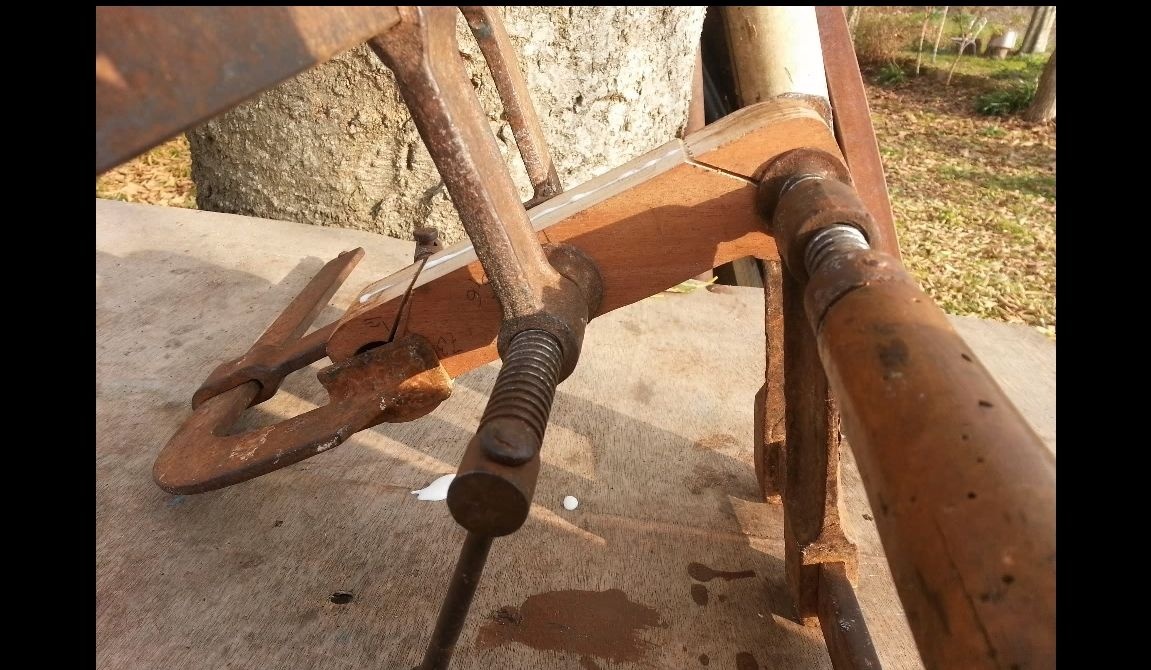
Front fork can be installed. Weld a bracket with a pipe through which the front plug is attached to the front of the battery compartment. There are bearings in this pipe. Do not forget that the plug must rest on something, so put good washers between the plywood and the pipe. Fasten the fork using a long view with a large diameter nut.


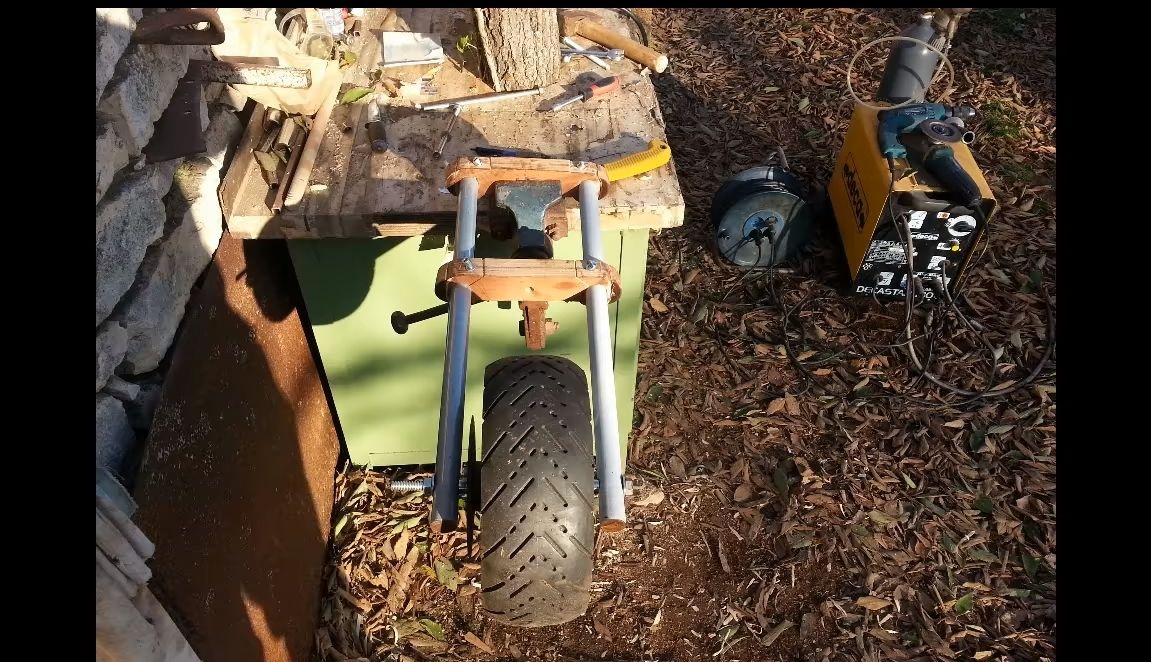
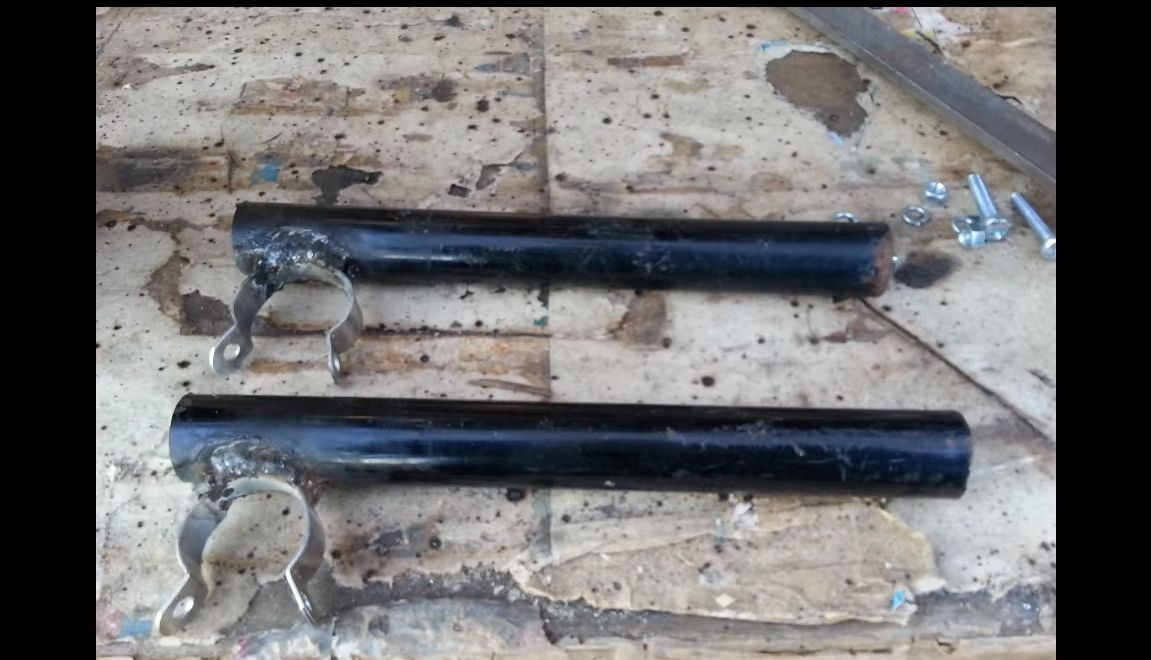
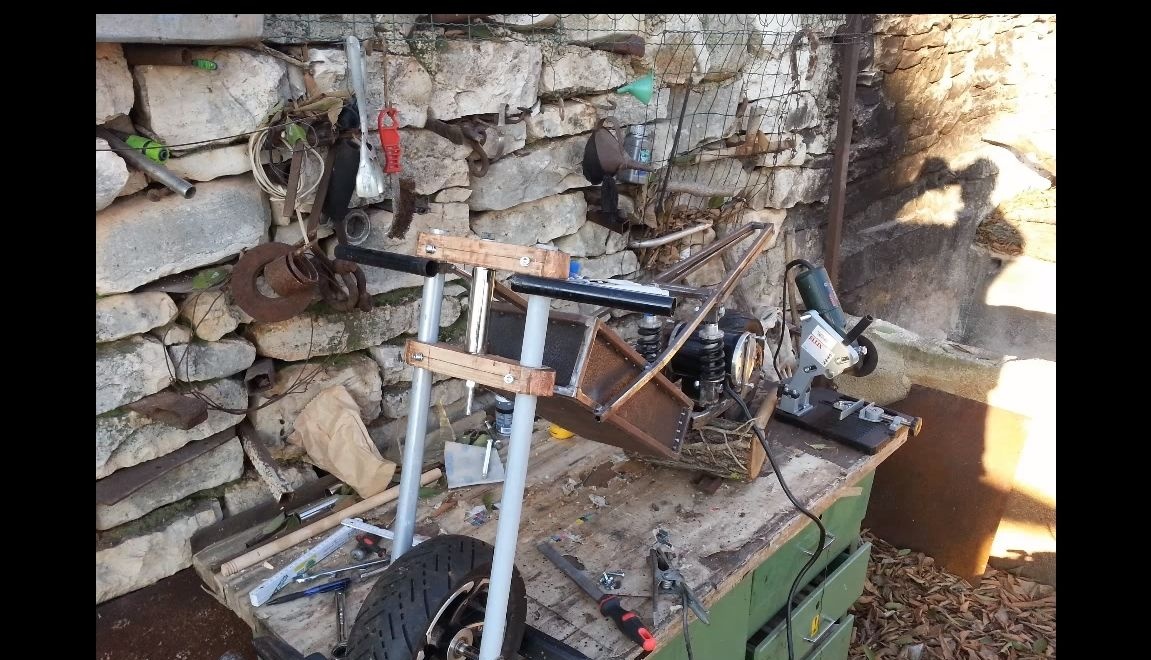

As for the steering wheel, it is very simple. You will need two pieces of a regular round pipe to which you need to weld the clamps. We install the pipes on the plug and tighten the screws with nuts. Steering wheel with a fork assembled!
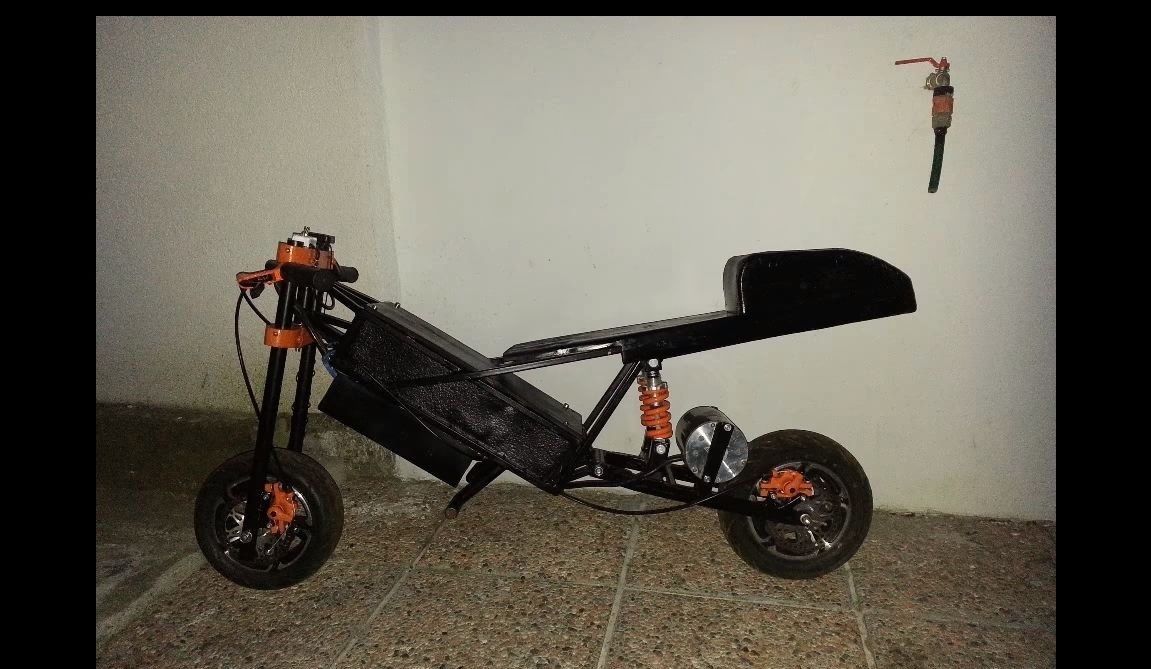
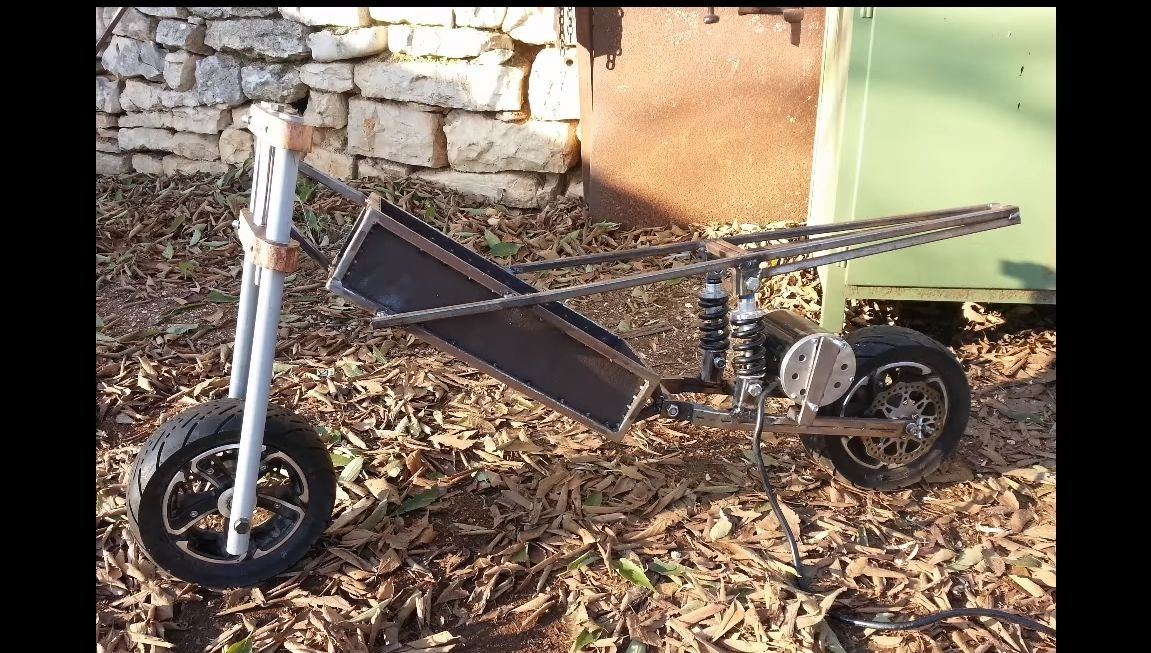
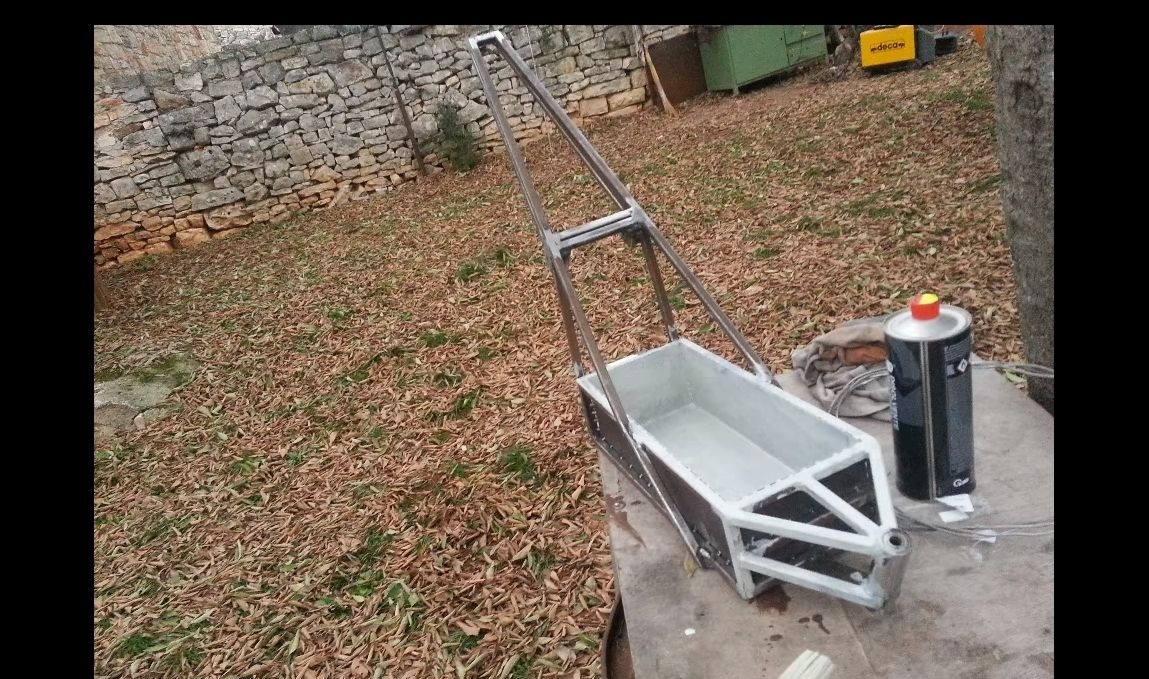
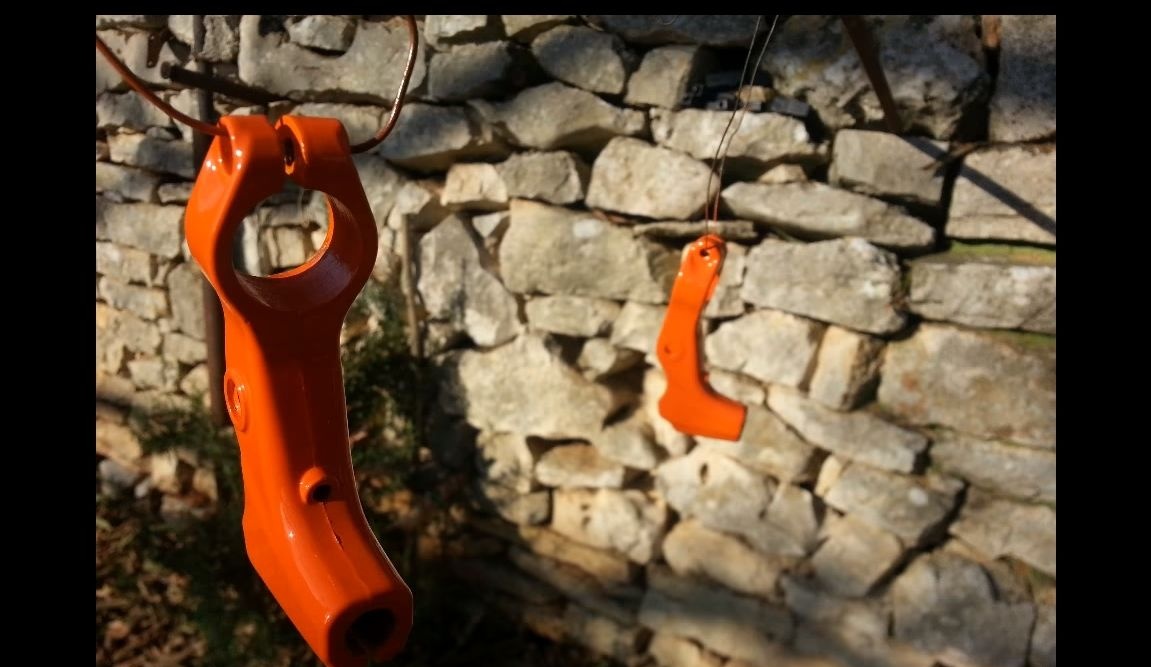
Step Six Painting!
Motorcycle ready for assembly, it remains to paint the frame elements. First, primer metal, then paint in any color you like.
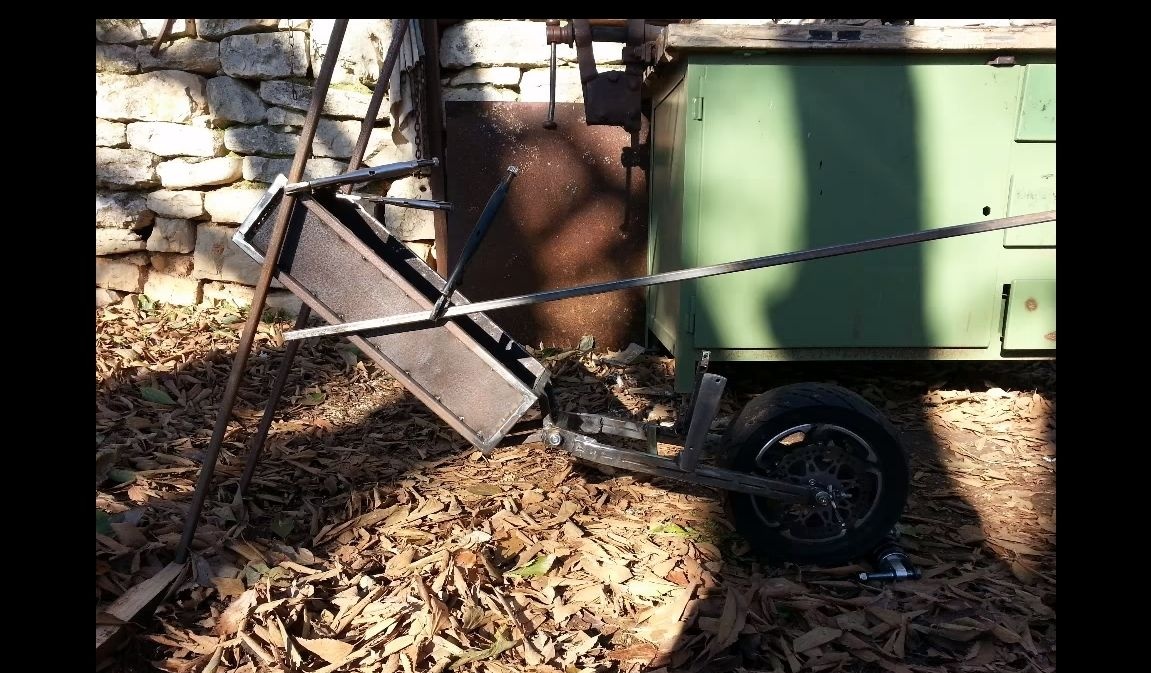
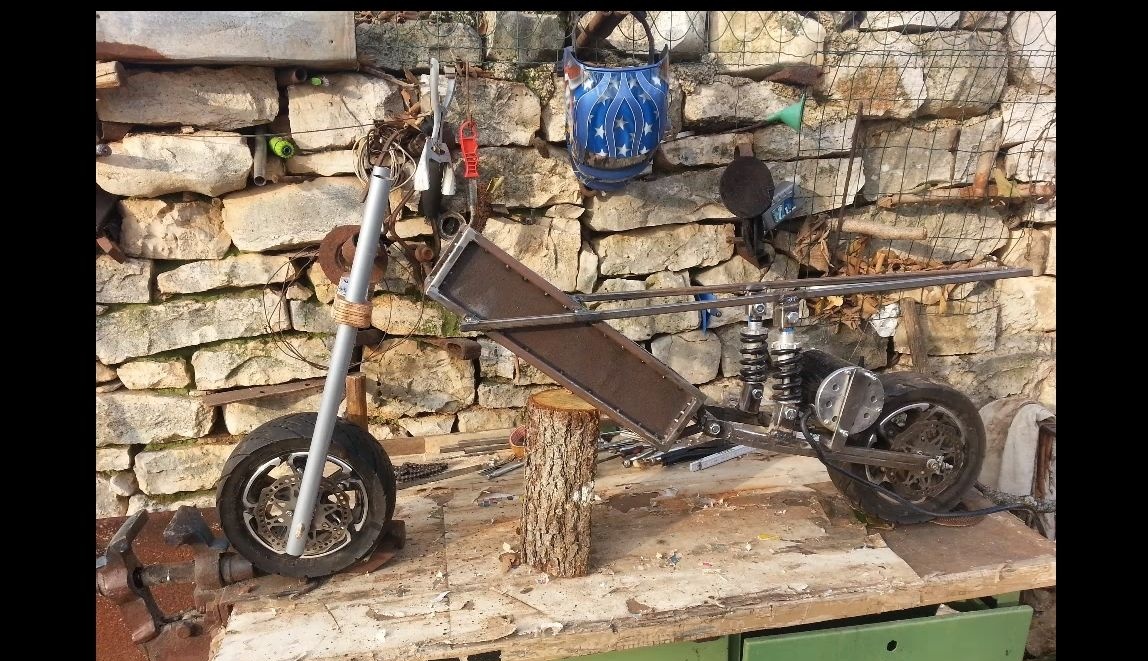
Seventh step. Assemble a motorcycle
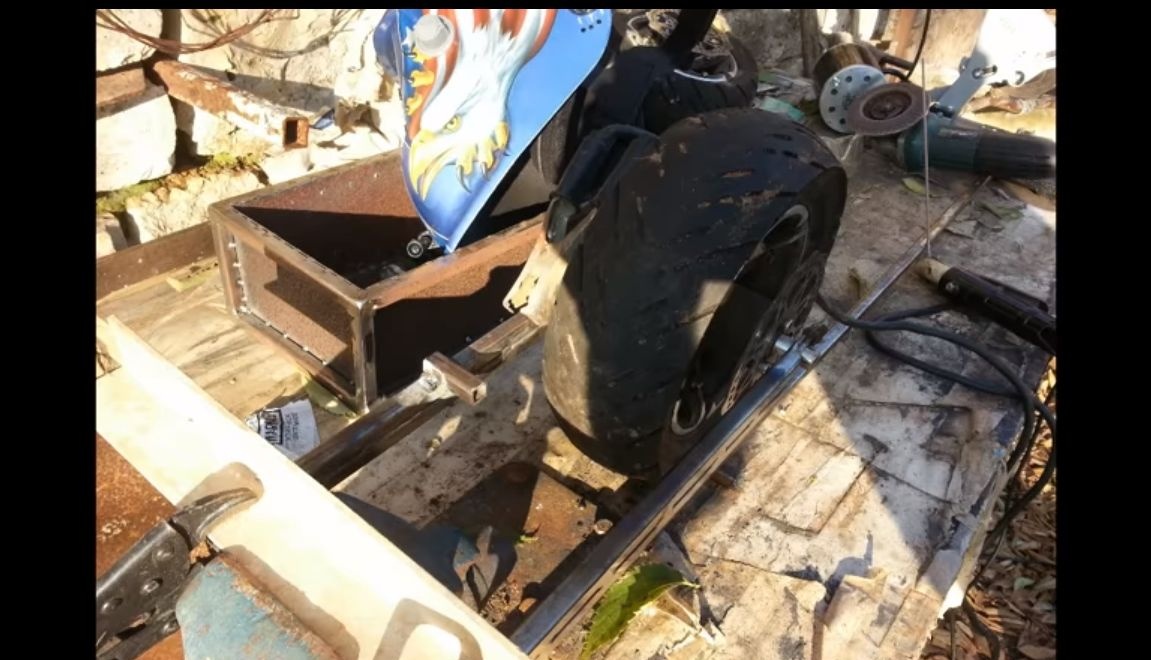
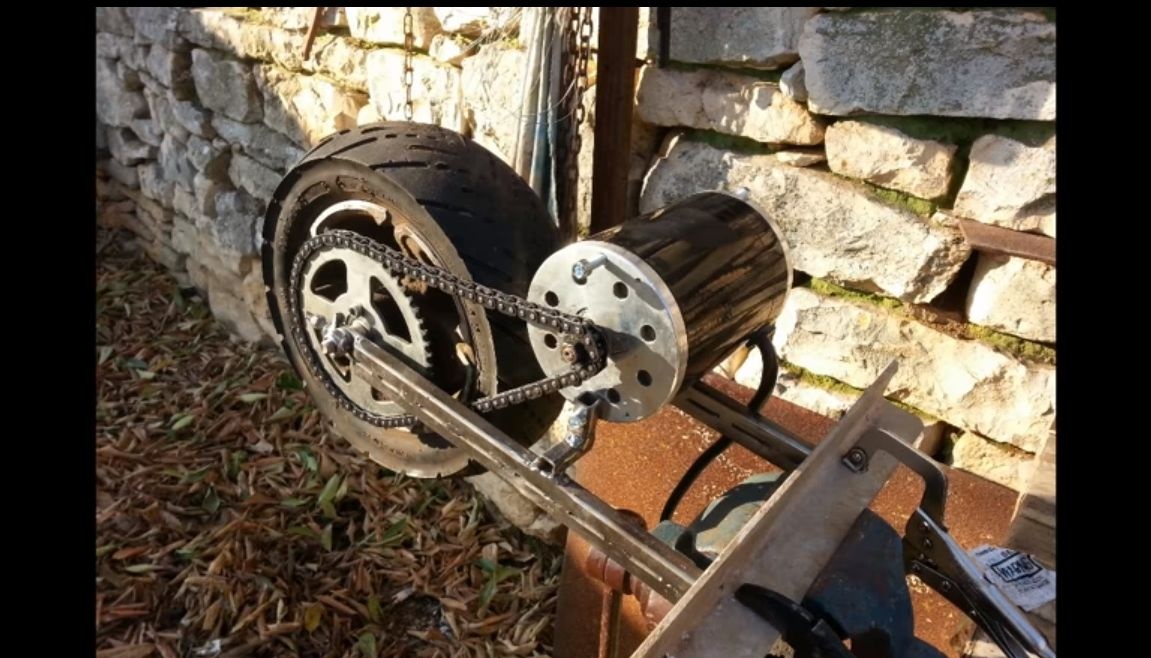
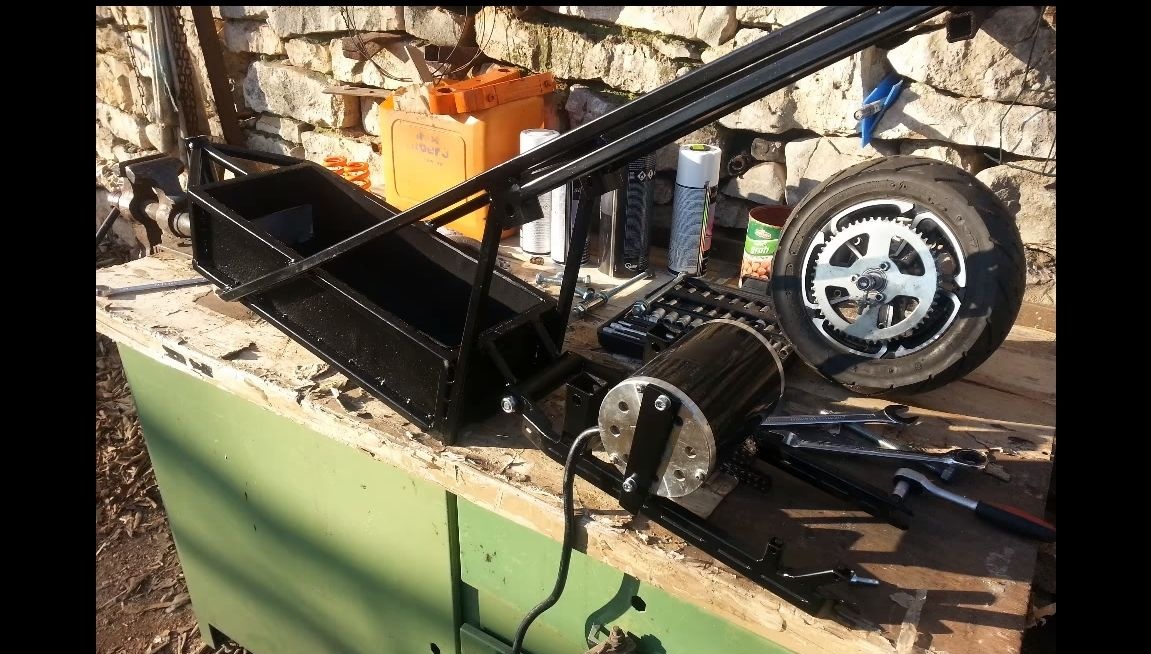
Getting to the assembly of the motorcycle. First of all, install the engine, chain and rear wheel. Apply voltage to the motor, you must make sure that the circuit does not fly off, there is no beating, and so on. If everything works fine, move on.
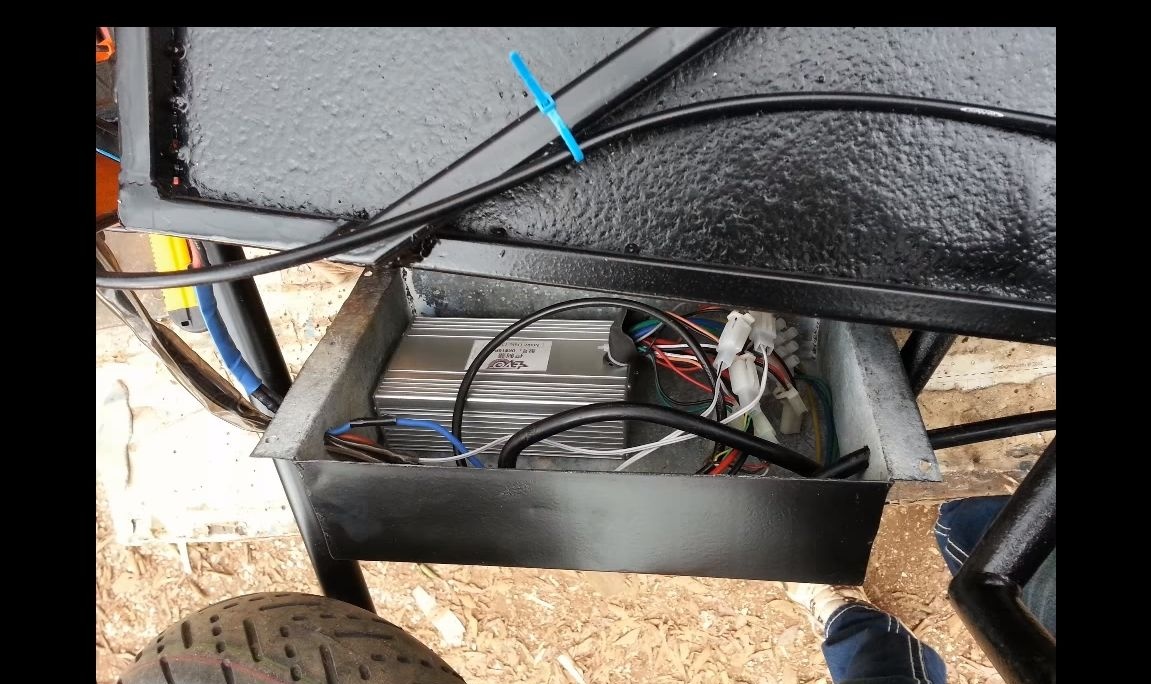
Make a box for the controller and other electronics. The author makes it of sheet metal, and fastens it to the bottom of the battery compartment.
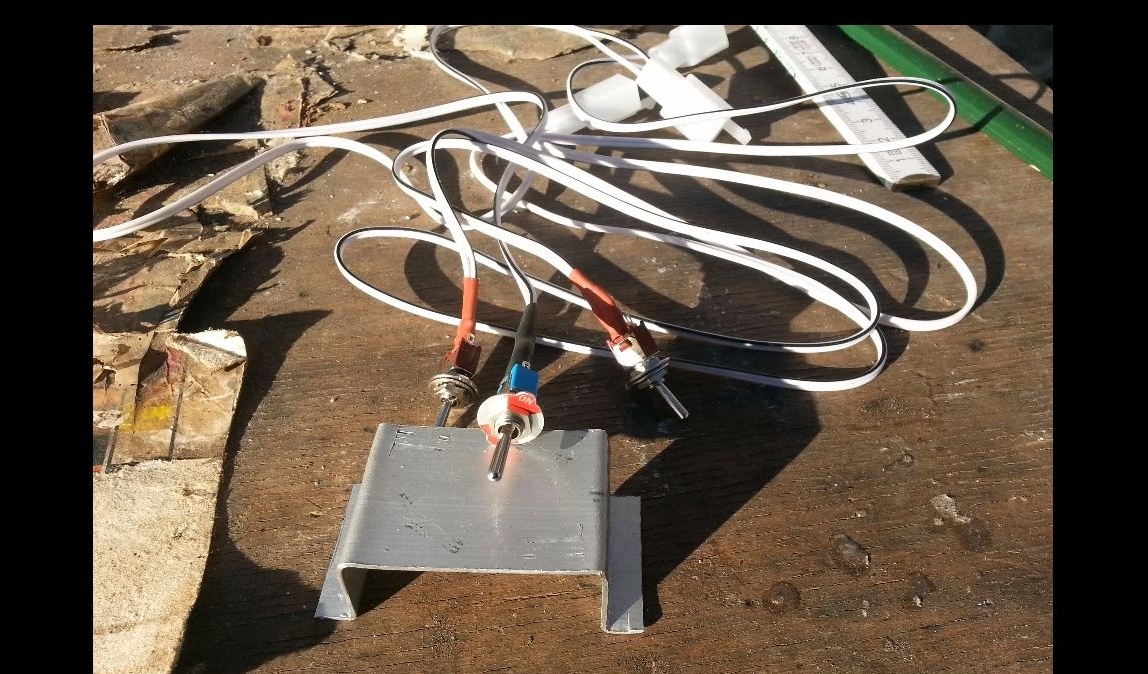
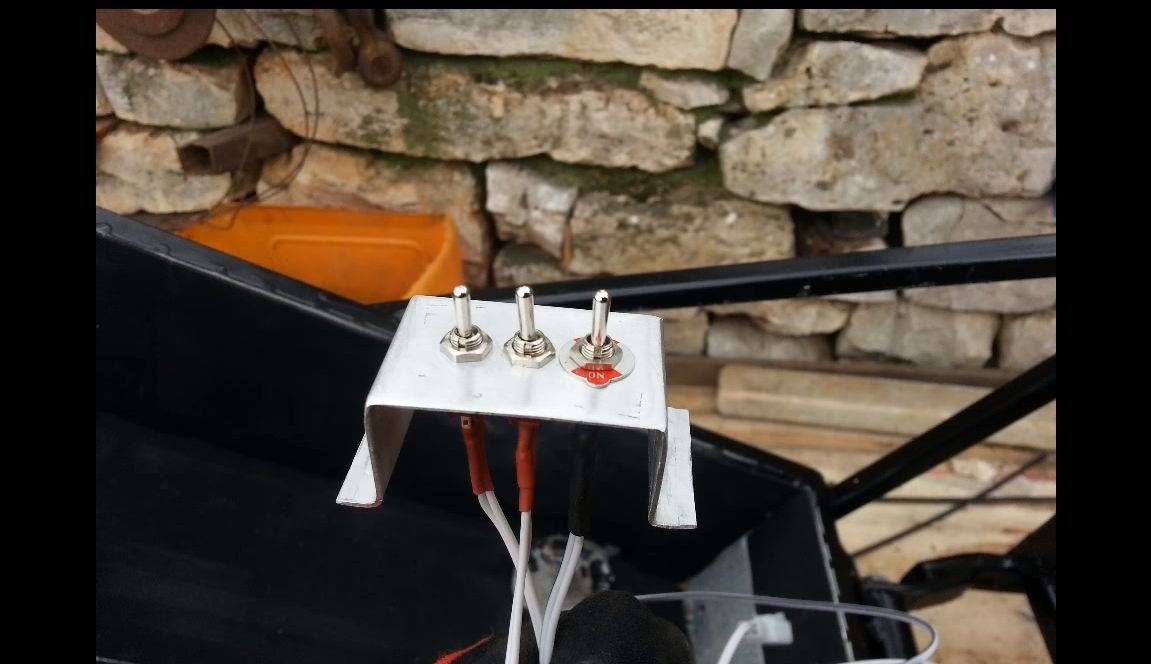
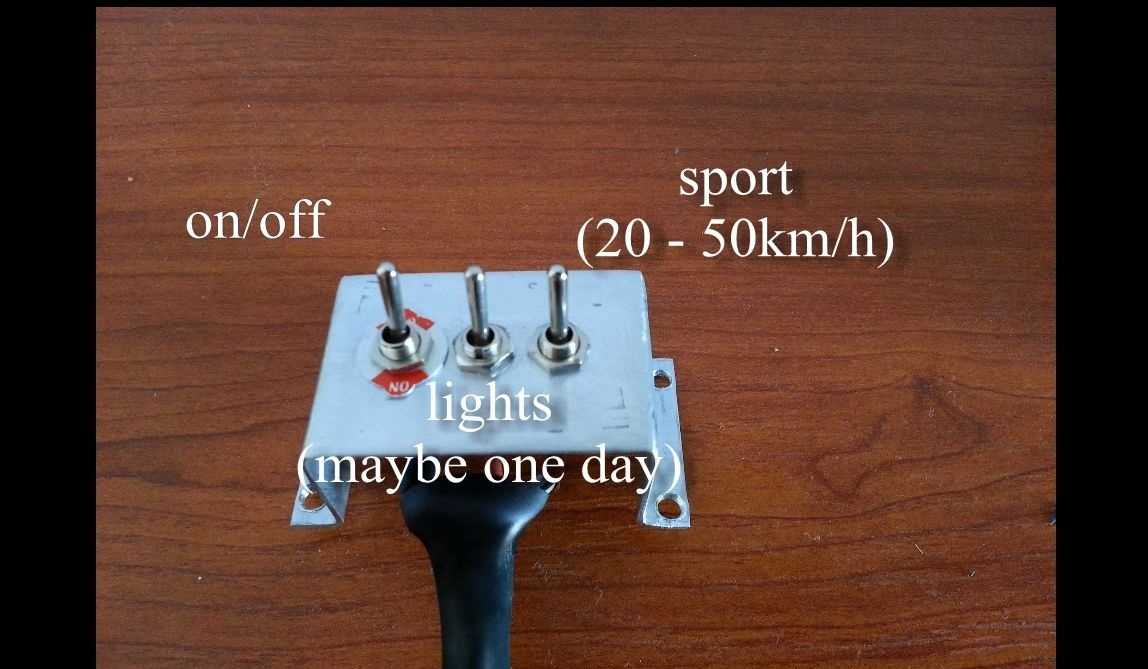
In addition, the author decided for himself to make a certain control panel, it consists of three toggle switches. One toggle switch is the ignition, it will instantly turn off the power in case of something. The other two are modes of movement. There is a quiet driving mode, as well as sports, in which the motorcycle moves at a speed of 20 to 50 km / h.
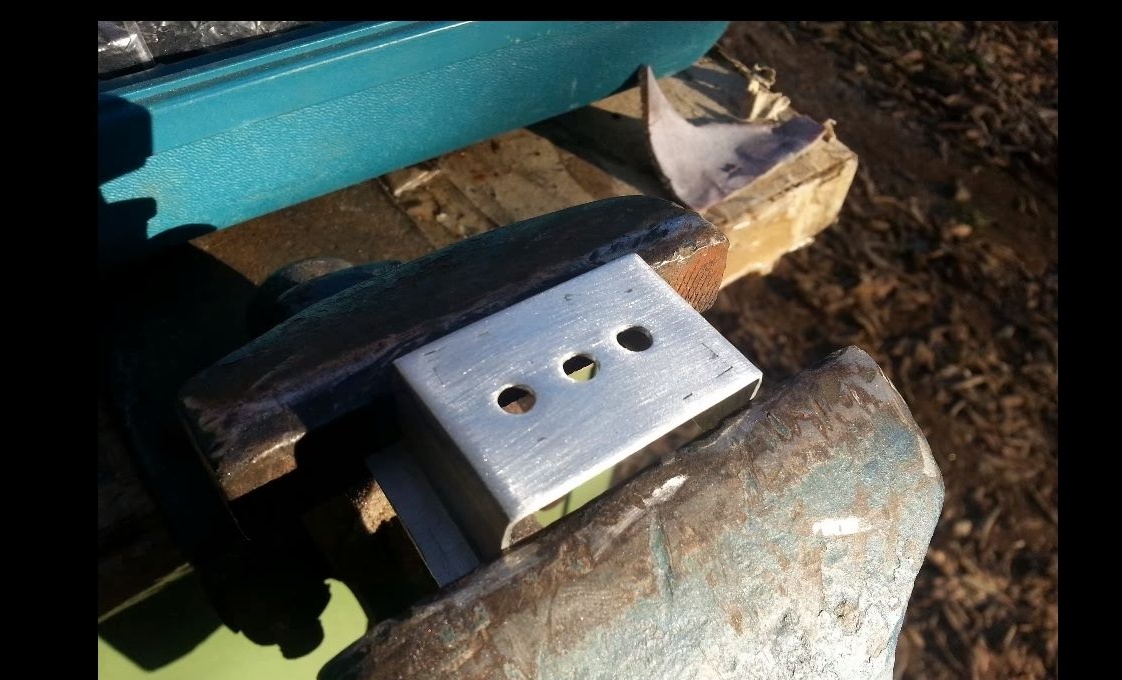
Under the toggle switches, make a bracket, it is made of a piece of steel plate, which bends in the form of the letter "P". We drill holes and install toggle switches.

Connecting everything you need electronics, install the electronic gas pen and batteries. But do not rush to go! The brake system is not yet installed on the motorcycle. The author used the wheels from a scooter or other similar equipment. There are brake discs, hydraulic brake cylinders are installed for them. We carry brake pipes and fasten the handles on the steering wheel. At a minimum, you need to make at least one brake for a test run.
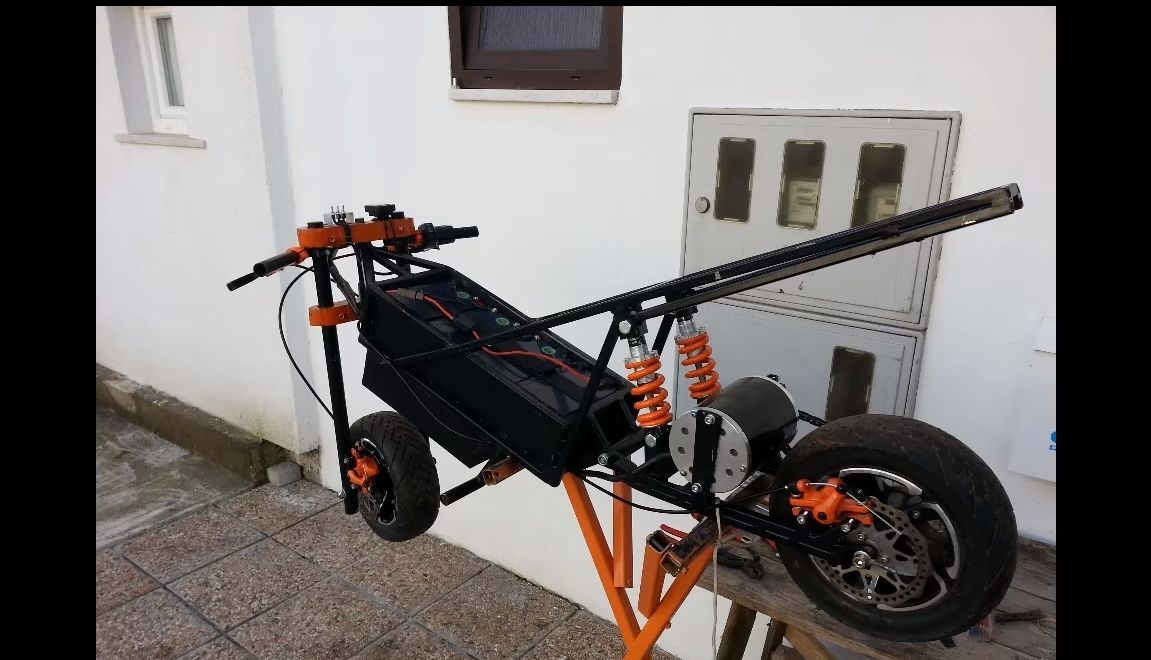
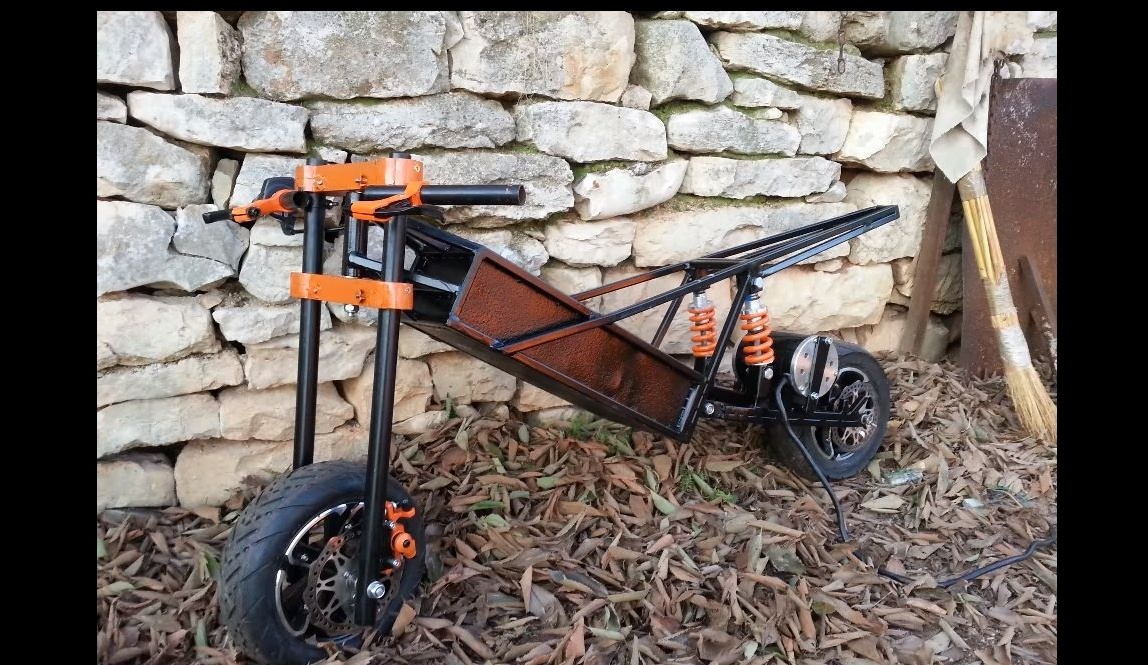
That's all, the device is ready for battle! What is he capable of, watch the video. If you wish, you can equip it with a headlight, a signal, turn signals and a stop.