

The tape cutting machine is considered to be the best device for curly cutting. It is a continuous tape with sharp teeth that rotates on two or more wheels. Thanks to this design, the hacksaw blade is instantly cleaned of sawdust, however, it does not clog in principle, since a new clean part of the tape constantly arrives at the cutting site.
The tape machine in its efficiency will overtake any tool, be it an electric jigsaw and other similar machines.
The size and power of the band cutting machines are different. The smallest are designed for the manufacture of various small items, which are usually cut using a jigsaw. There are also large powerful machines with which huge logs are sawed up and down. With a band saw, you can easily cut boards.
Today we will review the instructions for the manufacture of a small band saw for domestic use. It is done quite simply, the author makes all the details from plywood, using his hand tools. The only, not self-made thing in his arsenal is a jigsaw. The machine is driven by a screwdriver. It is more promising, of course, to use a network tool, then it will be possible to work on the machine for a long time, without fear that the batteries will sit down.
Materials and tools used by the author:
Material List:
- plywood;
- two threaded rods, nuts, washers (for wheel axles);
-
- cutting tape;
- electrical tape;
- bearings;
- self-tapping screws, bolts, nuts and other trifles.
You will also need wood glue and paint.
Tool List:
- a circular saw (the author makes it homemade);
- grinding machine or sandpaper;
- a drilling machine (the author makes it homemade);
- wrenches, screwdrivers, pliers;
- clamps;
- ;
- roulette, ruler, pencil and more.
Machine manufacturing process:
Step one. Frame blanks
The author makes the frame of the machine from plywood. For the construction, 4 sheets were used. The fact is that one-piece material for these purposes will not work, since there is a special compartment inside the frame, inside of which there is a tension device. In principle, if you think a little bit about your brain, this compartment can be cut out in a single piece of material.

To cut plywood, the author uses his small circular machine. We cut a sheet of plywood into 4 rectangular pieces.
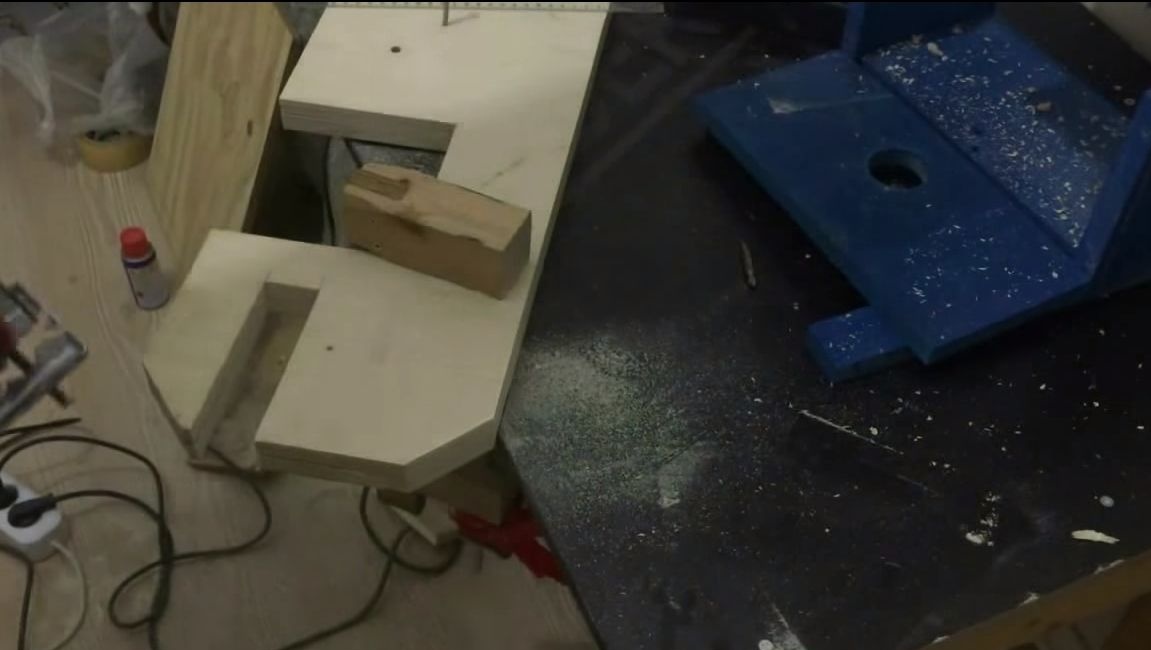
Step TwoWe work with a jigsaw
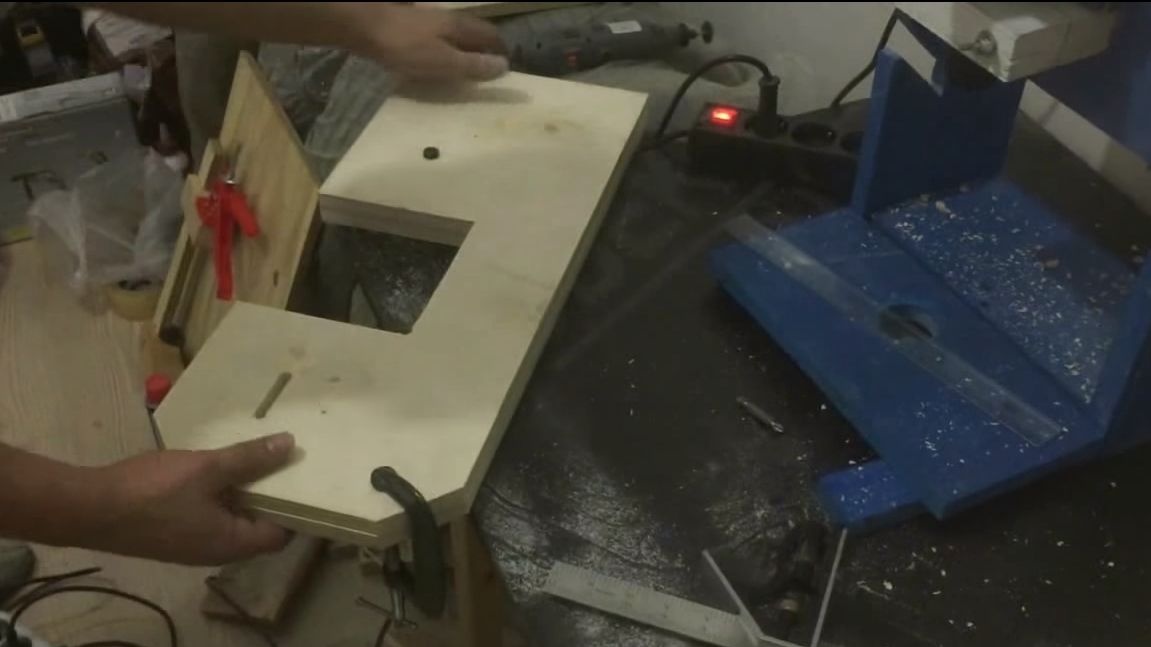
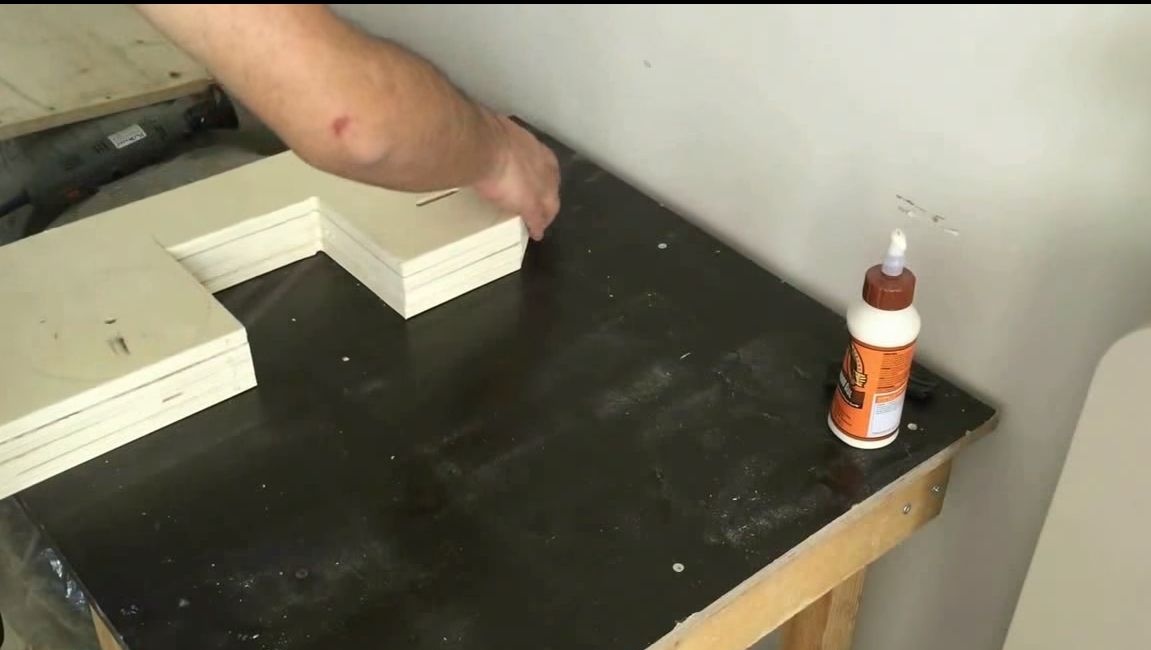
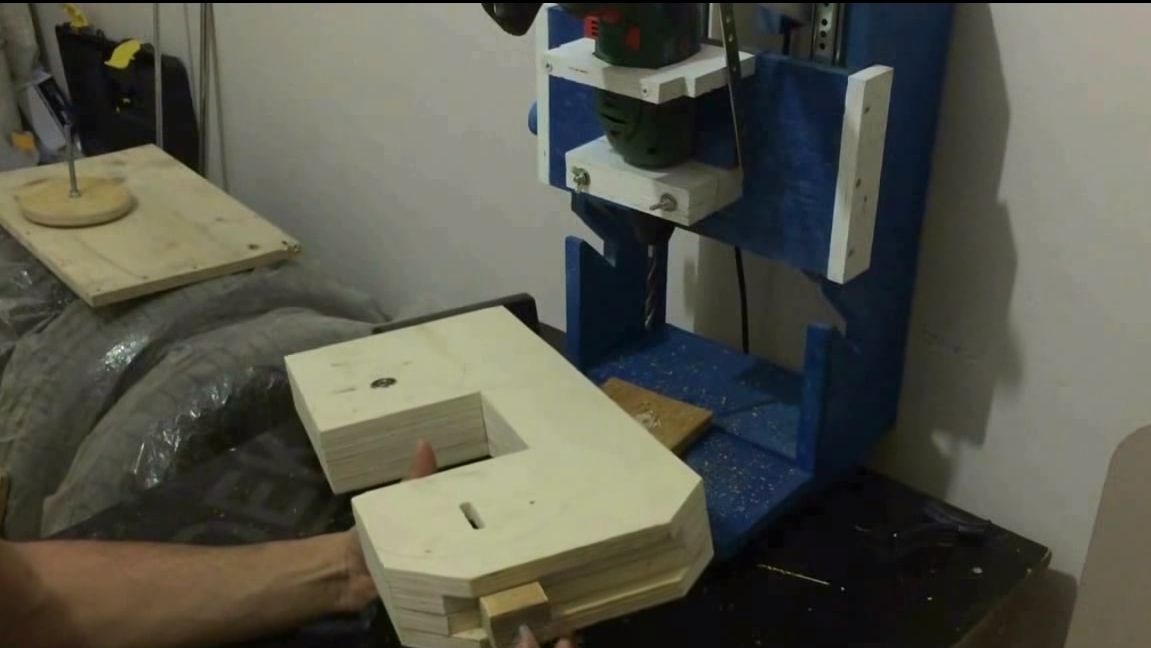
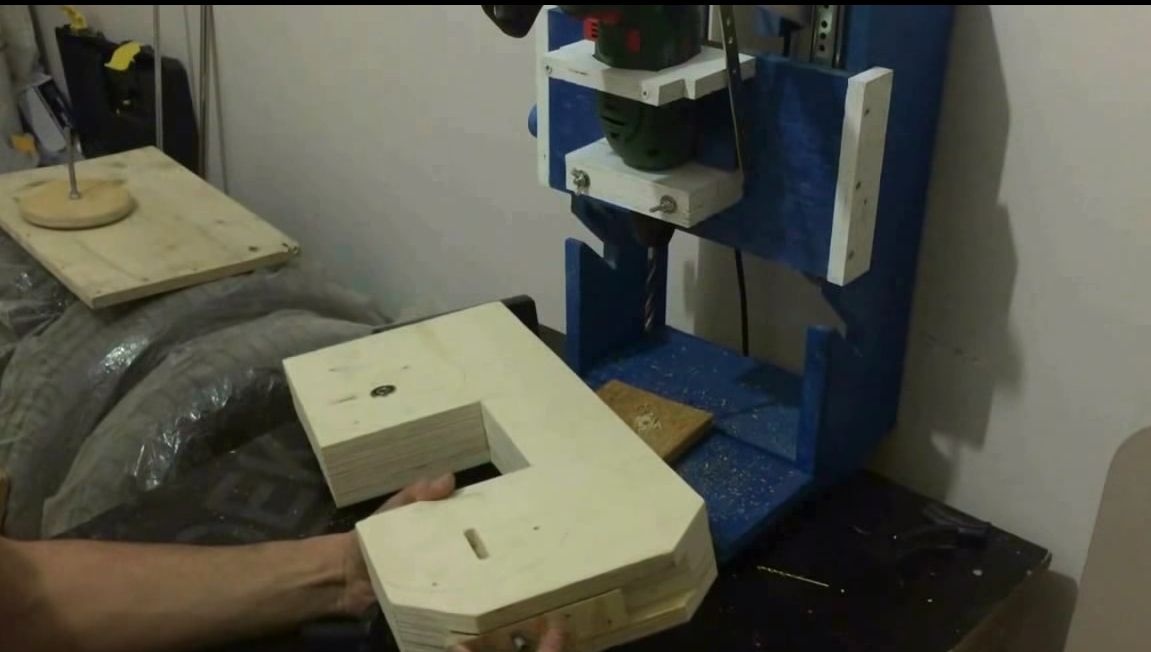
On one side of the prepared sheets you need to cut a square, this place will be the working "window". There will be a working table, and move the knife. This item needs to be cut in all four sheets.
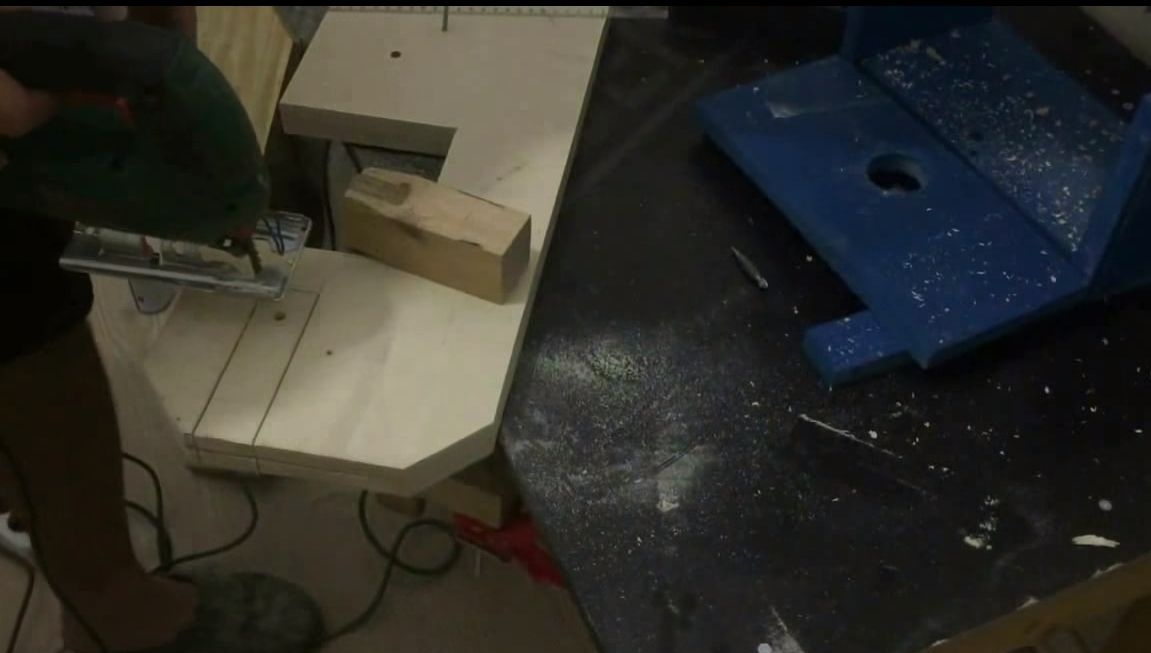
Next, take any two sheets and lay one on top of the other. This block will be the inside of the frame. Cut a groove in the upper part of this part, there will be a tension element of the saw. Do not discard the cut-out part, it can be used to make the tension mechanism.
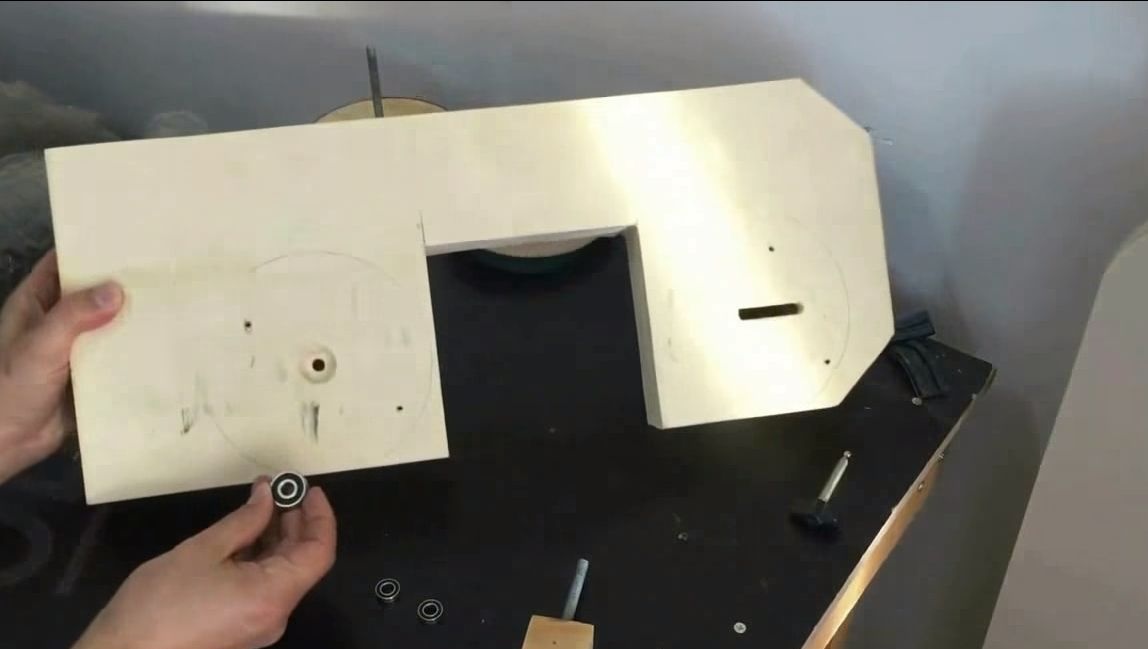
Step Three Drill holes
Put all the pieces together. Take a drill and drill two holes through them. In the future they will still be drilled, the axles of the wheels of the band saw are installed in these holes. In the upper part of the frame, the hole should have a longitudinal shape. This will allow the wheel to move up the frame so that the saw can be pulled. Cut a longitudinal hole in the two outer halves of the frame using a jigsaw.
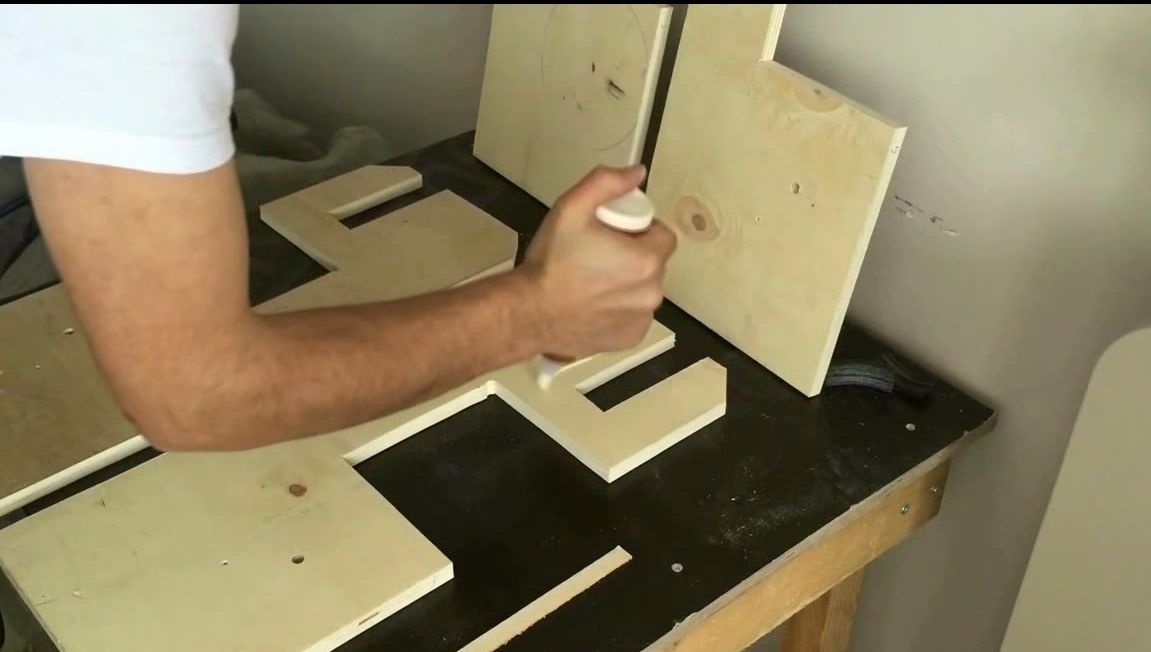
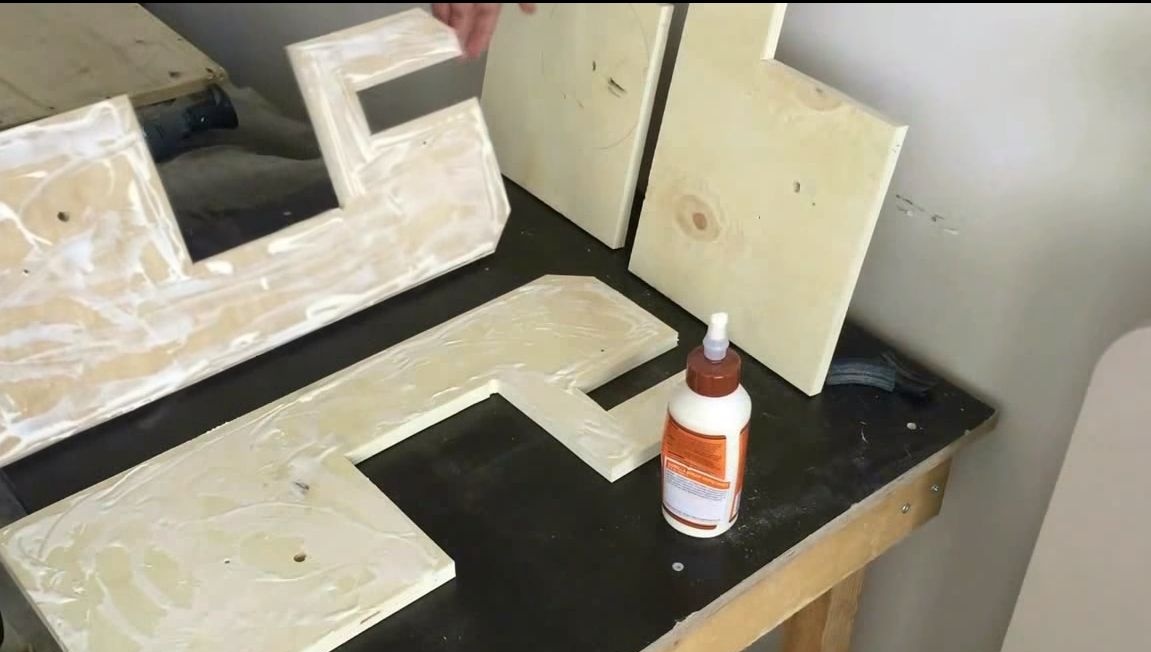
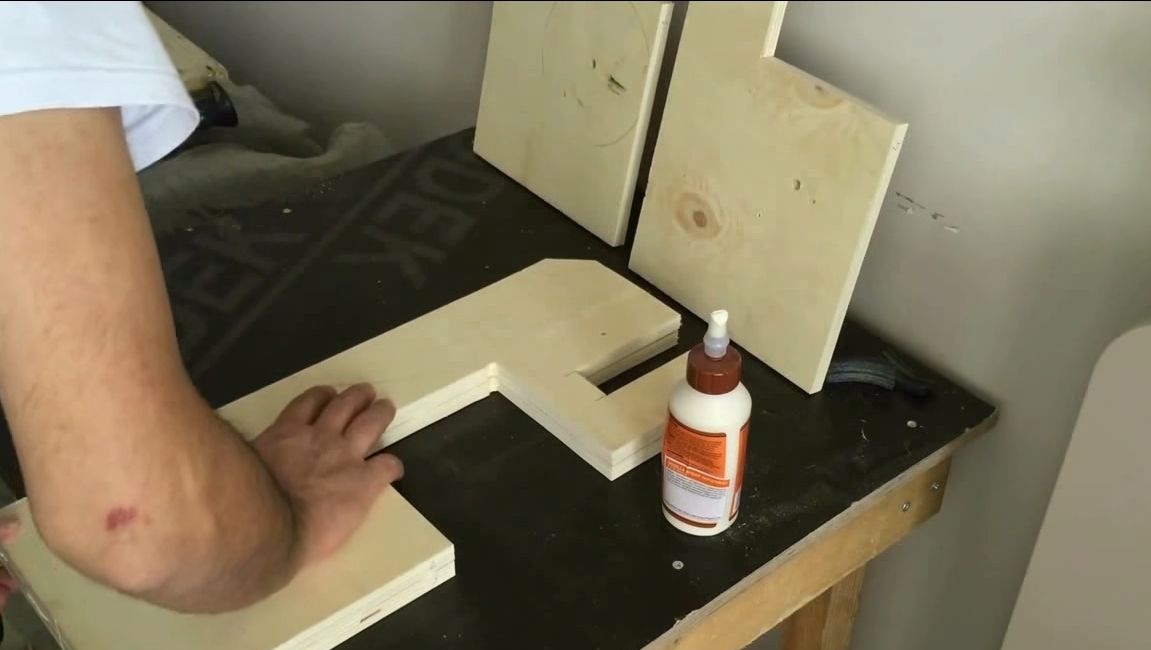
Step Four Bonding frame
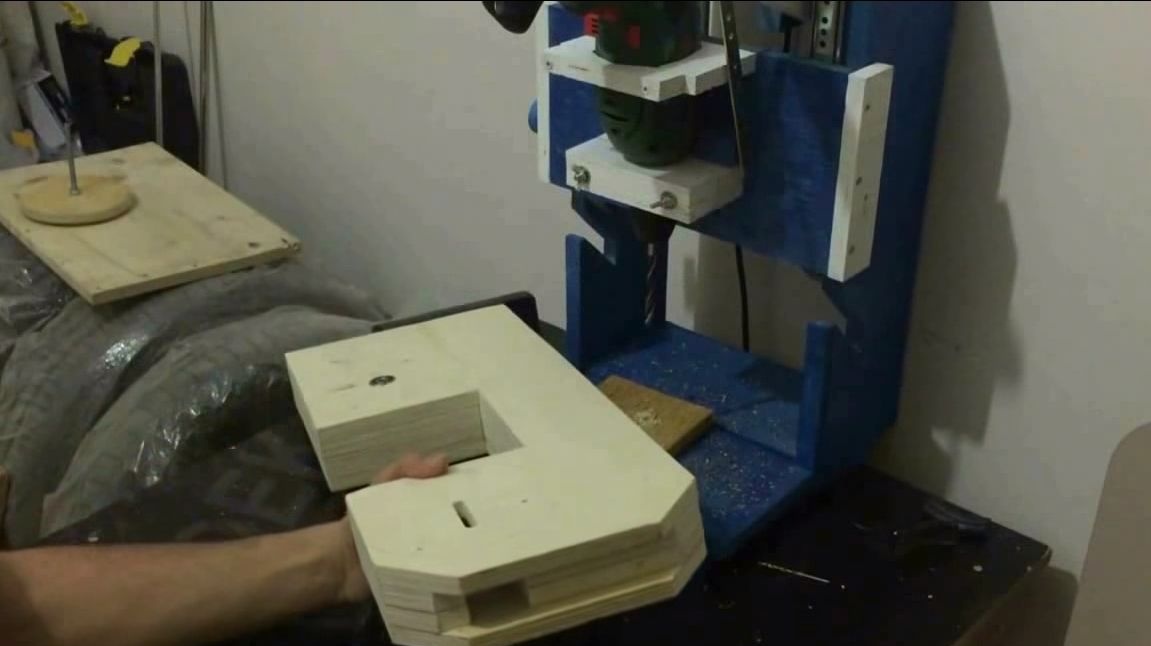
To glue the frame, you need good wood glue. Before gluing, treat all the workpieces with sandpaper, this is necessary so that the glue adheres well to the surface, and also so that there is no gap between the parts. First glue the central unit, it consists of two products.
Now glue the outer parts on both sides of the central unit. Center all parts by inserting bolts into previously drilled holes. Hold everything tightly with clamps and let the glue dry completely.

Step Five Tension device manufacturing
The tension device consists of two nodes. The first main assembly is a piece of plywood with a hole and a threaded rod that lifts the wheel up. The second part is located on the back of the structure, it is a threaded rod that, when twisted, locks the tensioner, as a result of which the cutting tape does not weaken during vibration.
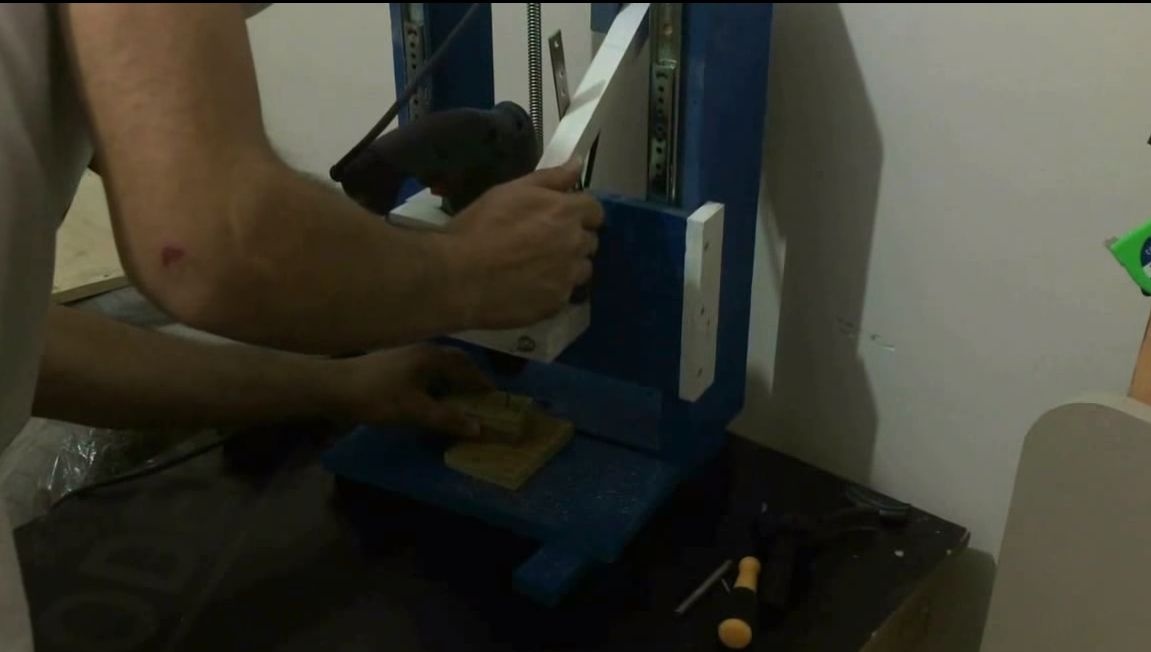
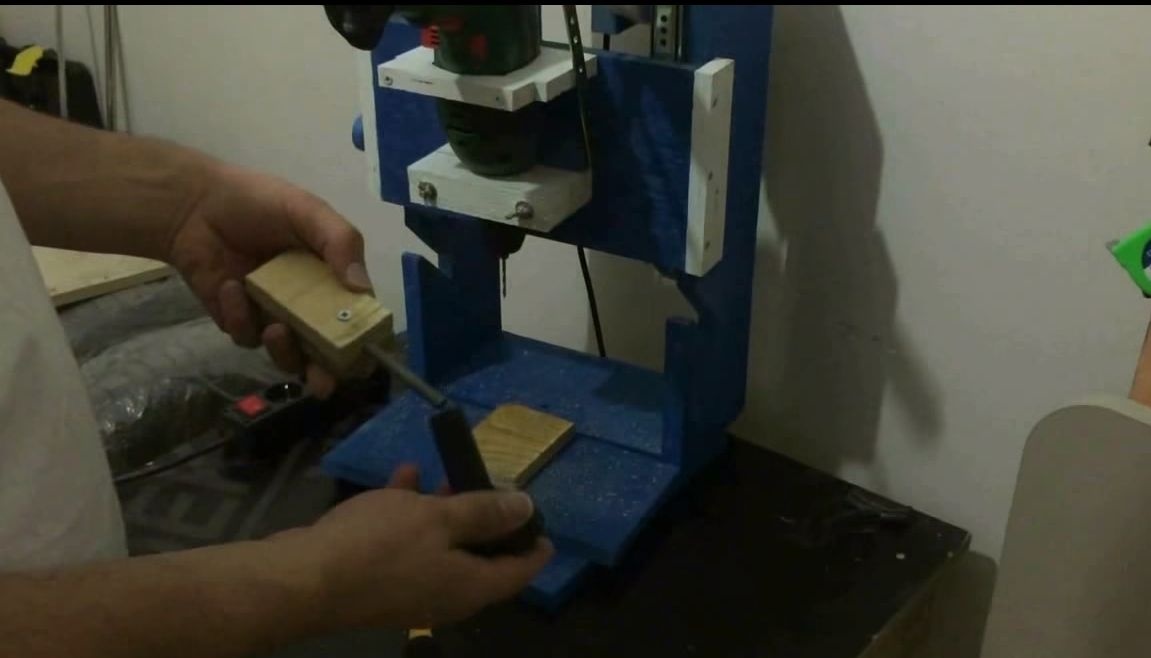
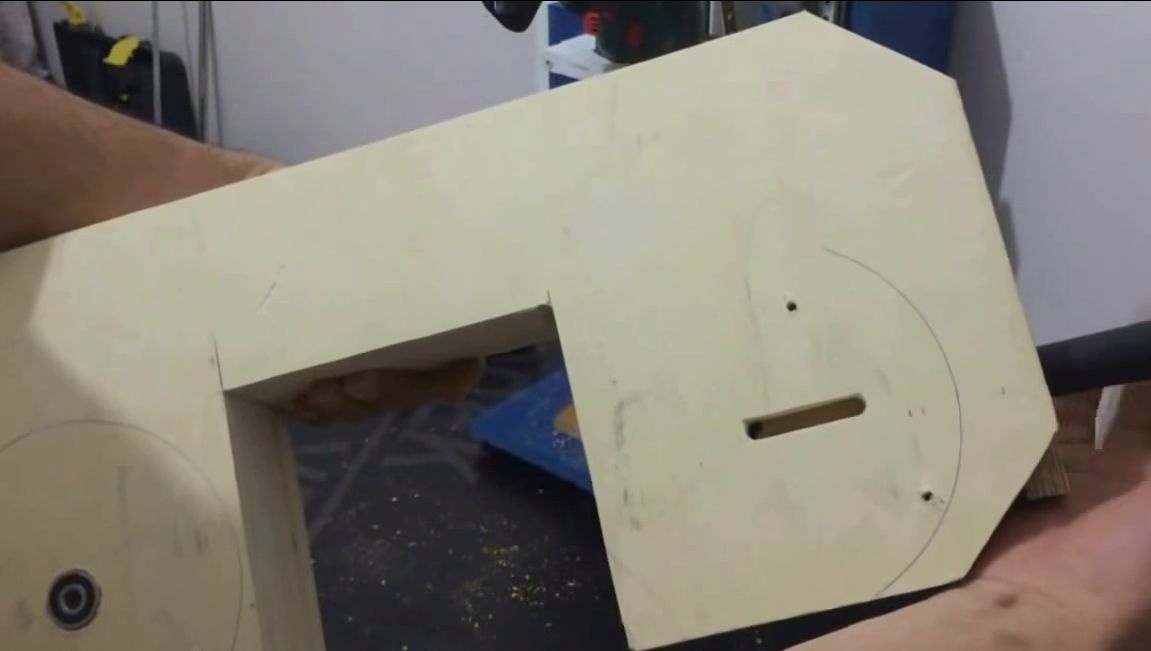
To make the tensioner, you will need two pieces of plywood that were previously cut from the inner sheets of plywood. Glue them or twist them with wood screws. Drill a hole in the part and install the threaded rod. It can be glued onto epoxy glue, but it is best to drill a hole in the rod and then securely fasten it to the bar with a screw. Grind the tensioner in a circle so that it does not wedge during use.
Install the tensioner in its place. A plywood plate is installed on top of it, it acts as a support.
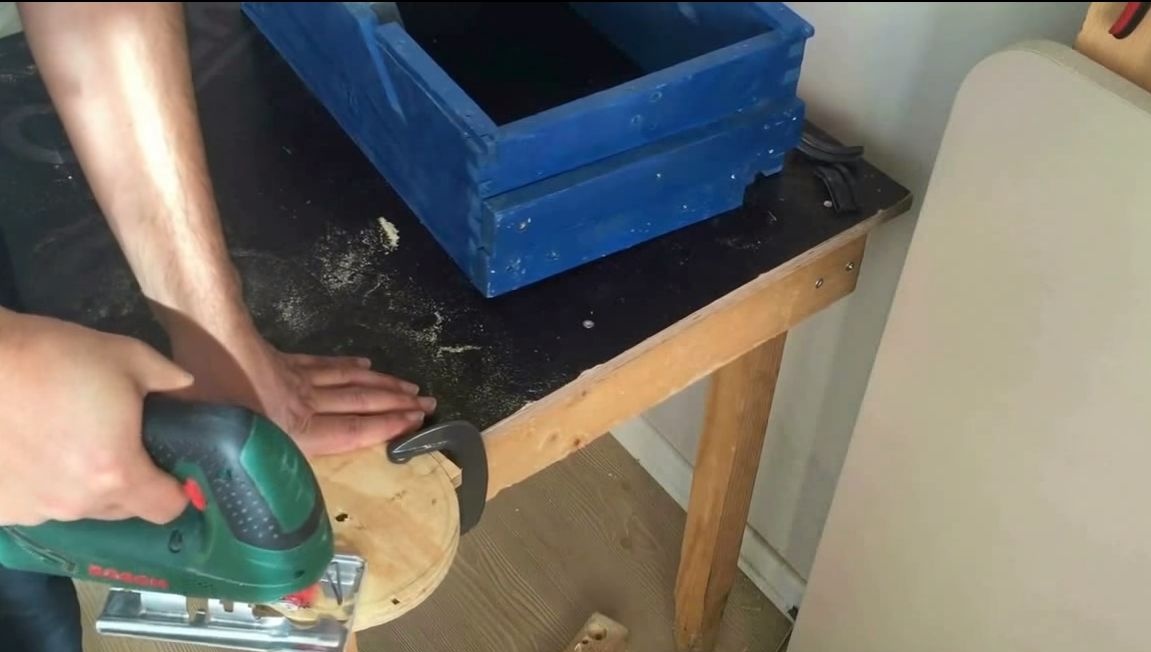
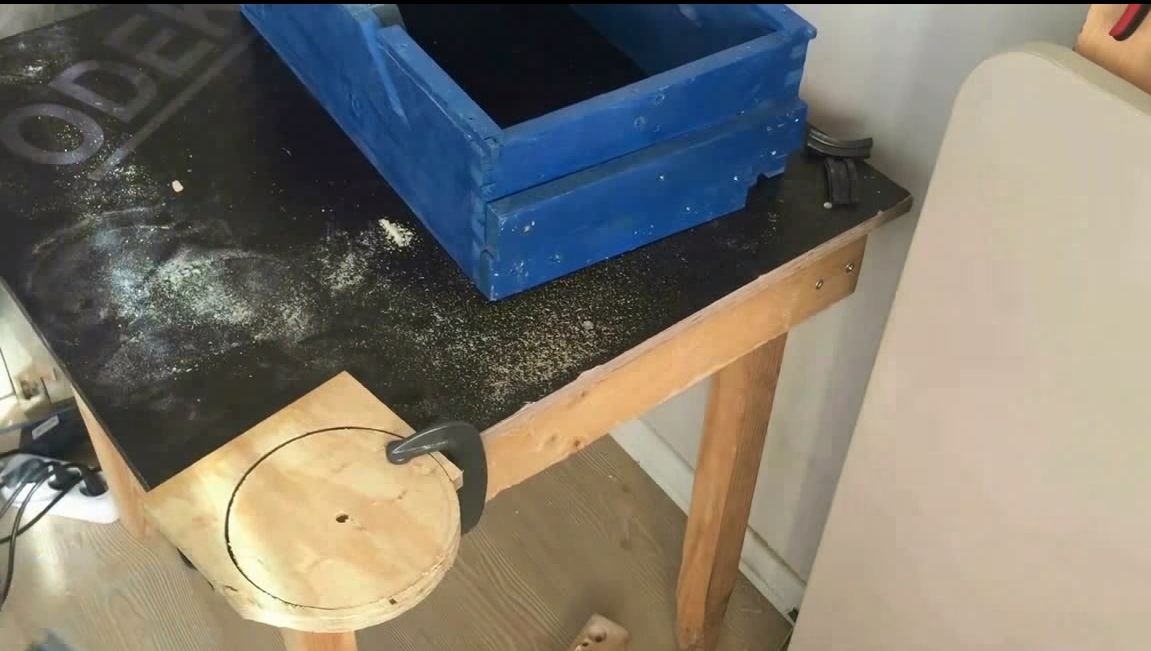
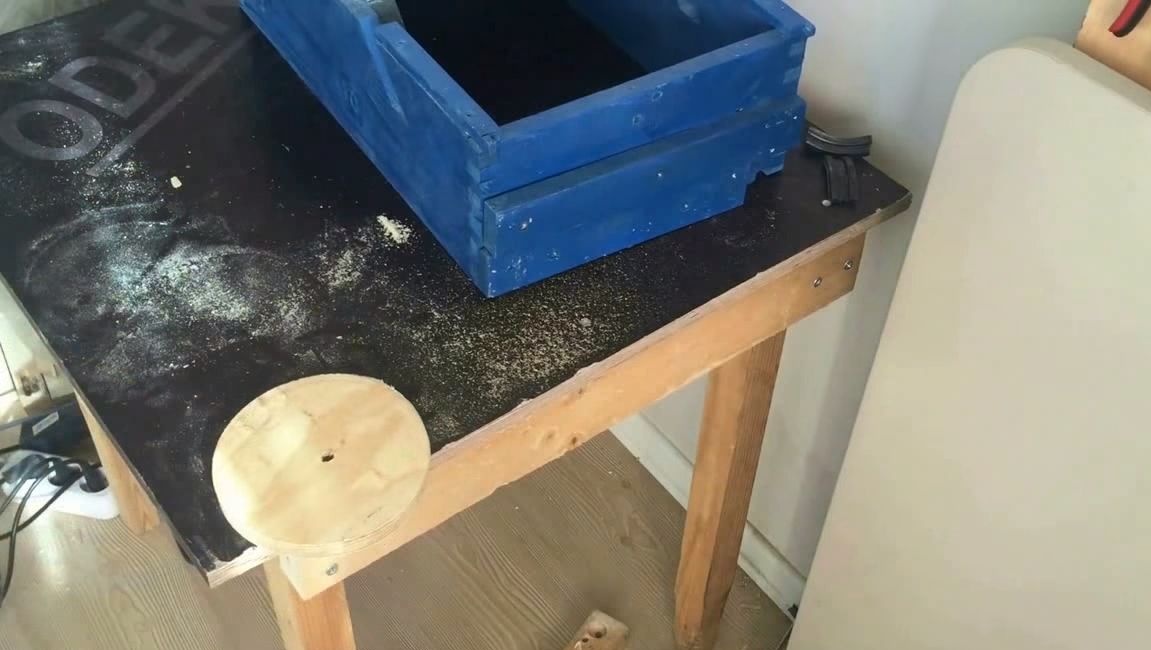
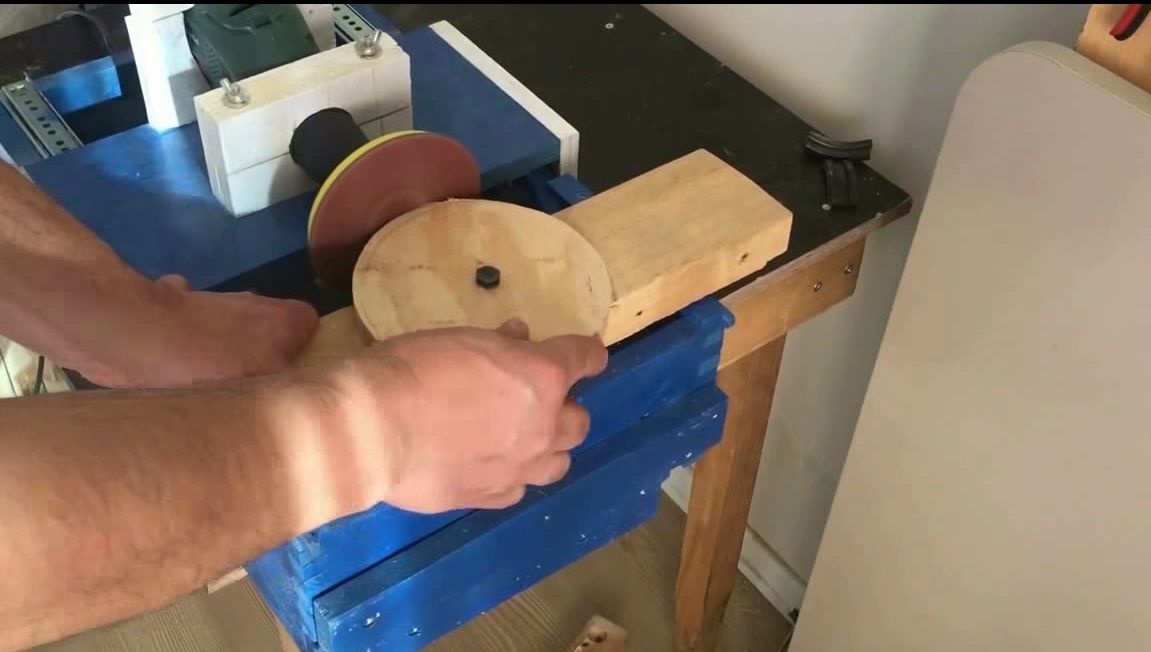
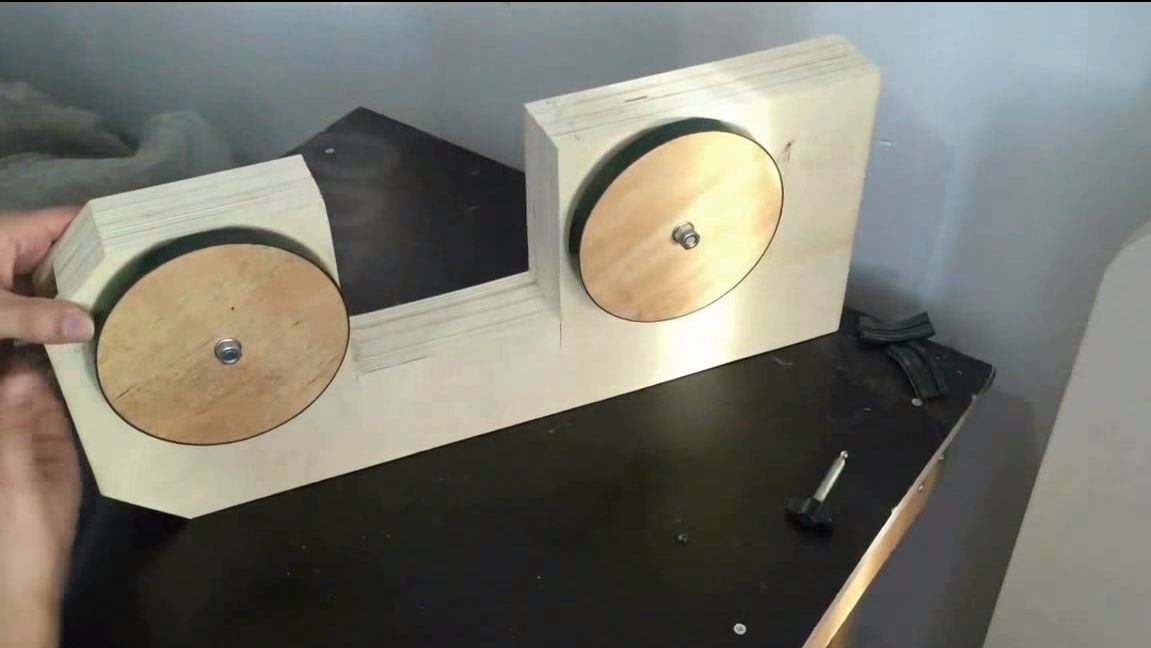
Step Six We make wheels
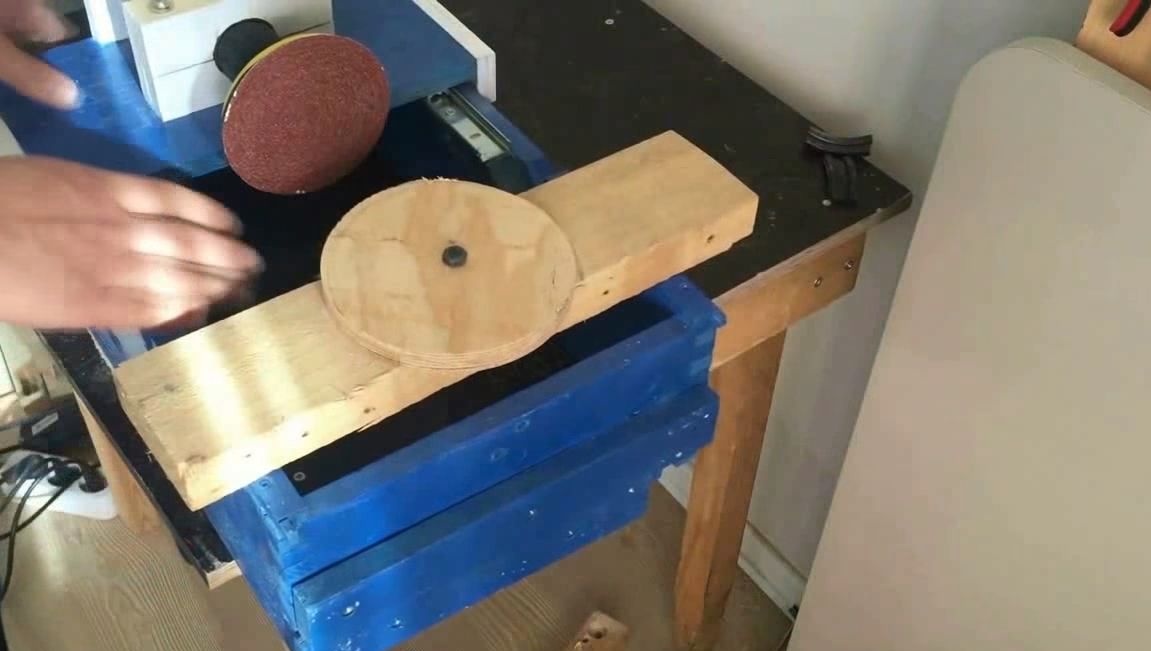
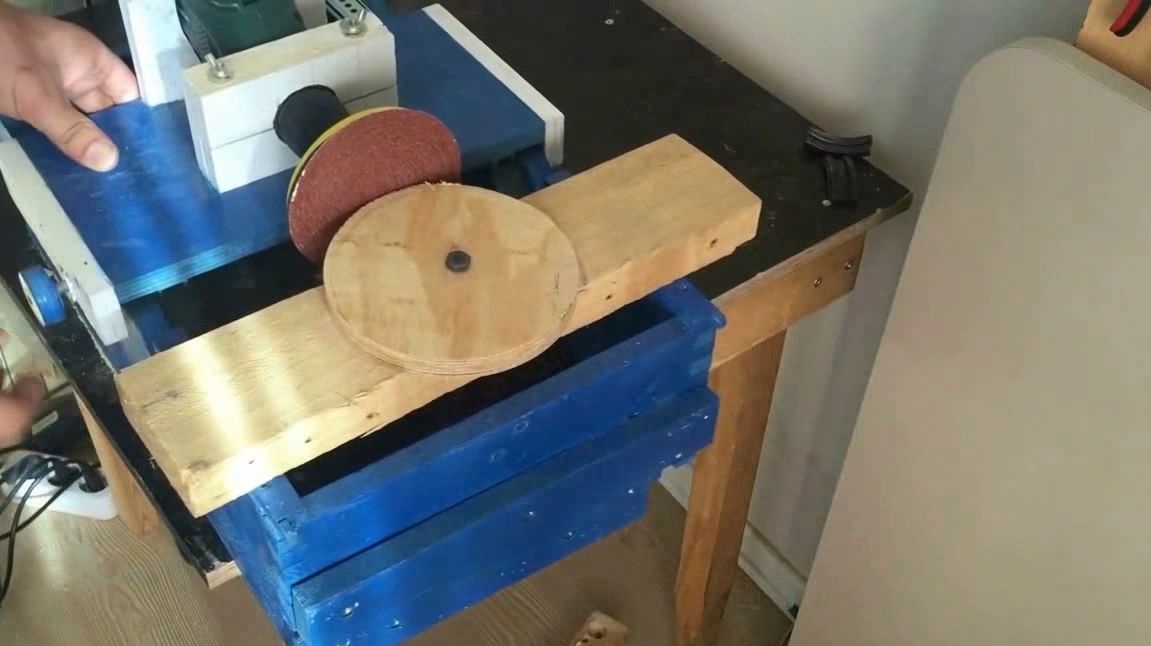
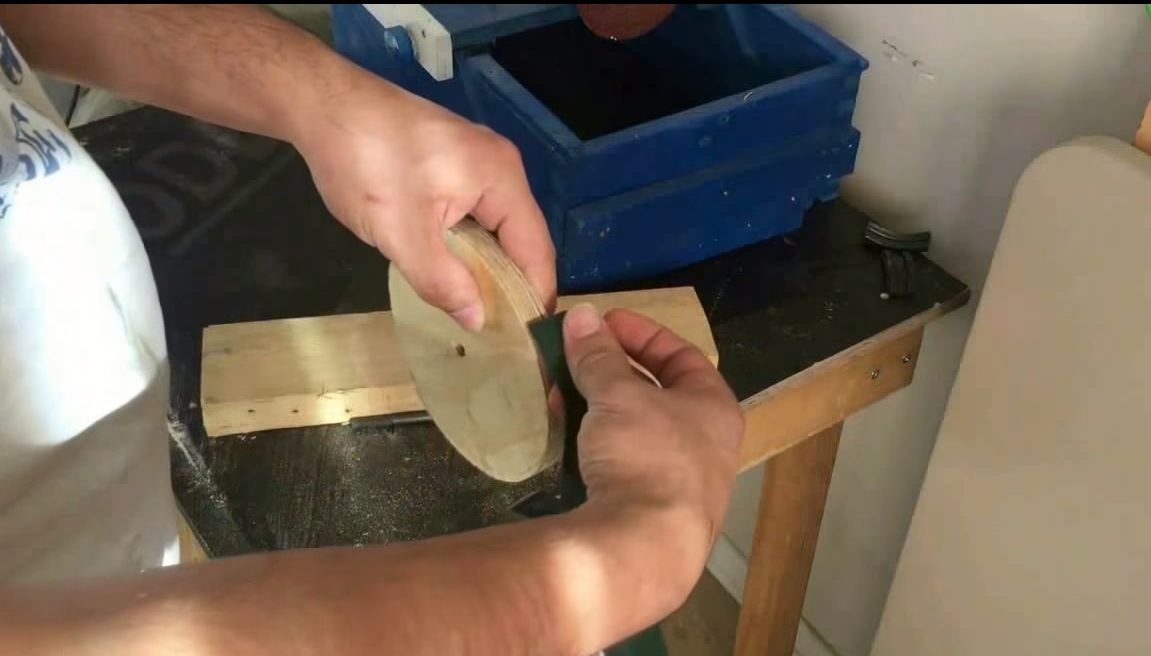
The author also makes wheels from plywood. Draw them with a compass on the material, and then gently cut them with a jigsaw. Grind the wheels in a circle so that they are smooth. The author uses his homemade orbital machine made from a screwdriver for grinding.
In the center of each wheel, remember to drill through holes under the axles.
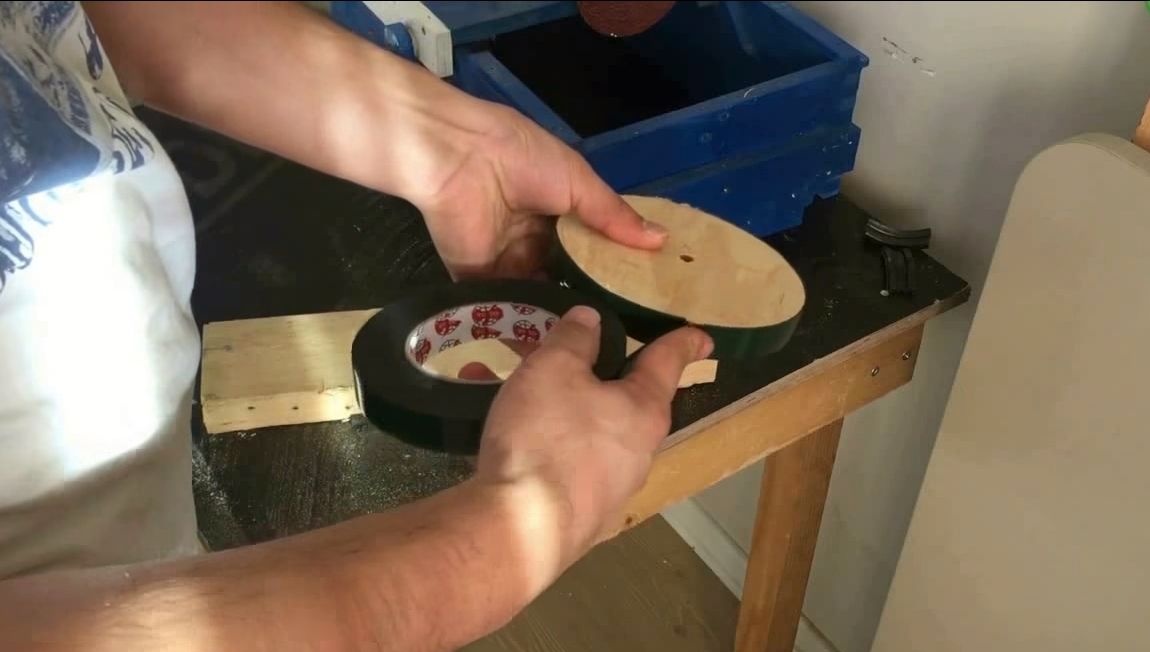
Now the final stage remains, you need to make a non-slip coating on the wheels so that the cutting strip does not fly off the wheels. For these purposes, the author decided to use ordinary electrical tape. Wind several layers on each wheel.
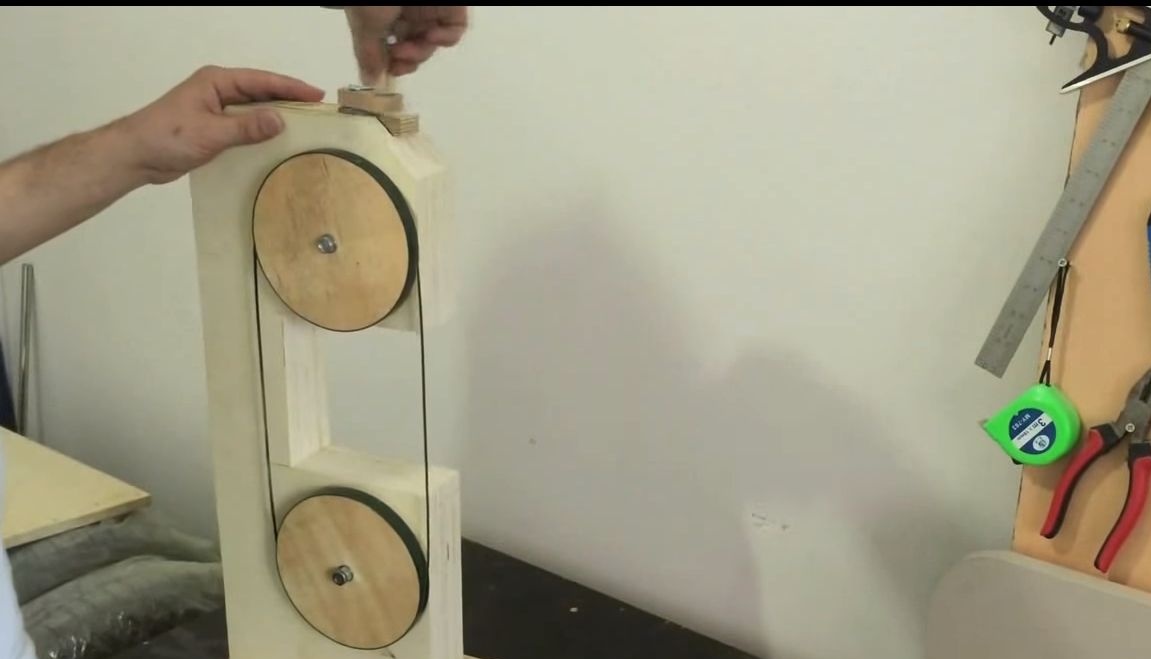
Step Seven. Set the wheels
First of all, install the axles in the wheels. They are metal rods with nuts, you can also use bolts, screws and so on. Tighten the two nuts on the other side of the wheel, remembering to put in good washers.
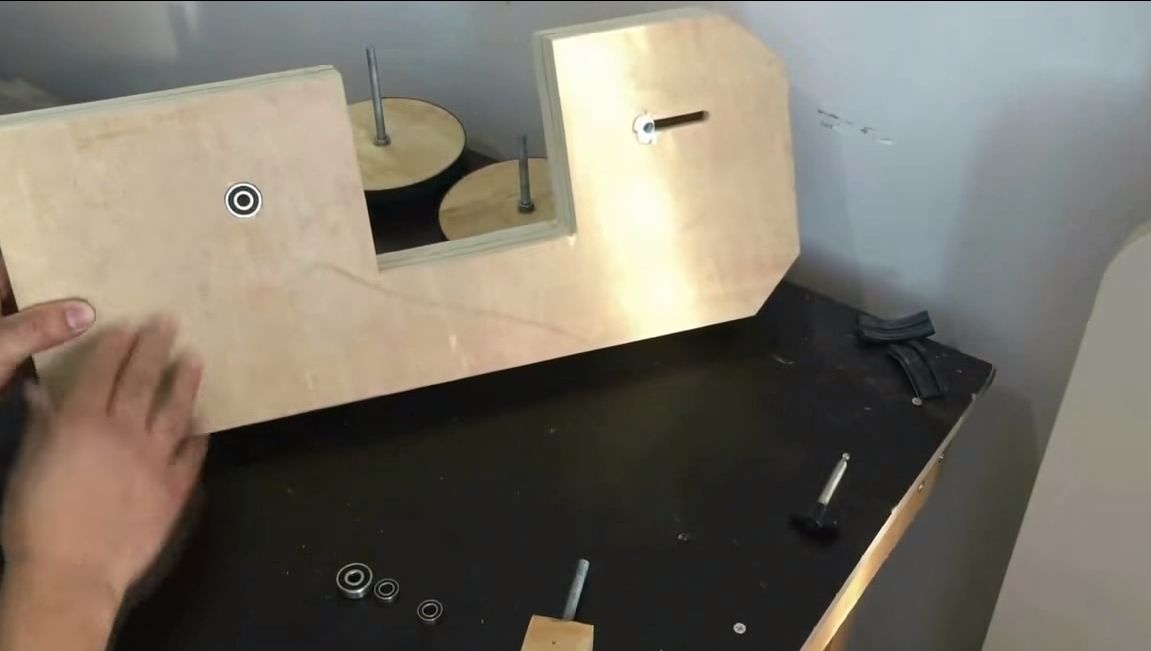
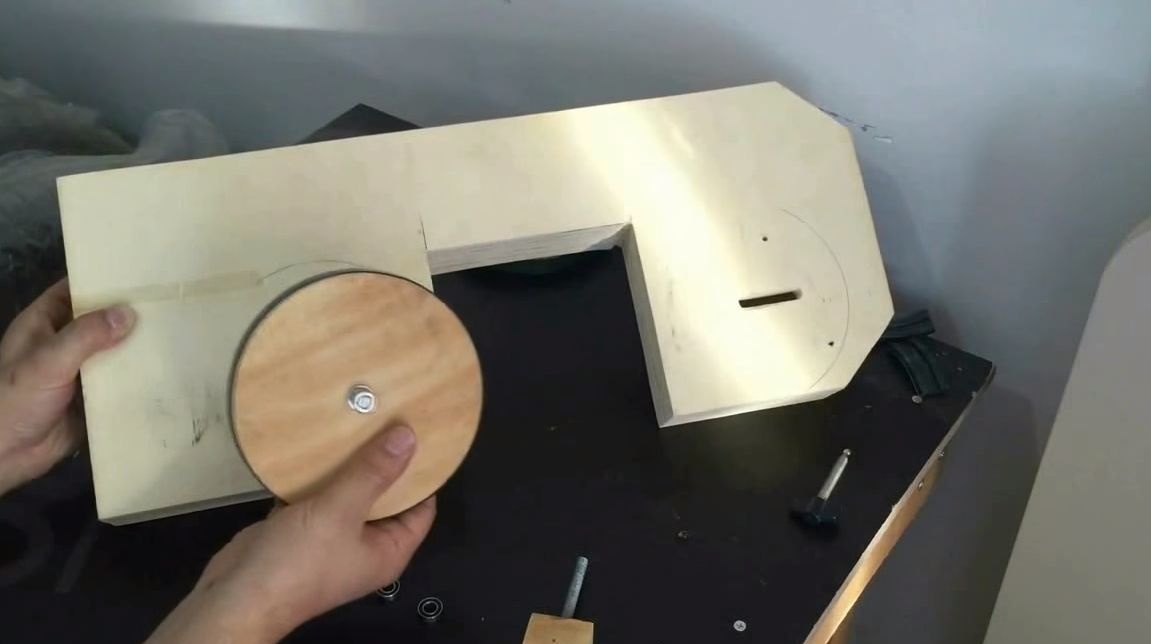
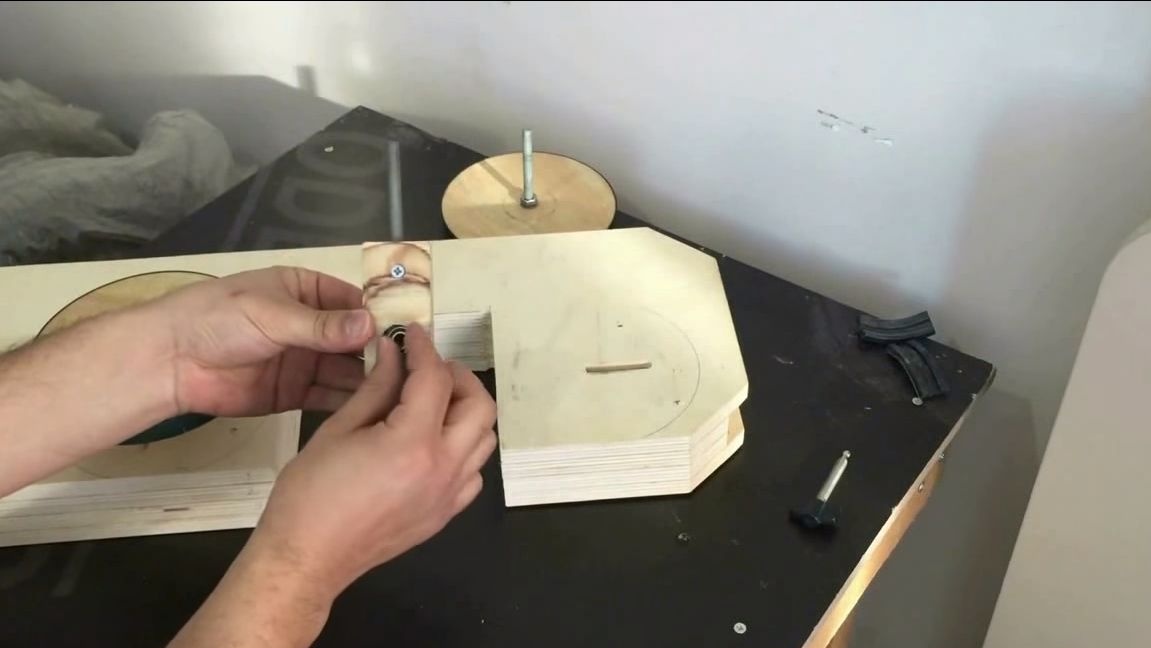

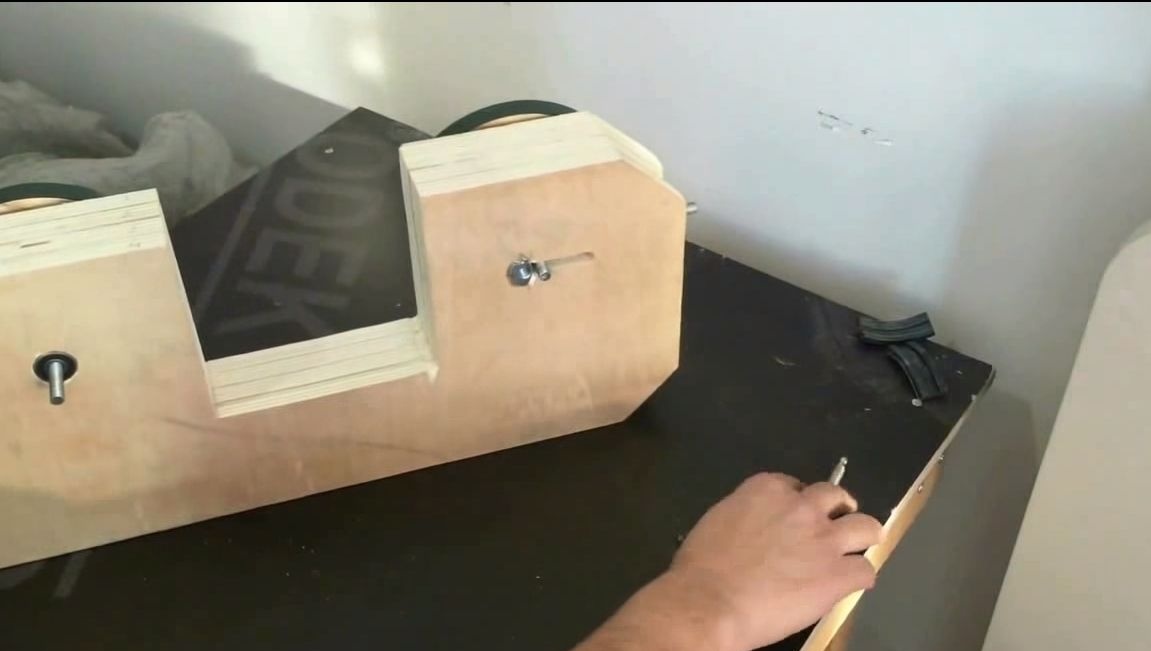
The axles are ready, now they need to be inserted into the frame. We take two bearings and drill grooves under them for installing the first wheel. We insert the axis, on the other hand we tighten the nuts.
As for the second, upper wheel, it is installed through a hole drilled in the tensioner. Here you also have to install two small bearings. Before installing the bearings, do not forget to lubricate.
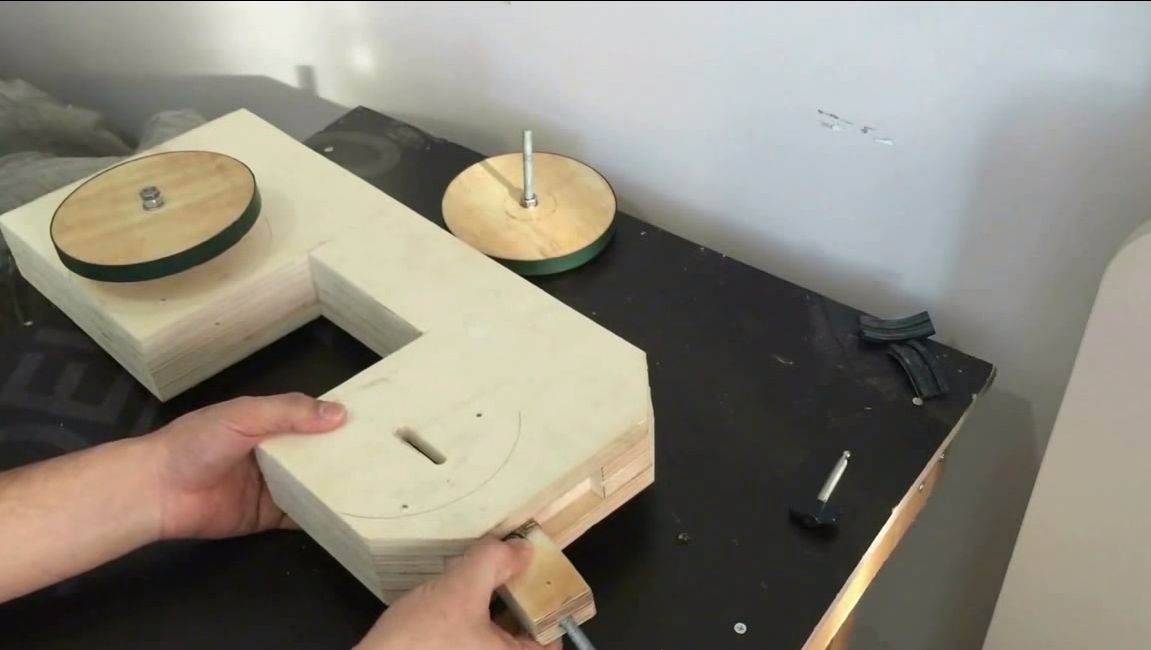
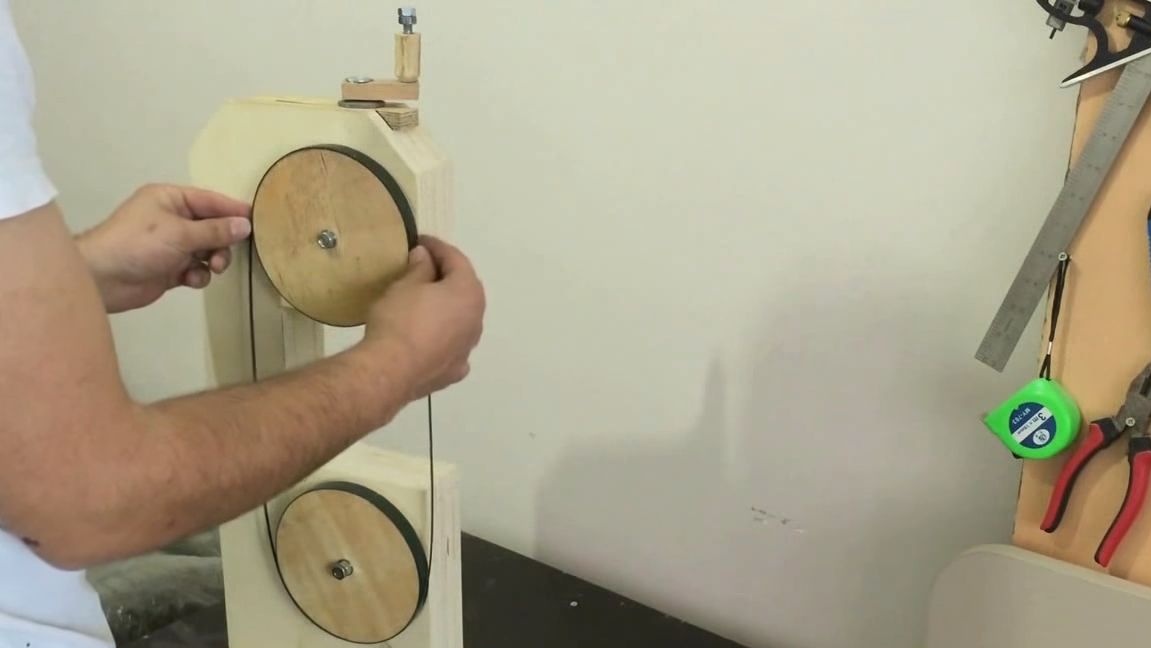
Step Eight. Stretching device
Install a plywood thrust plate over the tensioner at the top of the frame. Then, on a threaded rod, you can either screw a nut or make a handle out of wood, as the author has. When tightening the screw shaft, the wheel will be up and vice versa.

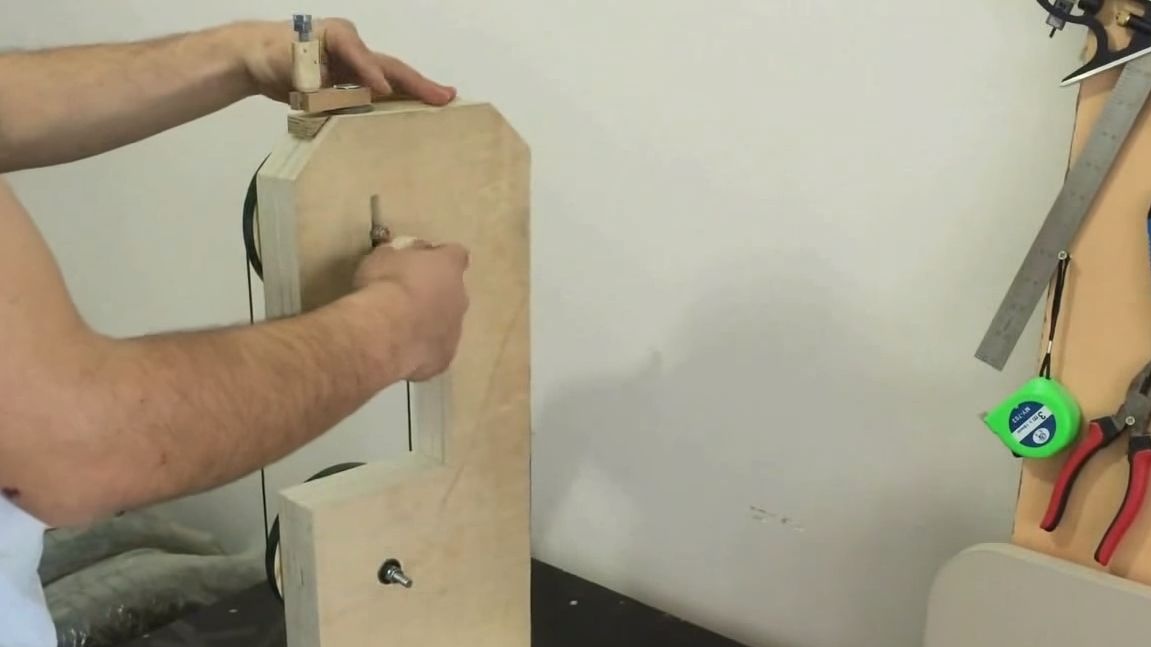
Drill a hole on the other rear side opposite the tensioner and glue the nut with epoxy glue. When you screw a bolt into this nut, it will block the tensioner. As a result, the tensioner will not unwind during vibrations.
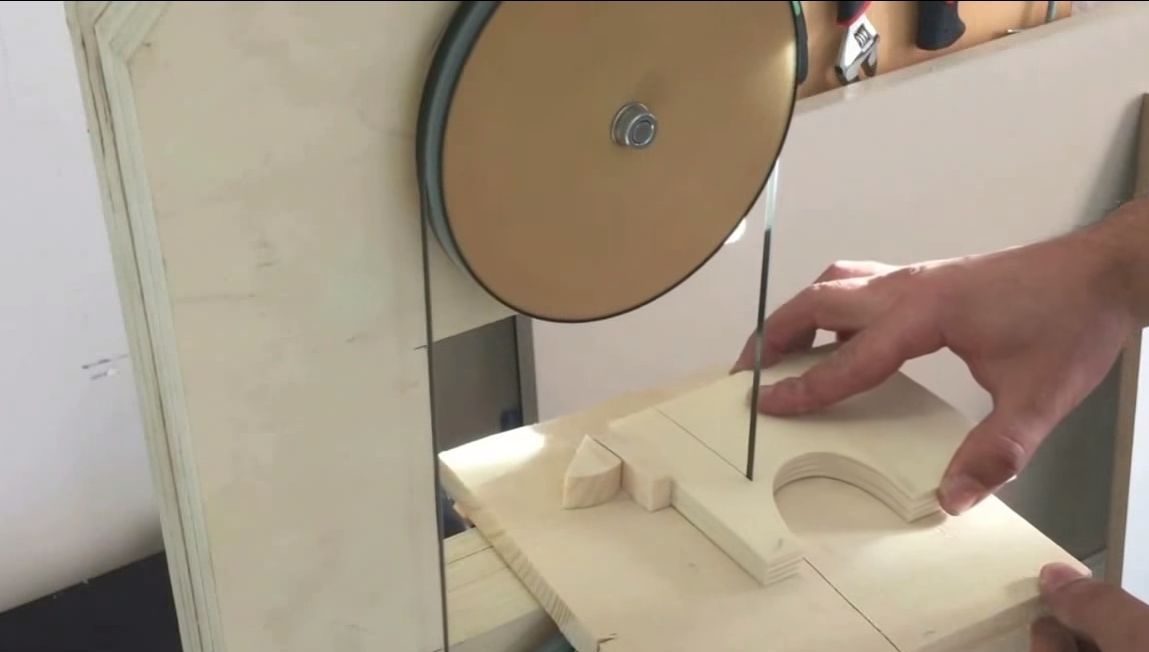
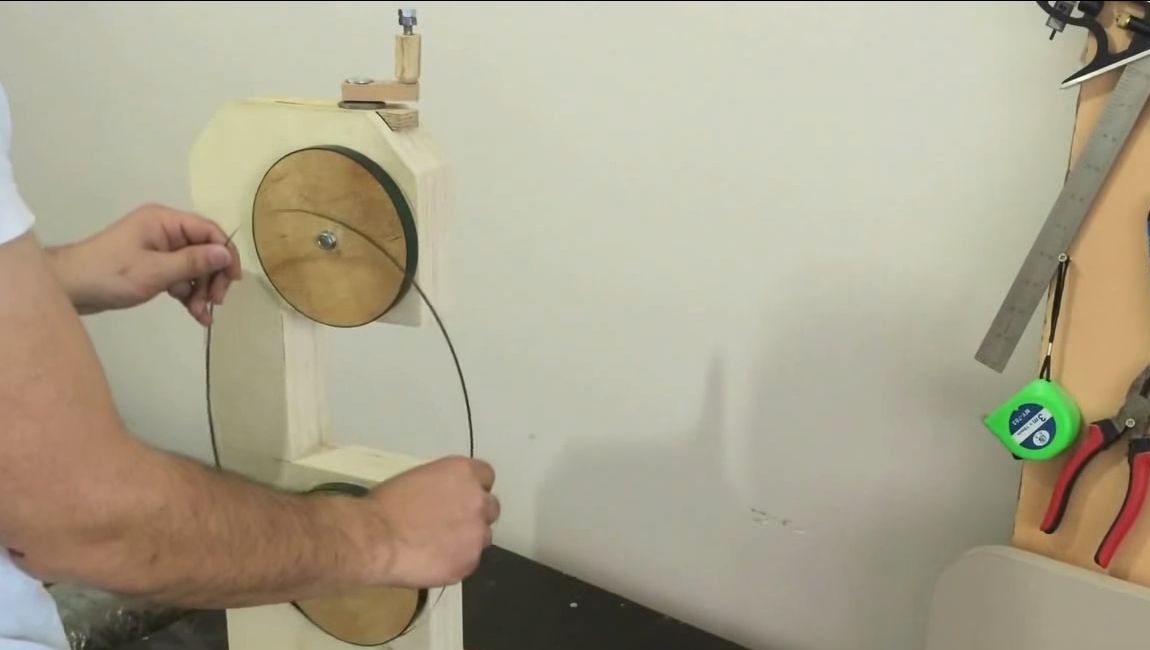
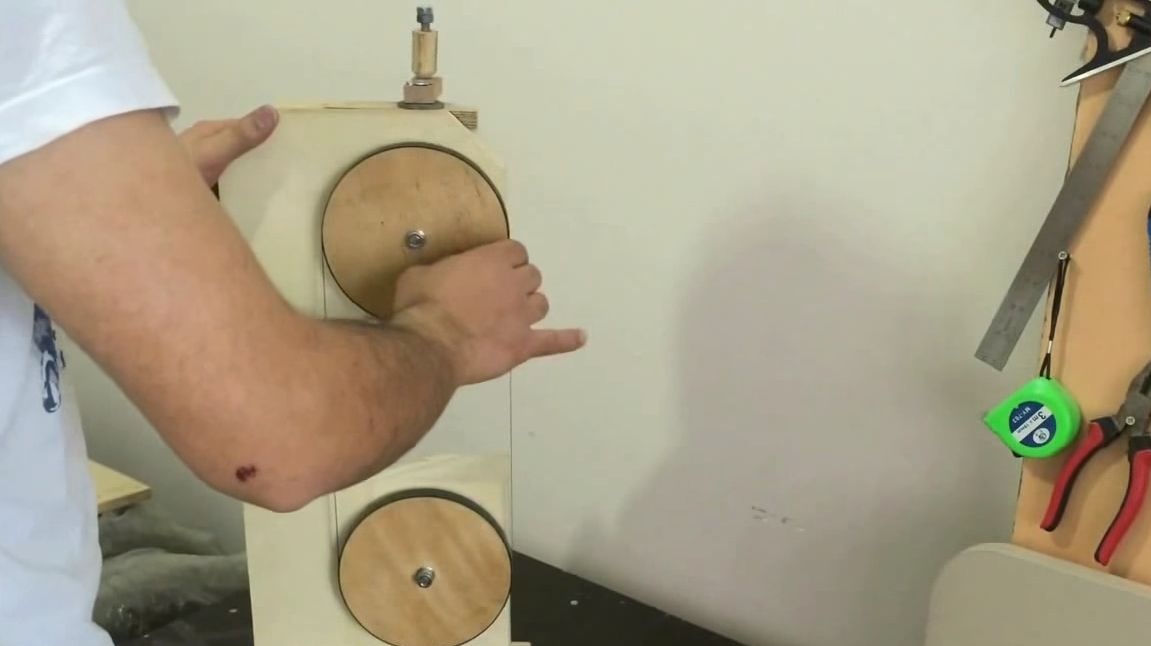
Slip on the wheel saw blade and do not pull it tightly. The degree of tension is determined visually, if the tape is straightened on the sides, then it is stretched. Try spinning the wheels; they should spin with little effort.
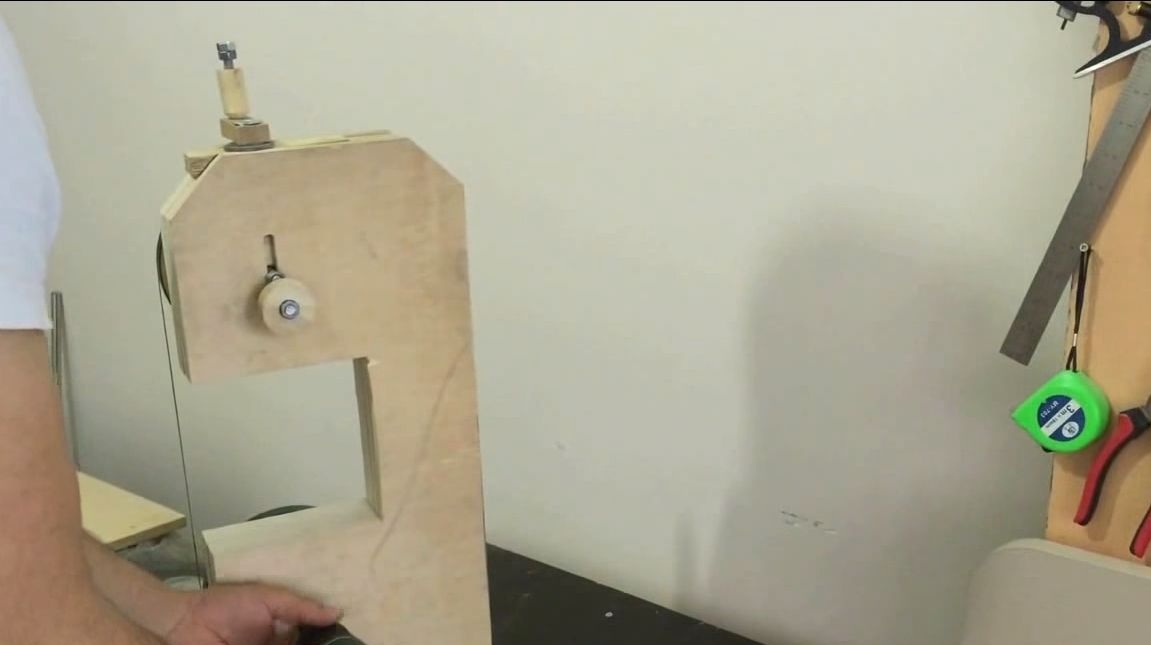
Step Nine. Completion
Install the frame made on the support, as it can serve as a sheet of plywood. You will also need to install a desktop from plywood. Cut a gap in it so that the band saw comes in.

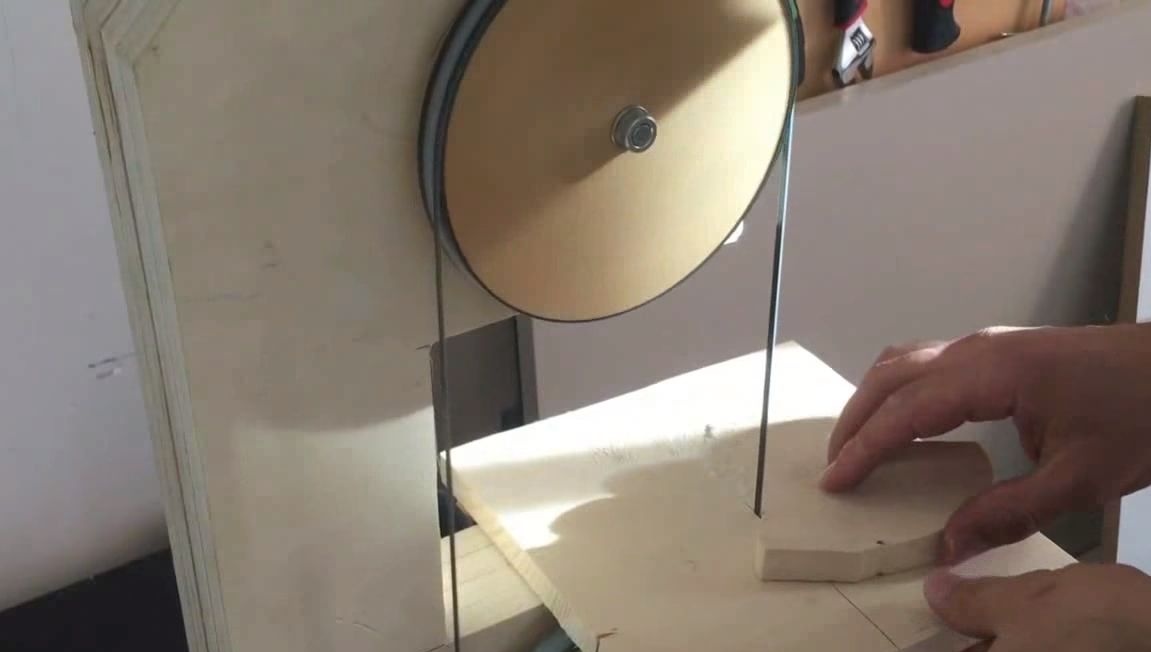
Installation can be tested! On the other hand, connect the drive wheel shaft to the screwdriver chuck. Start the experiment with small turns. The screwdriver is not additionally attached in any way. It just rests on the table, but it is advisable to fix it.
Be careful when using the machine, since you can just cut off your finger when using it!