
Hello friends, in this article I will try to show and describe how to make a real brushless DC motor. Of this homemade You probably will find the actual application. But this homemade product will be able to decorate your desktop, give your workplace "brutality" and "custom". Each adult and child will be able to do this home-made, it will also be interesting to collect this home-made adult together with the child, thereby occupying himself and the child and spending leisure time together.
For this electric motor we need:
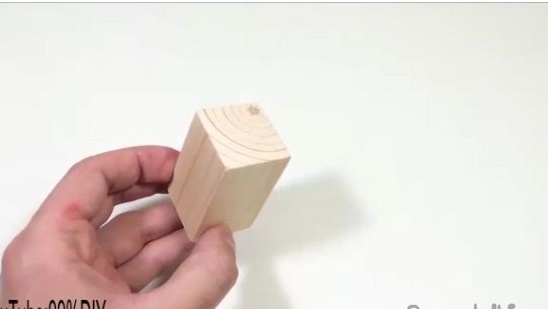
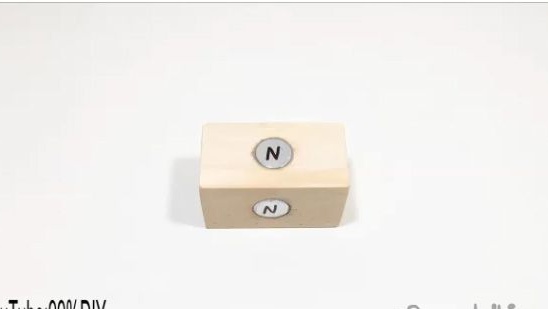
1) Wooden block with a square section.
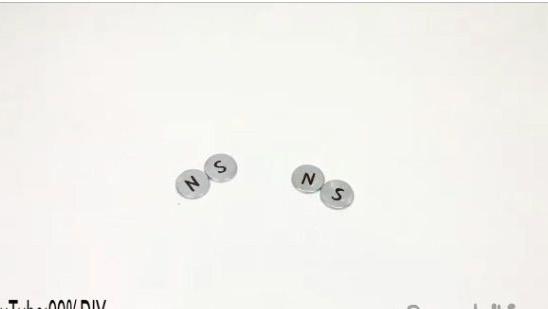
2) Four identical magnets and one small size.
3) Feather drill (with a diameter as your magnets).
4) Glue, Terma glue.
5) A small hacksaw for metal.
6) Drill.
7) Drill.
8) Knitting needle.
9) Spool of thread.
10) Thin insulated copper wire.
11) Bolt.
12) Nut.
13) A pair of wooden blanks and a base (see photo in the assembly).
14) A dozen screws and washers to them.
15) Power (battery from a screwdriver).
Motor Assembly:
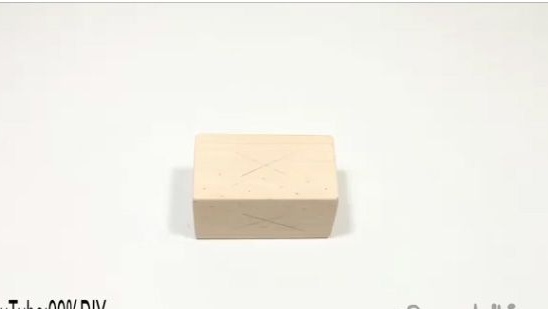
1) We need a square bar with a square cross-section, we will make an electric motor rotor from it.
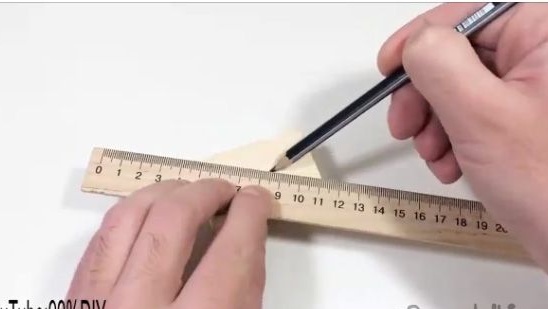
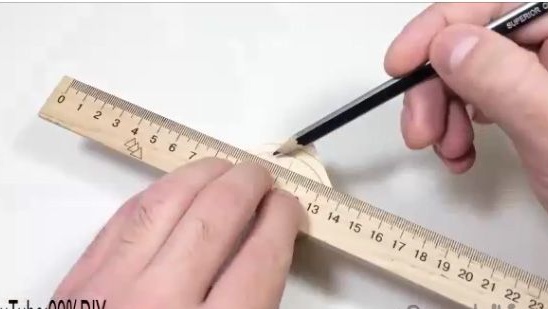
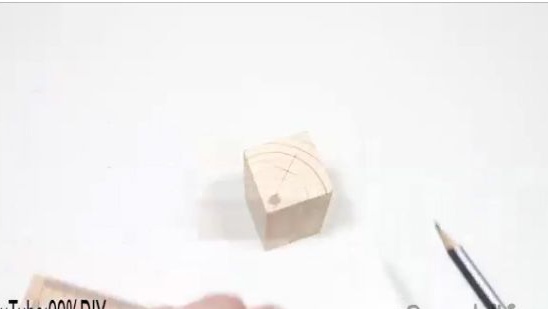
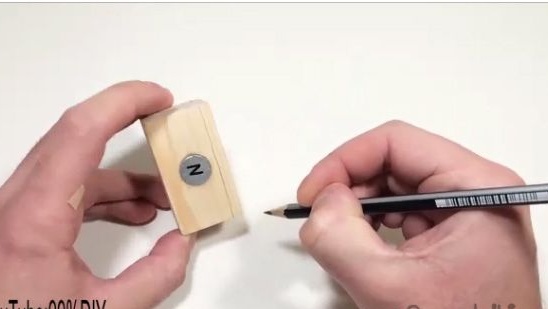
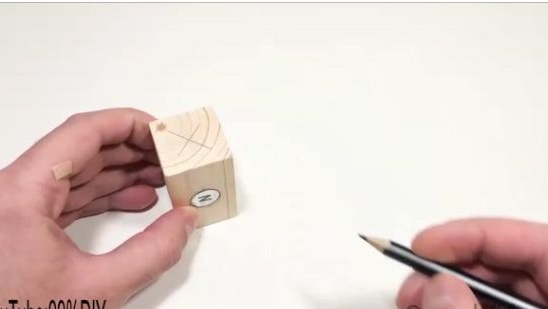
2) Using a ruler and a pencil, make a markup and find the center of each face.
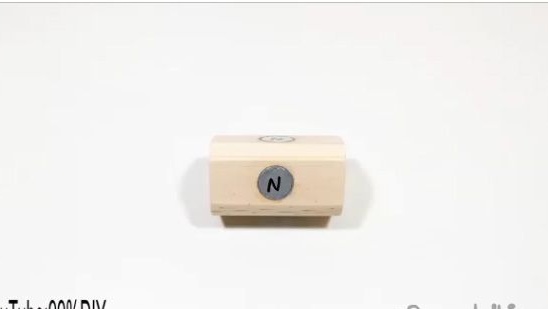
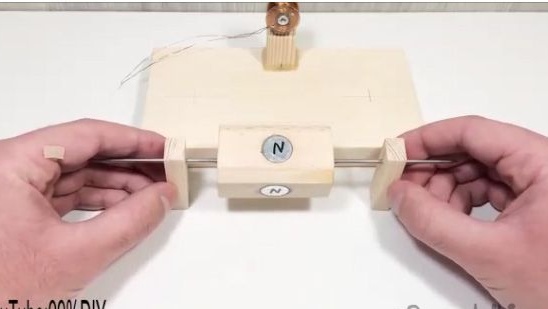
3) Next, we need four magnets, such as those shown in the photo below.
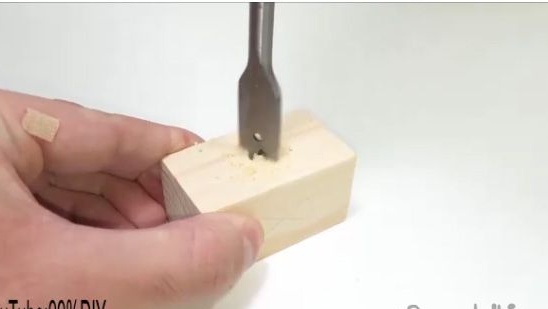
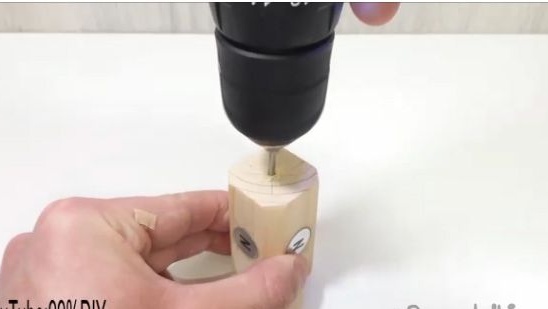
4) We also need a pen drill with a diameter like magnets.
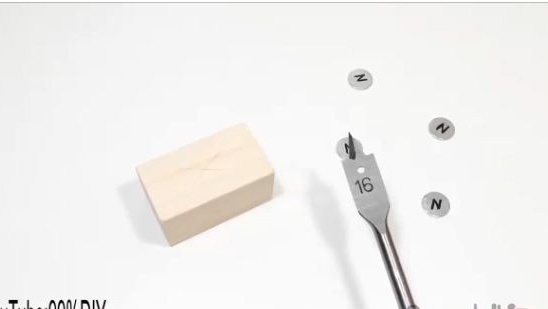
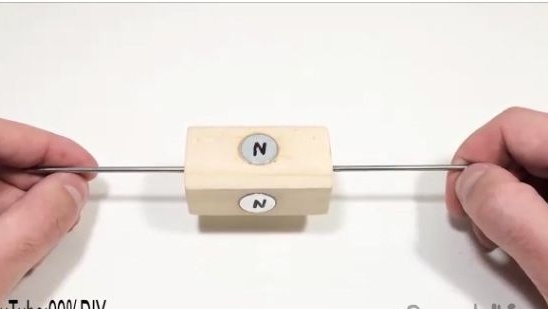
5) Drill four holes as in the photo below.
6) Next, take the glue and apply it to the wooden blank and glue the magnets.
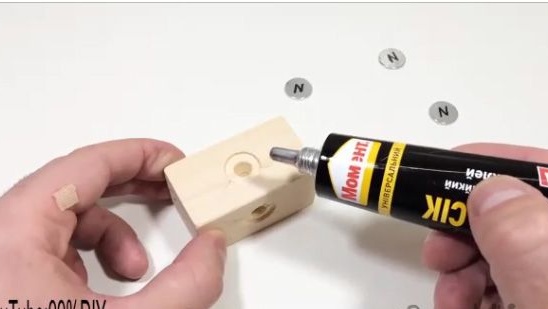
7) Approximately such a workpiece should work out with you.
8) Using a pencil, make marks as in the photo.
9) Take not a big hacksaw for metal. And saw off the mark just done.
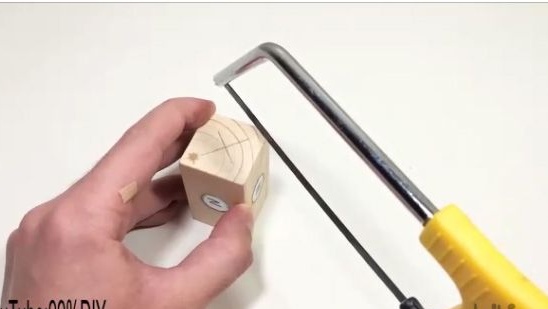
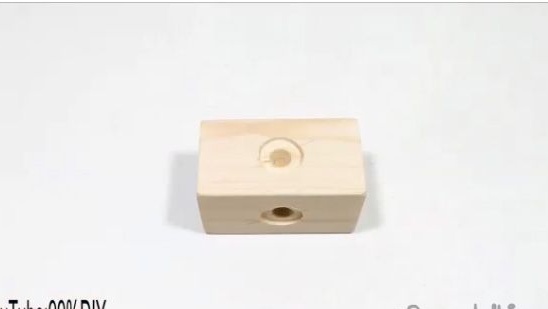
10) This is how it should turn out for you.
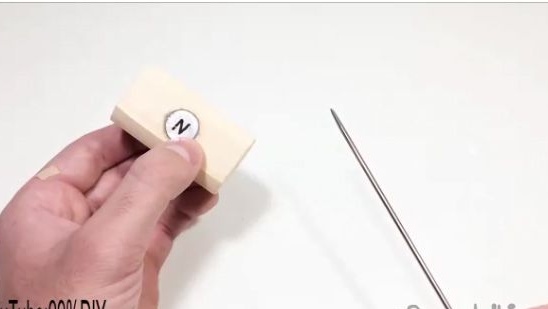
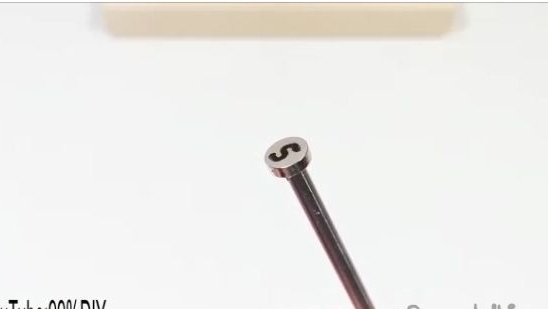
11) Next, we make a through hole for the rotor axis. A drill with a diameter equal to the diameter of the knitting needle (rotor axis).
12) Take a knitting needle.
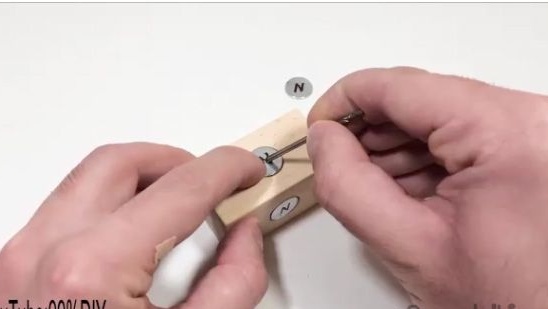
13) Put the knitting needle into the hole previously made. So that the rotor of the electric motor is exactly in the middle of the knitting needle.
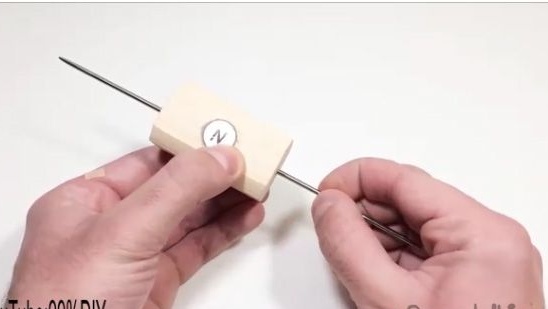
14) Glue the junction of the knitting needle with the rotor of the electric motor with super glue.
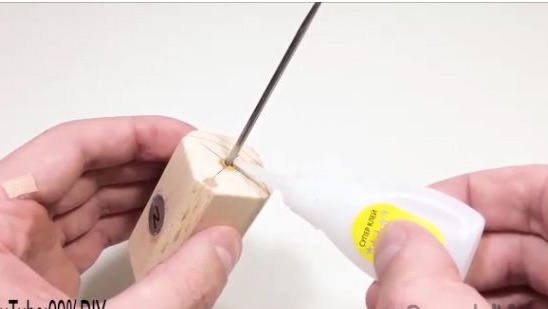
15) A reliable connection should be obtained so that the rotor does not spin on the axis.
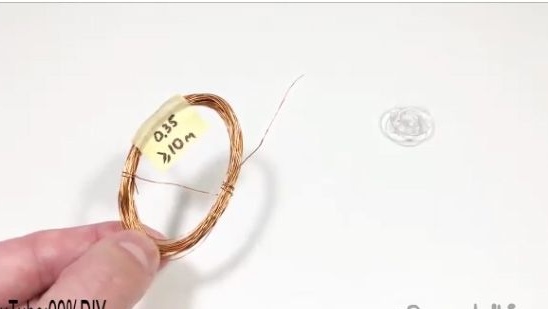
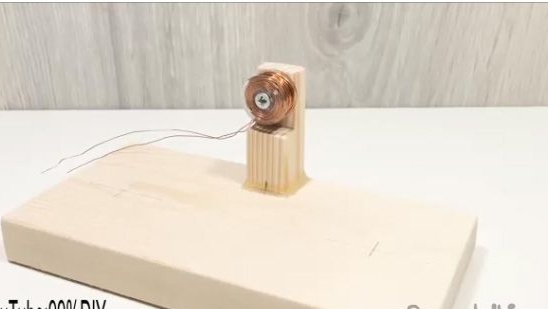
16) Then we need a spool of thread and a thin insulated copper wire.
17) Let's make a design from a bolt and a nut. We put the bolt into the coil and tighten the bolt on the other side.
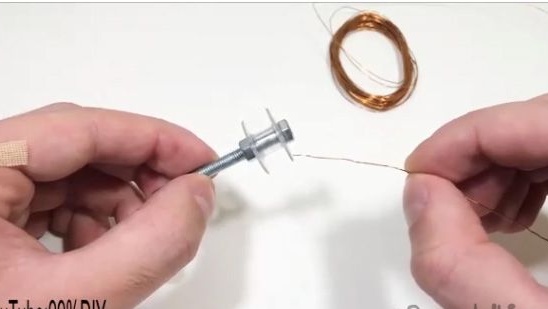
18) We will need ten meters of wire, which we wind on a reel in one direction.
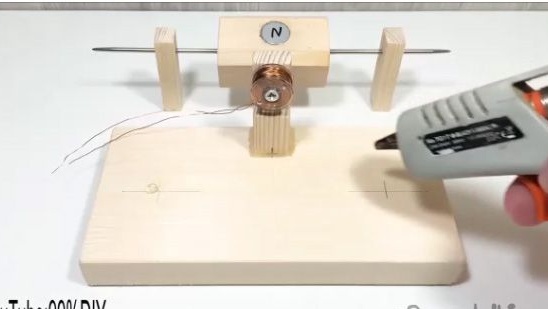
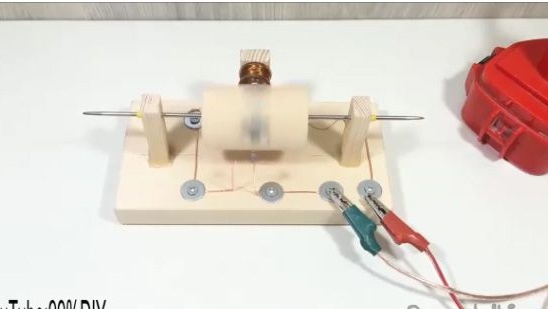
19) Next, we take a wooden block, from which it will be necessary to make a similar design, as shown in the photo below.
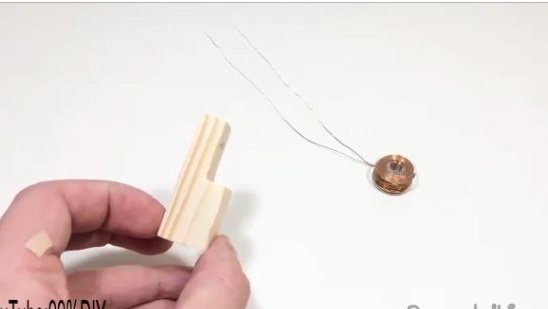
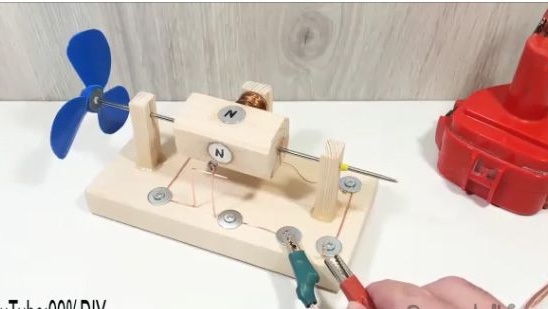
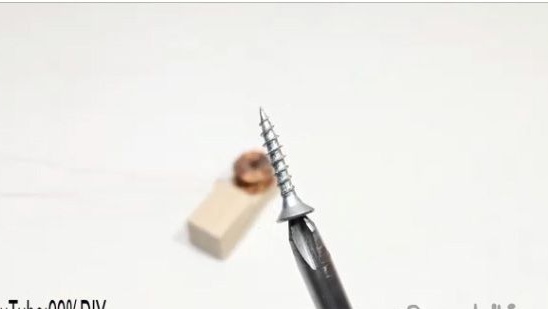
20) Next, using a screwdriver and a self-tapping screw, we fix the electromagnet to the newly made wood blank.
21) This is the kind of workpiece you should get.
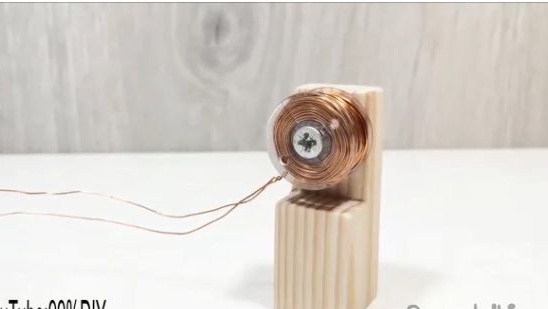
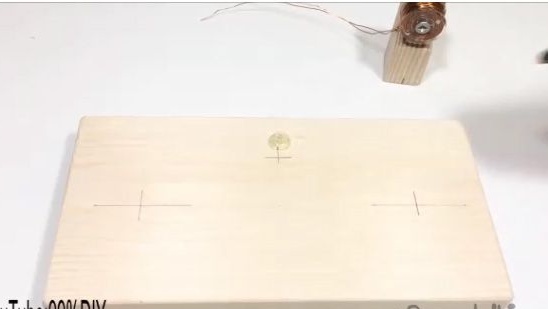
22) After which we need a wooden base.

23) We fix an electromagnet on a wooden base with a glue term.
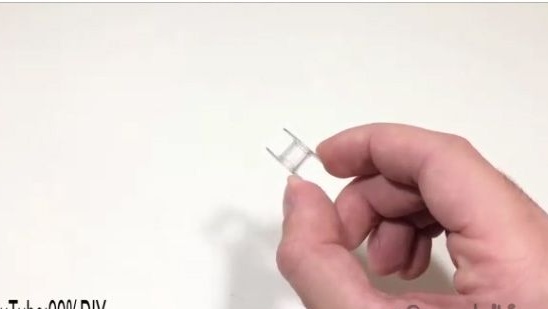
24) We will make two support posts of a similar design from the bar, such as those shown in the photo below.
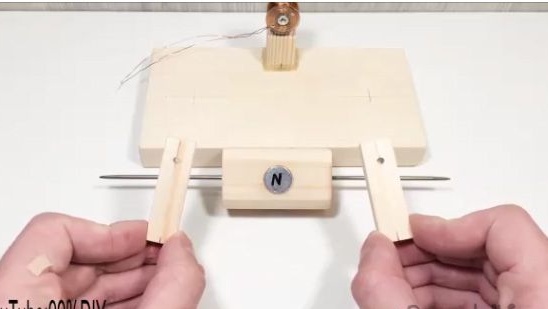
25) We install the support strut in the rotor of the engine.
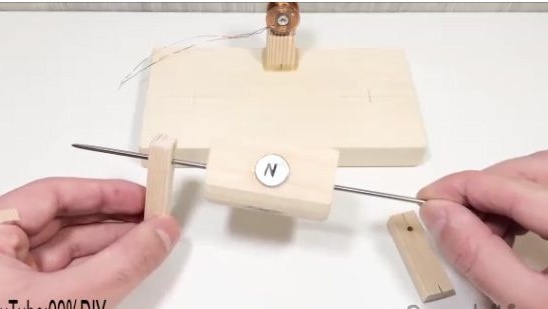
26) Using a glue term, we fix the rotor support posts on a wooden base.
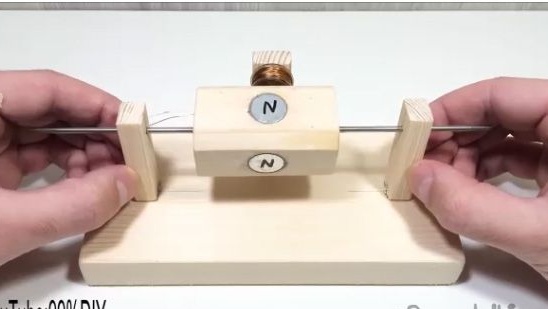
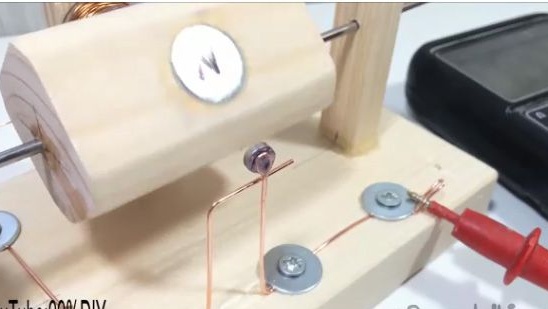
27) Note that the rotor of the electric motor should be at a small distance from the electromagnet (see photo below)
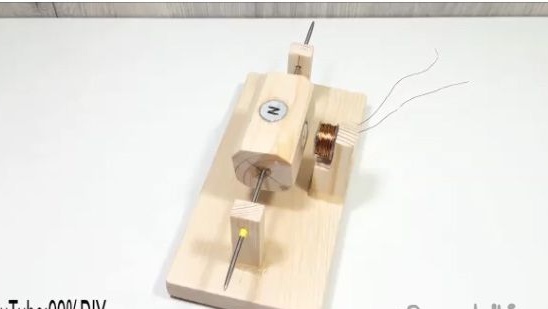
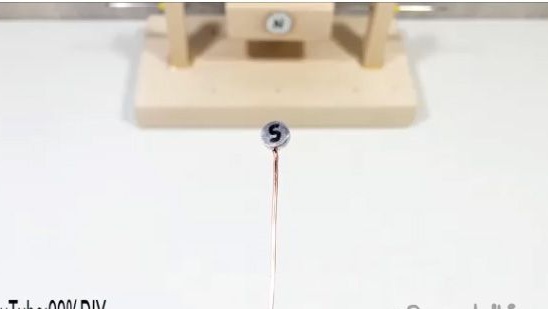
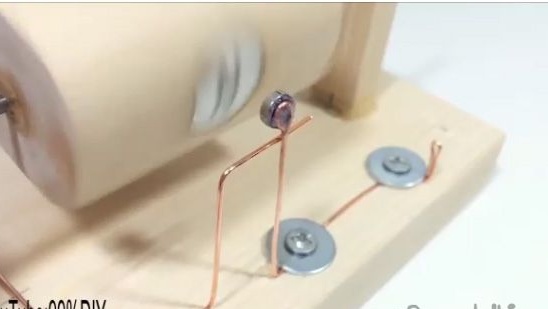
28) Then we need a small magnet.
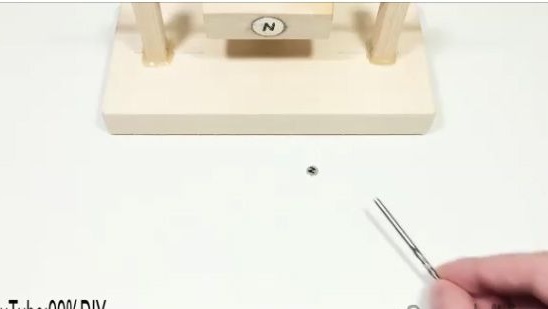
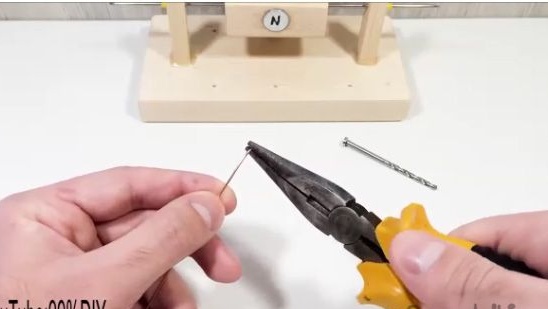
29) From a small piece of copper wire and round-nose pliers we will make an eye on which we will fix a small magnet.
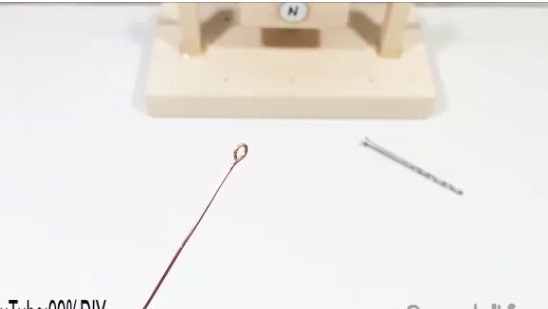
30) Glue a small magnet to the ear just made. We will glue with super glue, apply glue and, after waiting 1-2 minutes, apply a magnet and press for a minute. But you should know that you need to stick so that the magnet is not attracted to the rotor of the electric motor.

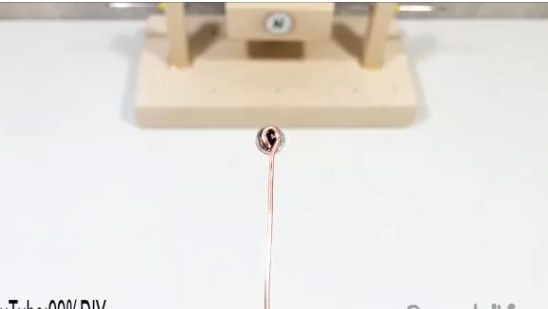
31) From the recently completed construction and using pliers, we will make the construction look like a shape like in the photo below.
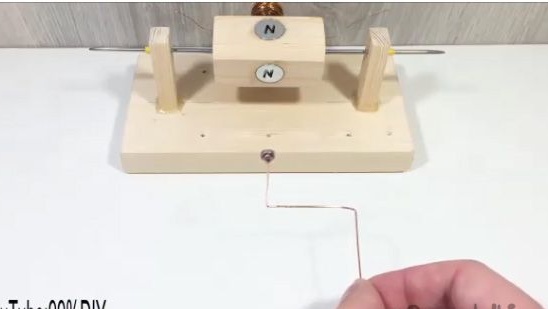
32) And fix the magnet to the wooden base on the screws with washers.

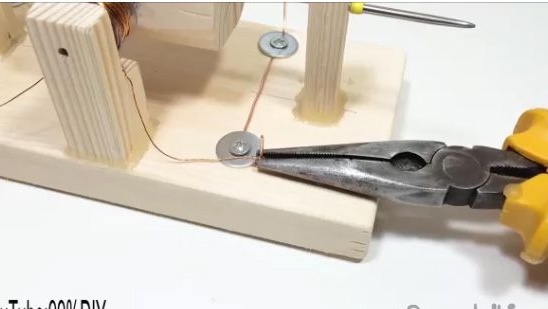
33) Take another piece of copper wire and bend the same workpiece as in the photo below.
34) We also attach the just-made blank to the wooden base using self-tapping screws. So that he closes and opens the circuit.
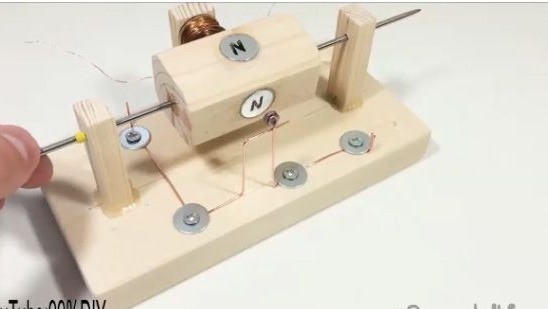
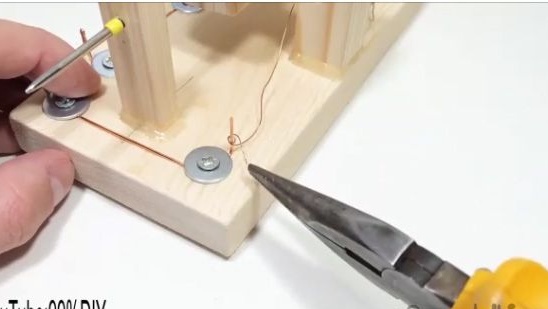
35) We clean the ends of the copper wire from the electromagnet with a clerical knife.
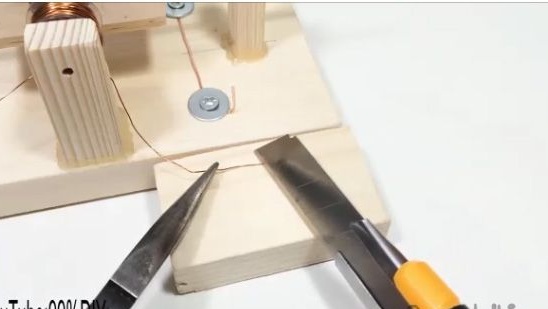
36) And we connect them with the ends, which are fixed on a wooden base.
37) Done!
Test and conclusion.
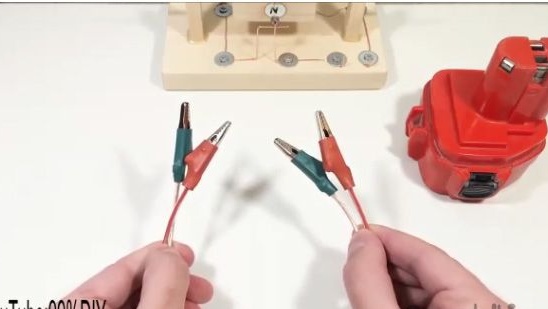
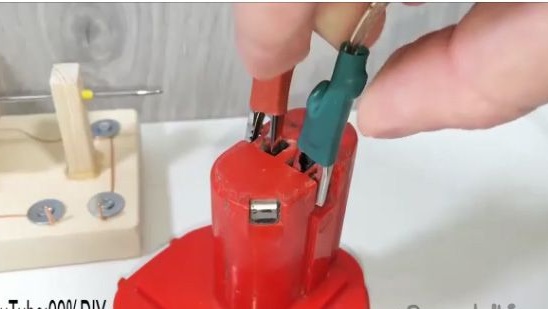
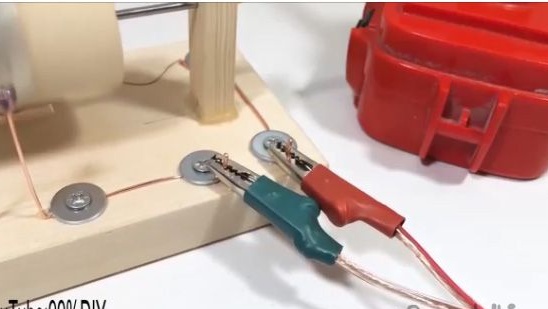
We connect the electric motor to power and enjoy it, work it. Thank you for your attention and I hope that this article was not useless for you.