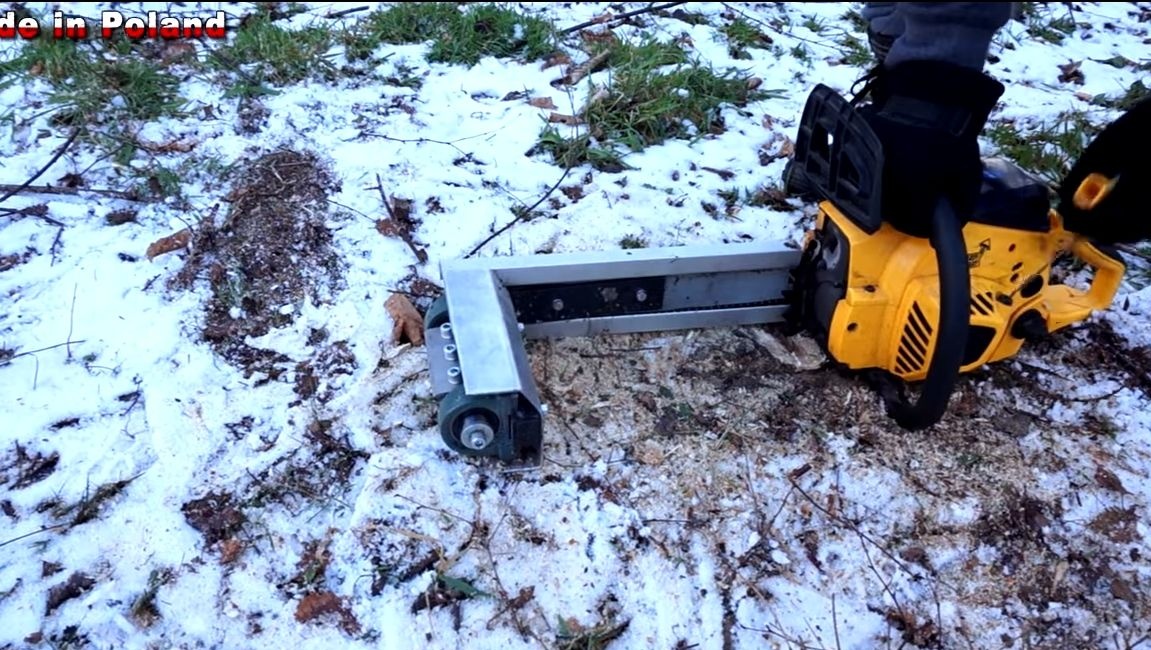

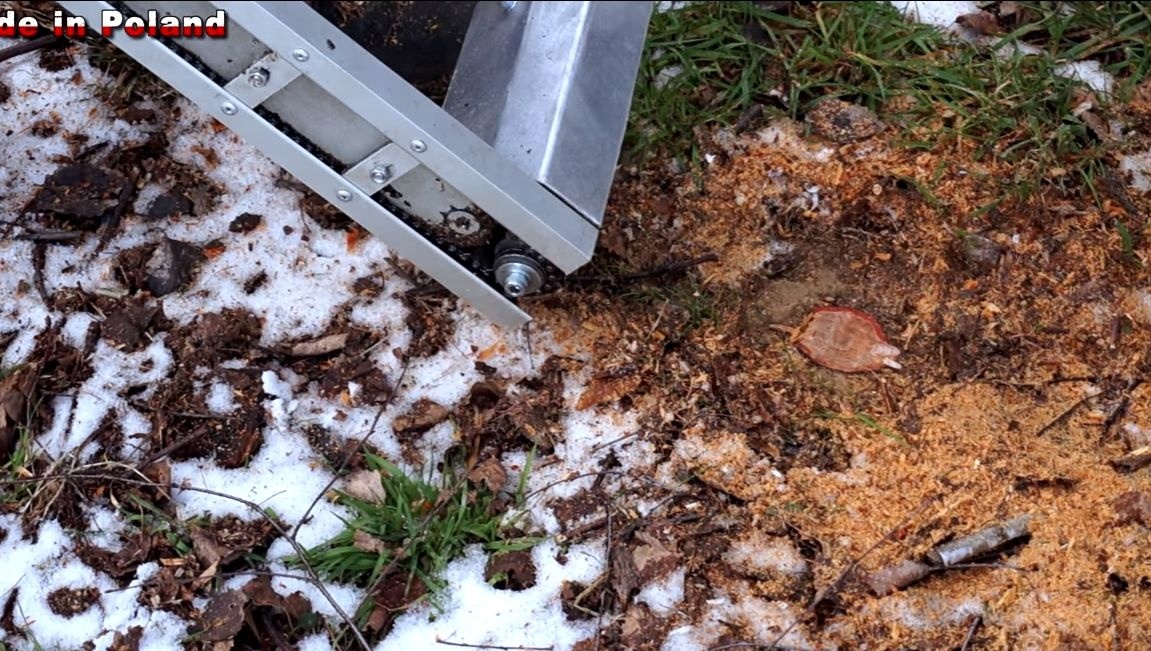


Expand the capabilities of your chainsaw, turn it into a planing machine! This will be a very useful thing during construction work, for example, due to such adaptation you can easily clean the bark from the columns for their further use. In addition, with this installation, you can make various grooves in the tree, sharpen the columns, clean from various contaminants, and so on.
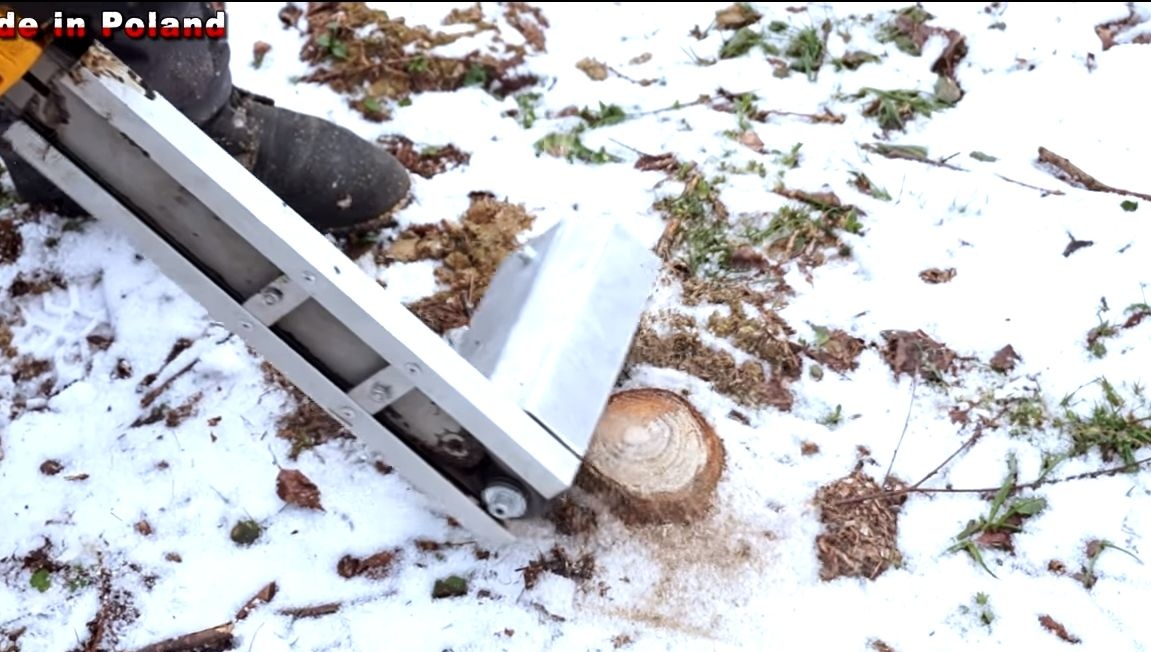
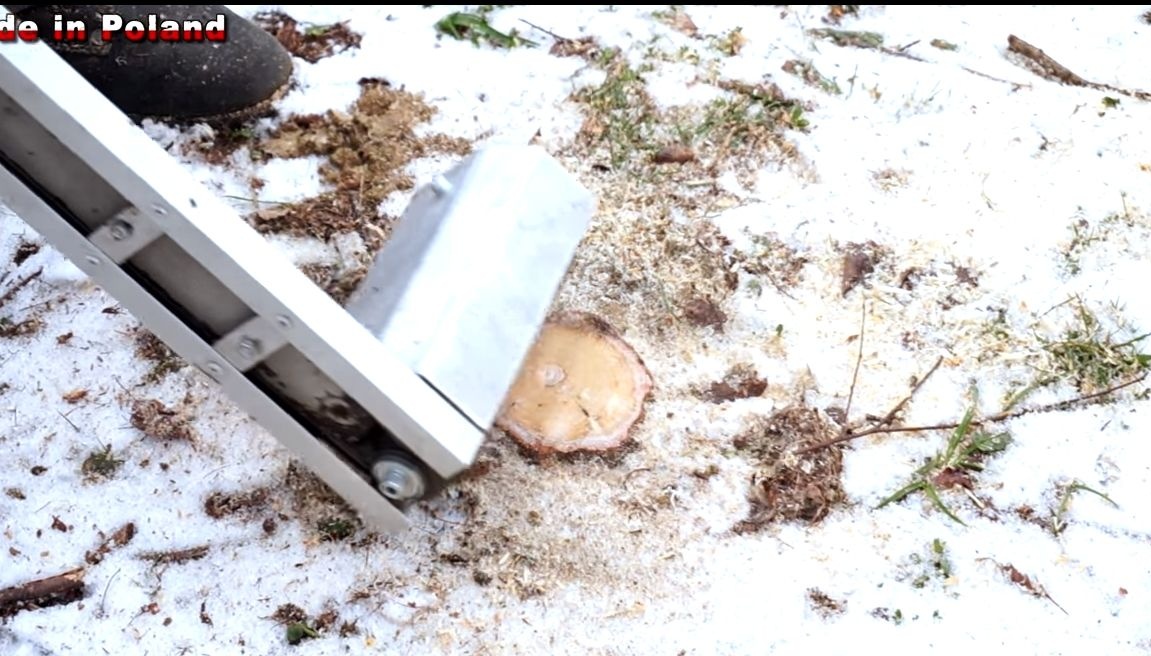
The author successfully uses the device to eliminate hemp sticking out from the ground that interfere with walking. Now you do not need to drive the tire of the chainsaw into the ground to get rid of the evil stump.
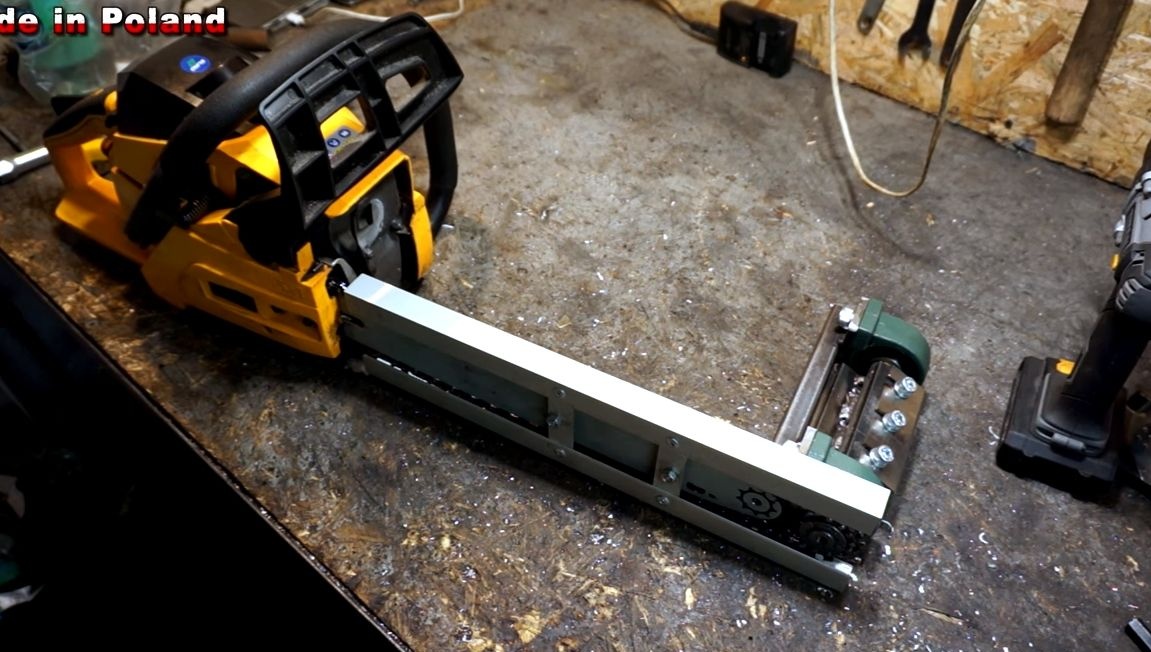
The design of the machine is very simple, but you need to bribe something, the heart of the machine is a shaft, bearings, and also strong, razor-sharp blades made of high-carbon steel. Structurally, your chainsaw will not change in any way, the old tire is simply installed on it, on which the installation is mounted.
Materials and tools that the author used for homemade:
Material List:
- An old tire from a chainsaw (without an asterisk);
- chain from a chainsaw (you can even stupid);
- Another asterisk of the same step as on the chainsaw;
- axis and two bearings with brackets;
- steel plates;
- knives;
- a piece of steel square pipe;
- sheet aluminum or thin steel;
- screws, bolts, nuts and other small things.
Tool List:
- drilling machine;
-
- tap;
-
- marker, ruler;
- vise;
- clamps;
- (or inverter);
- magnetic welding square;
- rivet gun;
- grease for bearings.
Homemade manufacturing process:
Step one. We are preparing a chainsaw
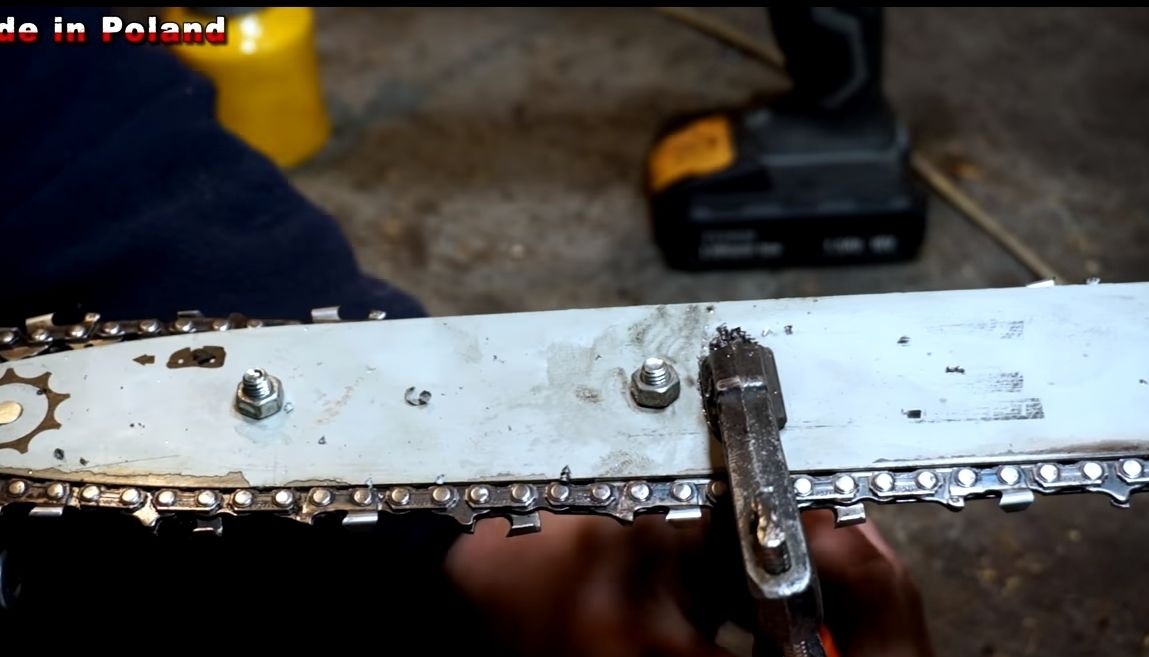
First of all, you will need to find an old tire from a chainsaw. It doesn’t matter what step the chain will be designed for and in general whether it will have an asterisk. The main thing is that this tire is short, that is, when installing it, there should be a large supply of chain.
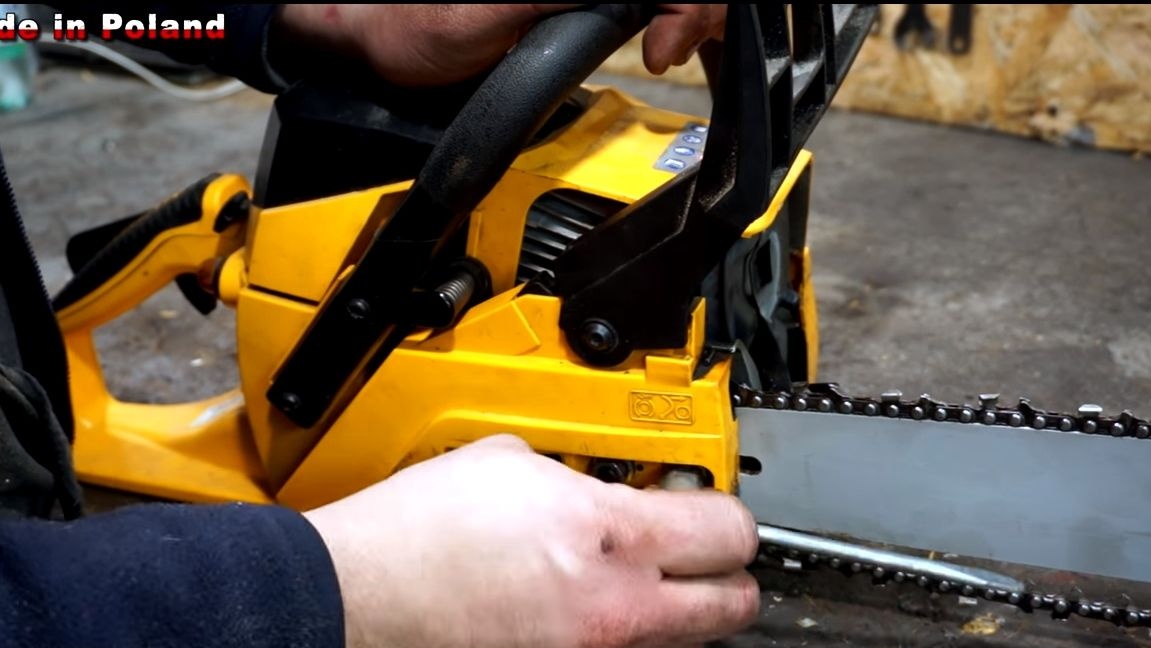
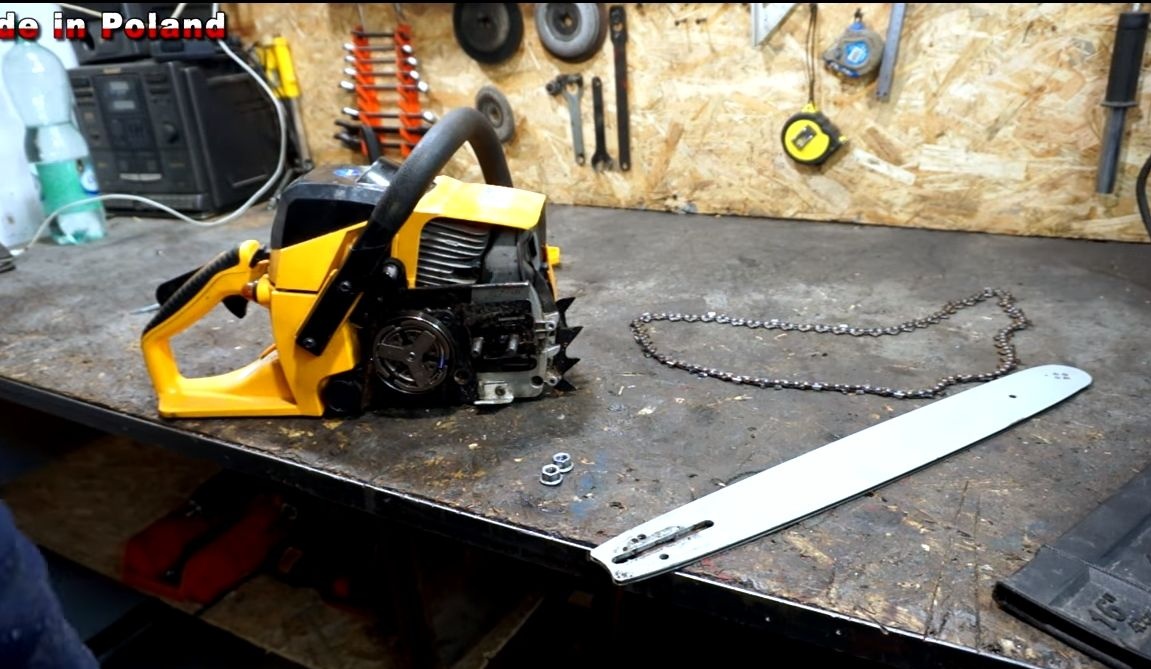
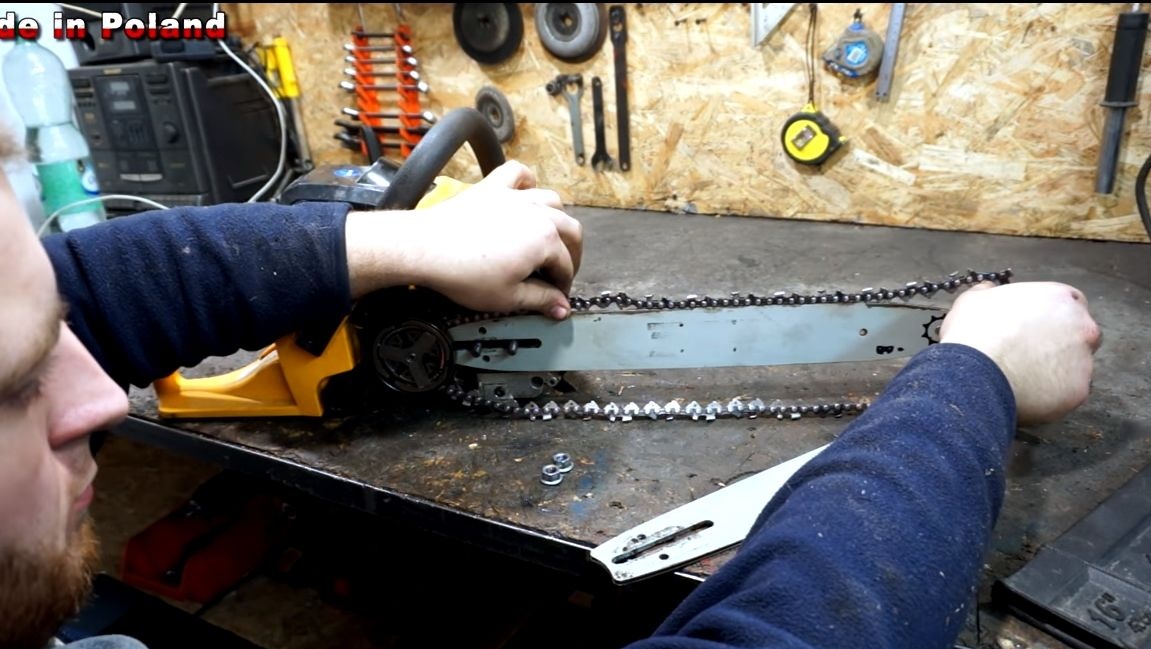
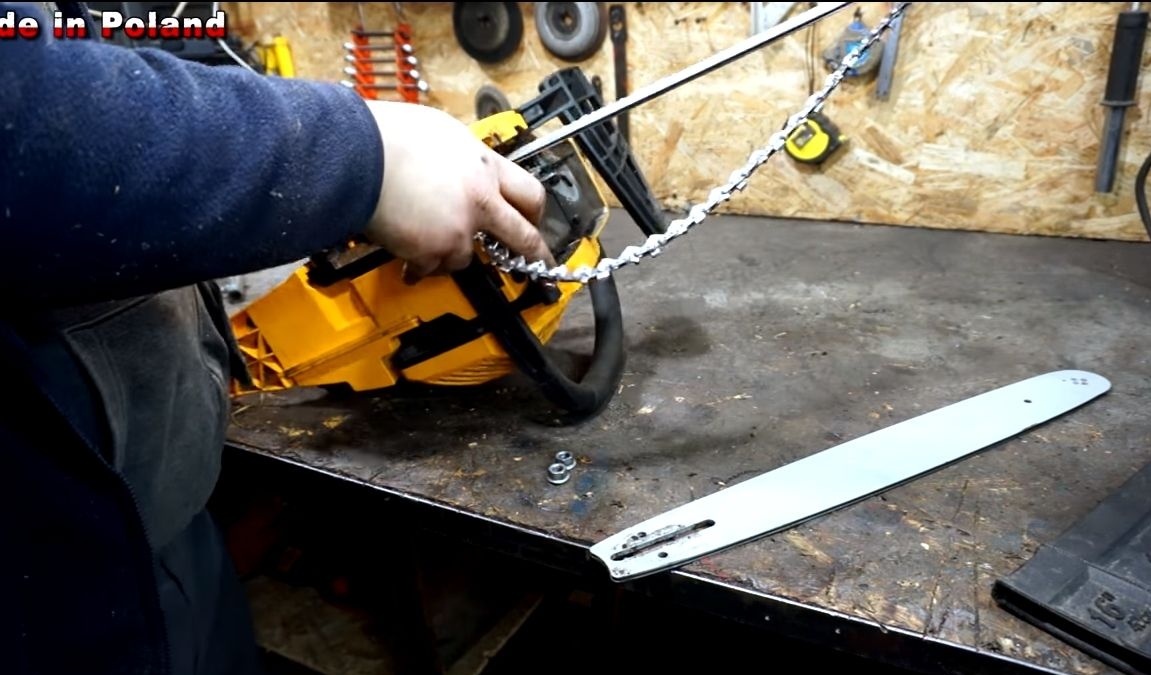
The author removes the native long tire and puts a short one in its place. You can also put the old chain, we are not at all interested in its cutting characteristics. But the chain pitch must match the sprocket.
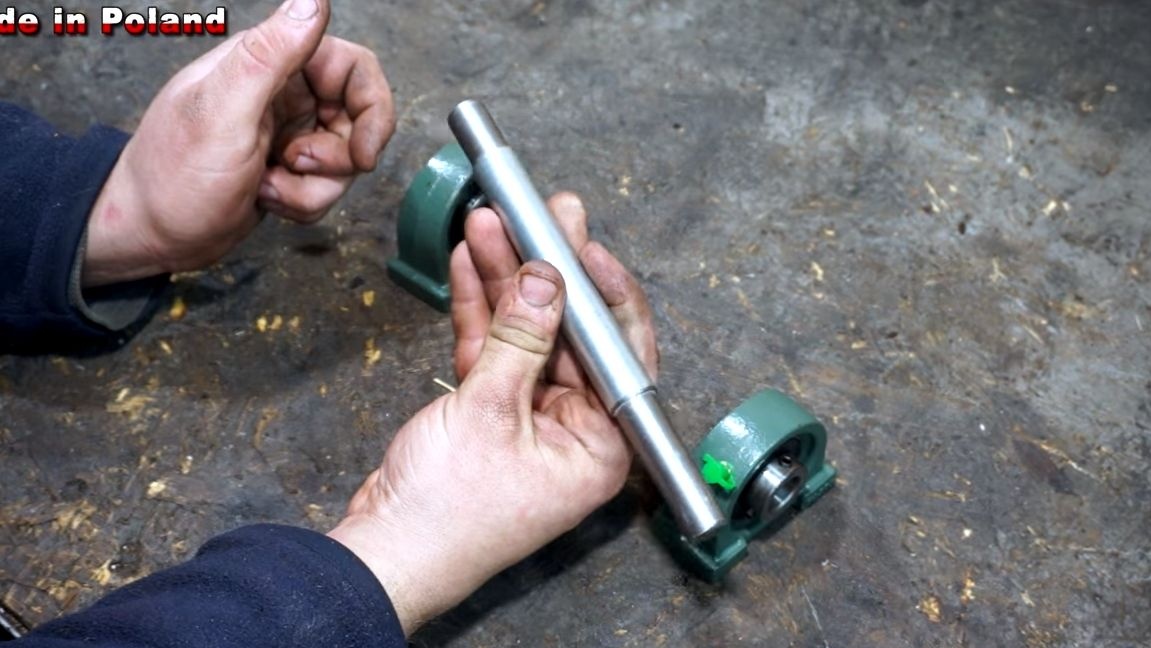
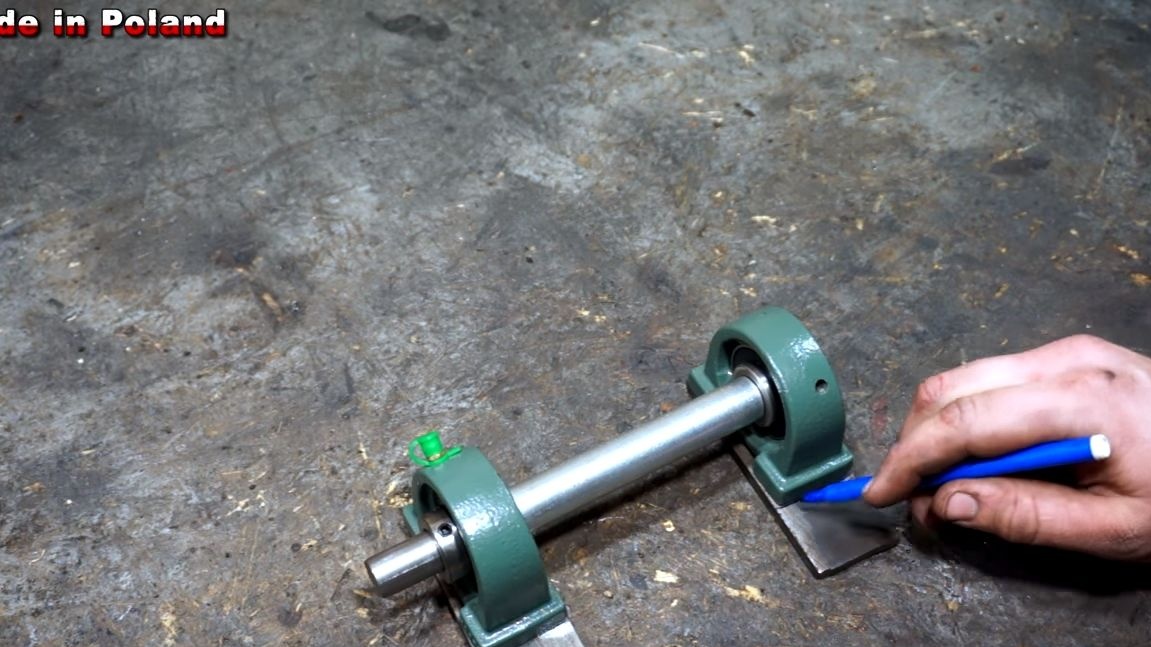
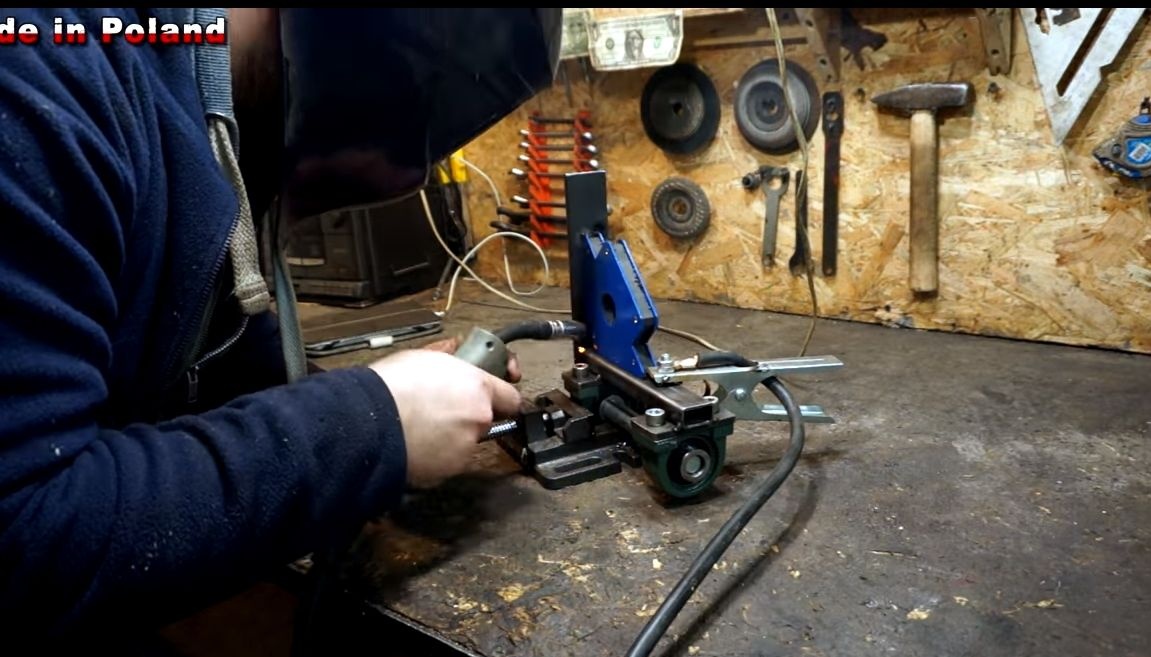
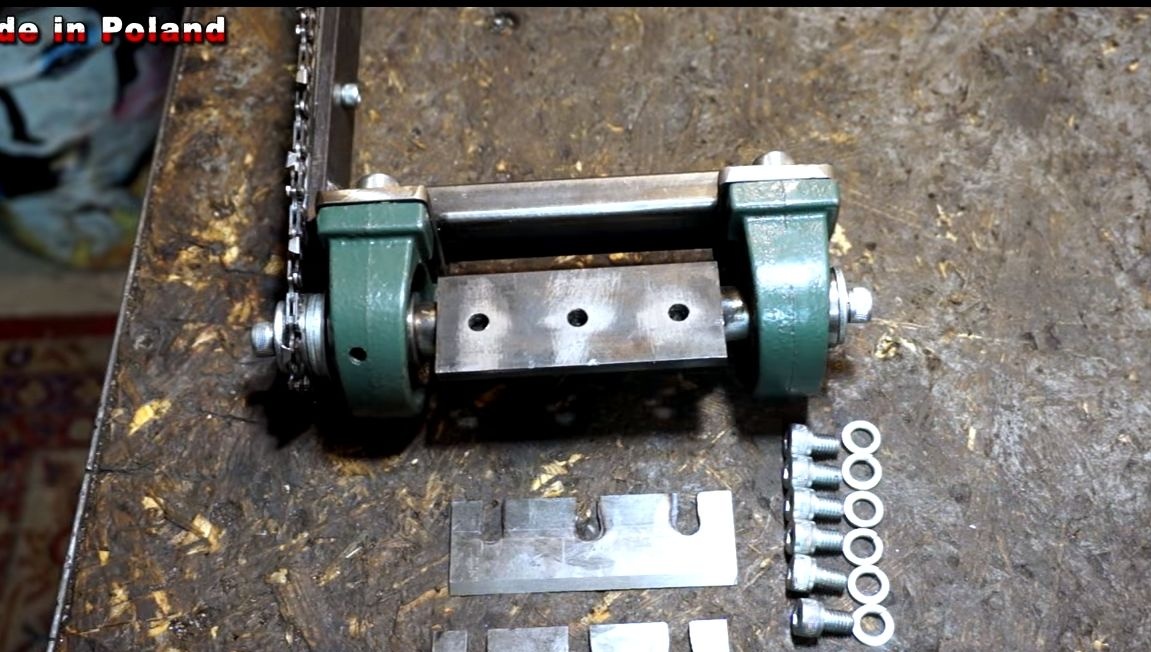
Step Two We prepare bearings and axle
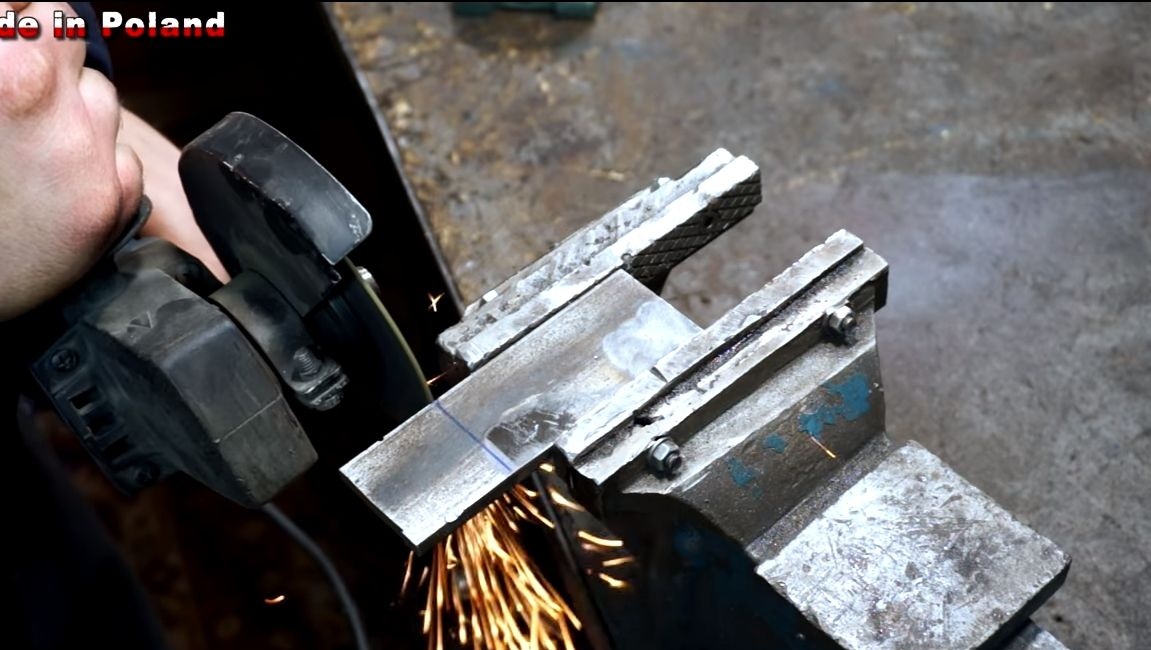
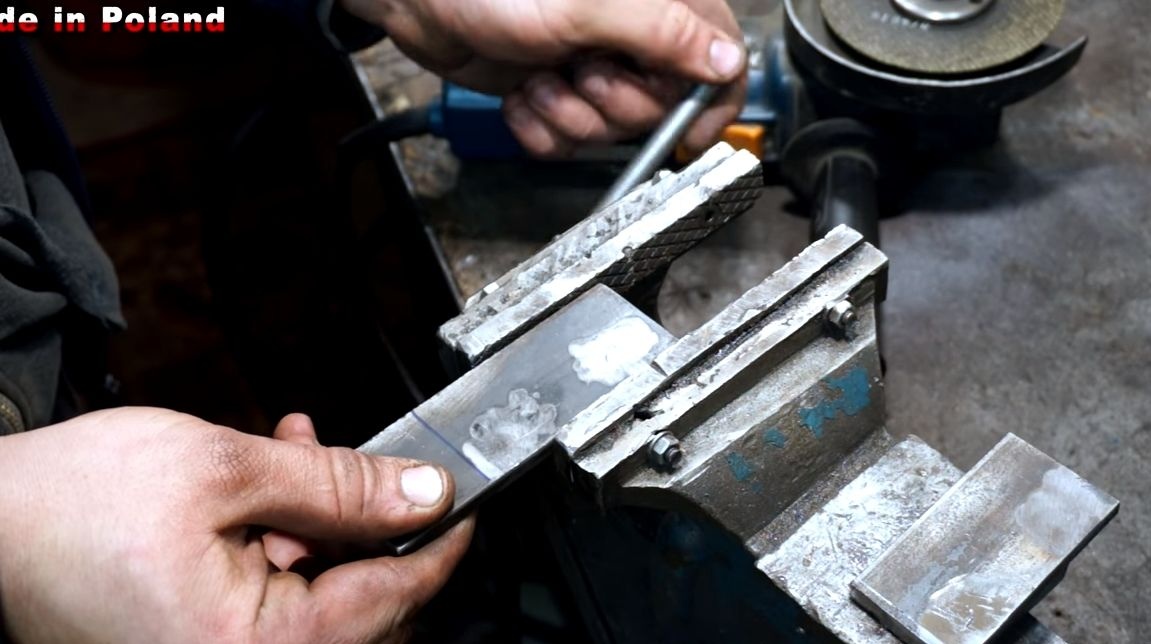
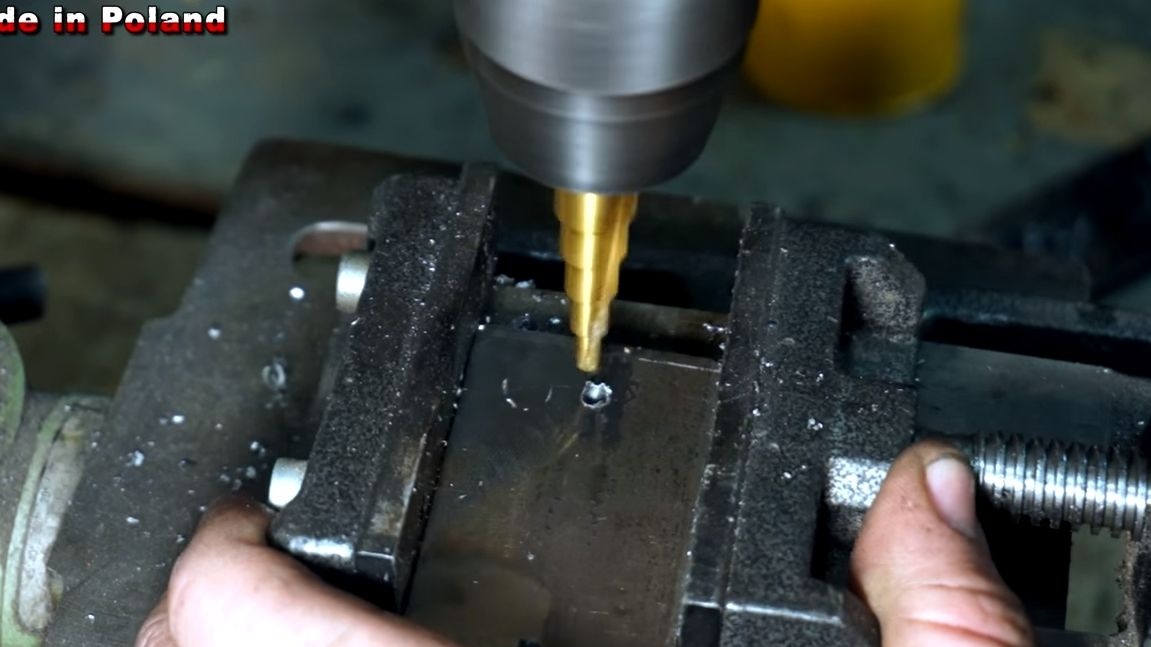
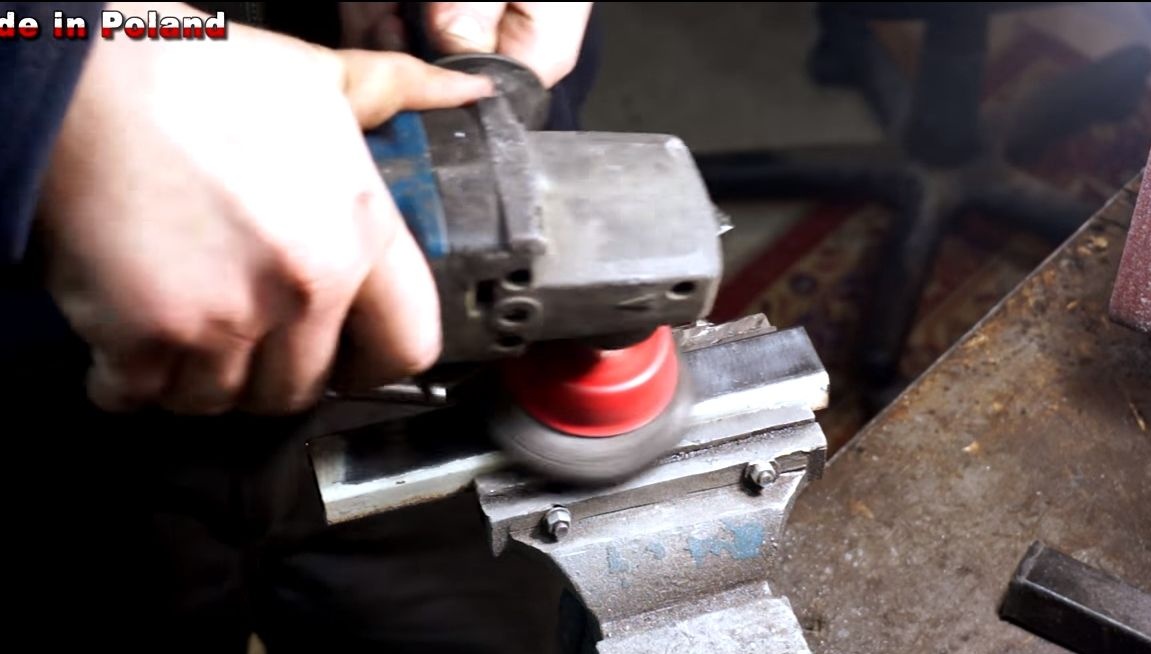
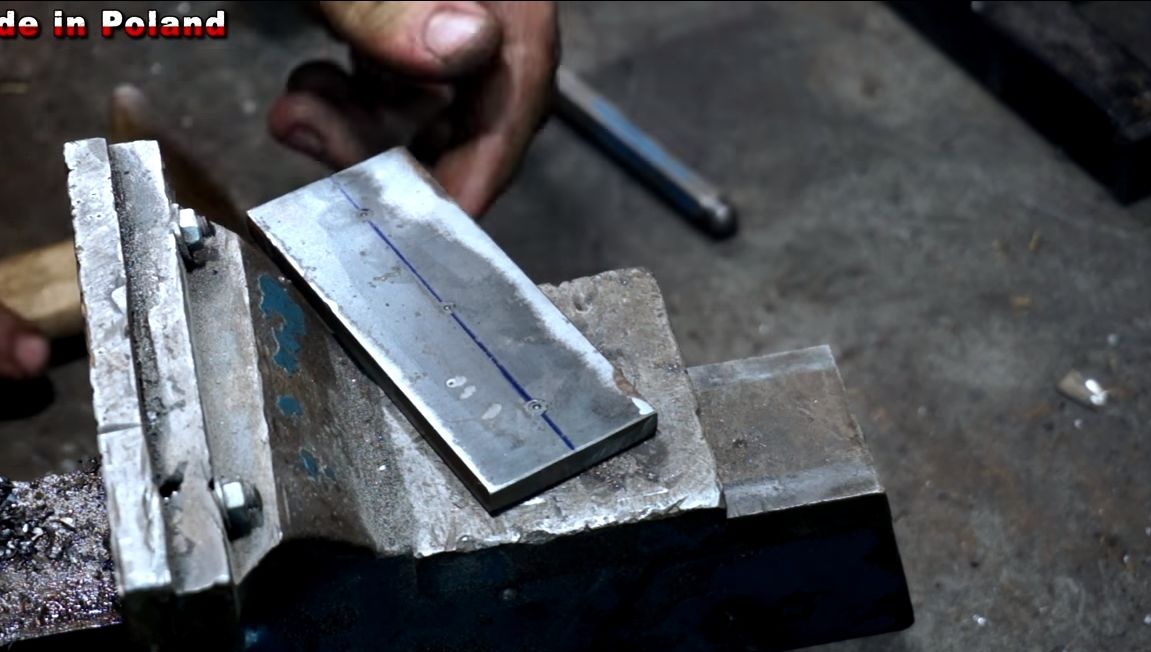
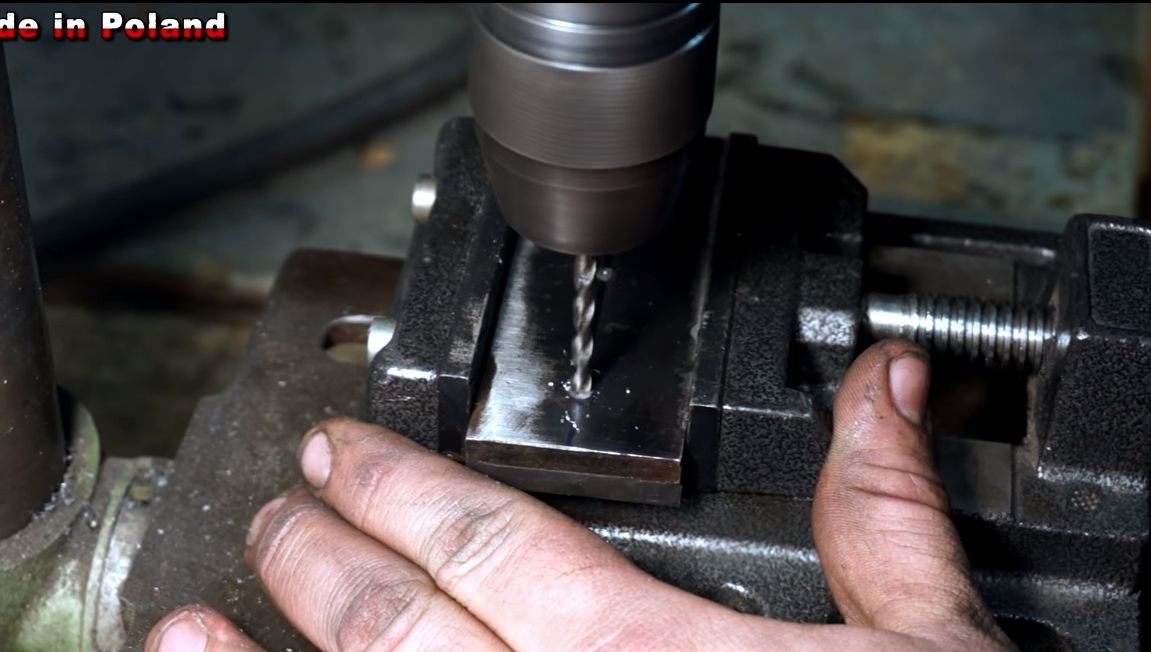
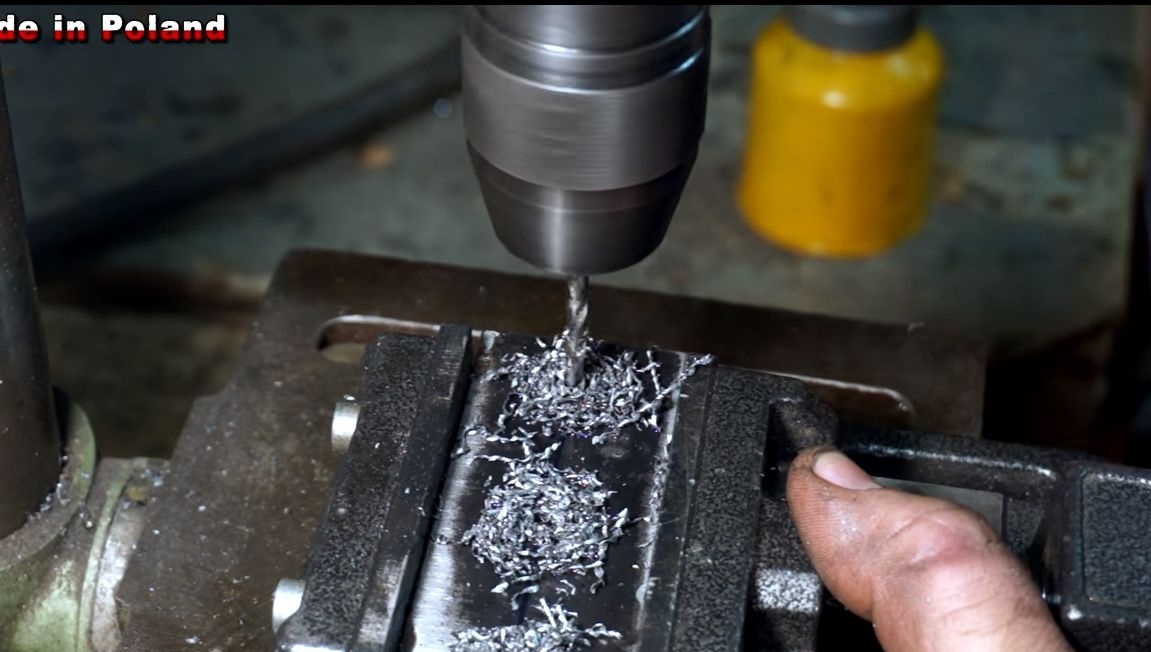
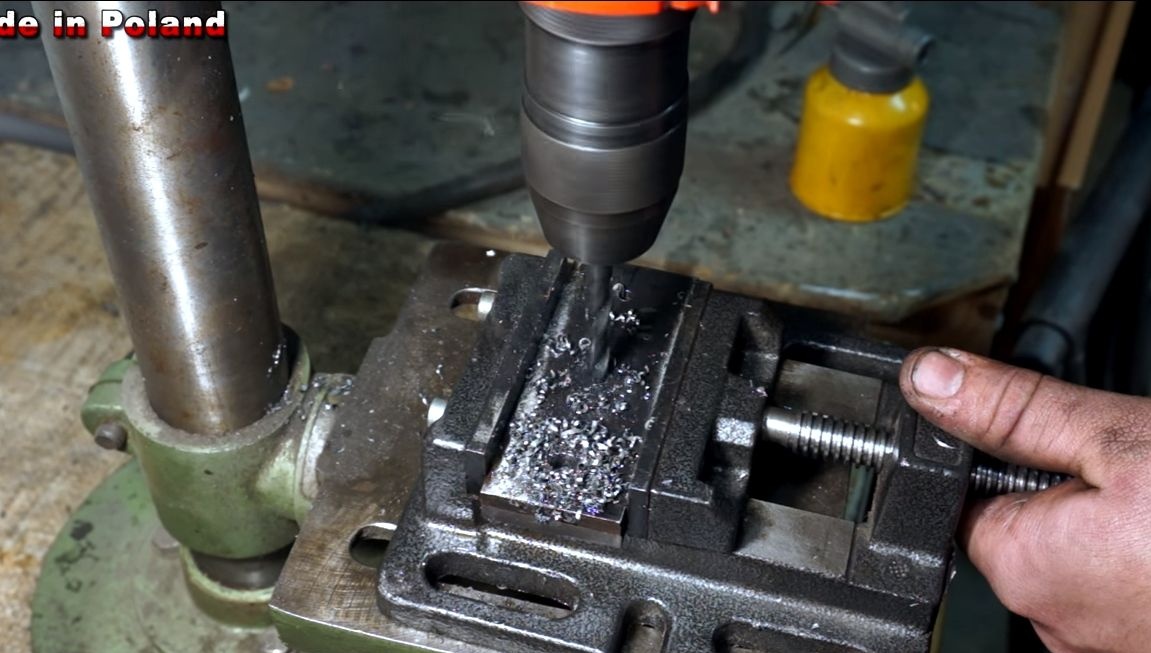
For homework you will need two bearings and the corresponding axis. To attach the bearings, you will need two pieces of a steel plate. Cut off the desired size and drill holes. The diameter of the holes is drilled depending on the thickness of the screws used. Always use oil when drilling or tapping.
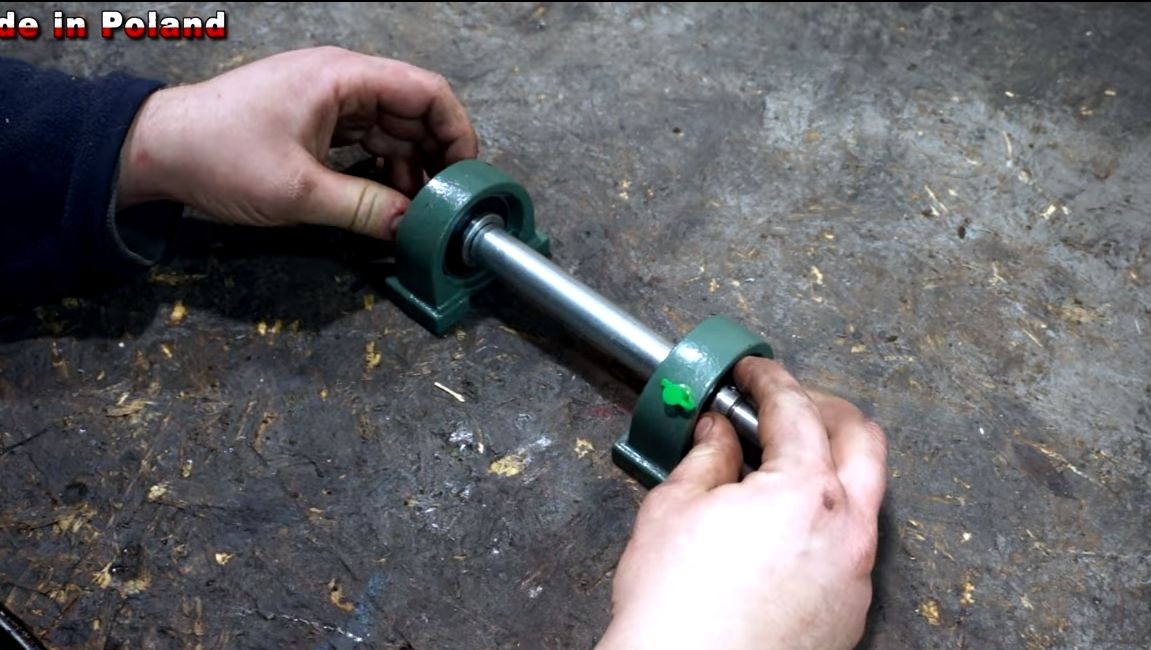

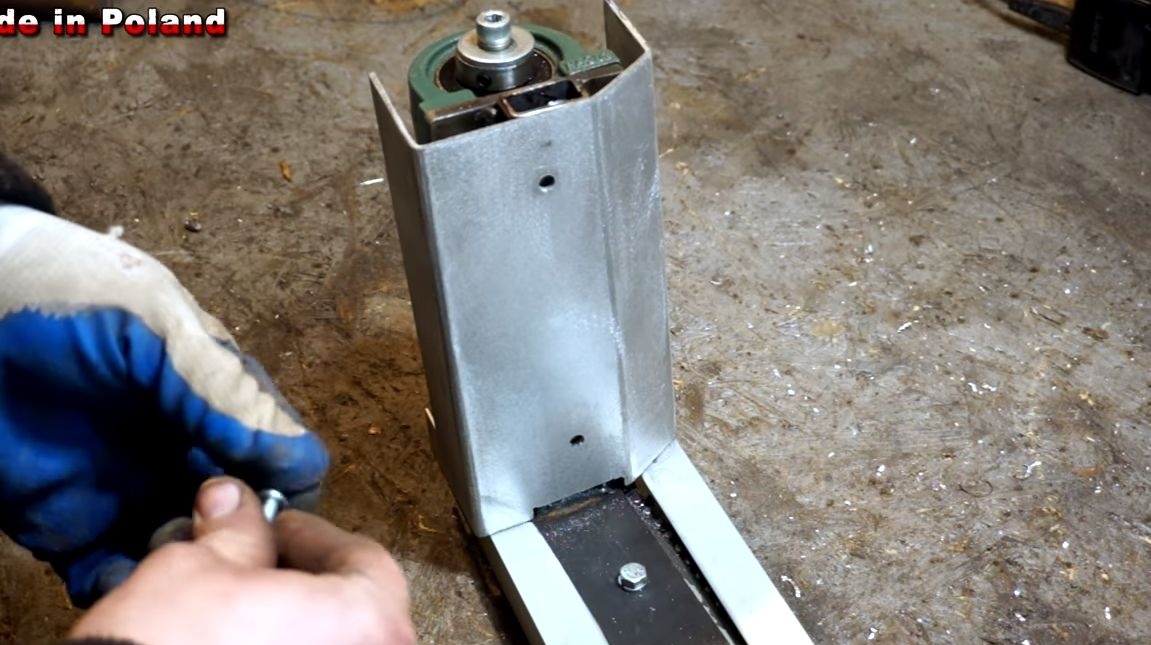
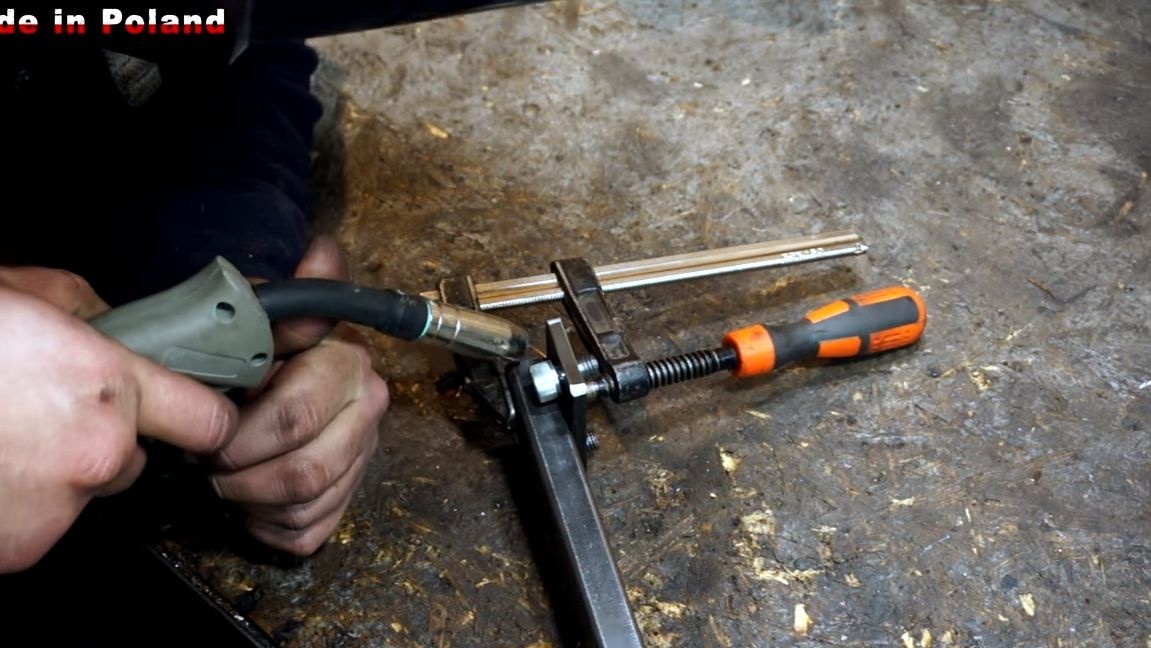
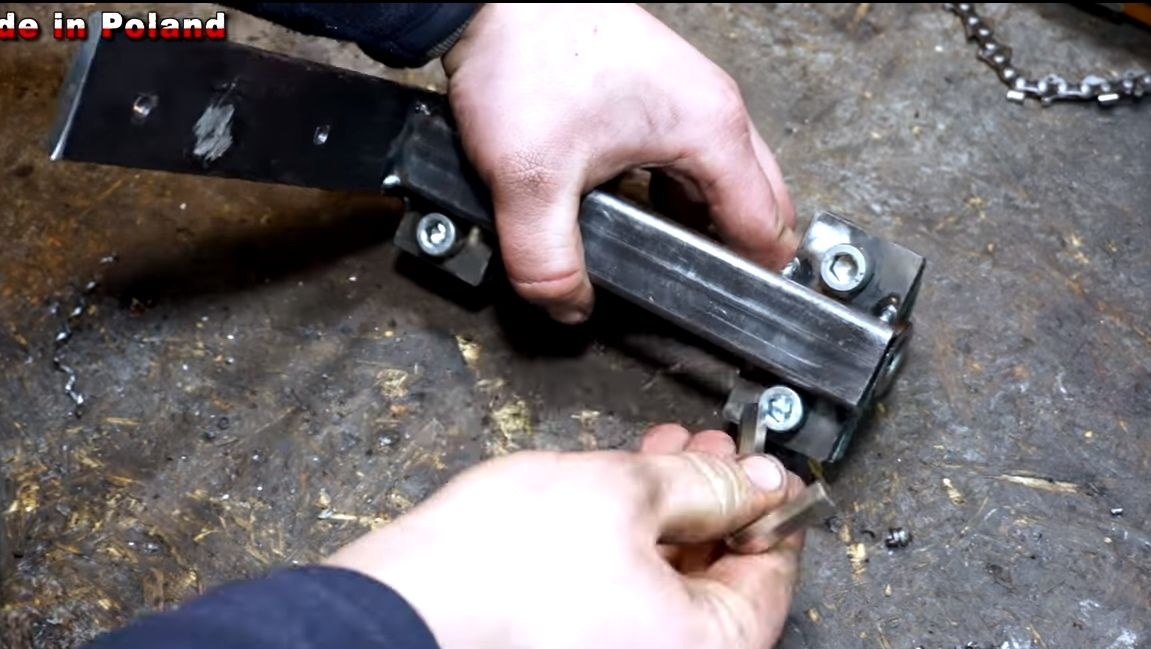
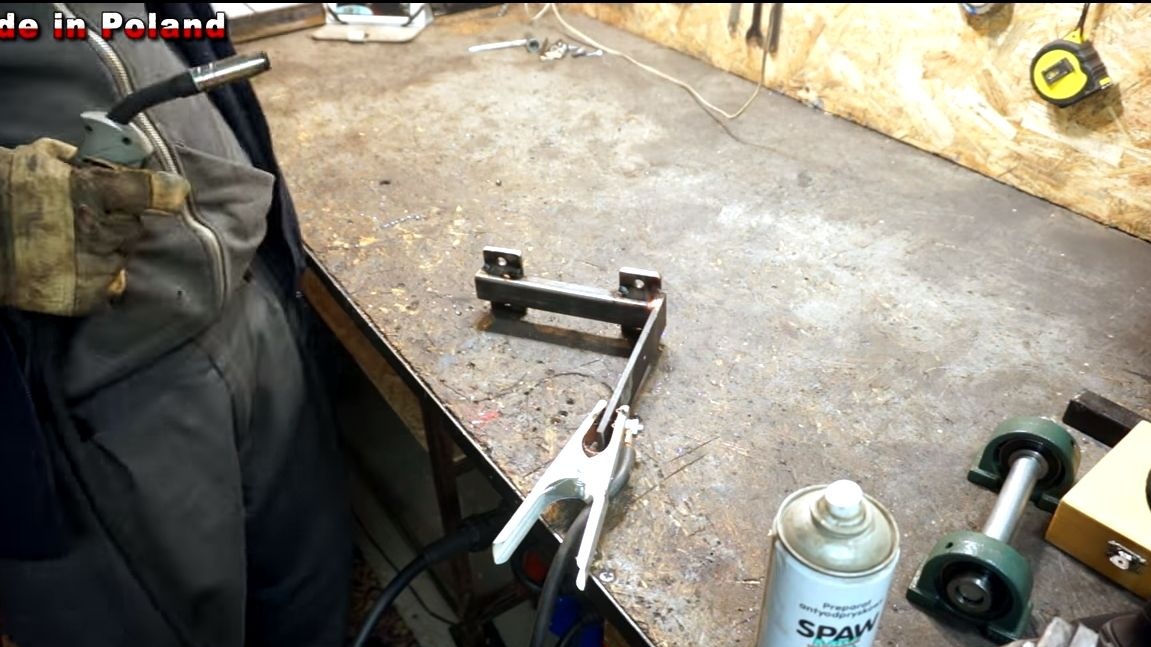
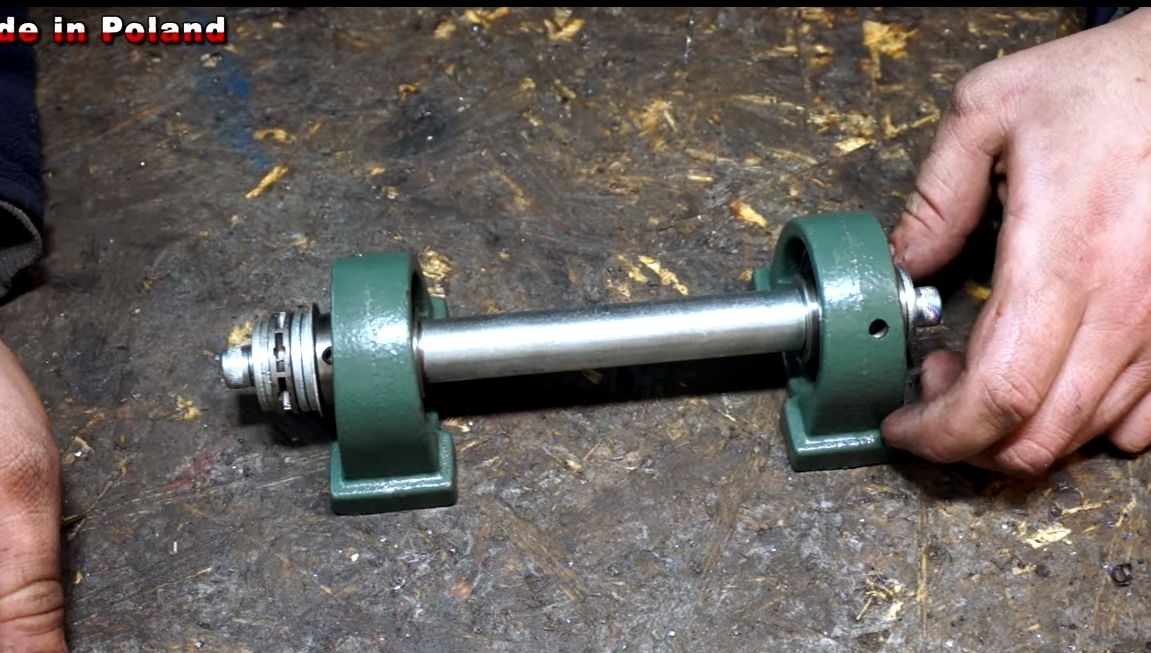
Step ThreeWe weld the device frame
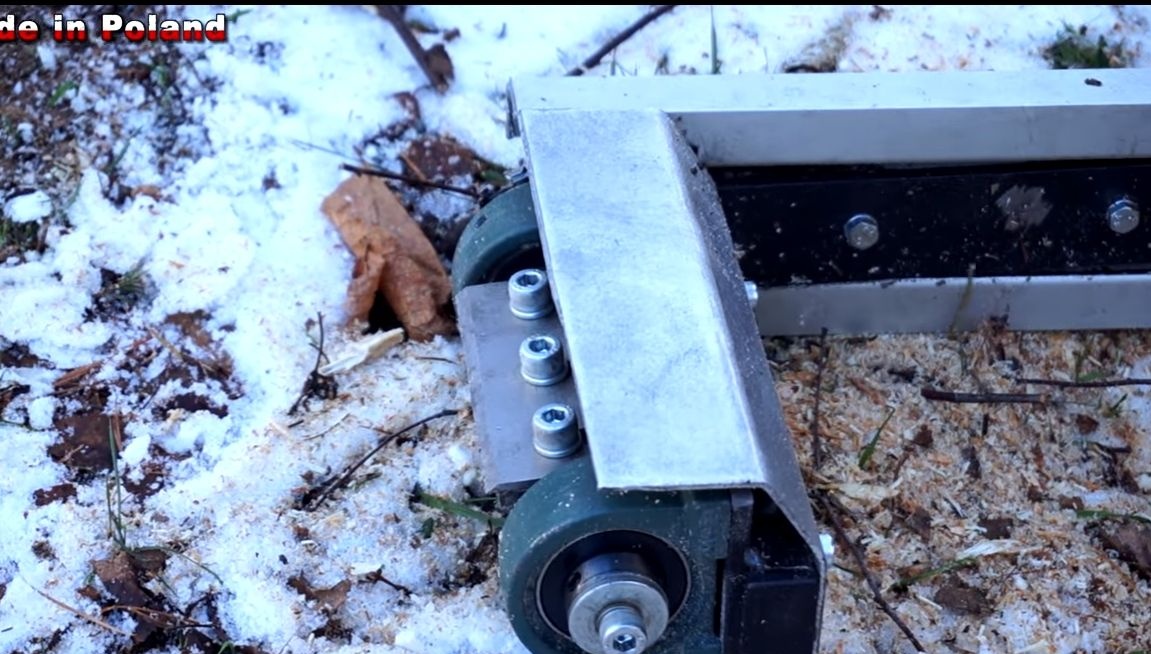
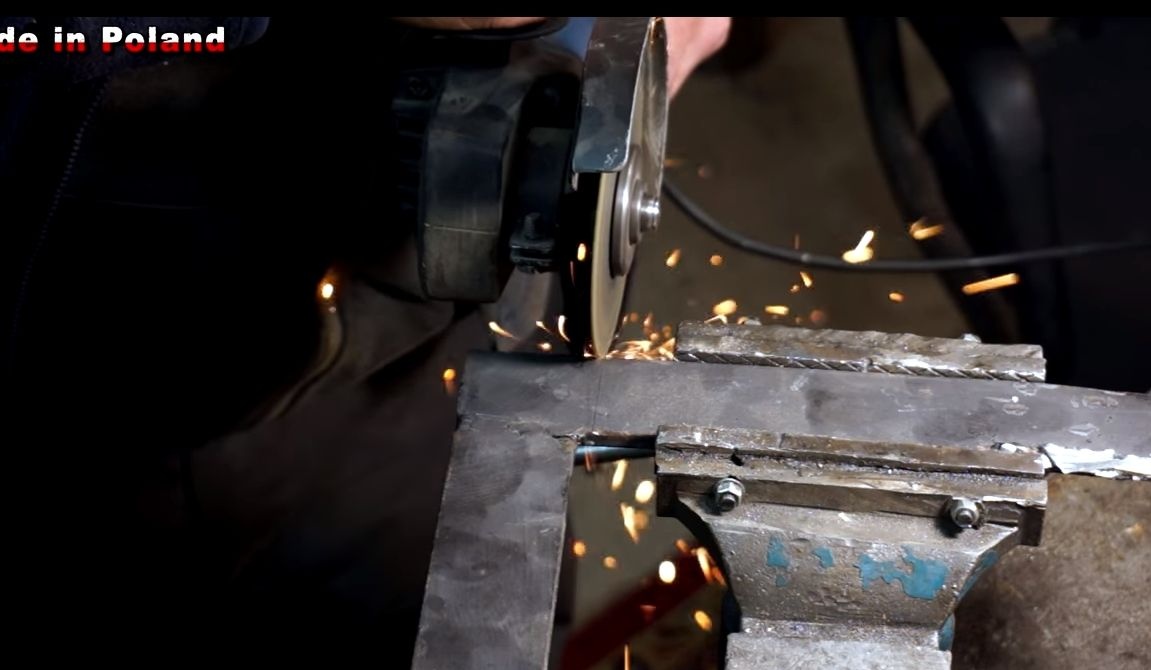
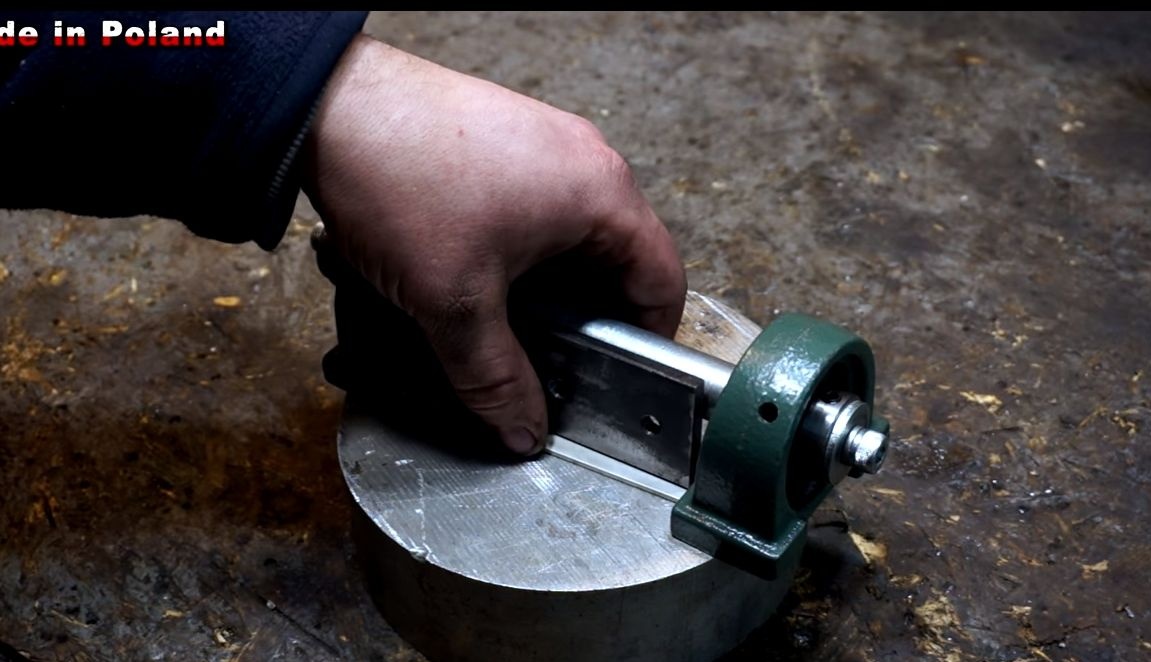
Of course, the frame is said loudly, we just need to connect the two bearings. Cut a piece of square steel pipe and clean the metal from paint and rust. Weld previously mounted bearing plates to the edges of the pipe. First, grab them directly on the bearings, and then unscrew and boil them well on all sides.
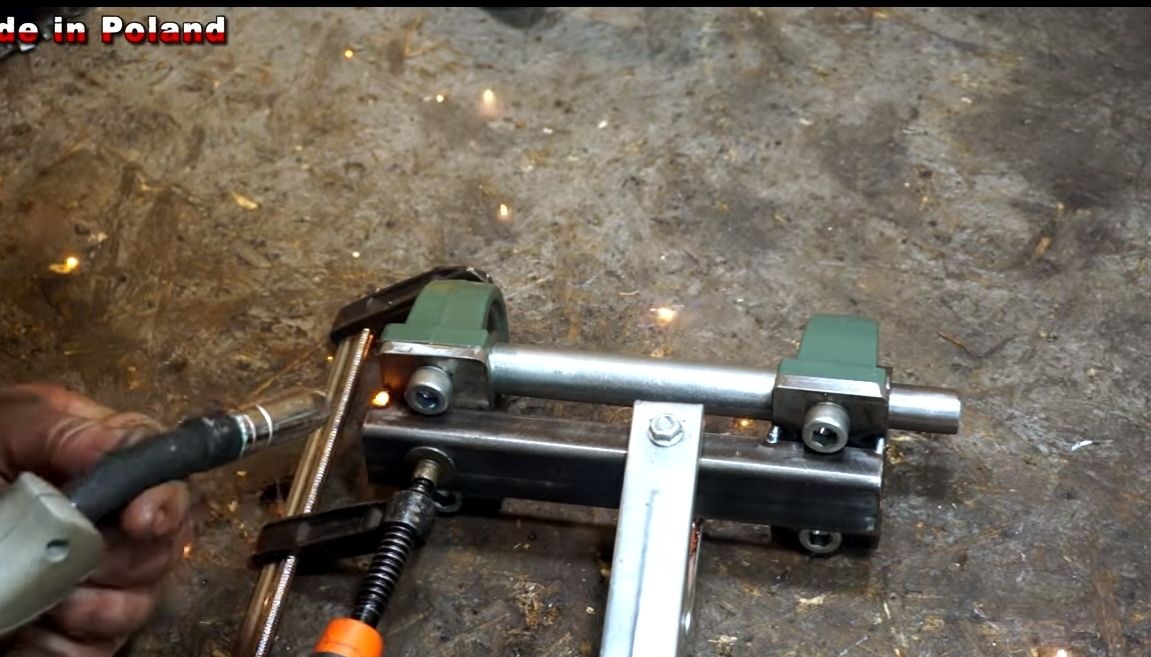
You will also need to make a mounting plate, with which the device is attached to the tire chainsaw. Cut off a piece of steel plate and weld it at right angles to a square pipe.
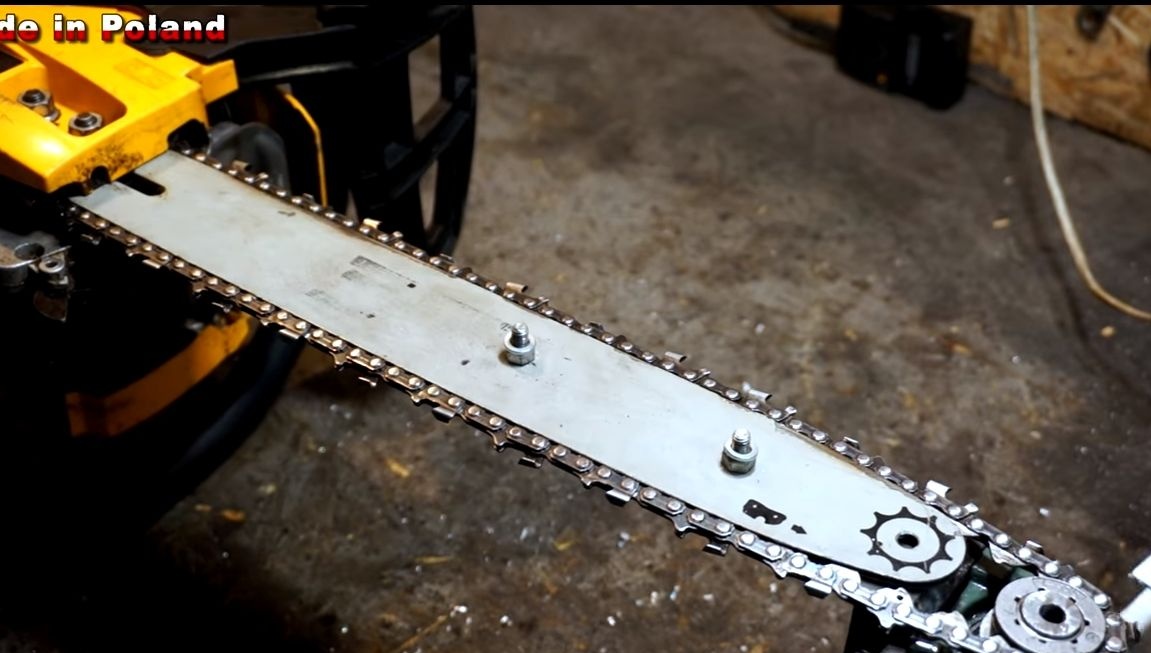
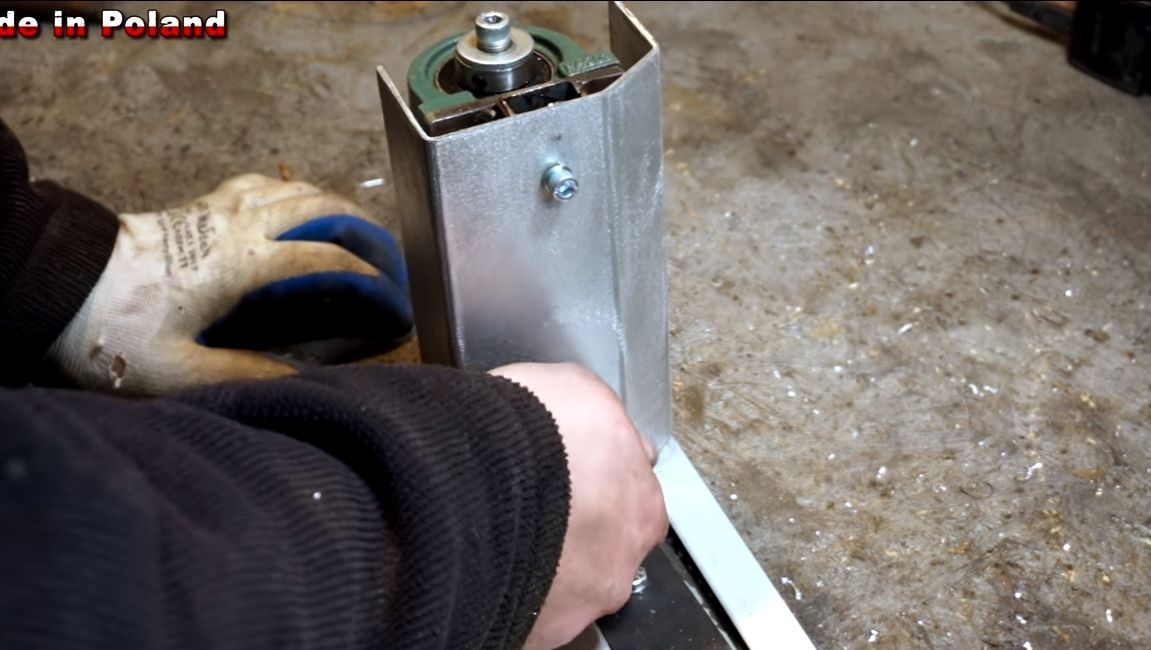
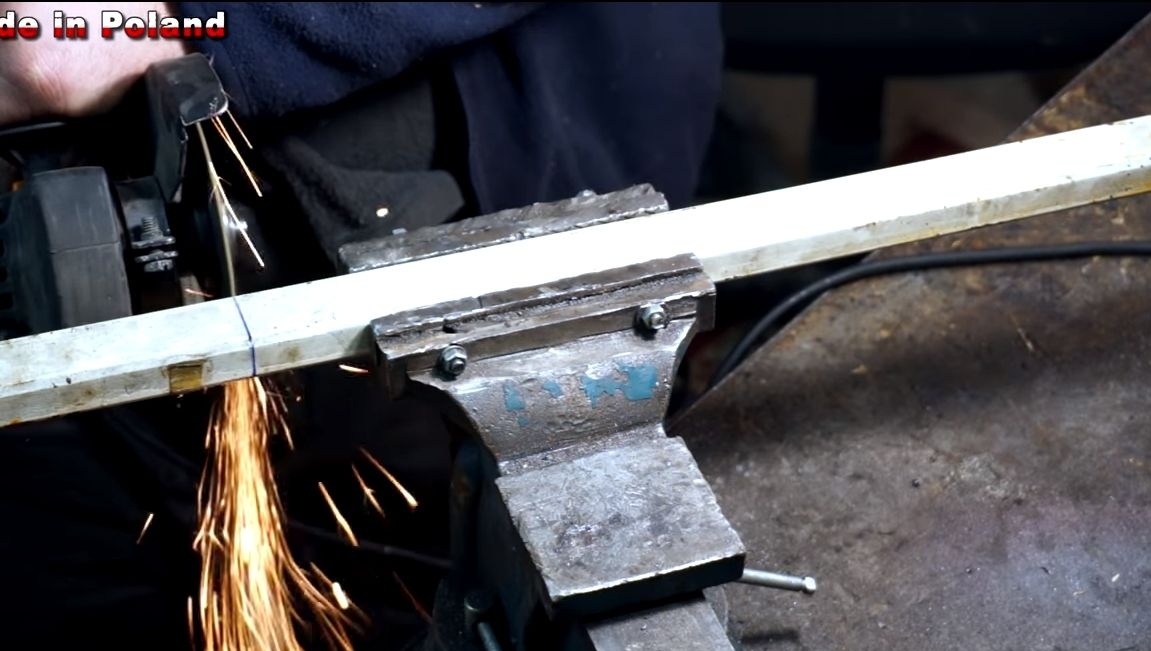
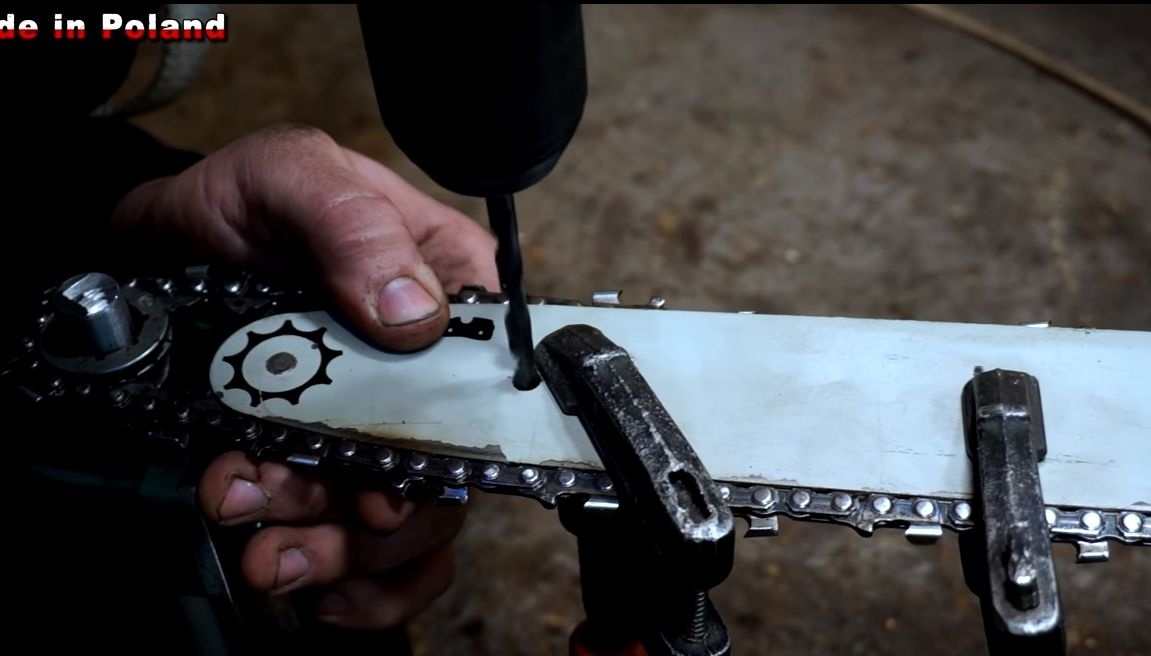
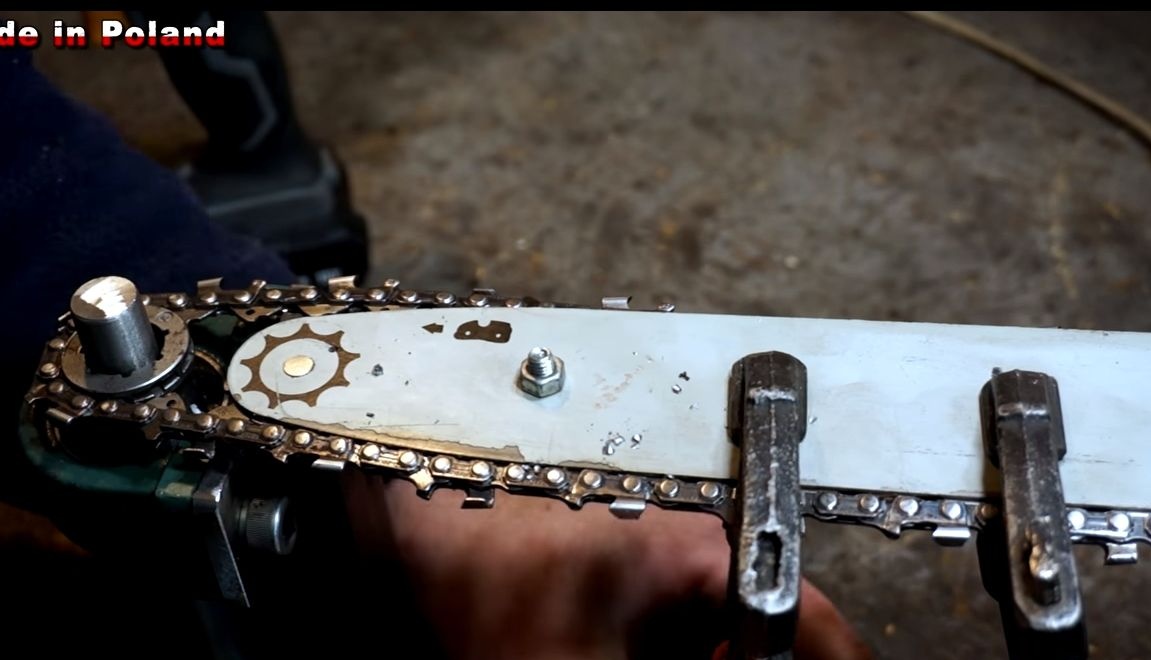
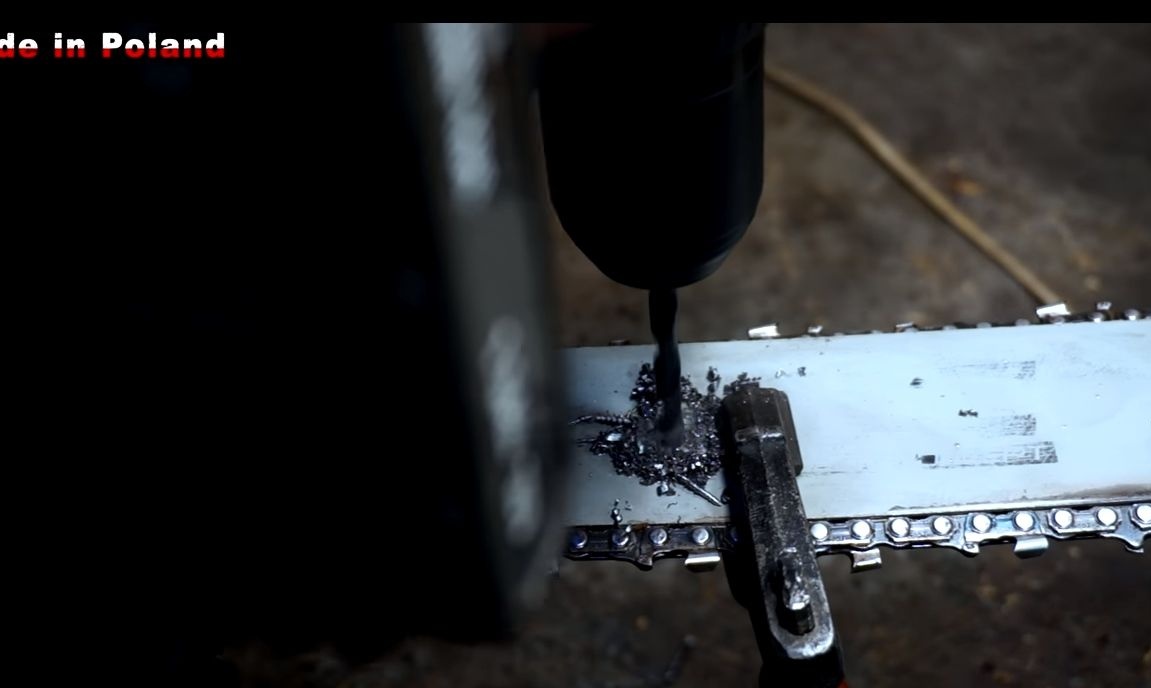
Step Four Tire preparation
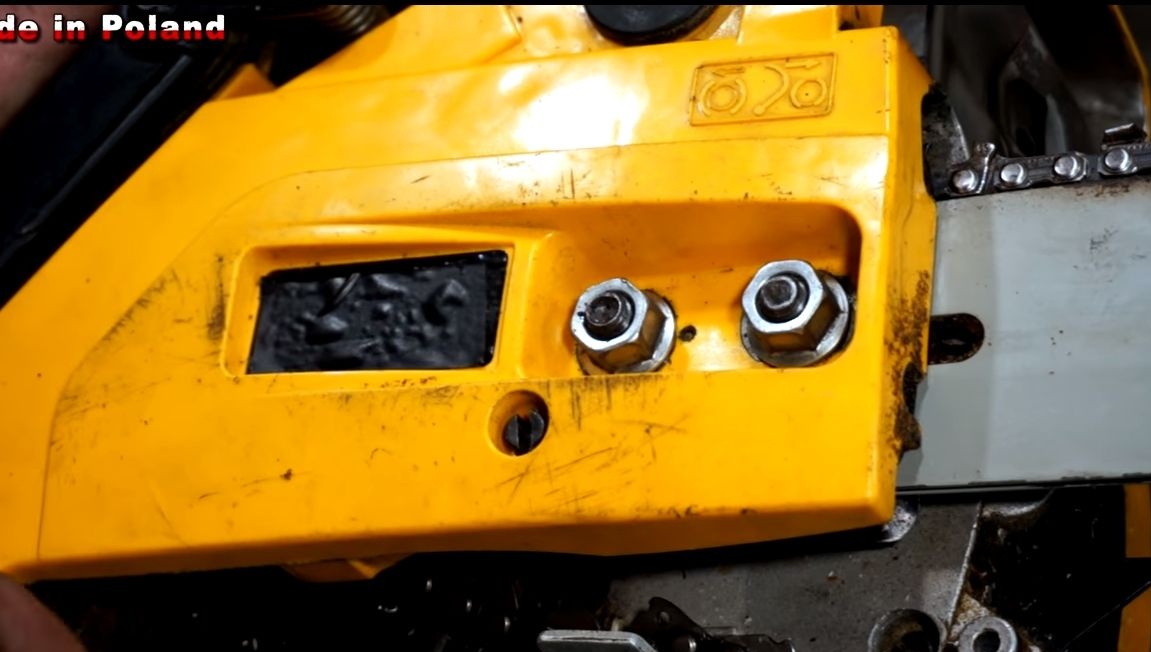
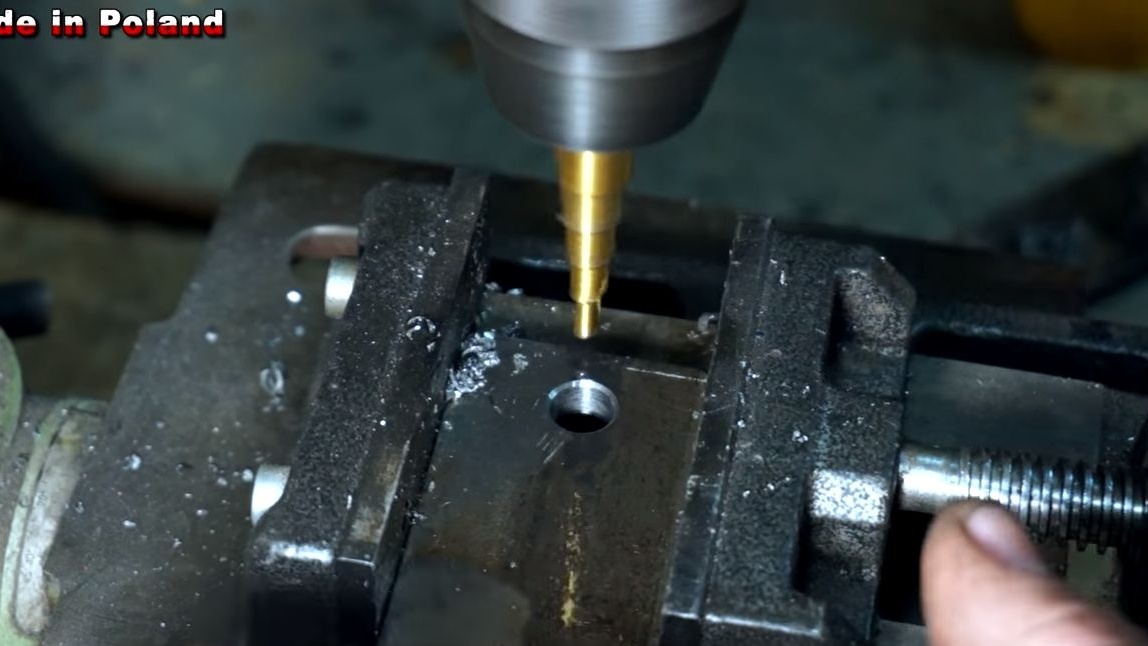
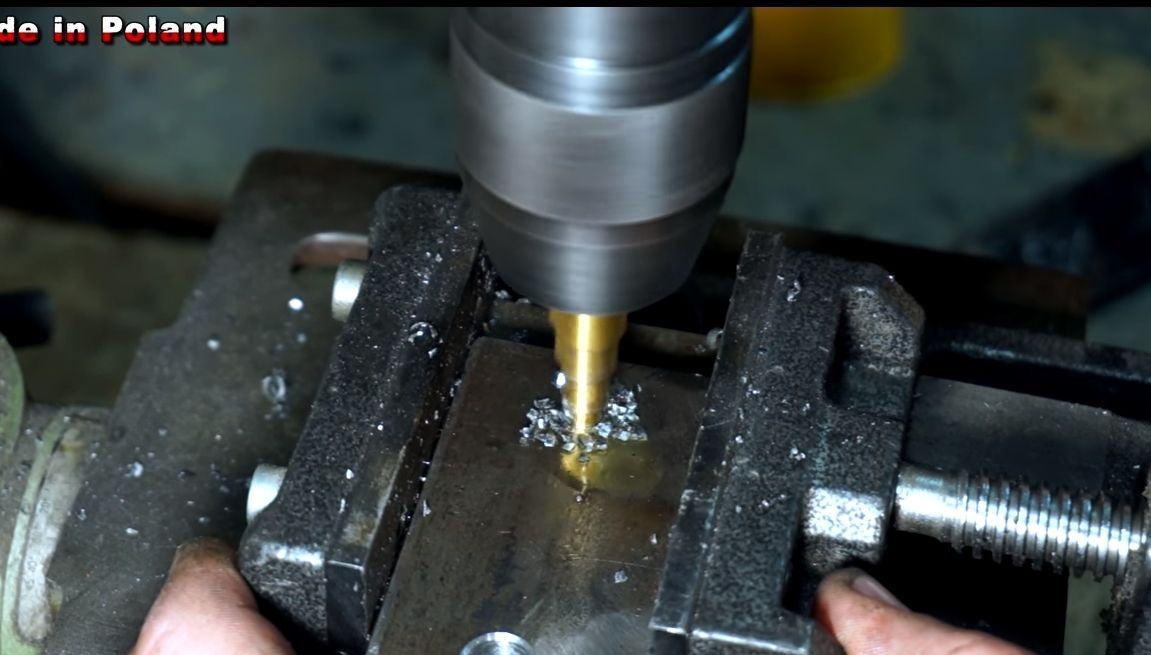
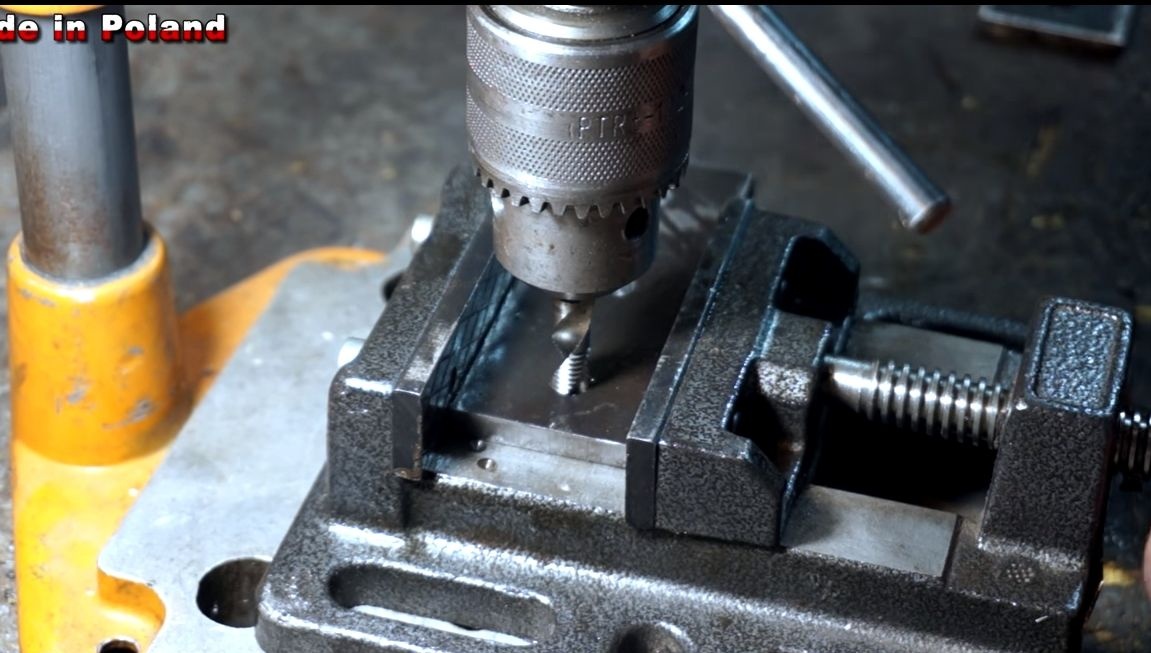
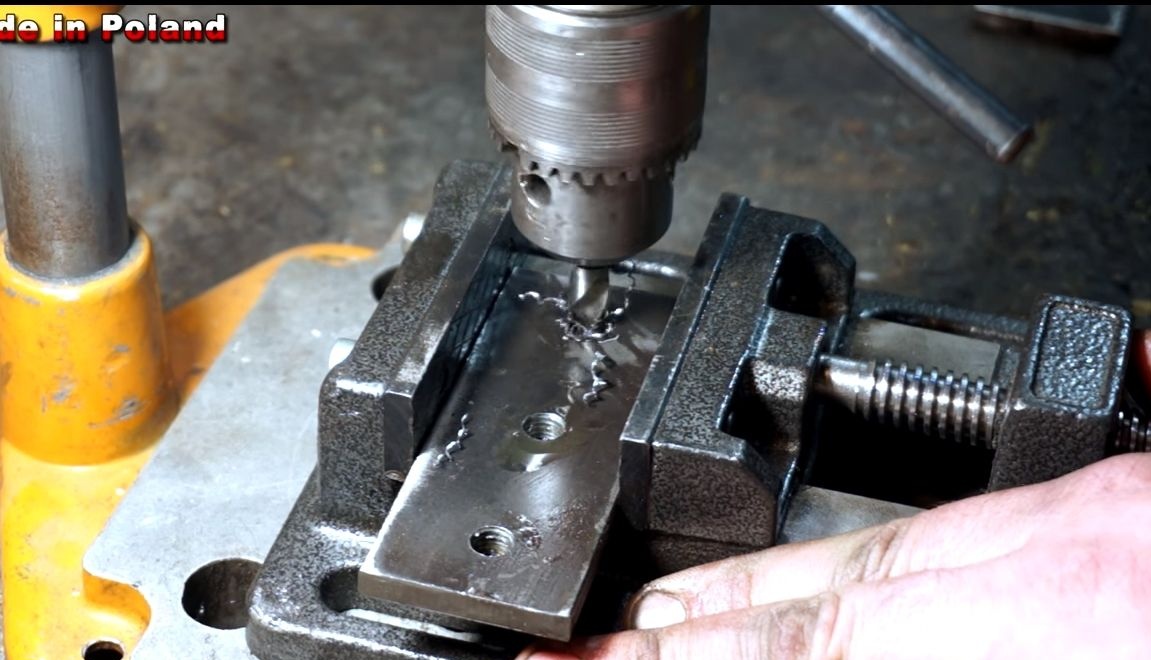
To attach the device to the tire, drill two holes in it. This may not be so easy to do, as the metal here is often quite durable. Most likely, you need a carbide-tipped drill. That's all, now you can screw the device with two bolts and nuts.
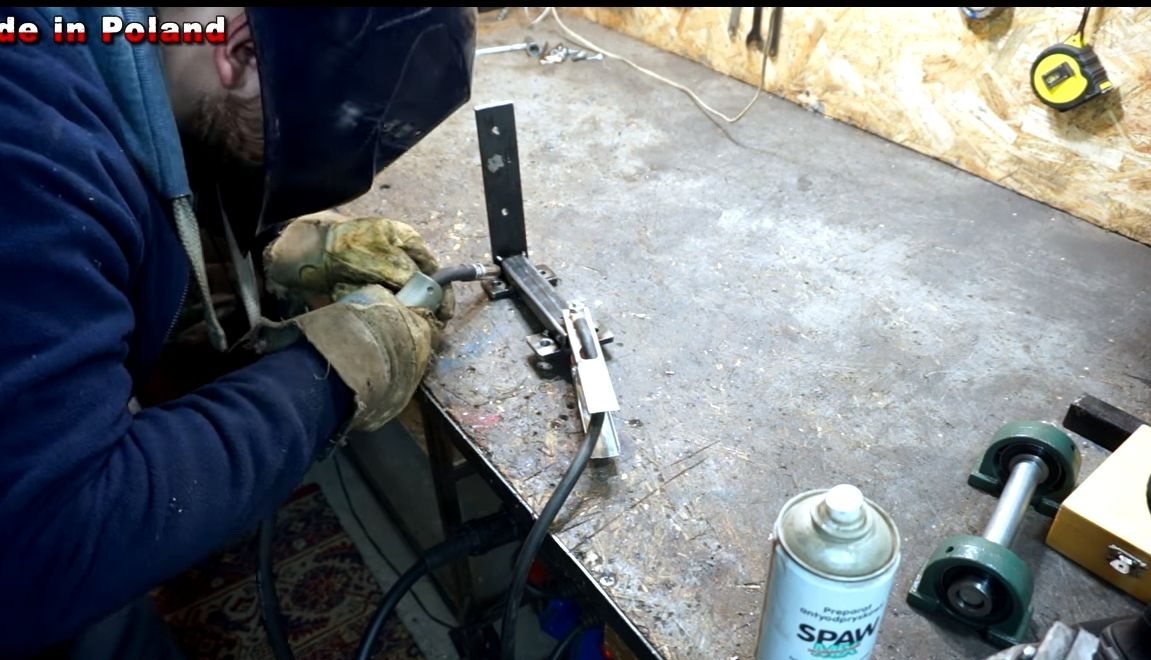
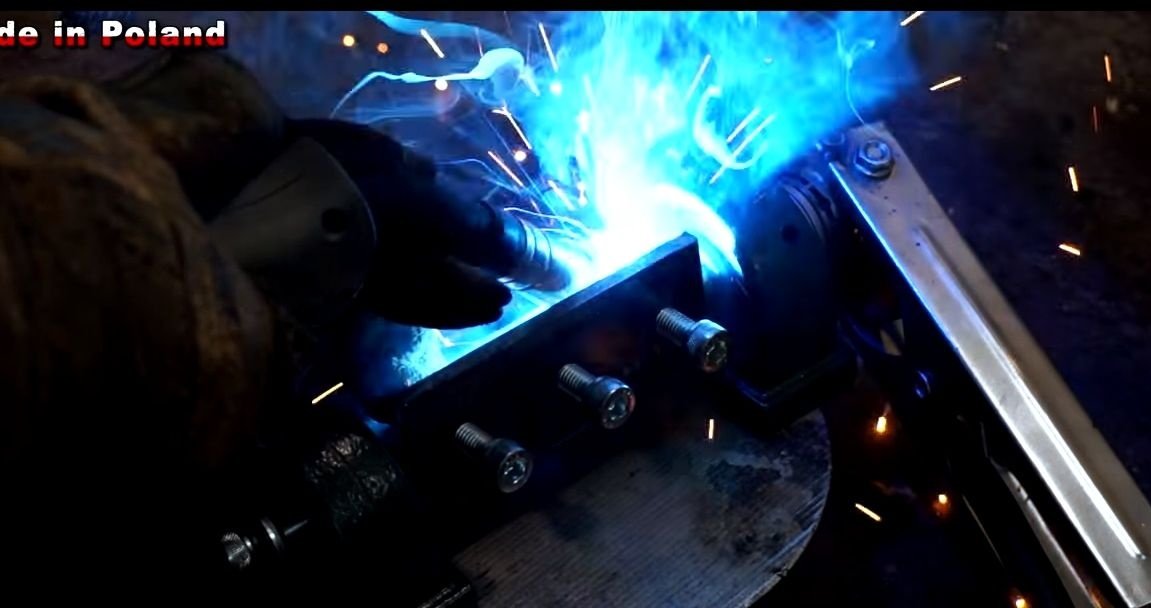
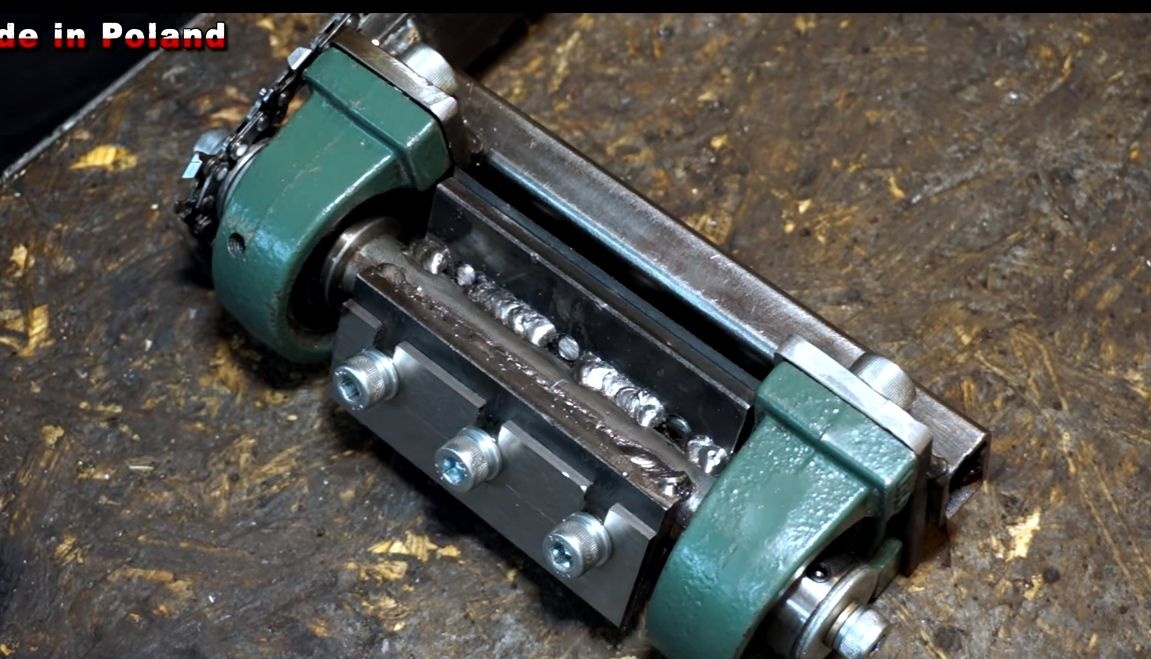
Step Five Final welding
Reinforce welds throughout the structure. Workloads here will be considerable, everything should be reliable.
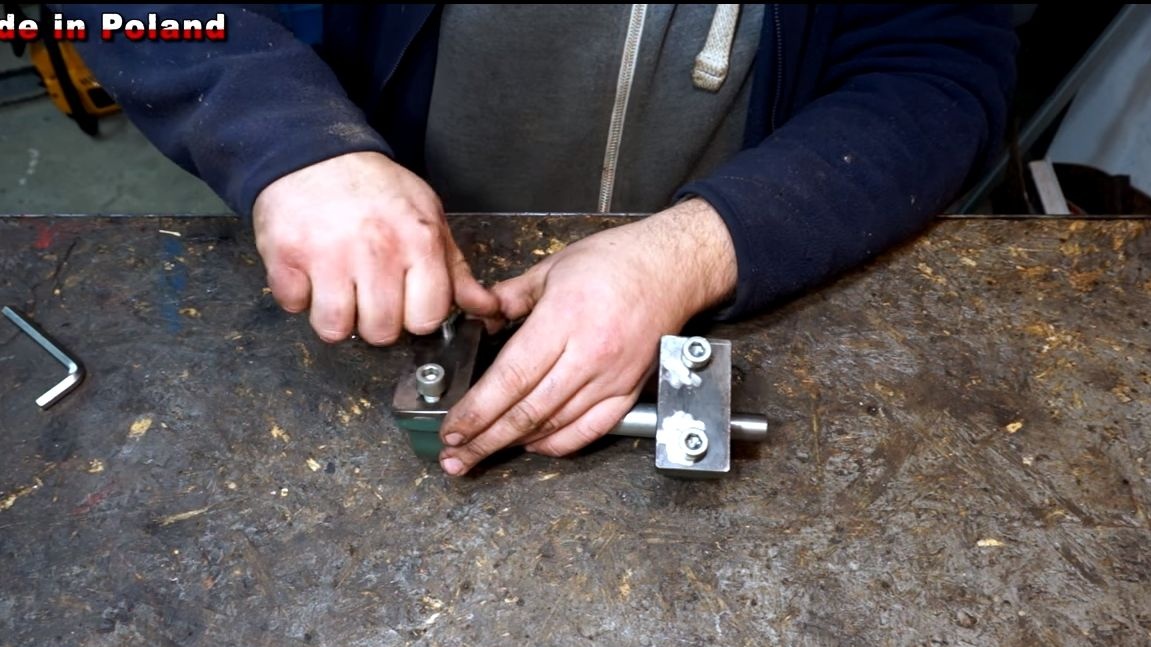
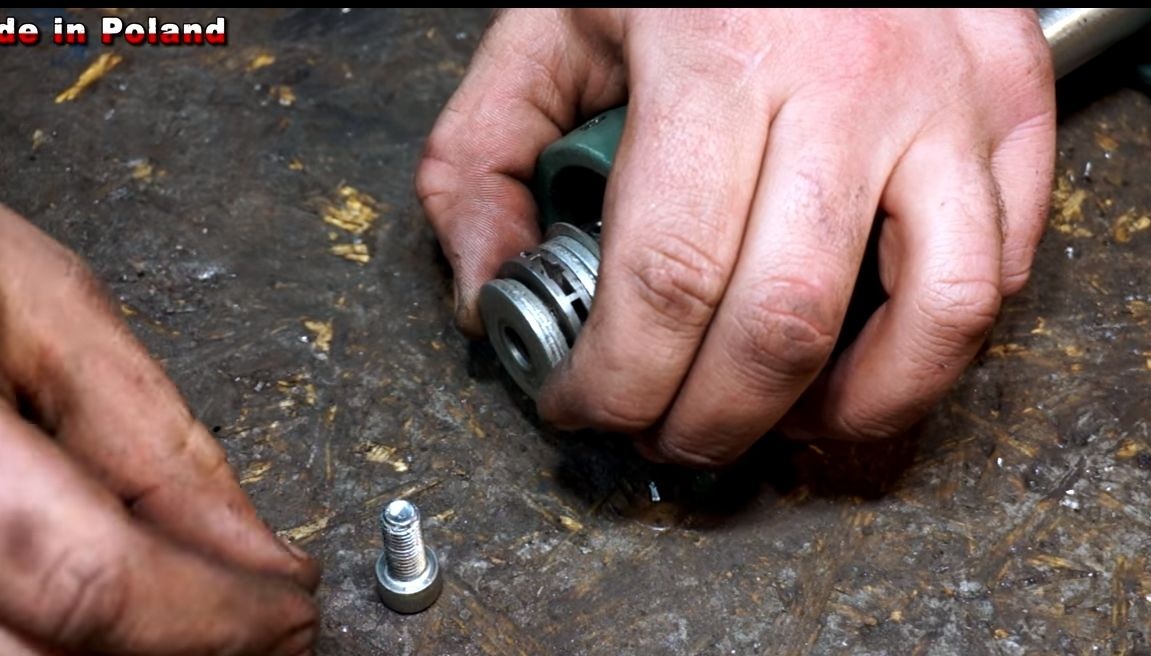
Step Six Set the axis on the bearings, and put an asterisk on the axis
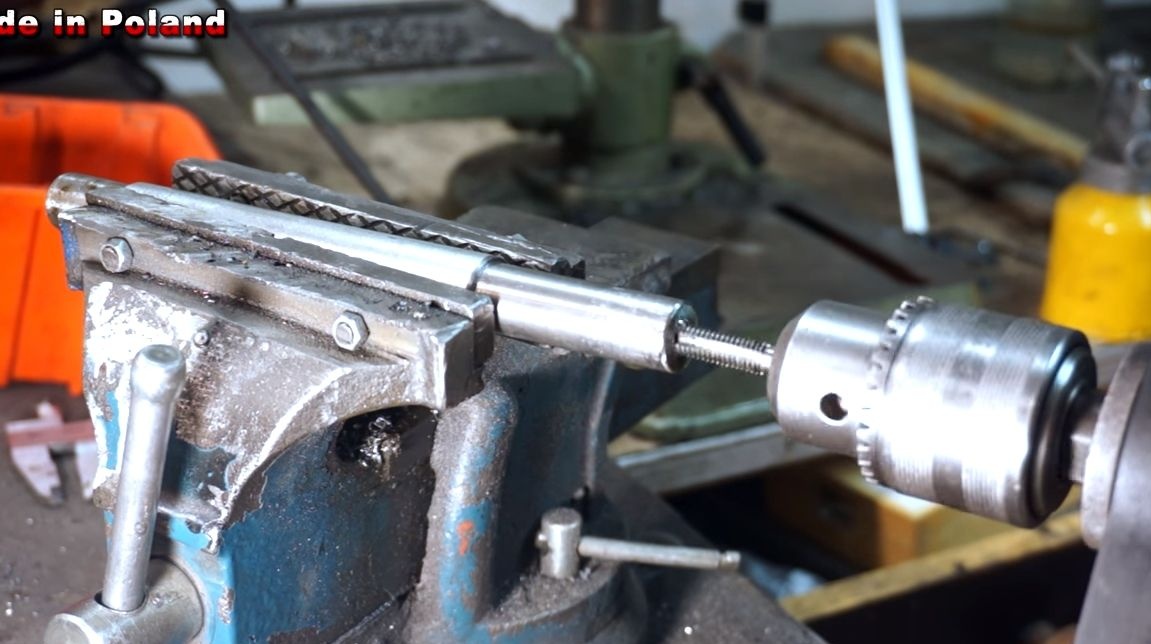
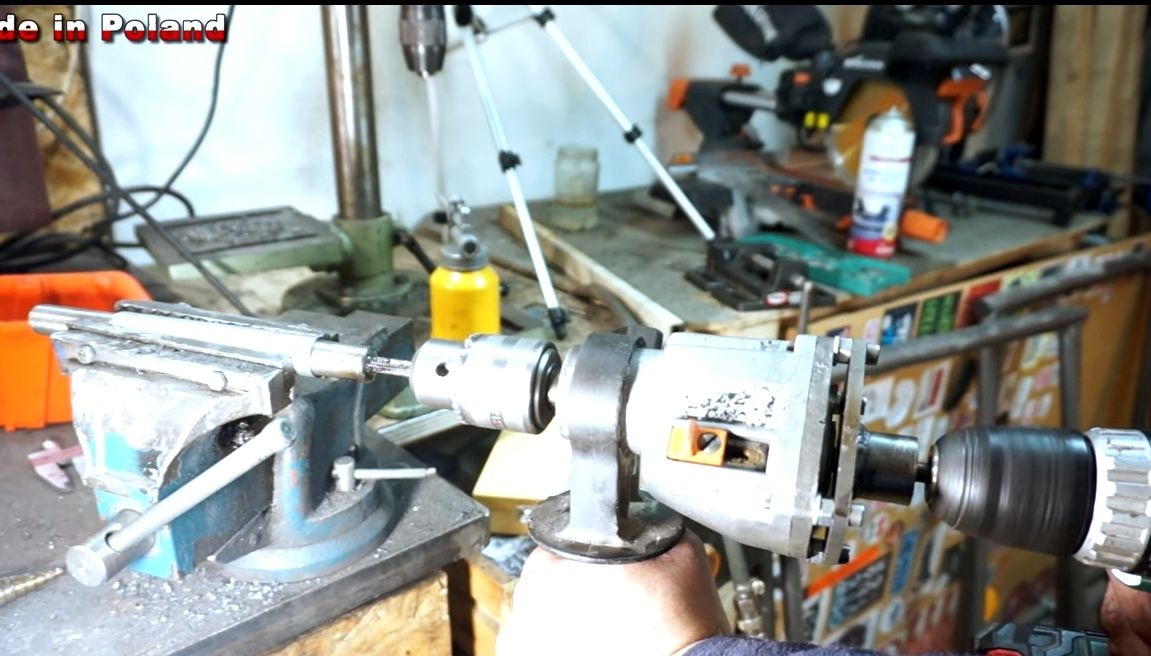
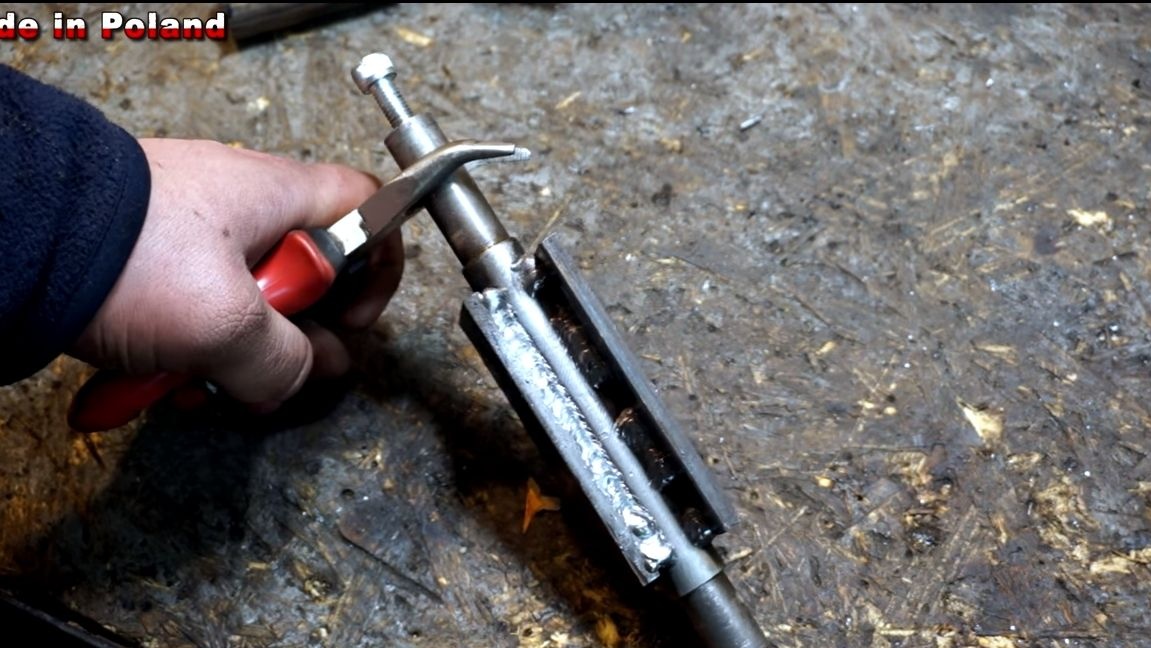
To securely fasten the sprocket and axle in place, you will need to cut the threads inside the axis from one side and the other. We take a drill and drill holes. Next, cut the holes for the bolts or selected screws.

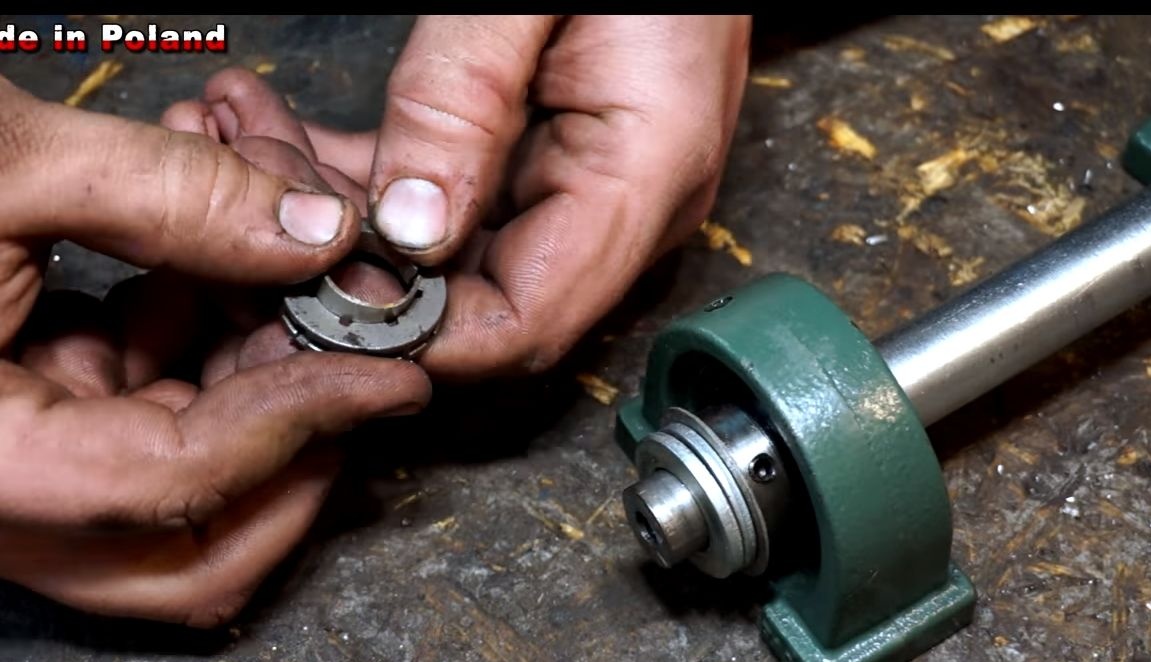
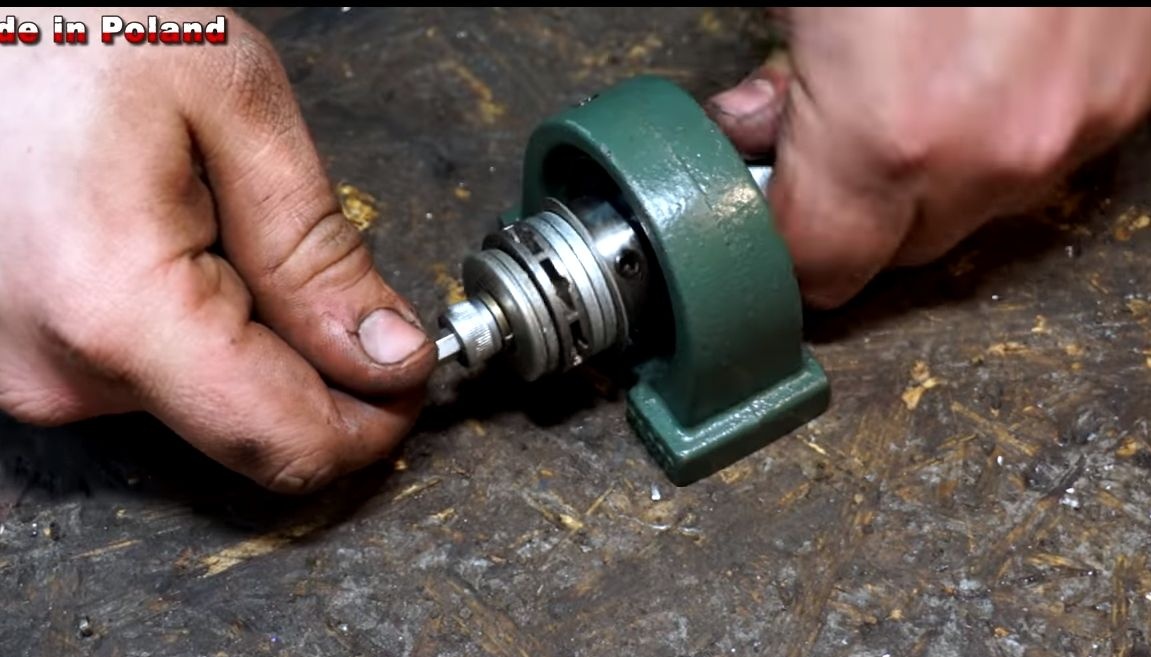
The axle can be installed, insert it into the bearings and put washers on both sides. On the one hand we fasten the axis with a screw so that it does not pop out of the bearings during operation. On the other hand, we put on the washers, as well as the driven sprocket. We install a sleeve inside the sprocket so that it is centered. The sprocket is used ordinary, removable, without a clutch drum, there are a lot of them now and are not expensive. We put some more washers after the sprocket and tighten the bolt as tight as possible so that the sprocket does not slip.
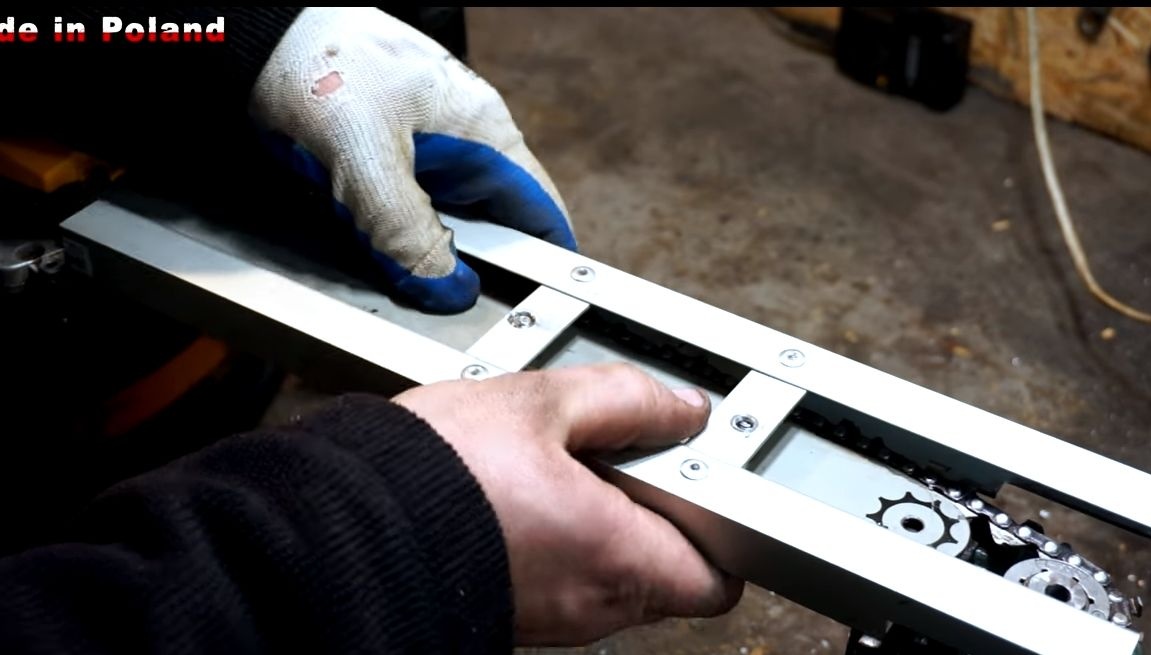
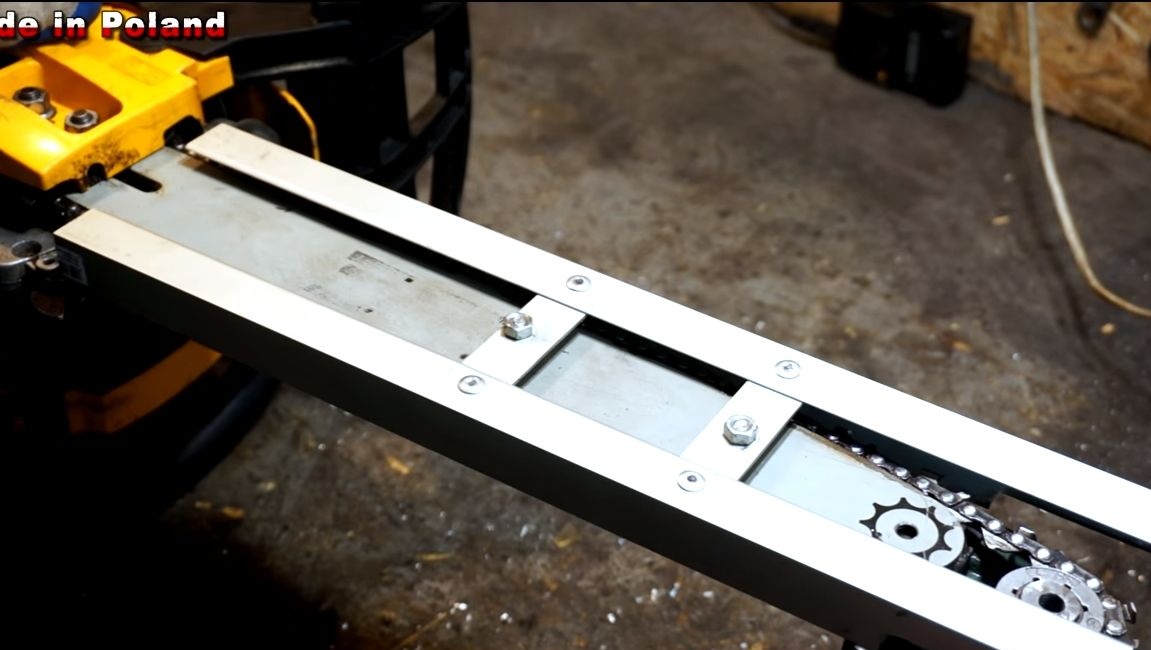
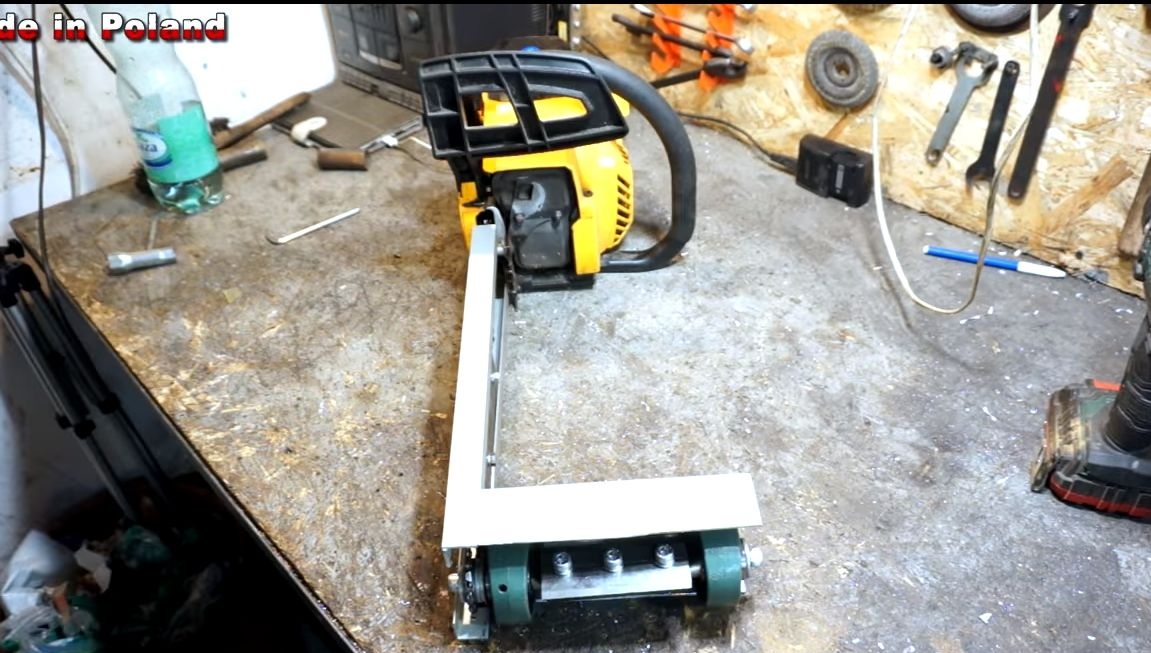
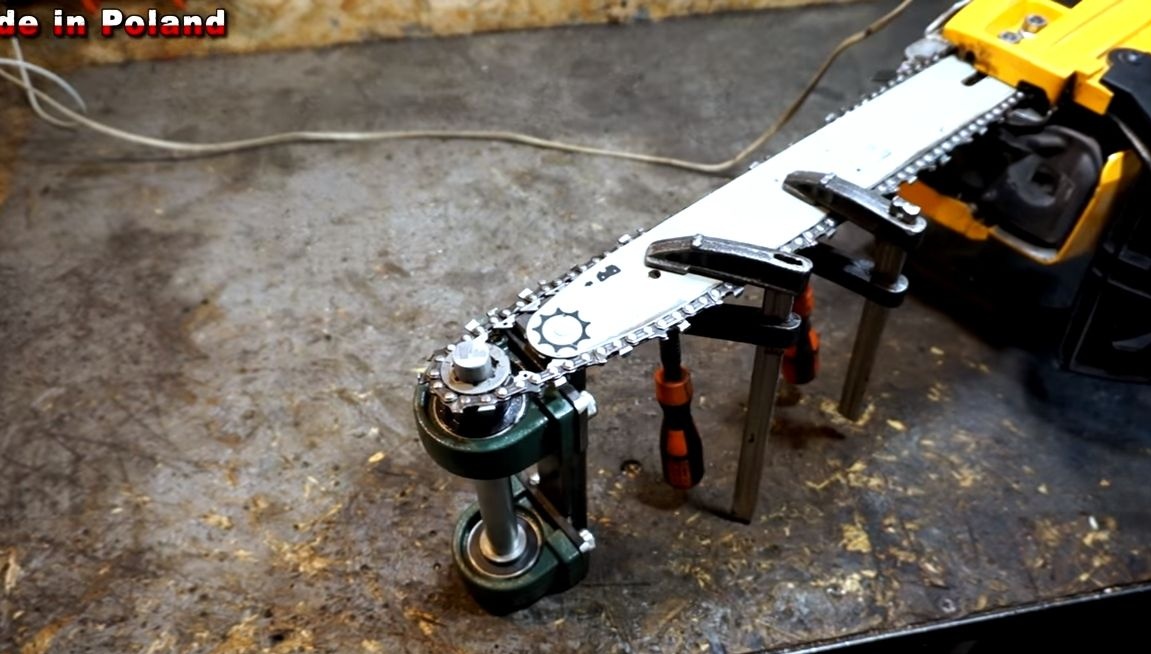
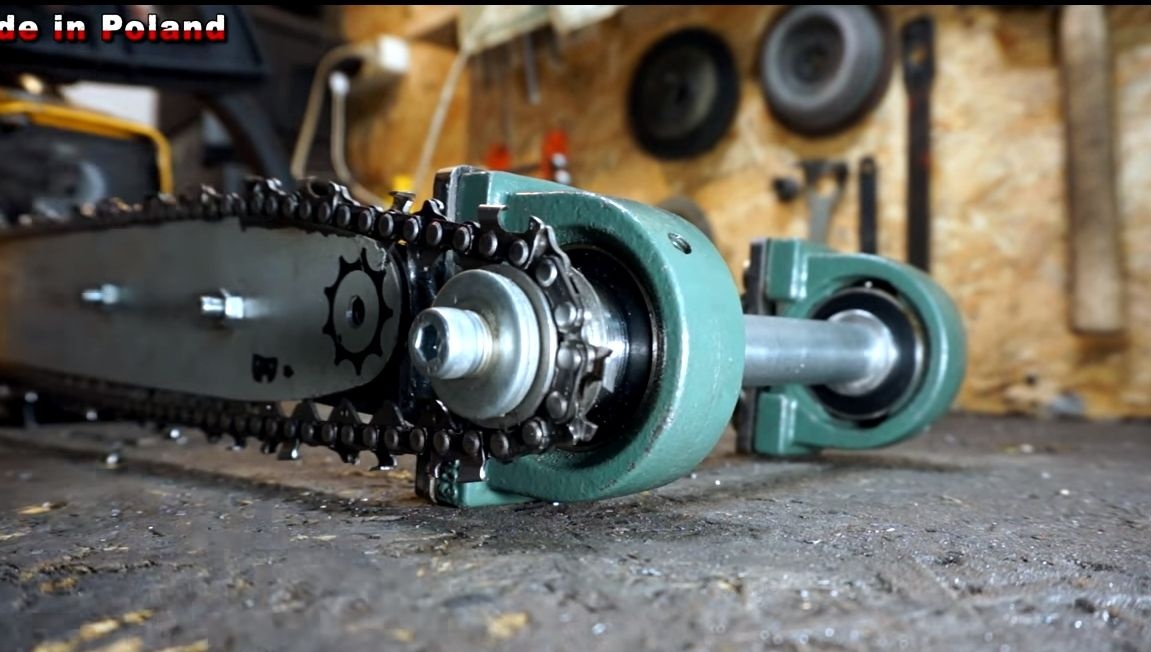
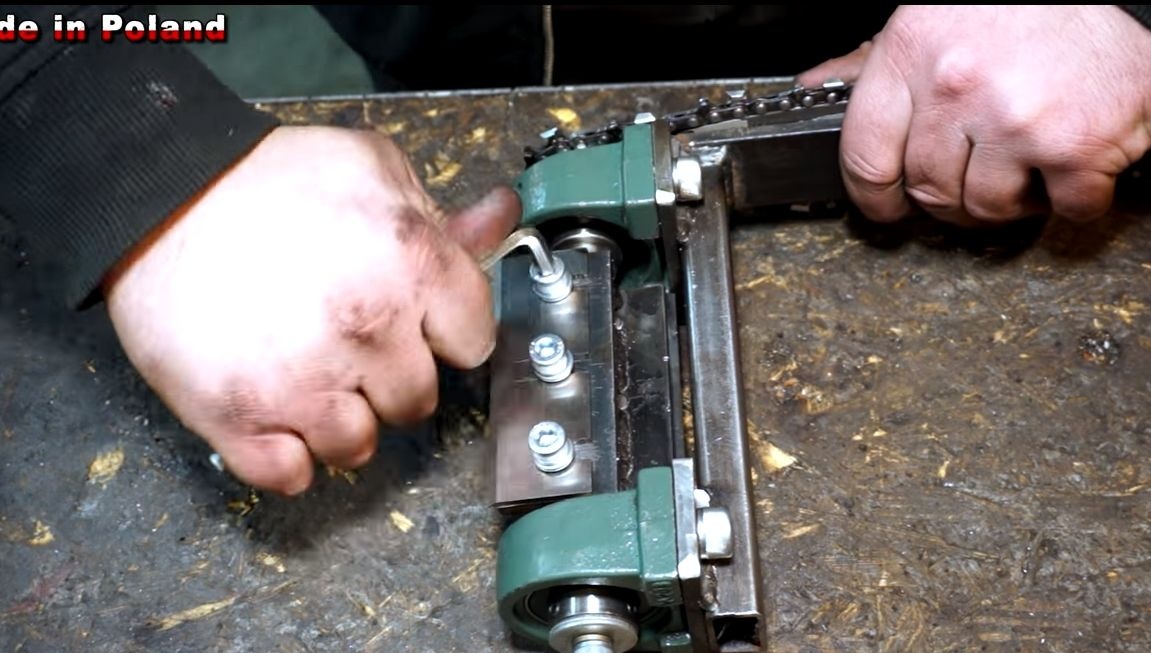
Seventh step. Installation
The axis is assembled, now it can be installed on the bus. We fasten the entire structure to the tire with the help of two bolts with nuts, as we already did before. Now you can put the chain on the device and pull it so that it does not fly off.
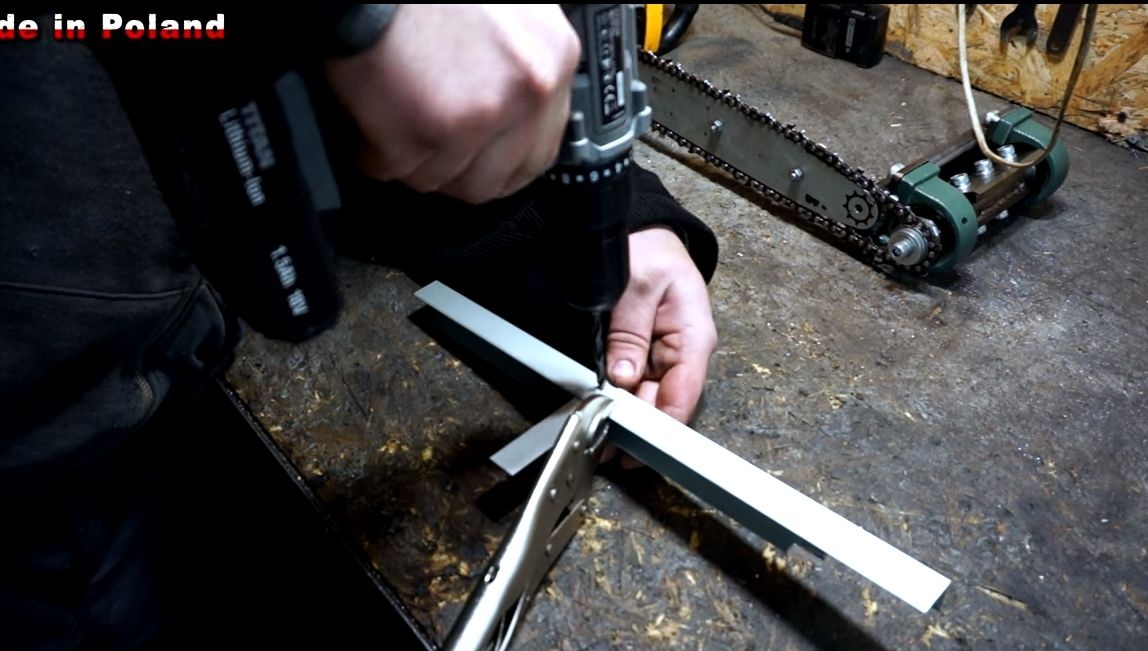
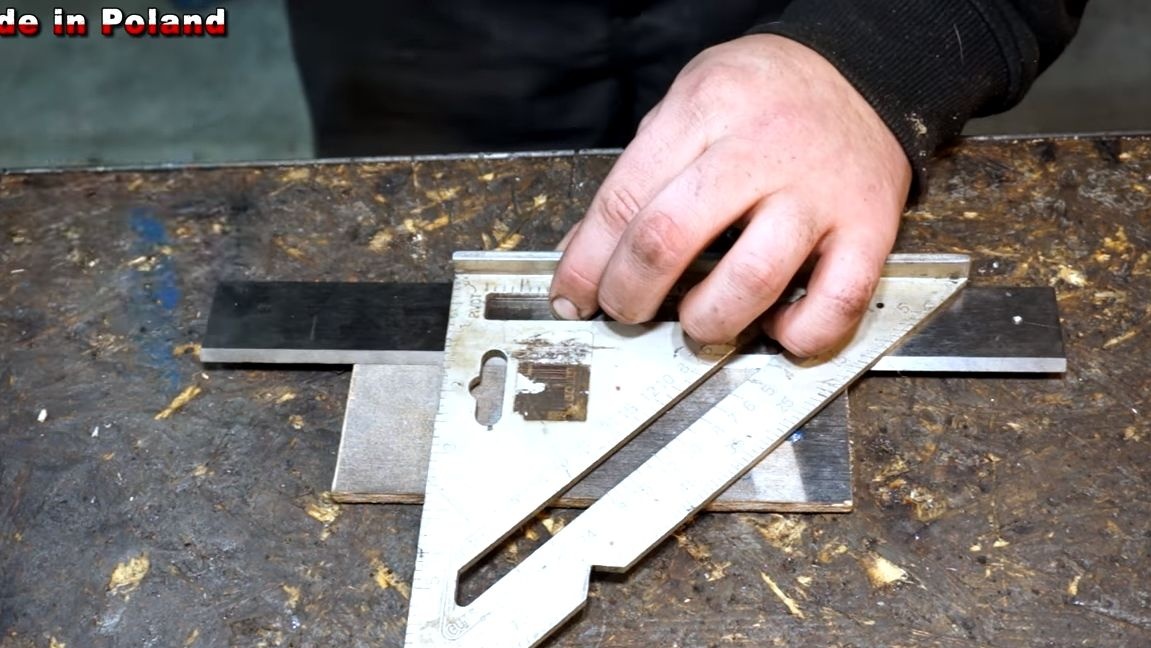
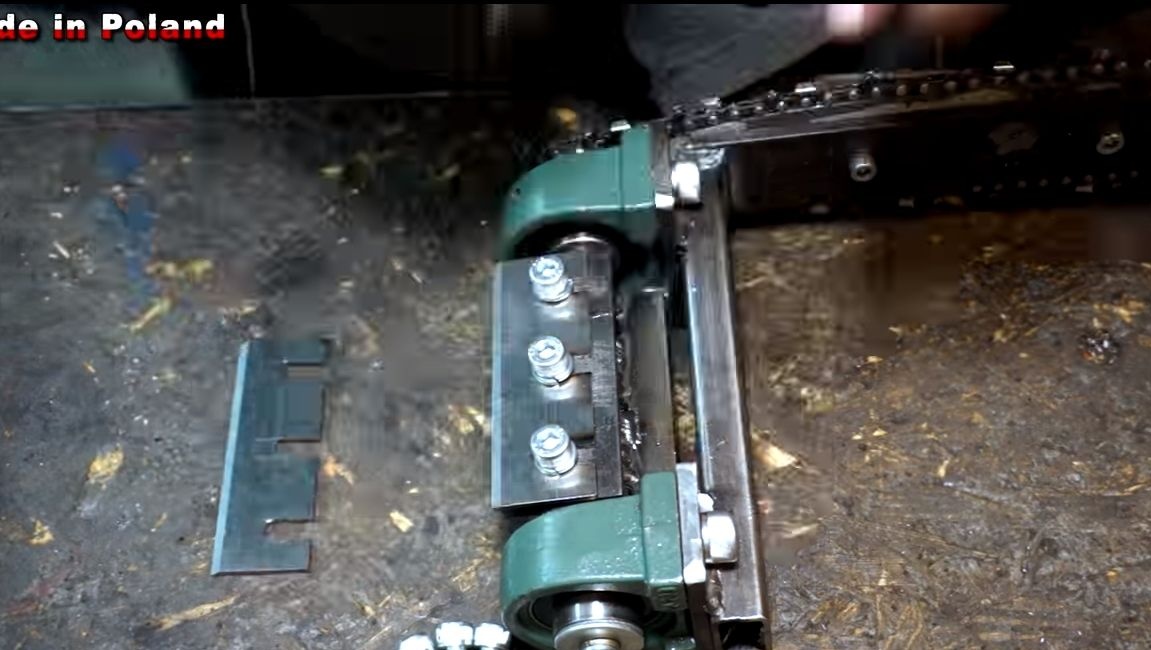
Step Eight. Knife Mounting Plates
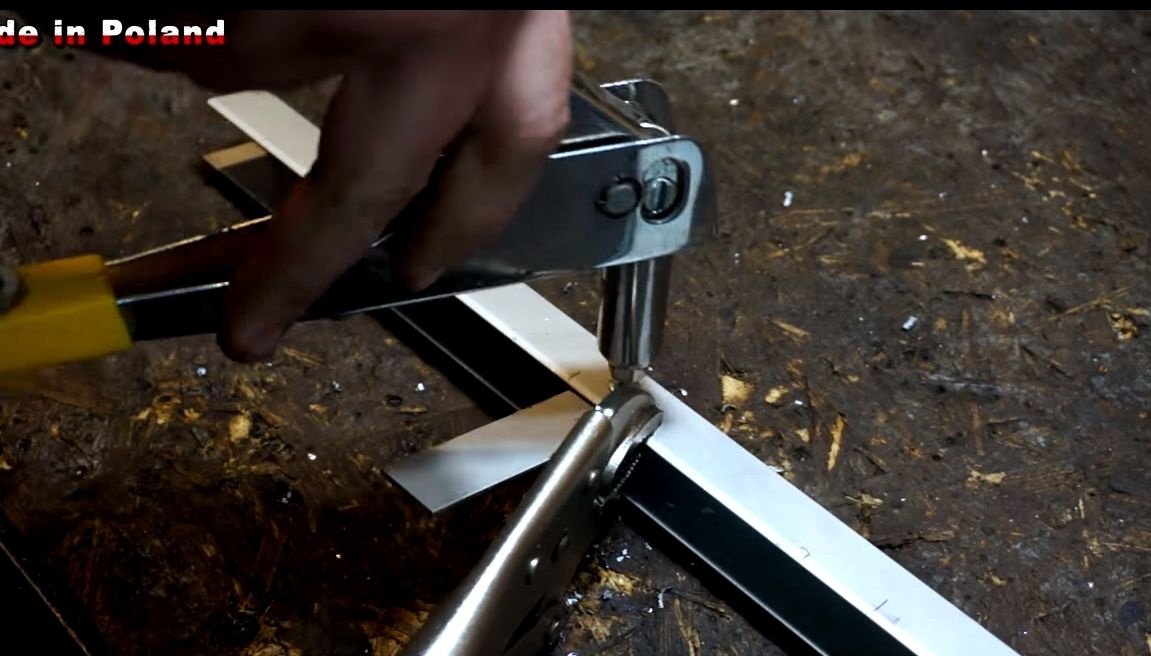
To fix the knives, you need to make mounting plates. We take a thick sheet of steel and drill holes in it of the right diameter for the screws. Cut the threads in the holes. In total, you will need two plates if you install two knives. Weld the plates to the shaft, placing a gasket under them on the table, so that a small clearance is obtained.

We attach to the shaft at a right angle, that is, tangentially.
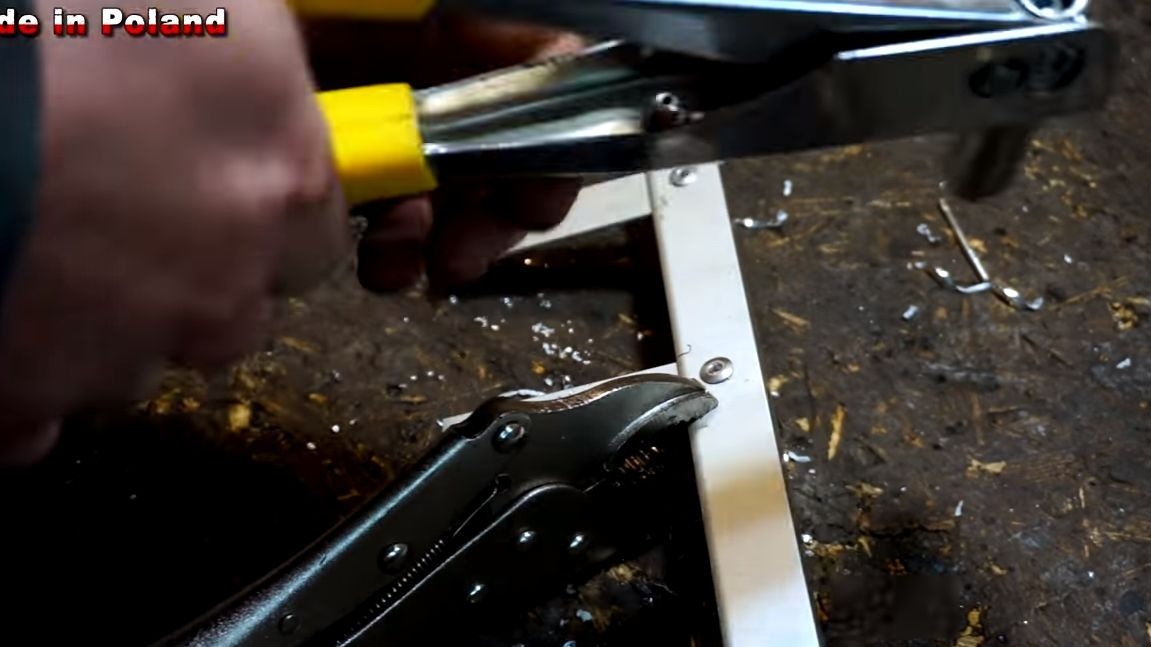
The plates need to be attached very securely, since when cutting here, considerable impact loads are involved. The author did not spare time and effort, deciding to make the seams solid.
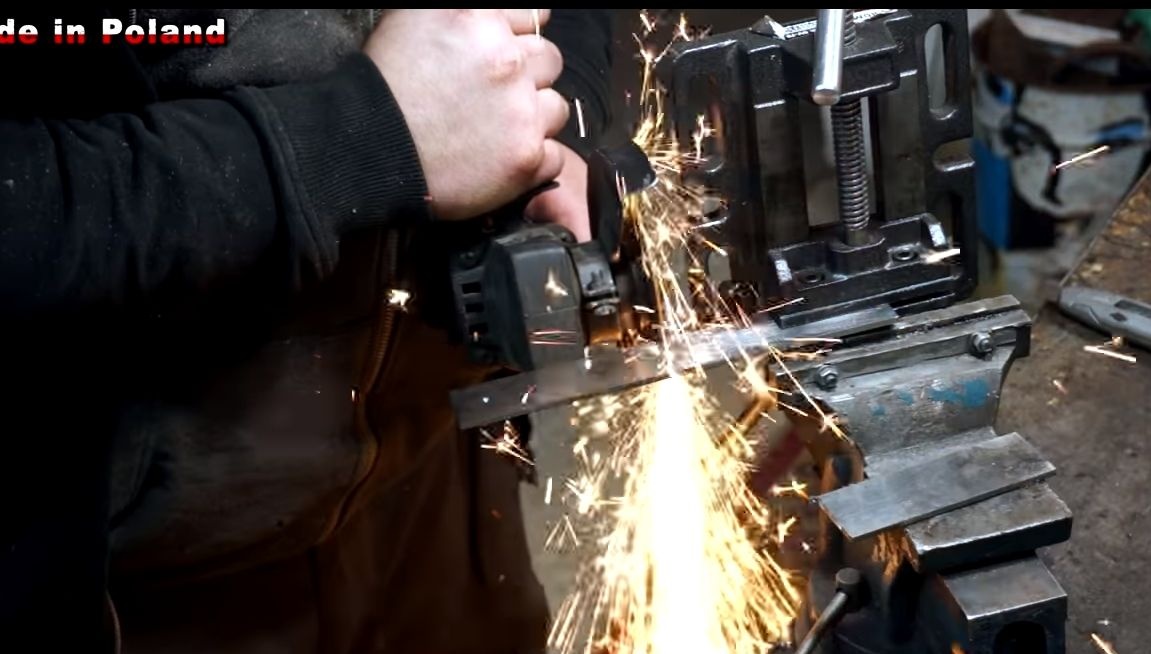
Step nine Preparation and installation of knives
Knives are made of durable, hardened steel, they can be bought. Cut two pieces of the desired length, and then cut out the grooves for the screws, as the author did. It is only possible to make grooves for the reason that drilling hardened steel is very, very problematic. Screw the blades to the mounting plates with screws. Here it is recommended to use good washers with grovers so that the knife does not loosen during operation.
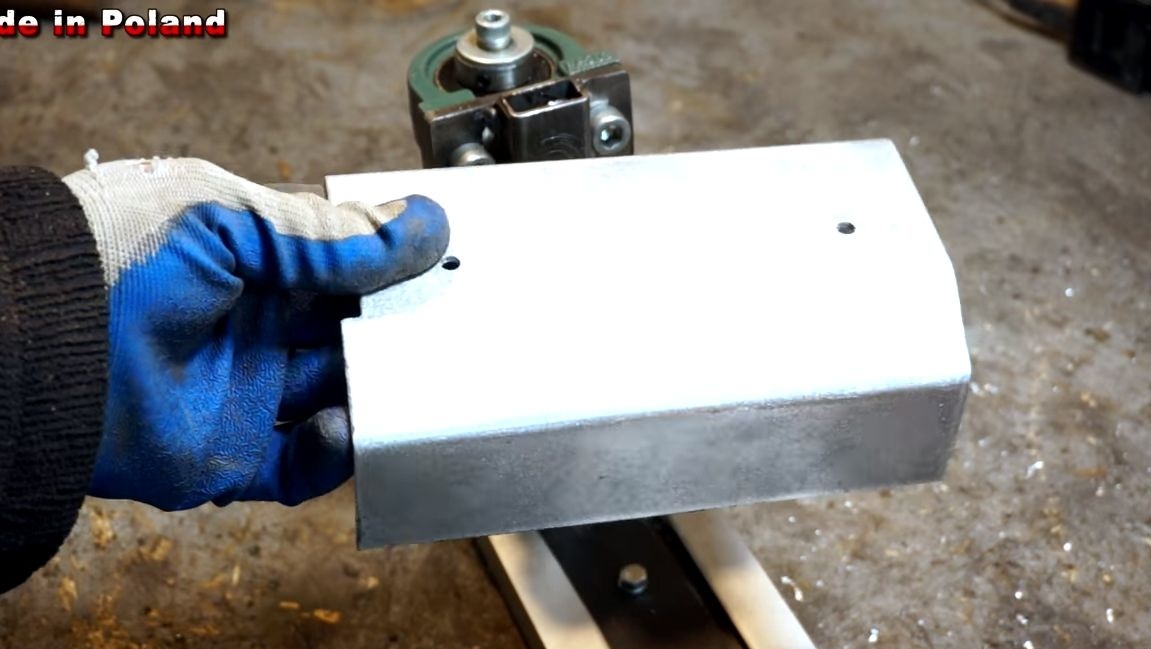
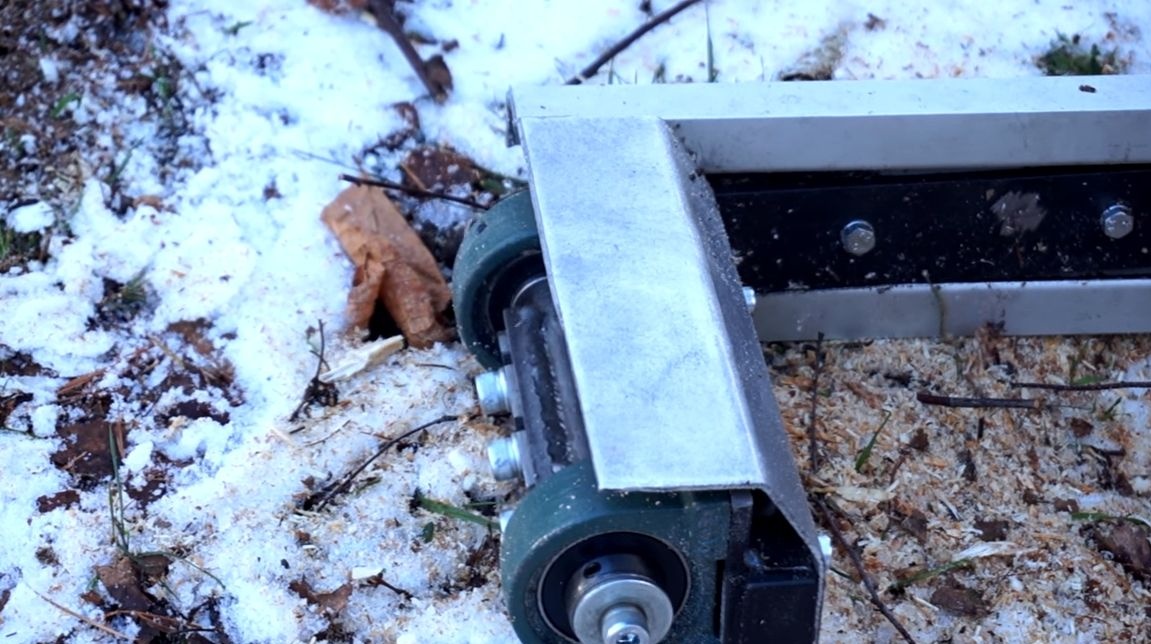
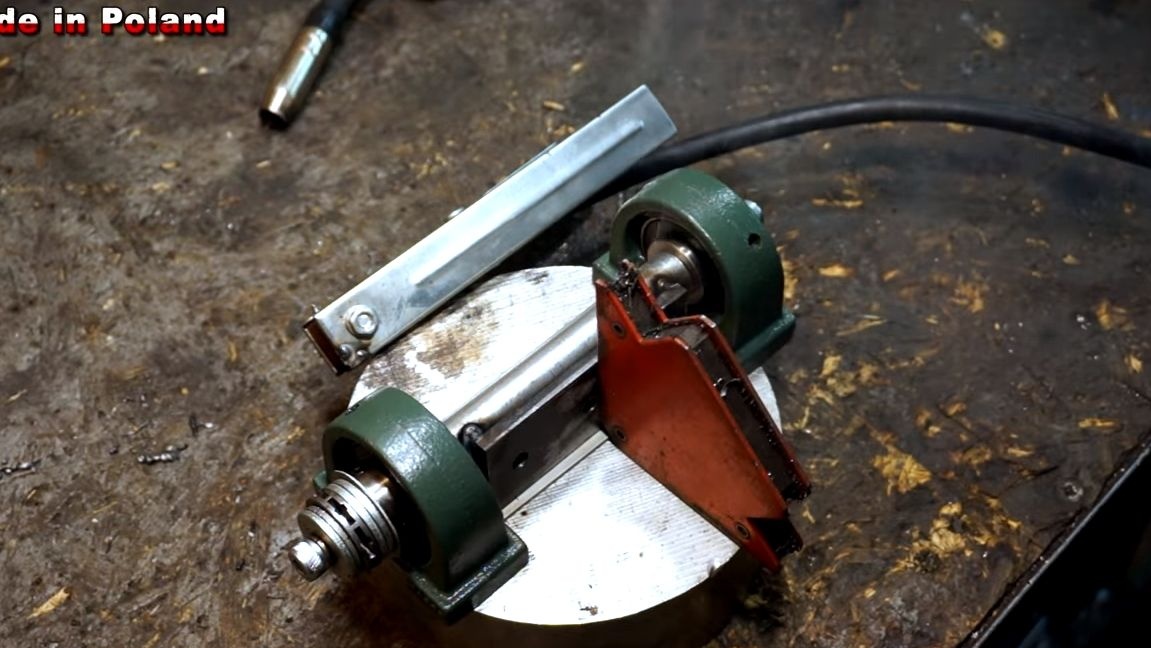
Step Ten Protective wing
Be sure to close the work area, for this we need thin sheet metal. We cut it to the necessary pieces, and then with the help of rivets we collect the shield. Fix a guard to those bolts which are located on the tire. Install another small shield directly above the rotating knives. Now chips and other rubbish will not fly into your face!