
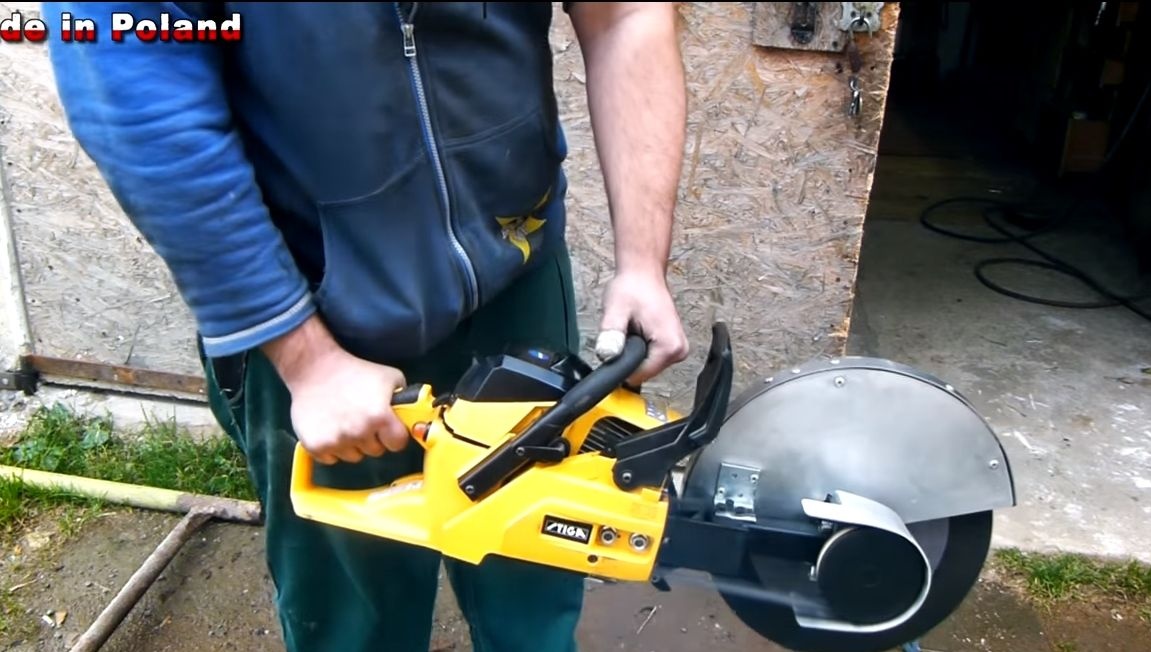
The Bulgarian is rightfully considered the most sought-after tool in the garage. But what if you need to cut something metal far from your home or garage, where there is no power supply? Now this is not a problem, you can make a grinder with a gas engine for yourself!
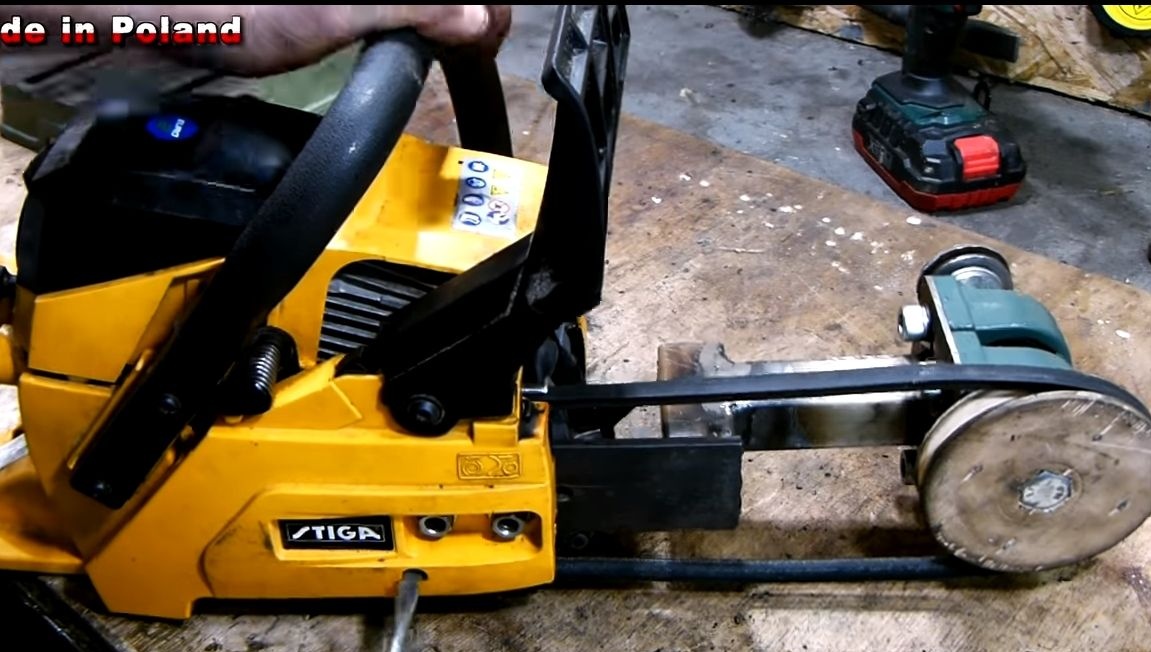
For homemade not so many materials will be needed, and the design of the chainsaw from this alteration will not suffer at all. Homemade made in the form of nozzles, which you can install and remove at any time. The movement is transmitted to the cutting disc using pulleys and a belt. This is one of the safest and easiest ways to transmit high revs. The author makes pulleys from scratch using plywood.
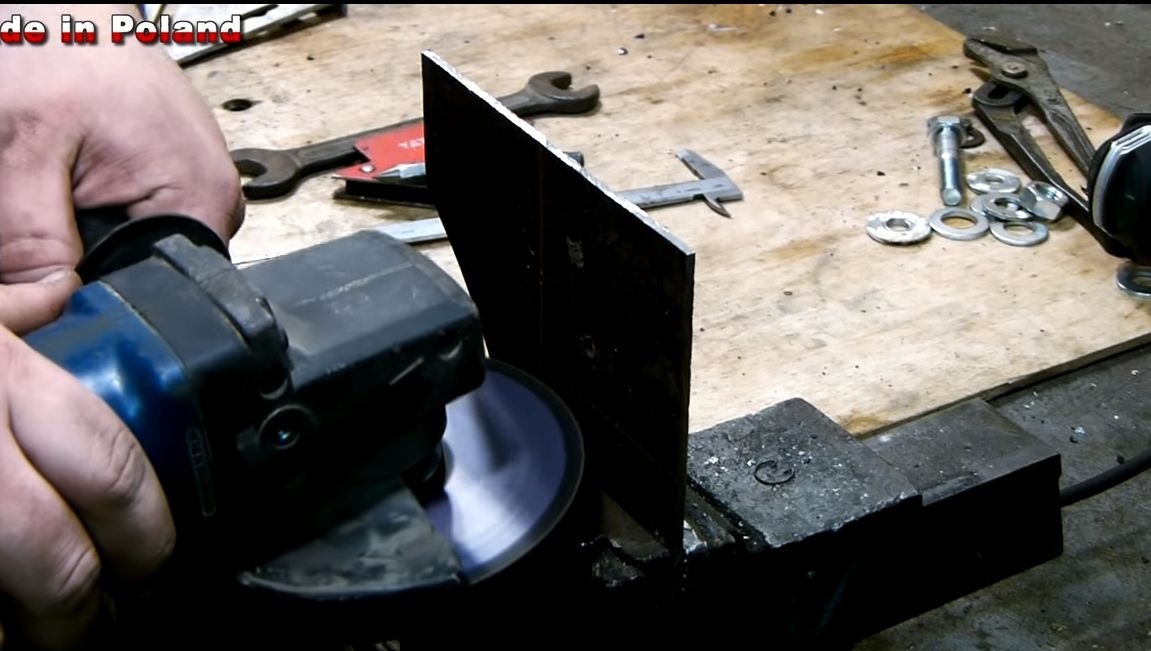
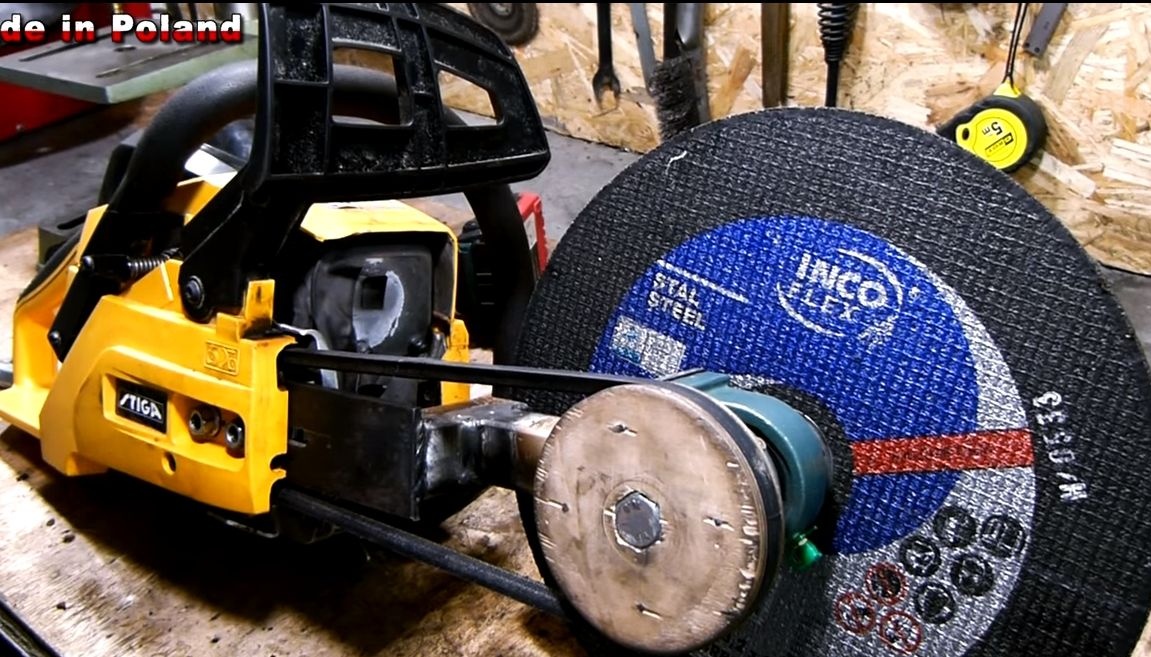
The cutting disc is used in large size, this is taken into account the maximum speed that a chainsaw can give out.
Materials and tools used by the author:
Material List:
- plywood;
- screws for wood;
- bolts with nuts;
- thin sheet metal;
- Sheet steel;
- a piece of leather or a tight rope;
- steel pipe of square section;
- cutting wheel.
Tool List:
-
- drill and drilling machine;
- jigsaw;
- lathe;
- wrenches, pliers, clutch release wrench, spark plug wrench;
- belt sander;
-
- or inverter;
- glue for wood;
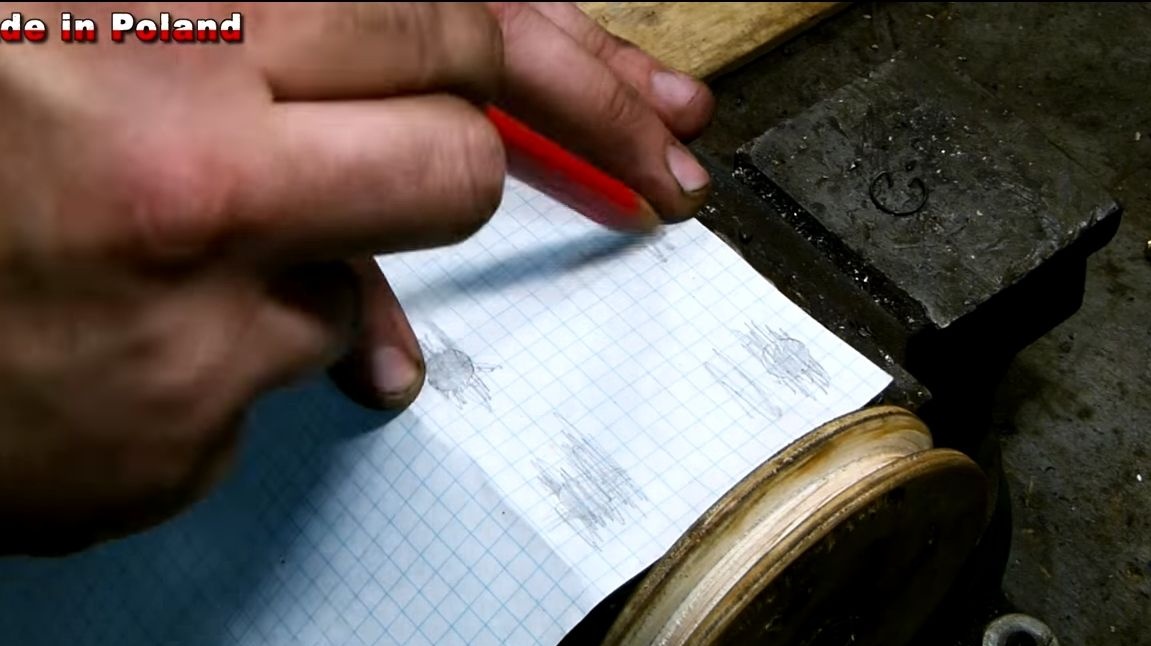
- pencil, ruler, tape measure, paper.
Homemade manufacturing process:
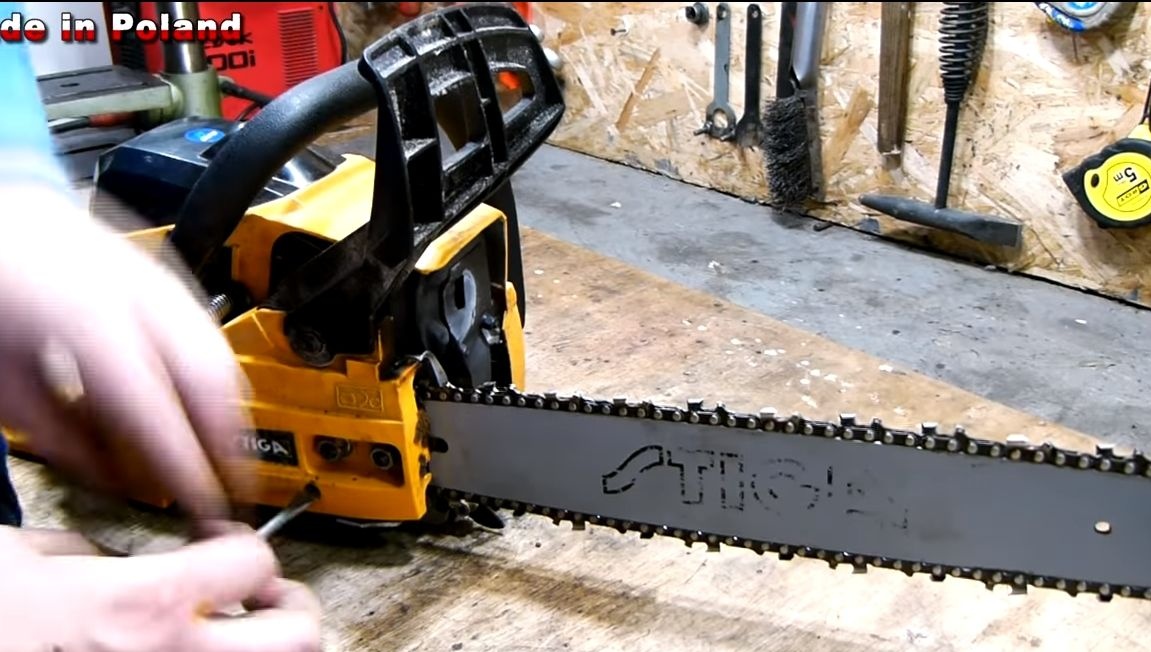
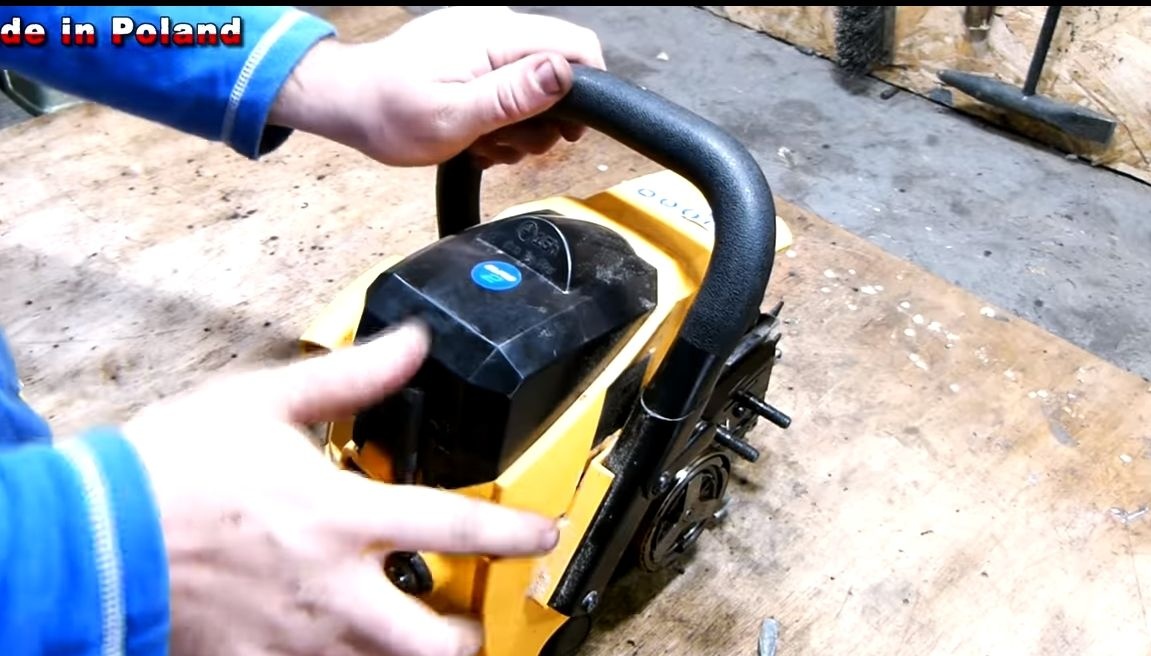
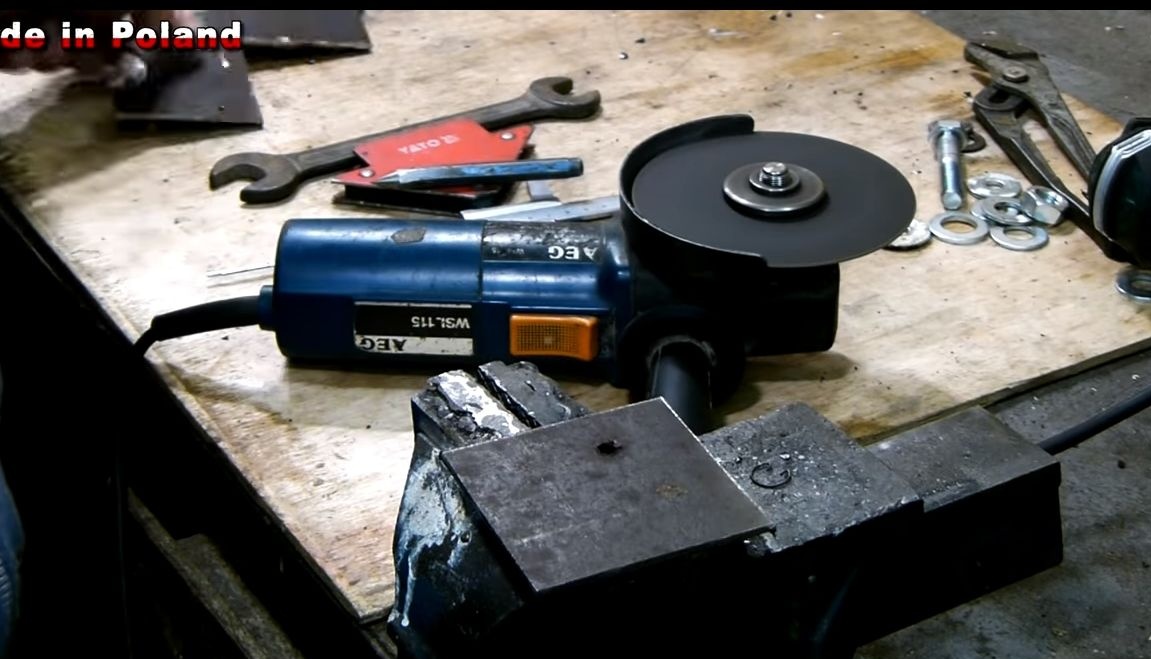
Step one. We prepare the grinder
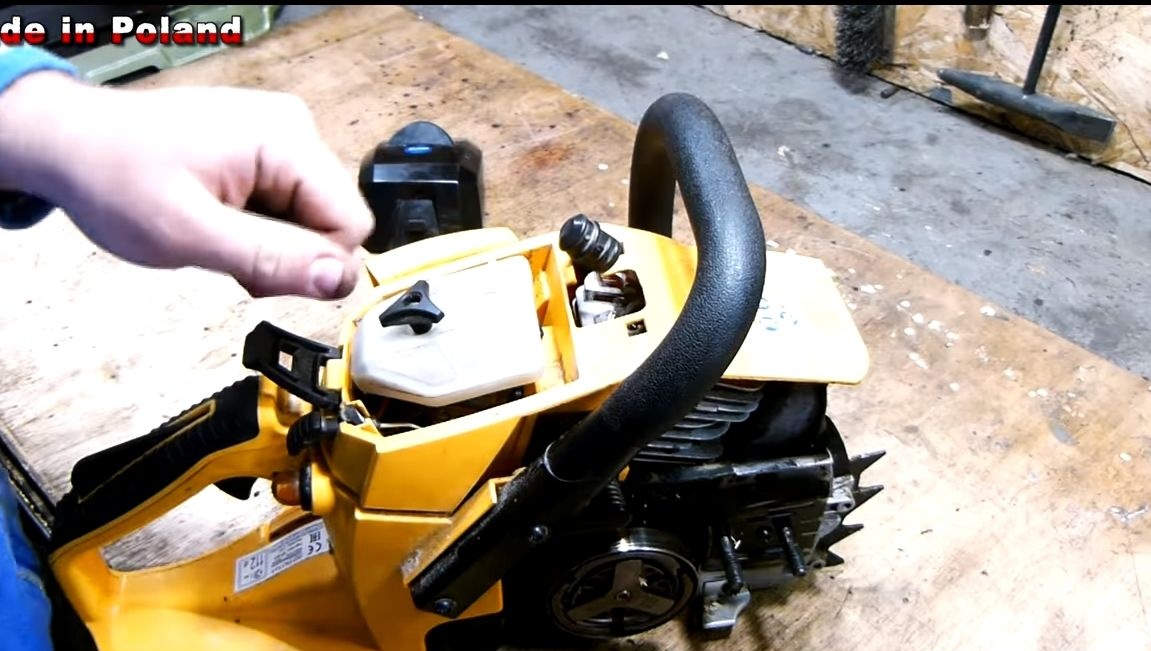
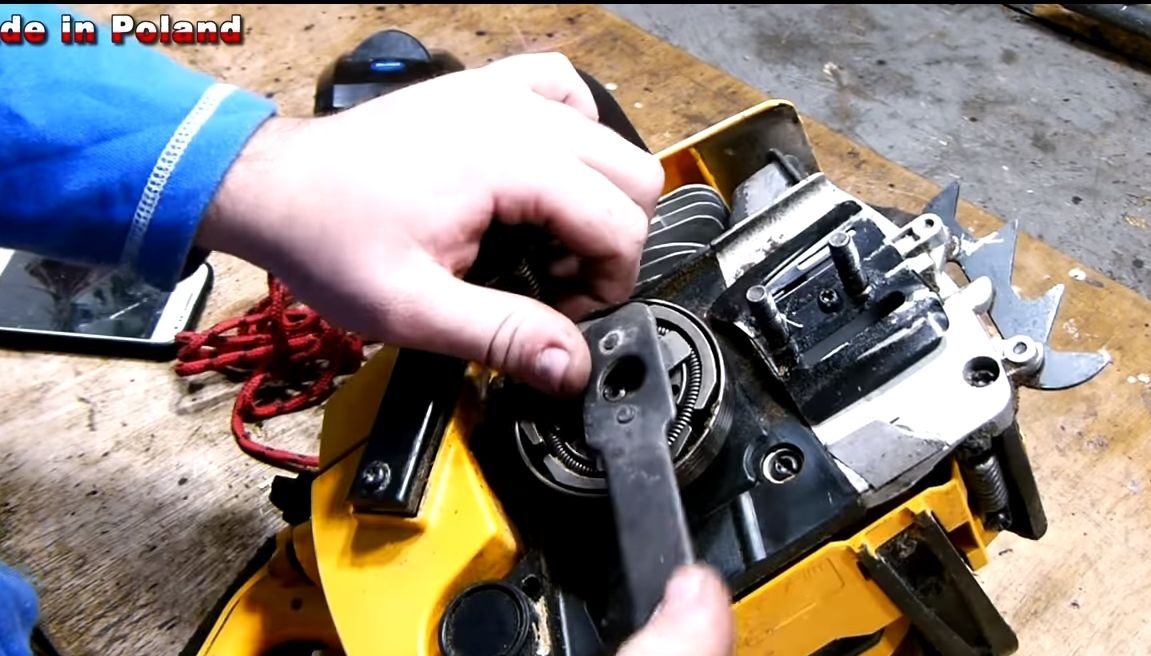
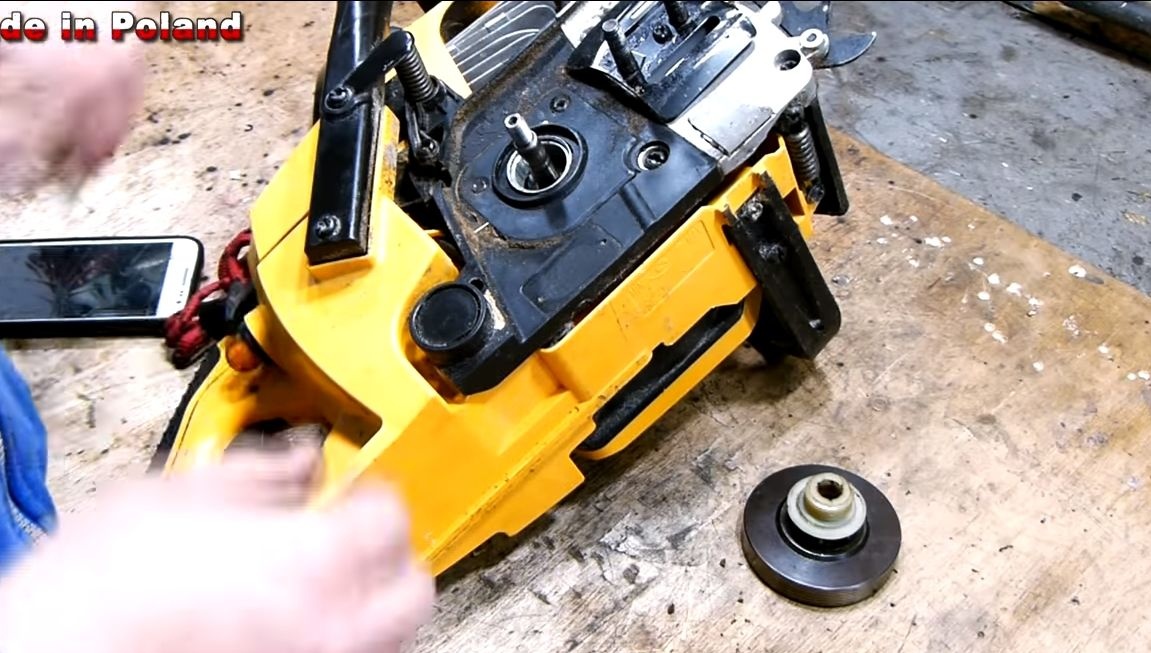
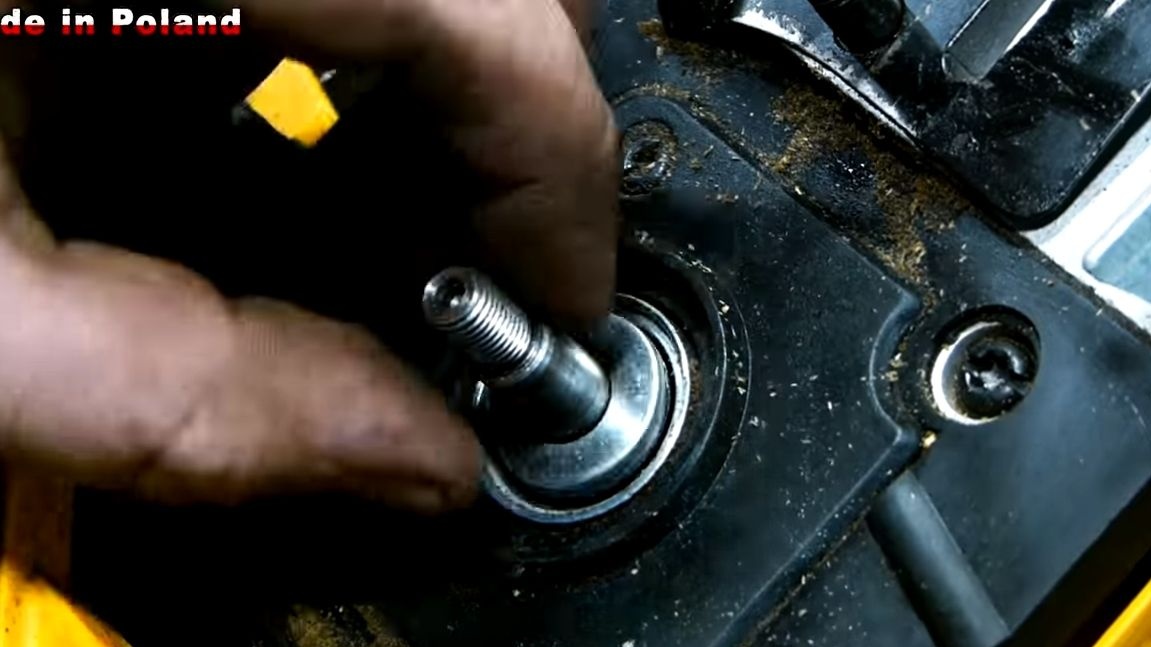
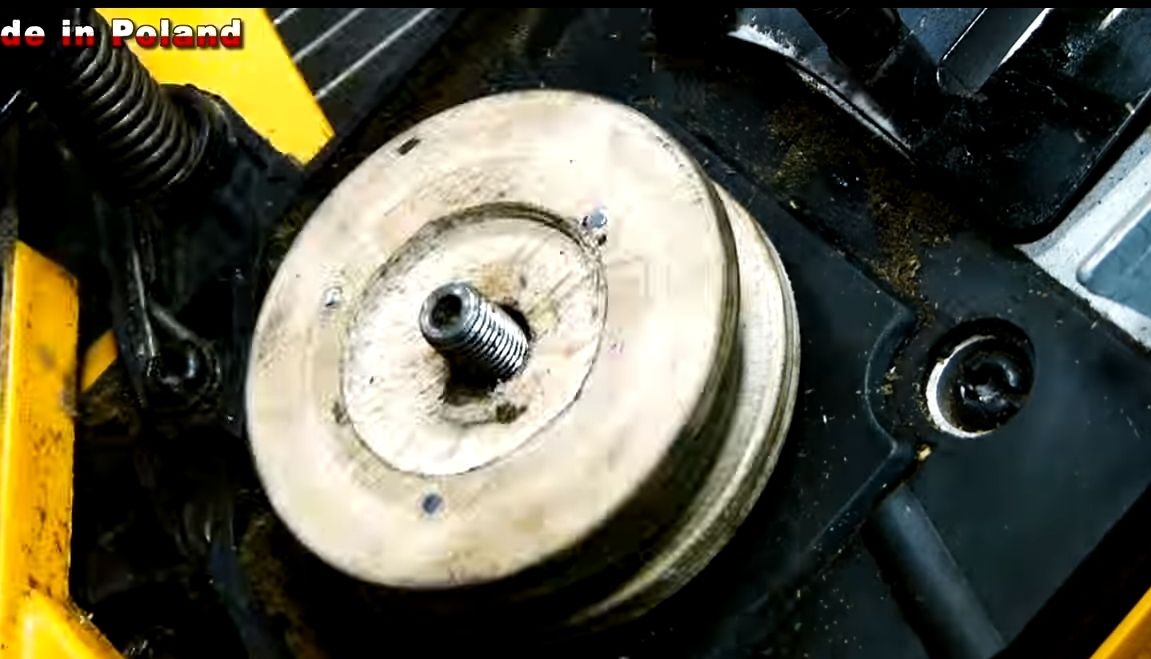
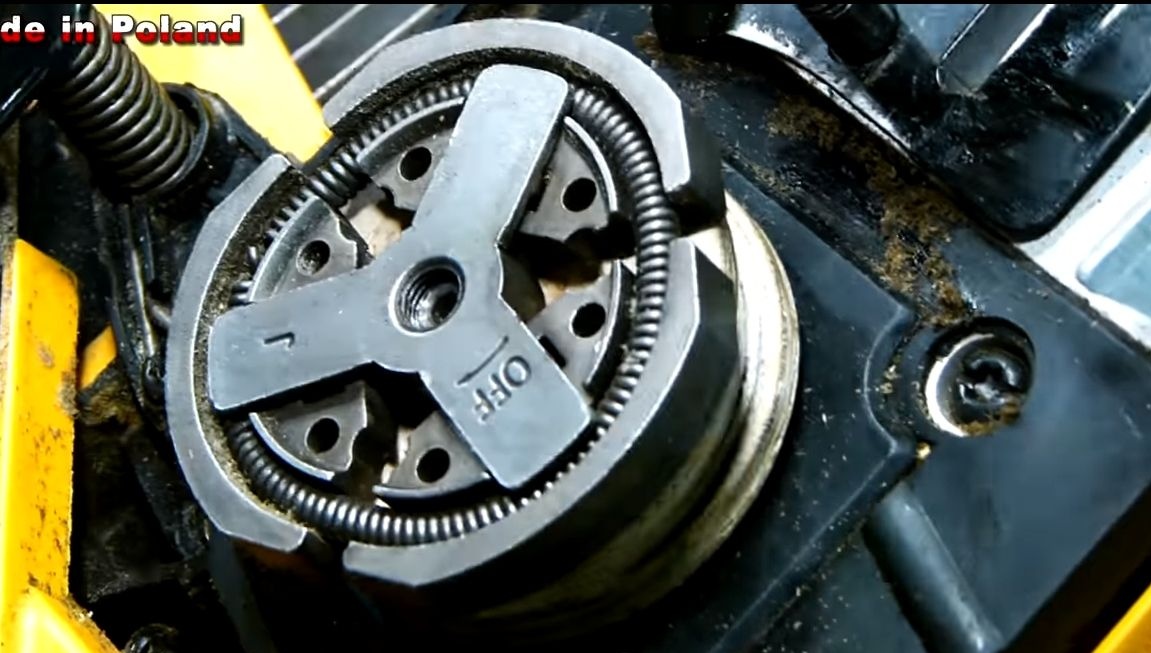
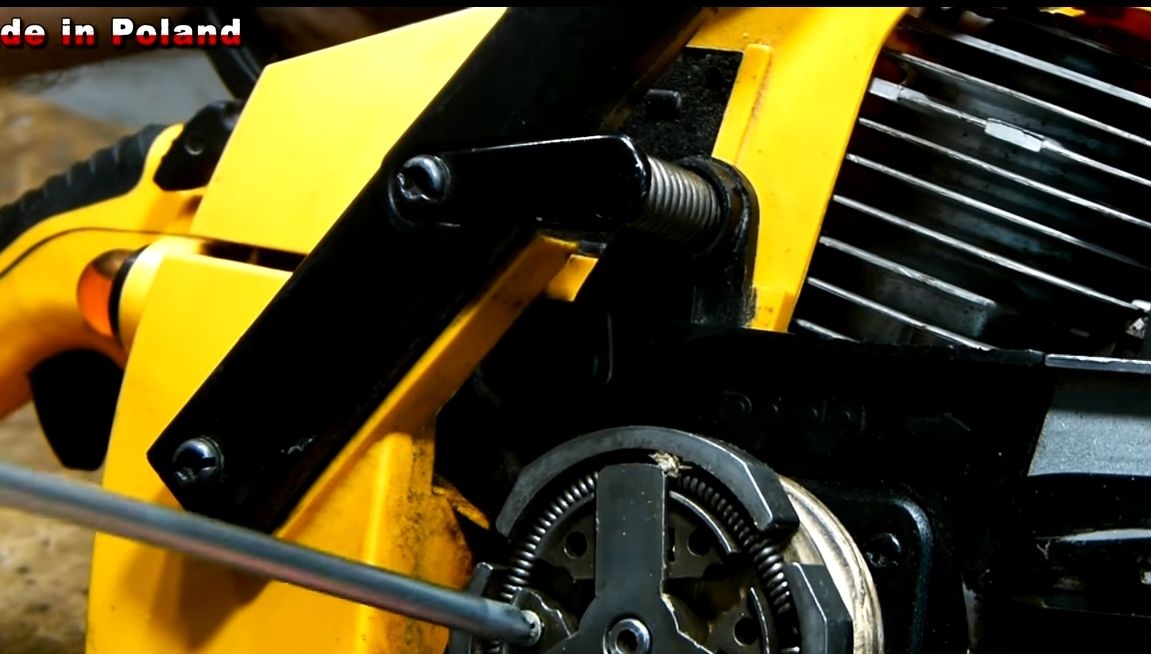
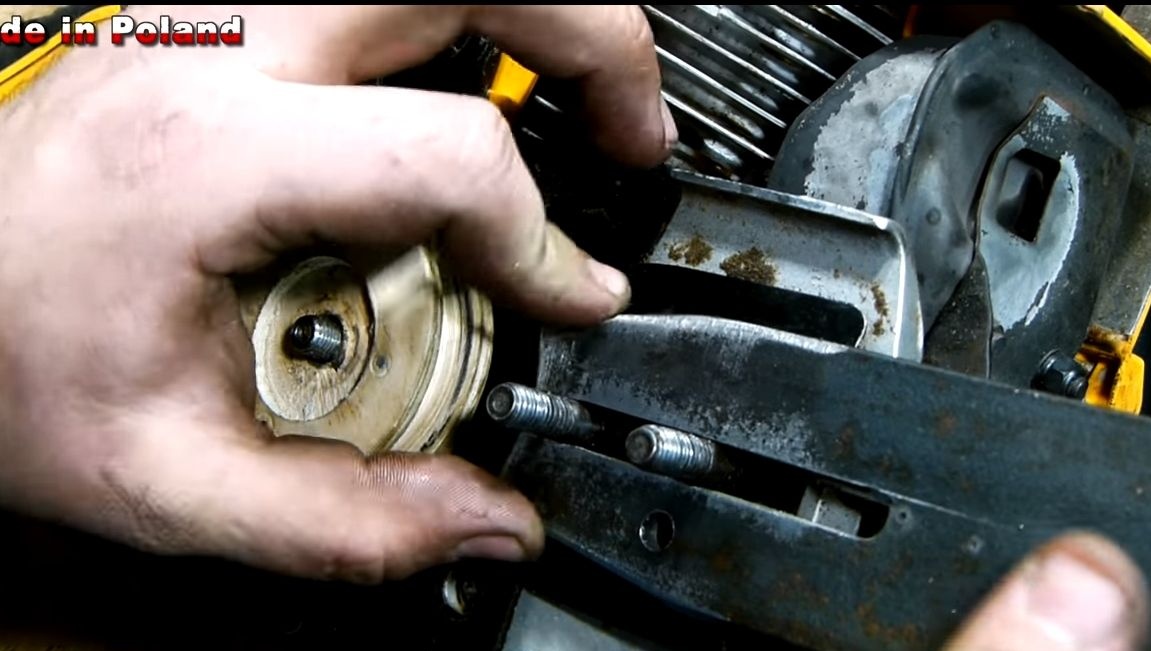
First of all, remove the tire from the grinder, then you will need to remove the clutch along with the sprocket. This task can turn out to be quite difficult, as often the clutch tightly clings to the shaft and cannot be unscrewed without a service center. To try to unscrew the clutch, you will need a special key, it is similar to the one that unscrews the nut on the grinder. Remove the top cover from the grinder and turn out the spark plug.
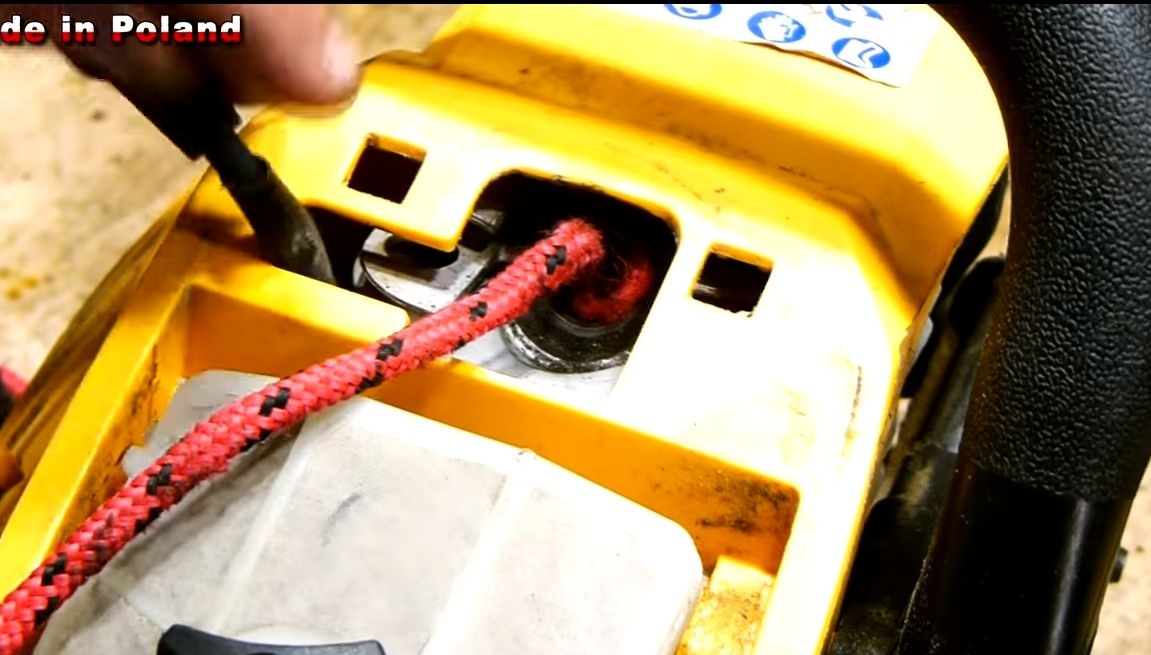
Put more rope or a piece of skin in the candle hole that you can pull out. Thanks to this, you can lock the piston and try to unscrew the clutch. If it works, great!
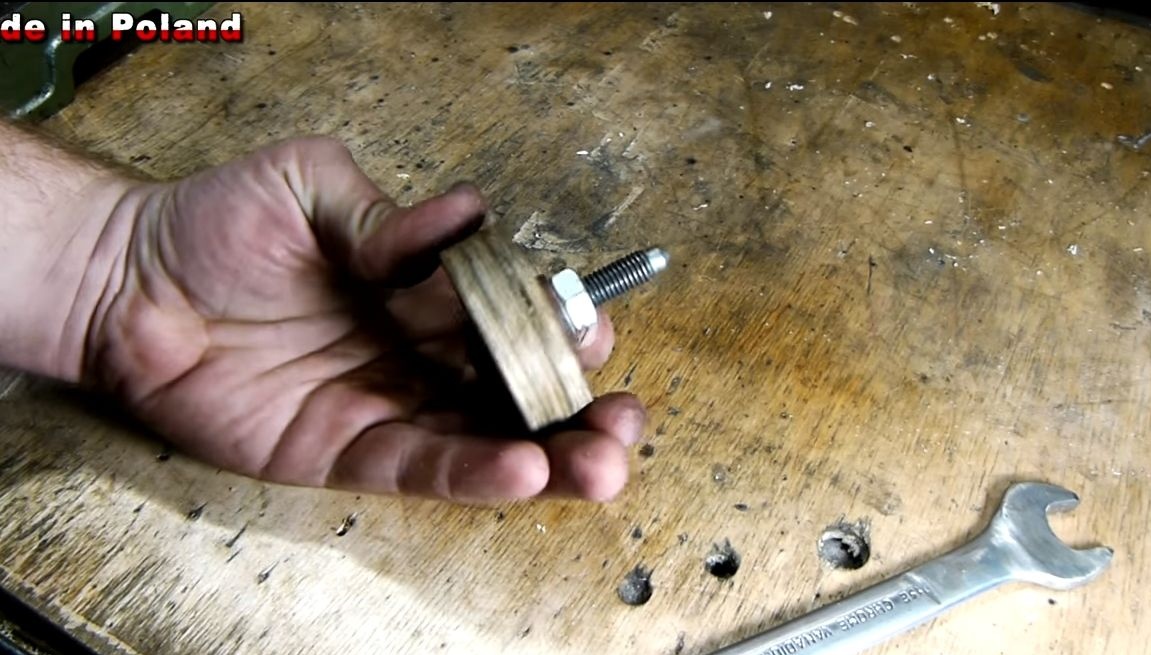
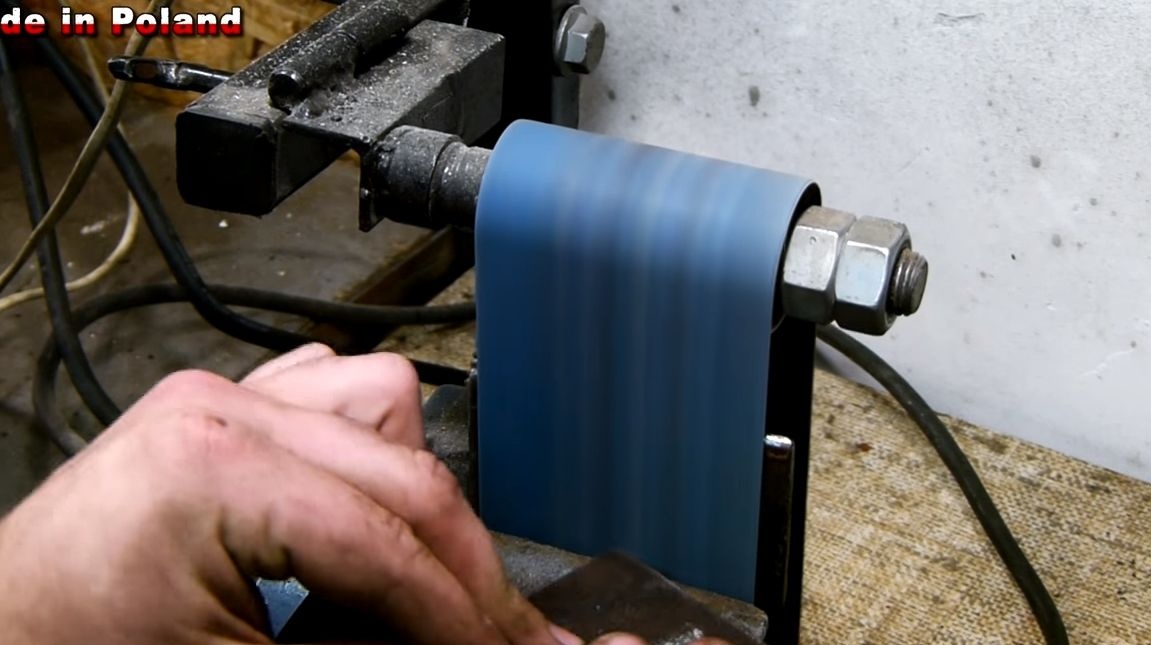
Step Two Thrust bush
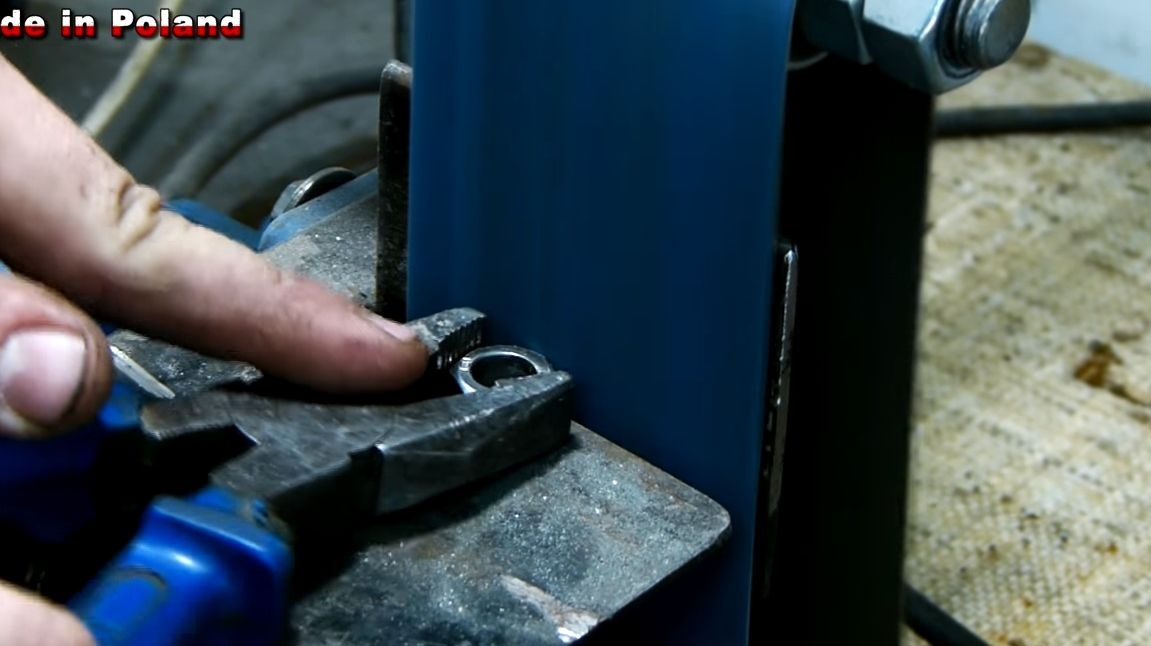
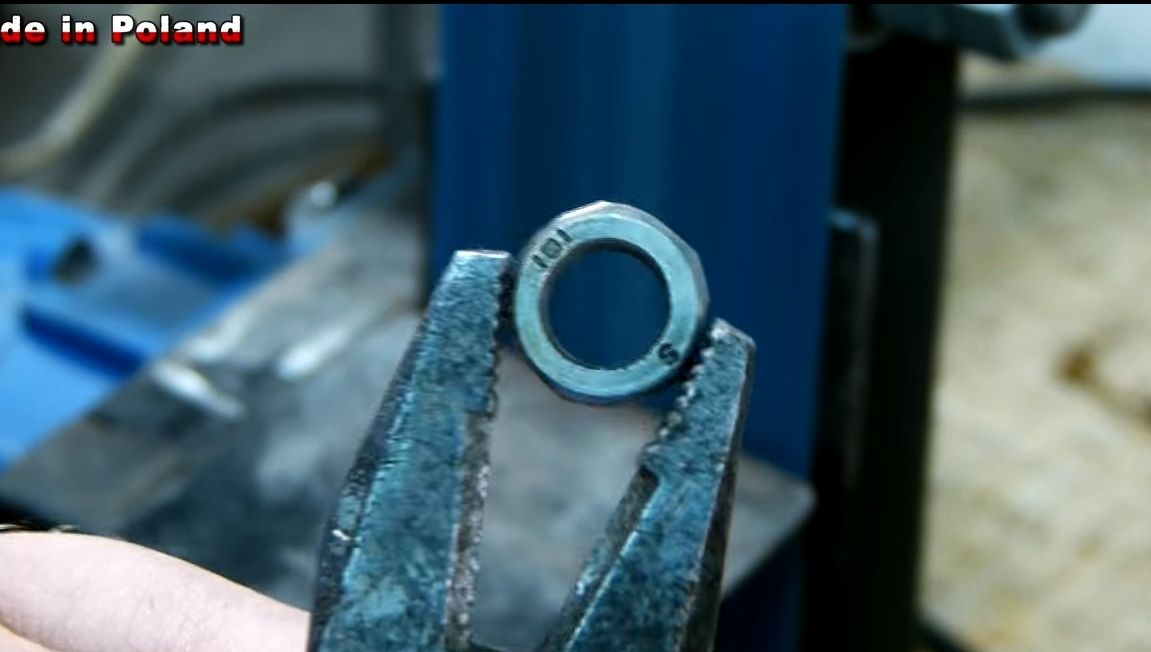
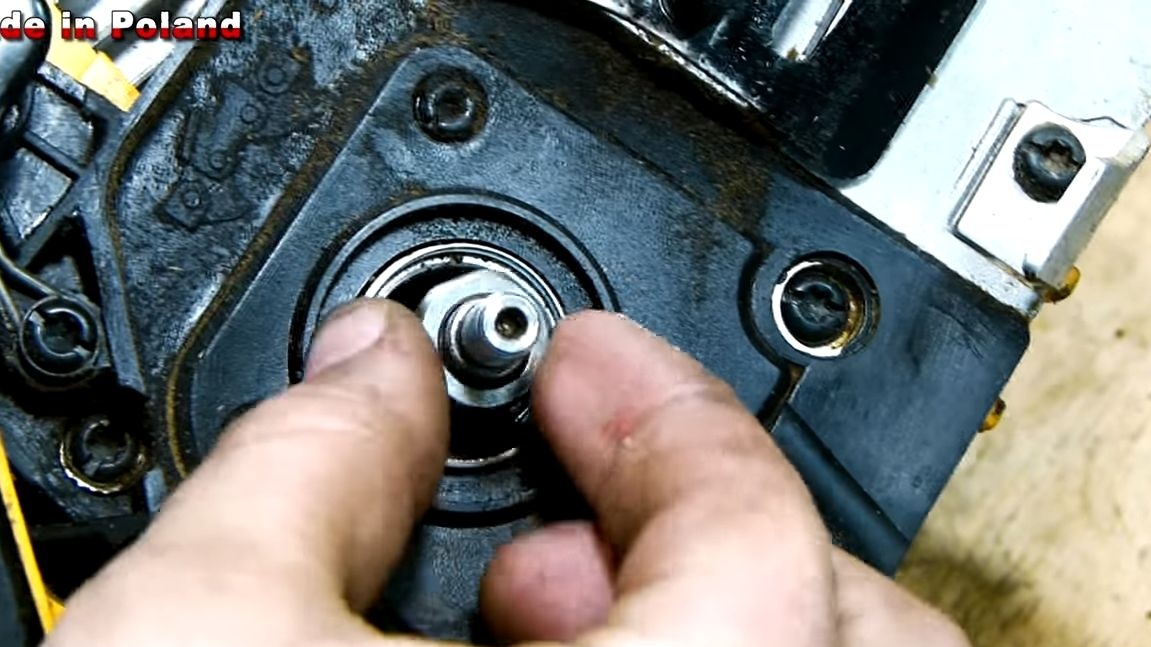
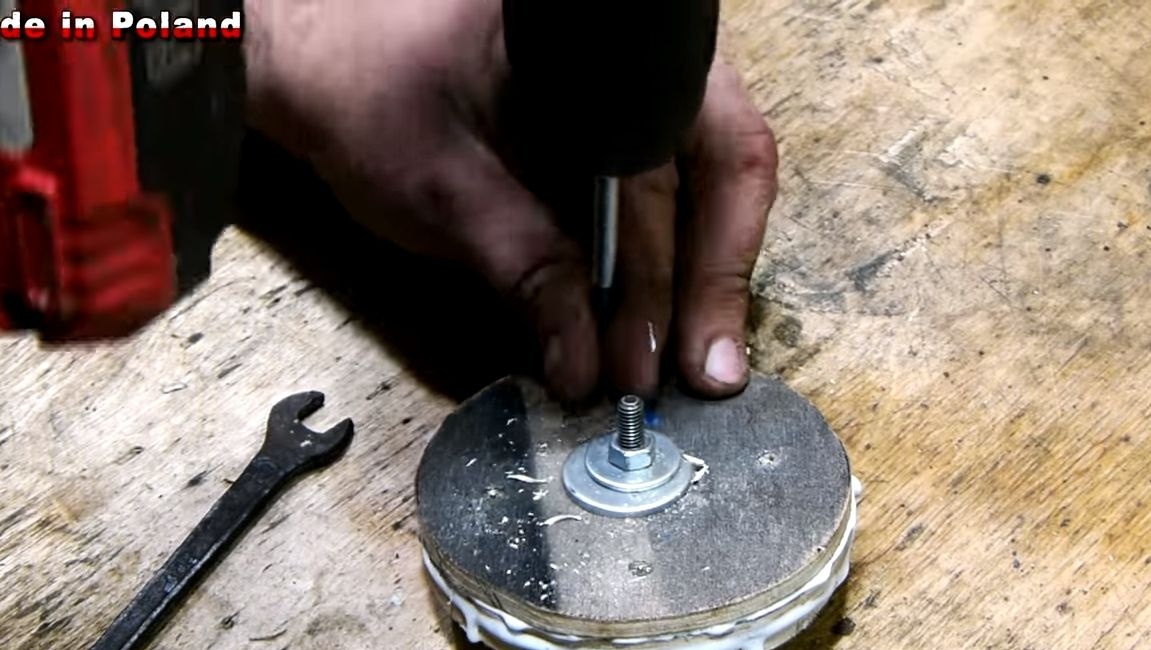
To abut a pulley against something that will be mounted on the axis of the chainsaw, make a thrust bush. The author makes it from a nut of a suitable size. Finish the edges of the nut by screwing a bolt into it and holding it in the drill chuck.Turn on the drill and belt grinder, try to make the nut as round as possible so that it does not catch on anything. That's all. Now put the nut on the motor shaft, it should abut against the protrusion on the shaft, which is provided there.

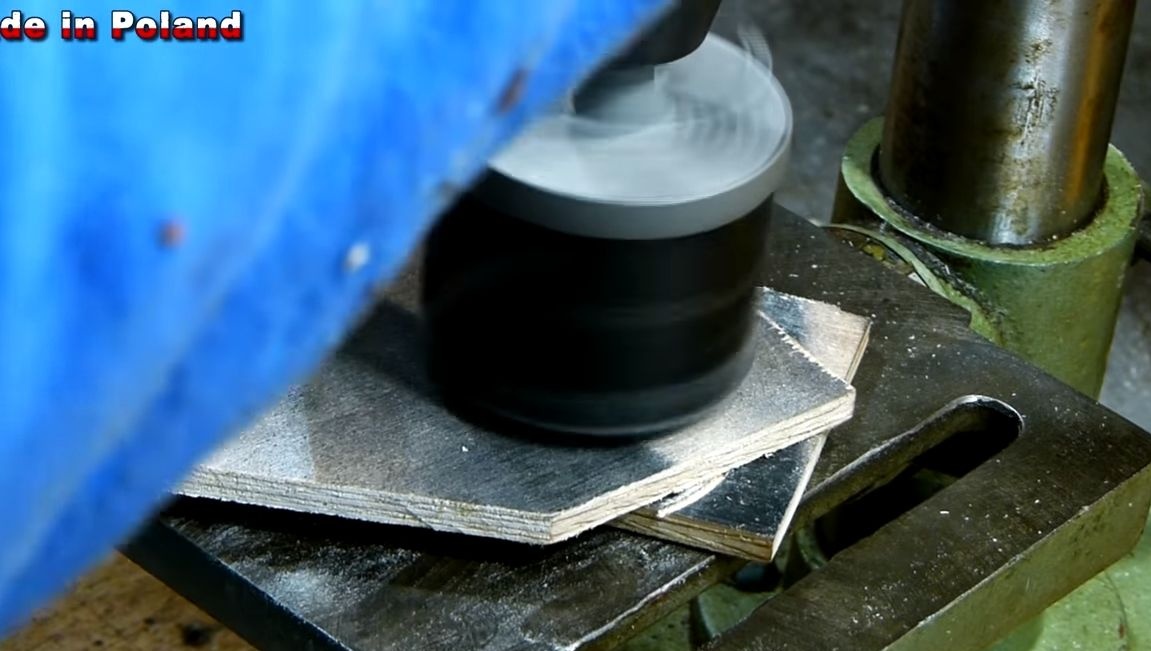
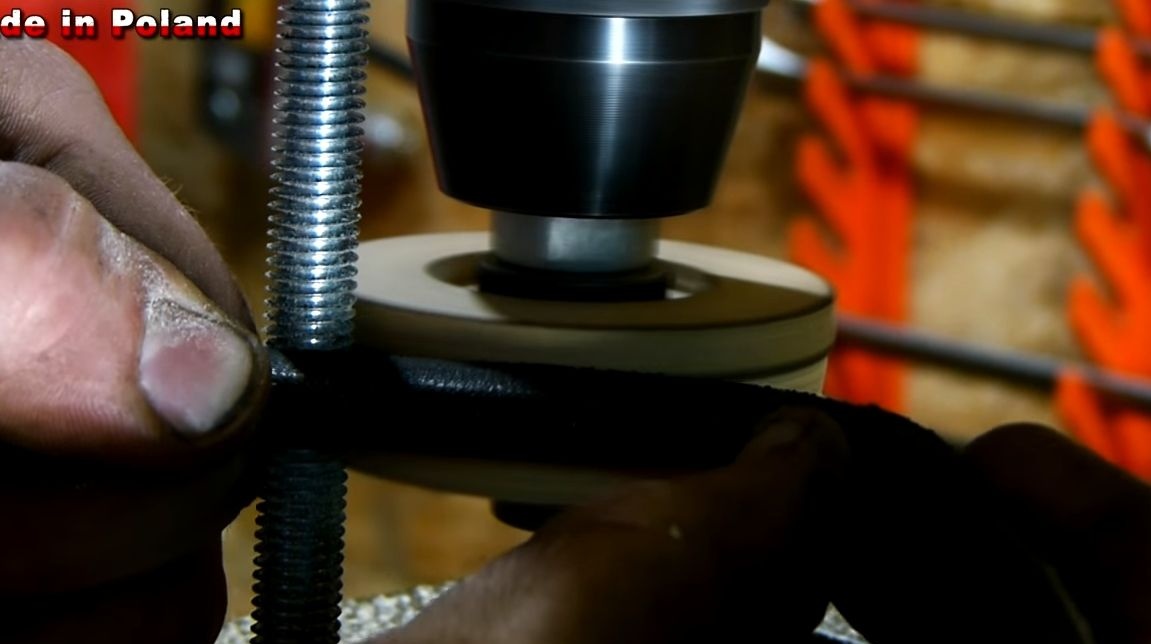
Step Three Lead Pulley Fabrication
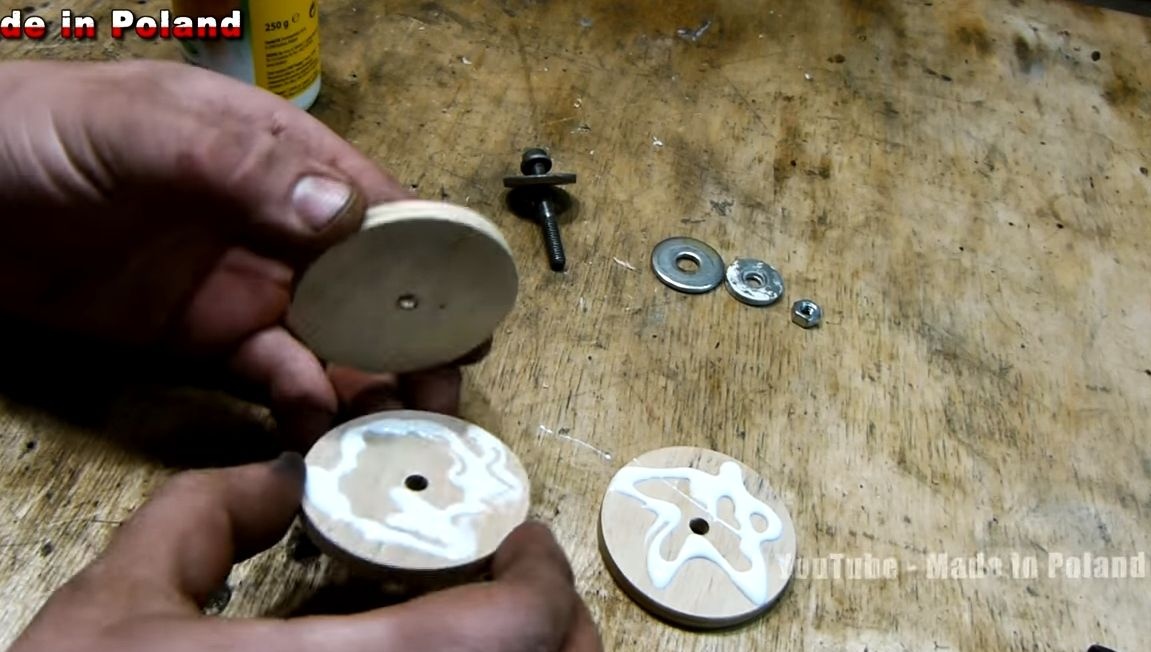
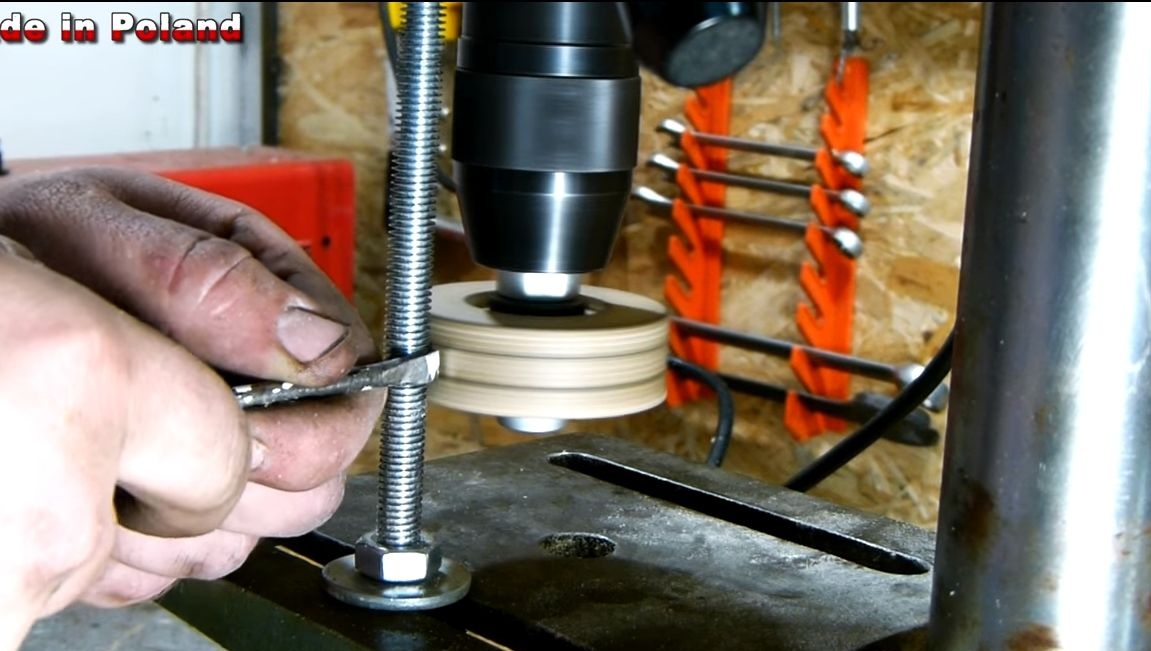
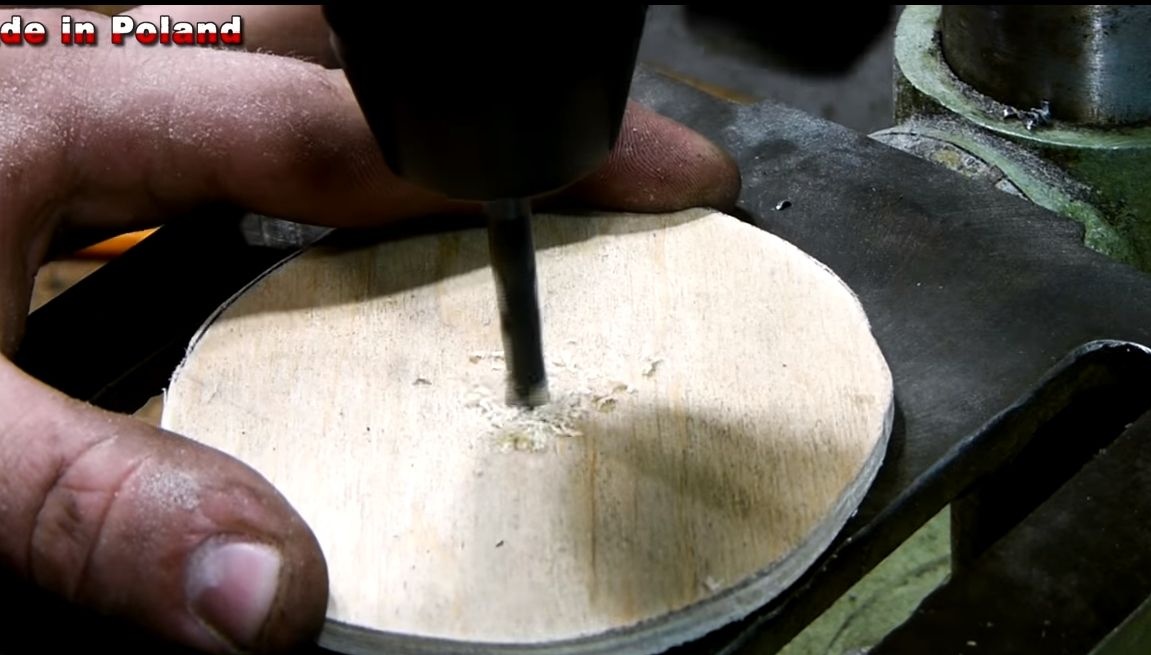
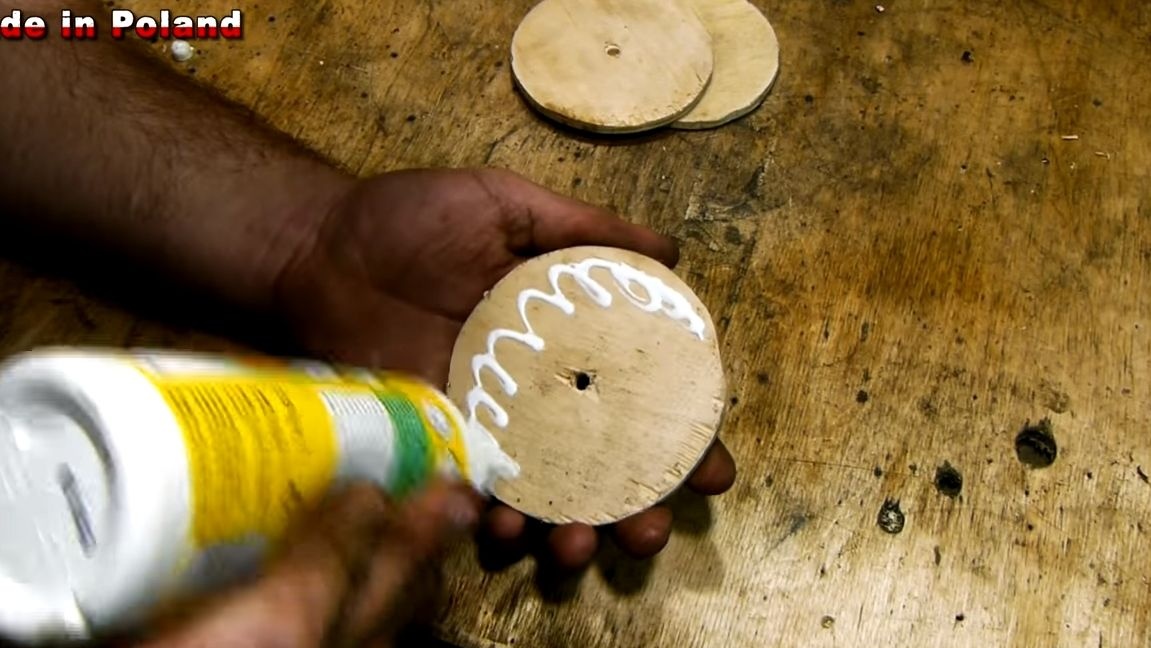
The drive pulley, like the driven one, is made of plywood. Cut three round logs with a drilling machine, then glue them together and tighten with a bolt and nut. Next, for reliability, screw three wood screws into the part to connect all the parts together.
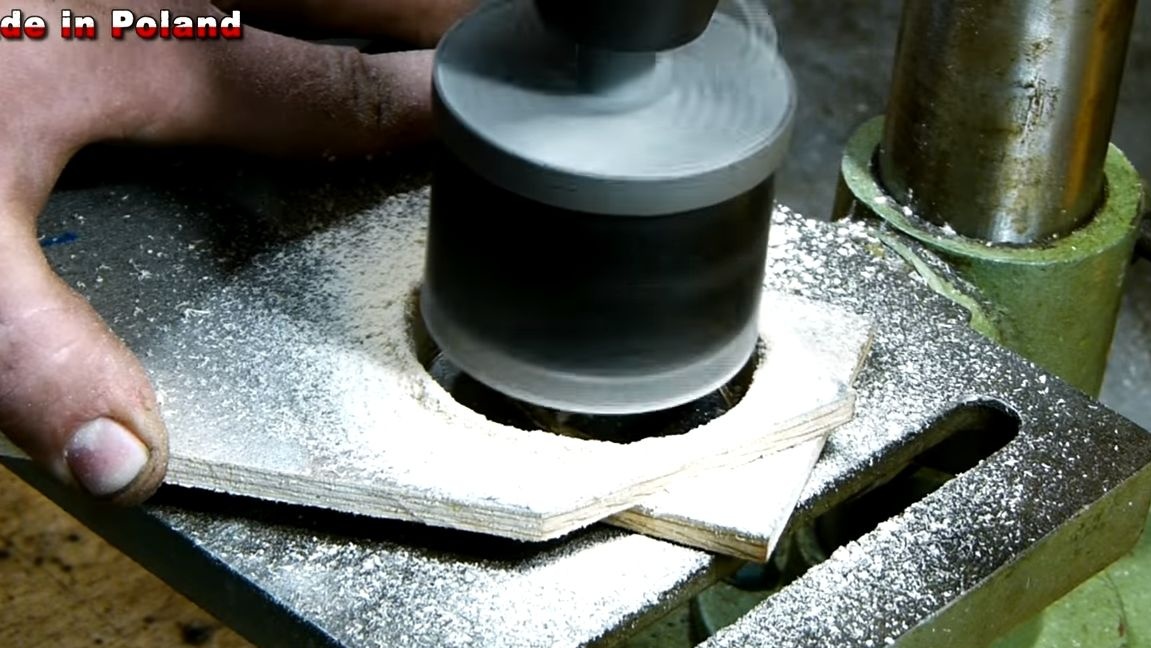
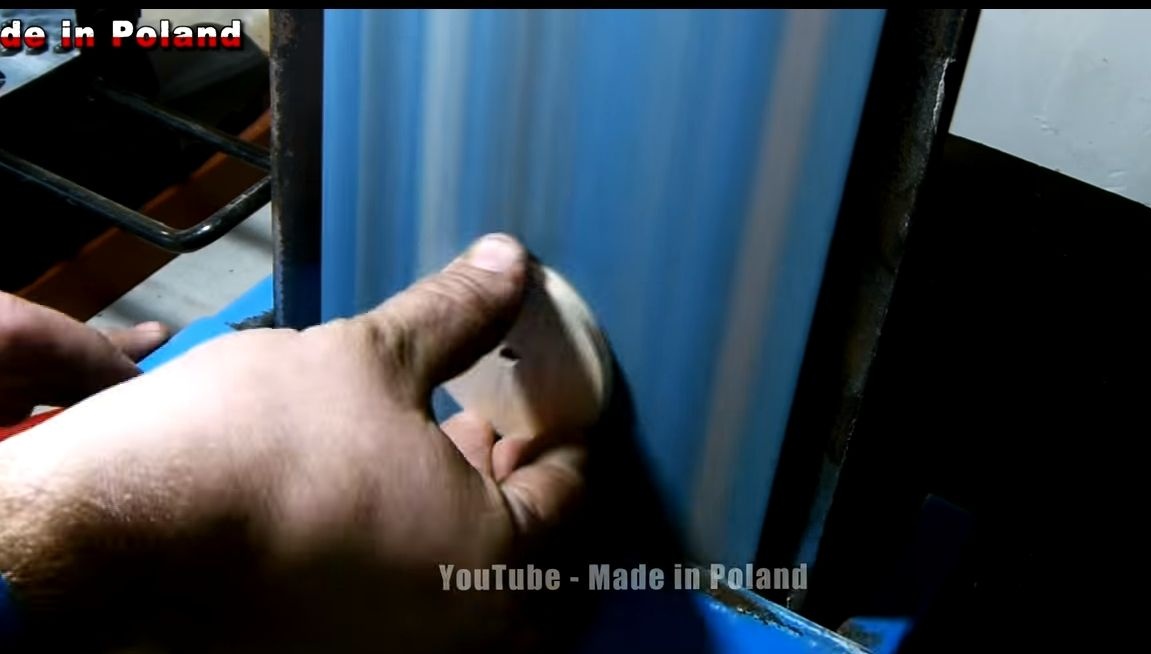
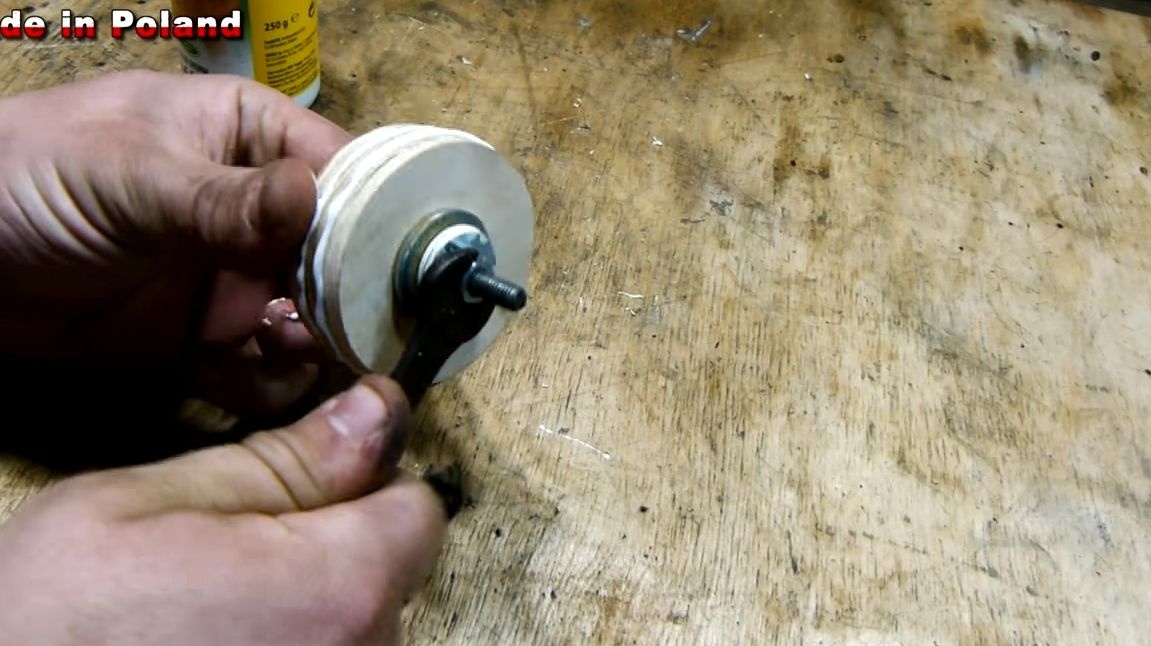
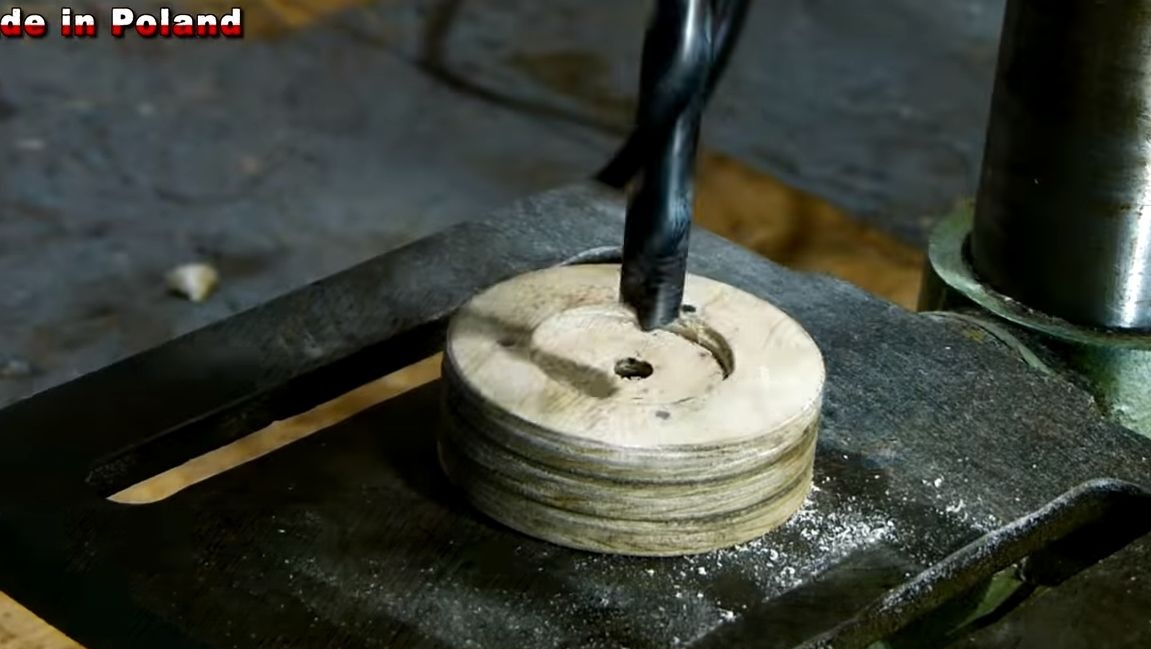
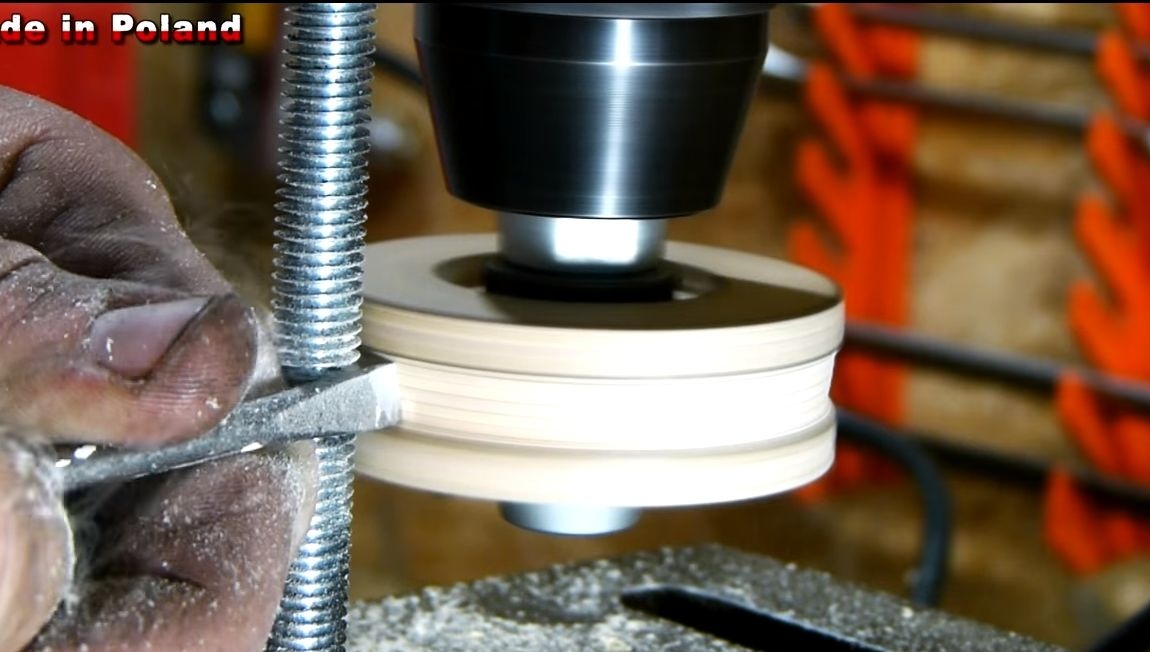
Drill a hole along the diameter of the shaft of the chainsaw and install a bolt with a nut into it. Clamp the bolt in a lathe or drill chuck and form a pulley. When you form the main profile, go over it with sandpaper to remove the nicks.
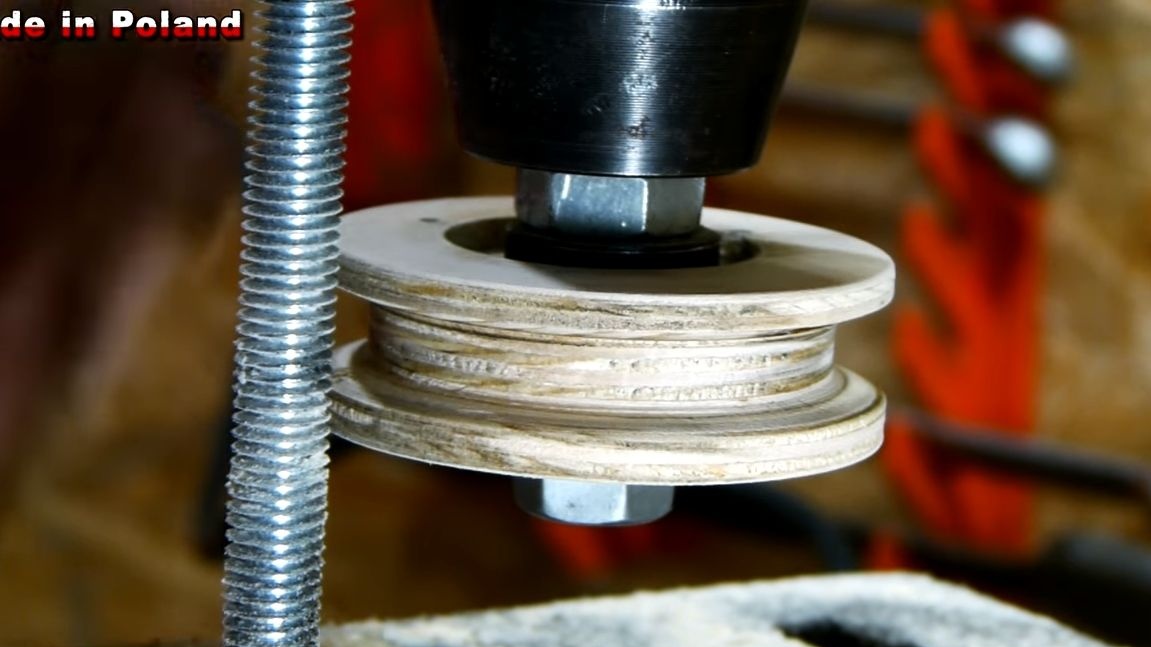
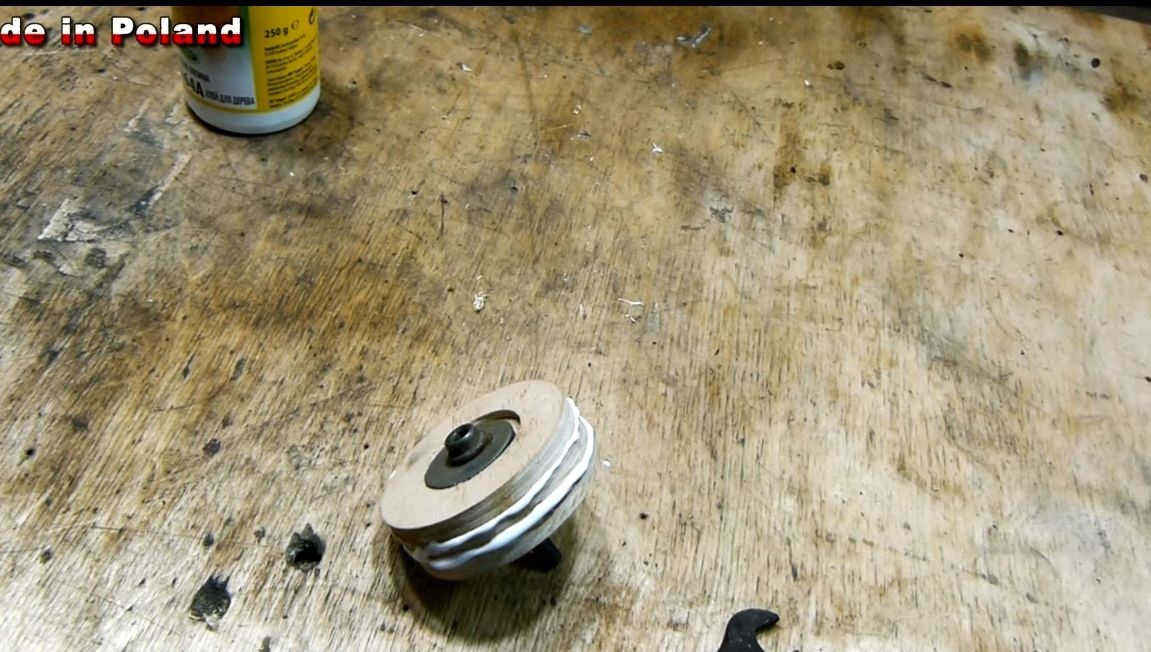
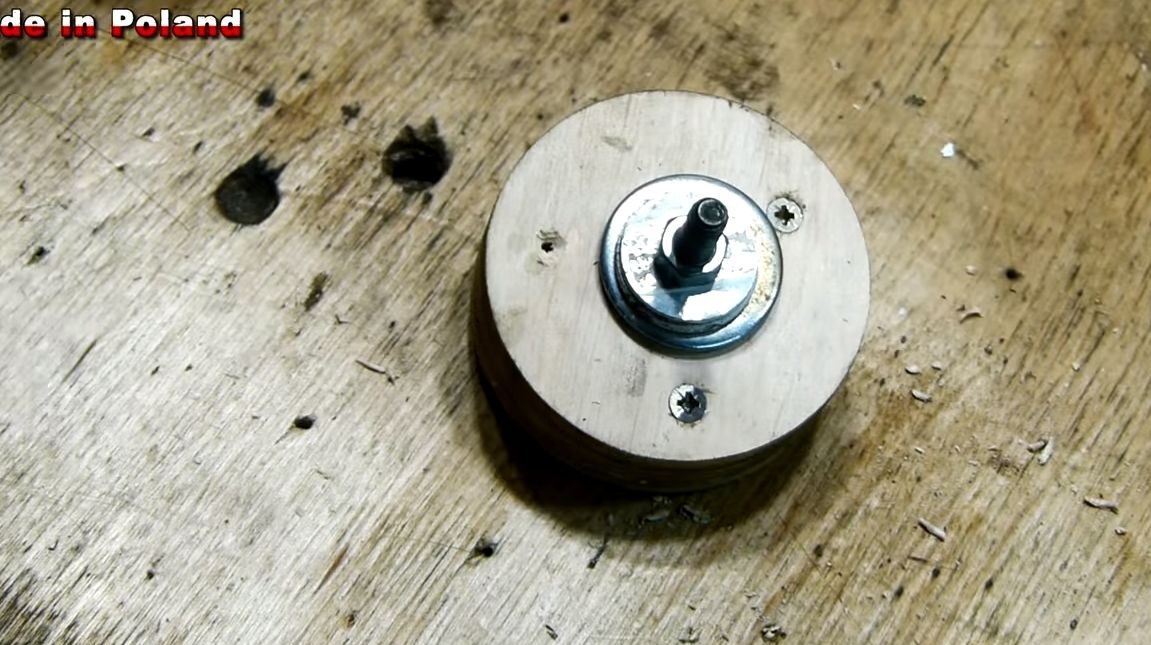
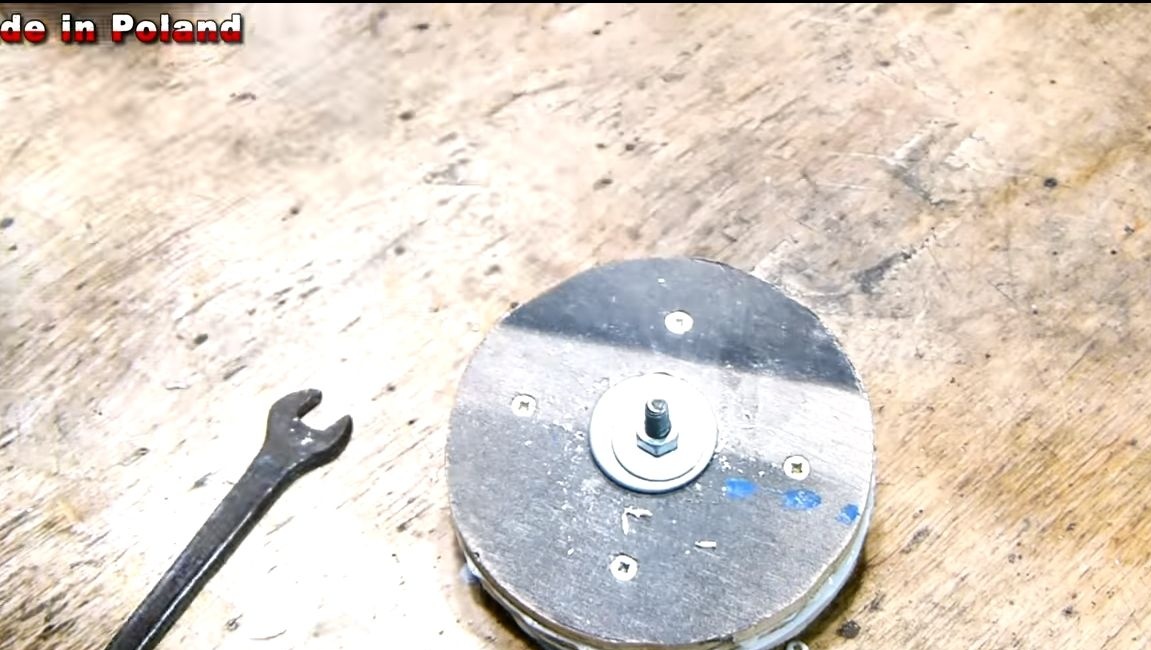
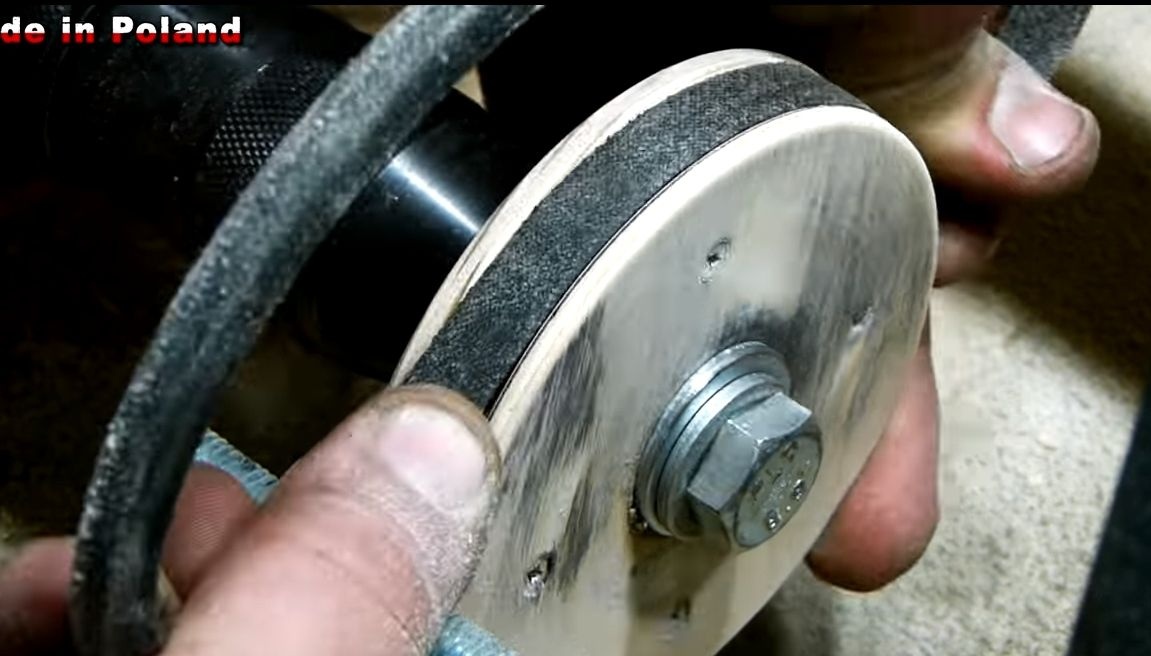
Pulley can be installed! First put a couple of washers on the shaft, and then install the pulley. From above, it is pressed by the clutch disc. The author screws a screw into one of the holes in the disk so that the pulley does not slip.
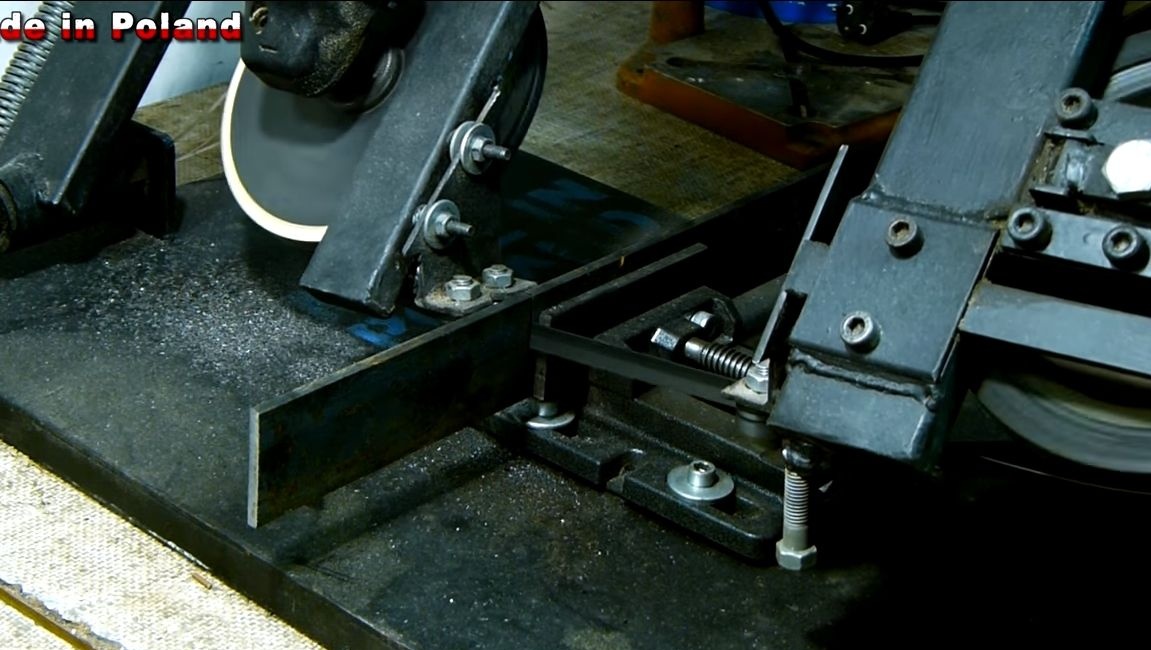
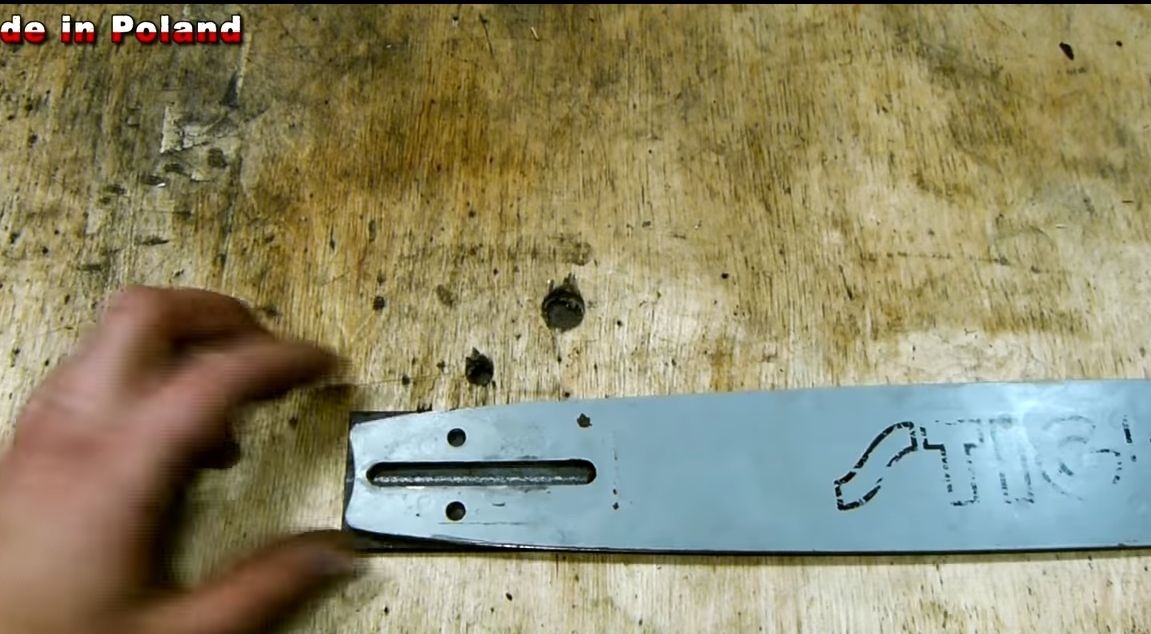
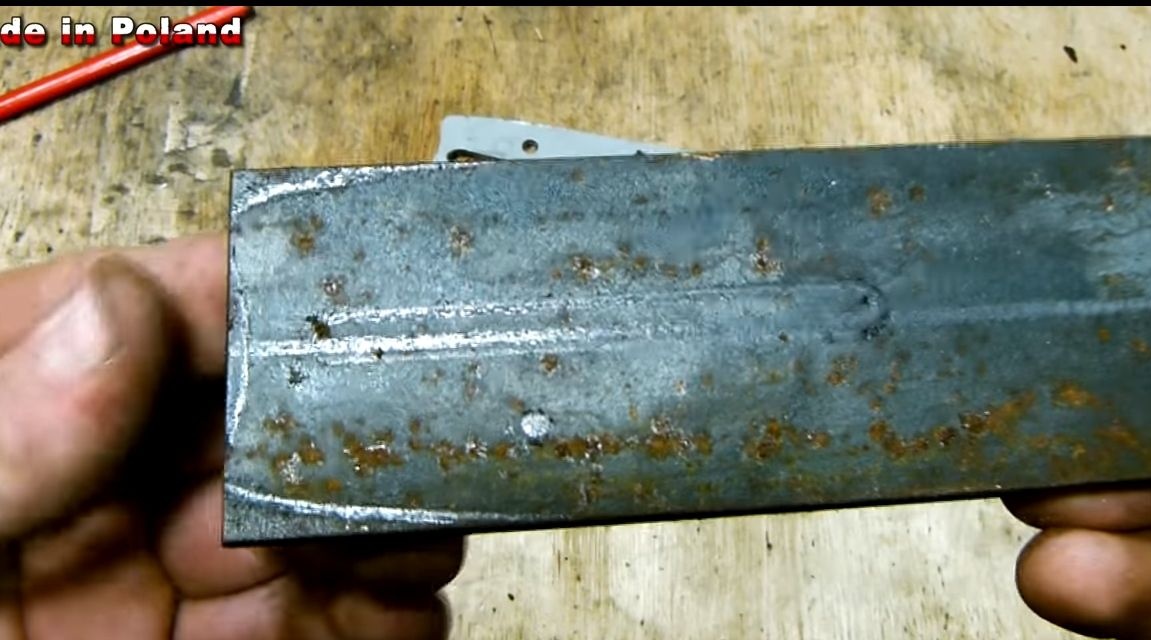
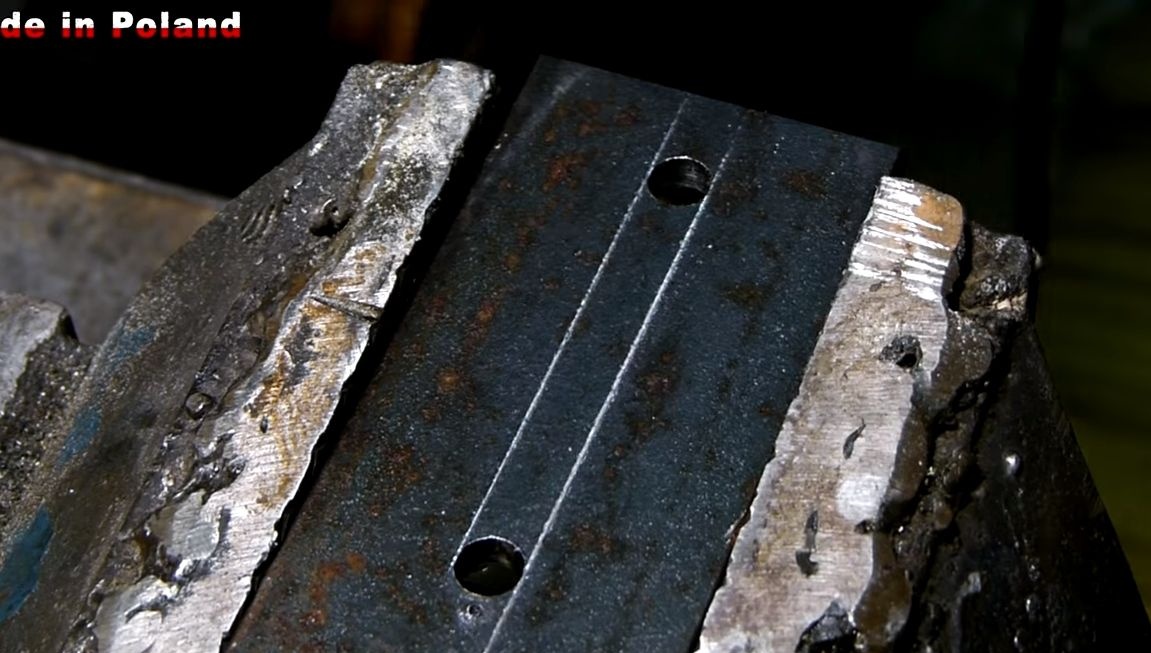
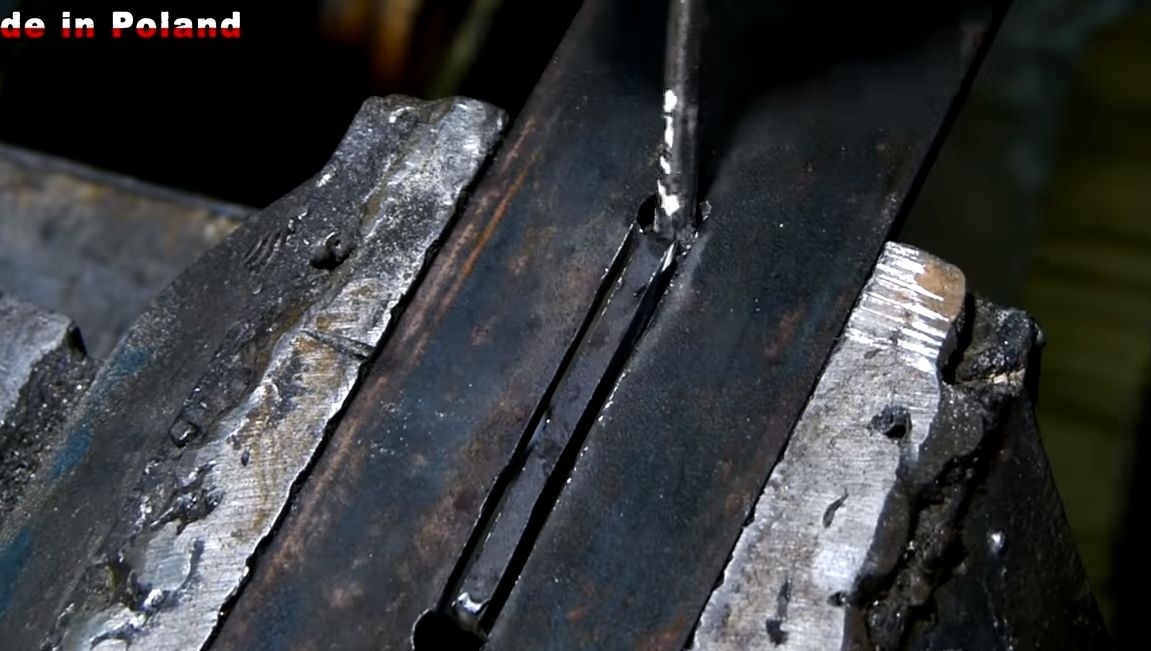
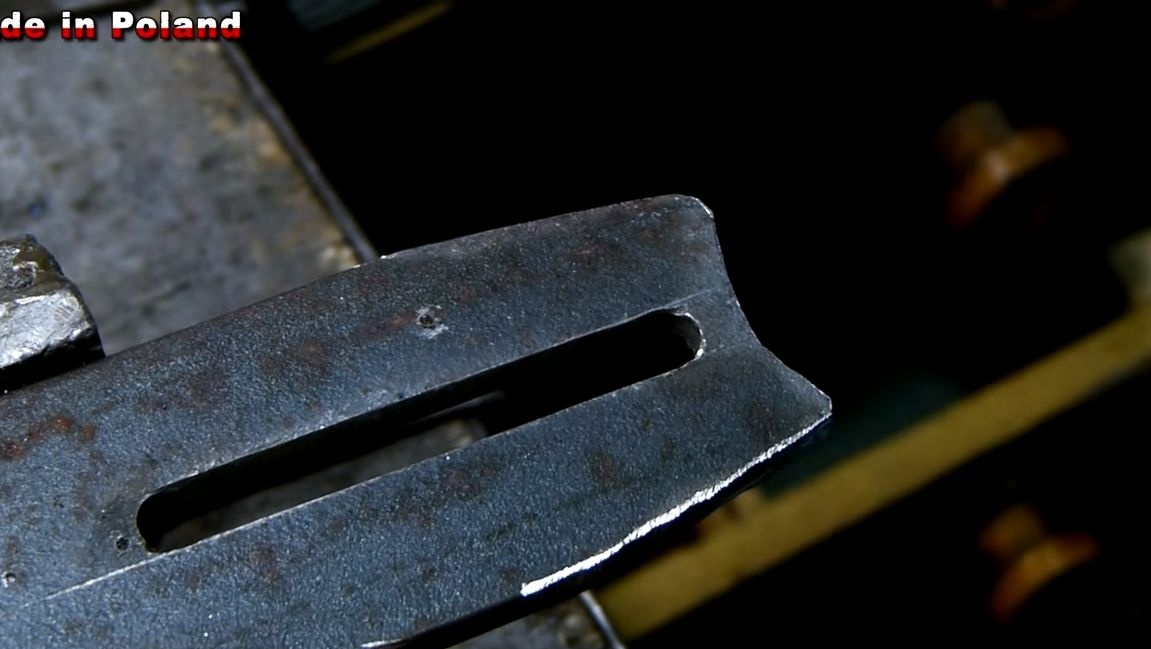
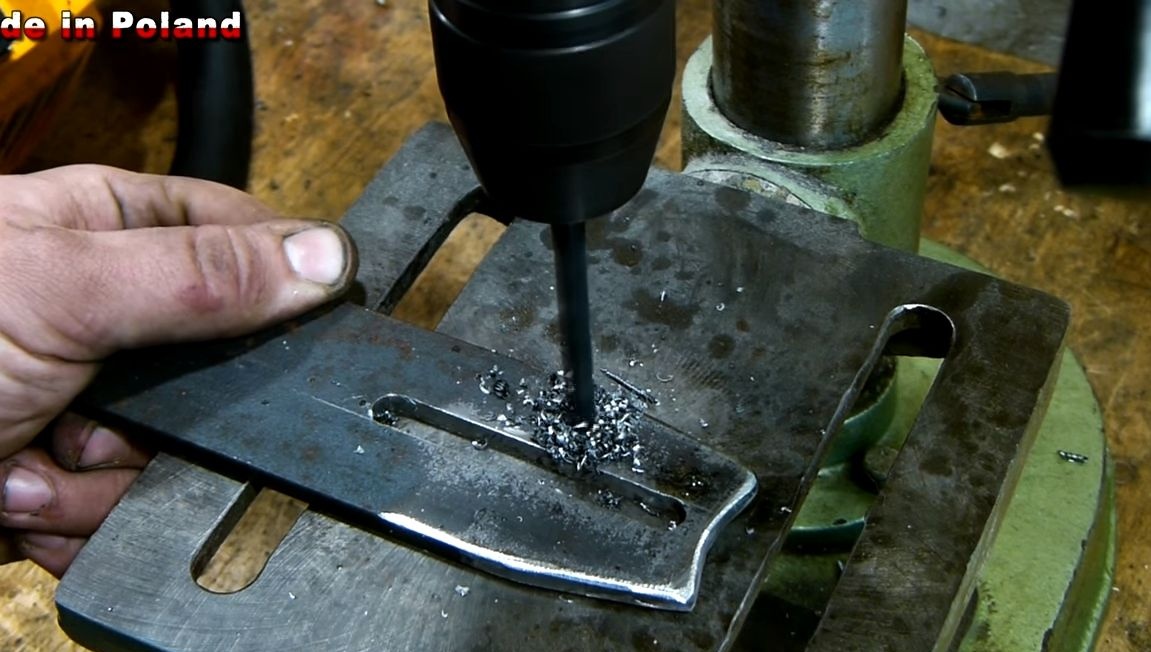
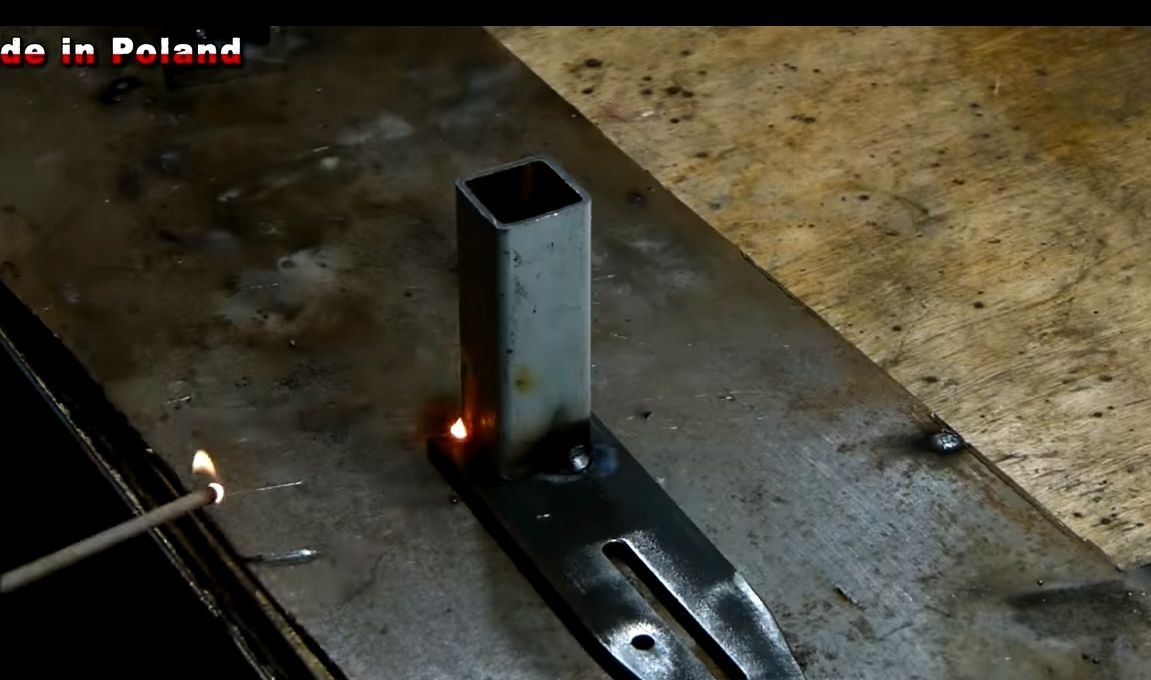
Step Four Cut out the fastener
So that you can easily install the design on a chainsaw, you will need to make a mounting bracket. In principle, if you have an old tire, you won’t need to be smart, just cut the piece you want from it. Weld a piece of square pipe to the plate.
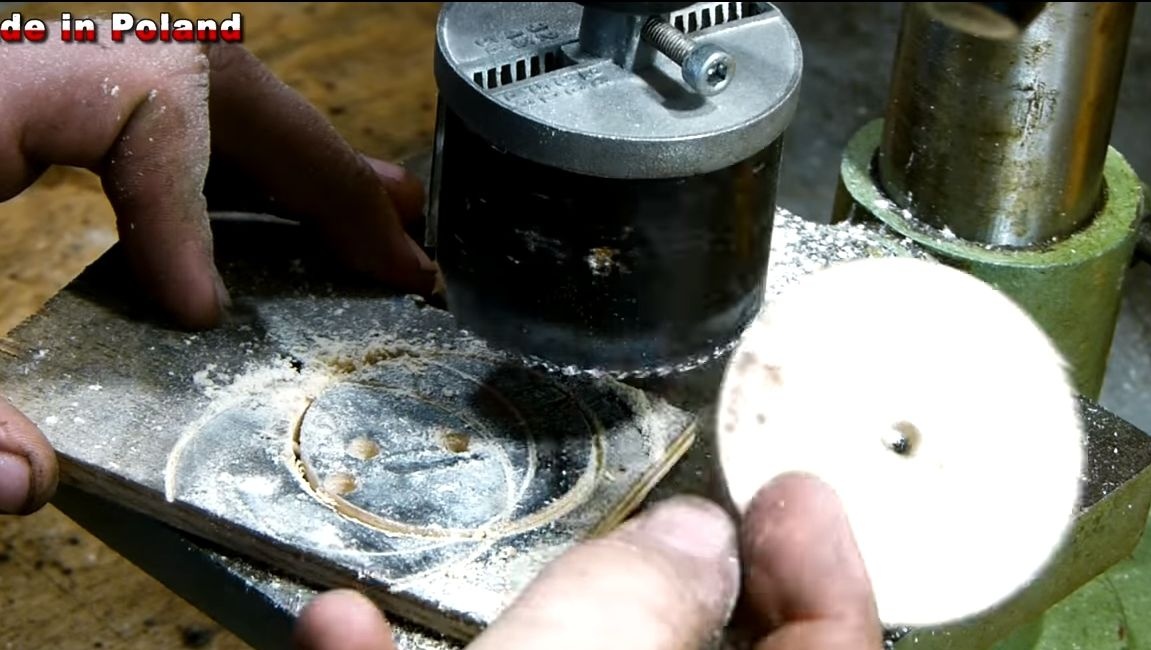
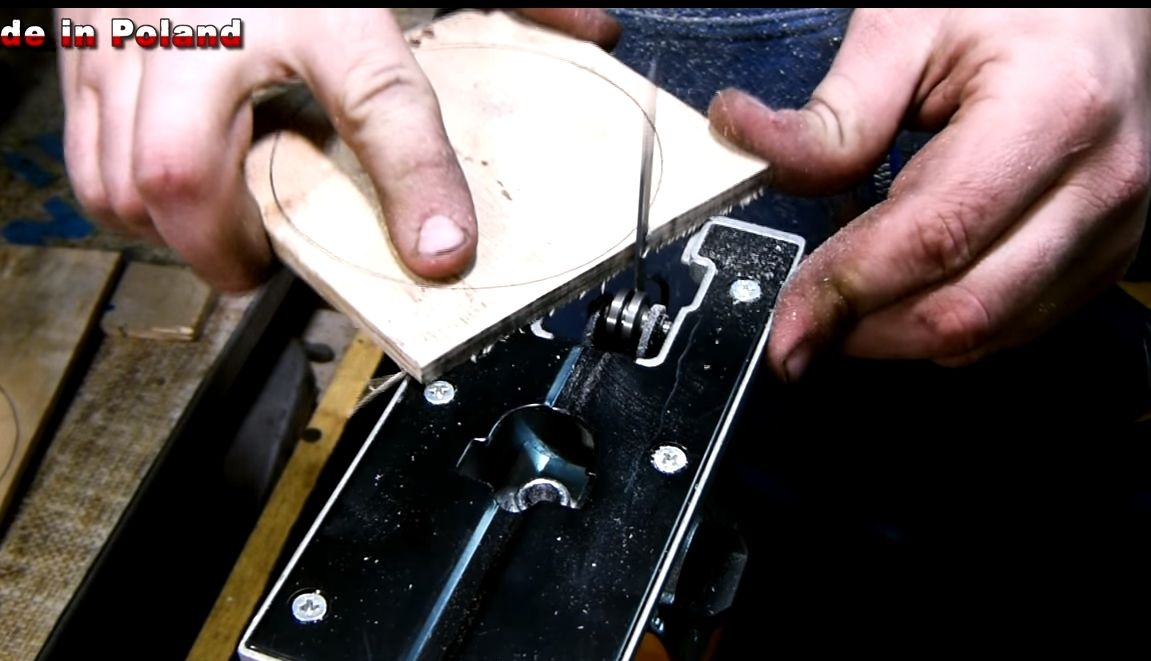
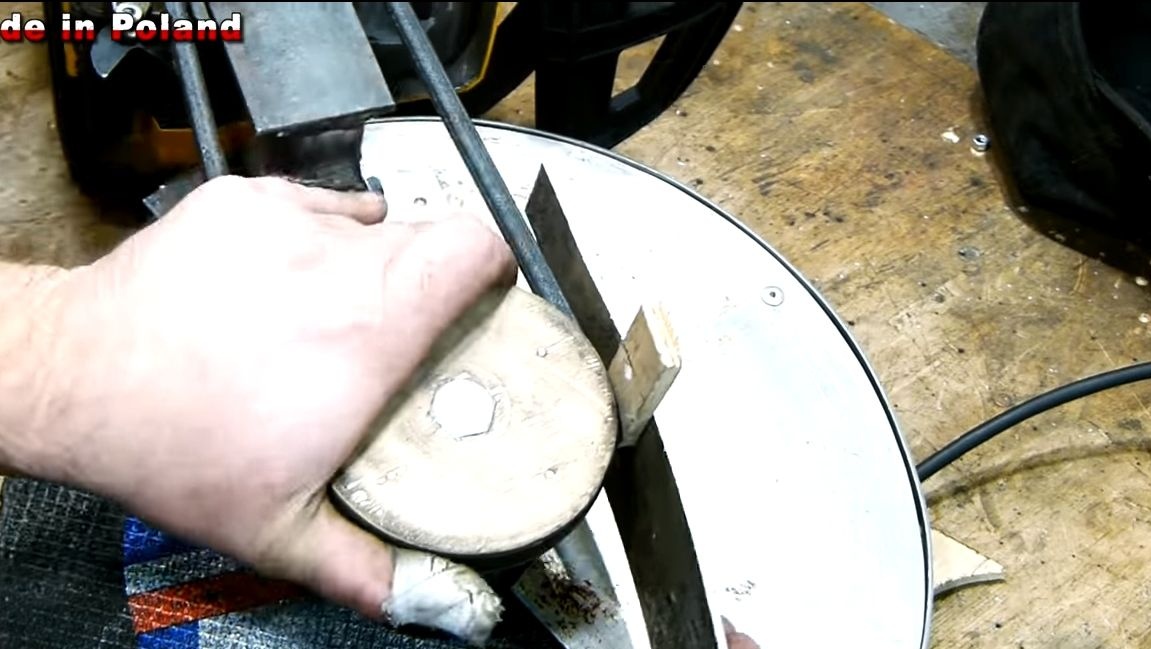
Step Five We make a driven pulley
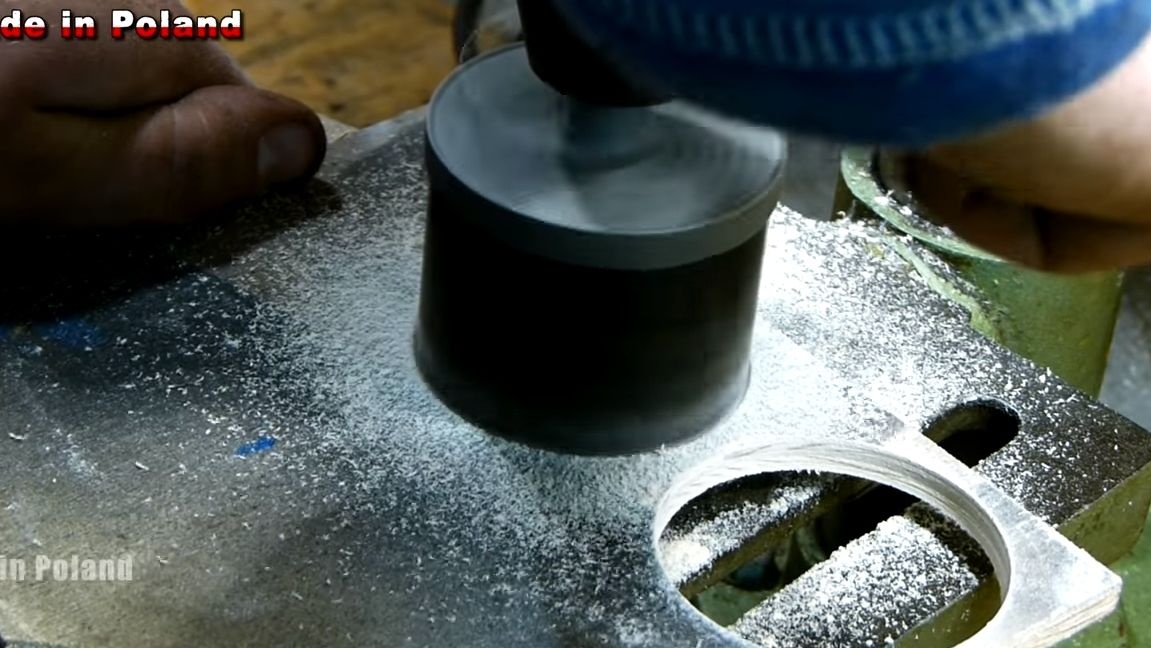
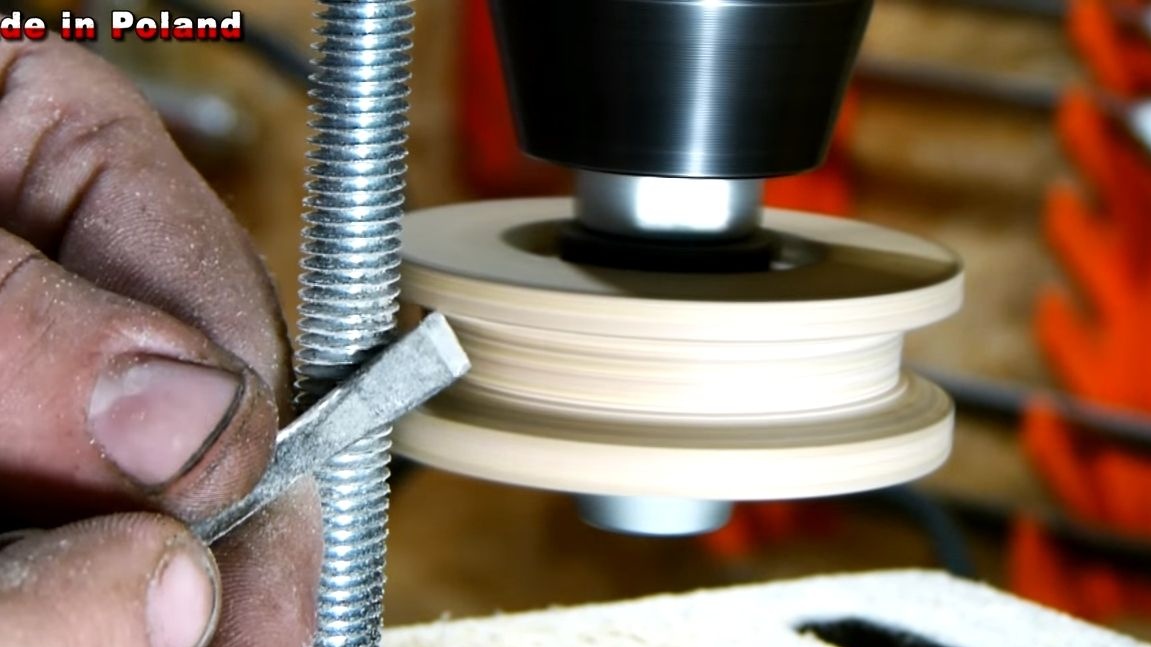
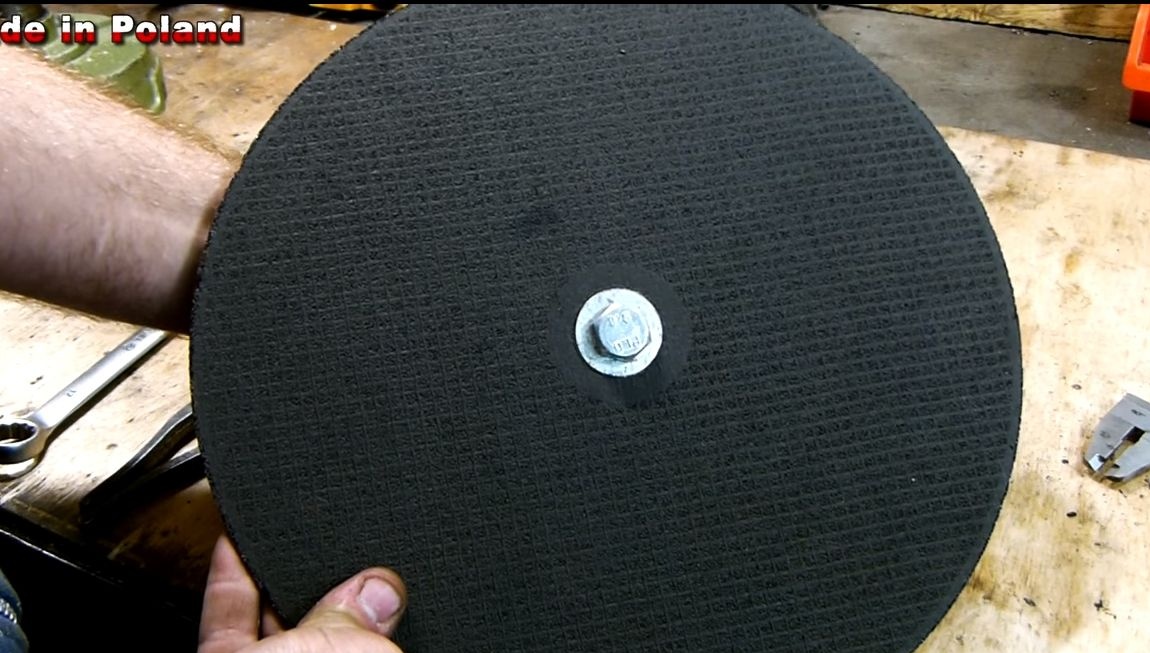
The driven pulley is made in approximately the same way as the leading pulley, but it is larger in diameter. Due to this, the revolutions become smaller, but the torque increases. This time round logs need to be cut out with a large diameter, so the author decided to use a jigsaw. By gluing, tighten, tighten the screws and then form a profile on a lathe or in a drill.

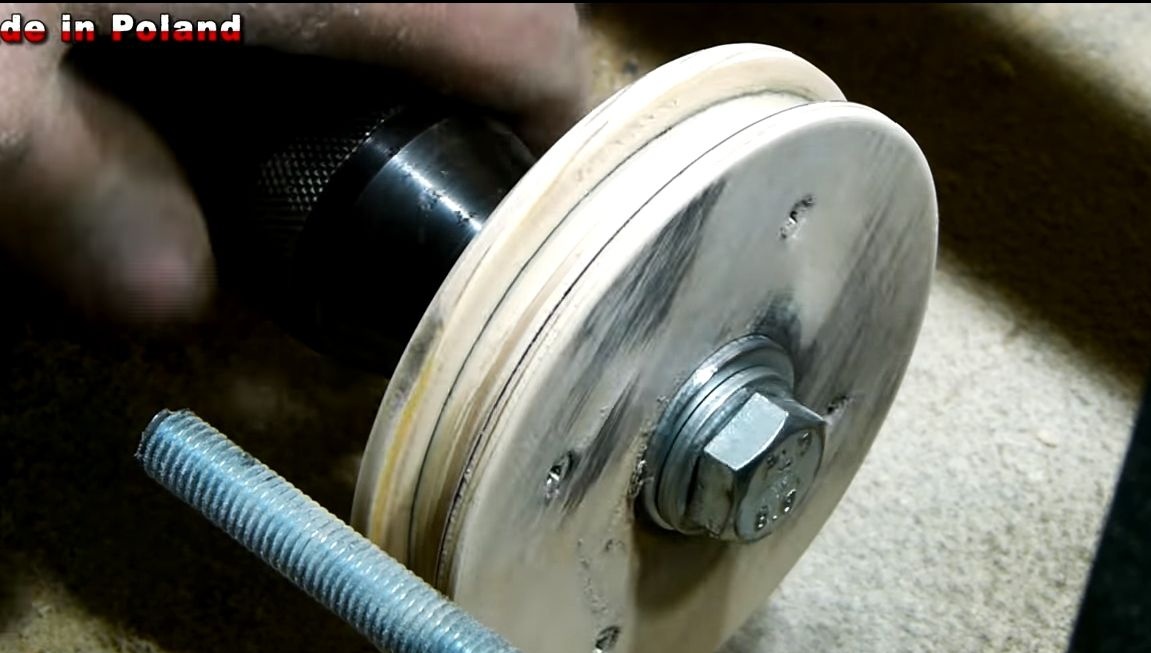
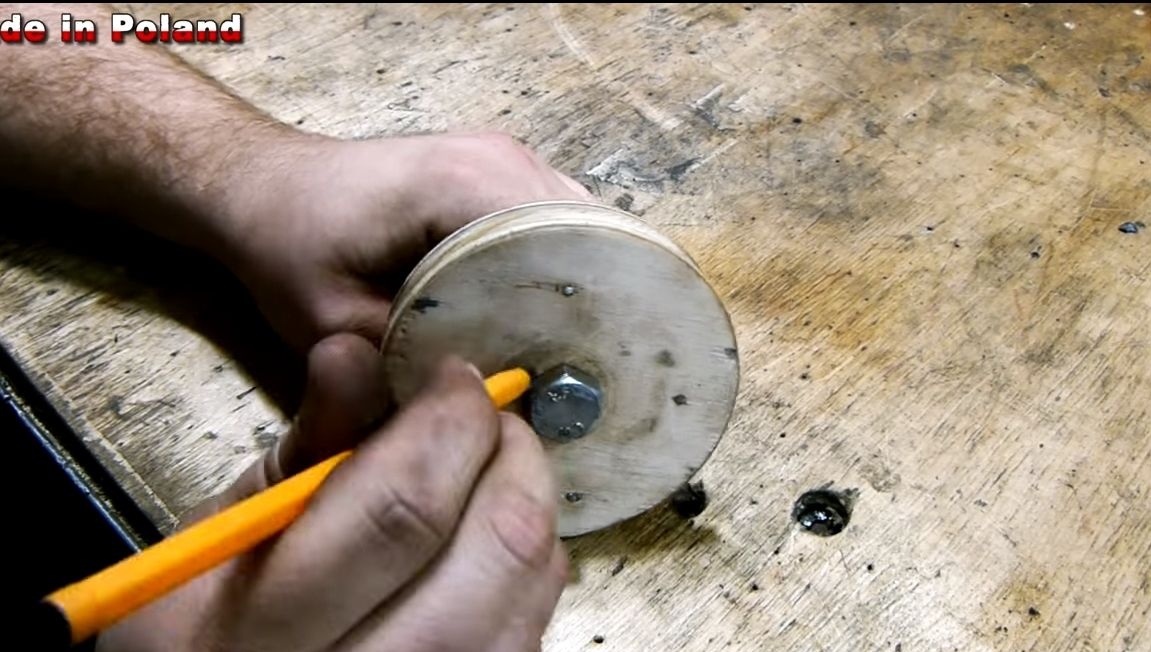
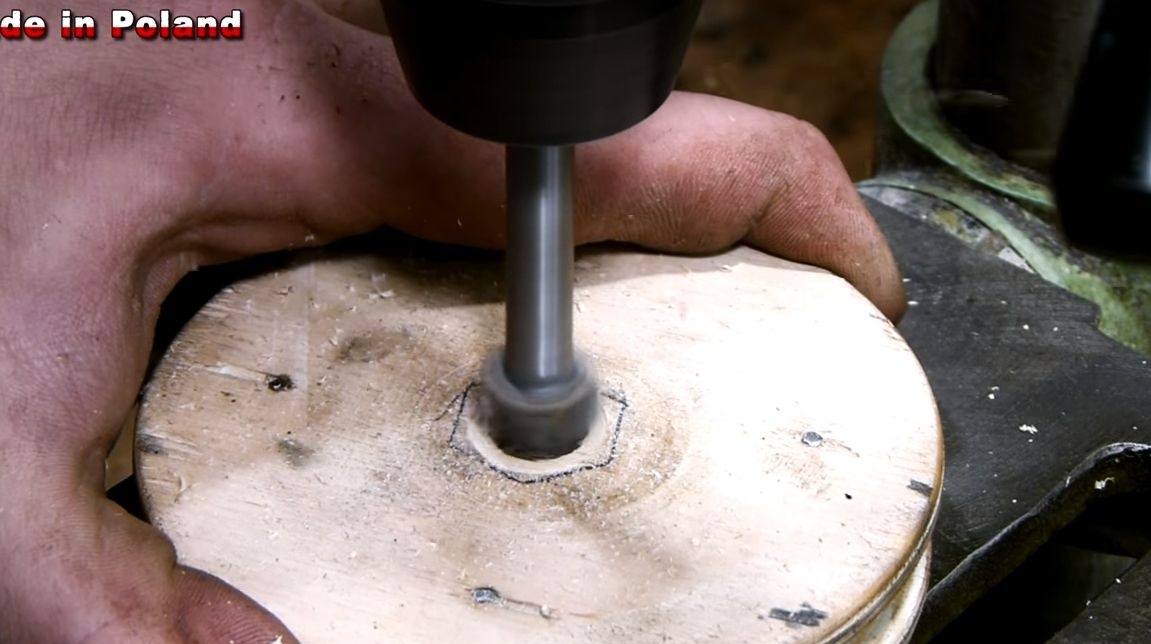
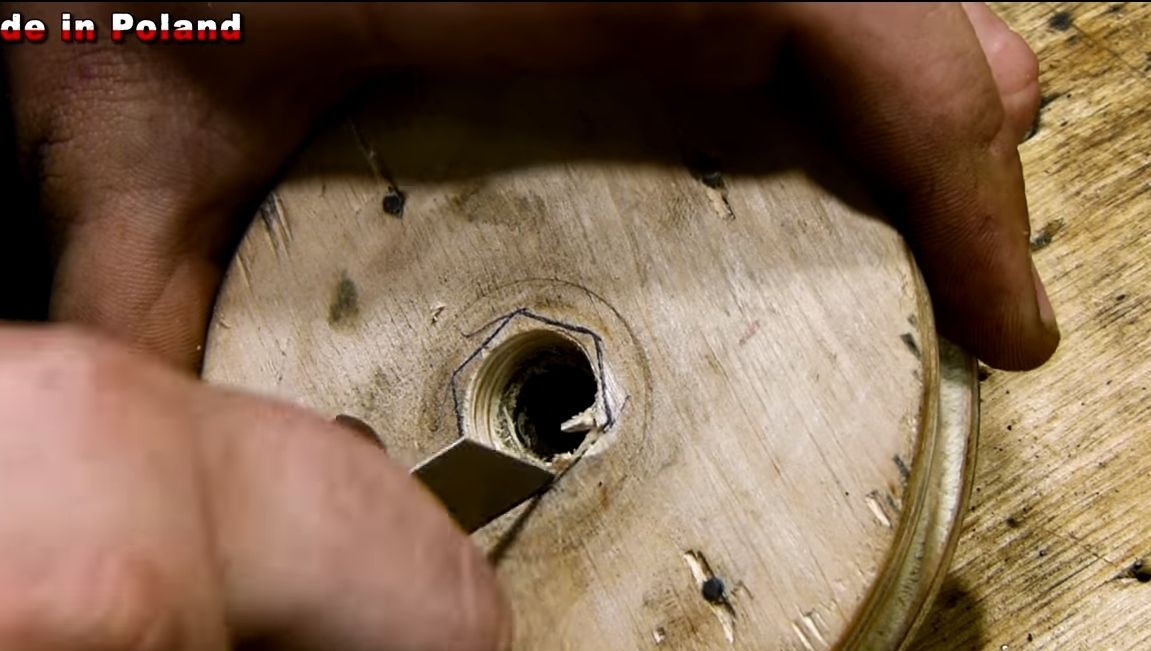
At the end, you will need to make a groove under the bolt head in the pulley. We drill a hole, the rest is cut with a clerical knife or a chisel.
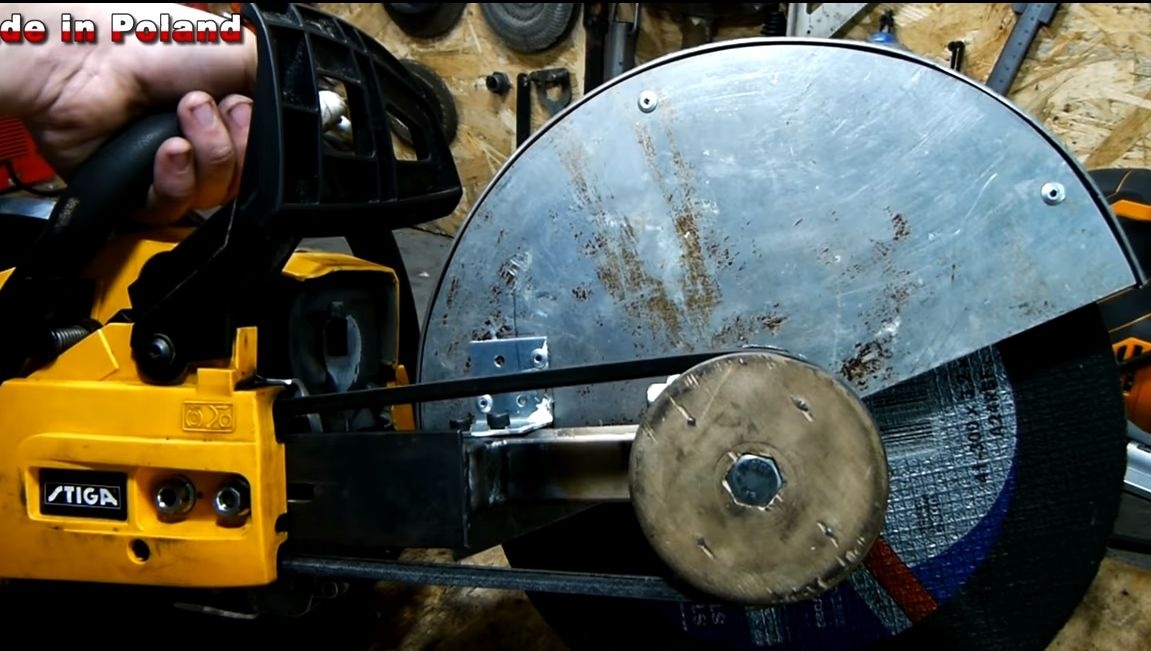
Step Six How to attach a cutting disc?
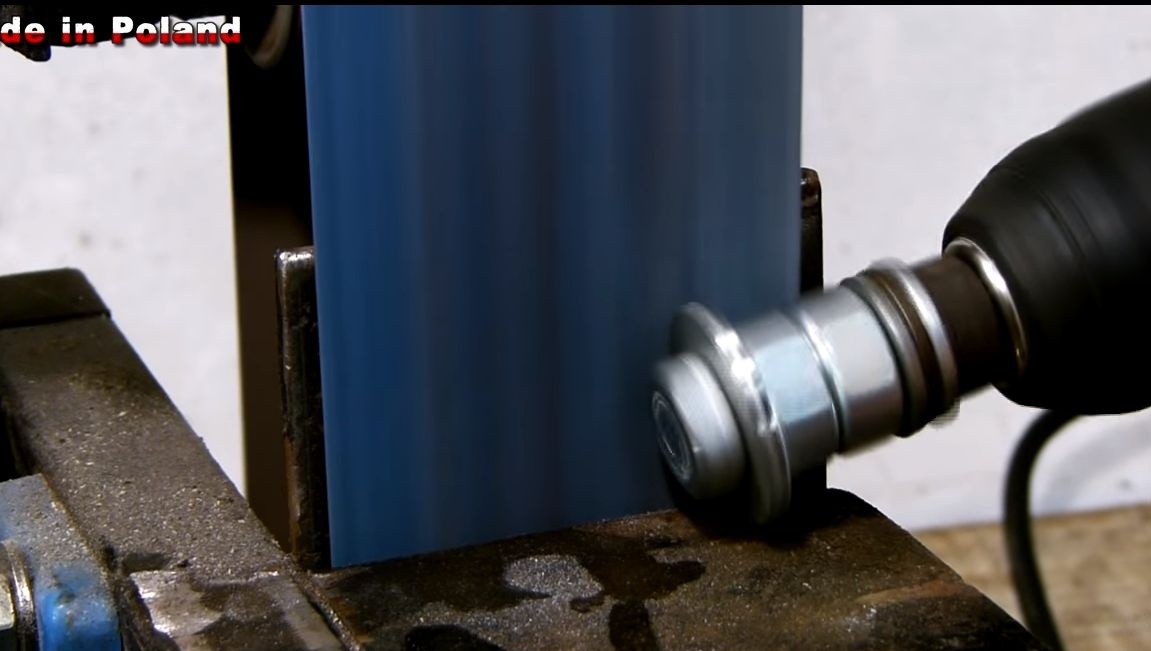
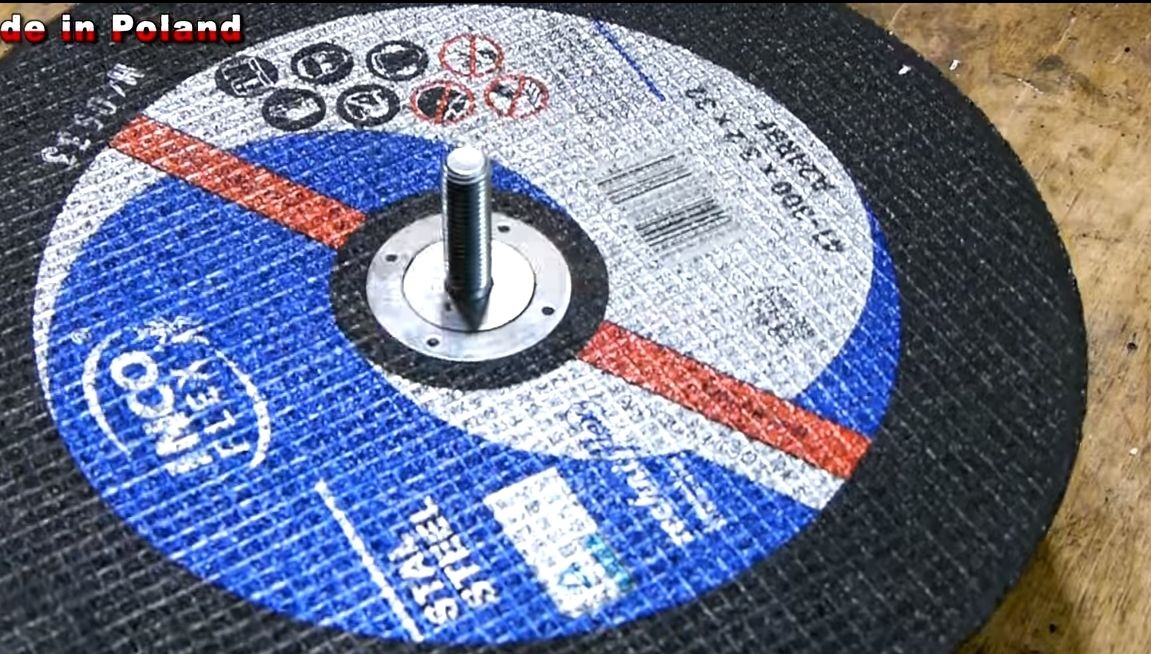
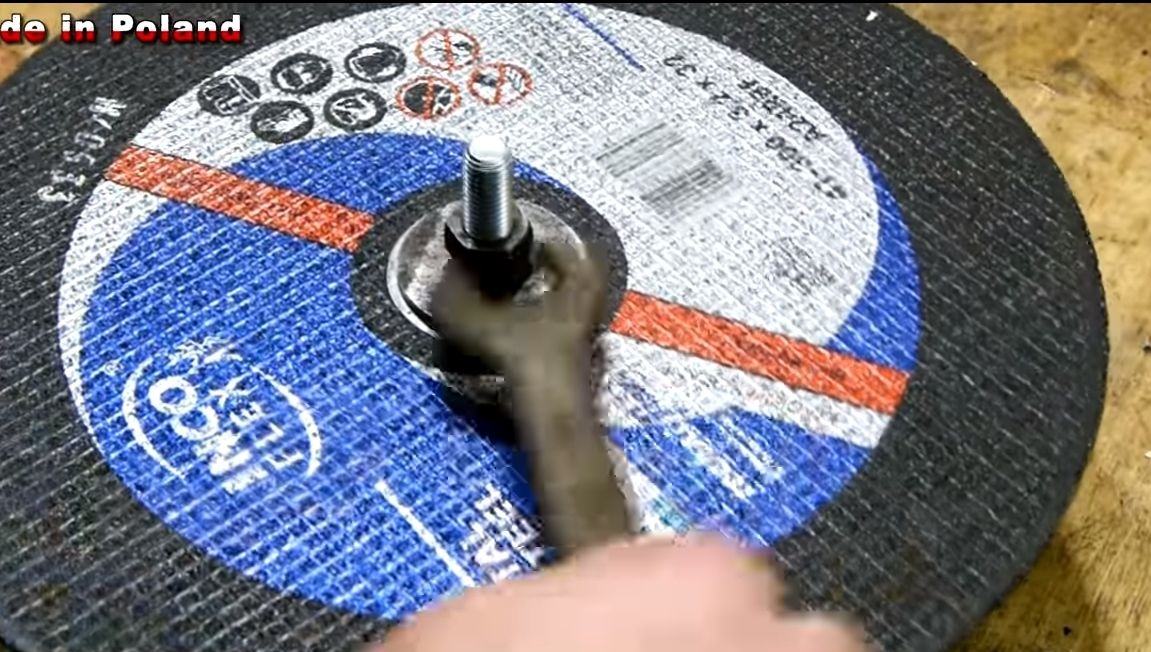
And finally, the most interesting thing is how to fix the cutting disc, because alignment is extremely important for him? There is nothing complicated about this, you will need a washer in size a little larger than the mounting hole of the cutting wheel. We insert a bolt of such a diameter into it so that a minimum clearance is obtained. We fix the washer with nuts and then clamp the bolt into the drill chuck. Fit the washer so that it fits perfectly into the mounting hole of the cutting wheel.
Now we collect the axis with the bearings and set the cutting wheel. Between the two bearings, install a pair of washers and a nut. The axis is a long bolt. On the one hand, where the bolt head is, a pulley is installed. On the other hand, using washers, a grover and a nut, we fasten the cutting wheel.
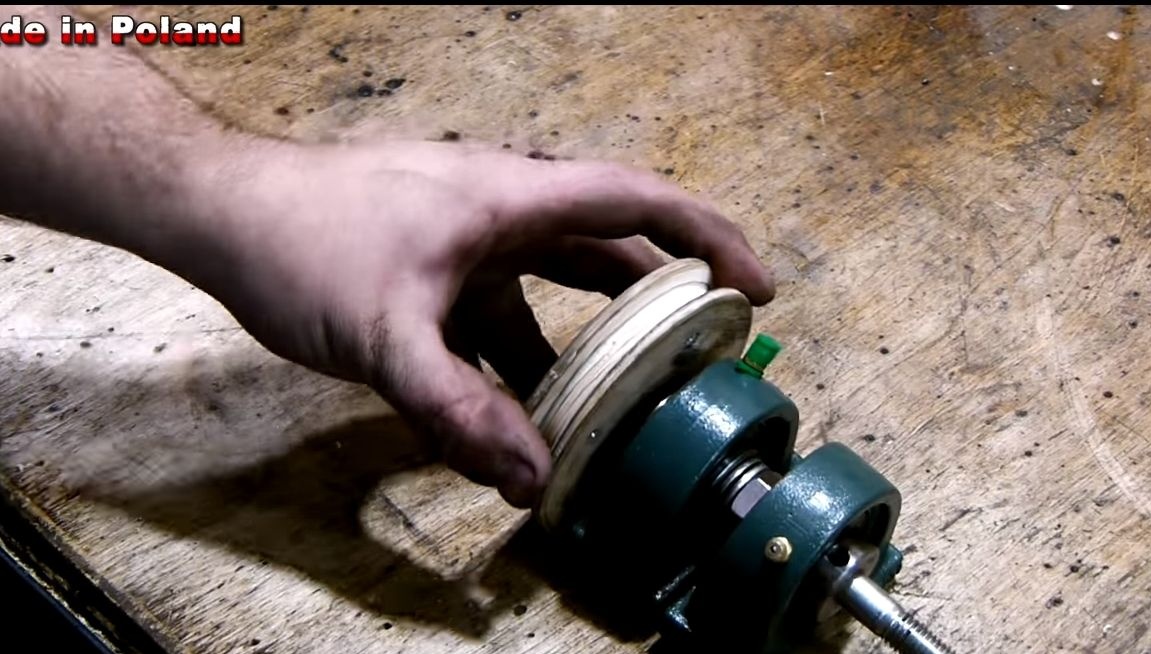
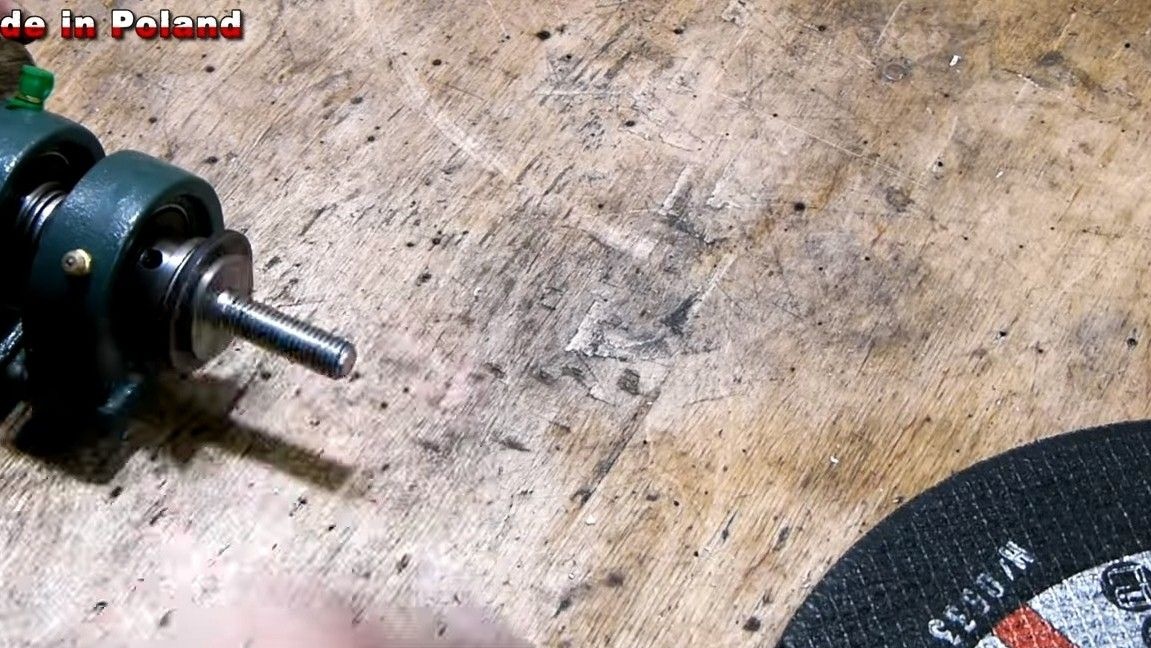
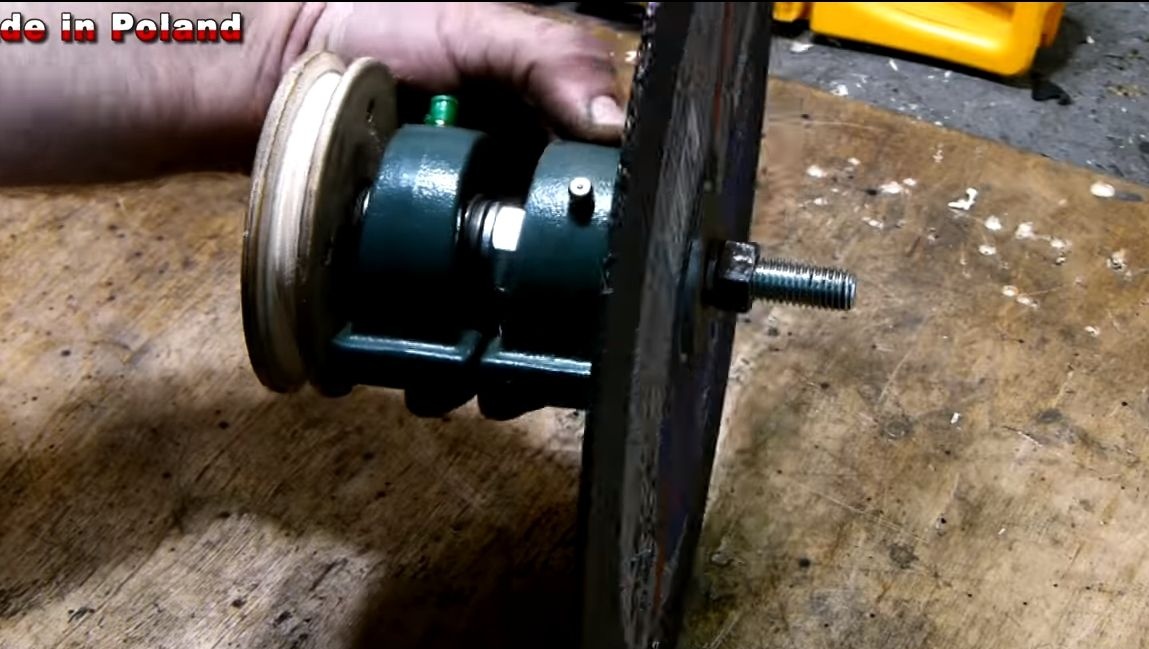
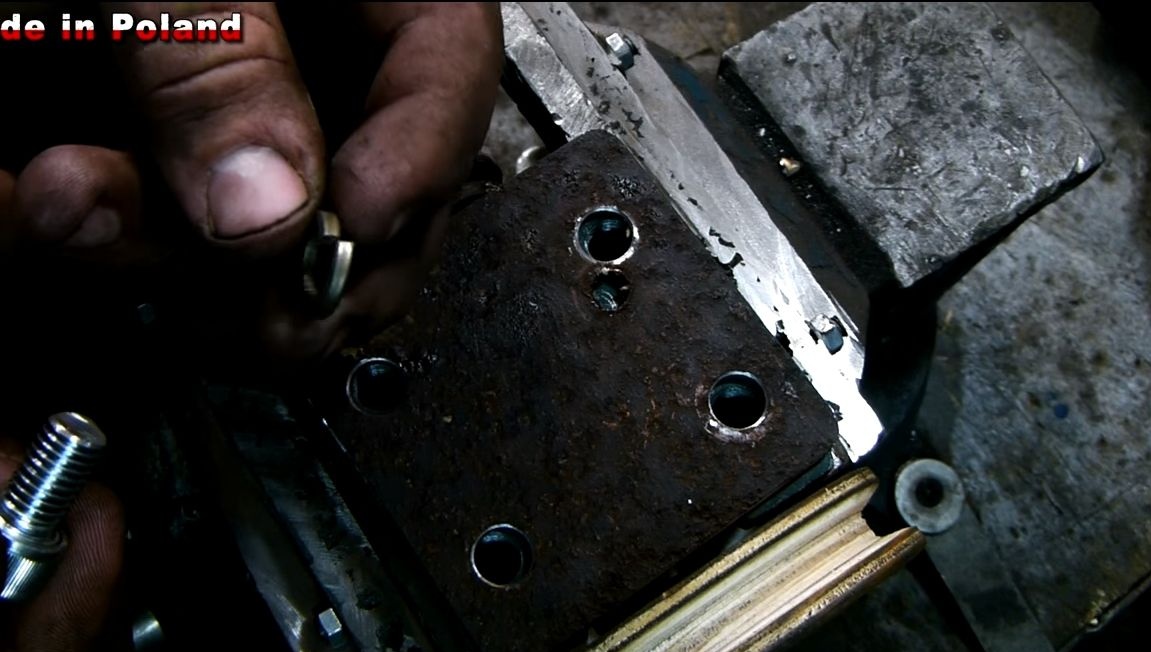
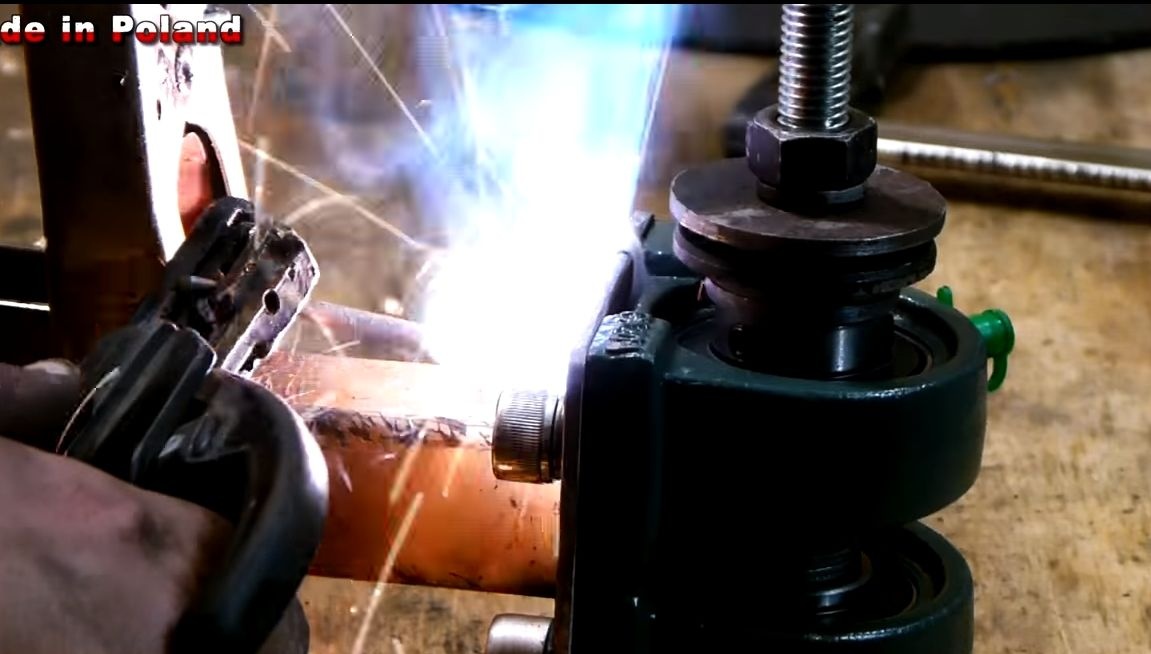
Seventh step. Bearing platform
To fix the bearings, the author makes a platform for them. Here you will need thick sheet steel. Drill holes in it and screw the bearings onto the platform. All that remains for you is to weld the platform to the bracket. That's all, half done, you can put on a belt and try to pull it on.


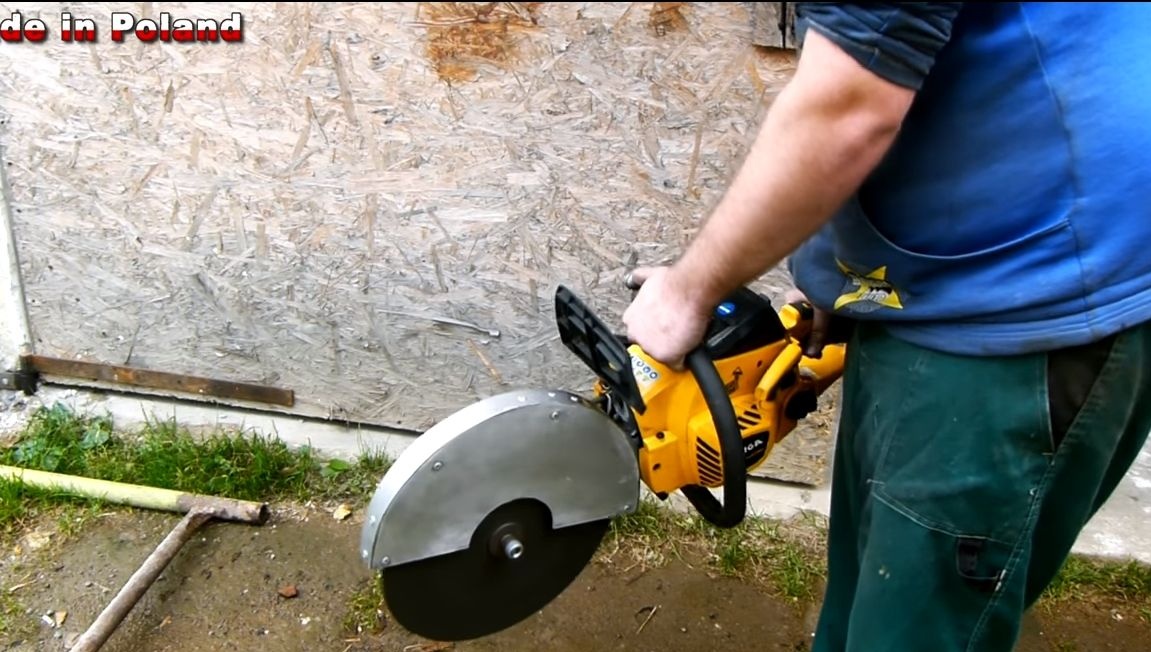
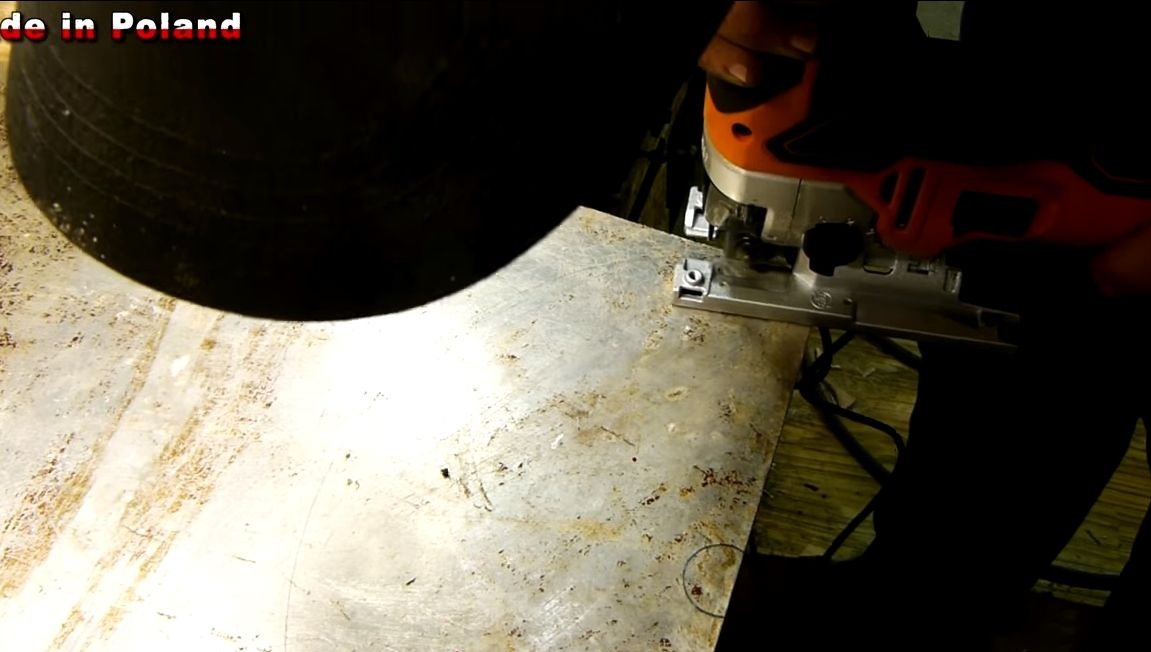
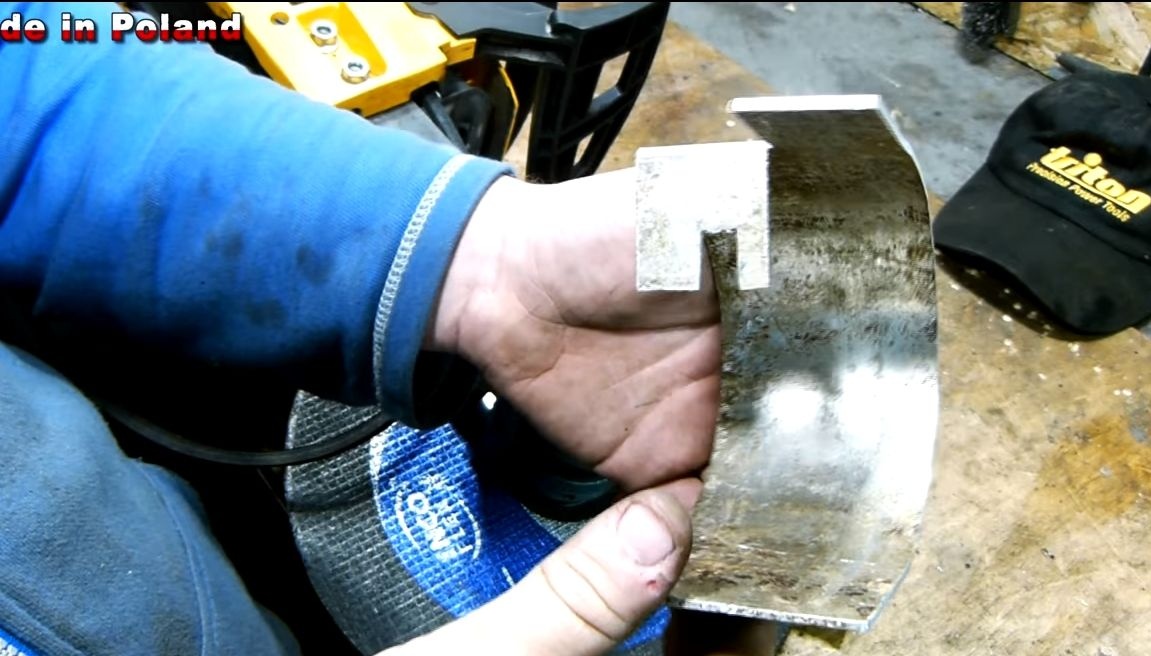
Step Eight. Protective cover
Make a protective wing for the grinder, since without it it can not be exploited due to the danger to life (no kidding). The wing is best made not of aluminum, but of non-thick sheet steel. We cut it into the necessary pieces and assemble the wing using rivets.

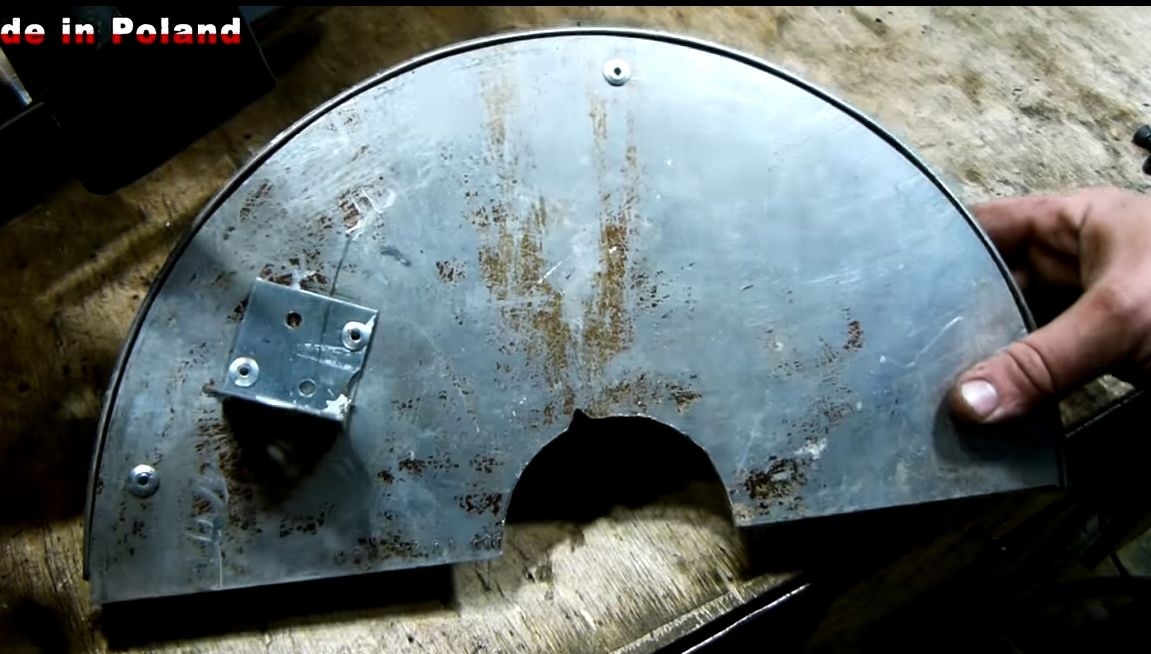
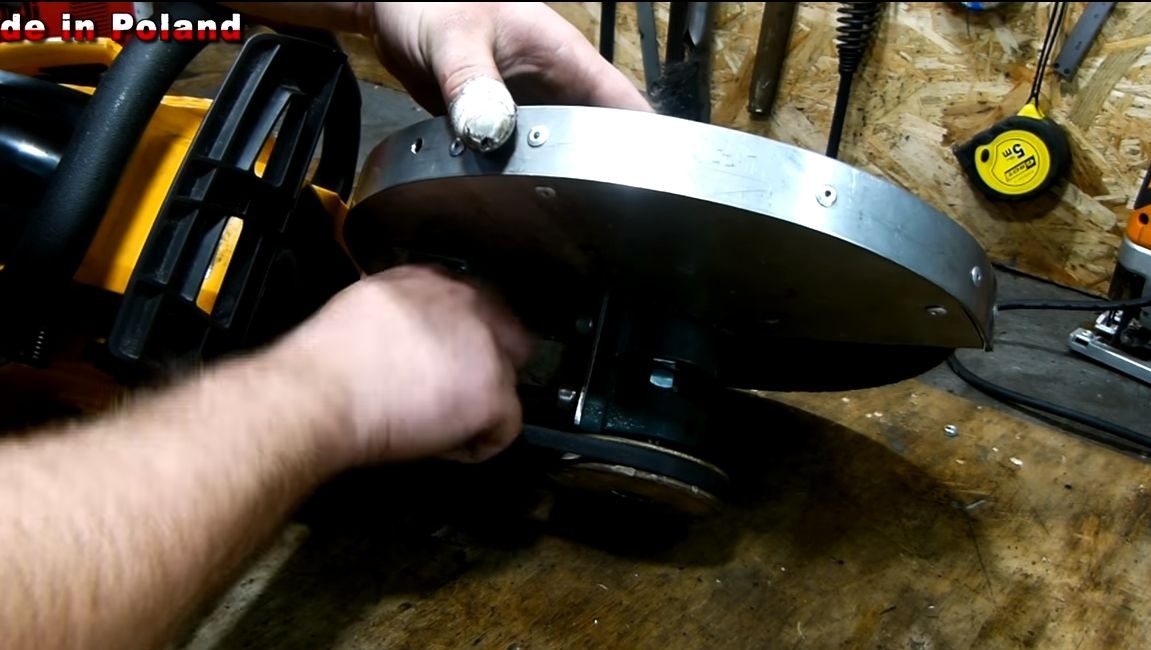
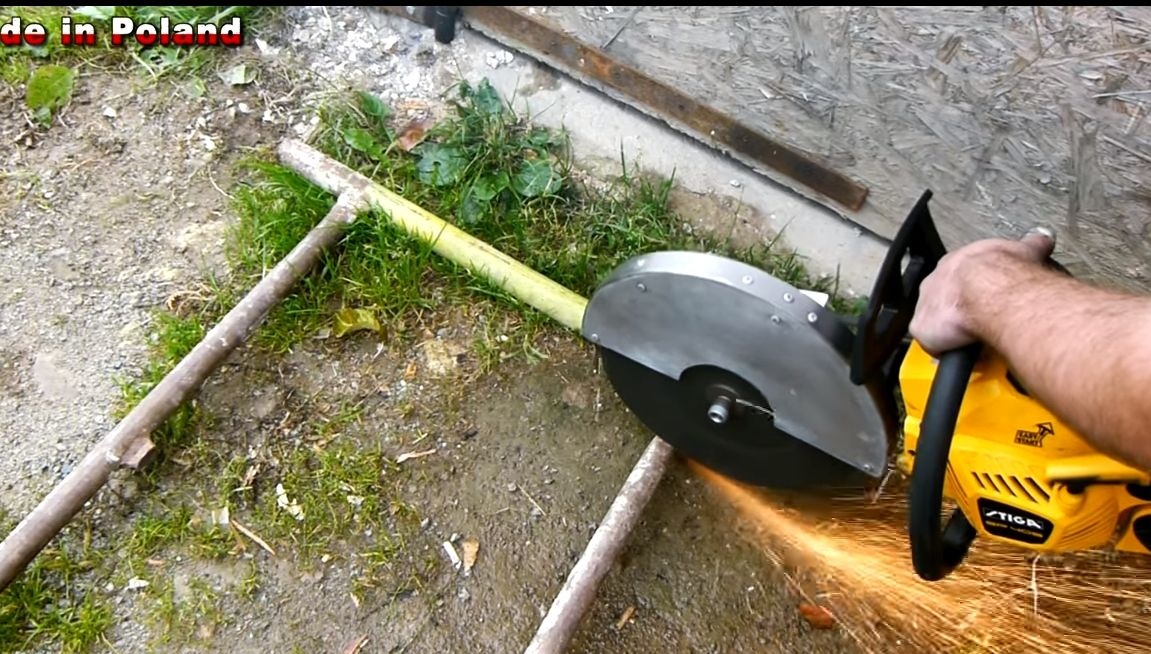
In addition, make a protective wing for the pulley so as not to damage it during operation. That's all, the device is ready! We start a chainsaw and try to cut it. The higher the revolutions, the better the saw cuts, but do not forget that there is a limit to the speed of rotation for the disk!