If you have a wood lathe using a drum sander, you can expand its capabilities. We learn what you can do with it.
A drum sander is designed to process the surface of a wood billet and level the parts to a smooth texture and thickness gauge. Simply put, grinding flat parts will become much simpler, and when you consider that you can still make them 1 to 1 in thickness. Craftsmen who work with wood are necessary and useful device.
Tools and materials:
-Plywood;
- PVC pipe;
-Waste paper in a roll;
-Boards;
-Glue;
-Fasteners;
-Springs;
MDF;
-Royal loop;
- adhesive tape;
-Double sided tape;
- Putty;
-Primer;
-Paint;
-Lathe;
-Drilling machine;
-A circular saw;
- Hacksaw for metal;
-Nailing gun;
-Band-saw;
-A screwdriver;
-Crown;
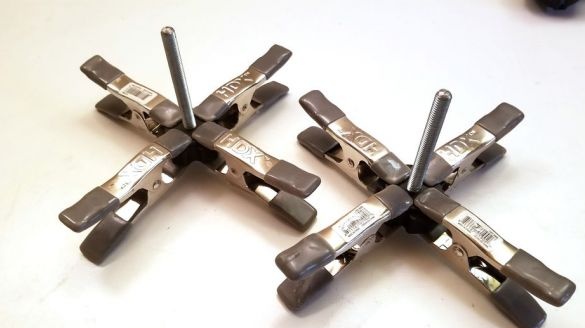
-Clips;
-3D printer;
Step One: The Drum
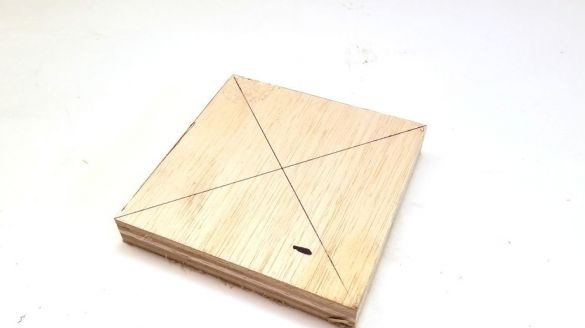
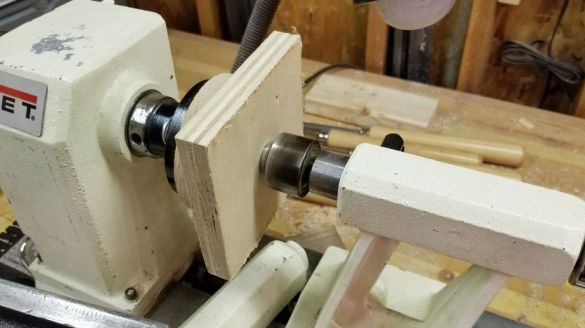
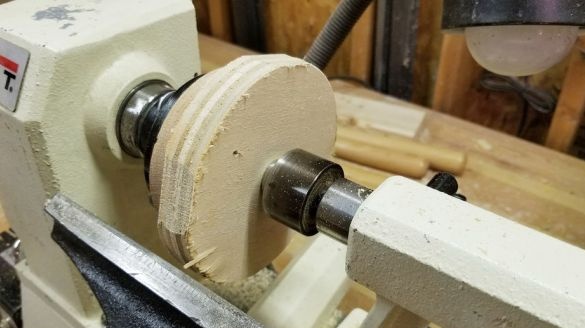
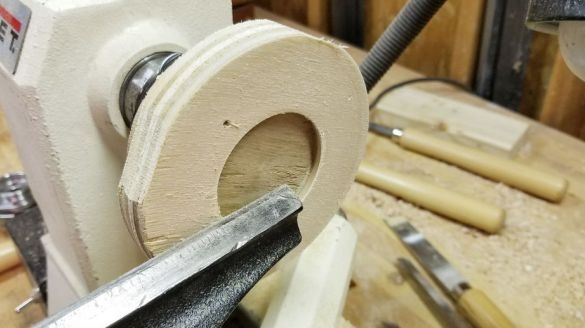
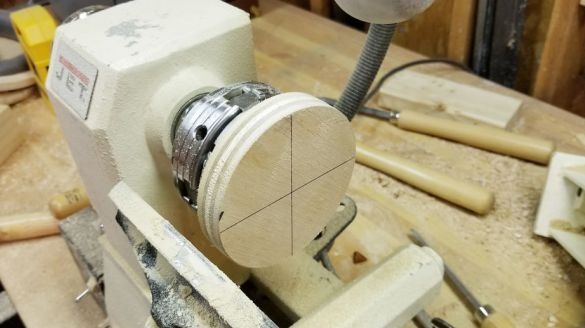
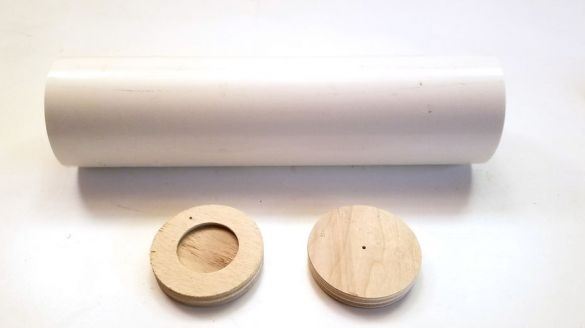
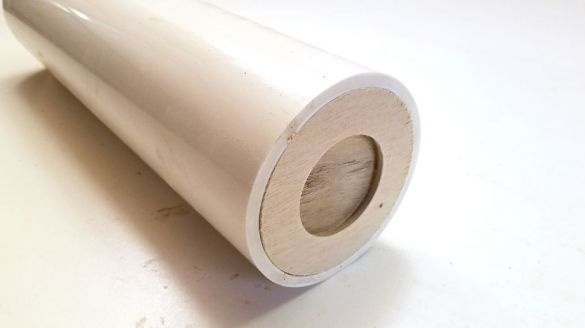
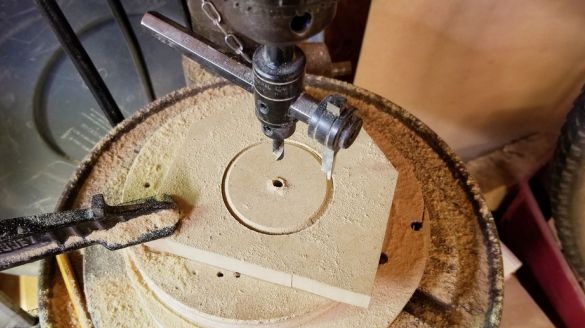
Cut squares from plywood. A hole is cut in the center of one square. Glues plywood squares of three. Processes squares on a lathe to the size of the inner diameter of the PVC pipe.
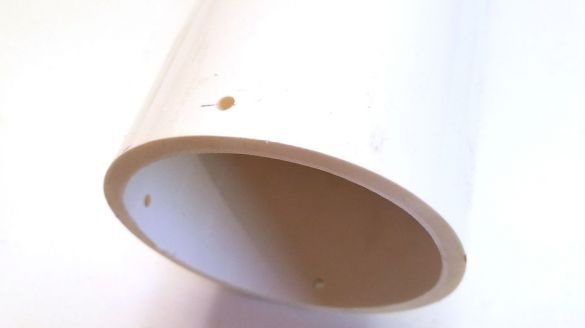
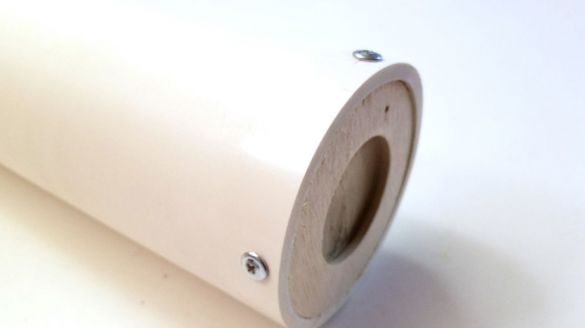
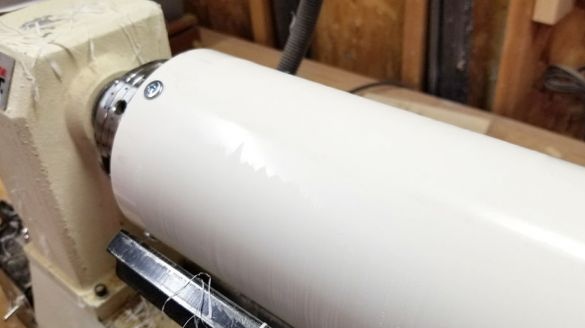
Cut the PVC pipe to the desired length. Installs stubs. Fastens them with self-tapping screws.
The clamping chuck, which the author uses, has the ability to clamp the part, both inside and outside. For this, the master made a plug with a hole.
PVC pipe is not perfectly flat. Clamps the drum in a lathe and processes.
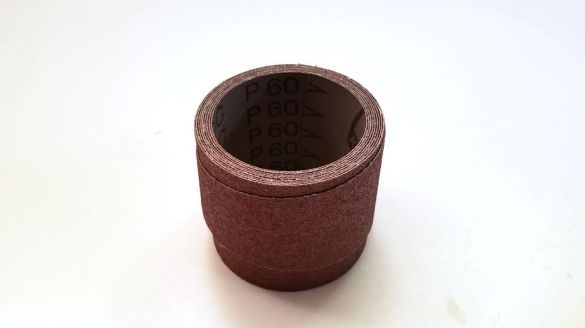
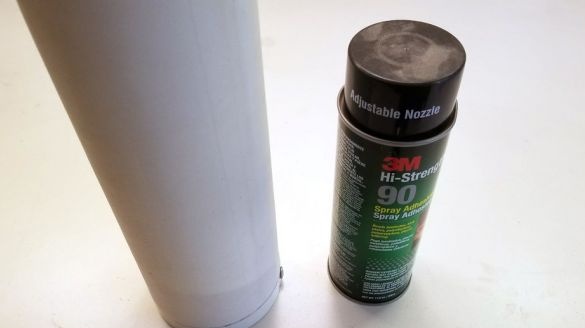
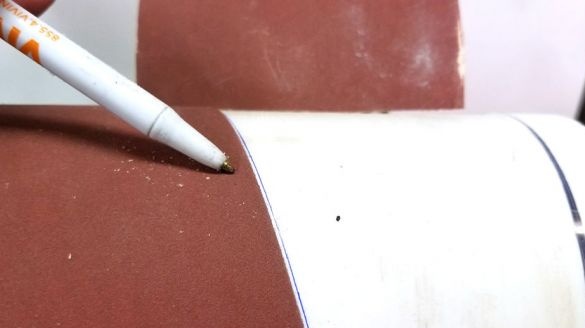
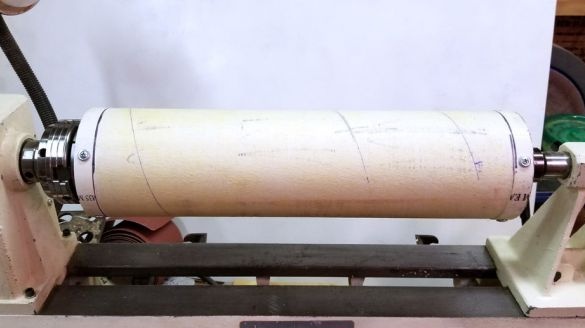
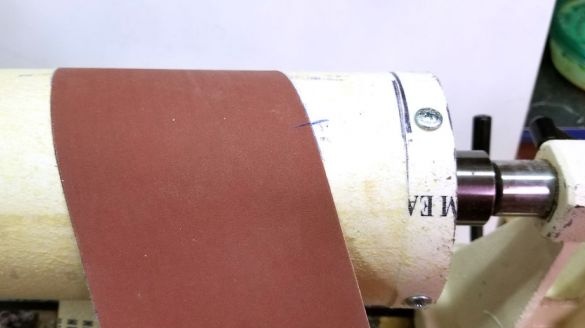
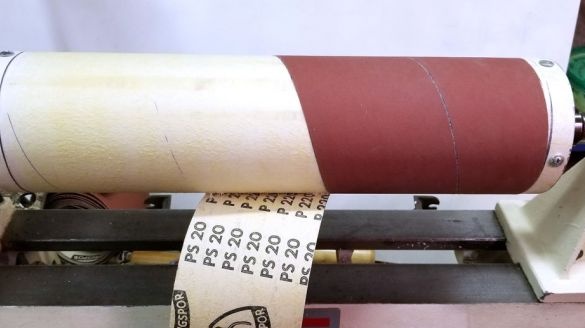
Cuts off a sandpaper tape of the desired length. Wraps the drum with sandpaper. Aligns and marks out. Removes sandpaper. Apply spray adhesive. Glue sandpaper.
The drum is ready. Making a drum is neither difficult nor expensive; if necessary, several drums can be made with an abrasive of different sizes.
Step two: table
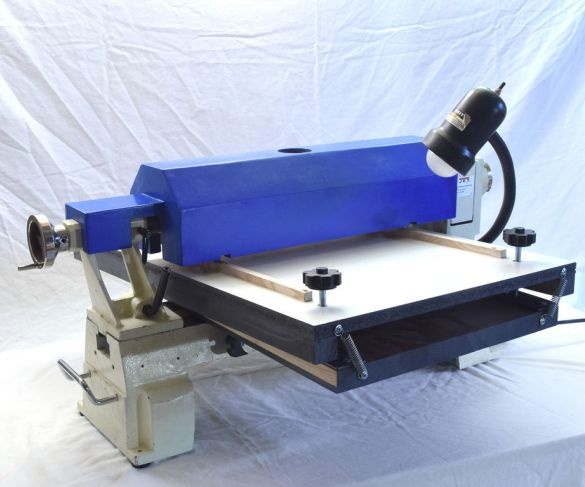
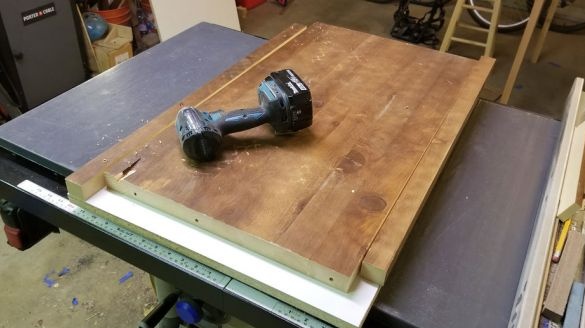
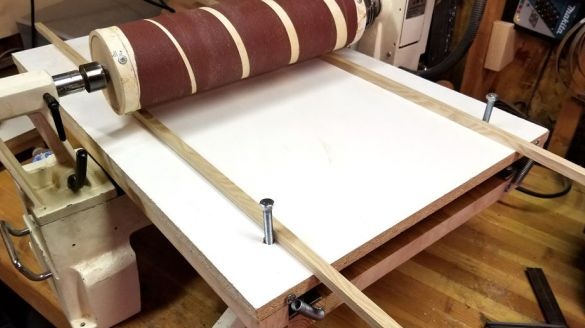
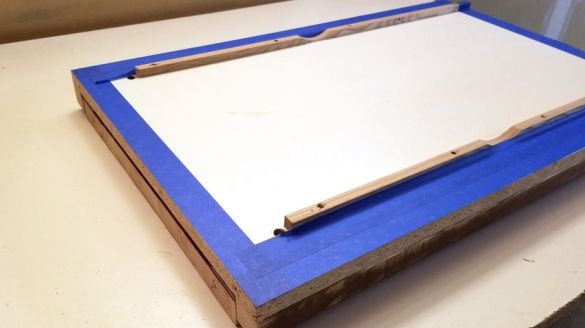
The upper part of the table is made of MDF. Cuts the board to the width of the lathe. On the sides secures the rails.
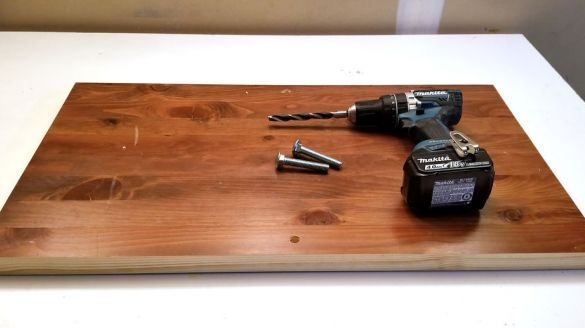
The master made the lower part of the table of the device from the laminated board from the old bed. The width of the board is slightly less than the distance between the bars of the upper part. Drills holes for mounting bolts.
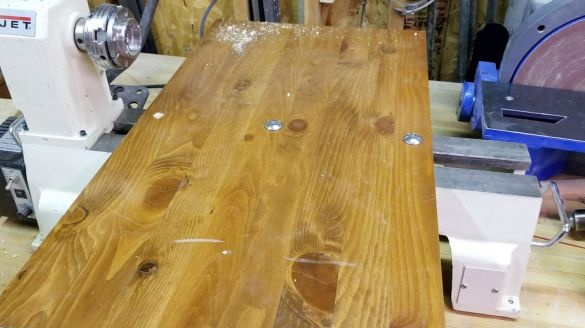
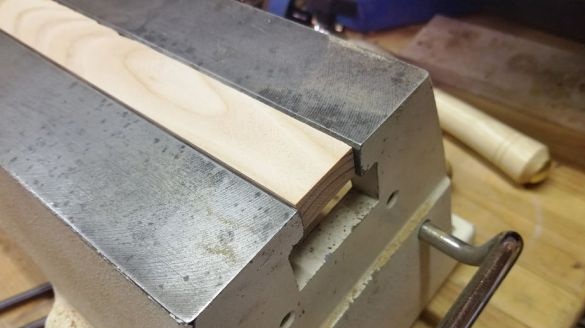
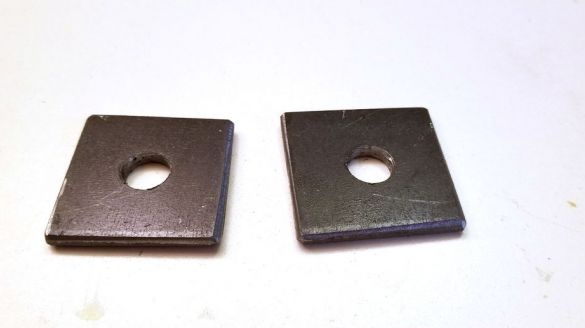
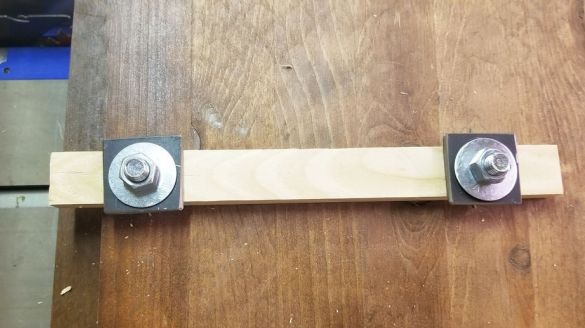
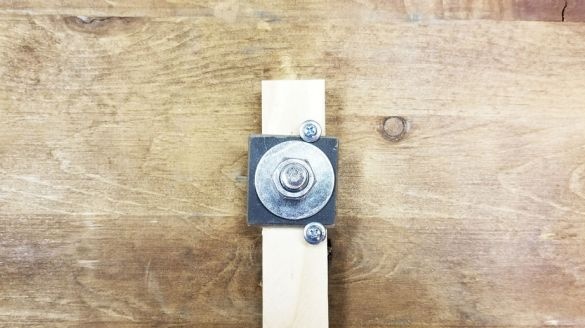
Cuts the bar across the width and length of the machine guide. In the bar drills holes coaxial to the table. Makes two washers. Washers are wider than the guide. Installs the bar in the guide. Installs the board and installs the bolts.He puts on the washers from below and tightens the nuts.
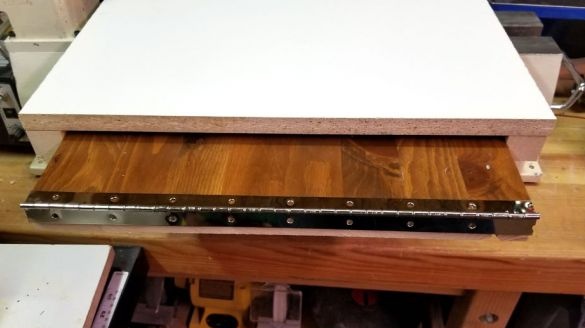
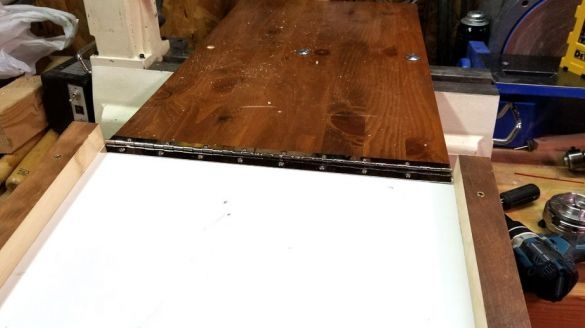
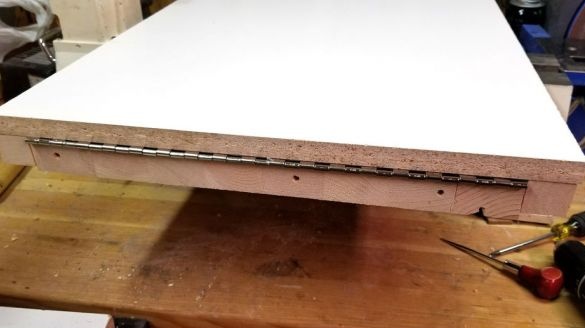
Connects the two parts of the table with a piano loop.
Step Three: Adjust
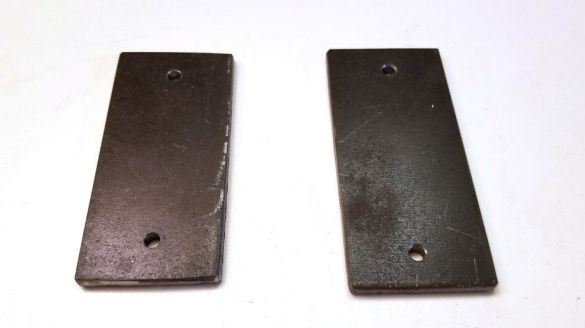
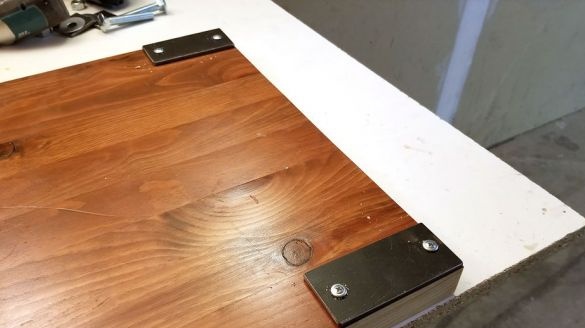
Makes two metal plates. Fastens on the bottom of the table in front (the opposite part from the piano loop).
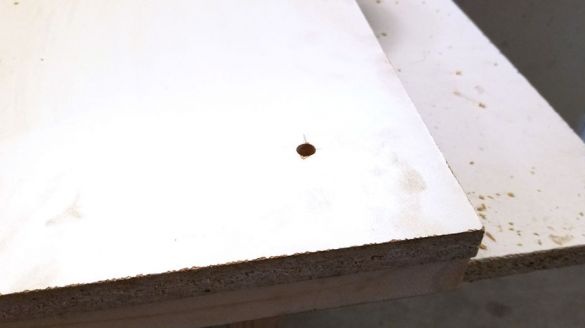
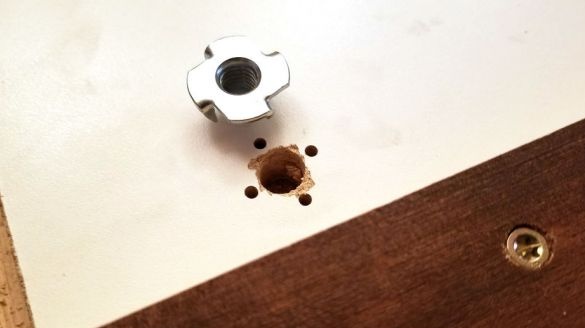
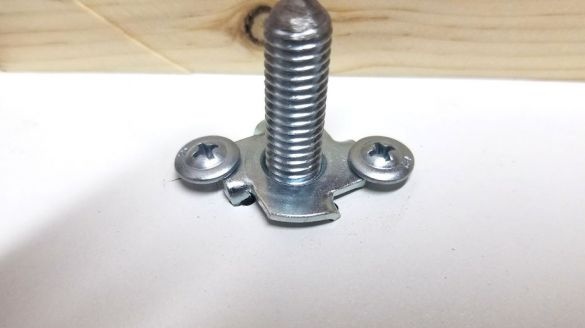
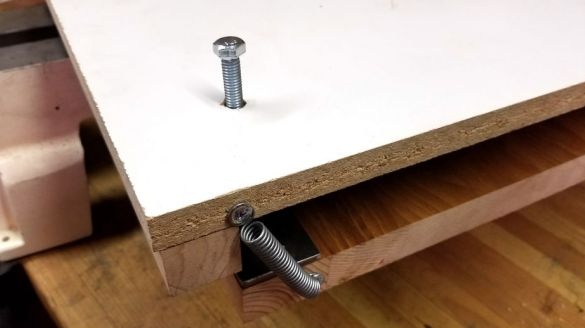
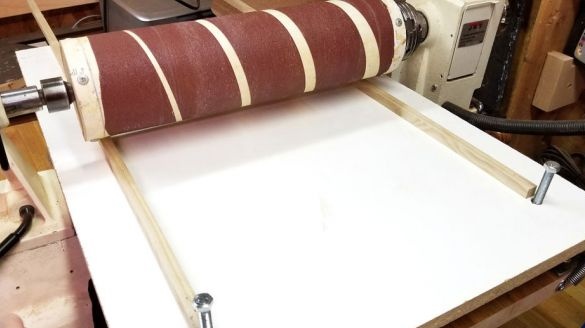
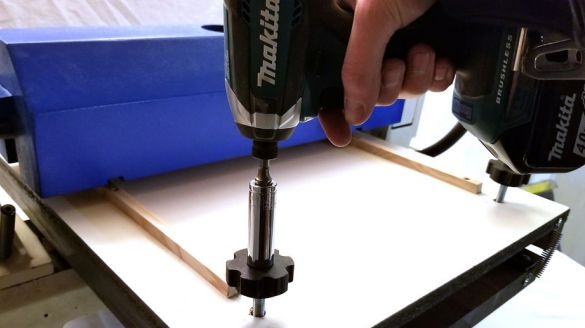
In the top cover, drills holes on the sides (above the plates). Installs mortise nuts in the holes. Fixes them with screws. Screws in the bolts.
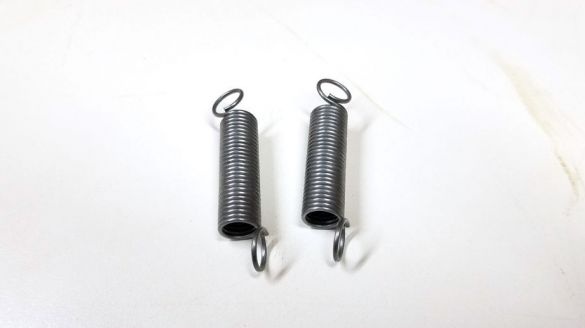
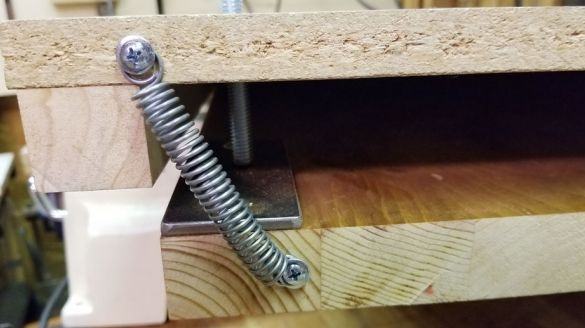
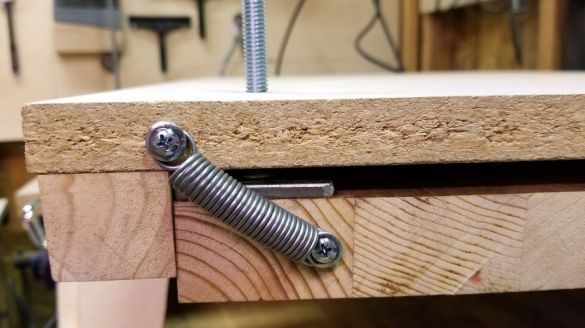
Installs the spring.
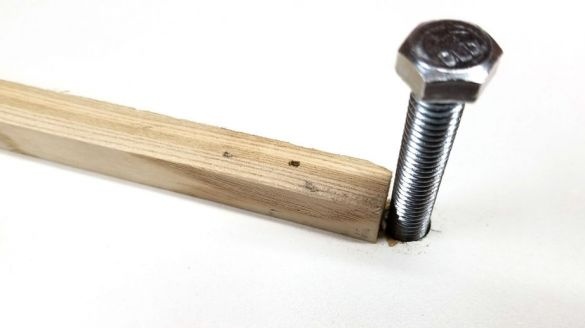
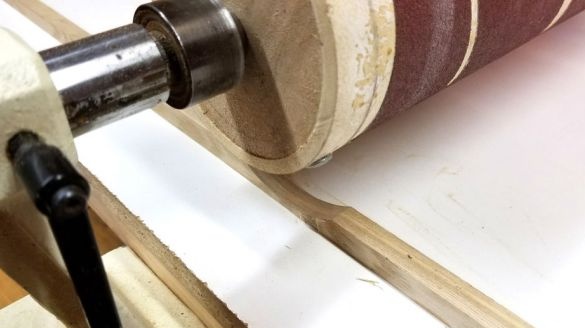
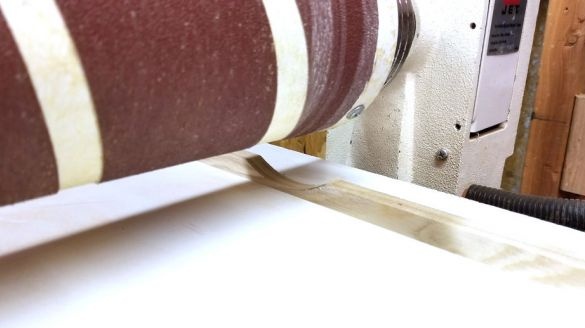
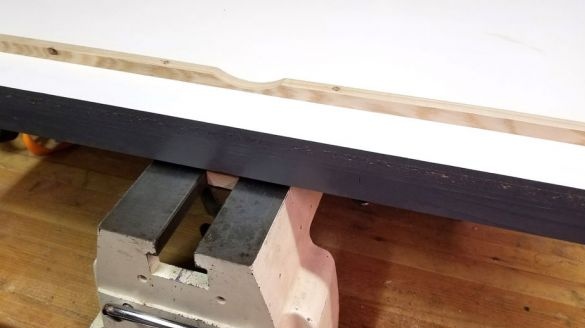
Fastens guide rails on the sides of the top cover. Turns on the machine and presses the slats to the drum. Makes semicircular cuts in slats.
Step Four: Casing
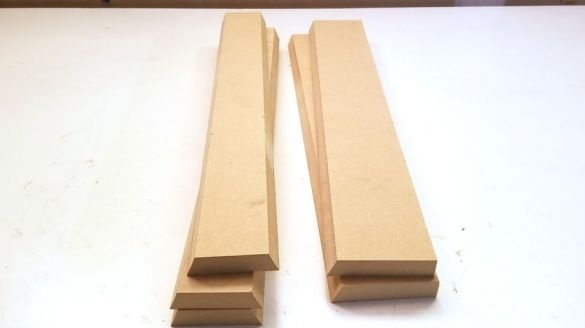
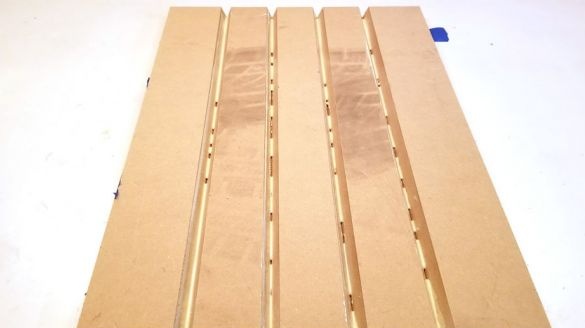
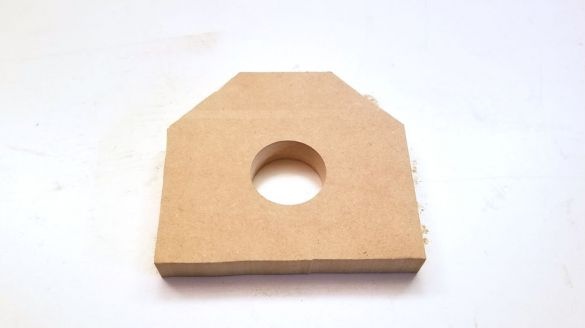
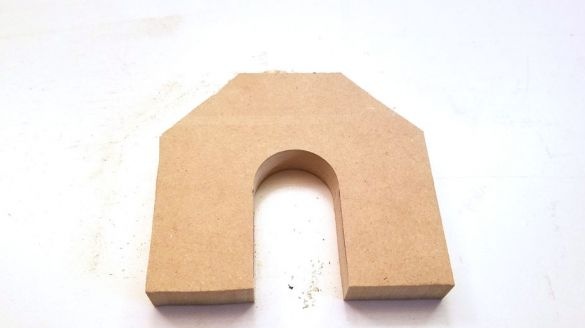
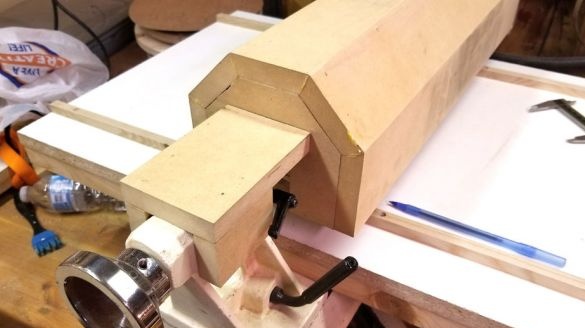
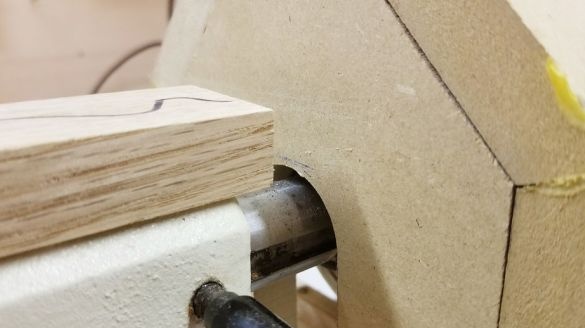
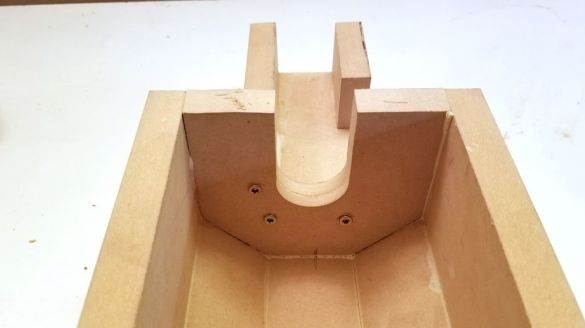
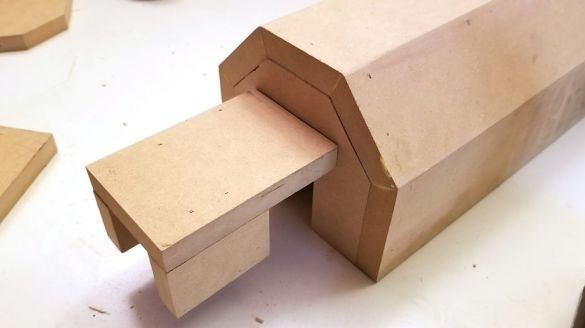
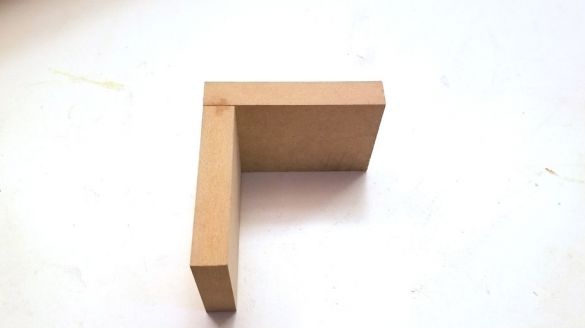
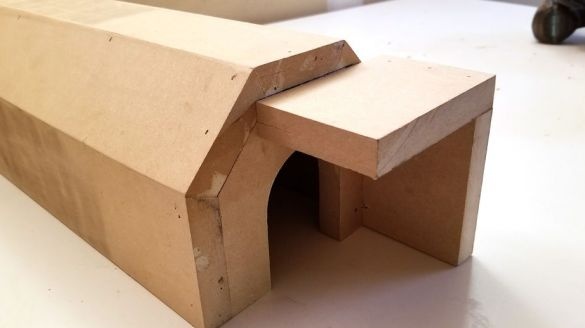
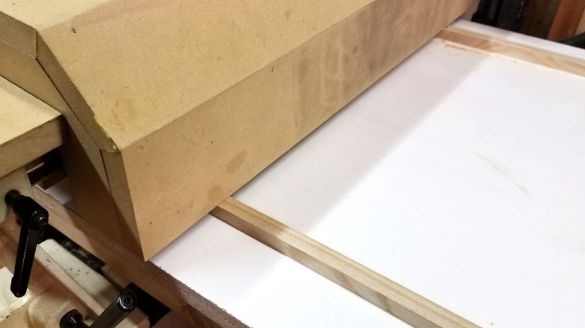
From MDF cuts five rails. The side parts of three and one side part of two racks cuts off at an angle of 67.5 degrees.
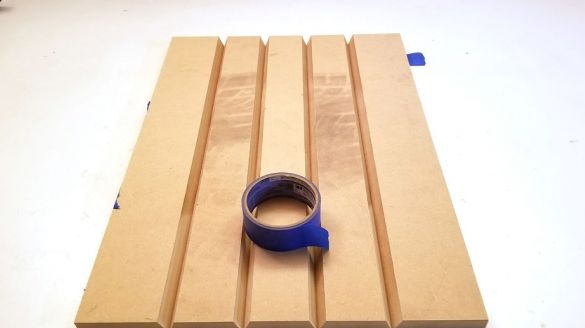
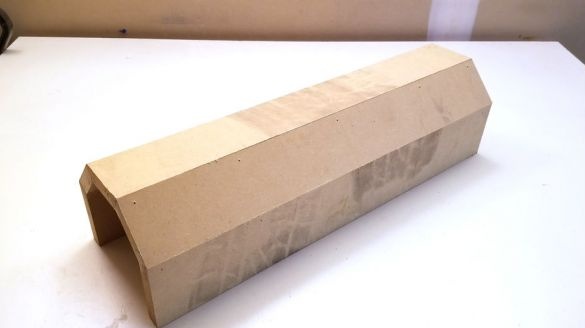
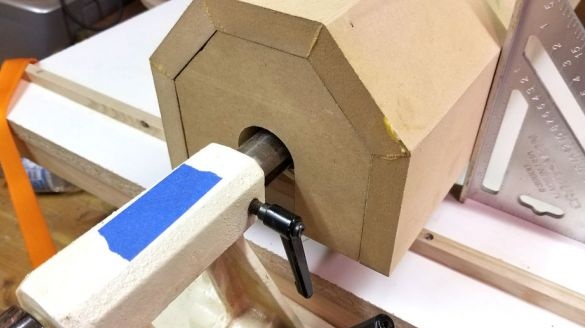
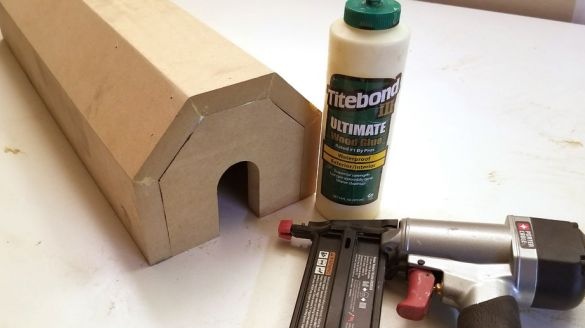
Adhesive tape to strips. Coats joints with glue. Bends the casing. Fixes until the glue dries.
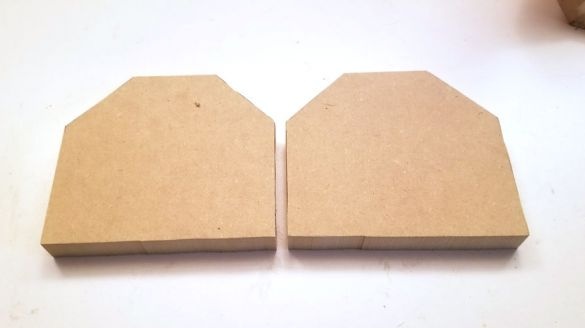
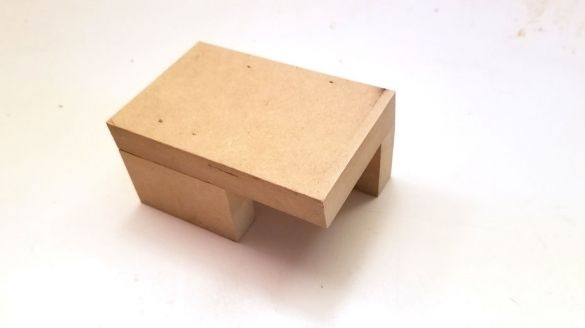
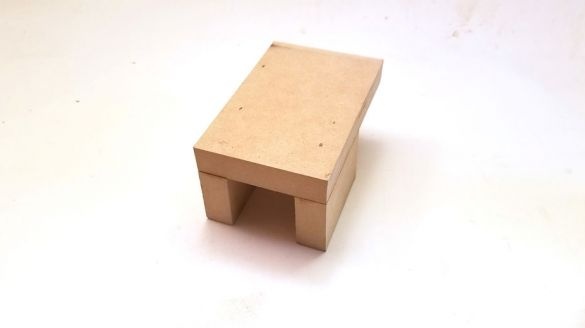
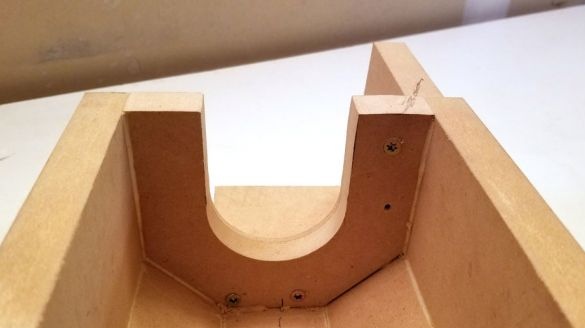
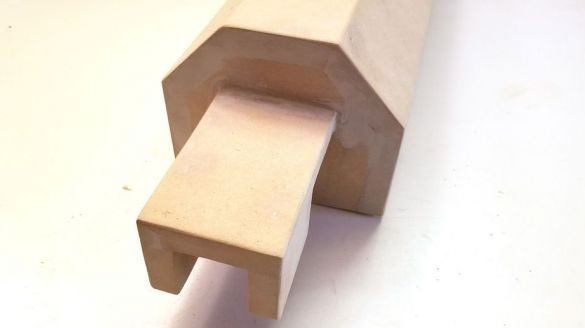
Cuts and installs cover covers.
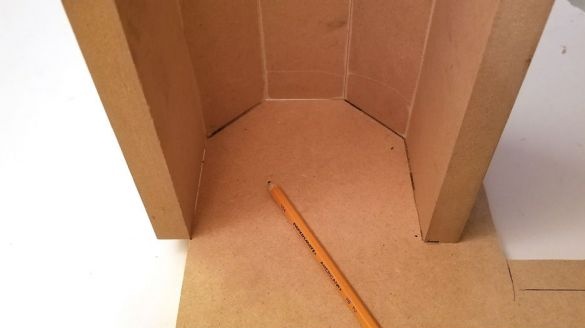
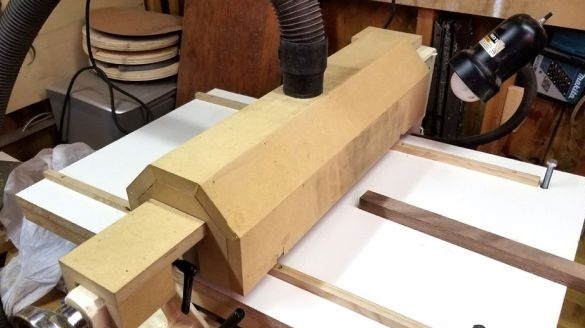
So that the sawdust does not fly up, it makes protective covers on the sides.
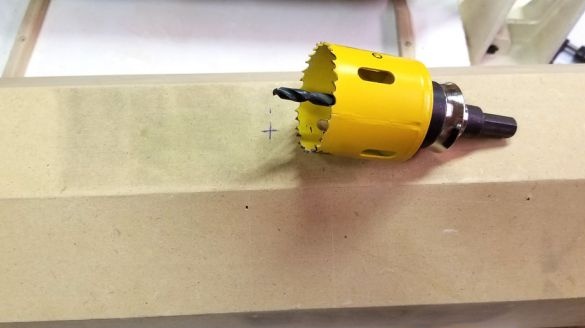
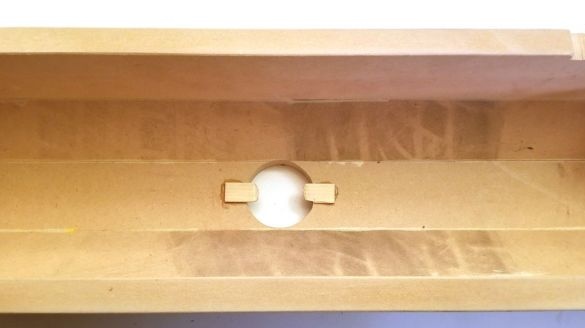
In the upper part of the casing, cuts a hole for the dust collector pipe.
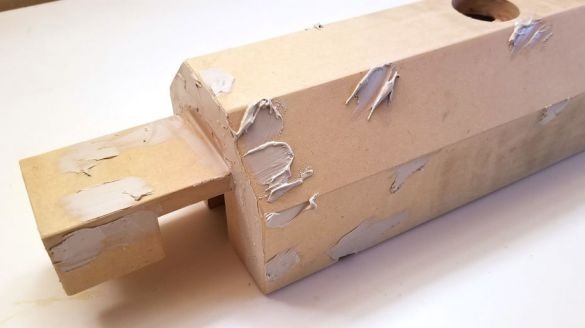
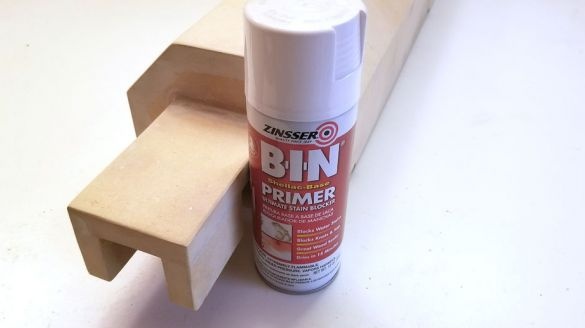
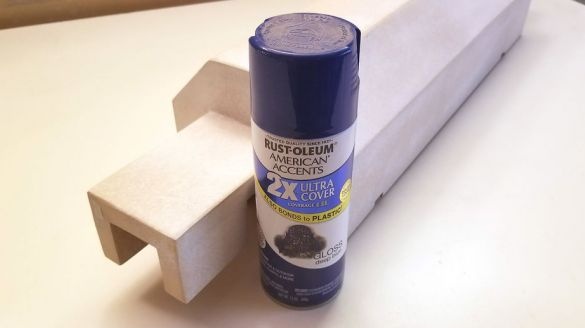
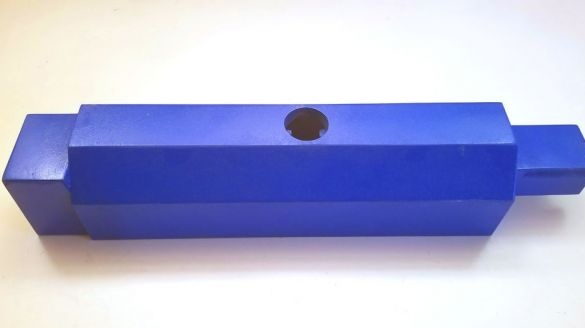
Apply putty on the casing. Primers and paints the casing and parts of the table.
Step Five: Pens
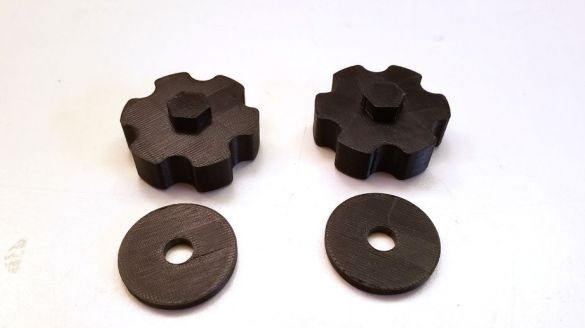
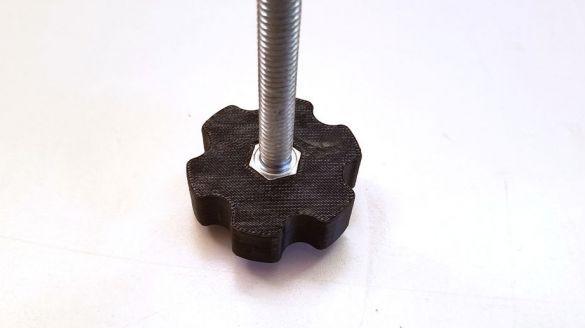
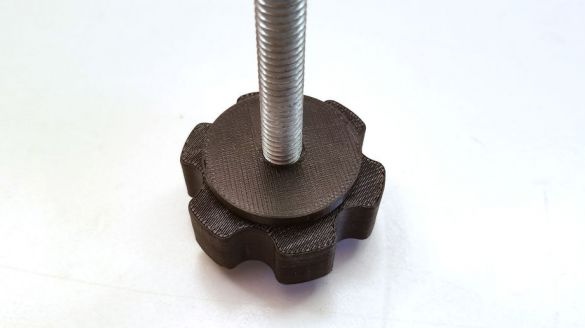
He prints pens on a 3D printer. Glues them on the head of the bolt. Each turn of the handle raises or lowers the upper part and accordingly adjusts the thickness of the workpiece.
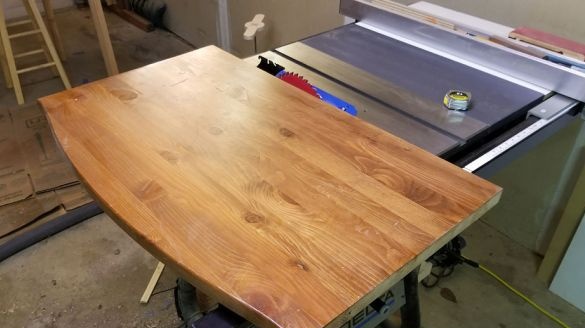
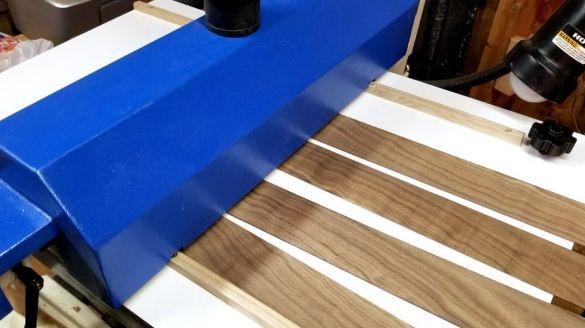
Drum grinder is ready. The advantage of the machine is ease of installation and removal, low cost of manufacture. In the future, the master wants to improve homemade and equip the table with a broaching mechanism.

