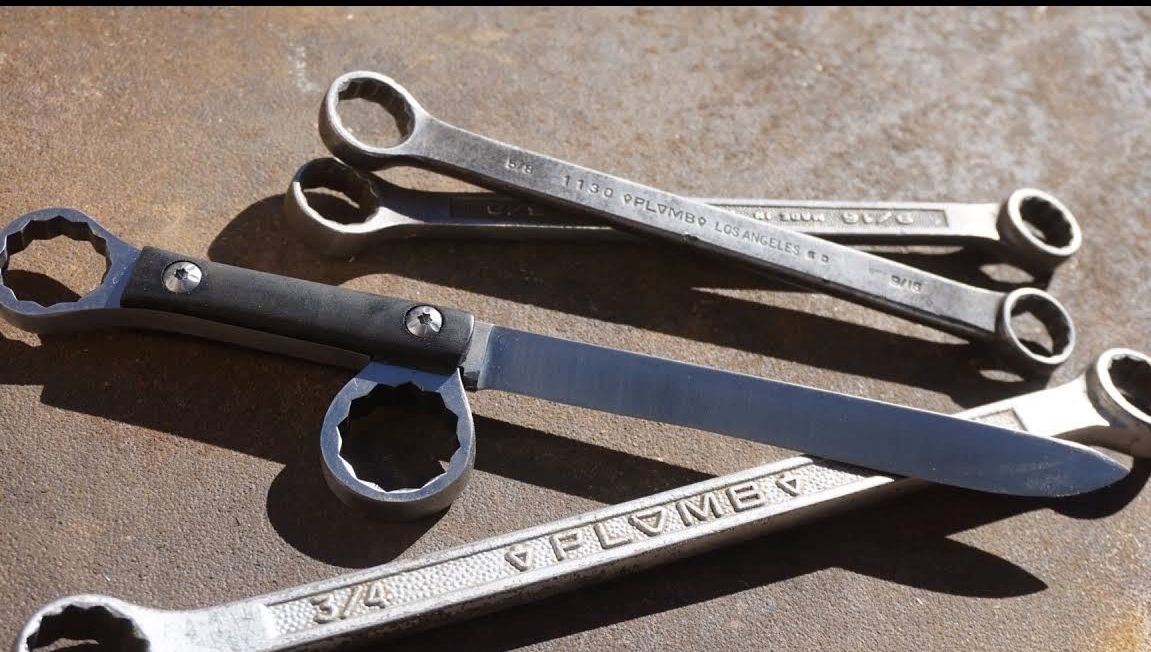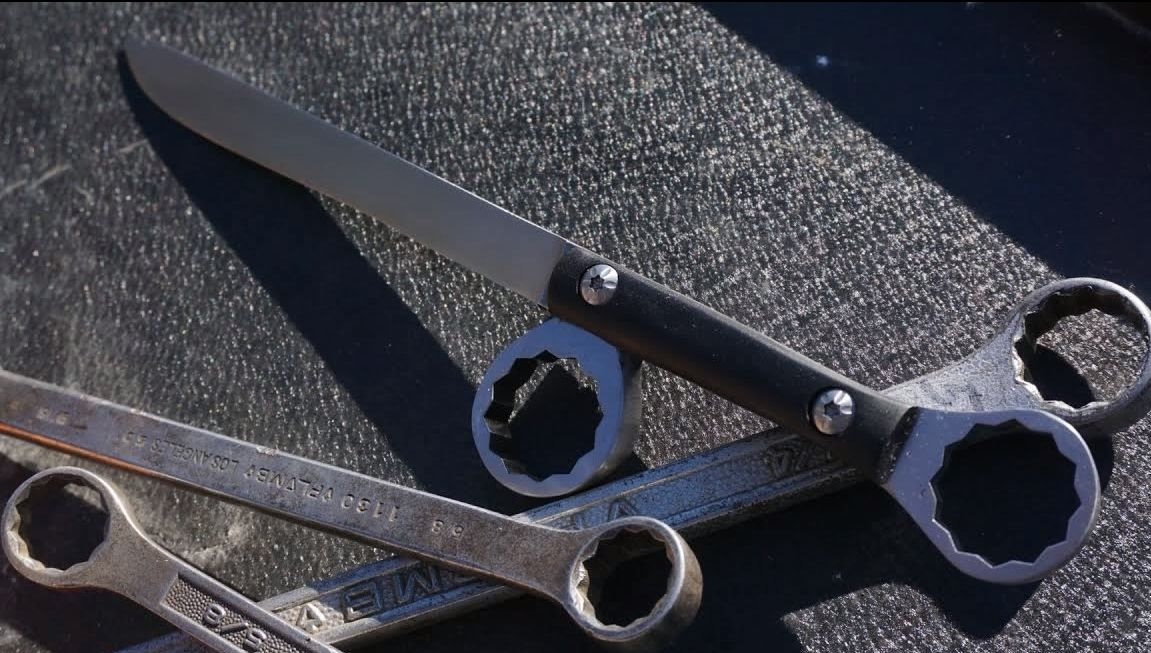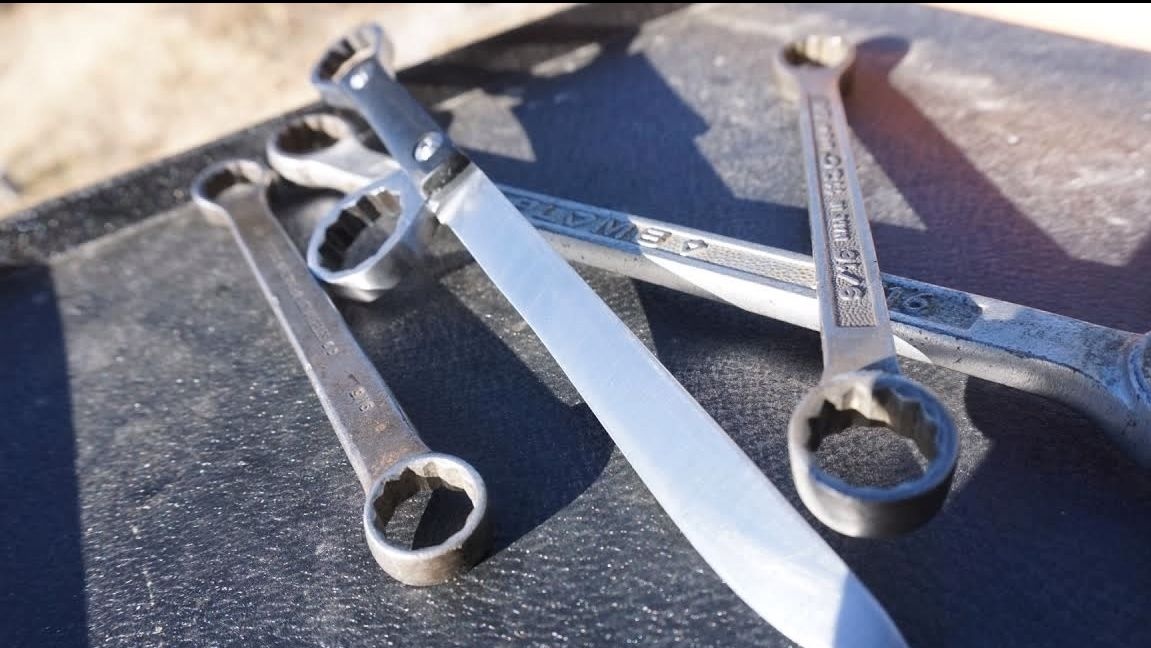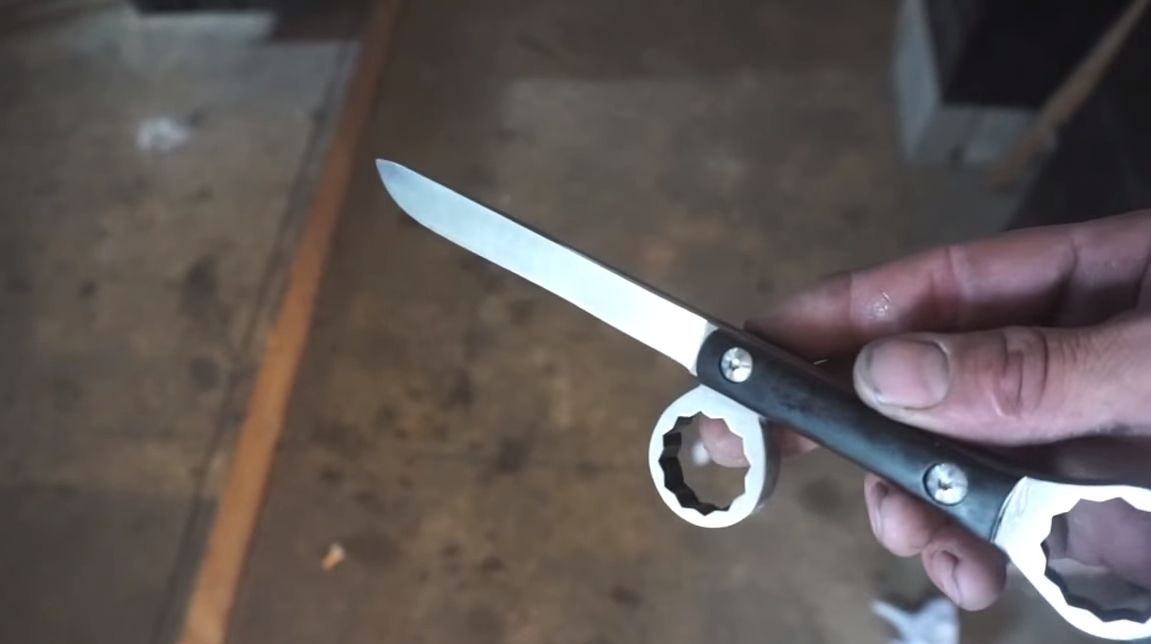
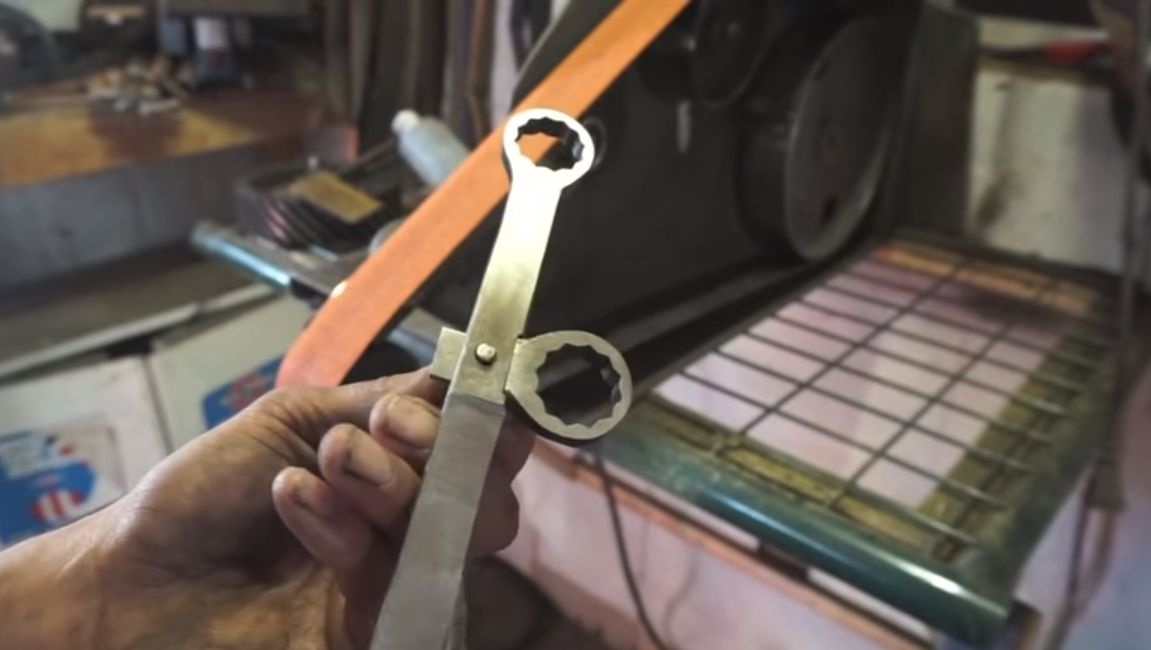
Hello everyone, in this instruction we will consider the methodology for making an interesting tactical knife from wrenches. In fact, tool steel is the best suited for the manufacture of knives, it is durable due to its high carbon content and lends itself perfectly to hardening. If you suddenly break the key, do not forget that this is high-quality steel and you can make something out of it.
The knife is made without the use of a forge, all you need to have for heat treatment is a gas burner, and preferably two. The author uses them not for hardening, but for tempering the metal and relieving internal stress, so it is not necessary to warm the metal strongly.
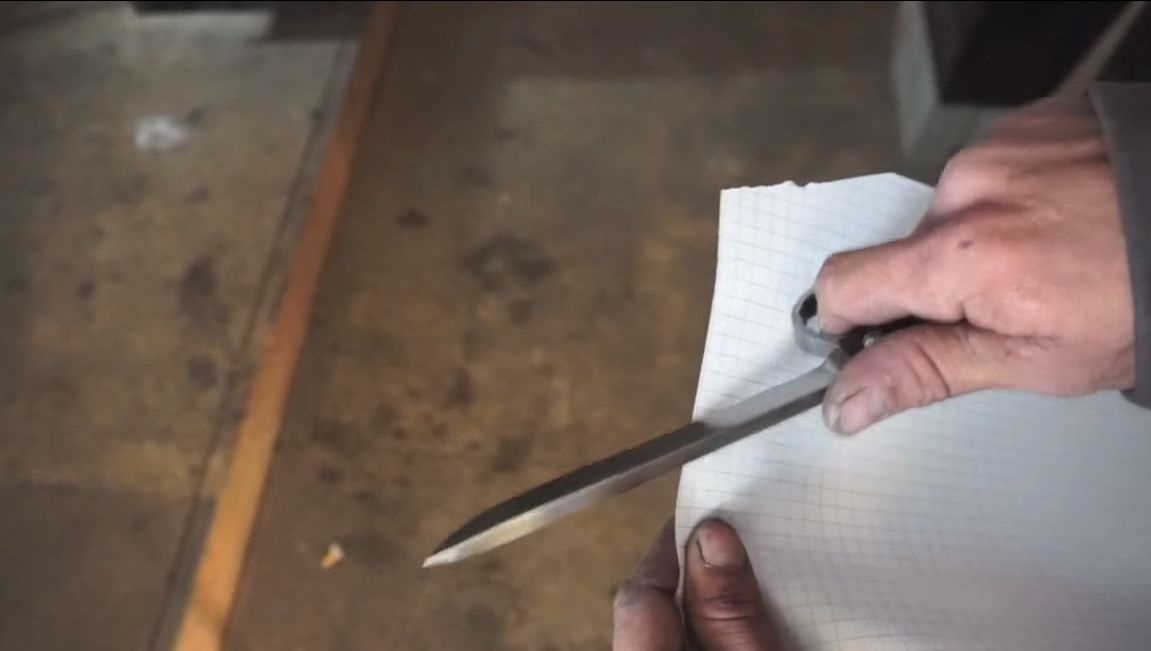
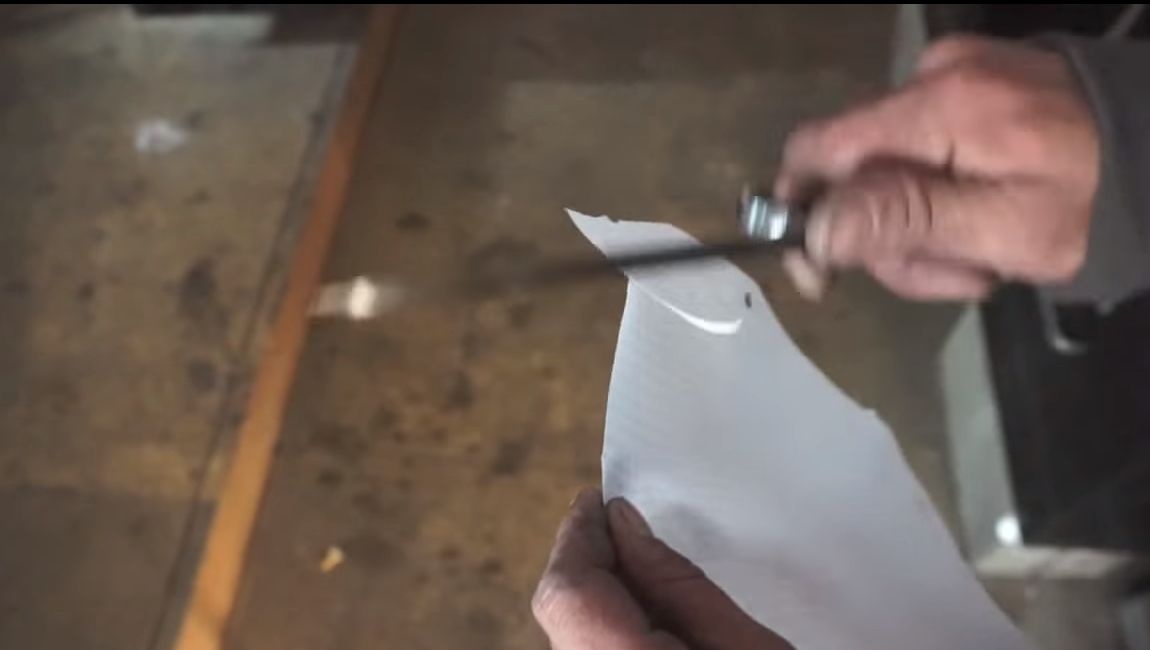
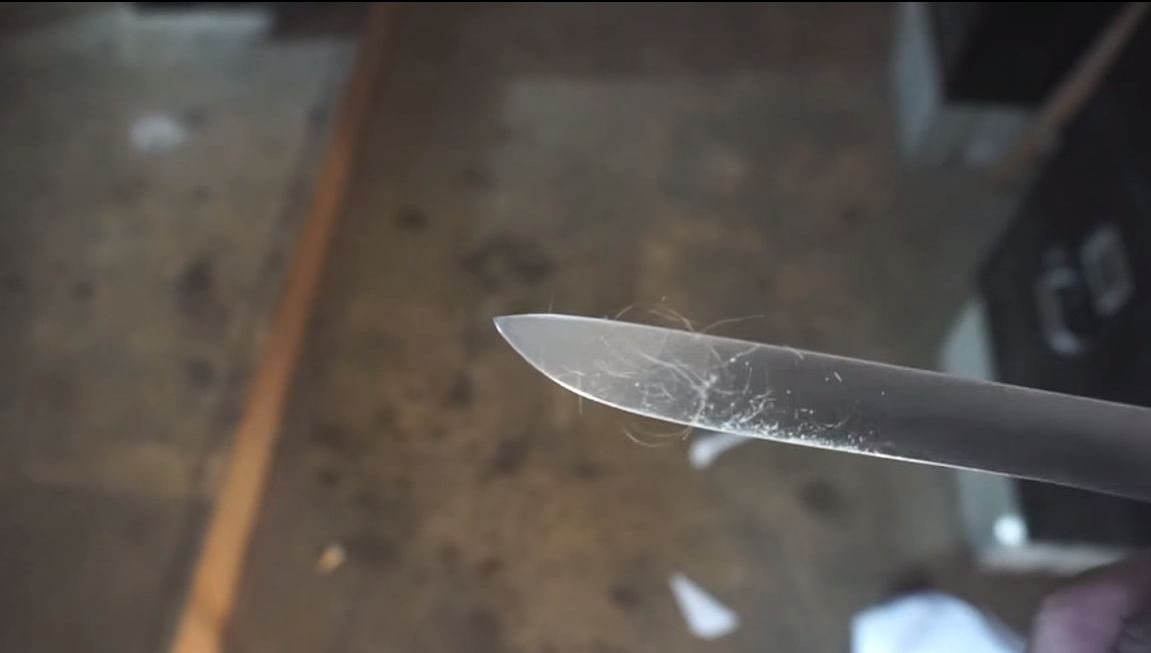
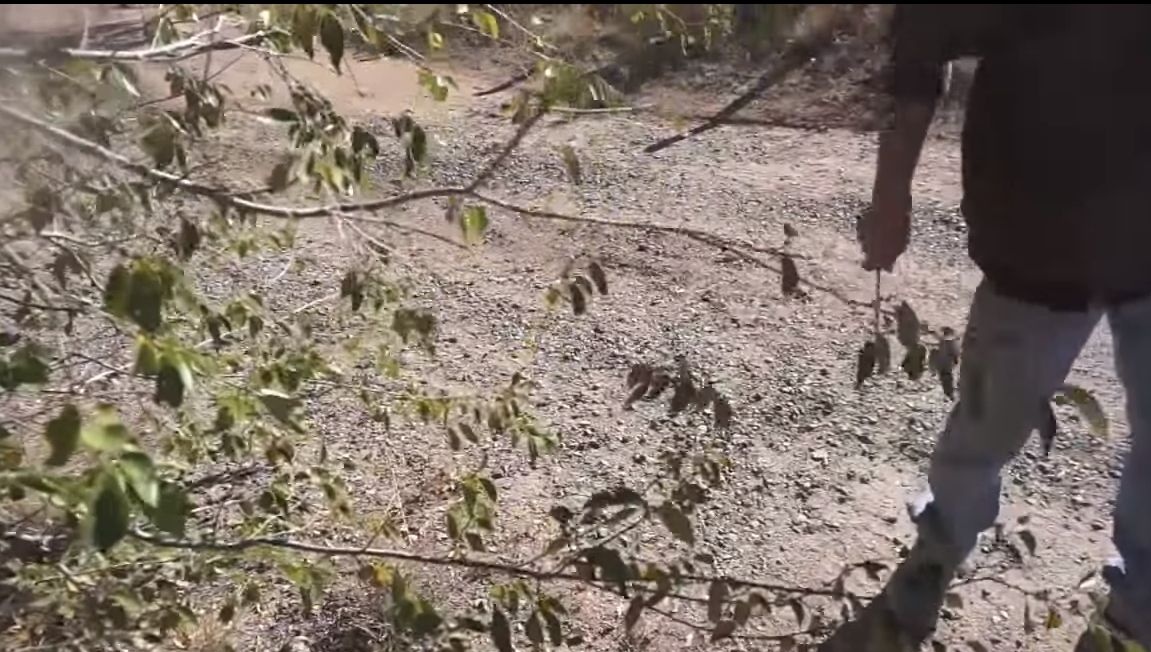
Since the steel is processed without tempering, it will not work to manually grind such a knife; The knife made is so sharp that the author shaves his hair without any problems, while he is so strong that he can cut branches.
Materials and tools used by the author:
Material List:
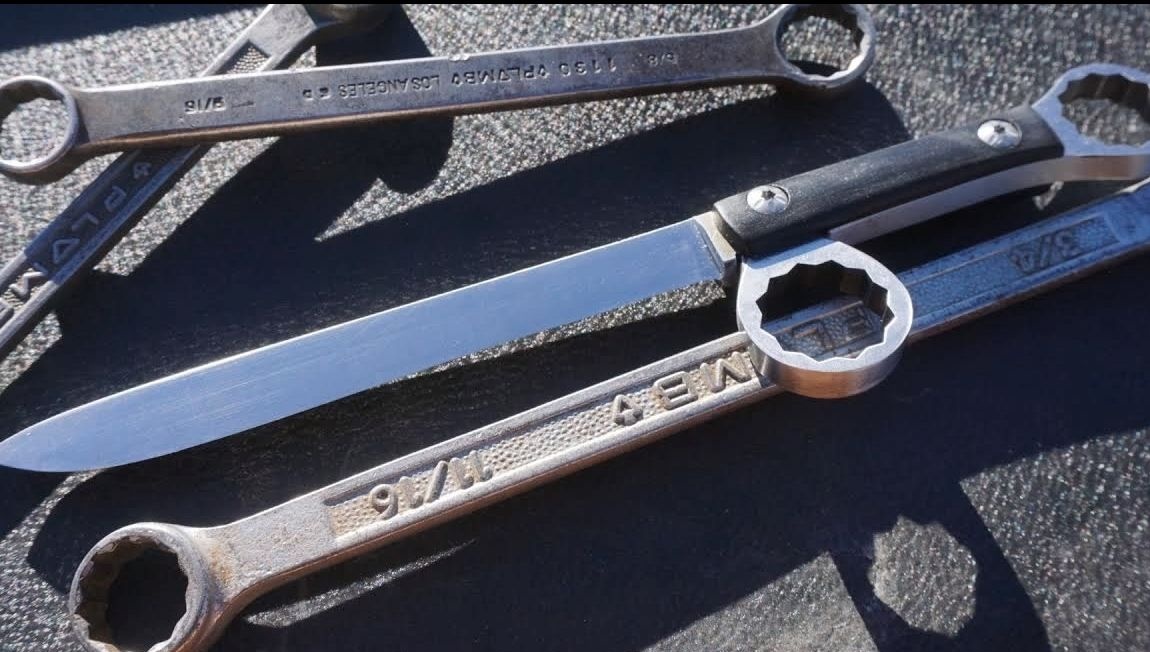
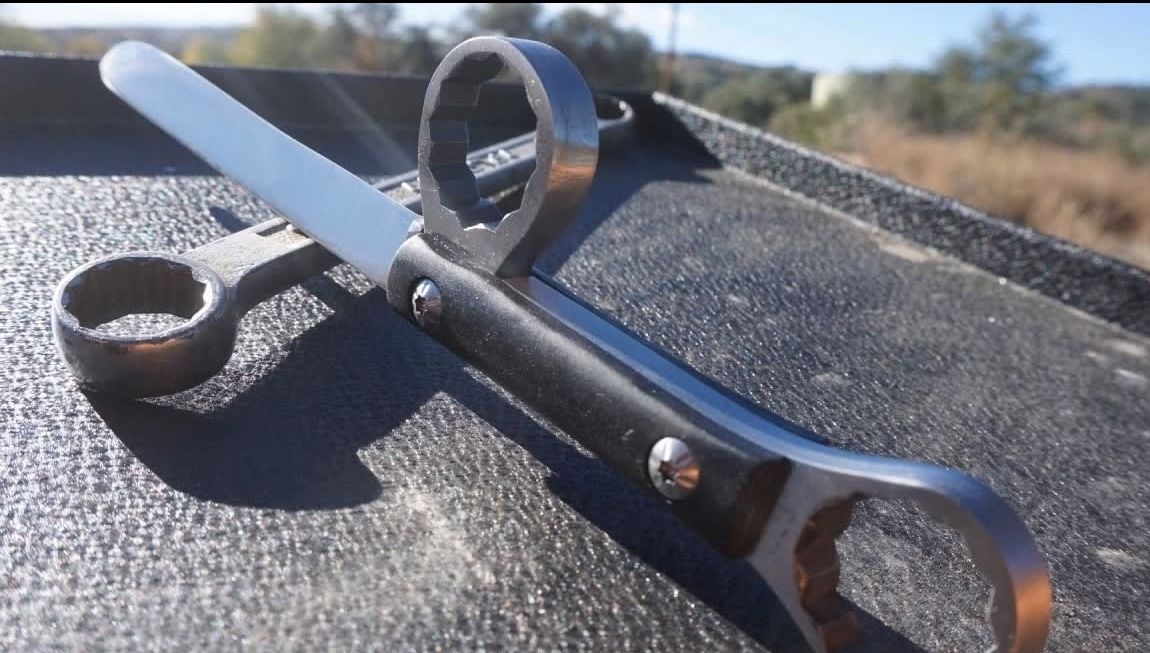
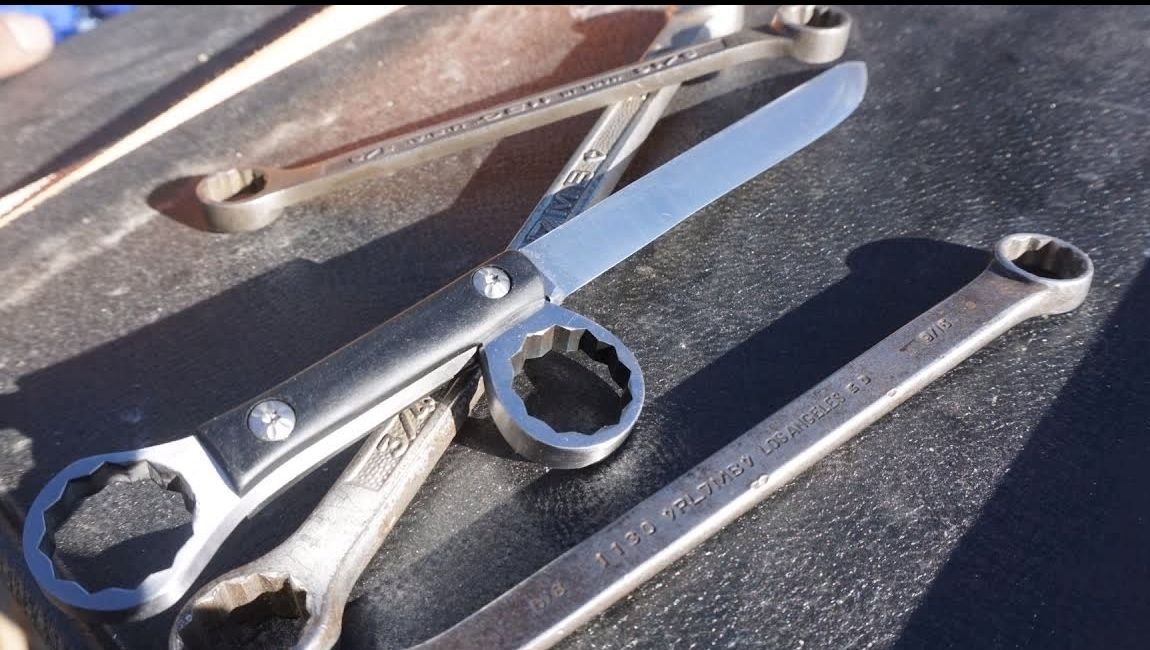
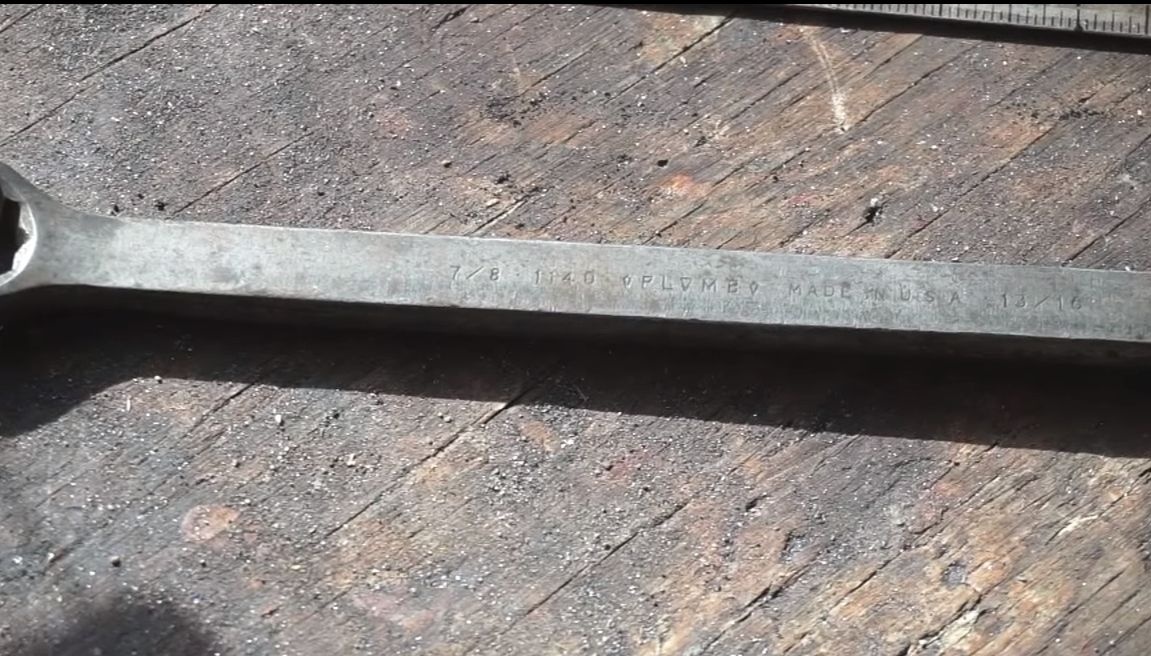
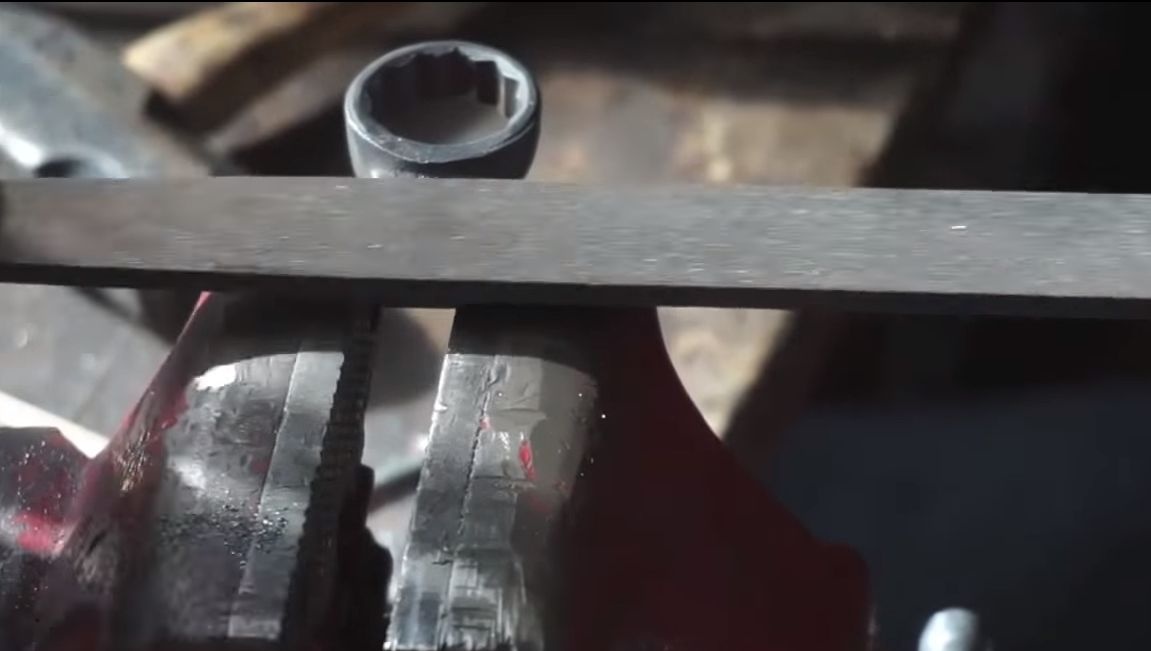
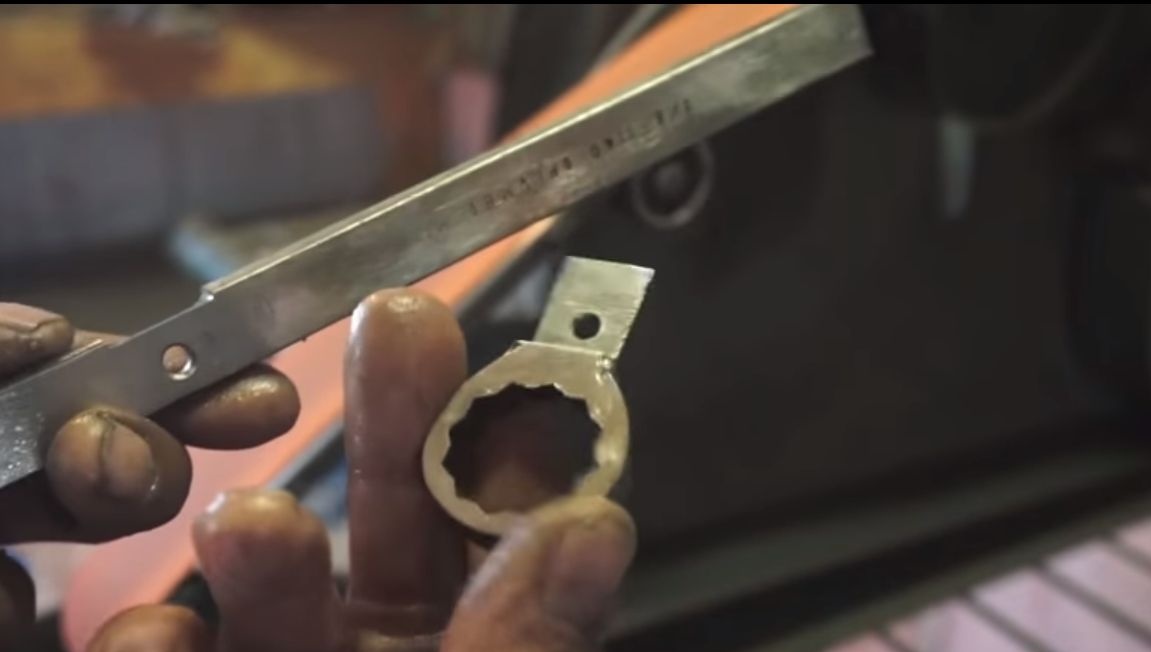
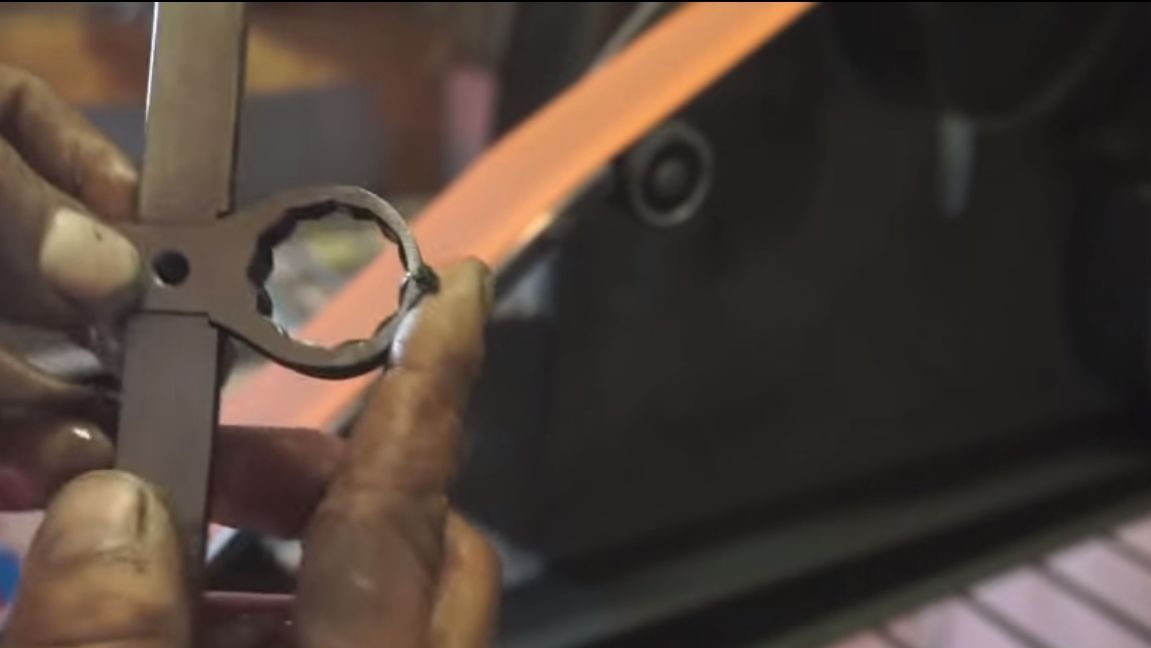
- wrench ¾;
- cap part of the key;
- two screws with internal nuts (like pins);
- pads on the handle (wood, textolite, etc. will do).
Tool List:
-
- files for metal and wood;
- grinder;
- gas-burner;
- a drilling machine or drill;
- marker;
- jigsaw;
- a machine or grinder with a wire brush;
- pliers, screwdrivers and other little things.
The process of making a knife:
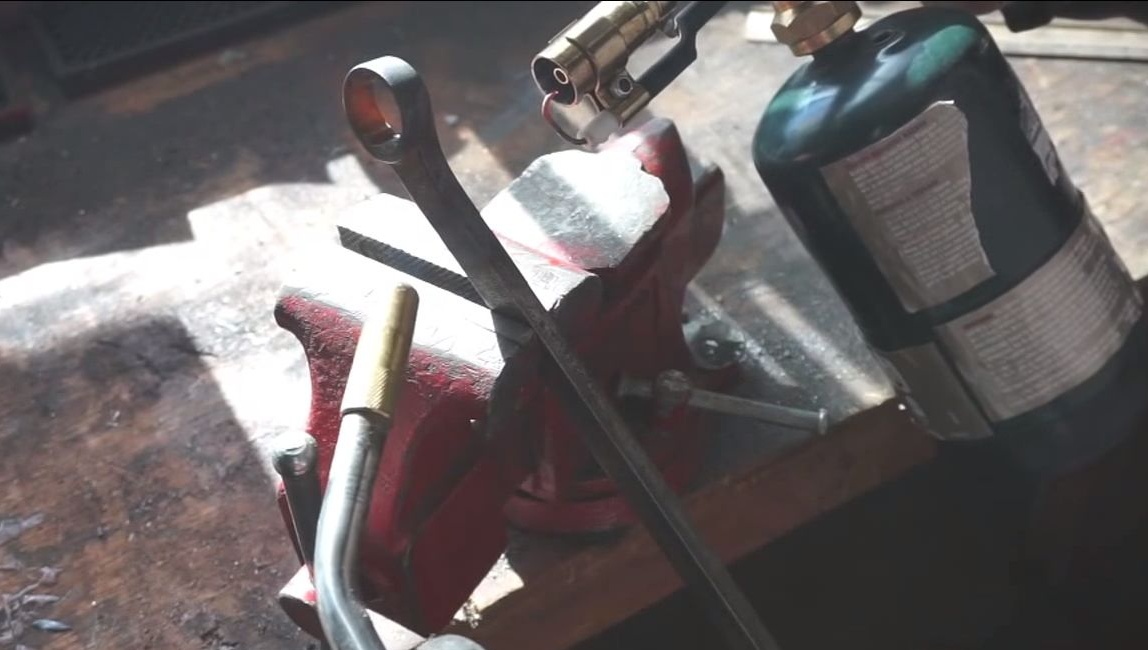
Step one. Local metal tempering
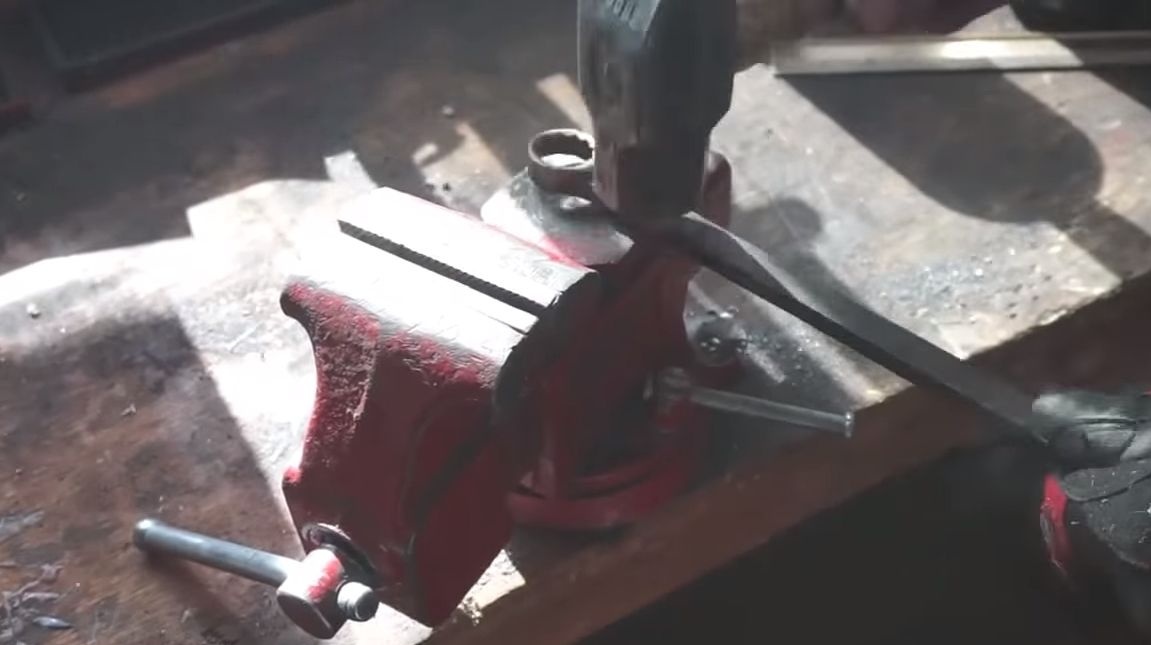
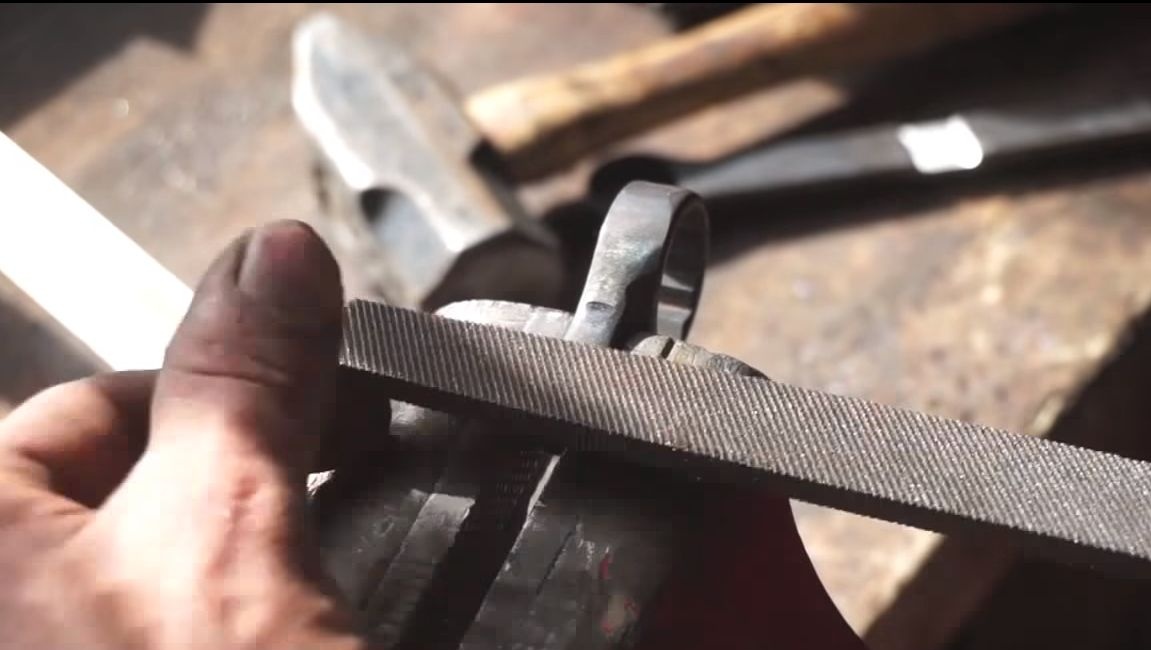
So that the steel of the wrench can be processed with hand tools, it must first be released. To do this, the author heats the steel with a gas burner and, tapping with a hammer, allows to gradually cool. The procedure is preferably repeated several times. If the hammer began to leave a mark on the metal, it means that the steel is released and it can be processed.
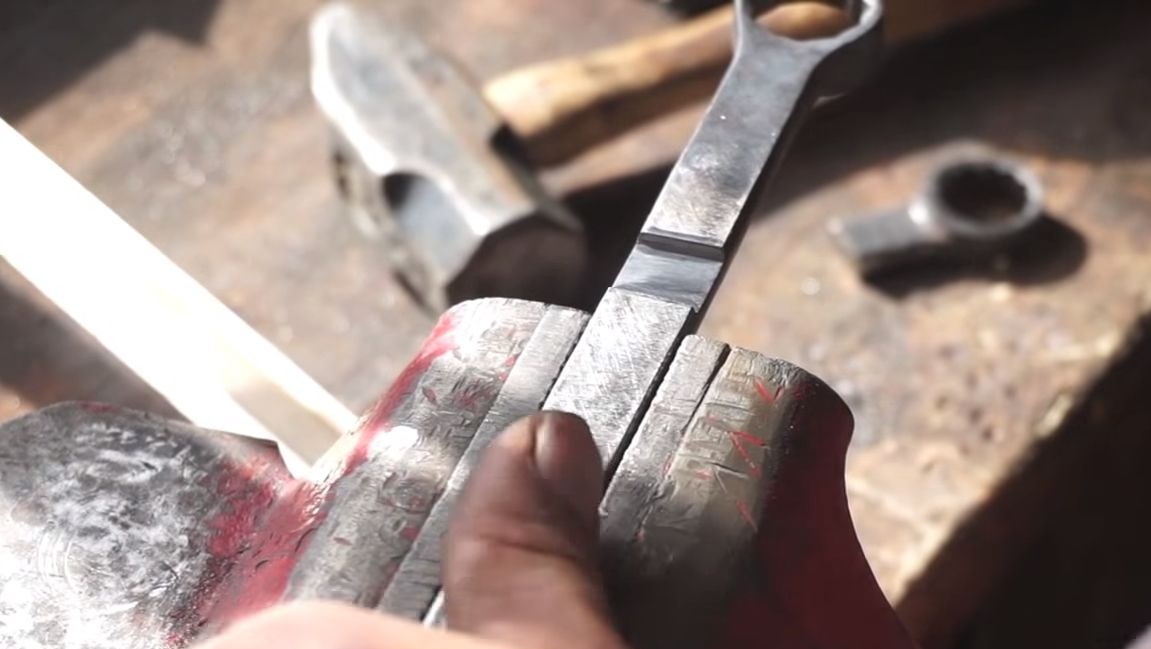
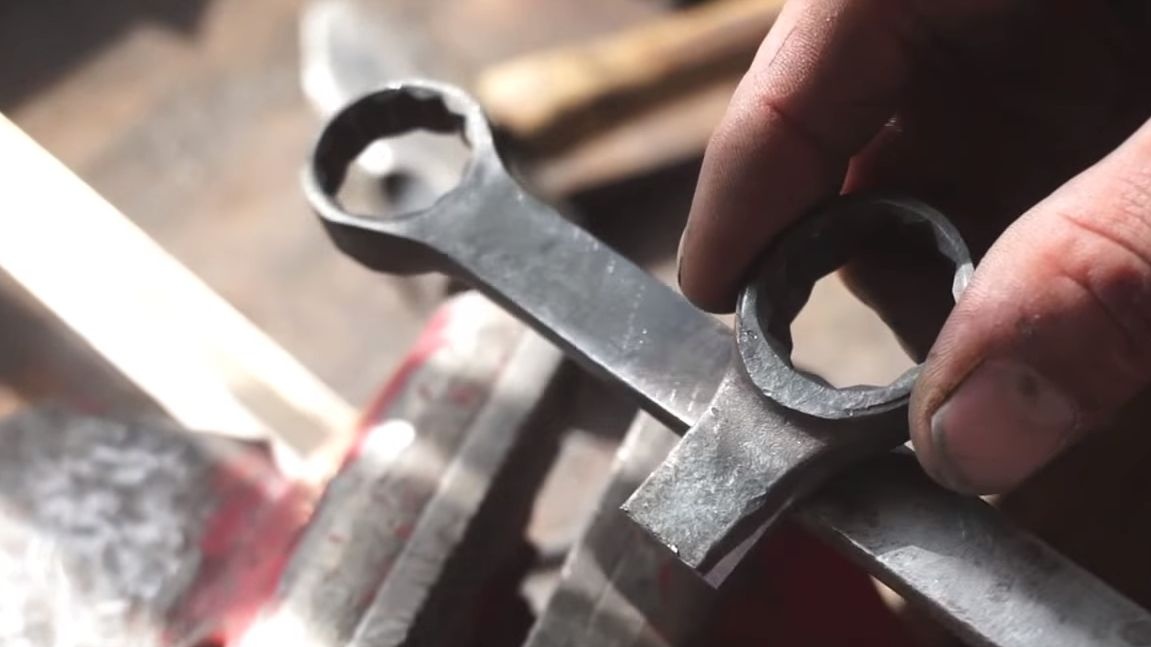
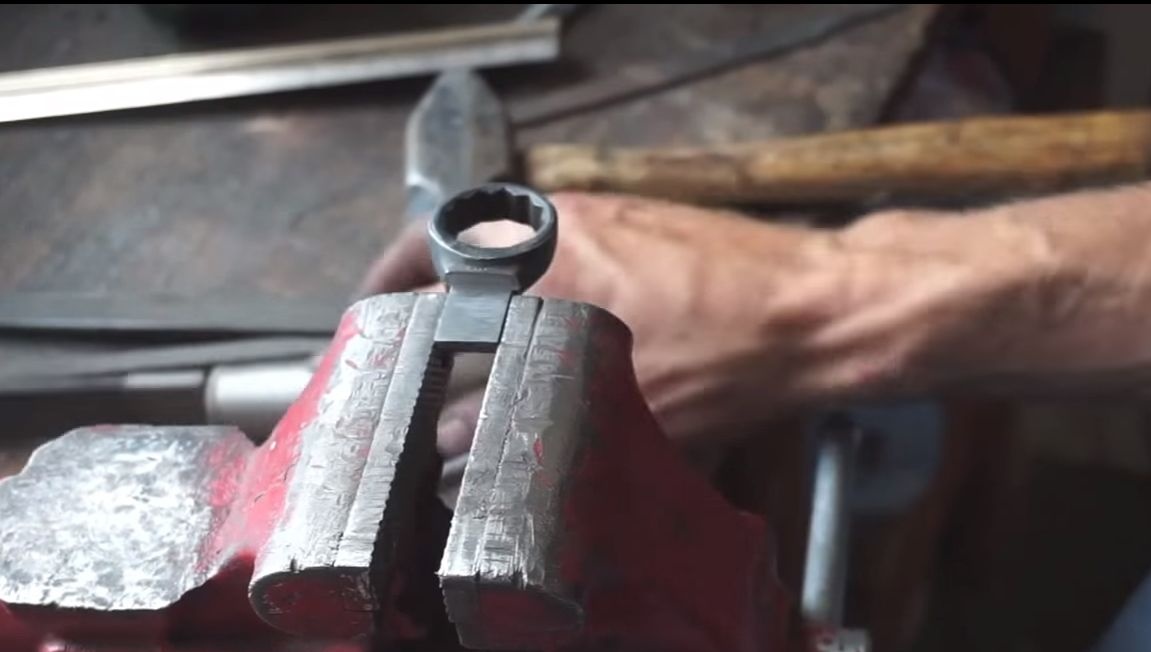
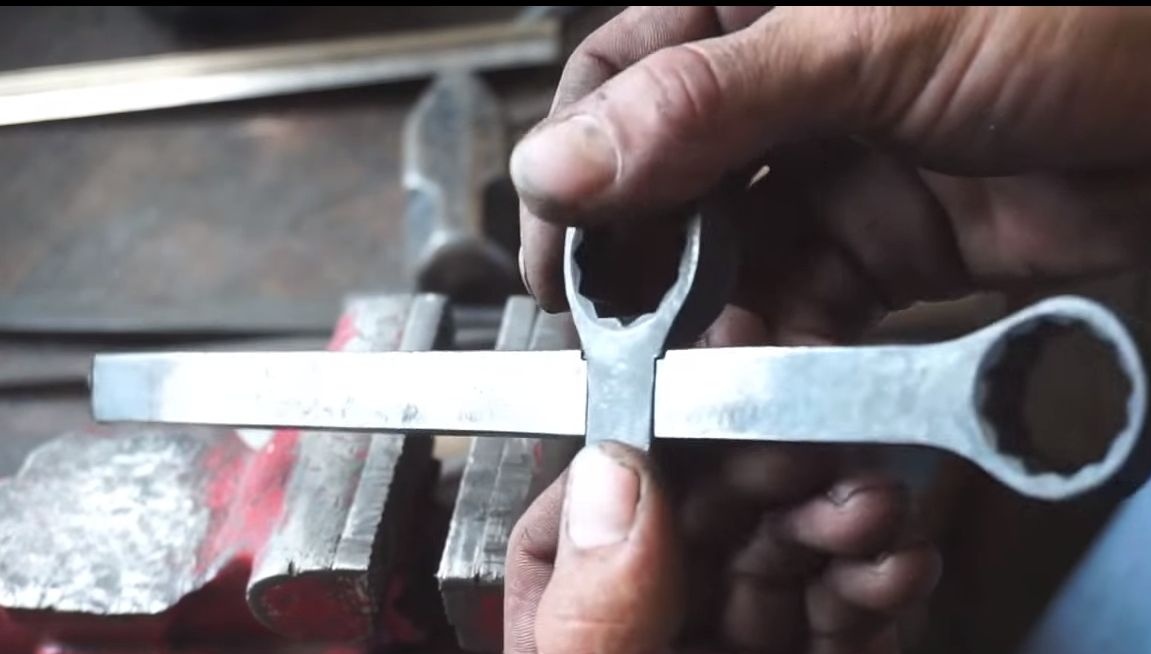
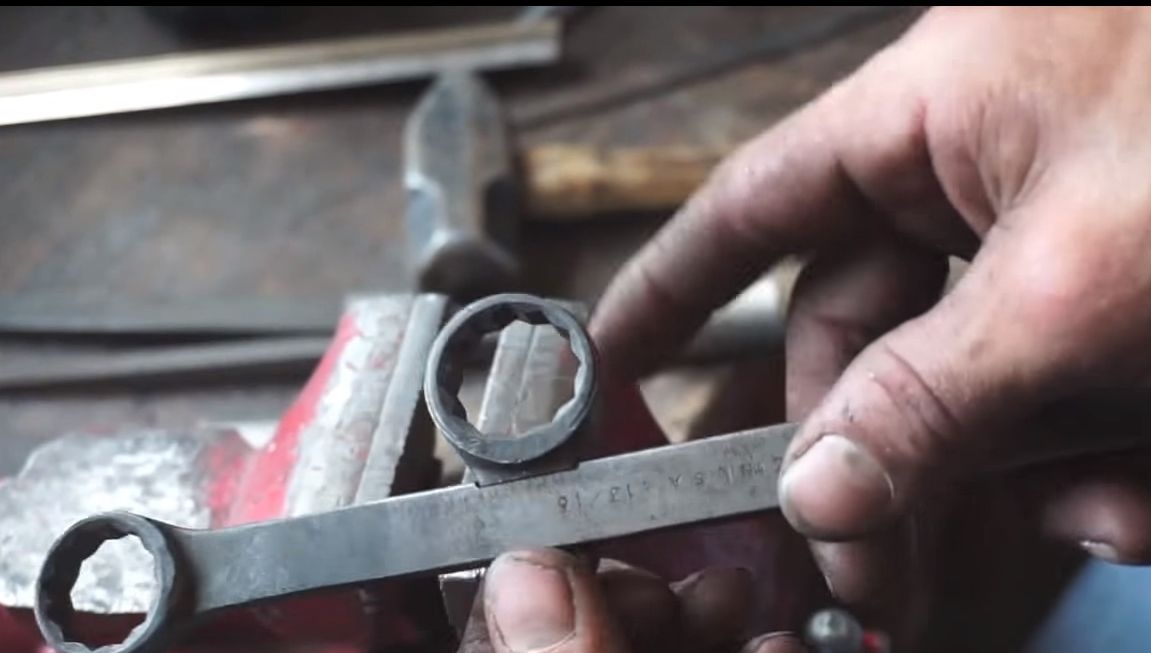
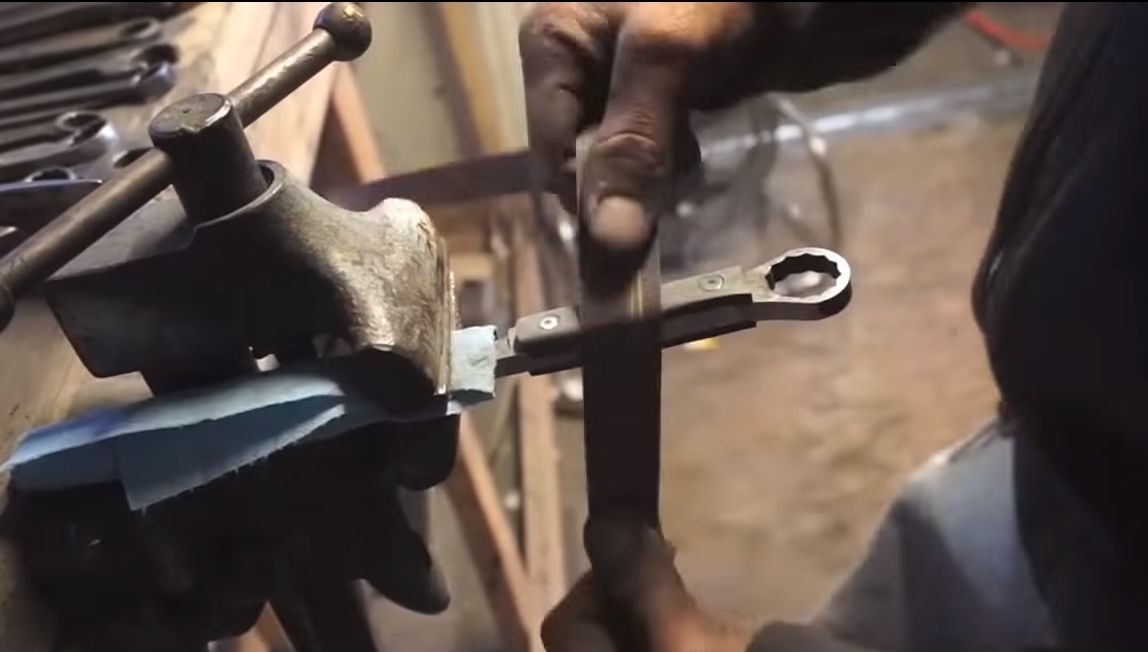
Step Two Handle groove
The knife has two handles, so to speak, one main, and the other under the finger, thanks to this design, the knife can perform different tricks, and it also holds well in the hand. We take the file and grind the groove, the other part from the wrench should go here. The groove can be easily cut using files, because we released the metal and it became soft. Perfectly fit parts to each other.

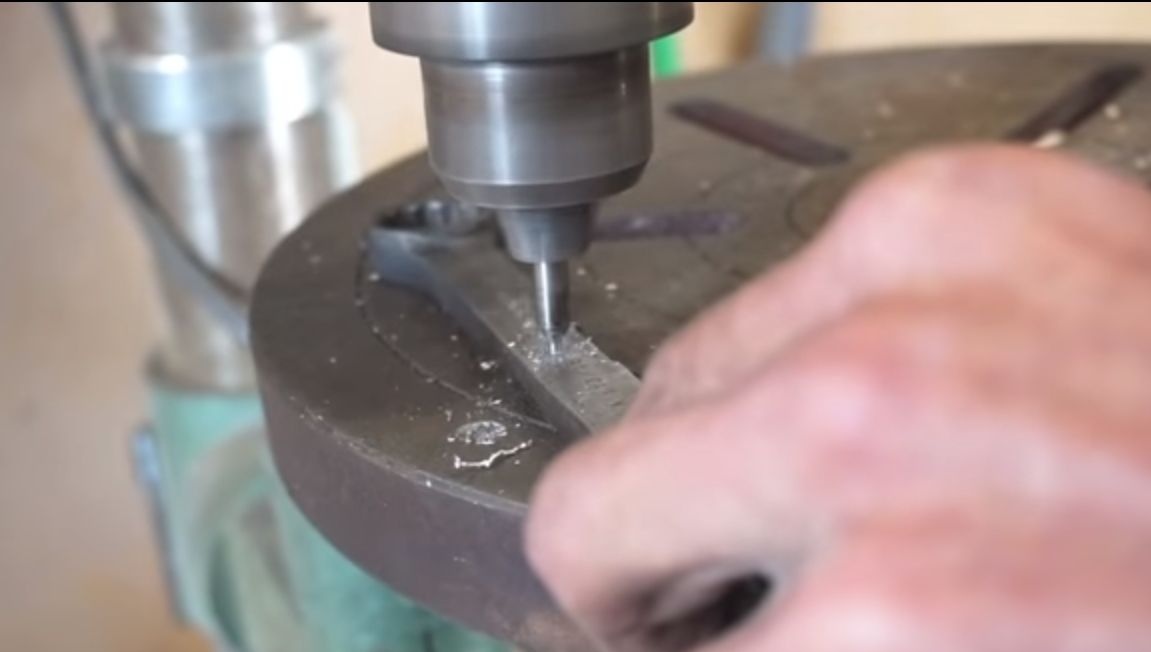
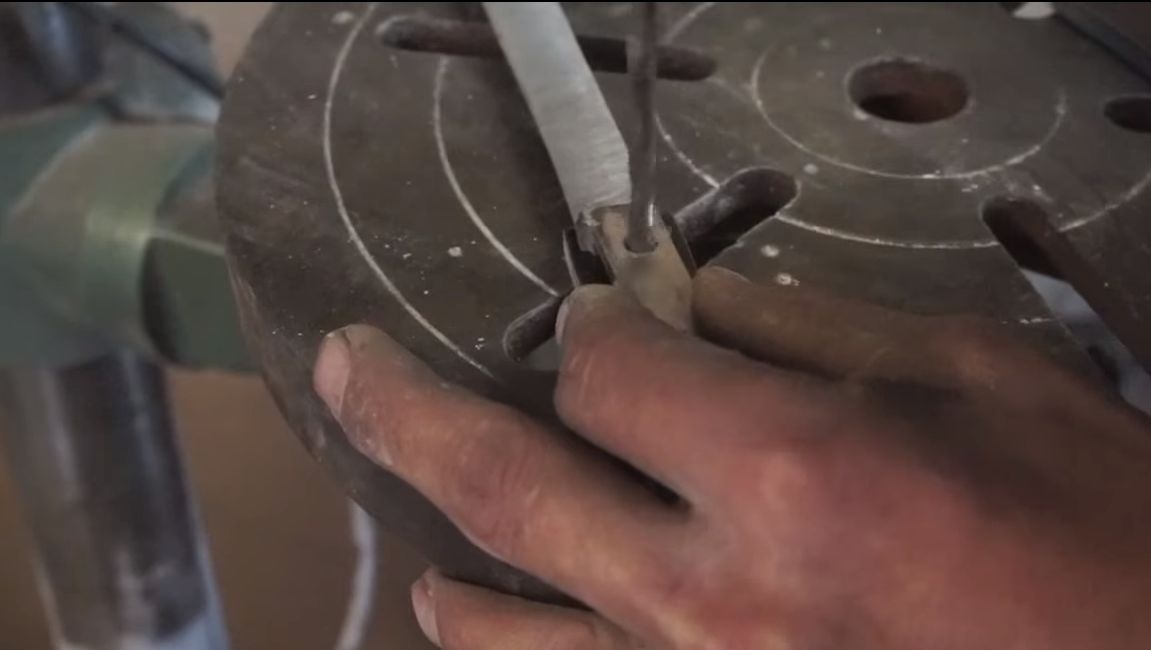
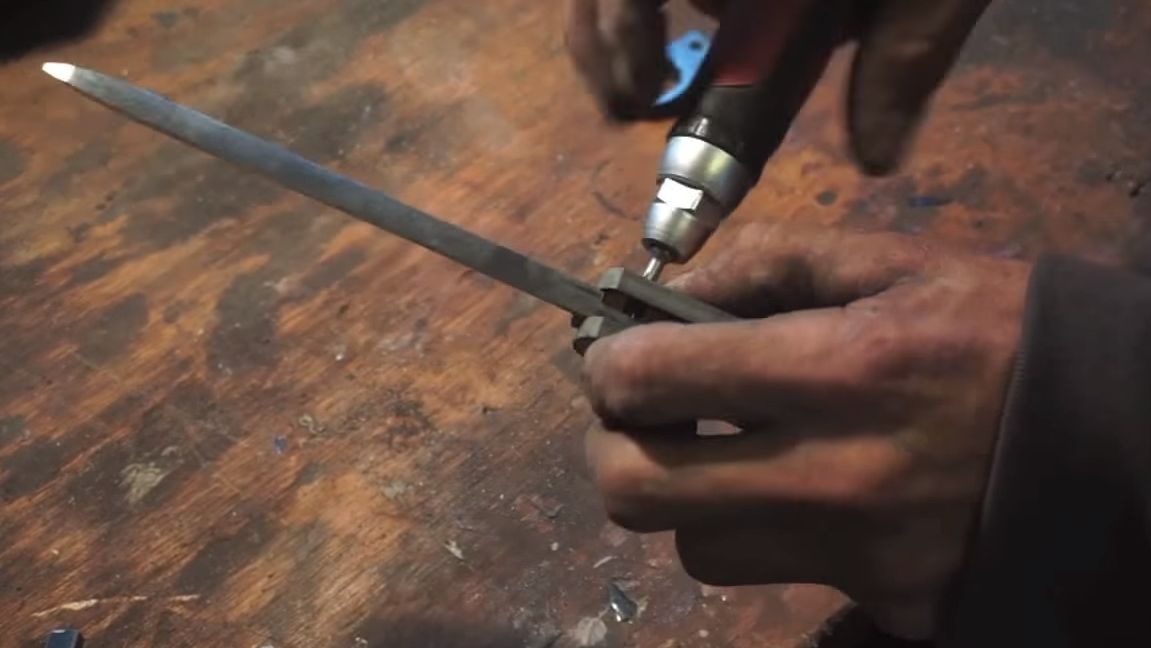
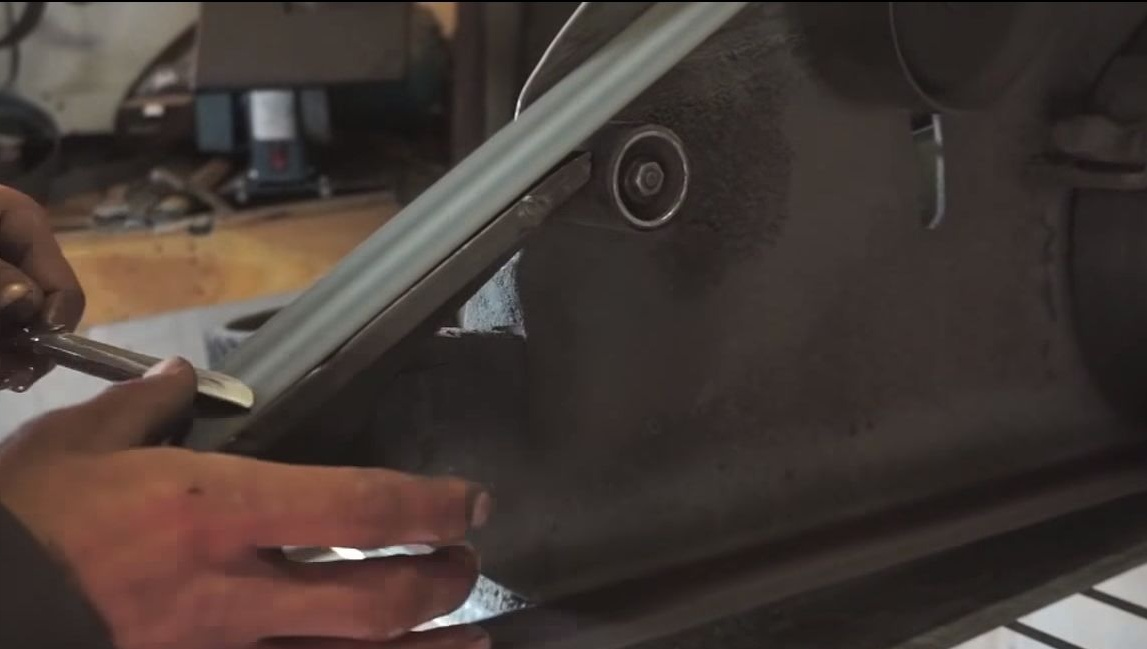
Step Three Drill mounting holes
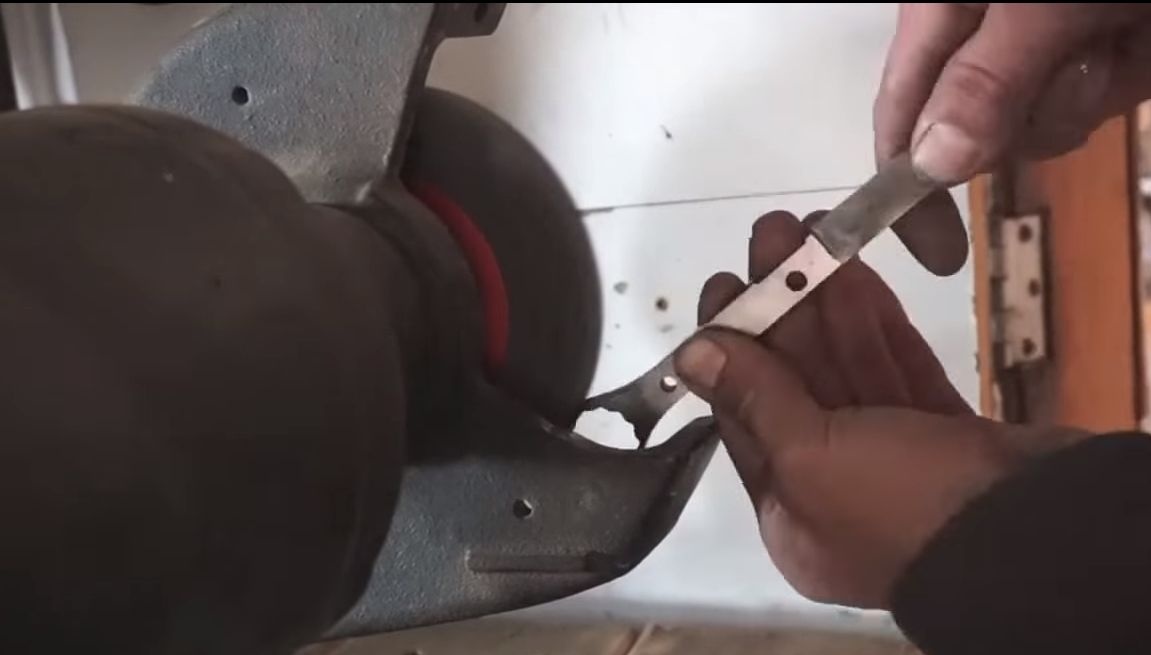
Two holes must be drilled in the tail of the hole, they are designed to install pins, which are bolts with nuts.Drilling them with a conventional drill, without releasing the metal, will not work, then you need a drill with a special tip. Well, or, you can still locally release the metal and drill them with an ordinary drill.
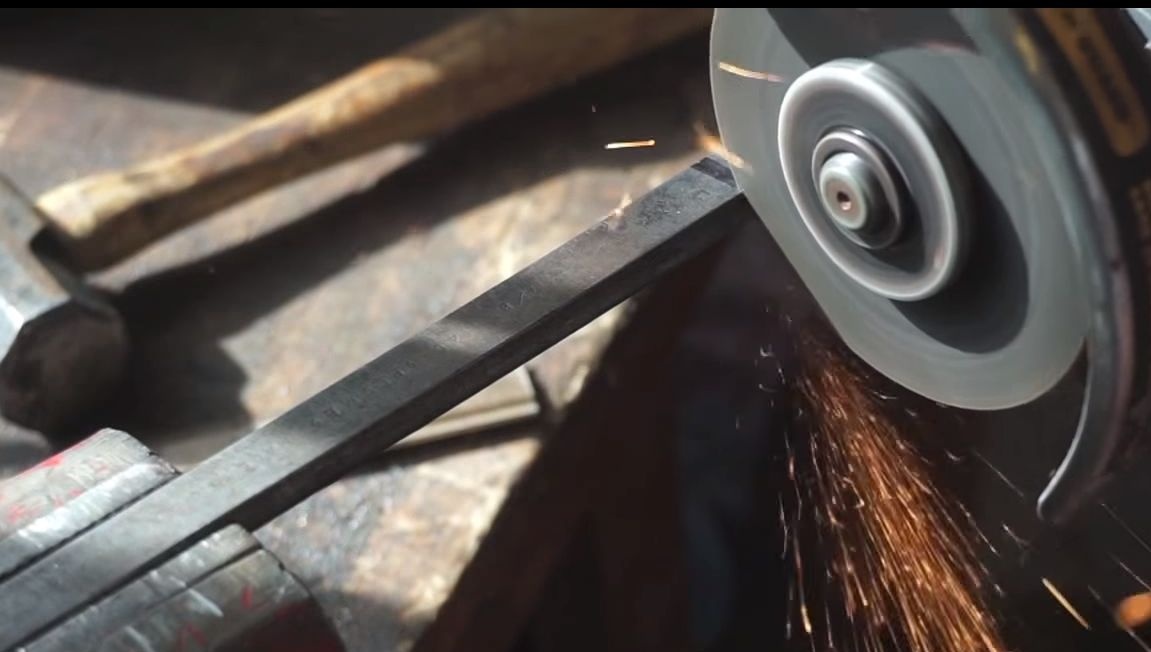
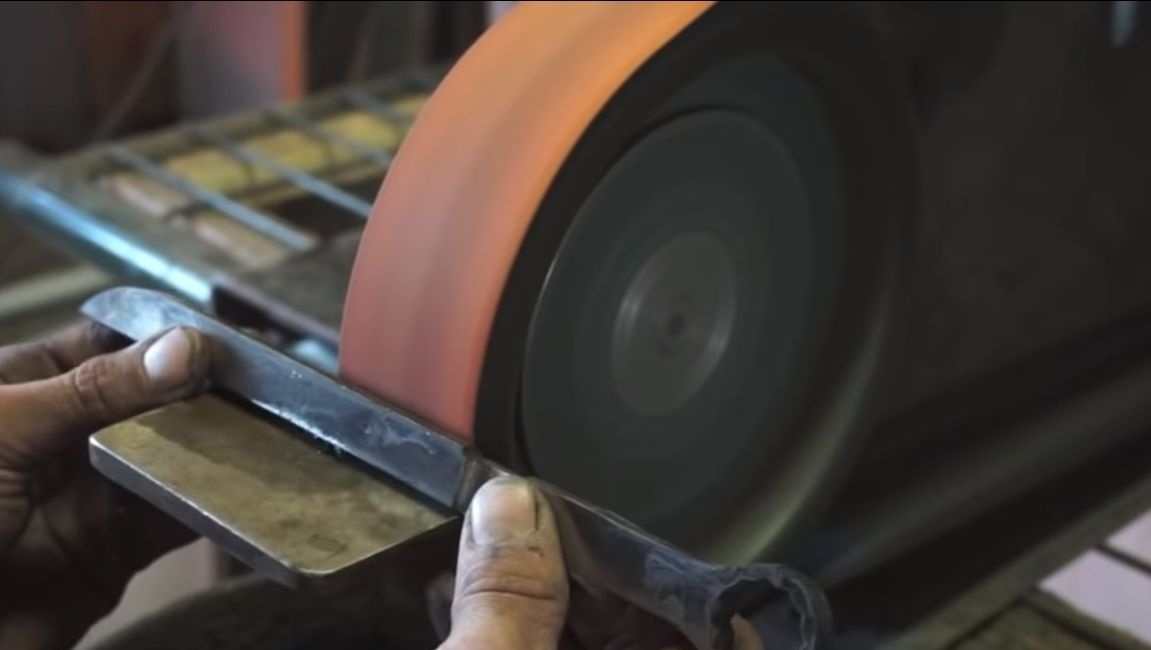
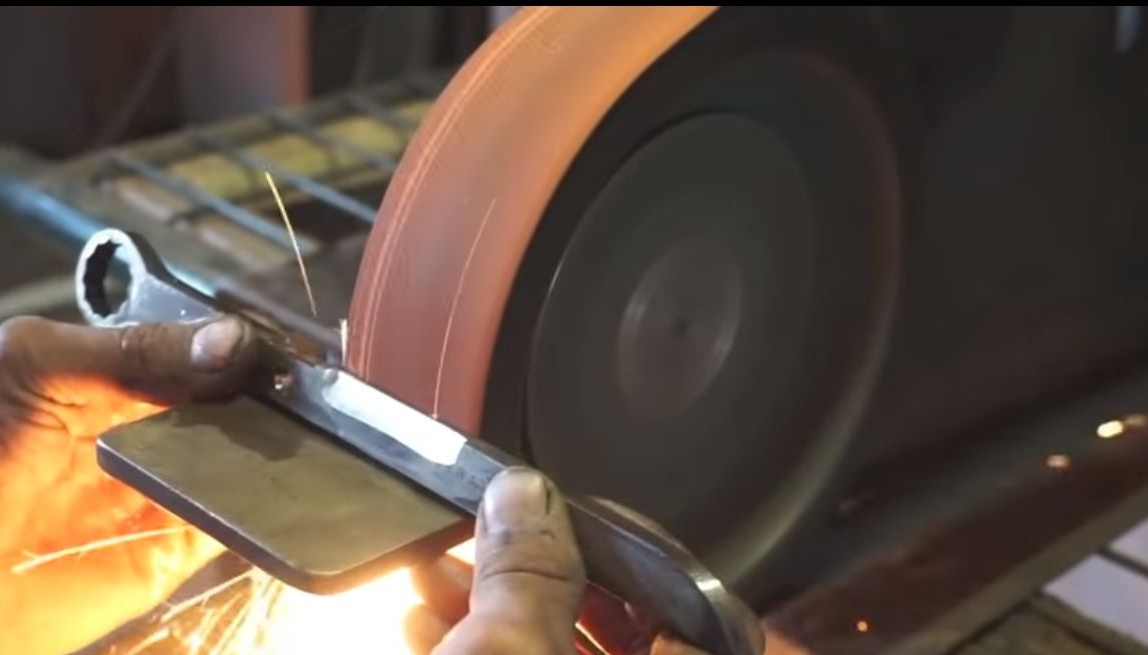
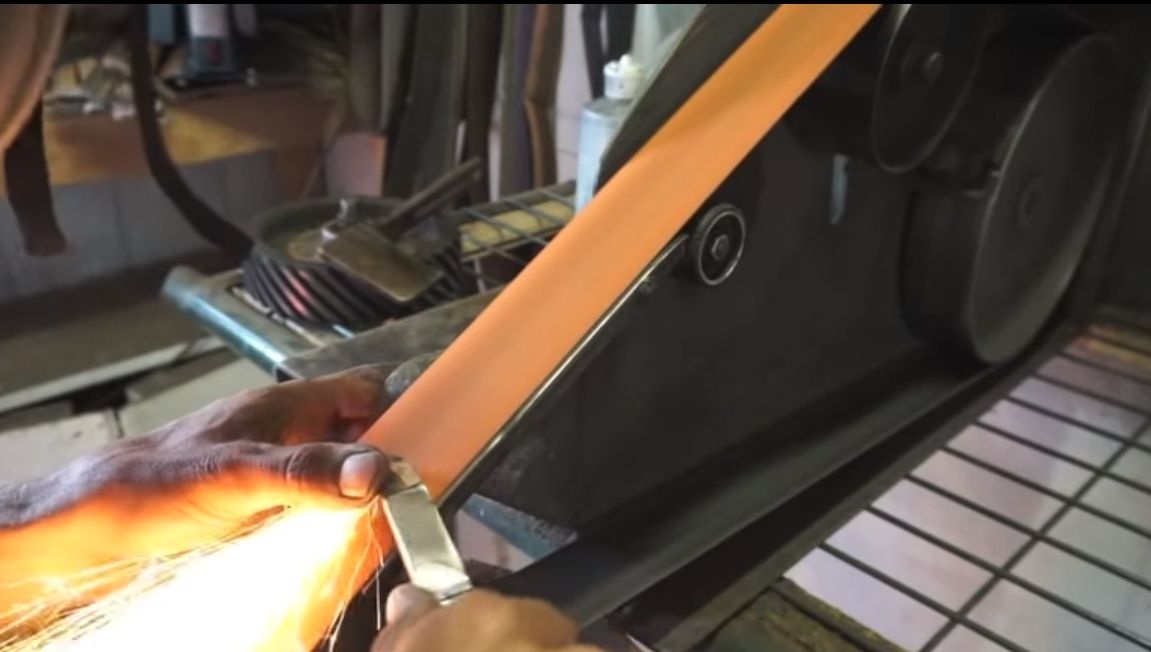
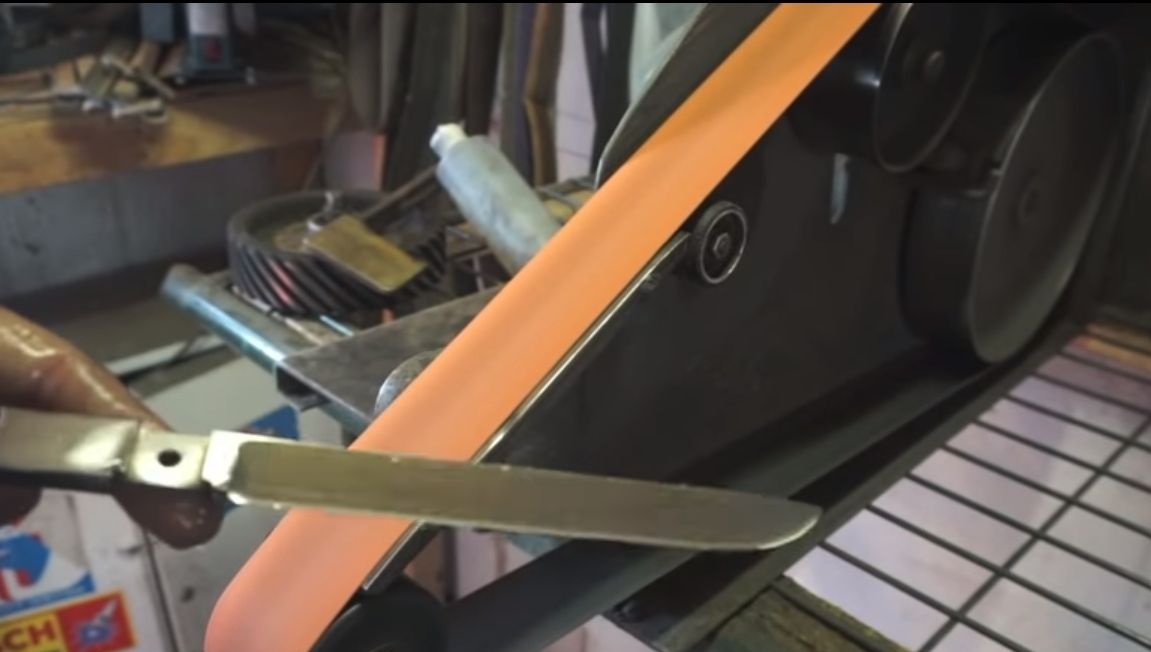
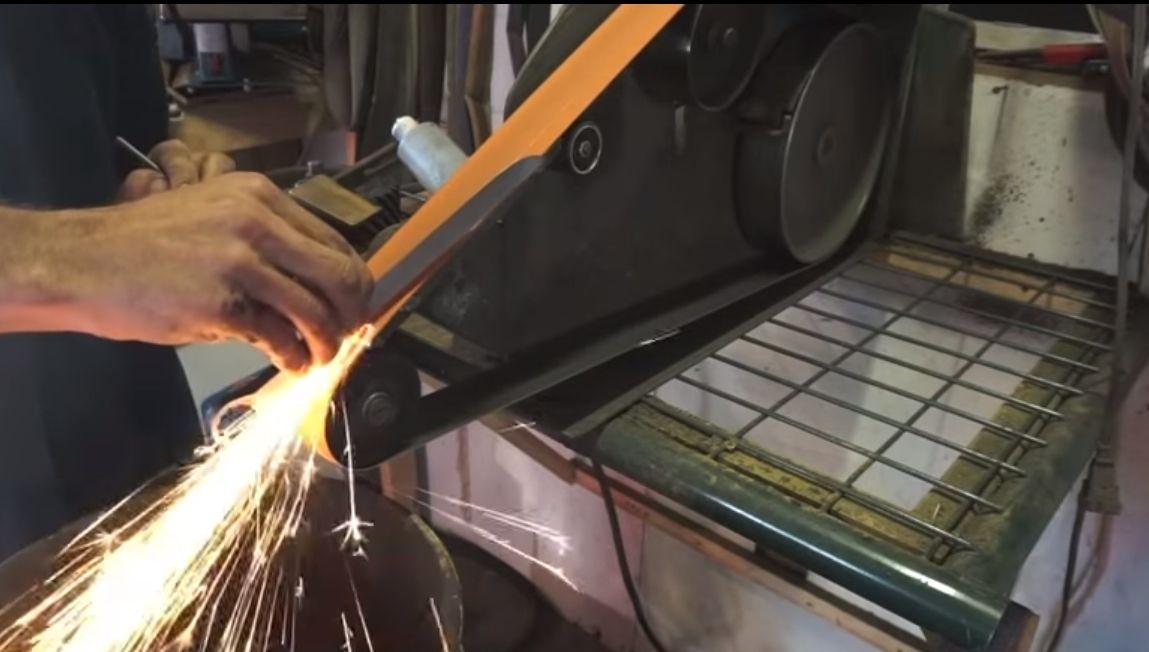
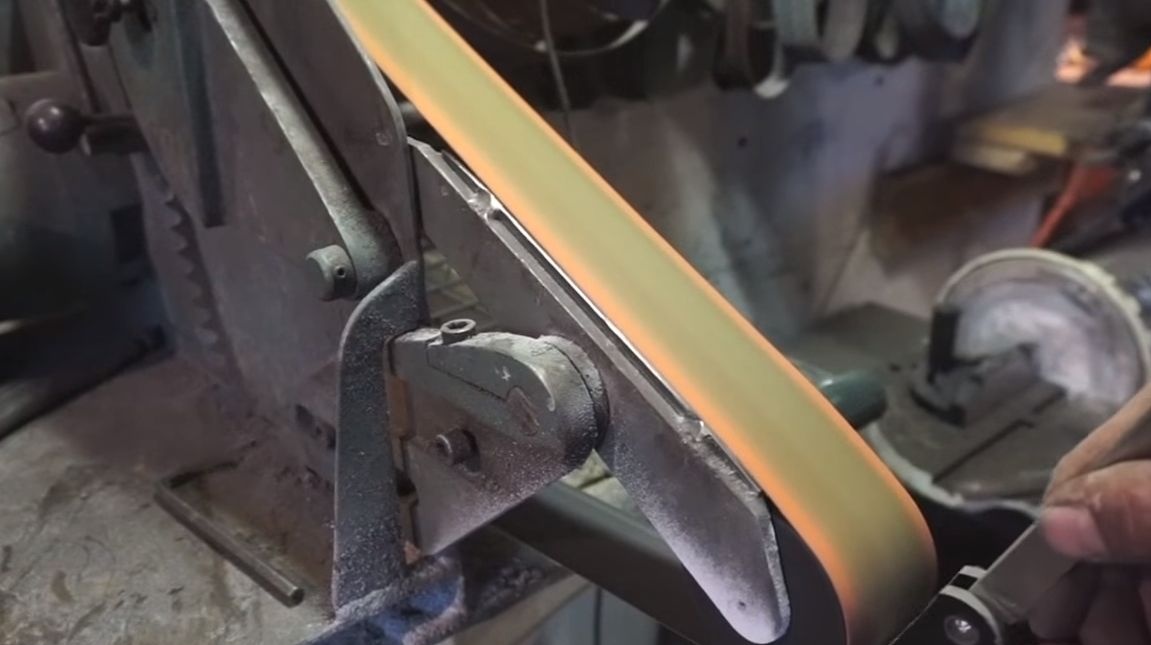
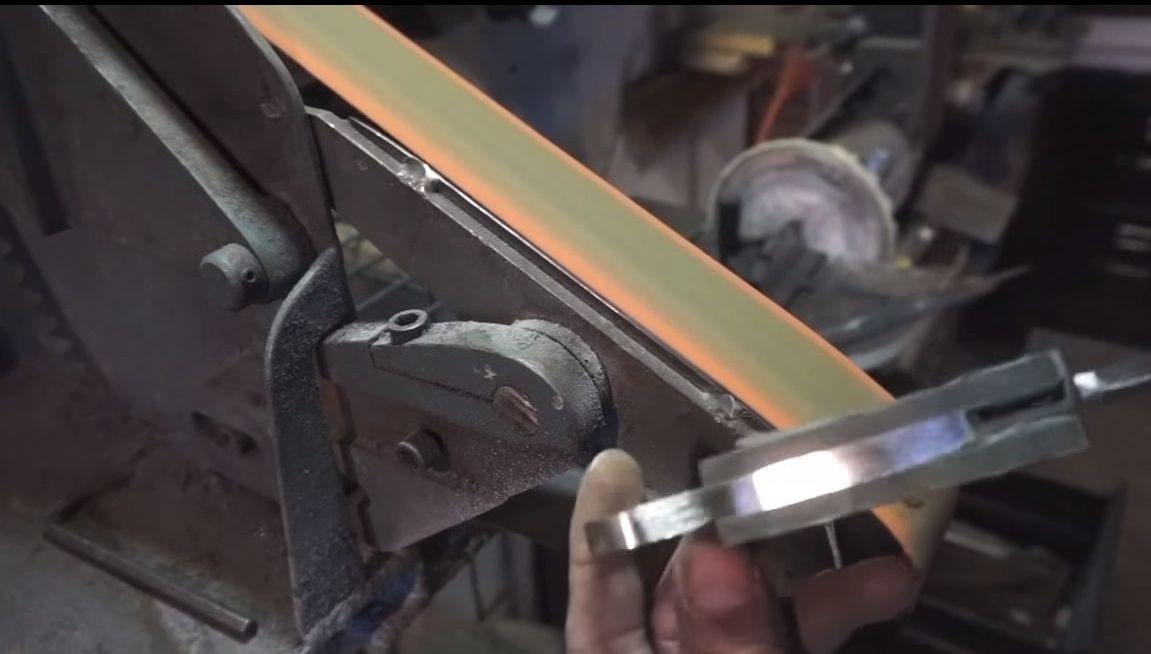
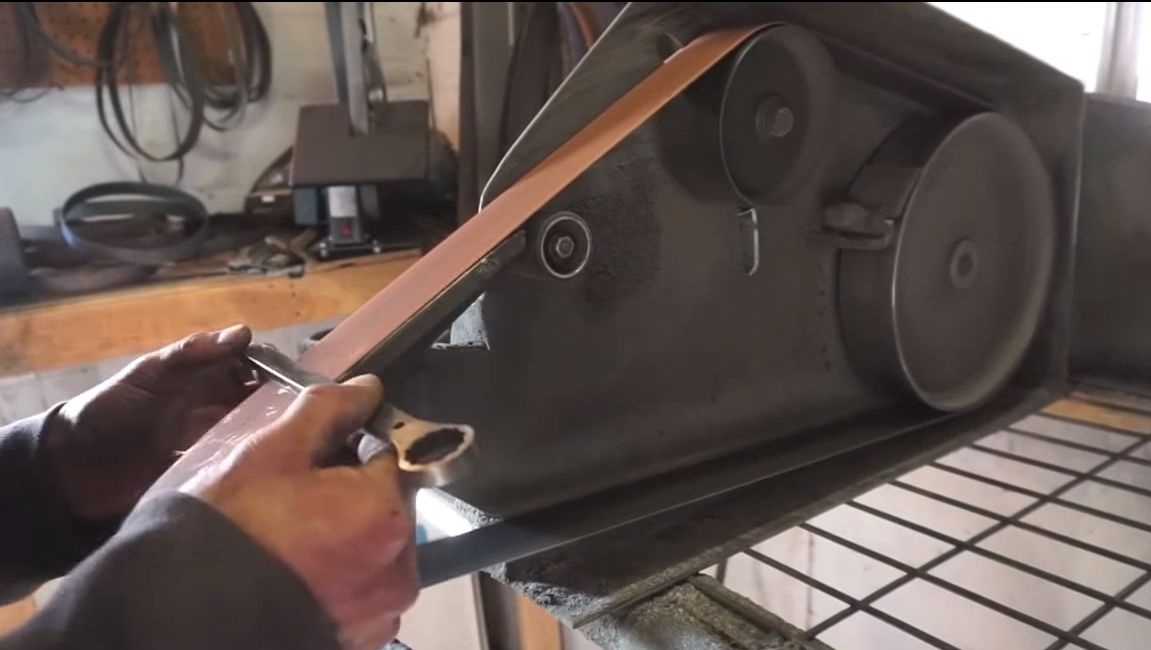
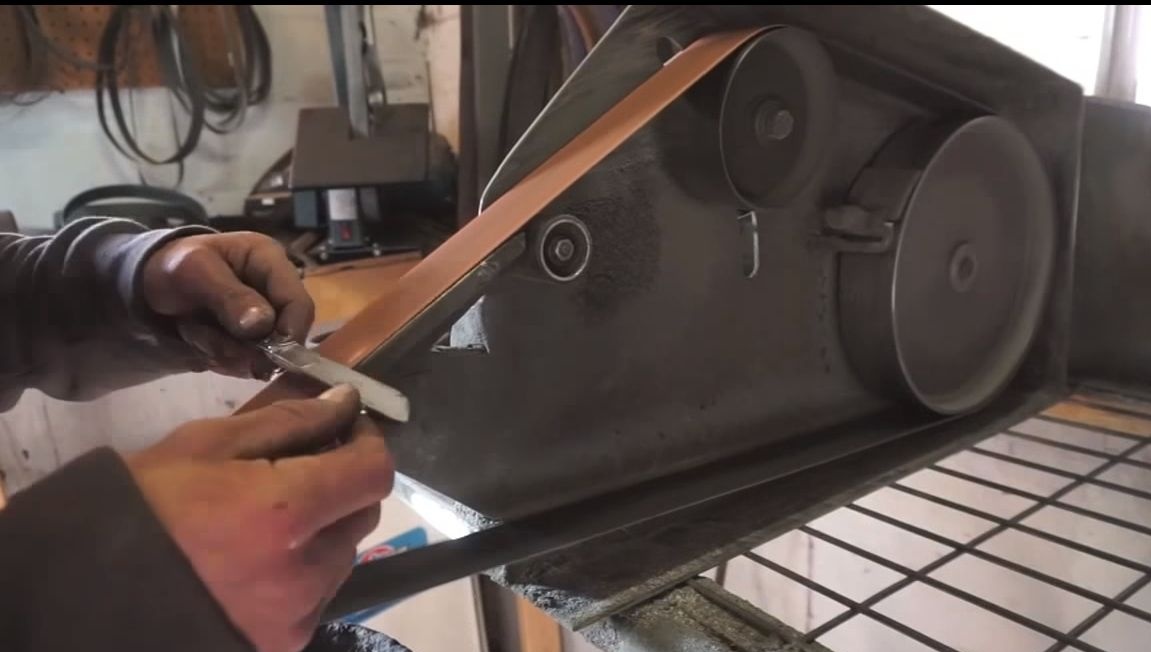
Step Four Getting down to grinding
Now we need such a powerful tool as. We start grinding, first grind the workpiece along the contour to get the desired shape.
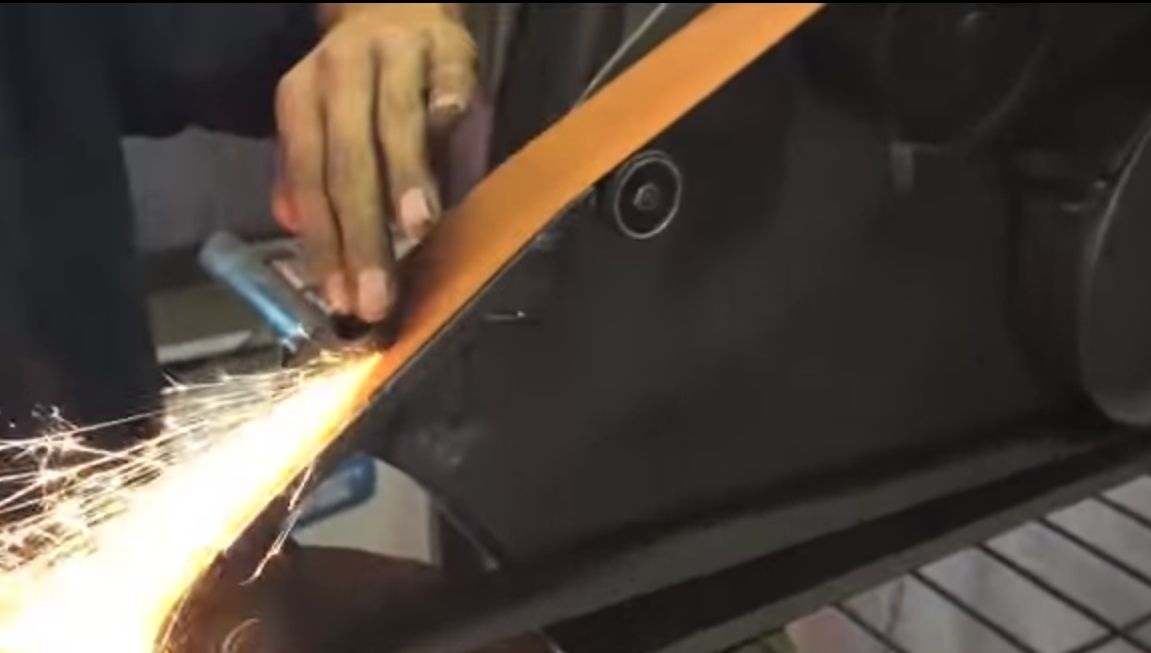
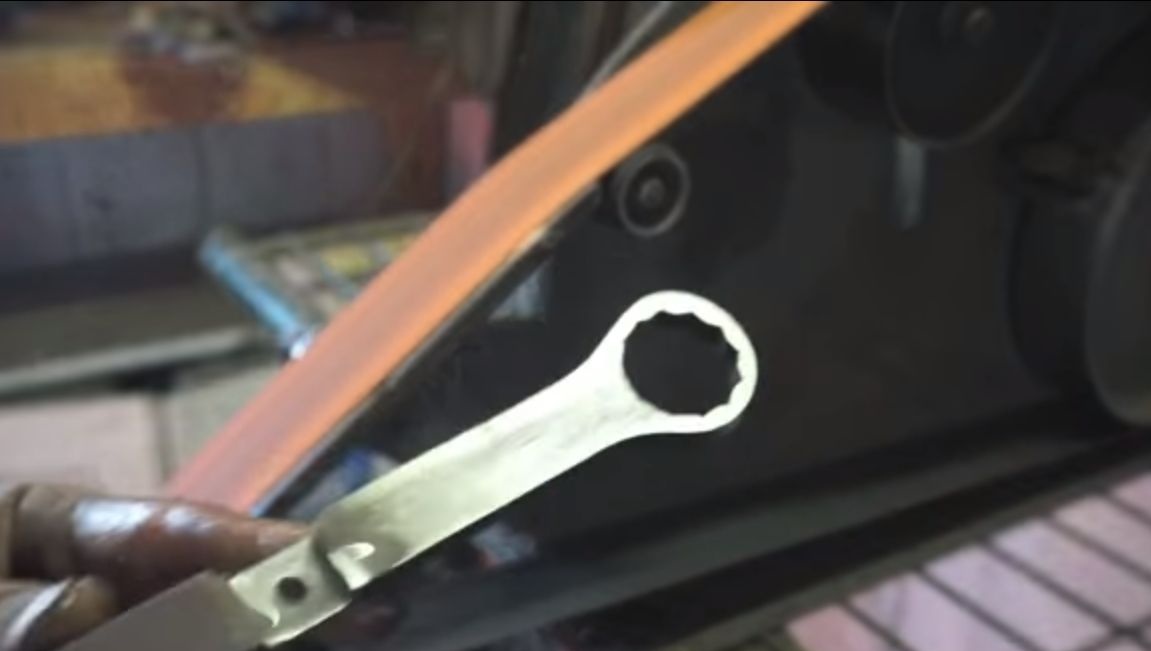
Next, we proceed to the formation of bevels. Judging by the video, the author does them by eye, not marking anything on the blade. If the tape on your machine is narrow, then the bevels are done sequentially. When making bevels or sharpening a blade, always hold the blade up, towards the moving belt. Remember that the metal can not be overheated, as it will leave. Cool the workpiece from time to time in water.
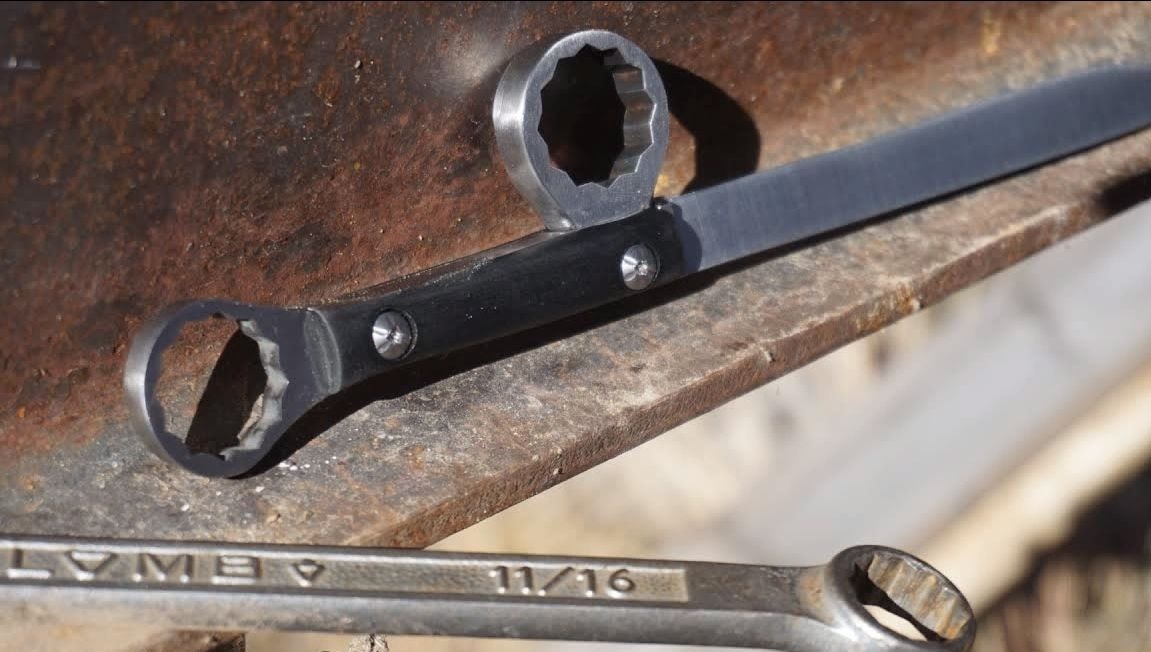
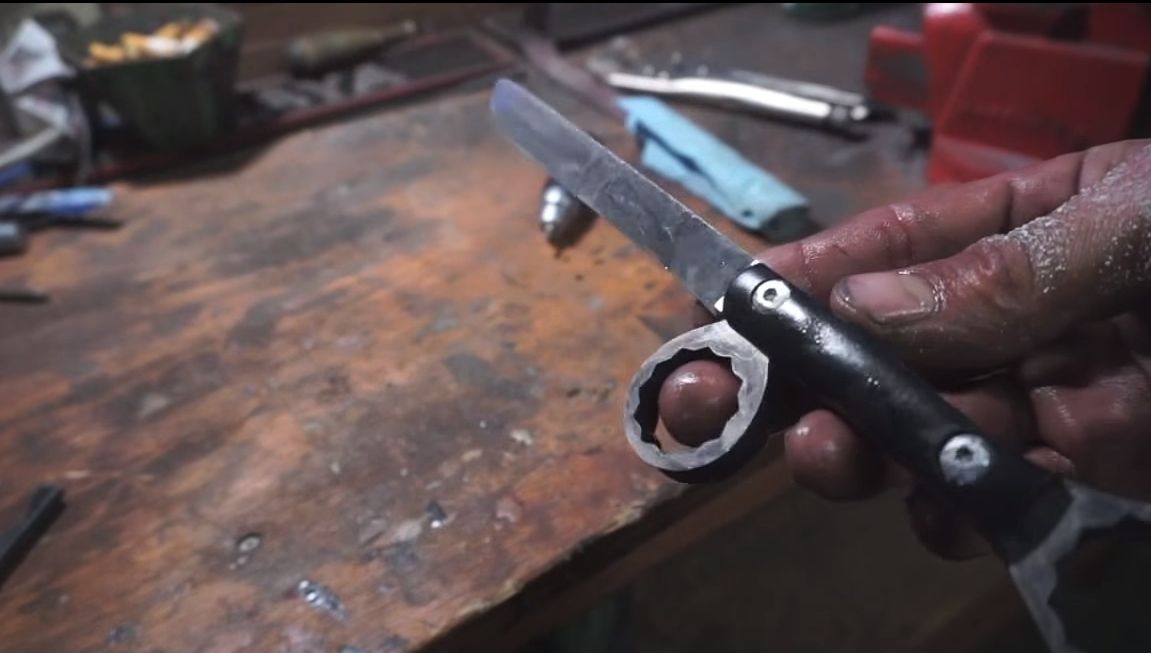
Step Five Handle pads
We proceed to finish the handle, here you will need textolite, wood, you can also use animal horns and other materials. A plus in favor of artificial materials is that, as a rule, they do not need additional decoration. For example, a tree must be impregnated with oil so that it does not absorb moisture.
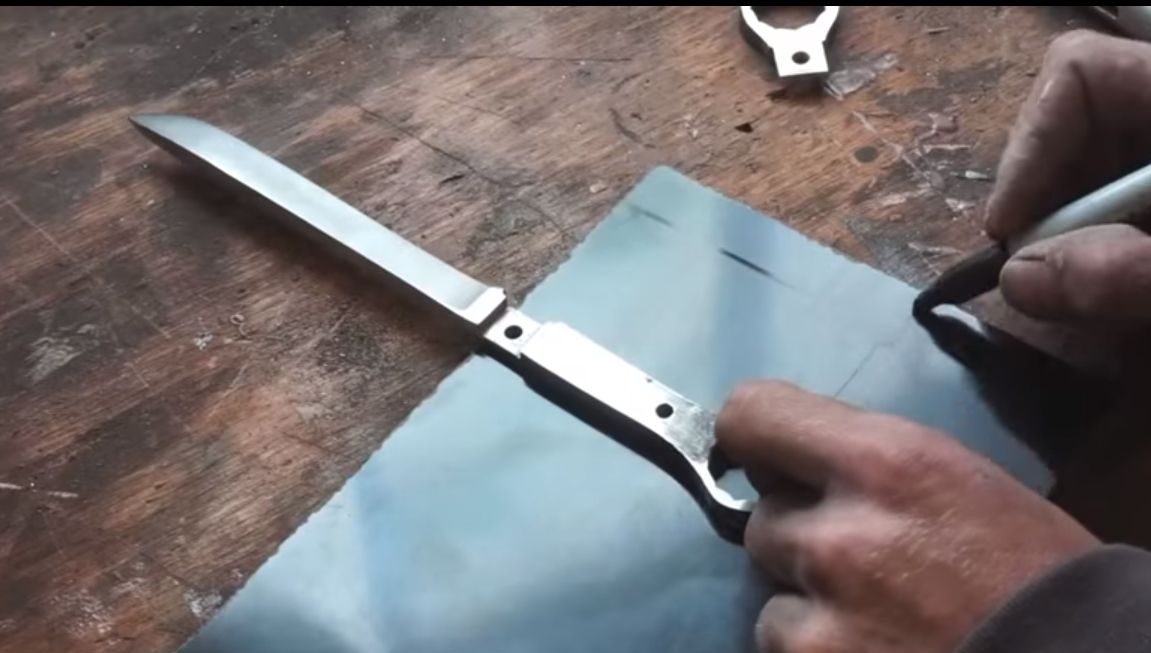
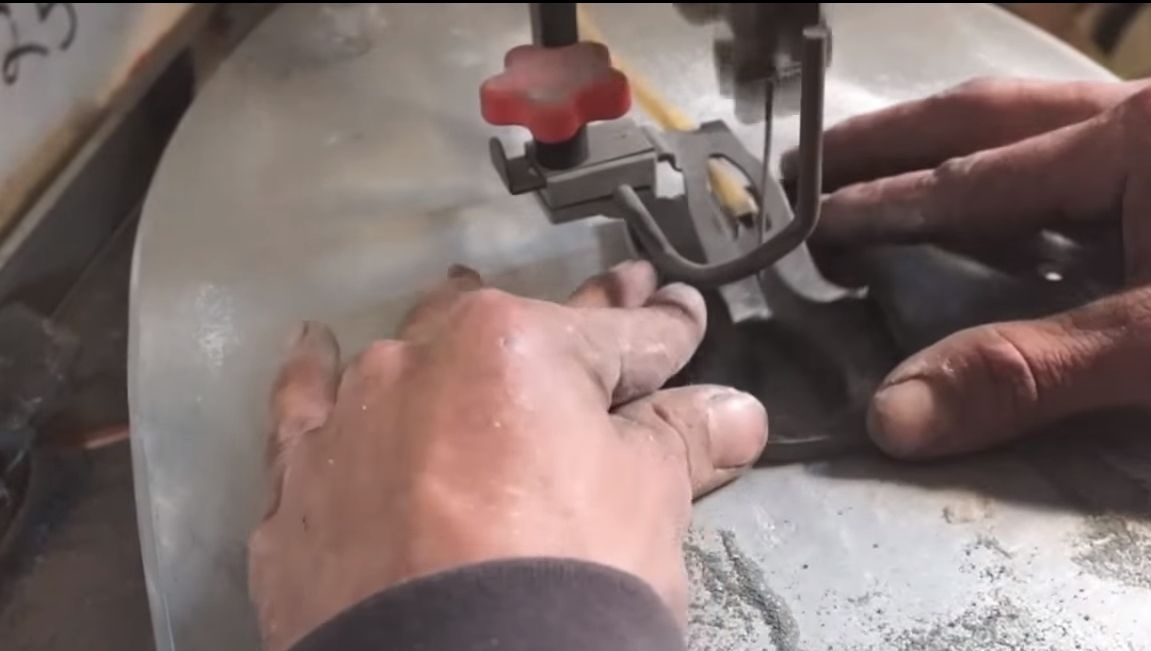
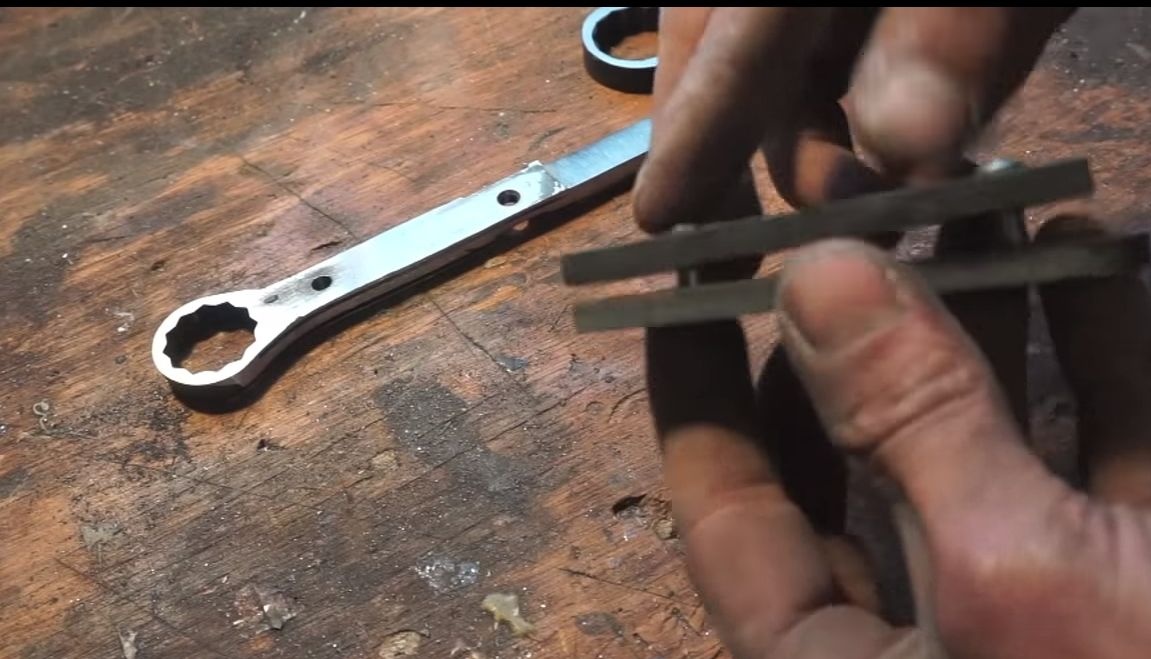
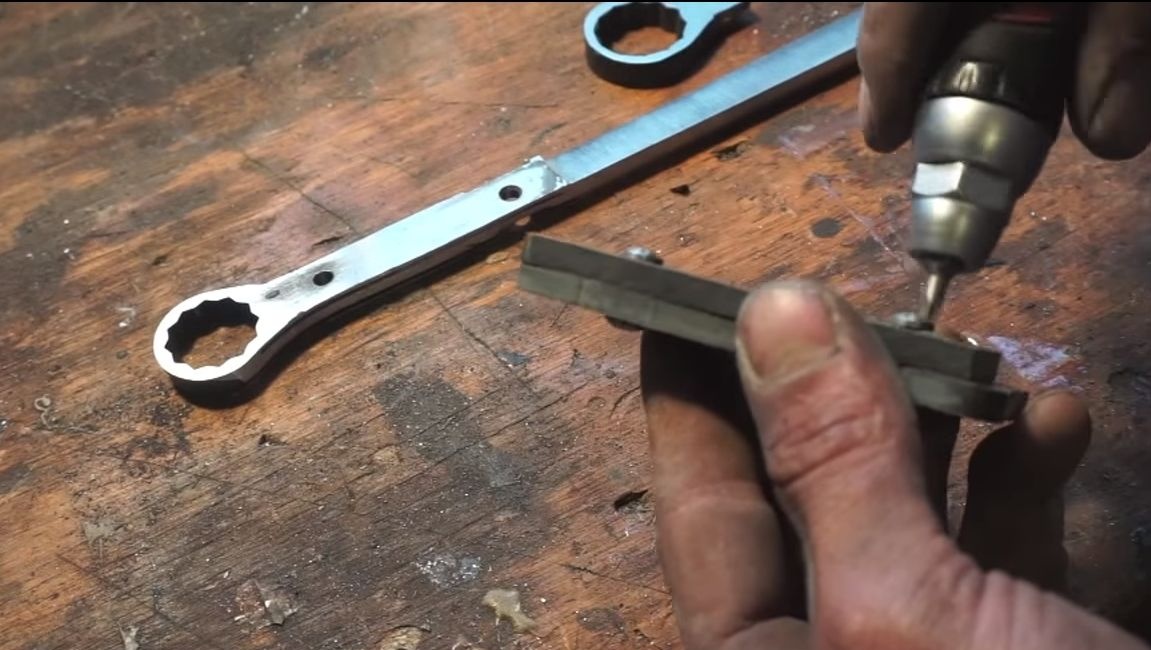
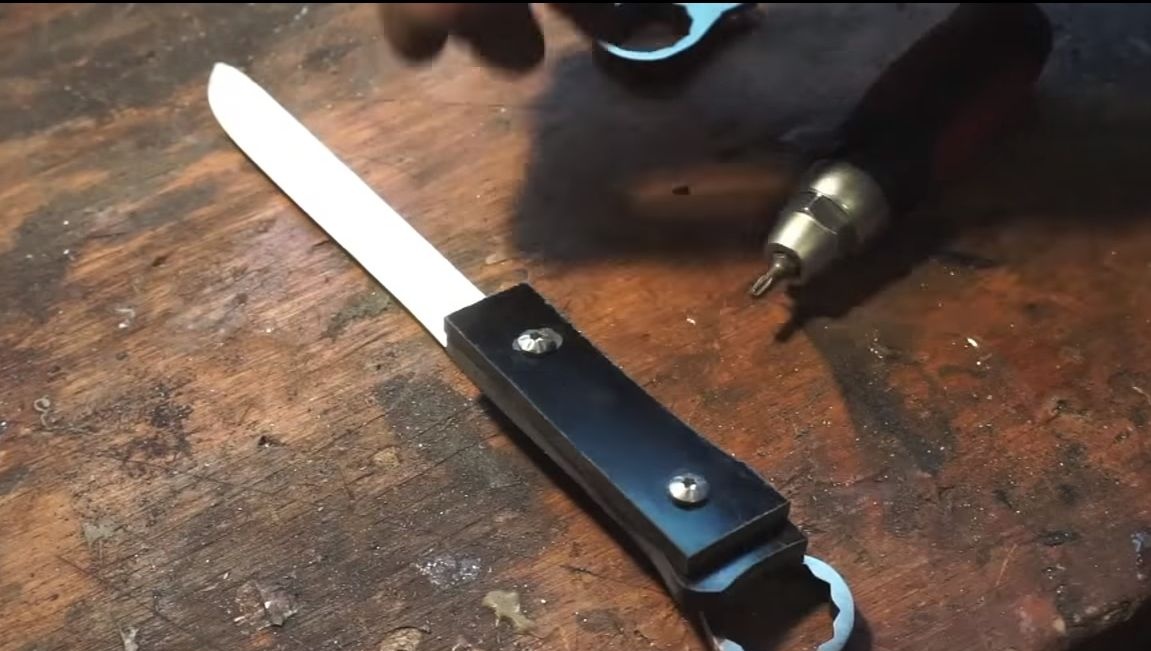
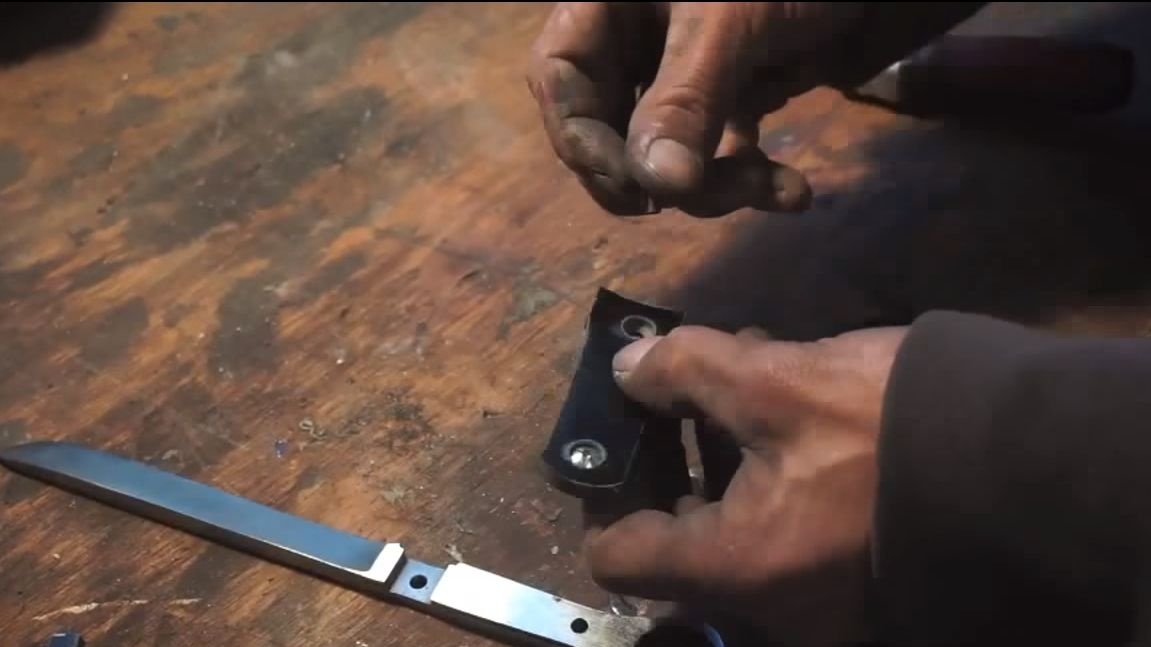
Attach the tail to the material and circle the marker. In total you will need two linings. Cut them with an electric jigsaw, and then drill two holes for the pins. As pins, screws with union (internal) nuts are used.
Now twist the pads together using the screws and nuts. Thanks to the integral design, it is possible to make both parts absolutely identical. And again we go to the belt grinding machine, we process the product profile along the contour in order to align it. In principle, other types of work are not necessary.
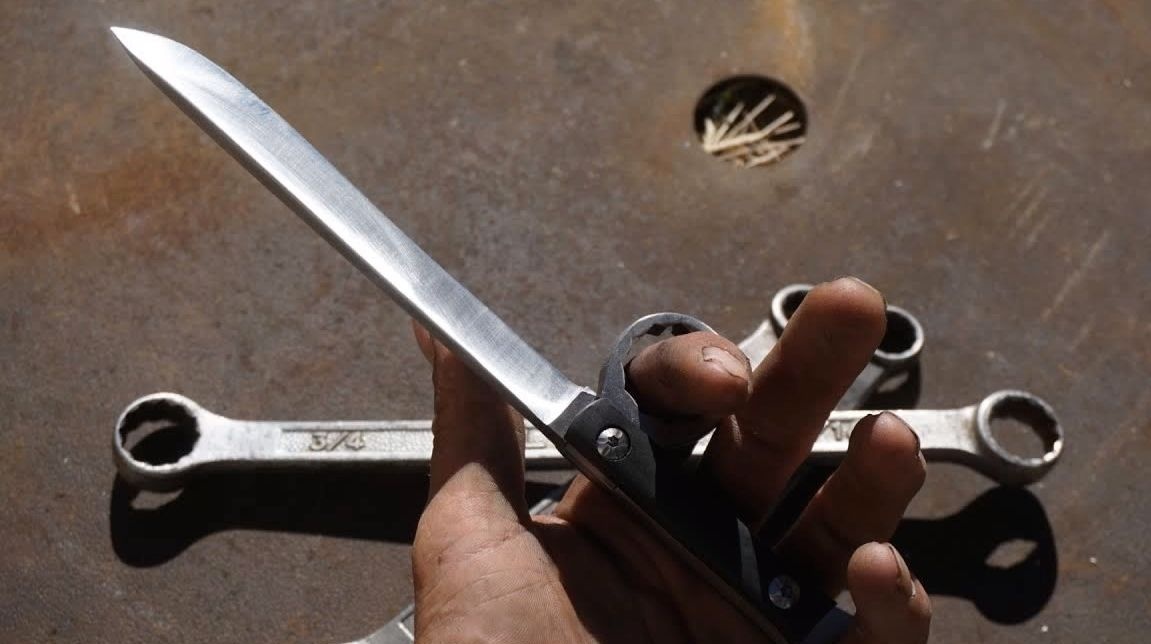
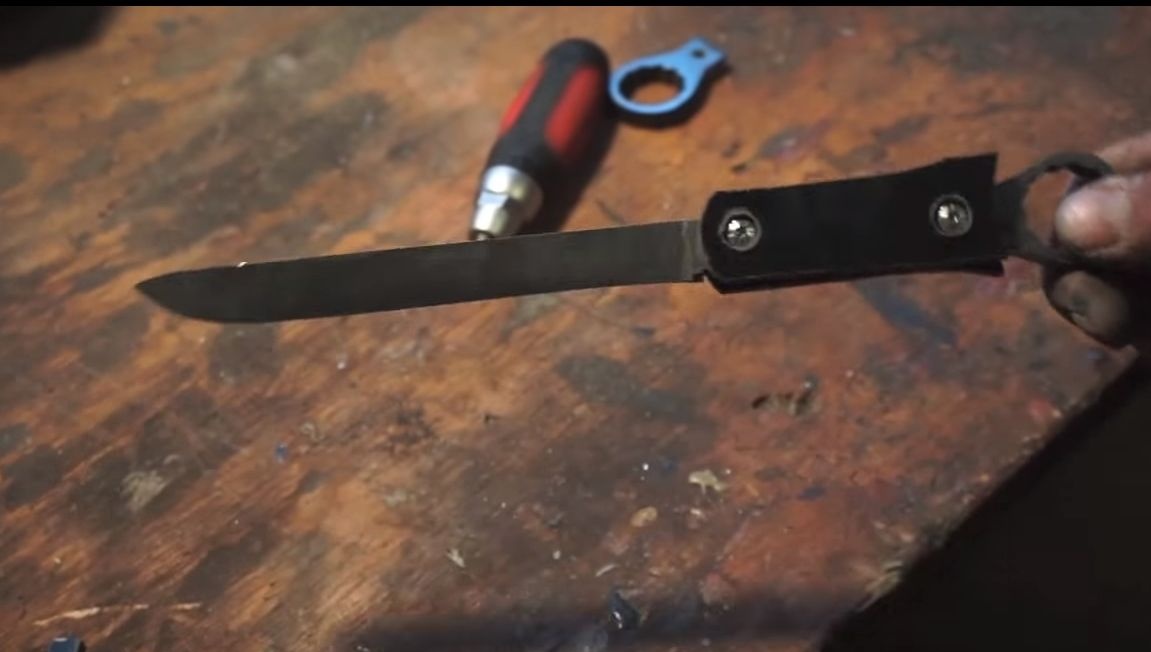
Step Six Knife assembly
We take the pads and unwind them, then install on a knife. The author does not use glue for installation, in connection with this you will have the opportunity to replace the linings if they break. The most important thing is to tighten the nuts well. First, we twist it with a screwdriver, then you can finally tighten it by hand. But keep in mind that if tightened tightly, the liner material may crack.
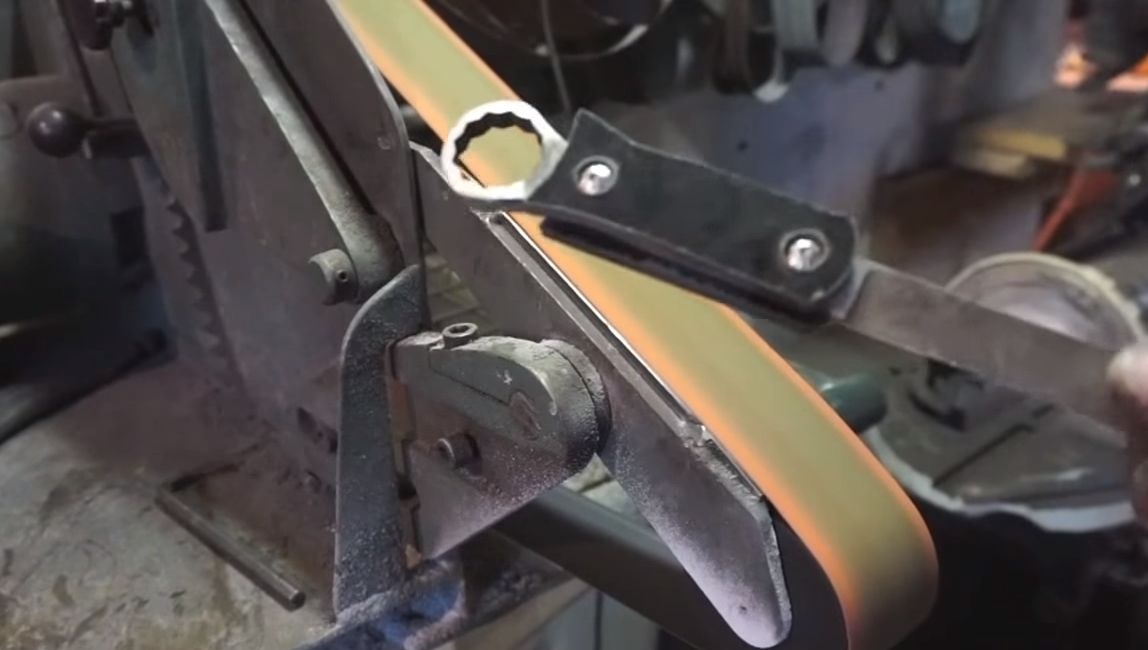
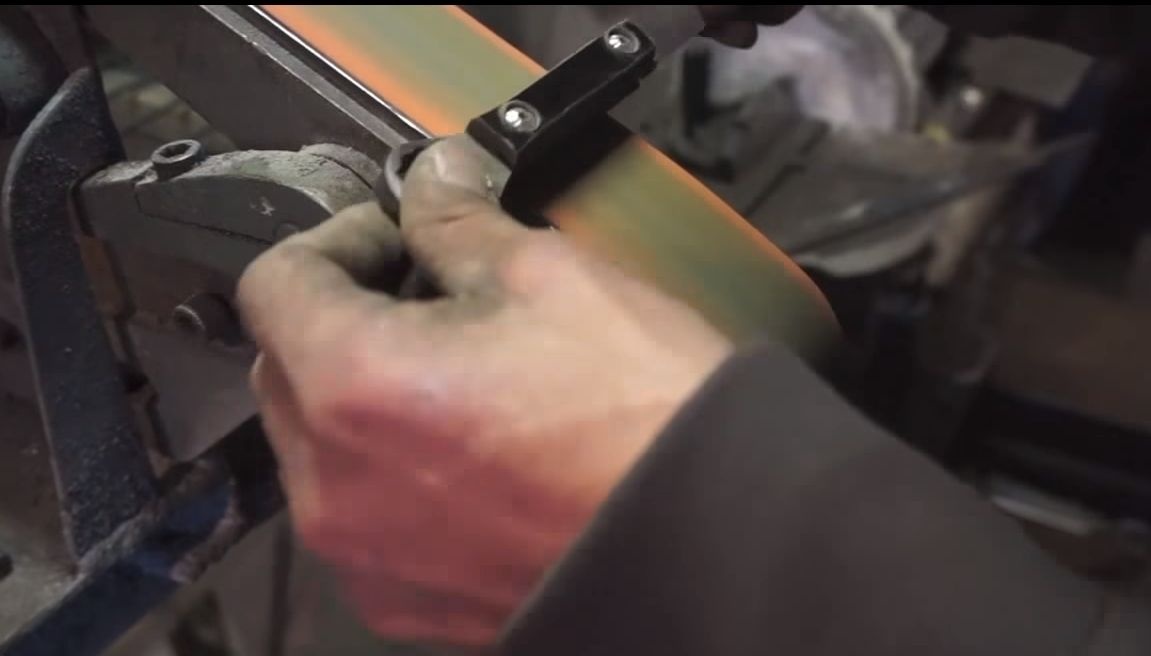
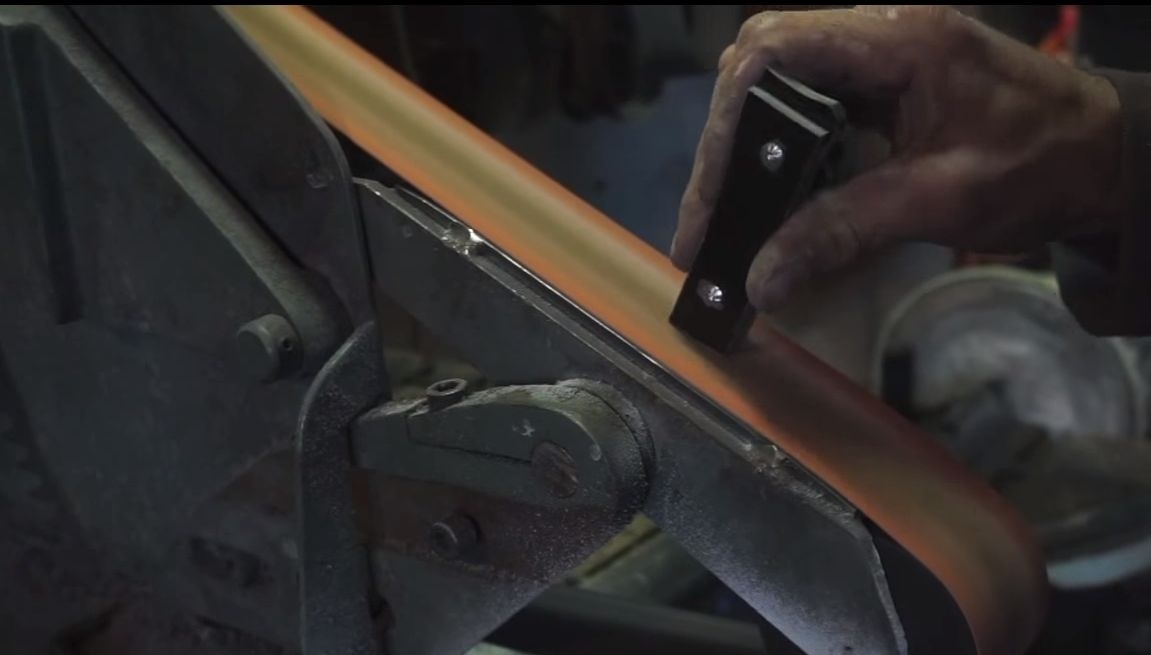
Having collected the knife, we again go to the belt sander. Now we need to form the final profile of the handle. The metal should be flush with the handle. Finish sharp edges and create a convenient handle profile at your discretion.
In conclusion, the author proceeds to the manual processing of the pen. To do this, you need sandpaper. We make the handle absolutely smooth, gradually reducing the grain size of sandpaper. So that the sandpaper works well, moisten it with water, so it cleans itself.
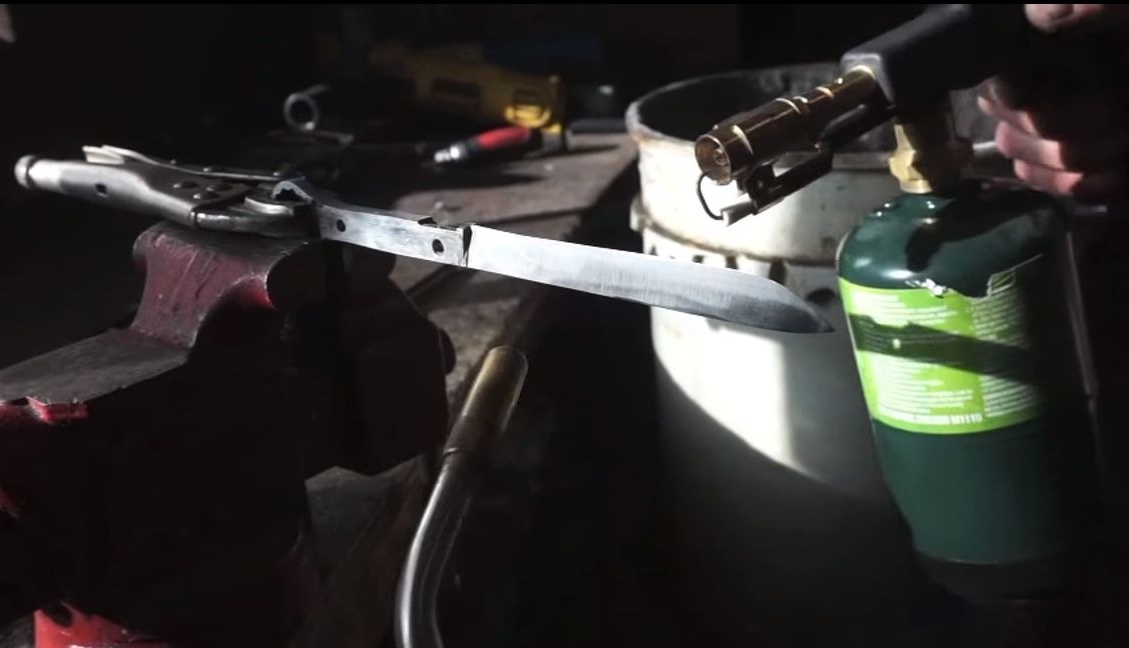
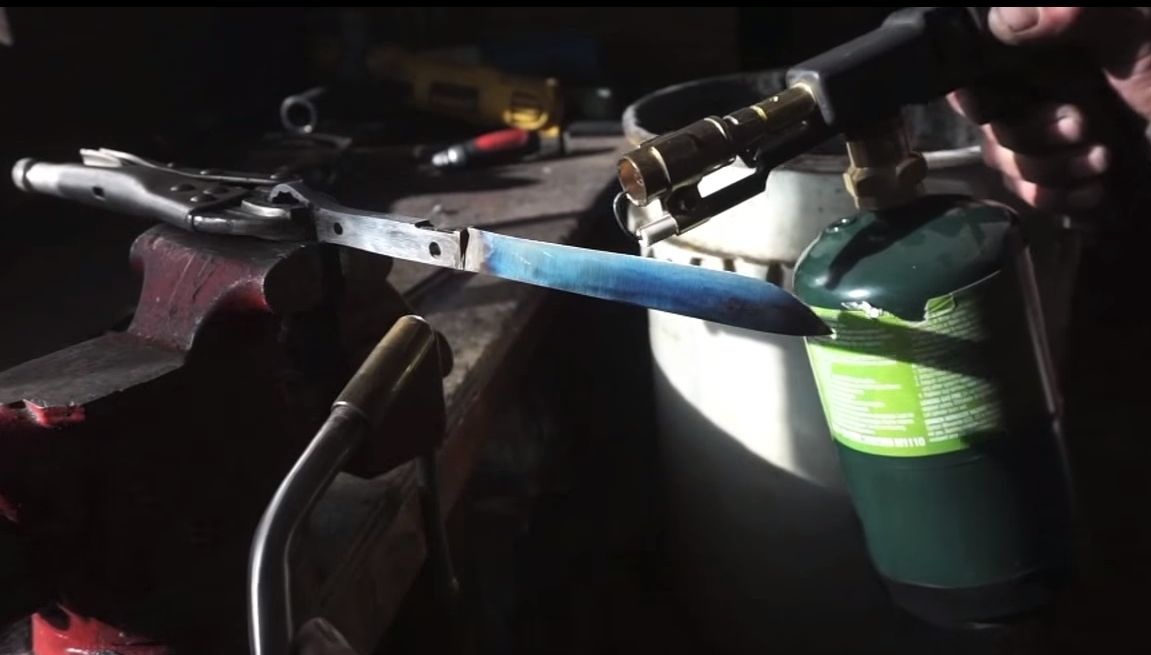
Seventh step. Heat treatment
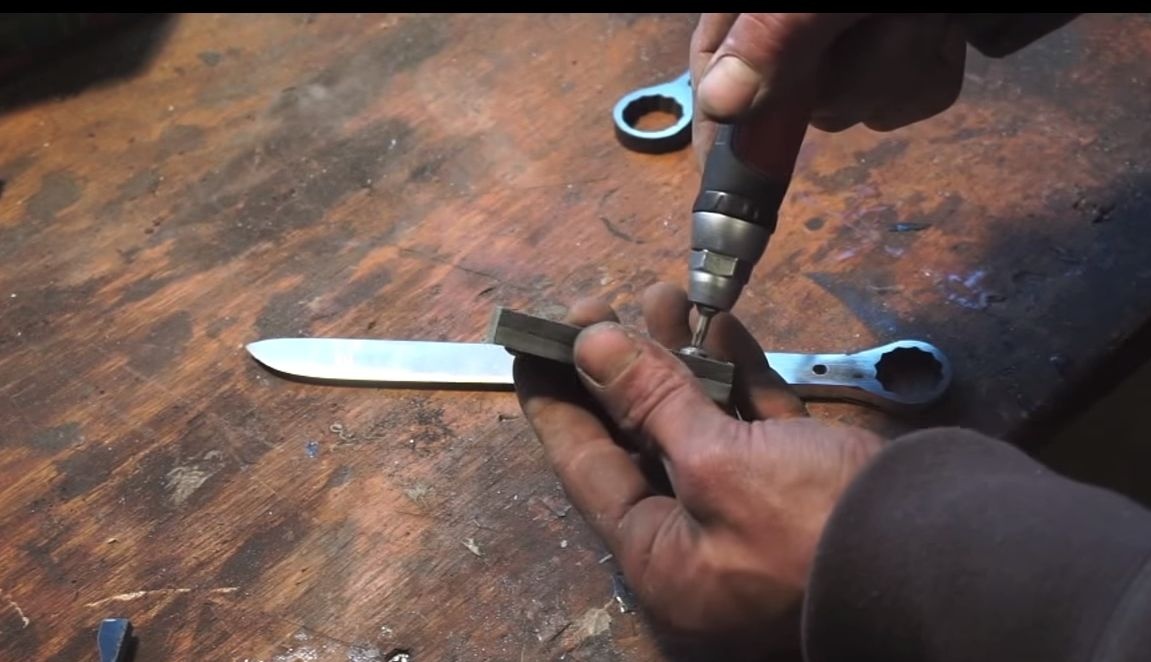
Before this step, the covers must be removed by unscrewing the screws and nuts.
The author warms up the blade with the help of two burners. This process is called metal tempering, which makes it more resilient and also relieves internal stress. However, this step is not necessary, since in the manufacture of wrenches the metal is quenched to optimal hardness. Visually determine the heating to the desired temperature by color, the metal should become a straw color.
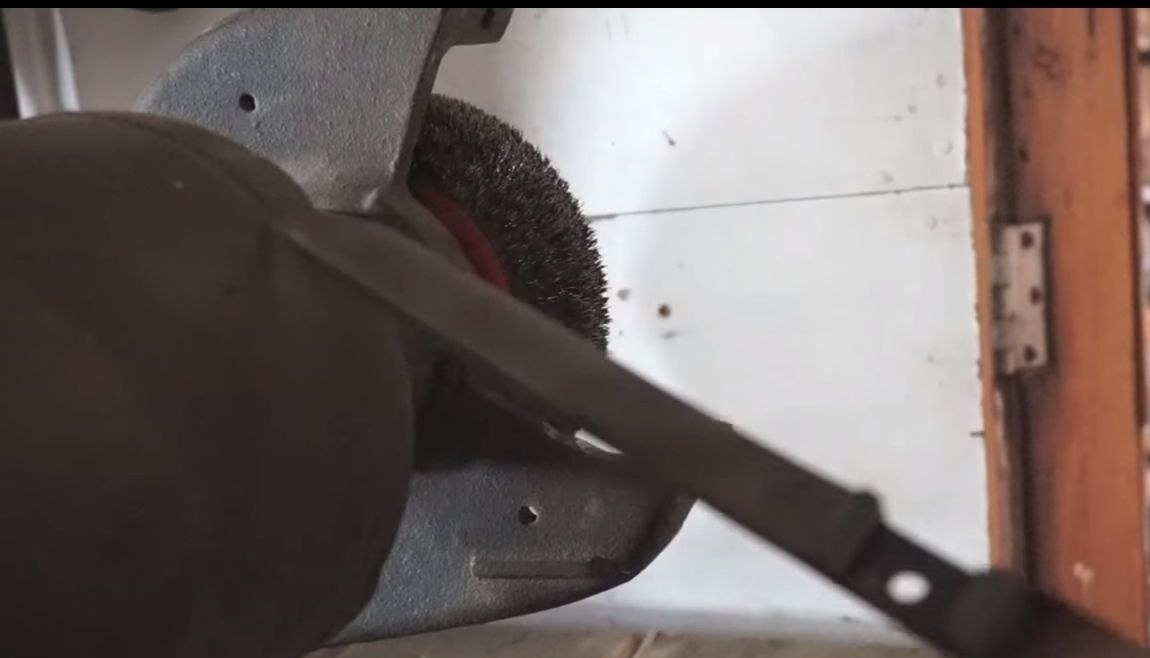
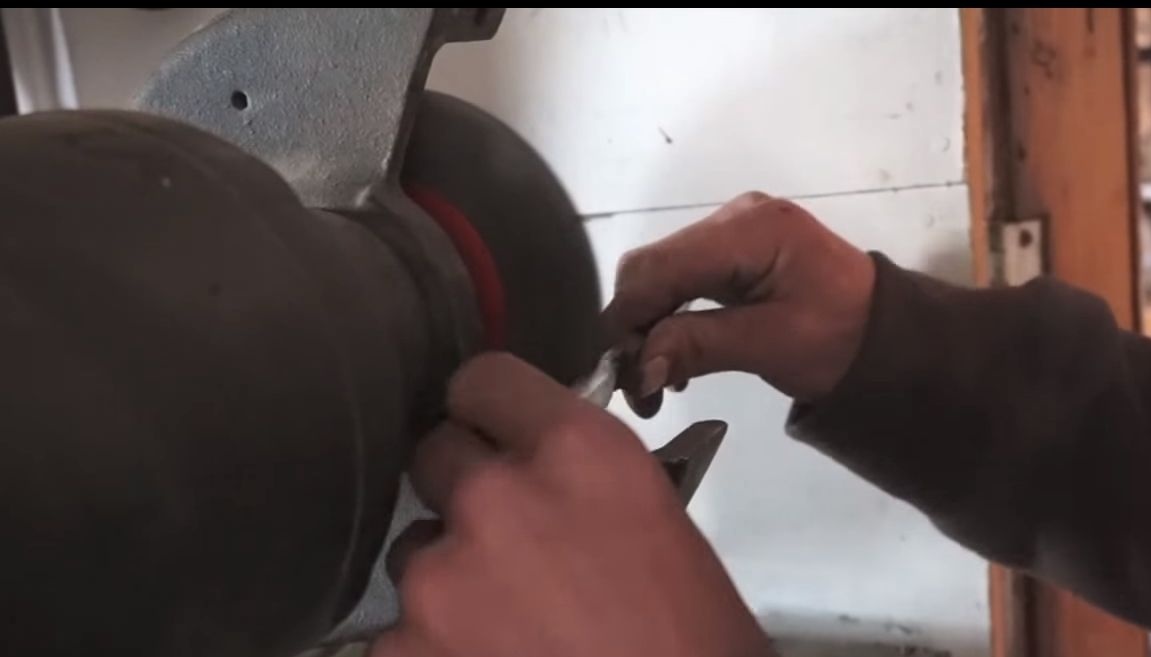
Step Eight. Blade cleaning
After heat treatment, the metal will change color, this problem must be solved. A machine with a wire brush will come to the rescue. We clean the metal to shine.
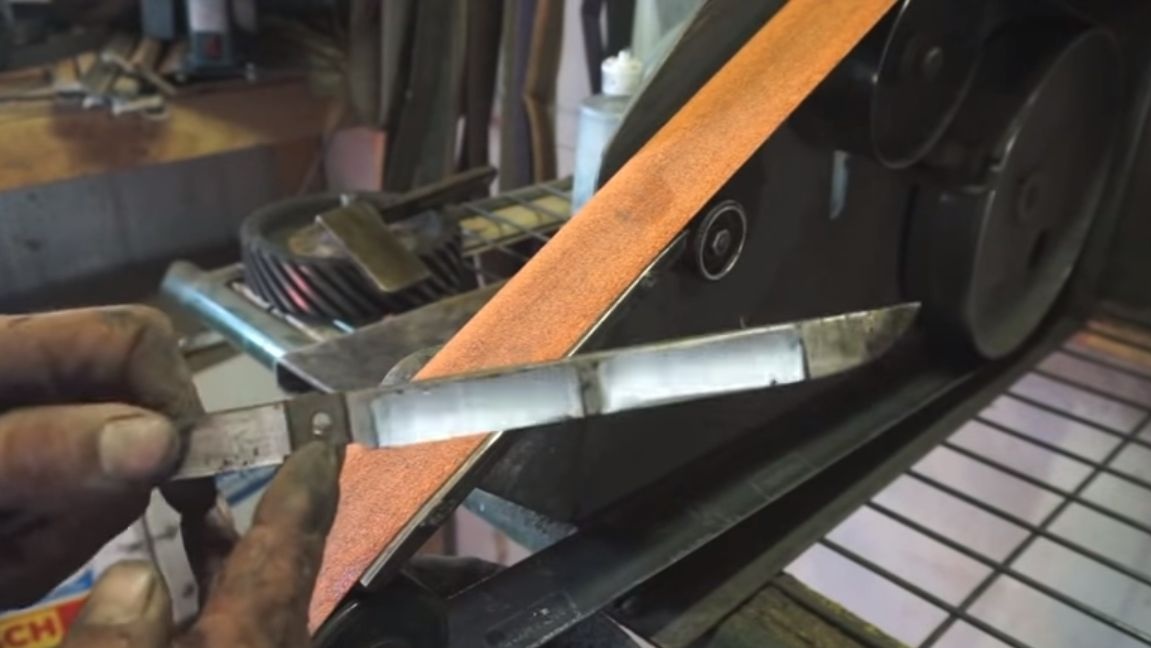
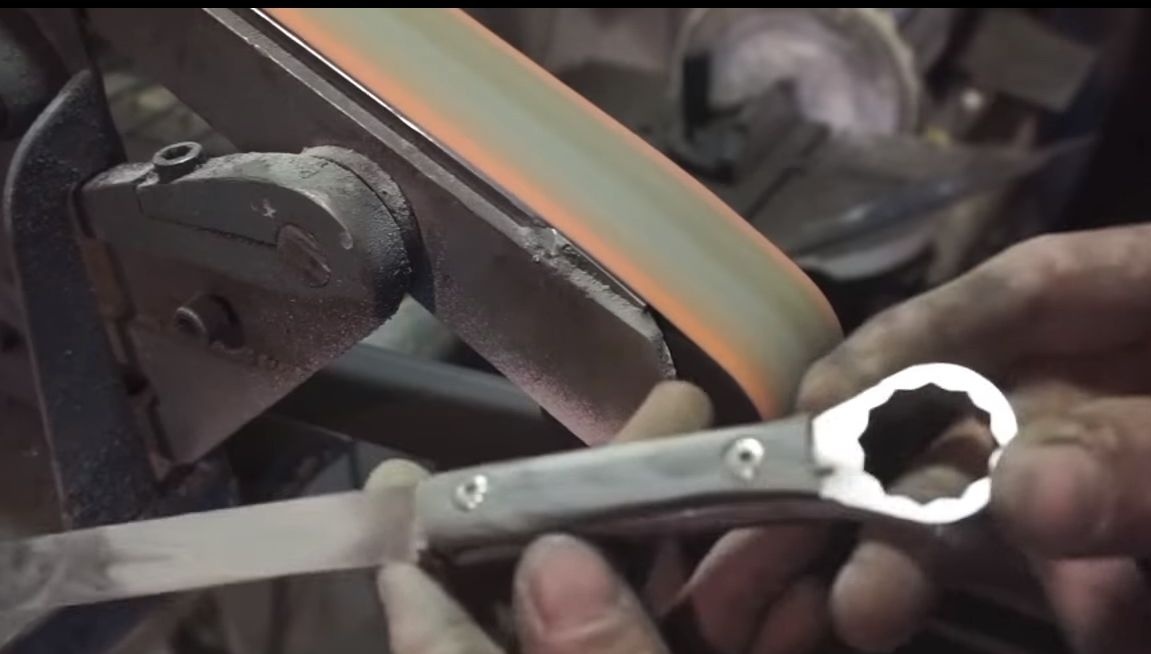
Step Nine. Sharpening and polishing
Install a fine-grained belt on the belt grinder and rough sharpen the knife. Hold the blade to meet the belt movement. Then a polishing belt is installed on the machine. With it, you can polish the knife to a shine, and sharpen the blade to the state of the blade.
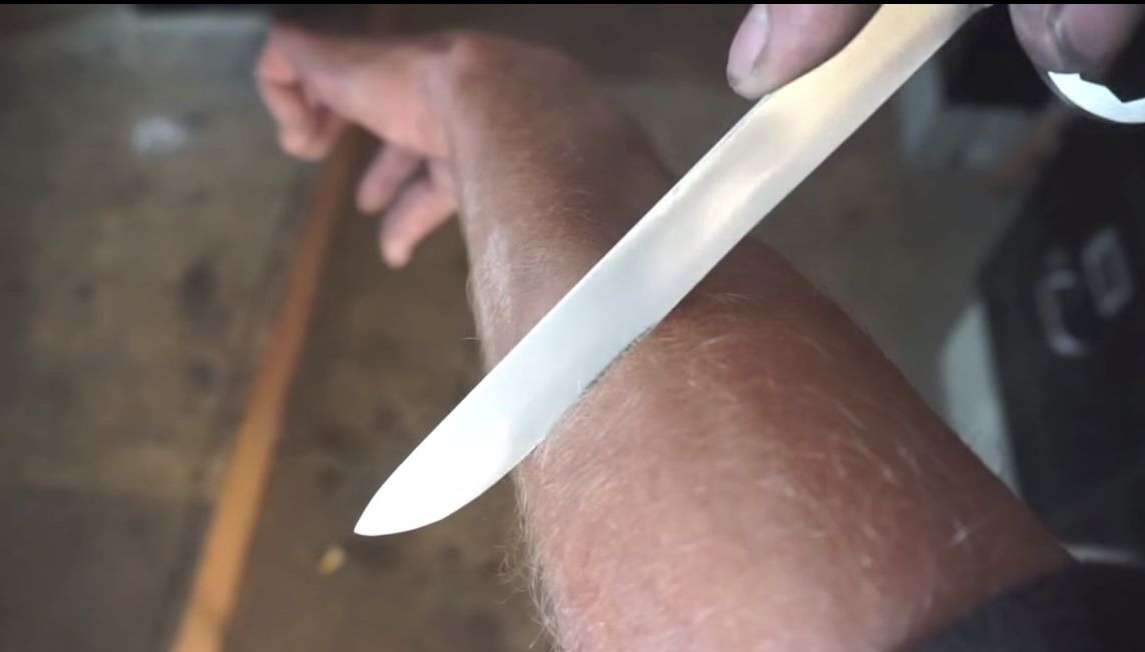
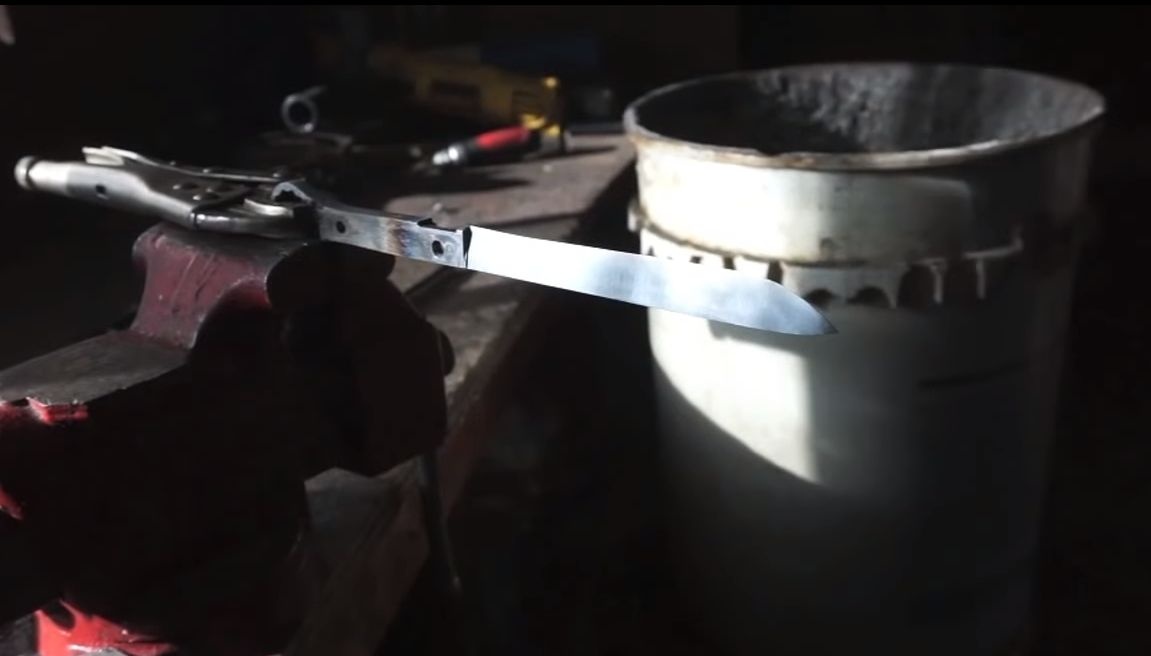
That's all, the knife is ready, you can test! The author demonstrates the fine sharpening of the blade by the fact that the knife easily cuts paper and shaves hair on the hand.
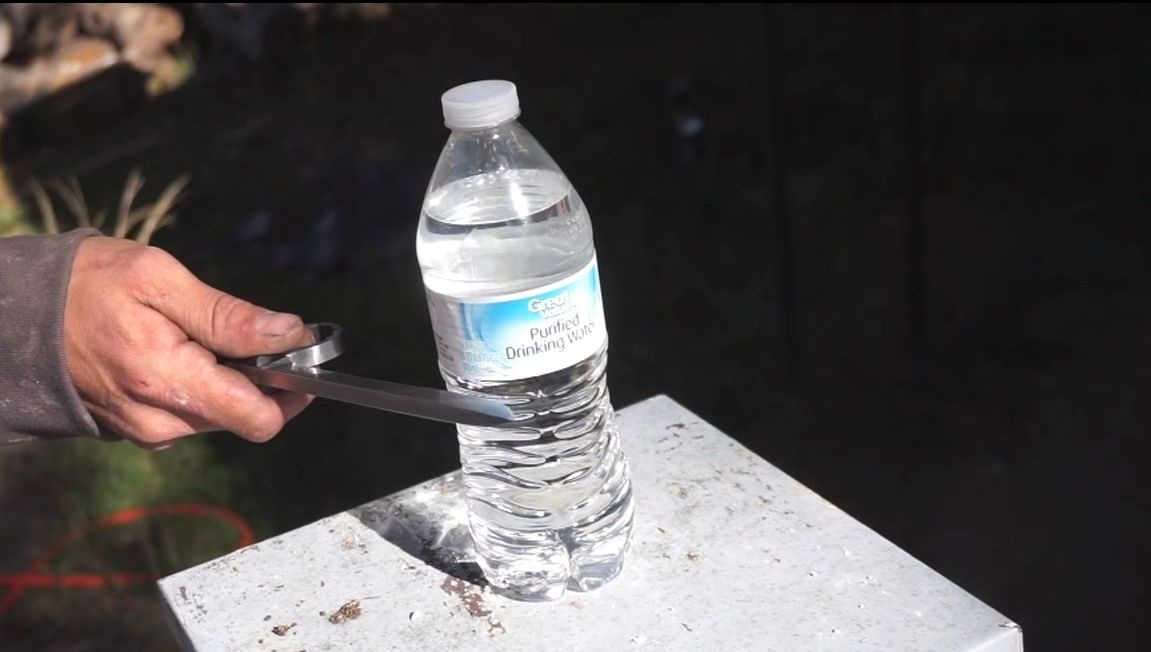
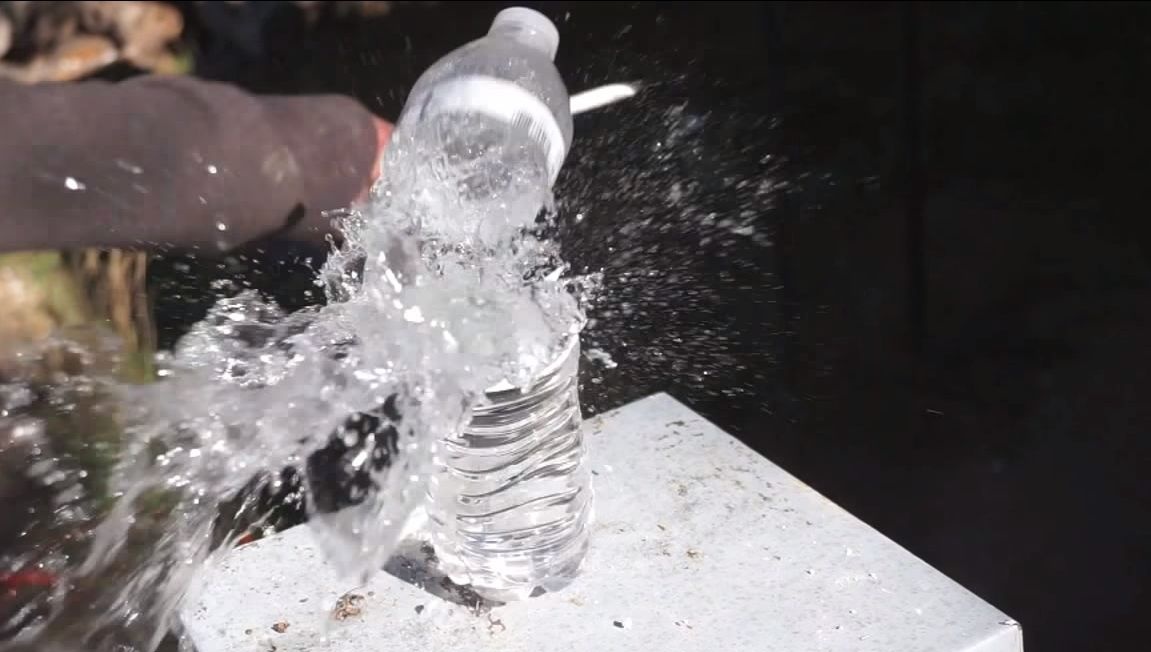
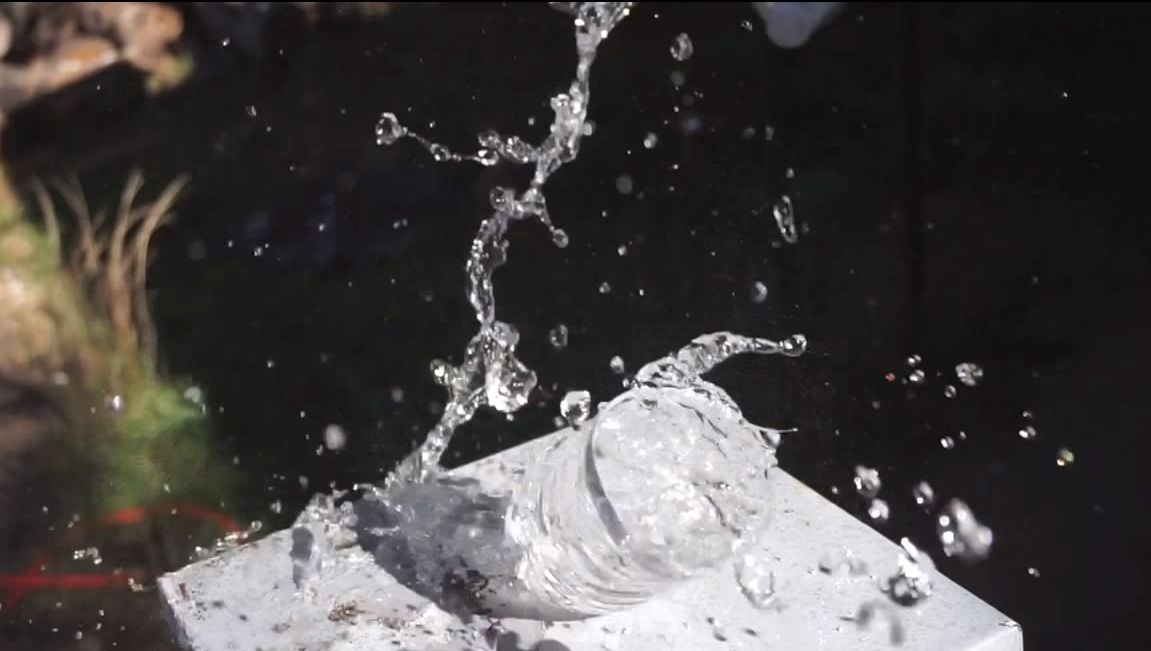
As for power qualities, the water bottle was chopped in half with a knife with a light movement, and the author also chopped branches with it.