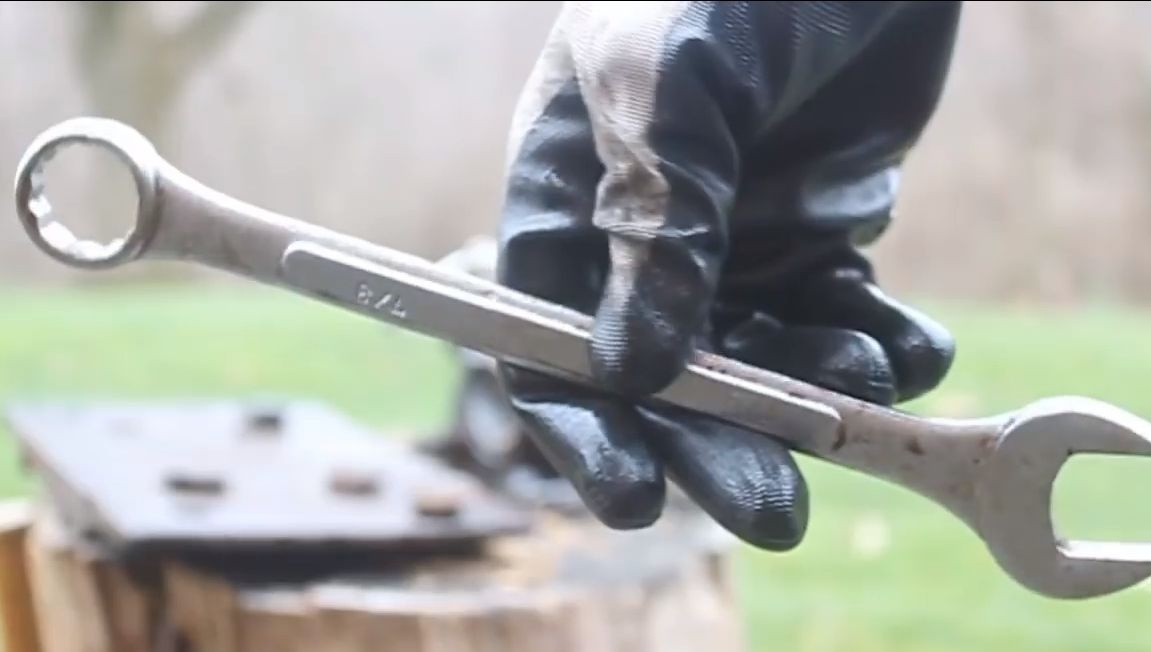
Do you want to make knives and don’t know where to get good steel for this business? You have it right under your nose - it's wrenches. They use high-quality high-carbon steel, which lends itself well to hardening, forging, and so on. Of course, the wrench should be branded, not raw Chinese steel. As a rule, when processing a good metal with a grinder, plentiful sparks pour in.
Wrenches are not expensive, a made knife will cost tens of times more than a wrench, even if it was just bought in a store.
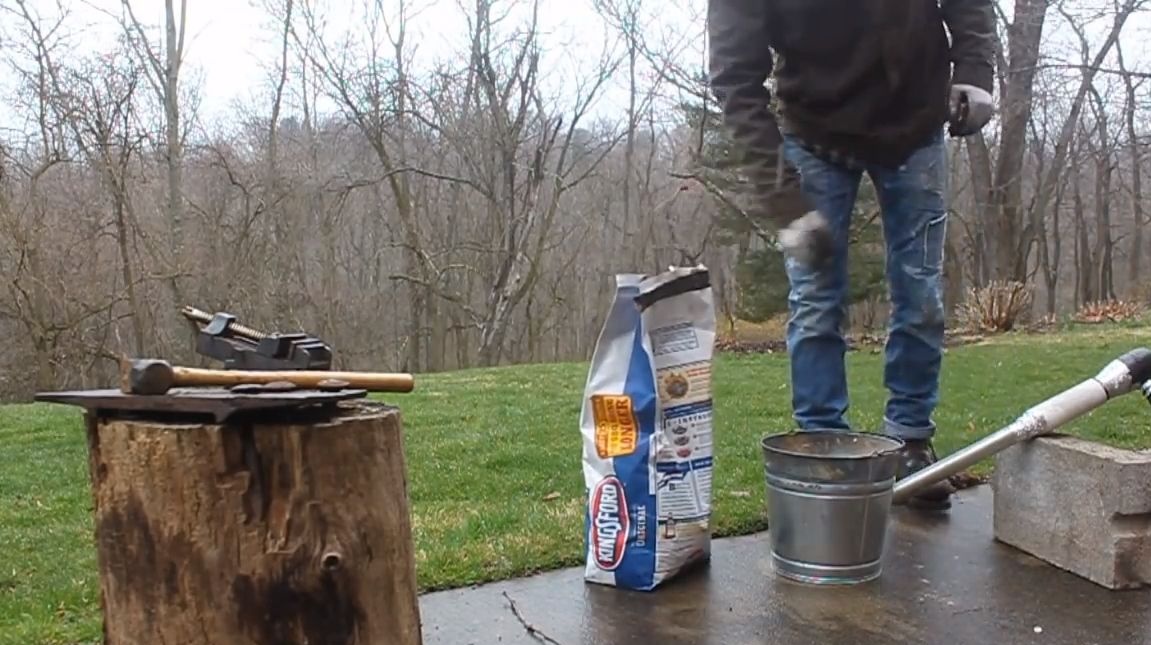
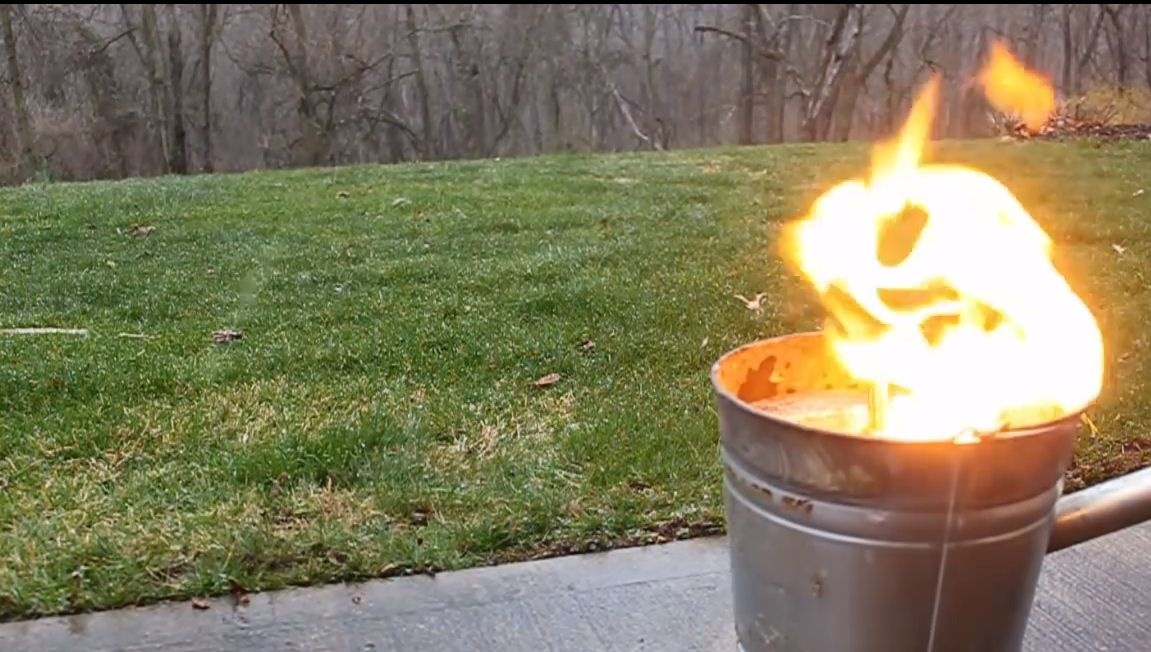
The technique of making a knife, which we will consider today, is a rather professional approach - forging. But there is no need to be scared and run away. In the manufacture of the knife, the author used very simple, common tools, which for sure anyone can get. As for the stove, it can be made from a bucket, and coals for grilling act as fuel.
Materials and tools that the author used to make a knife:
Material List:
- wrench (size you can choose your own);
- two nails (used as pins);
- tree (for overlays on handles);
- epoxy adhesive;
- oil for wood impregnation.
Tool List:
- clamps;
- gas burner (preferably);
- dremel or drill with a grinding nozzle;
- polishing nozzle for a drill;
-
- whetted;
- files;
- vise;
- sandpaper of different grain size;
- hammer;
- anvil;
-
- oil (for hardening);
- pliers;
- a bucket oven (or the like);
- coal;
- household hair dryer + piece of pipe;
- ignition fluid.

The process of making a knife:
Step one. We prepare the workpiece
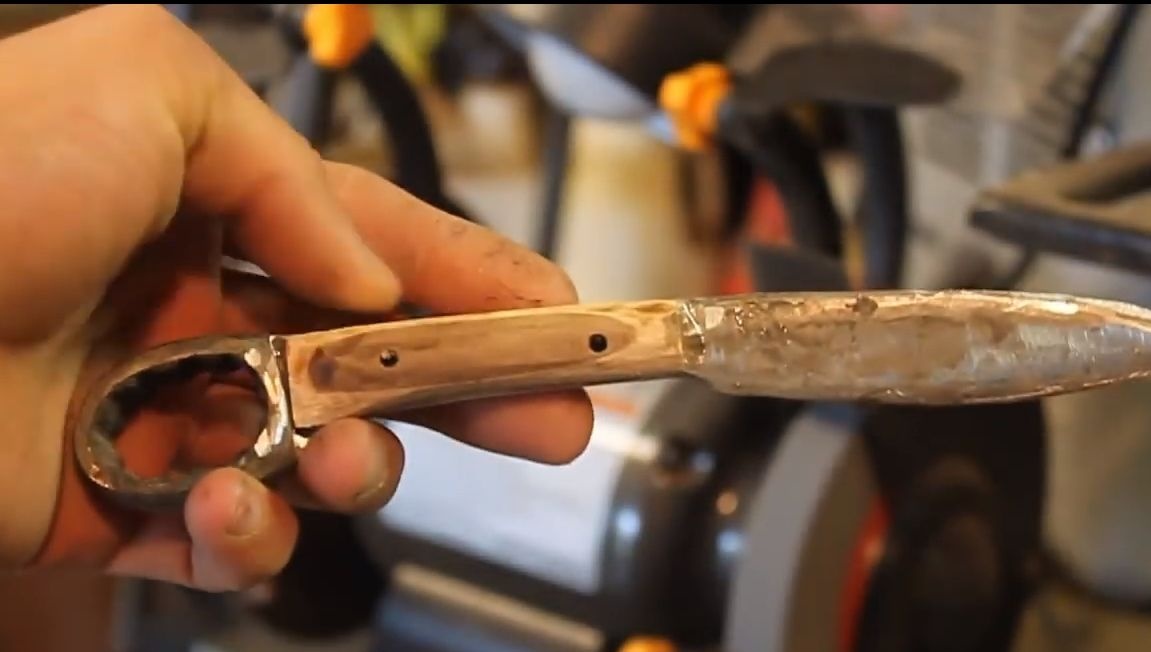
We take a wrench, which is not a pity to sacrifice, and from it the horn. The key does not have to be good; you can use a broken, broken, and so on.
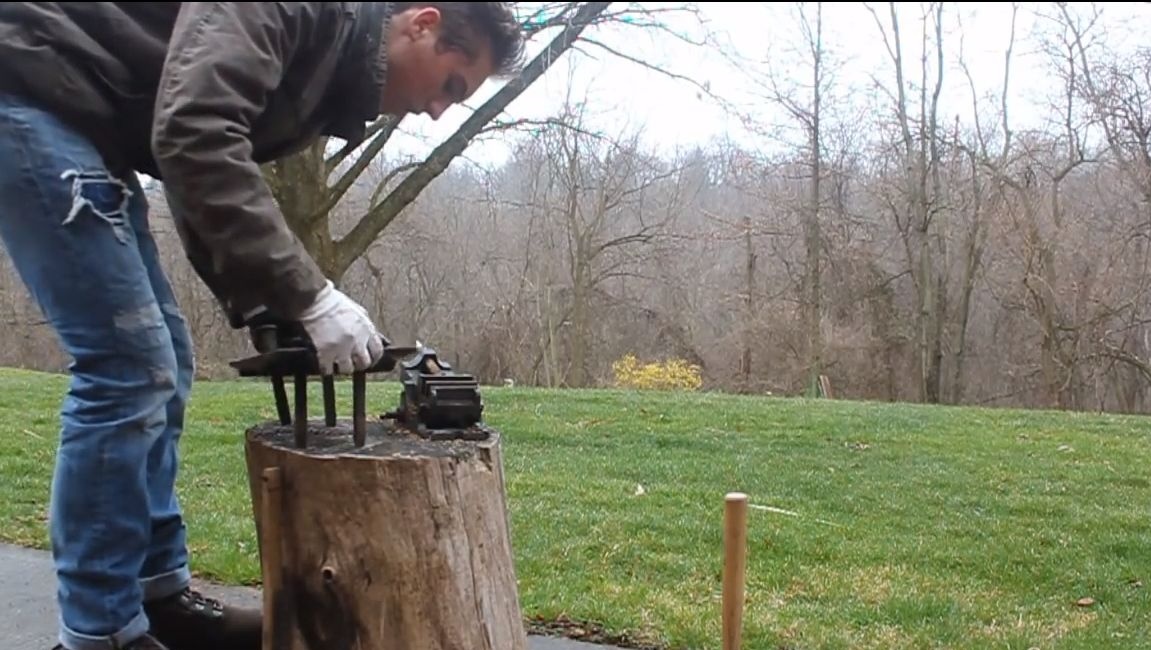
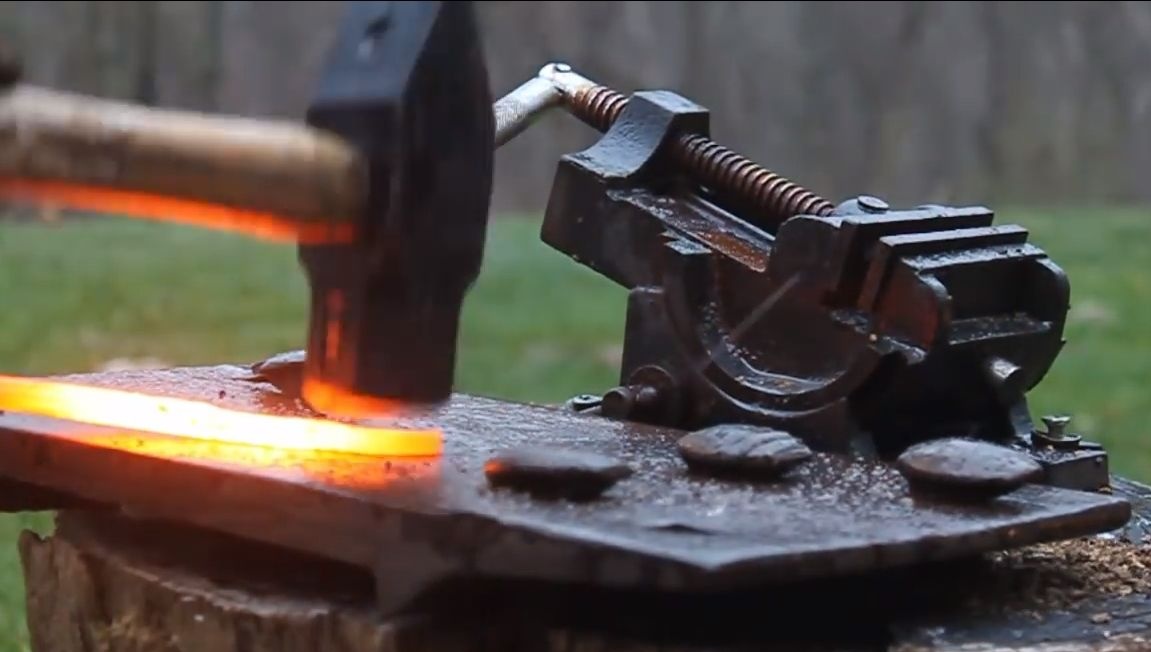
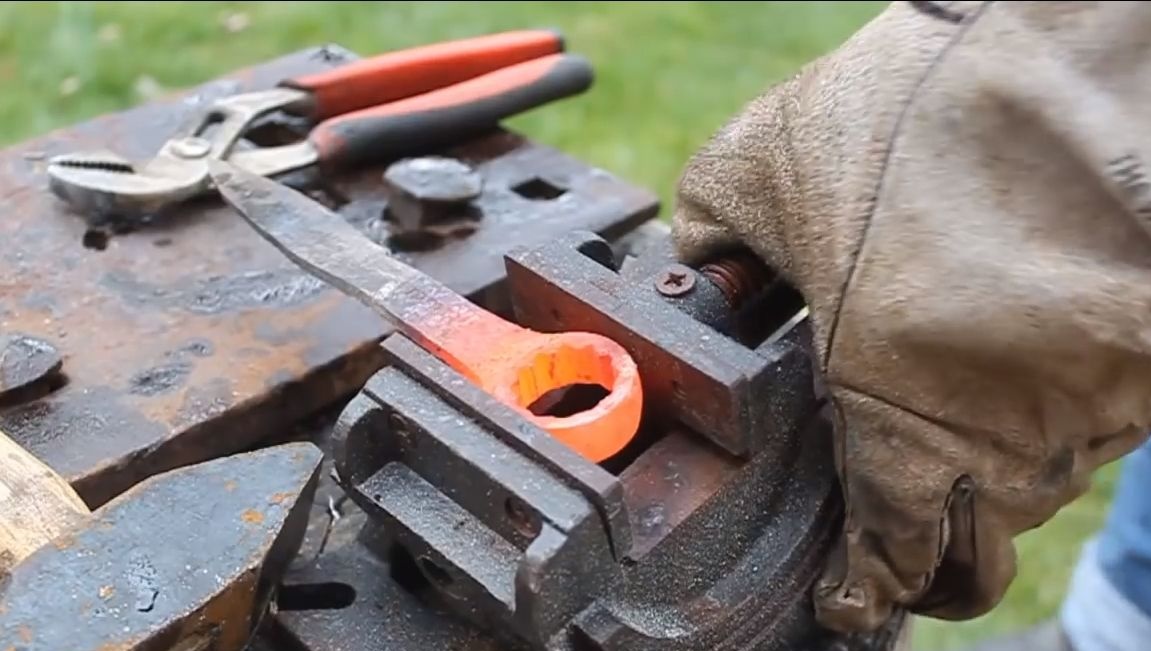
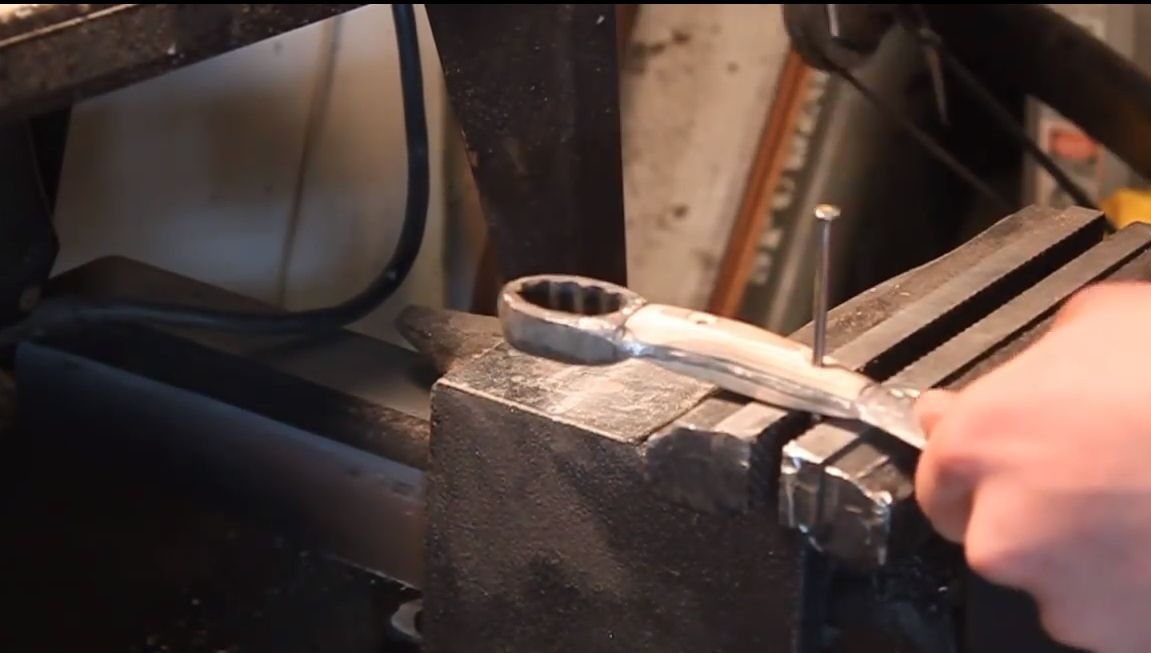
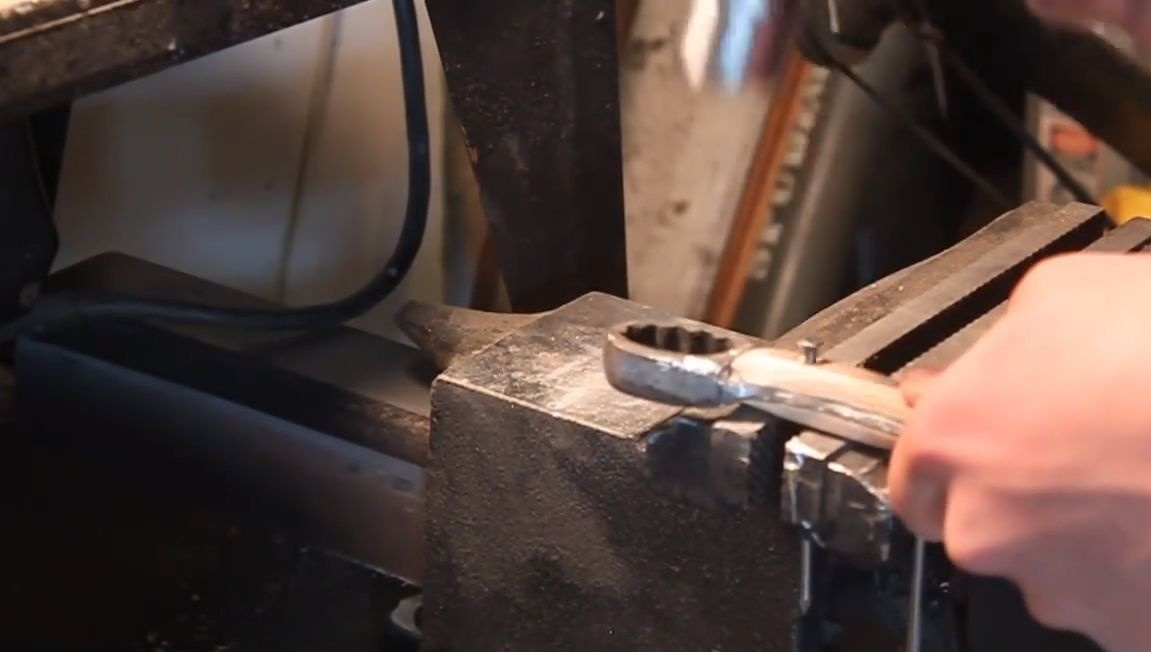
Step Two We level the workpiece
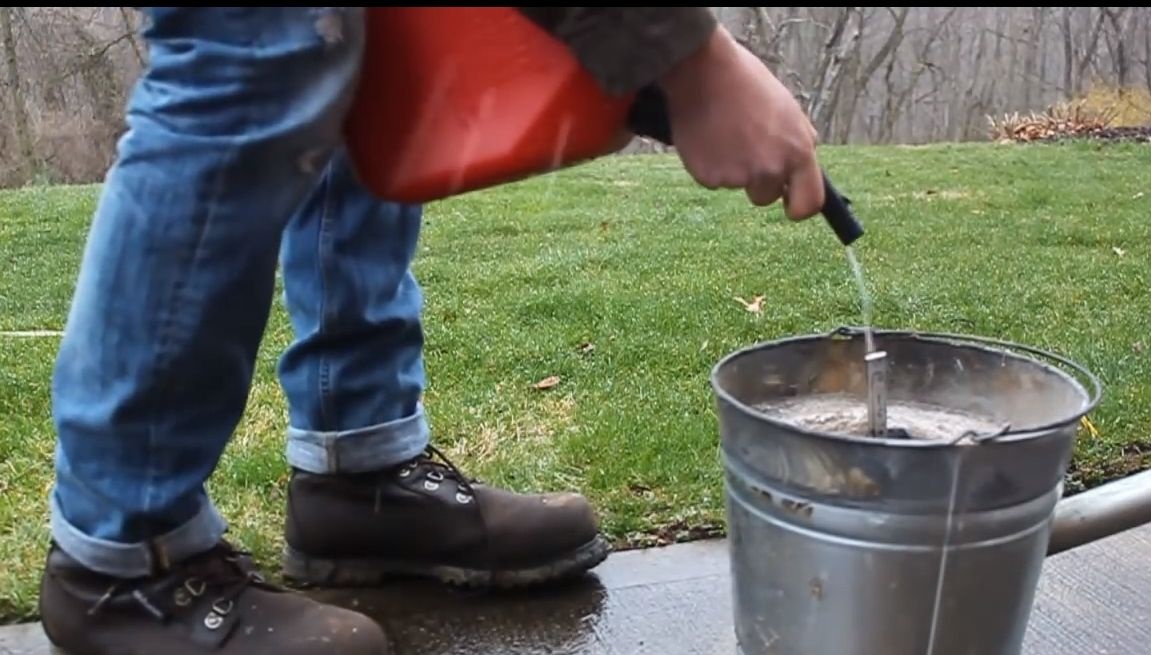
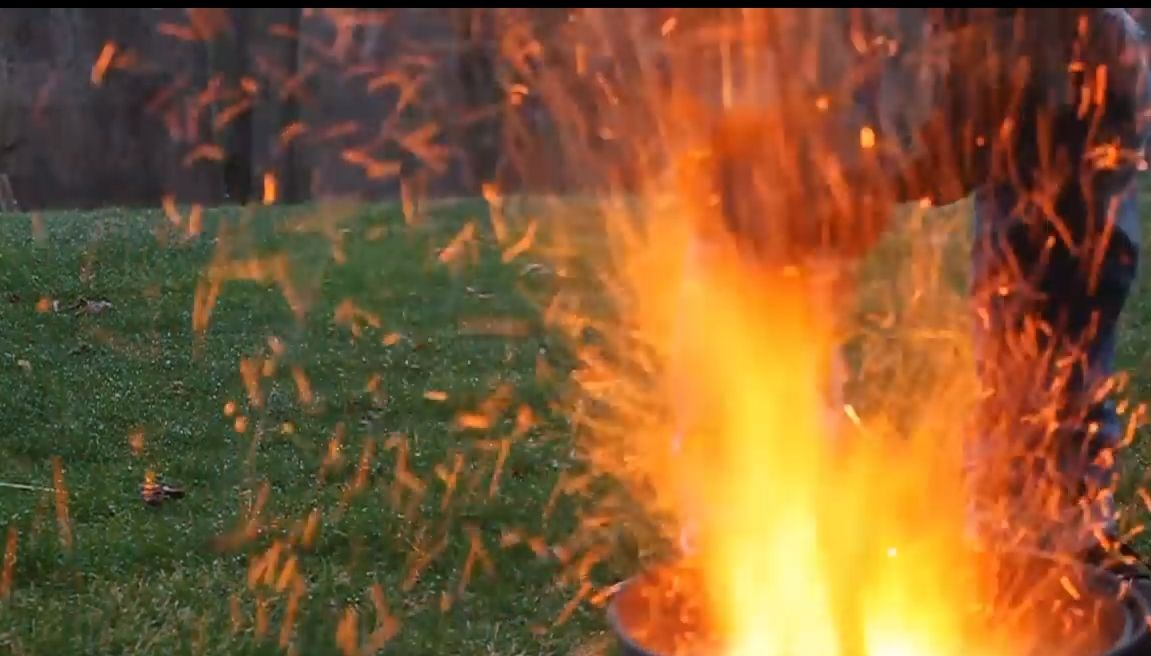
Kindle your stove, the coals can be inflated with a regular hair dryer. We red-hot the workpiece, after which the metal will become soft. We clamp the workpiece in a vice and align the cap part, as it is done at an angle. All this is done with light strokes of the hammer.
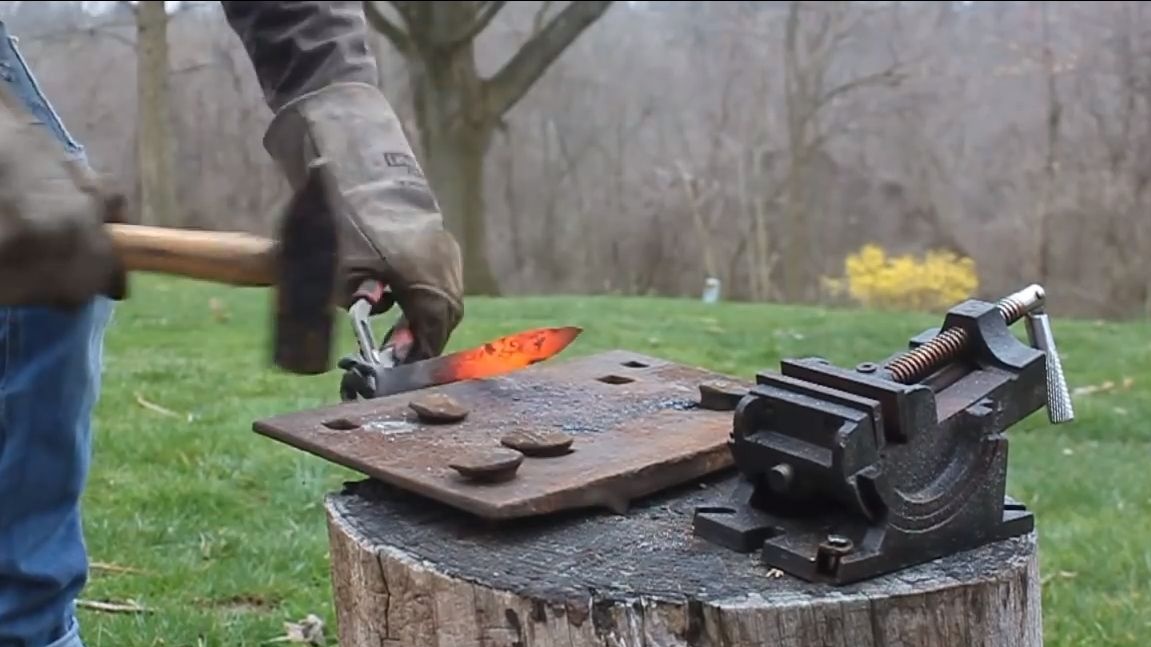
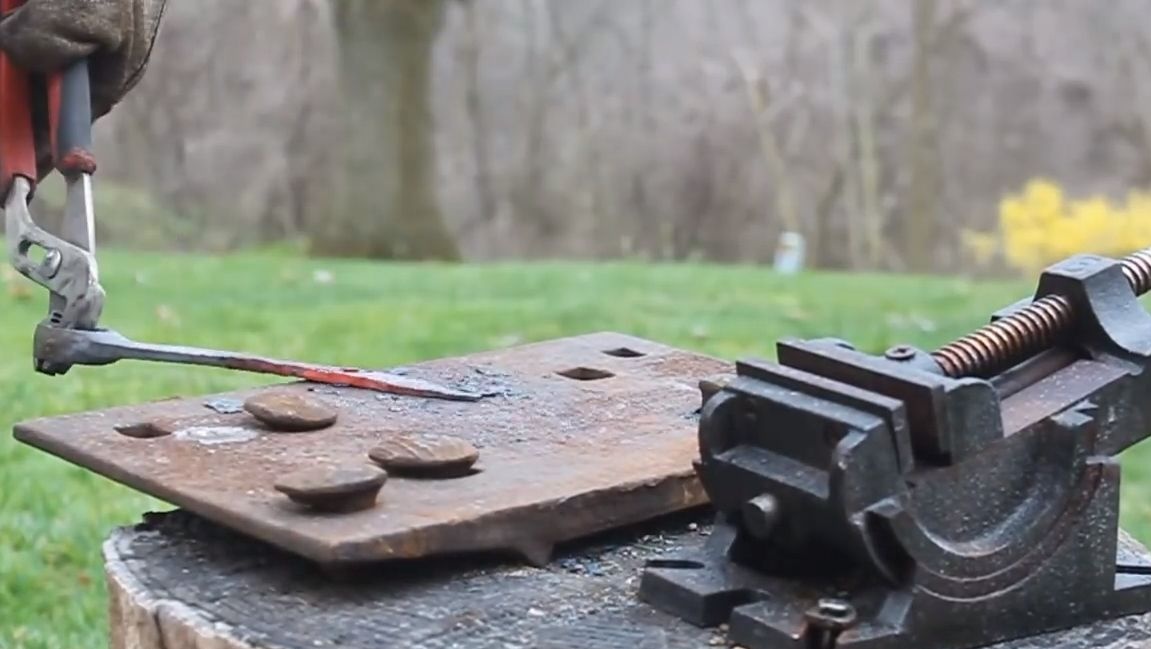
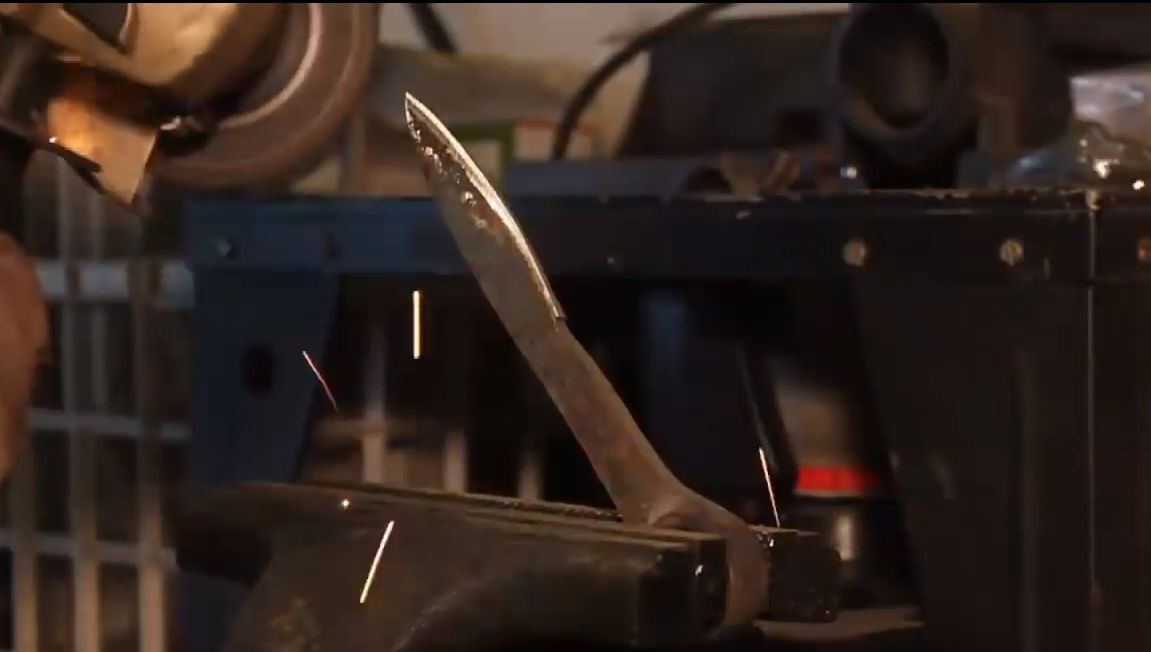
Step Three Getting started forging
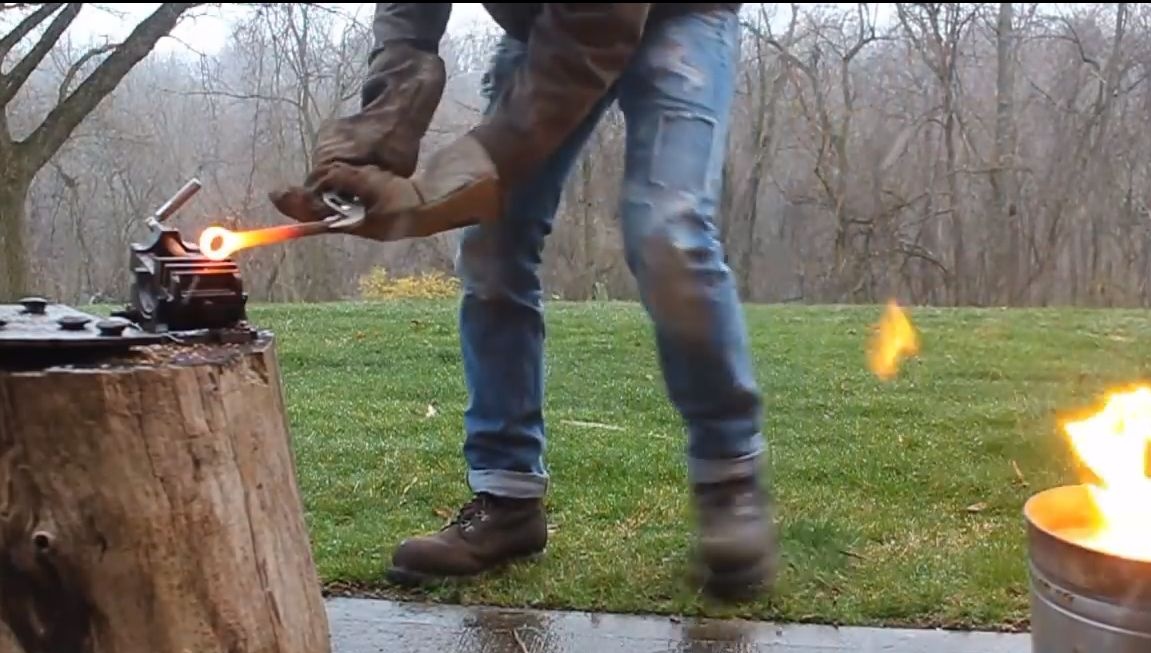
We warm up that part of the workpiece that will act as a blade. We work with a hammer on the anvil. The metal cools quite quickly, so the workpiece will have to be heated not once, how much, it depends on skill. Form the desired profile of the blade, align it.

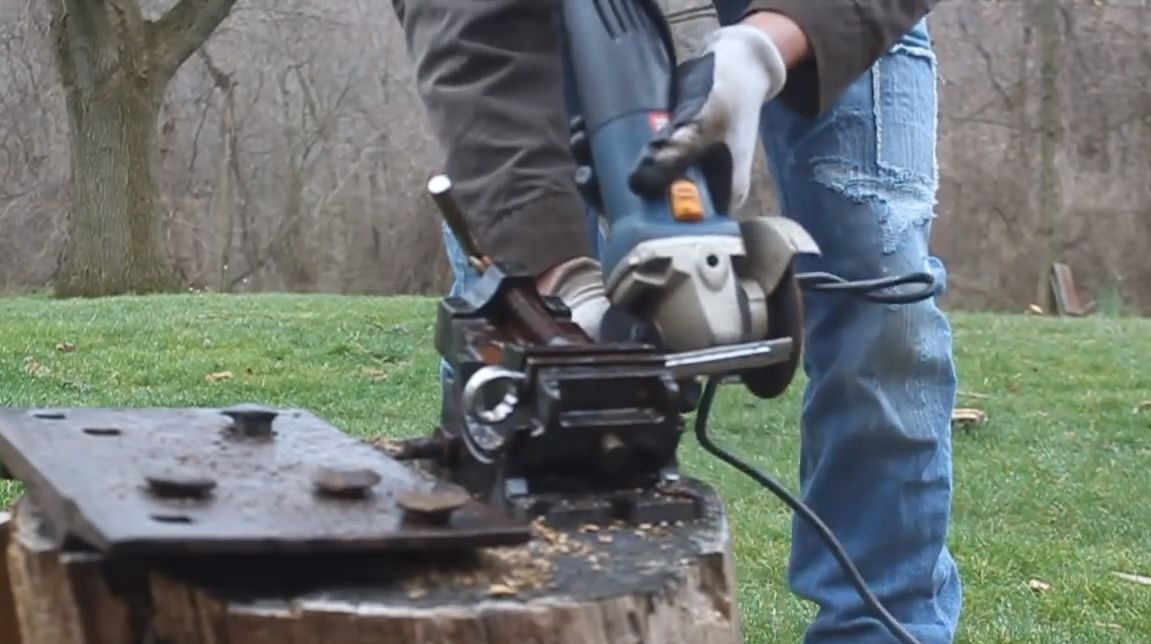
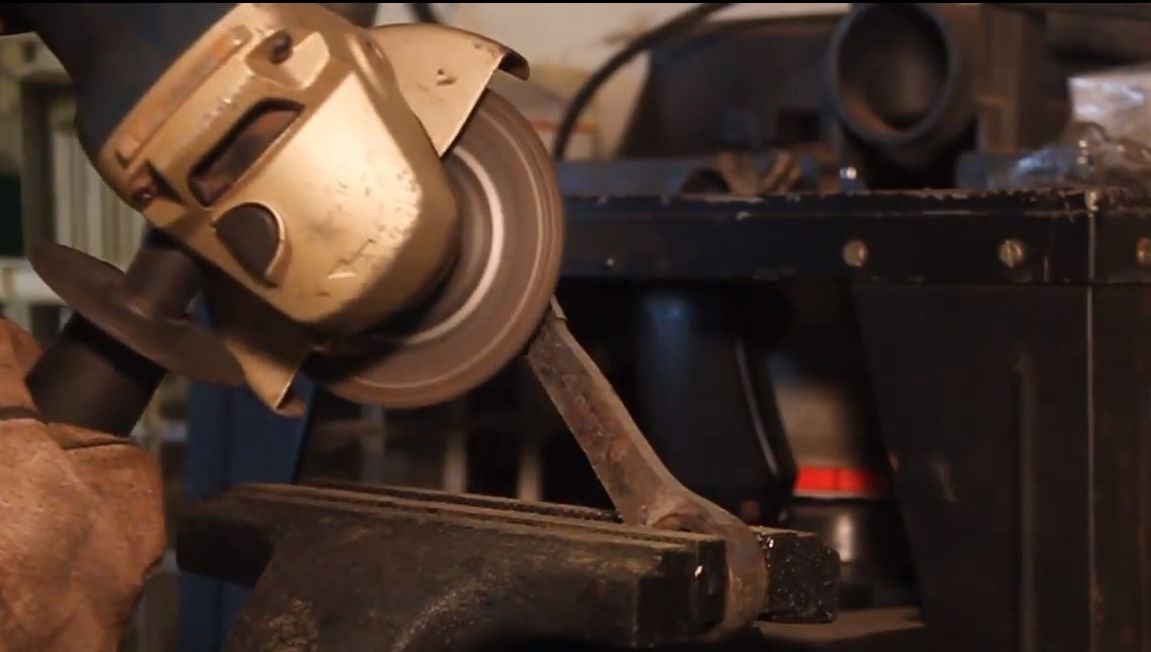
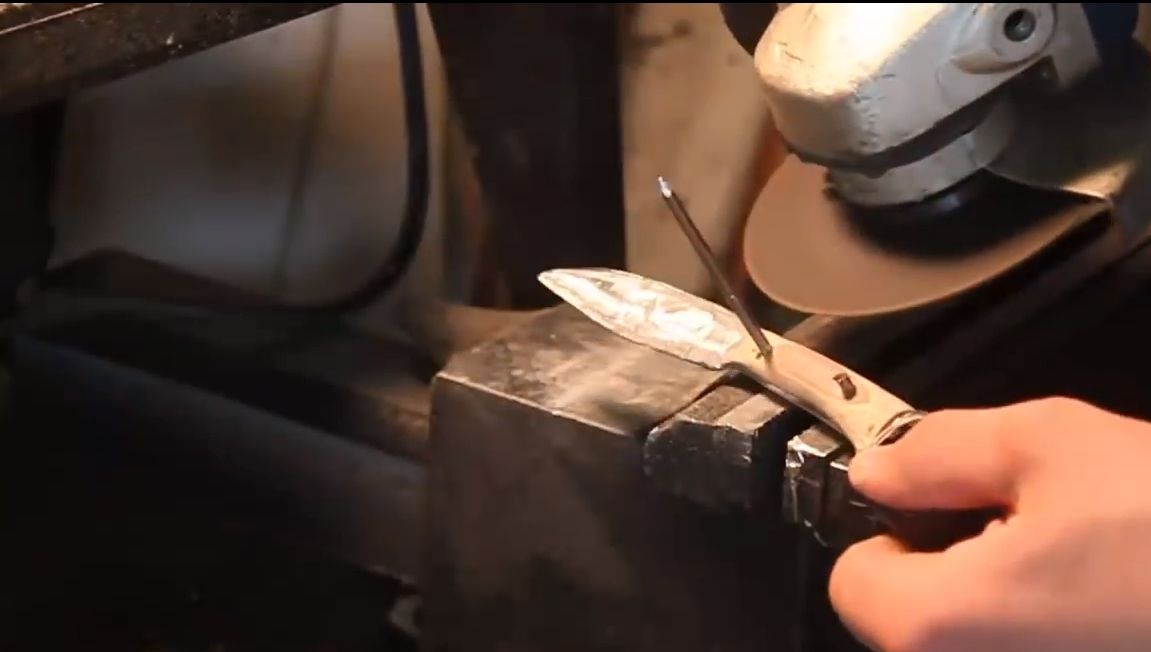
Step Four We form coarse grinding
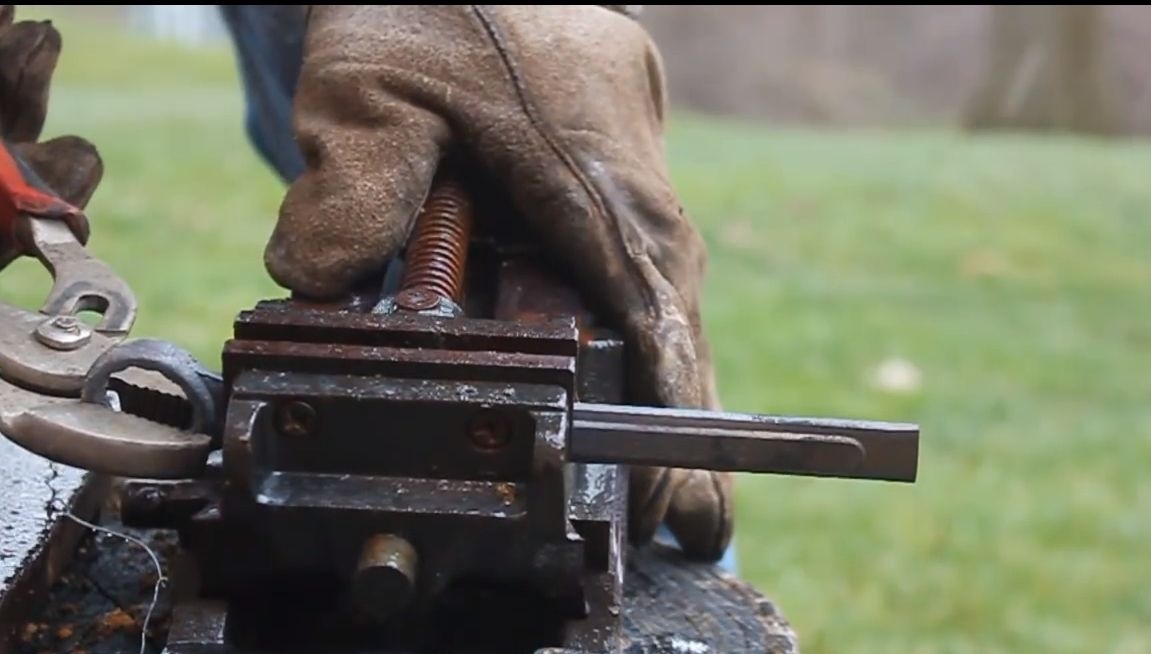
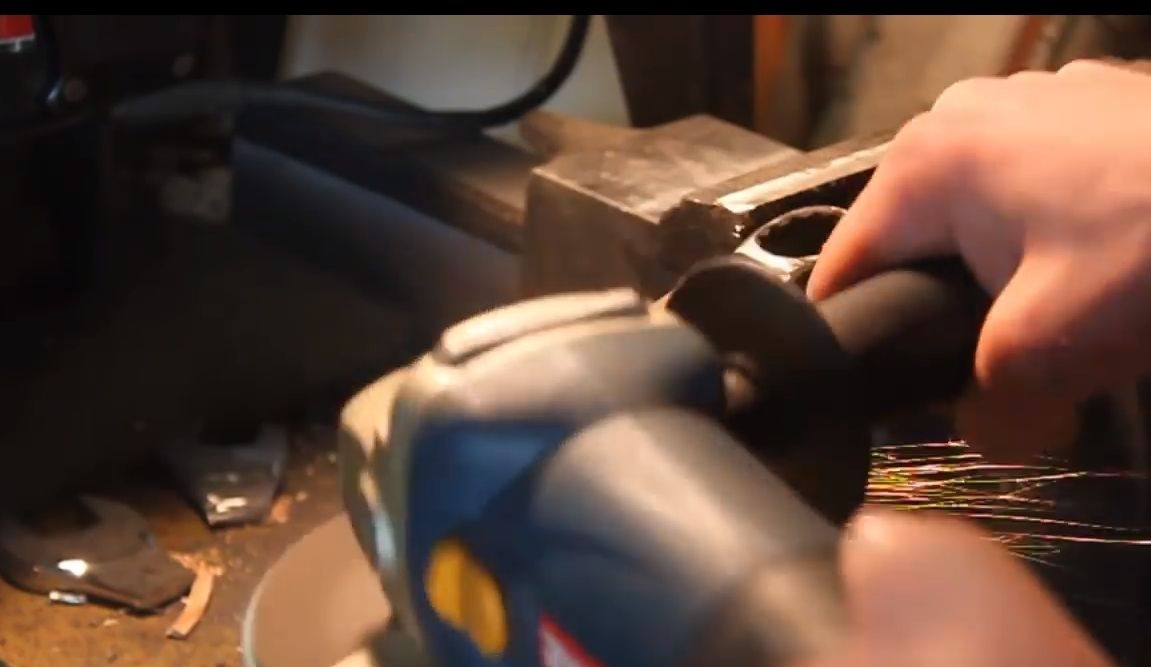
We formed the main profile, now we clamp the workpiece in a vise and go through the blade with a grinder, with the grinding wheel installed. You can refine the profile along the contour, as well as form the bevels. The forging blade should be tried to be made as thin as possible so that then there is less grinding work.
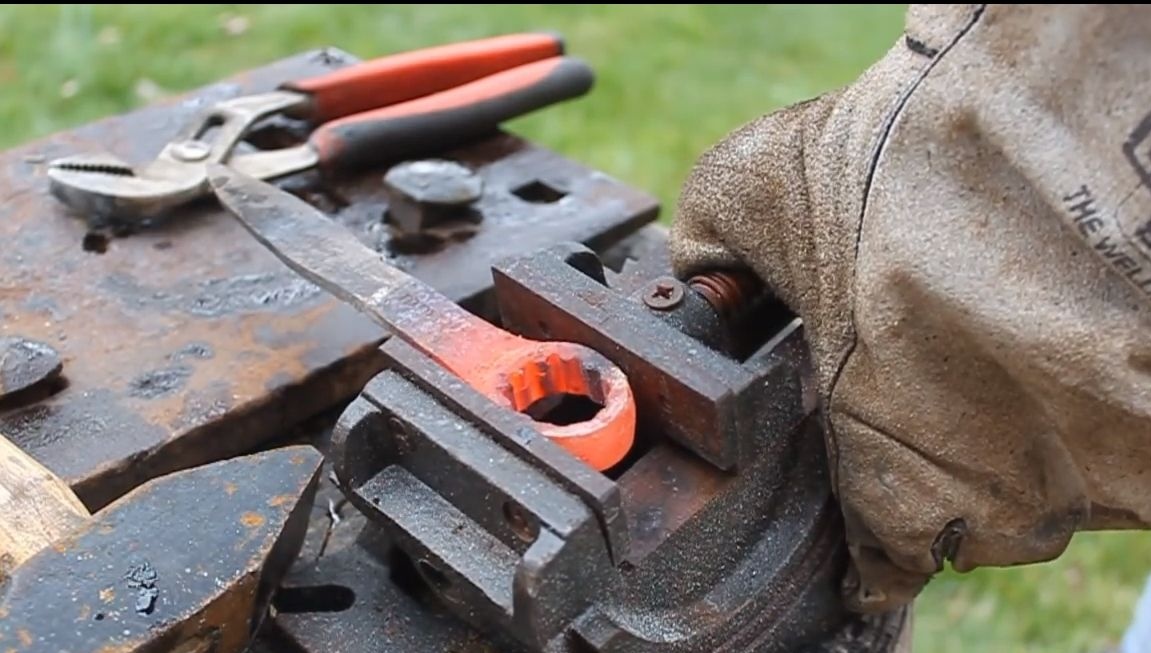
Step Five Quenching
Before tempering the knife, the author decided to flatten the cap part of the key slightly so that it would not interfere with holding the knife. But this is not necessary at all, you can leave it as it is. We warm this part red-hot and then squeeze it in a vice.
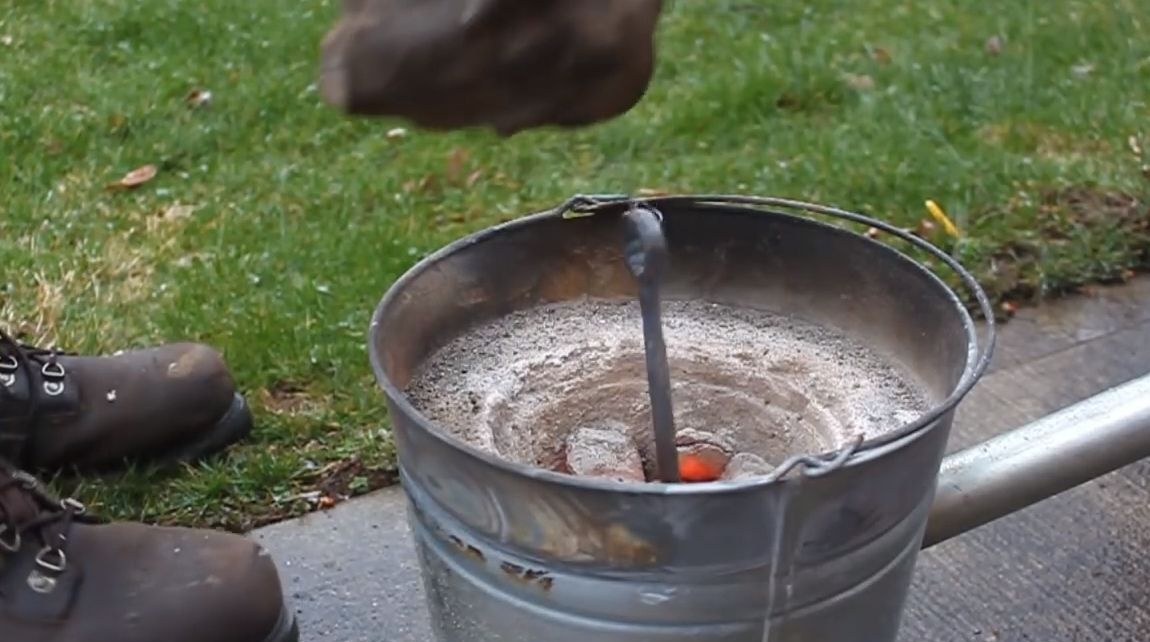
We turn to hardening, it is important to note that this process also involves the use of metal tempering, but for some reason the author missed this point. For hardening, we heat the knife red-hot and cool in oil, oil can be used vegetable or mineral. Judging by the color, the author uses automotive testing.
It is further recommended that the metal be tempered as it will be brittle and may break at some point. Put the blade in the oven and heat for about an hour at a temperature of 200-250 degrees Celsius, then let it cool in the oven without opening it.
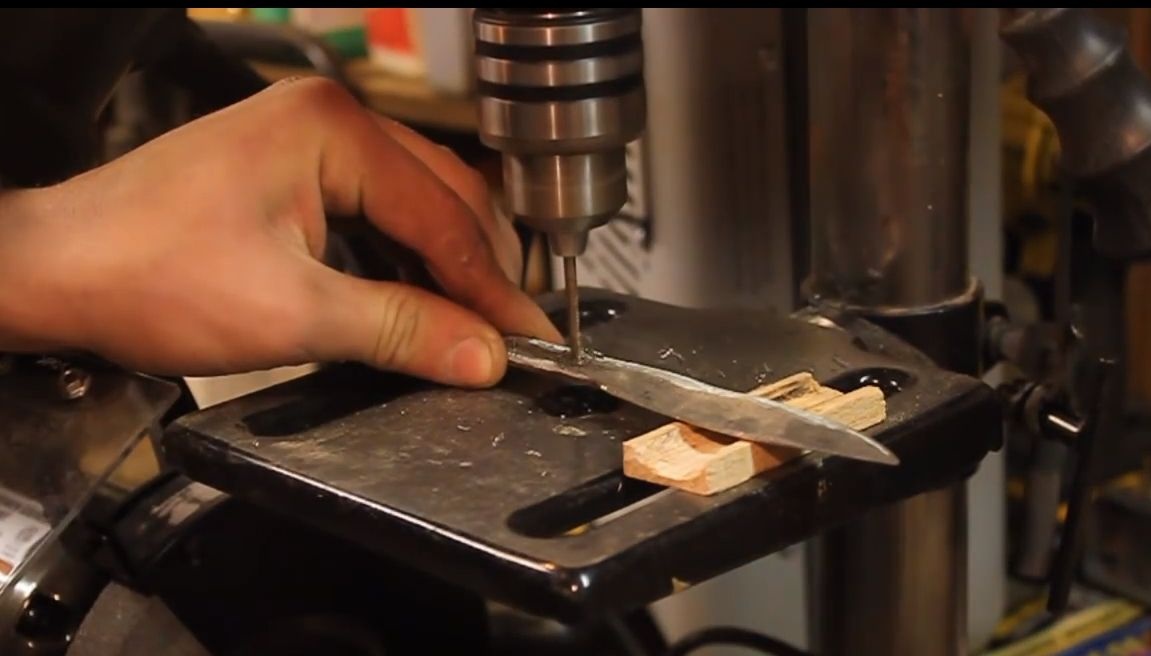
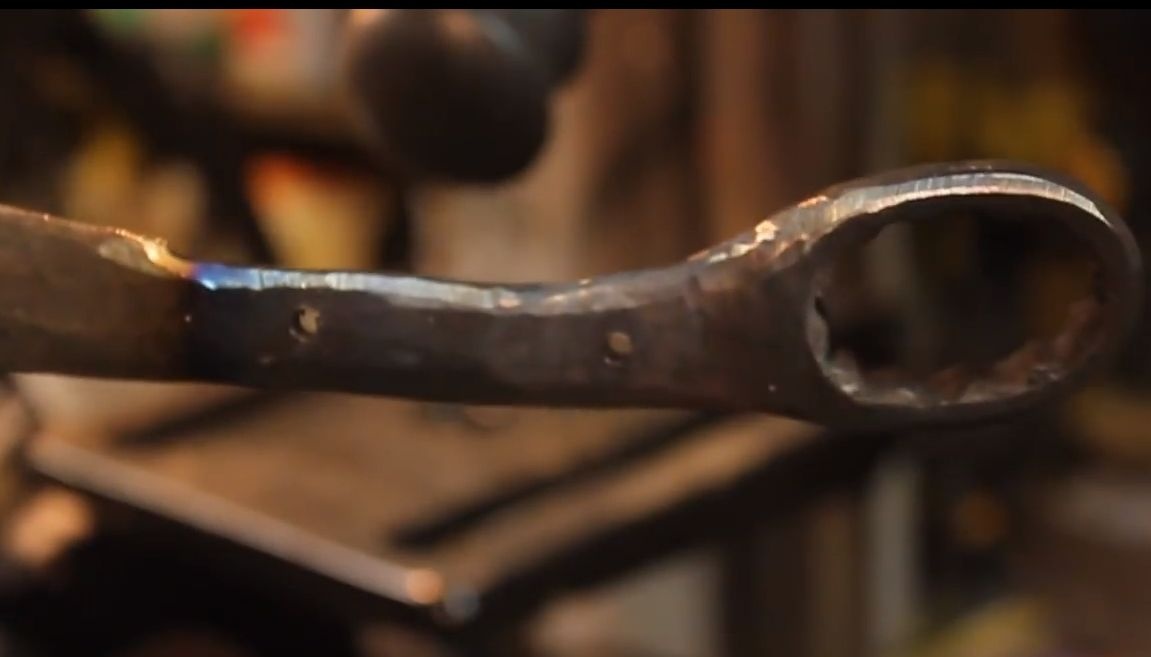
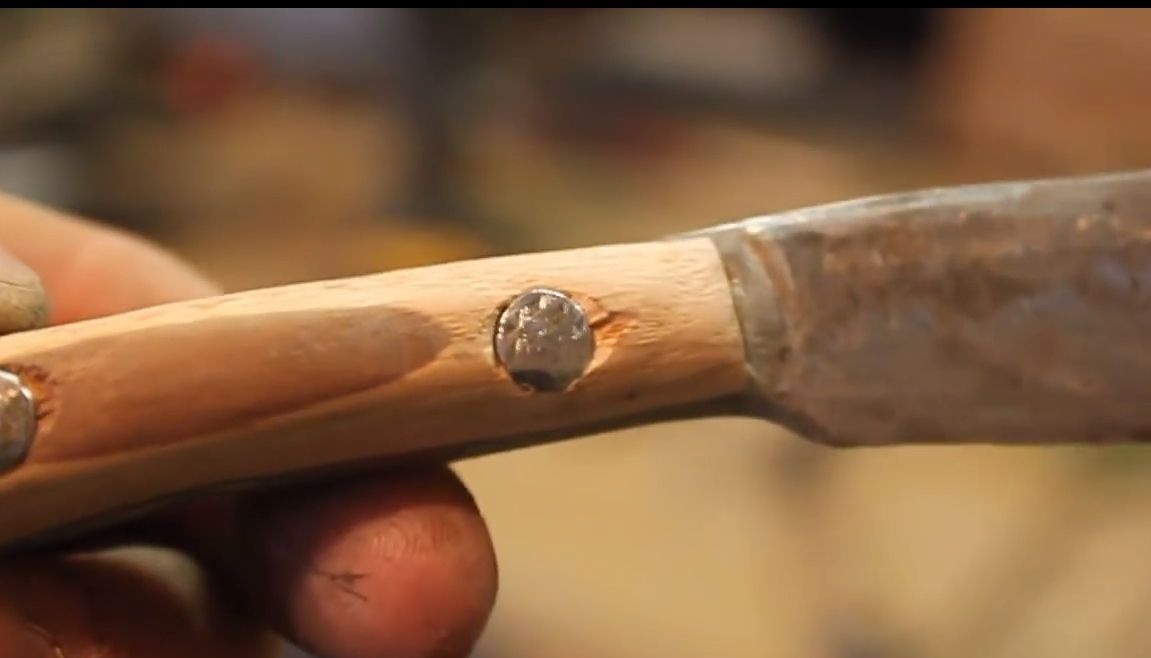
Step Six We drill holes and collect the handle
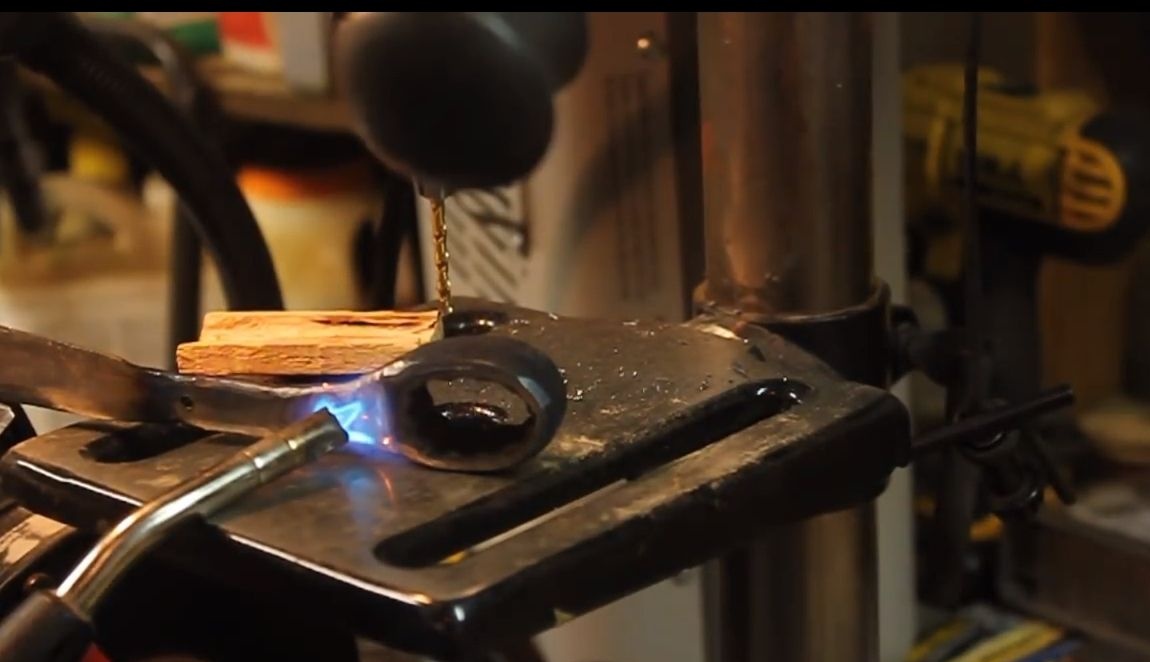
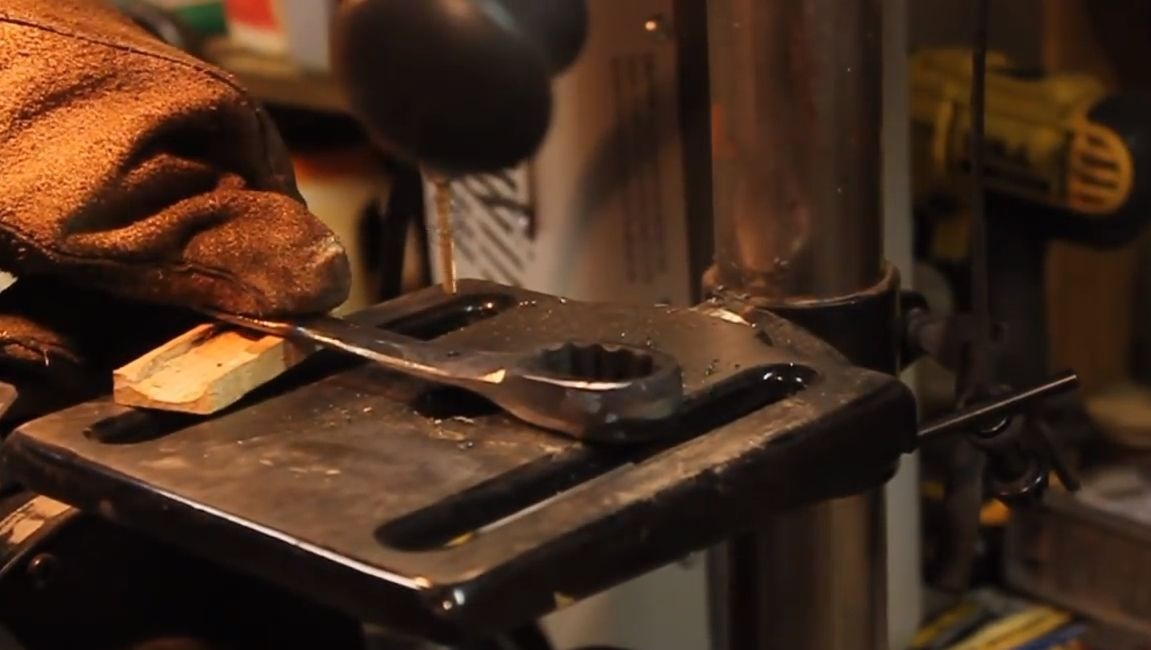
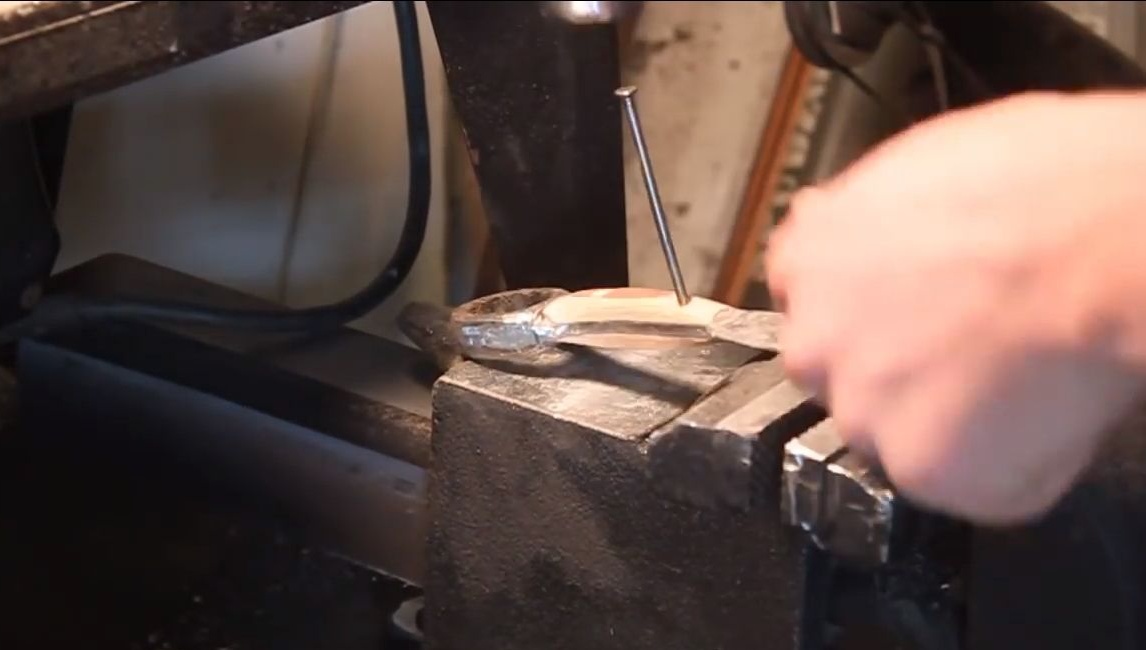
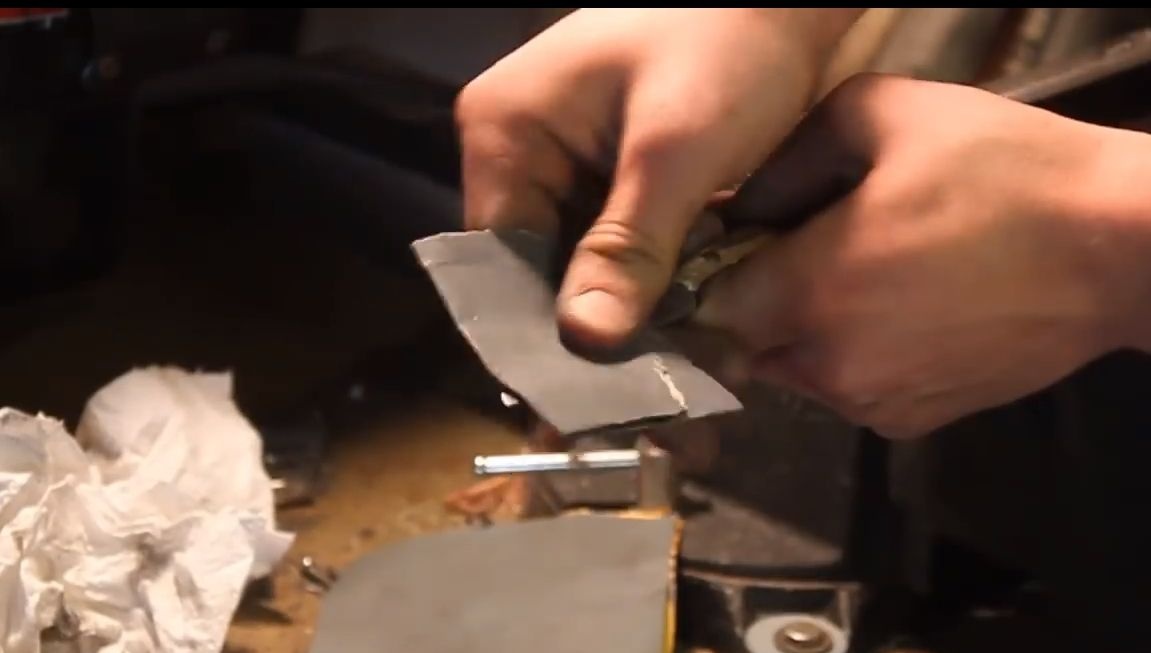
First of all, you need to drill two holes for the pins in the tail section. The author decided to use ordinary nails as pins. It is not aesthetically pleasing, but reliable and practical. It’s just that you won’t drill holes in the hot metal; for this you need to let it go. We take the burner and heat the metal in the right place red-hot, then let it cool smoothly. Everything, steel has become soft, holes can be drilled with a conventional metal drill.
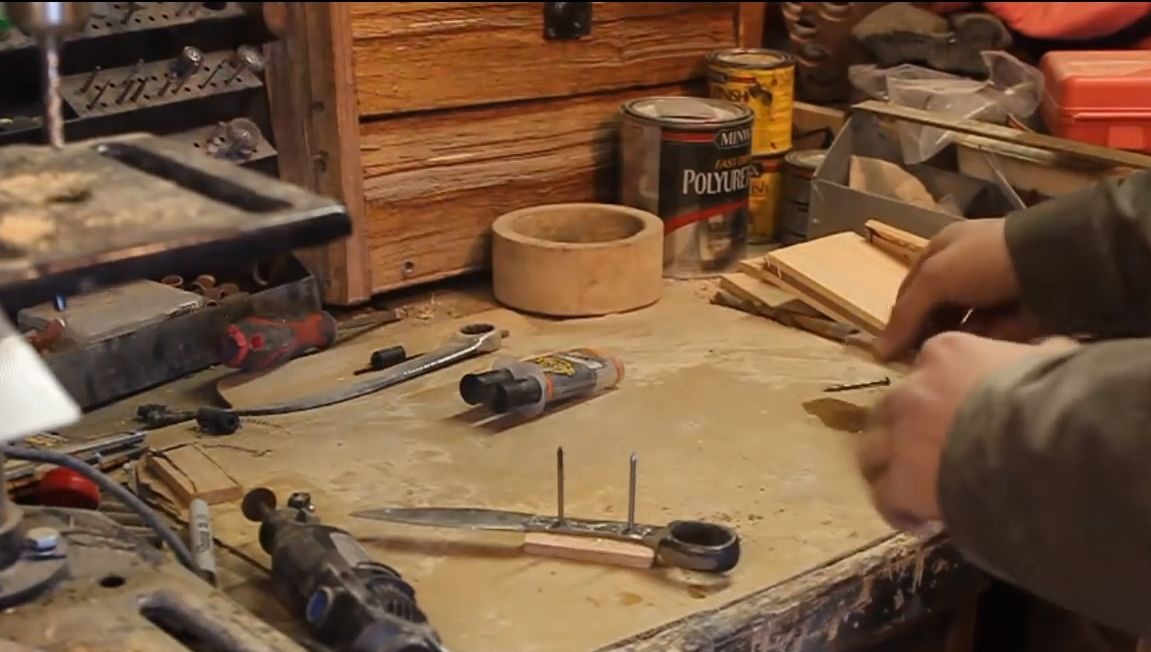
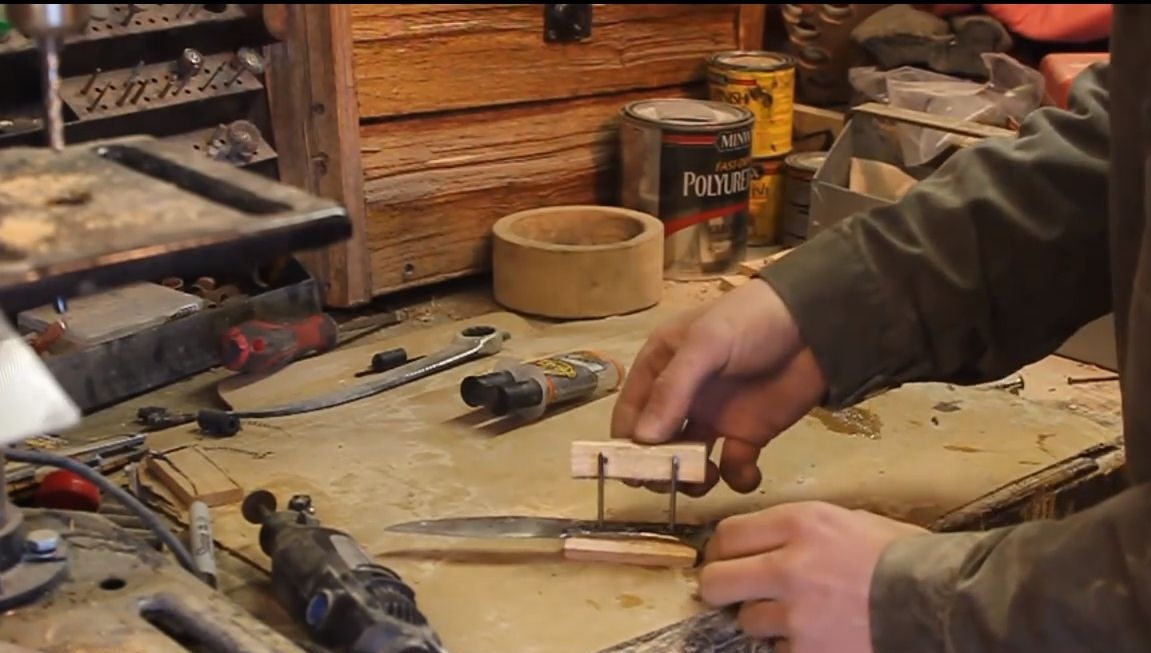
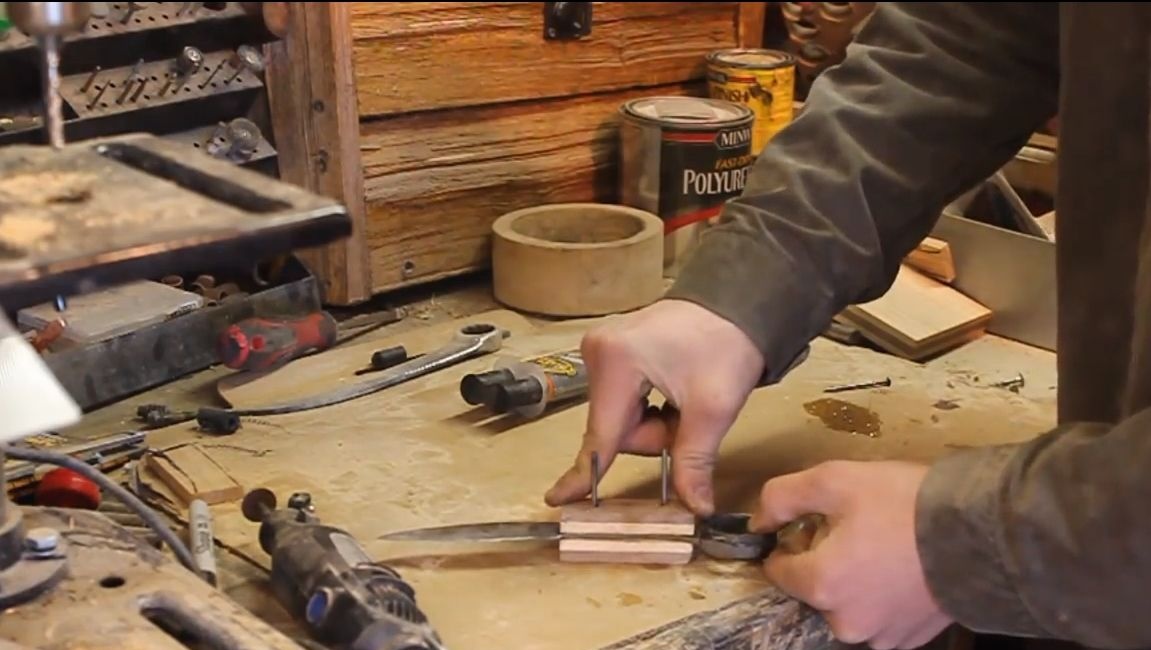
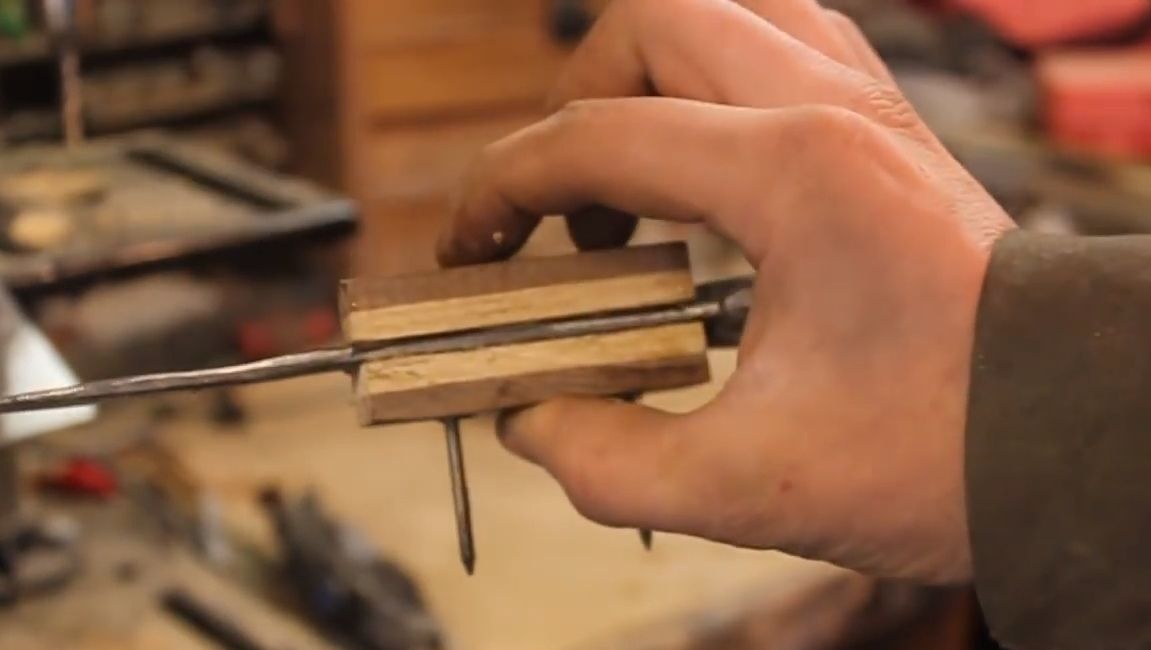
You can start assembling the pen, here you will need plywood, thin pieces or other similar material. If you wish, you can make a pen type-setting. We take the blanks and drill holes for the pins in them, collect all the details on the nails. For bonding components need epoxy glue. At the end, we tighten the whole thing with clamps and let the glue dry completely. Full drying of the epoxy adhesive takes 24 hours.
Seventh step. Finish the handle
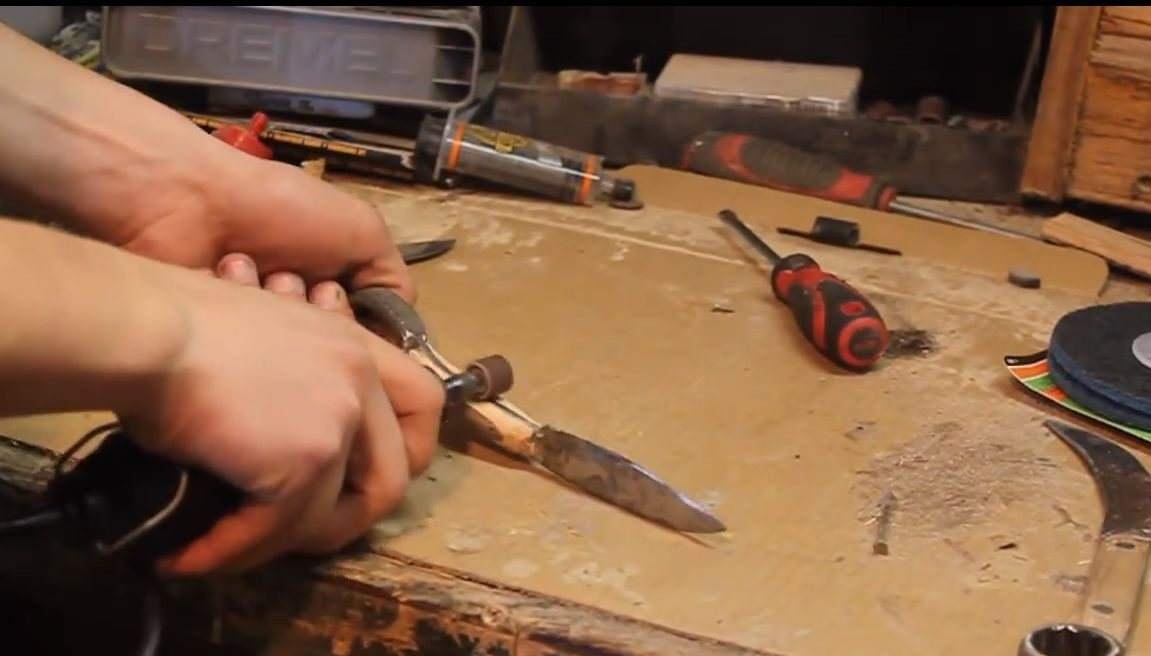
We proceed to handle processing, for rough work we use a sharpener or a rasp. To handle problem areas, we use a drill or a drill with a grinding nozzle. We form the main profile of the handle, depending on the needs.

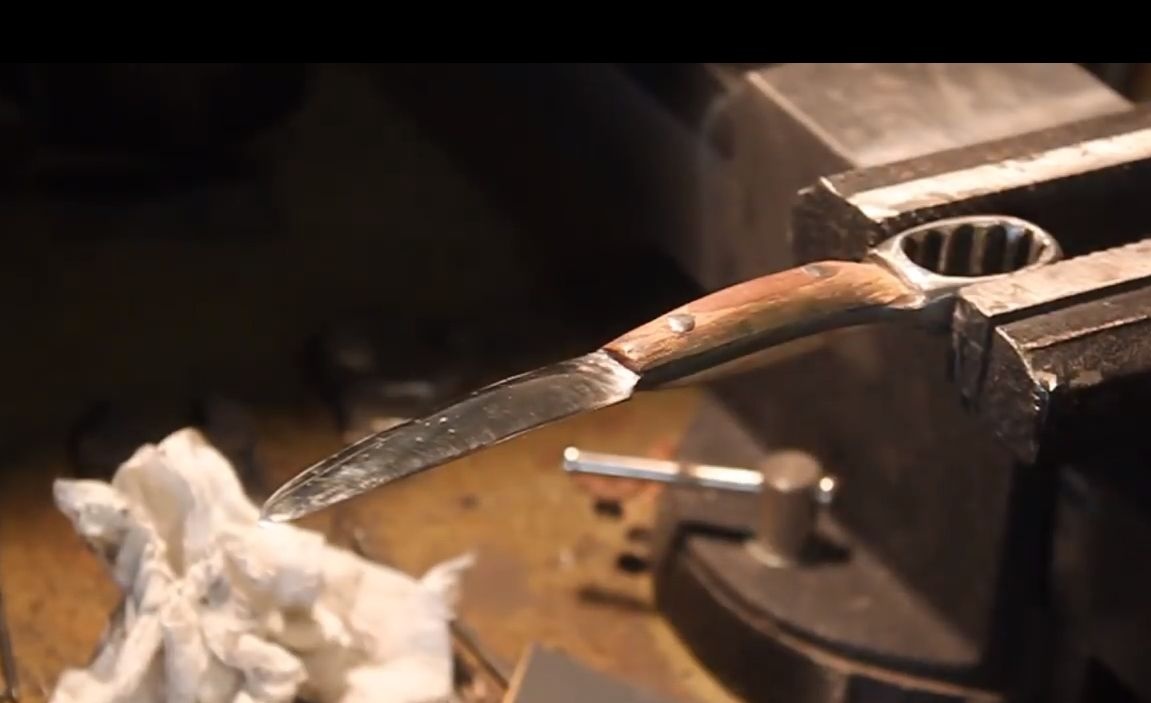
Now comes the stage of finer processing of wood. This will help us with sandpaper. First we use large paper, then everything is smaller and smaller. We make the handle absolutely smooth.
For some reason, the author decided to install the pins after assembling the handle, probably so that they do not interfere with the grinding. In general, this is not a completely professional solution, usually the pins are ground together with the handle.
Step Eight. Sharpen a knife
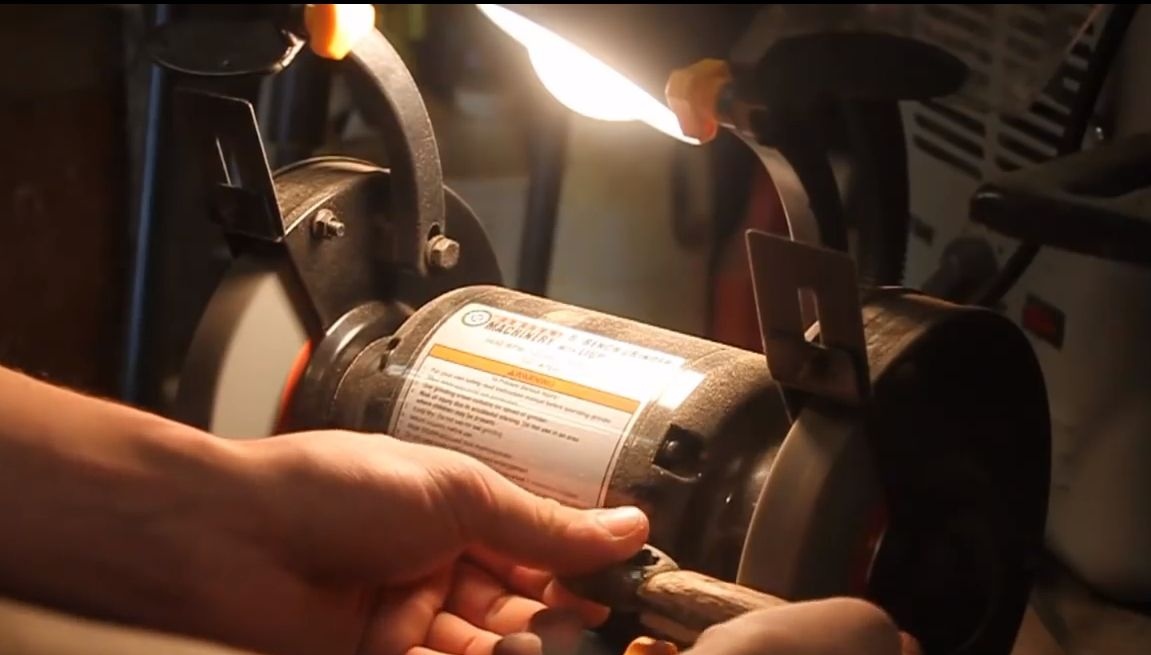
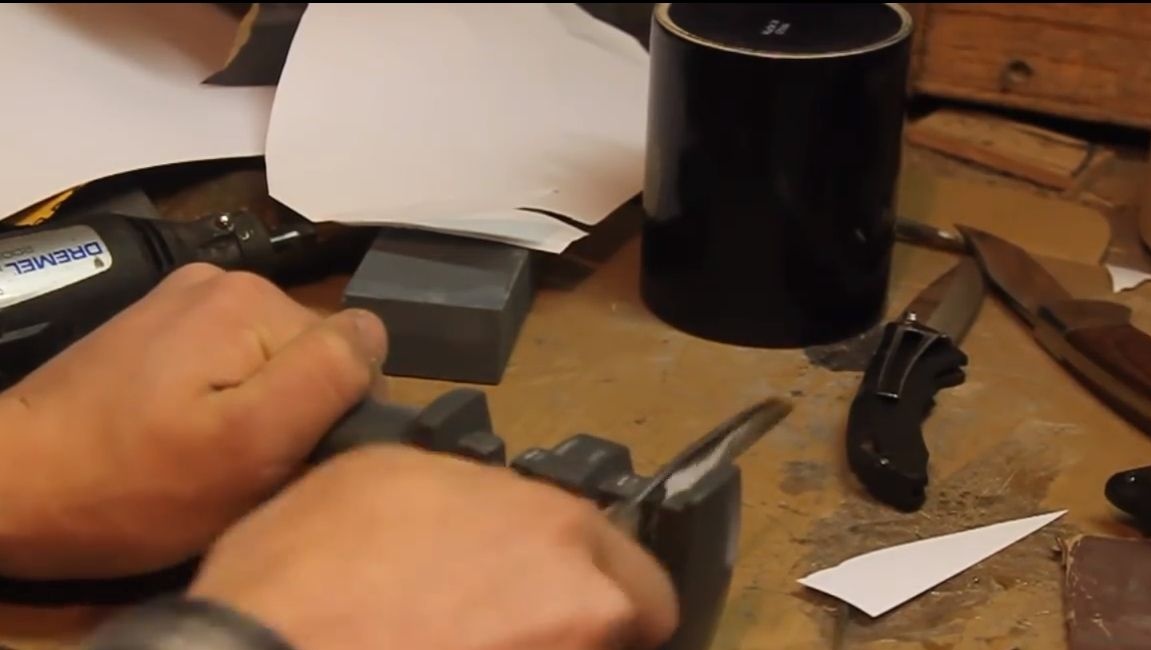
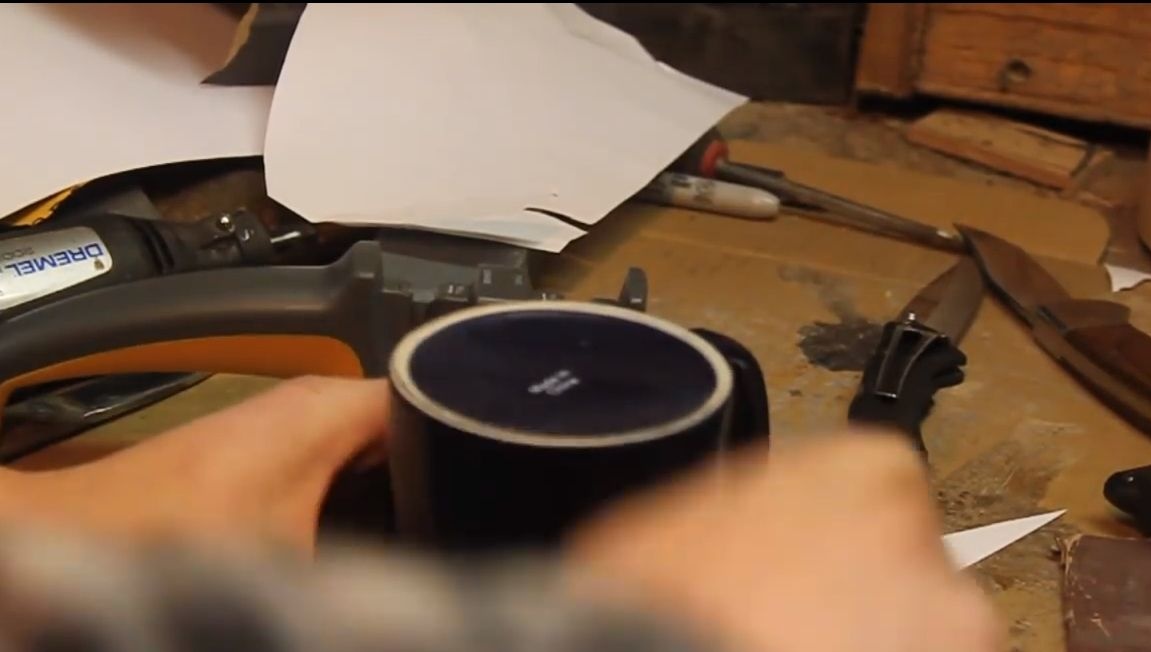
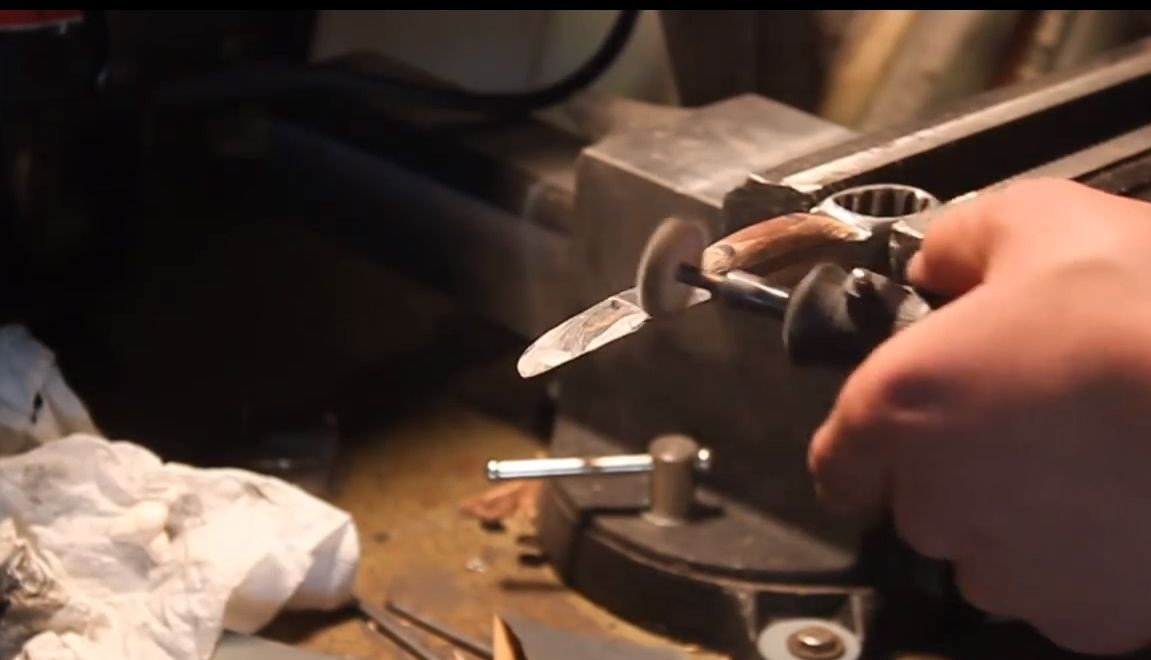
For sharpening a knife, the author uses a special sharpening device for knives. How well such a device sharpens a knife remains a mystery, for fidelity it is better to sharpen a knife manually, all the more it is not difficult to do. We take small sandpaper, moisten in water and sharpen the knife to the state of the blade. The bottom of the ceramic mug is also suitable for sharpening.
At the end, polish the blade. To do this, you need a drill, a special polishing nozzle and polish. Bring the metal to a mirror shine.
Step Nine. Protect the handle from moisture
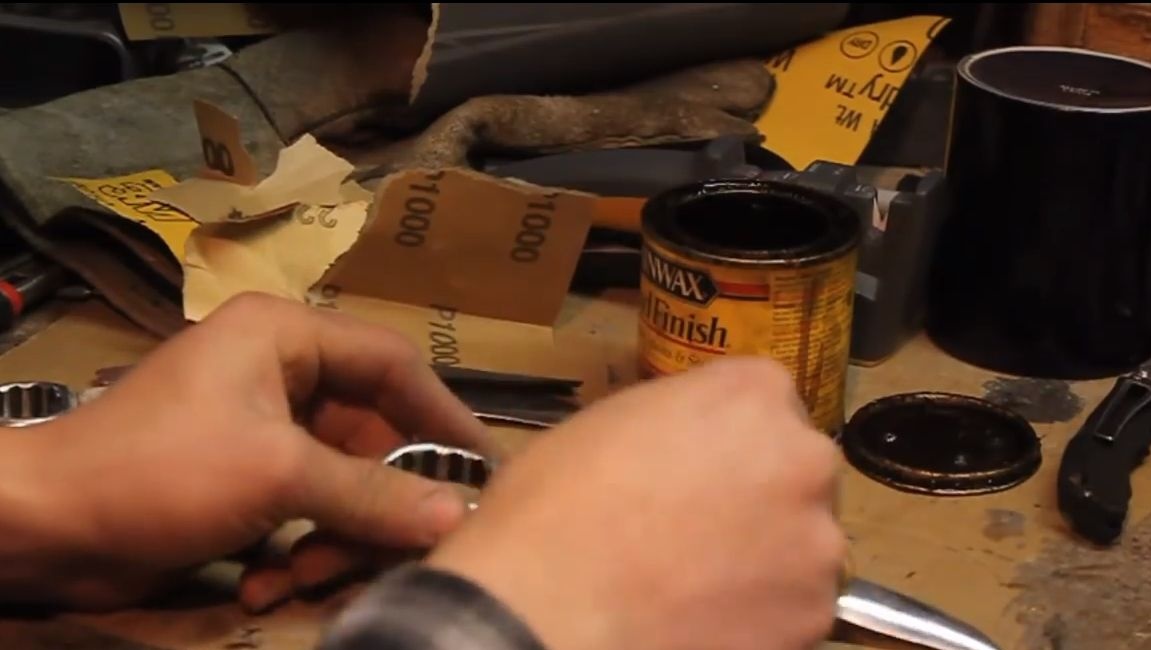
The handle is made of wood, and therefore it is extremely important to protect it from moisture. Otherwise, the wood will crack and quickly become unusable. For impregnation, it is customary to use linseed oil, this is the most proven option. Also, special oils for wood processing are quite good.
We apply as many layers of oil as the tree absorbs. At the end, it would be nice to polish the handle using beeswax.
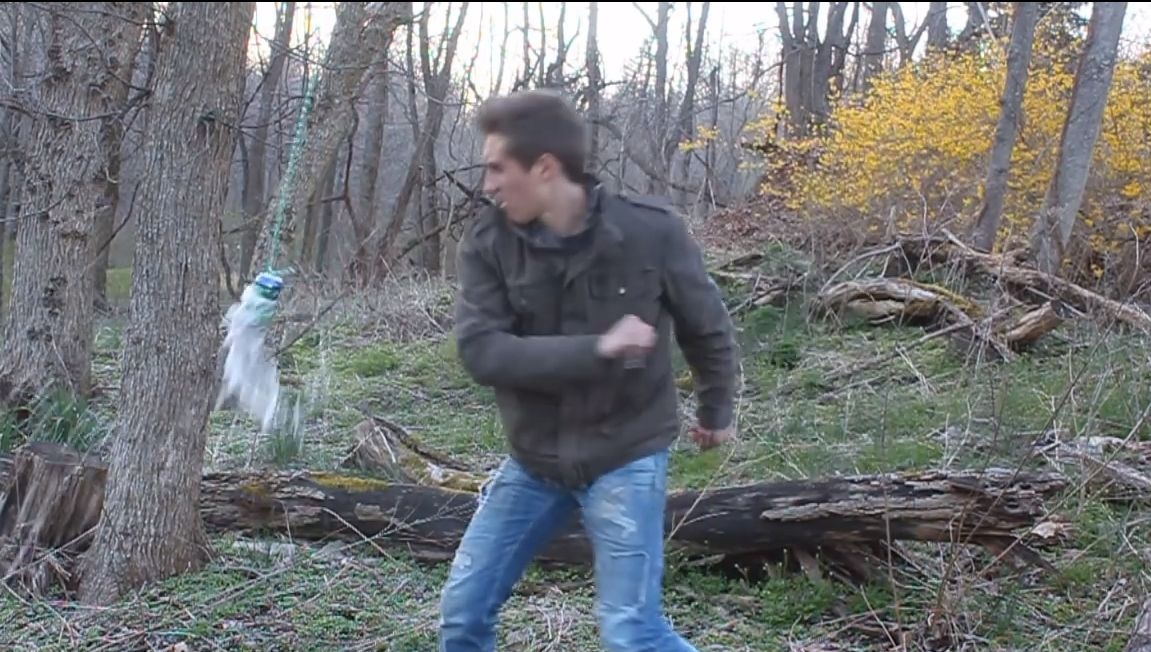
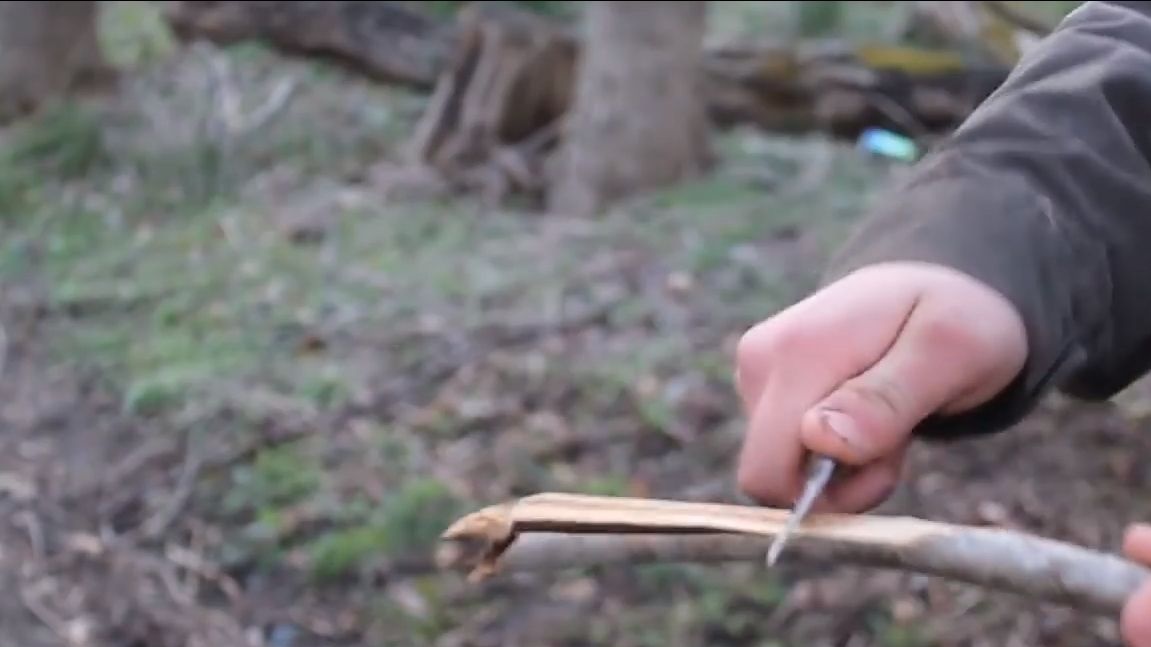
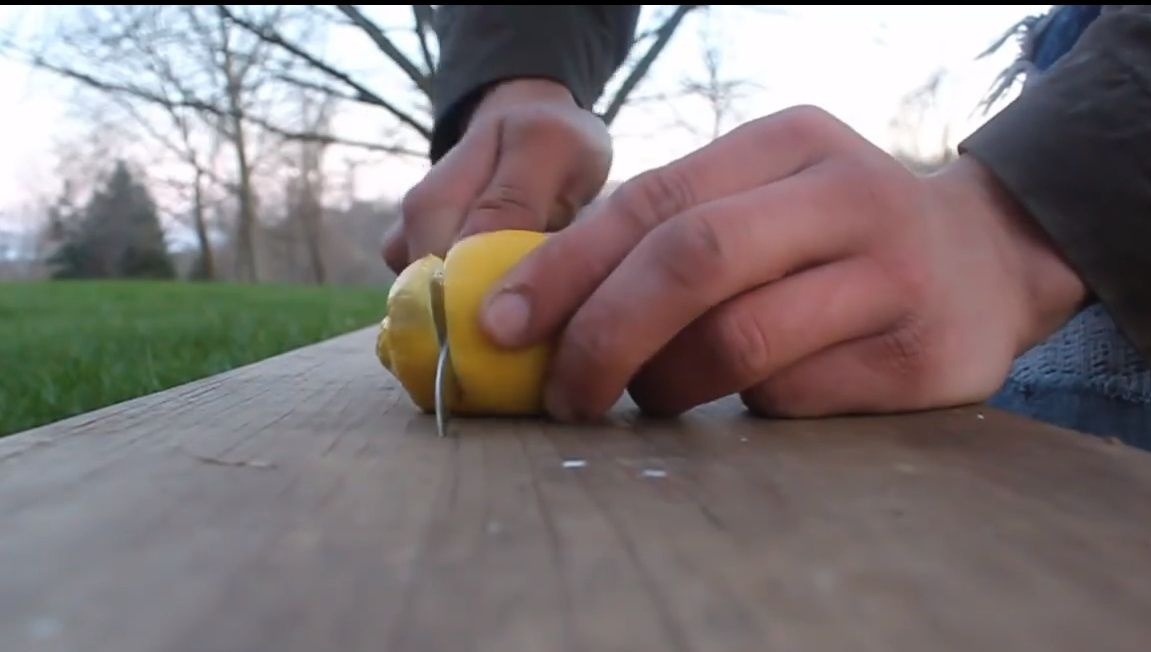
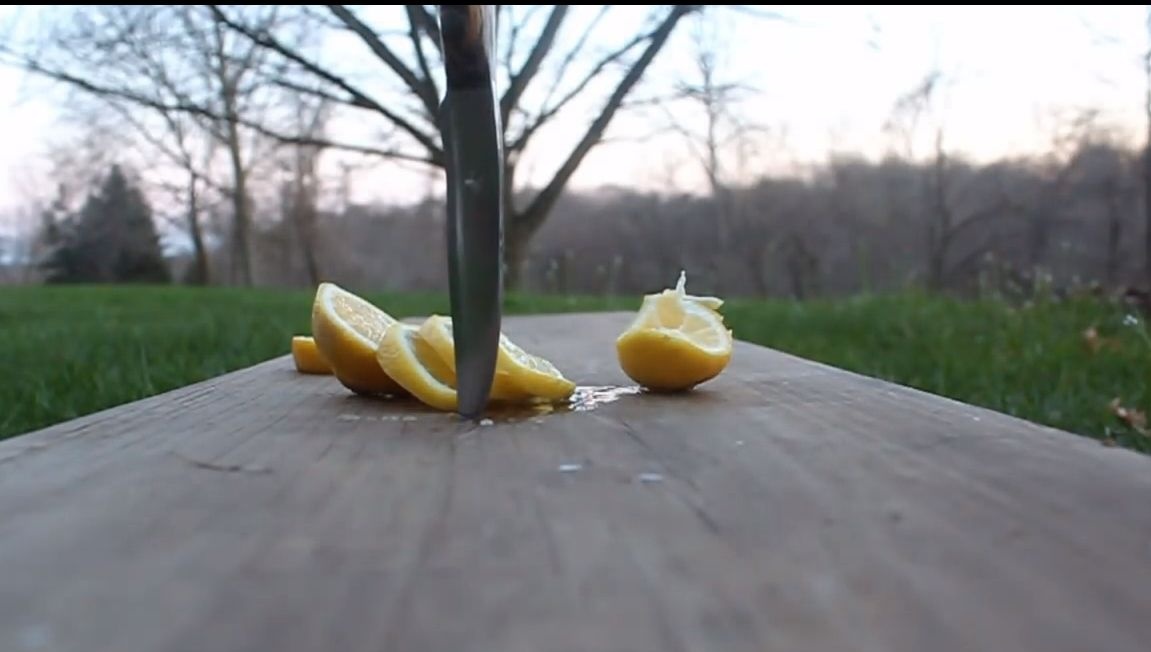
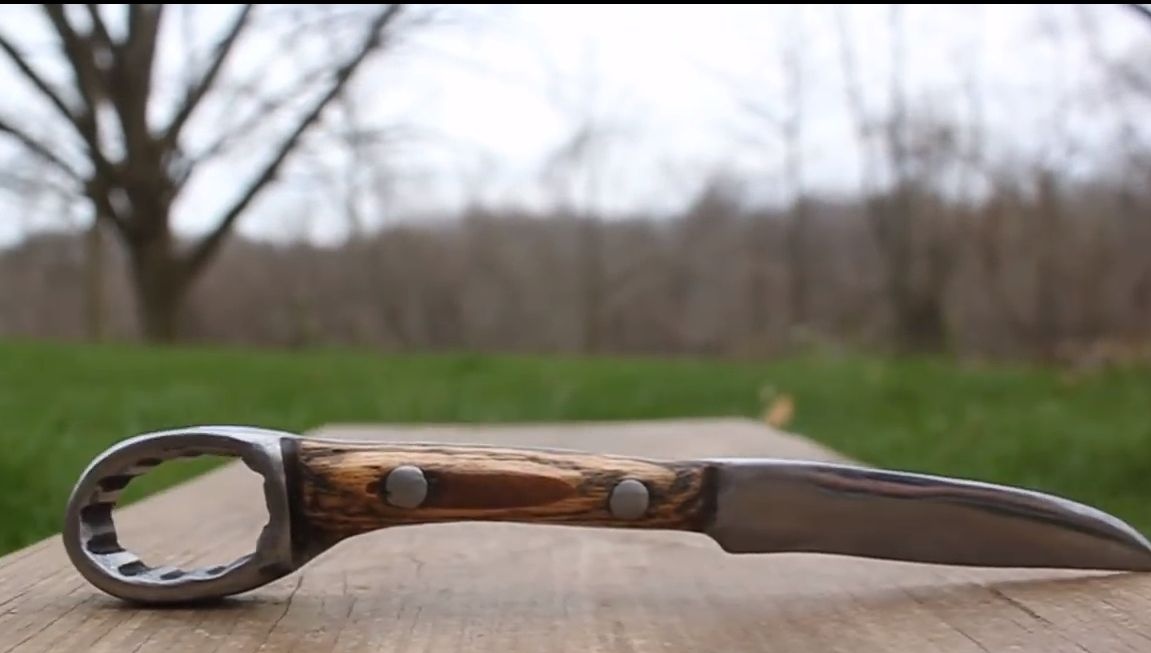
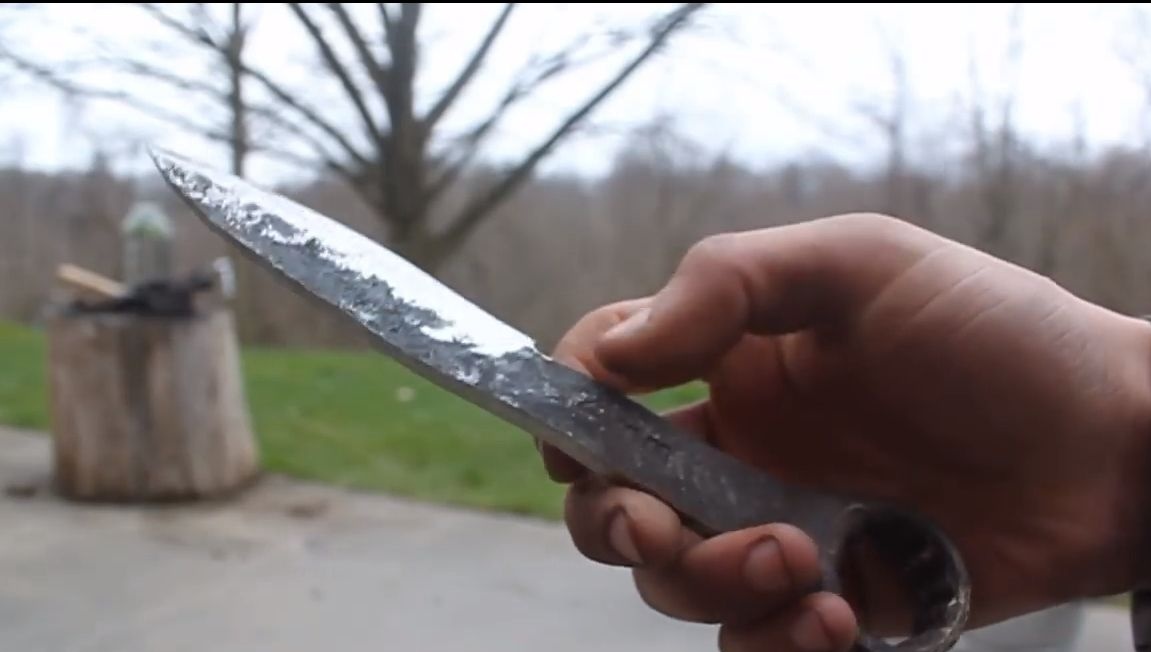
Challenges!
The knife is ready, you can test.The author conducts various experiments with him; sharpening a stick can be considered the most effective. The knife did an excellent job with the tests.