
As Wikipedia says: Braille is a point-to-point tactile font designed for writing and reading by blind and poorly seeing people.
The font was developed by Braille in 1824 based on the Barbier font. Interestingly, the Barbier font was used in the army for writing and reading reports at night. Each of us saw and even tried with our fingers an analog of such a font. On banknotes, the denomination of the denomination is indicated in embossed type. True, bills use dots and dashes, while Braille uses only dots. Braille adapted to many languages of the world.
Due to the high cost of such machines for printing, a group of enthusiastic students decided to try to make it on the basis of Arduino.
Let's first watch two small videos.
As you can see, the machine works. Now we will consider how to make it and what are needed for this
Tools and materials:
-3D printer;
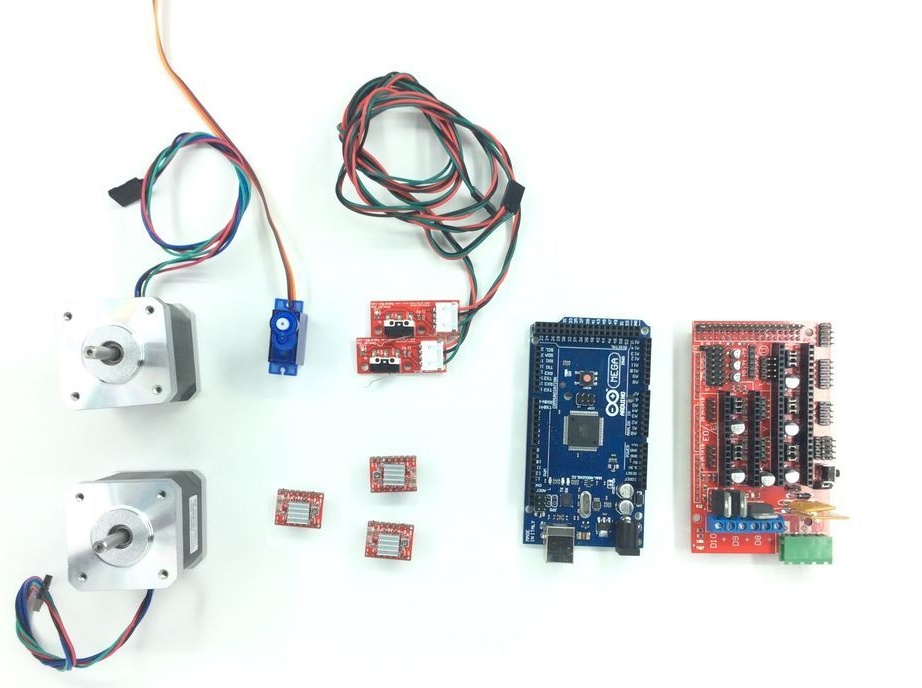
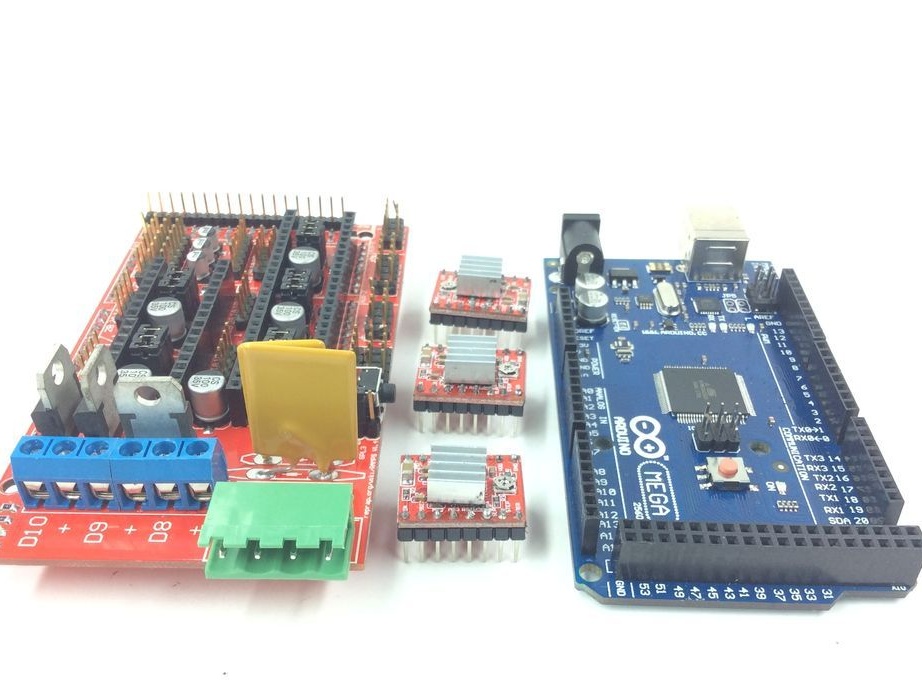
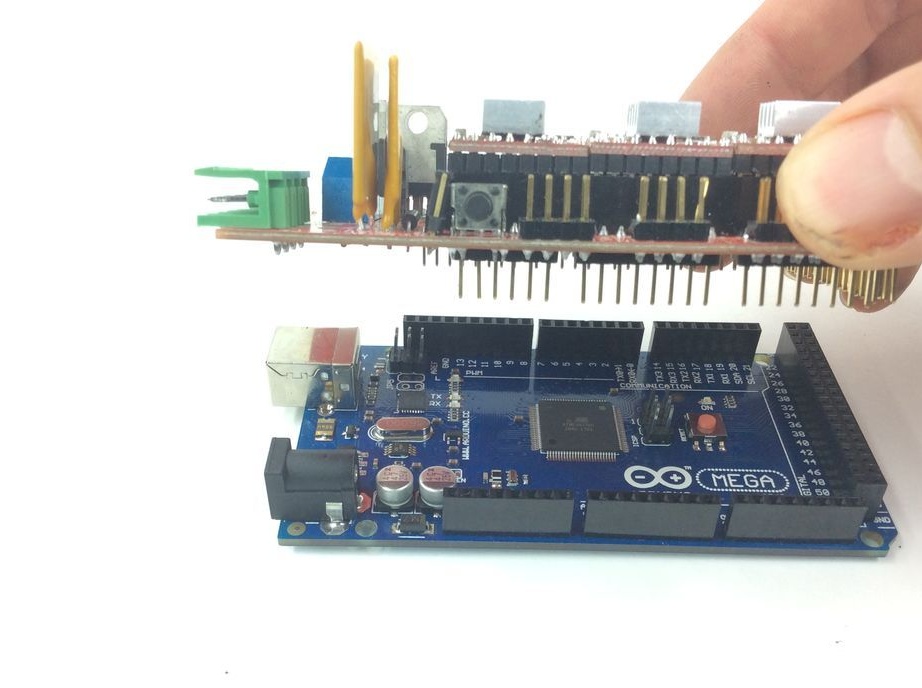
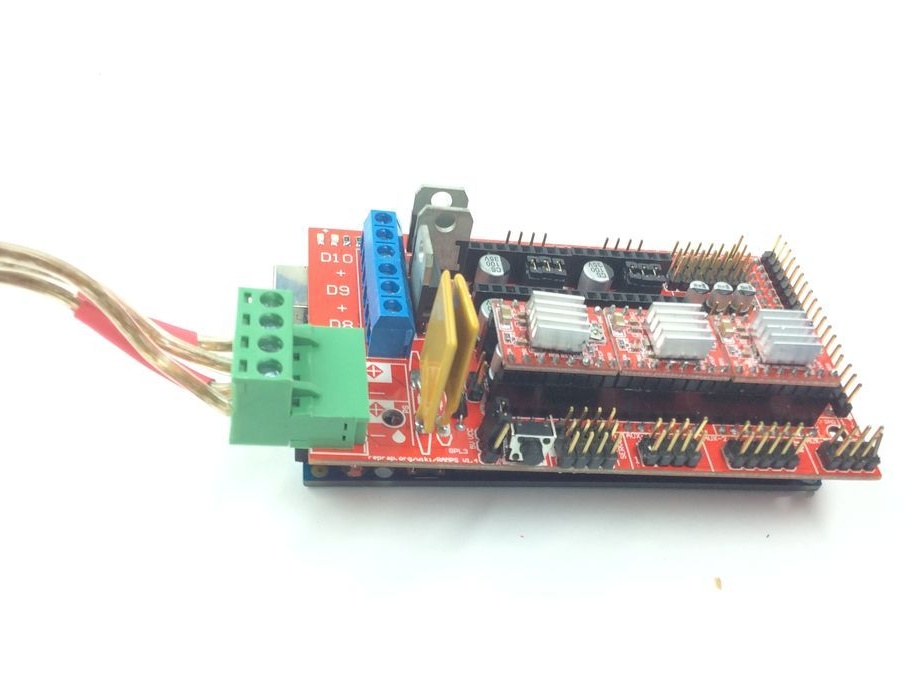
-Arduino Mega
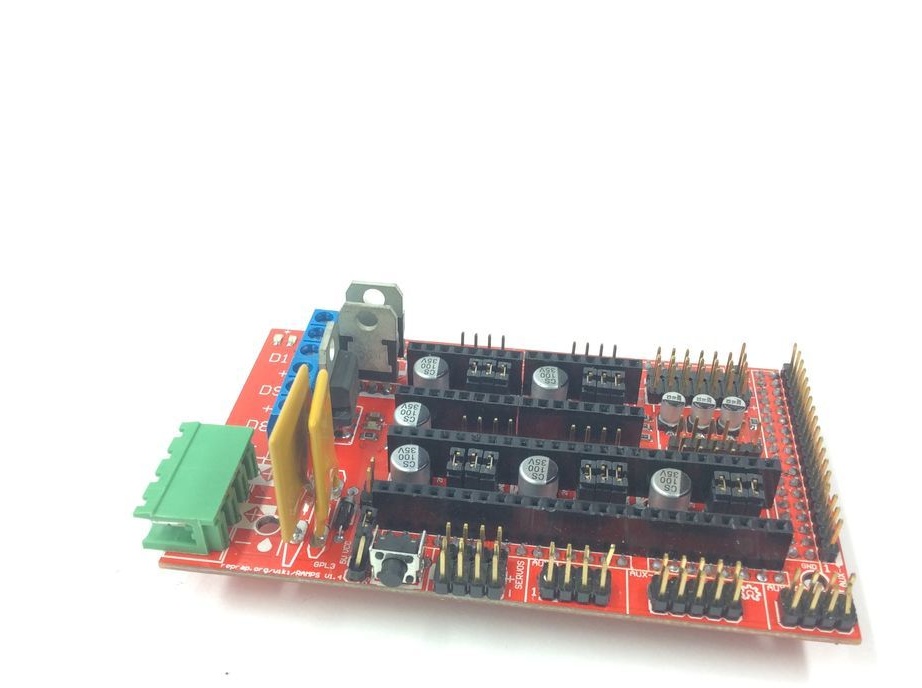
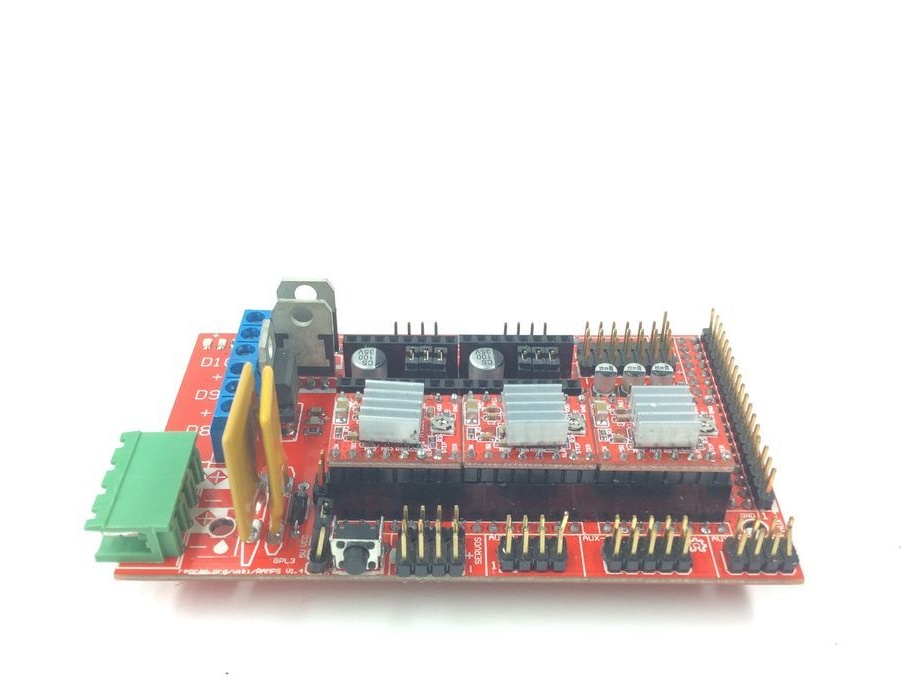
-RAMPS board;
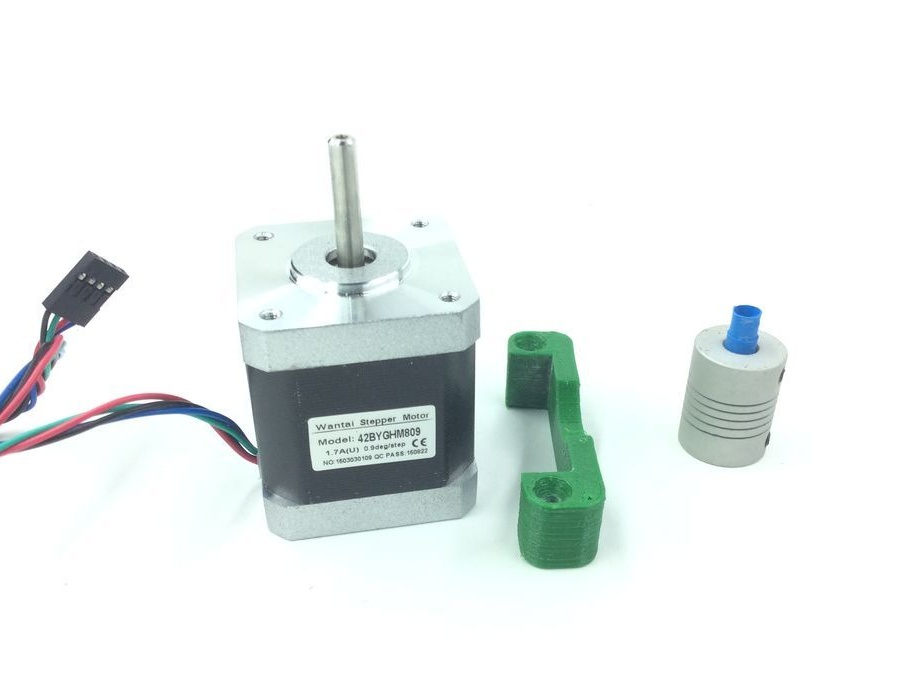
-Driver engine;
-Engine;
-Servo;
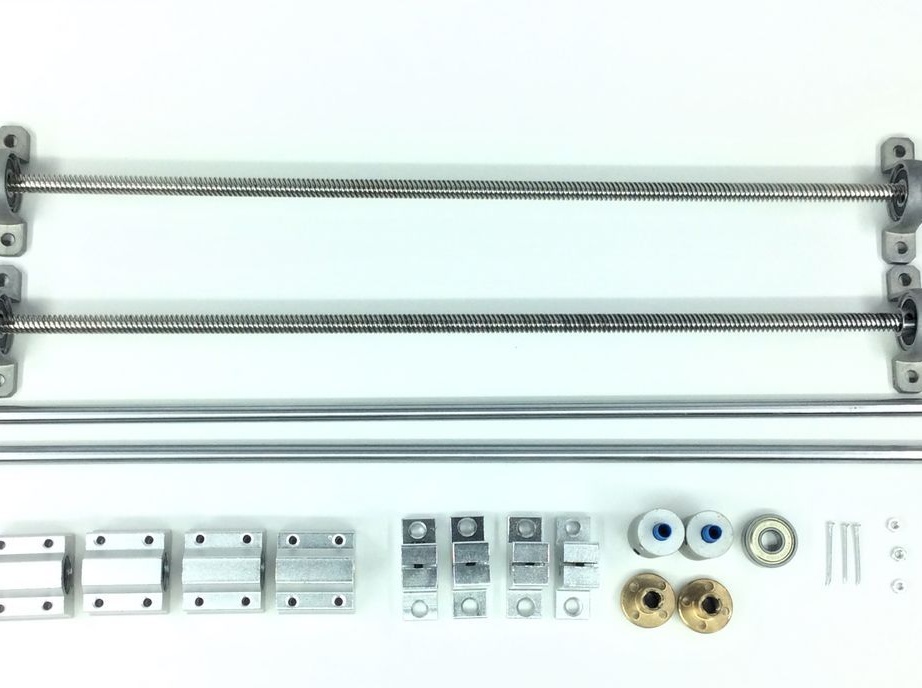
-Bearings;
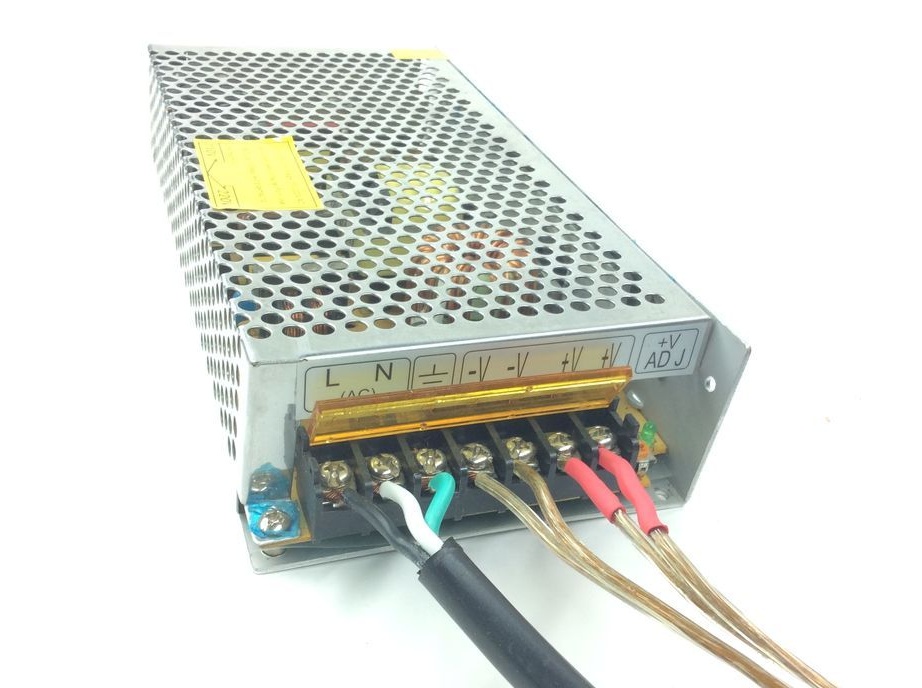
-Power Supply;
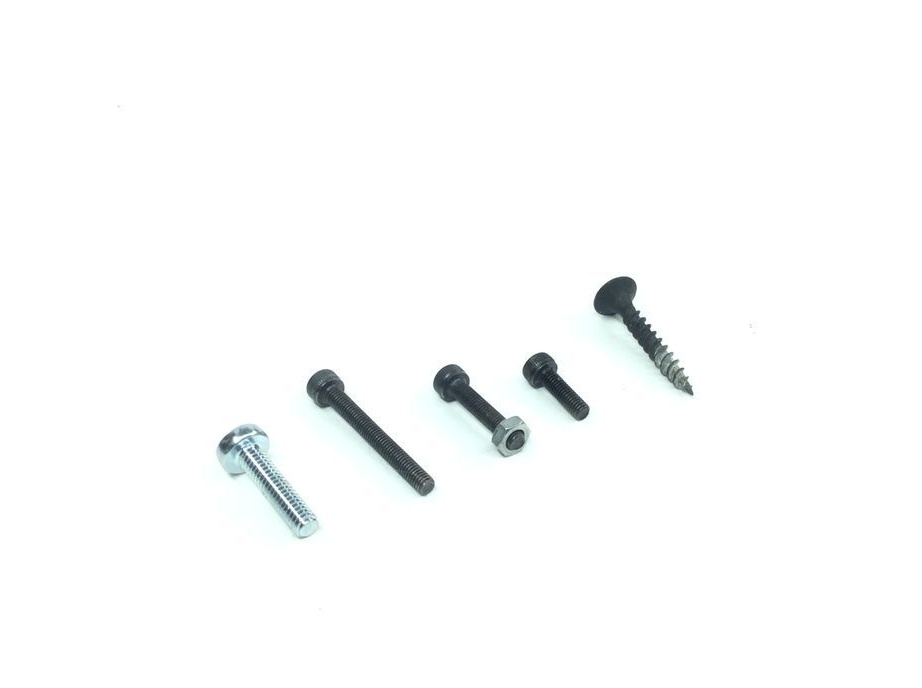
-Fasteners;
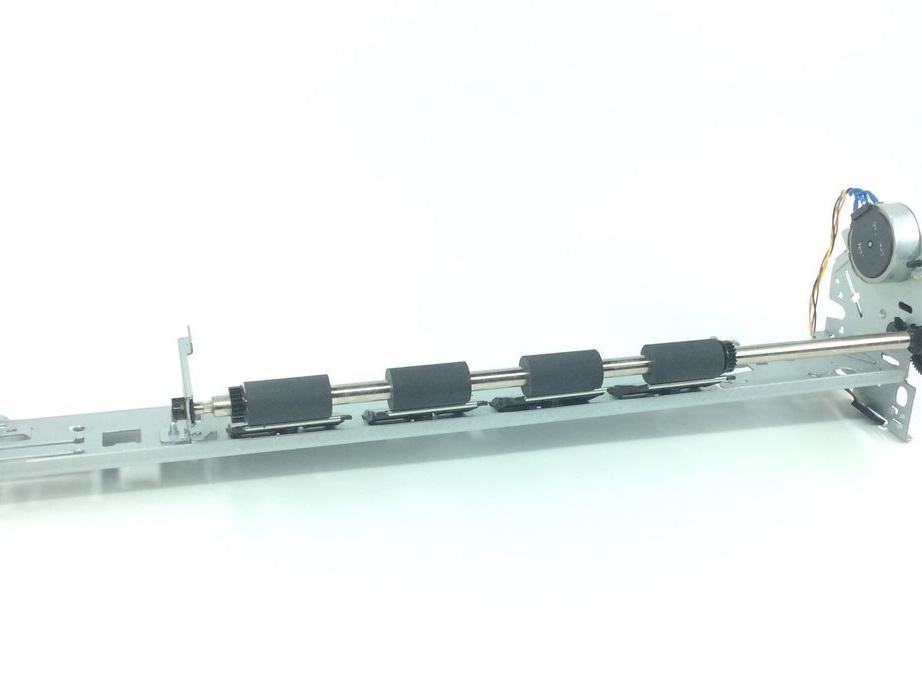
-Old printer;
-Plywood;
-Circular pliers;
-Dremel;
-Soldering iron;
-Nuts;
-Nails;
-Drill;
-Screwdriver;
-Metal rods;
-Threaded studs;
-Vise:
-Hammer;
-Hacksaw;

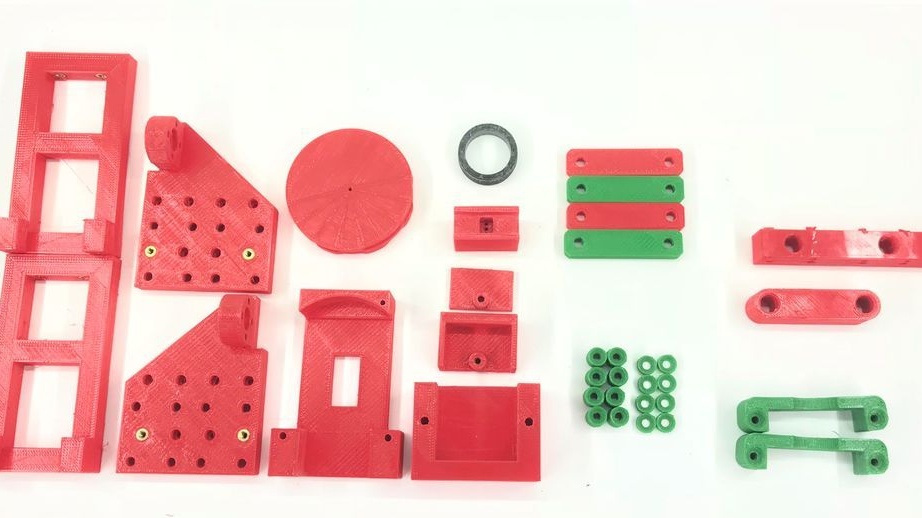
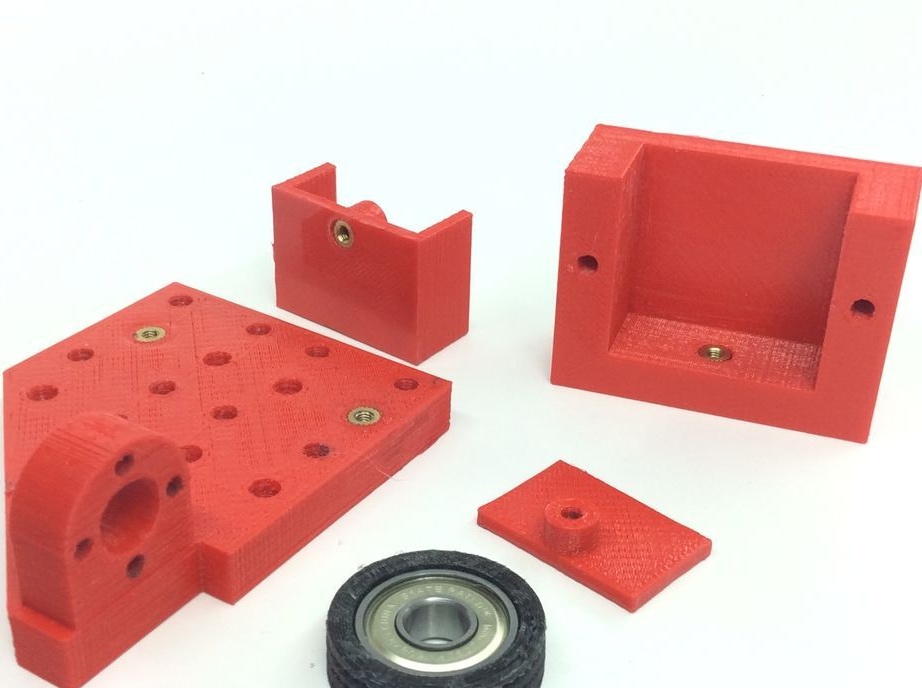
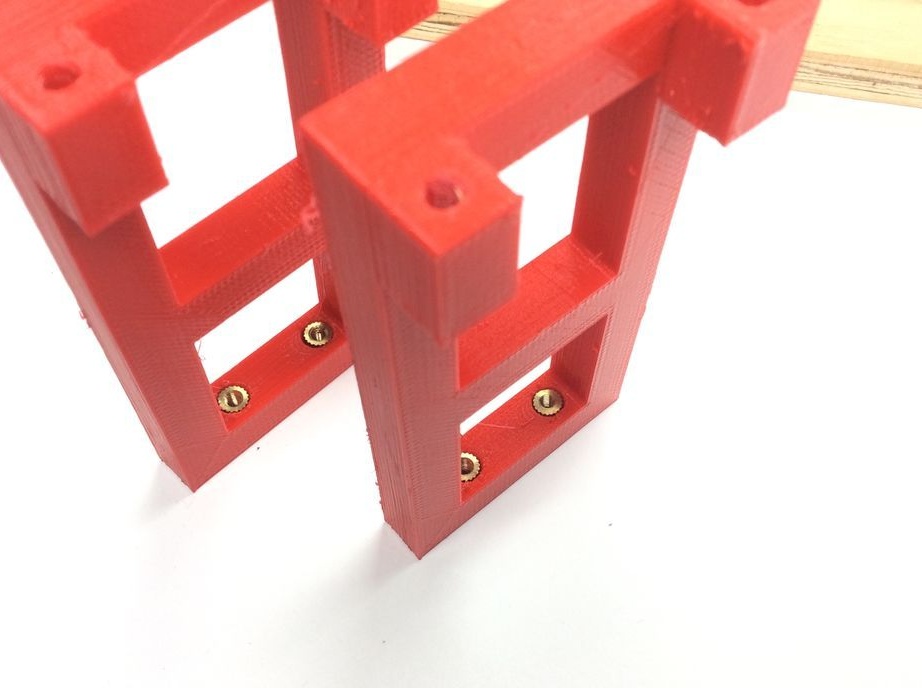
Step One: 3D Printing
Prints details on a 3D printer. The file for printing can be taken.
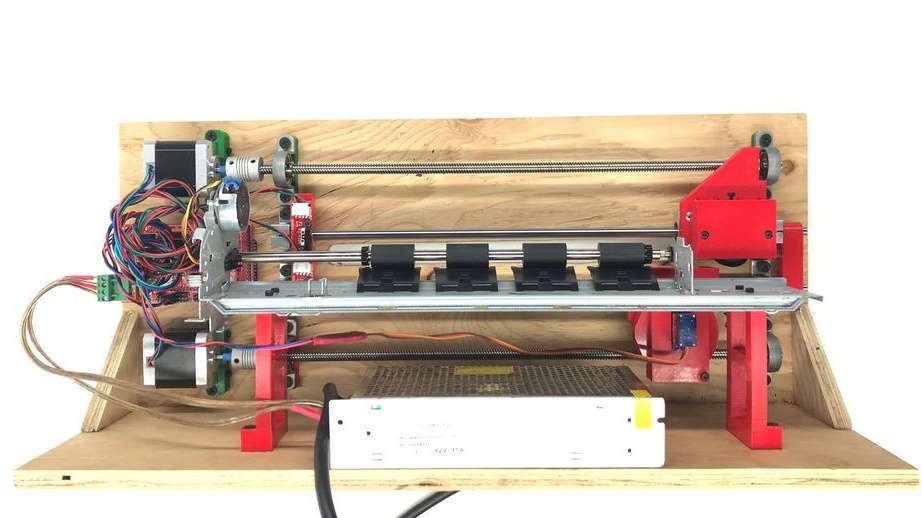
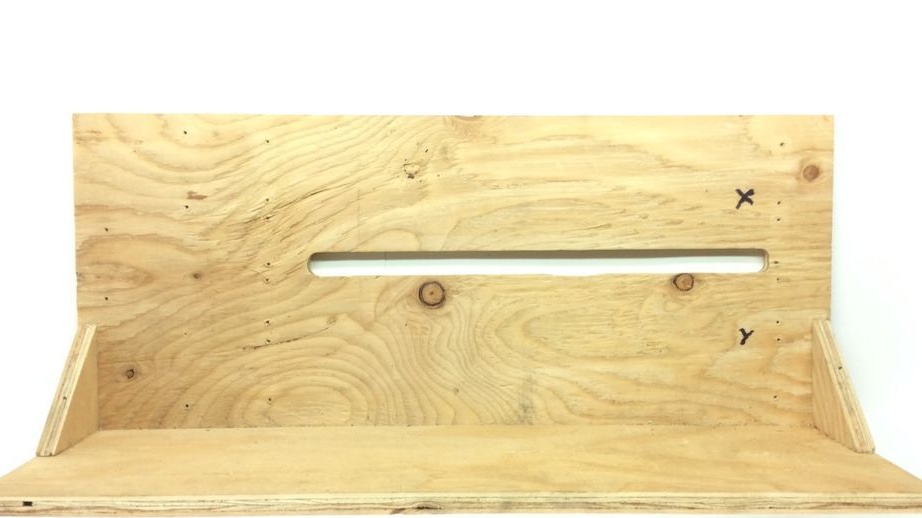
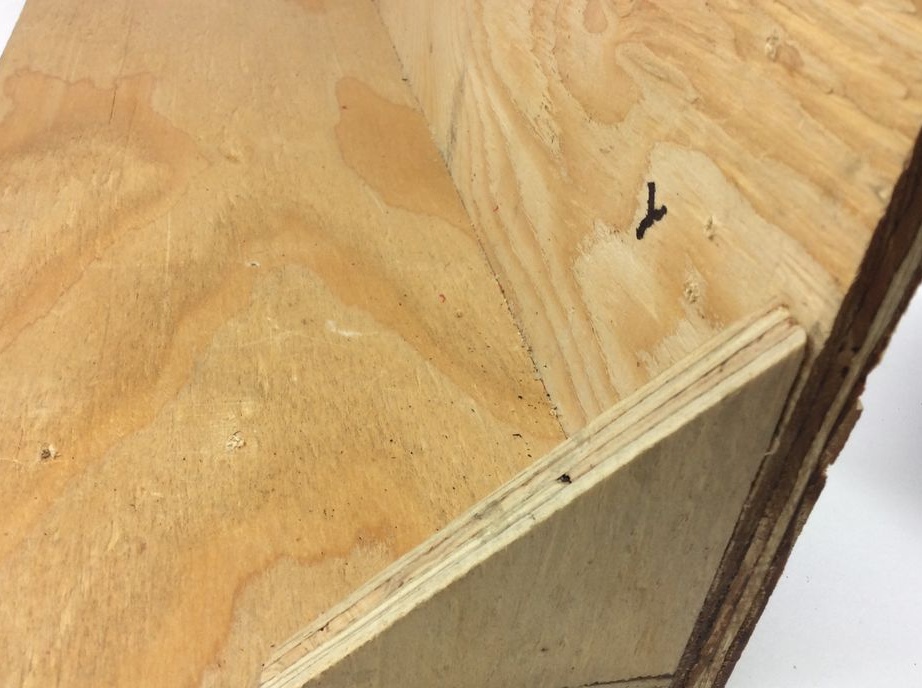
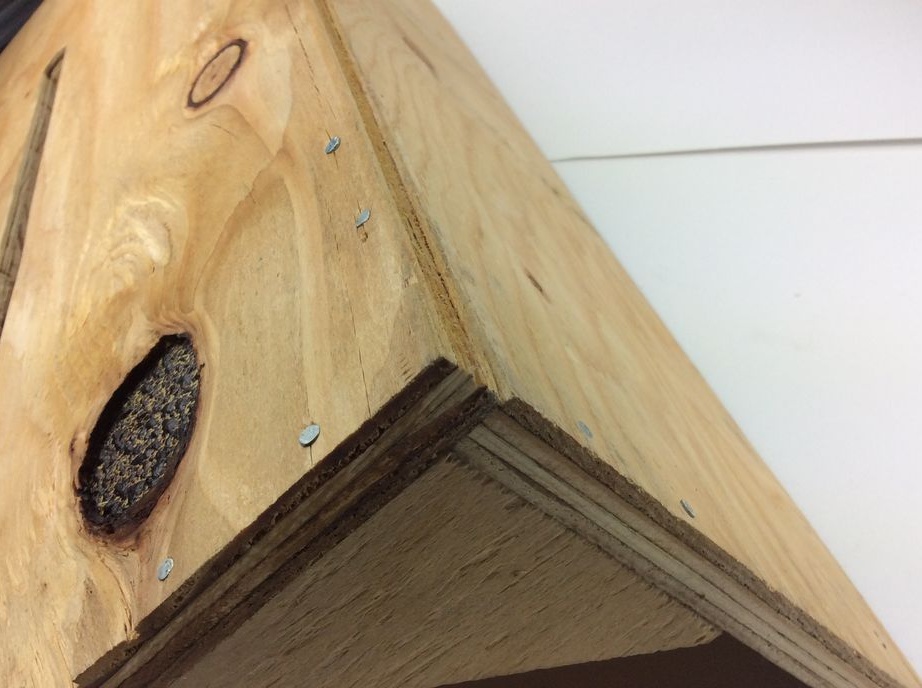
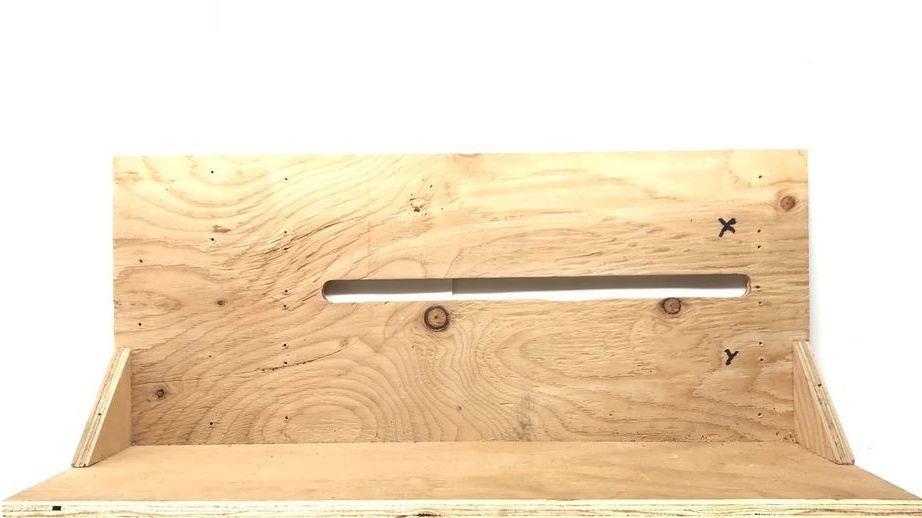
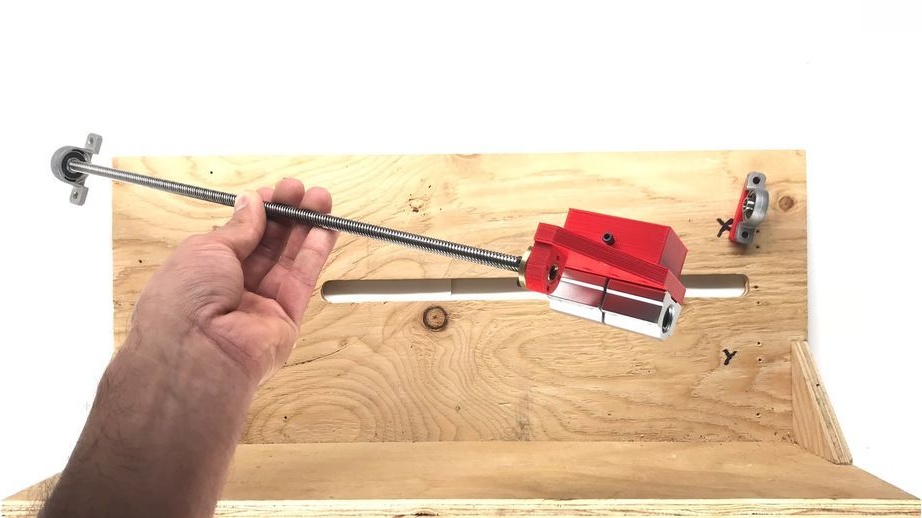
Step Two: Case
It makes the machine body from plywood. .
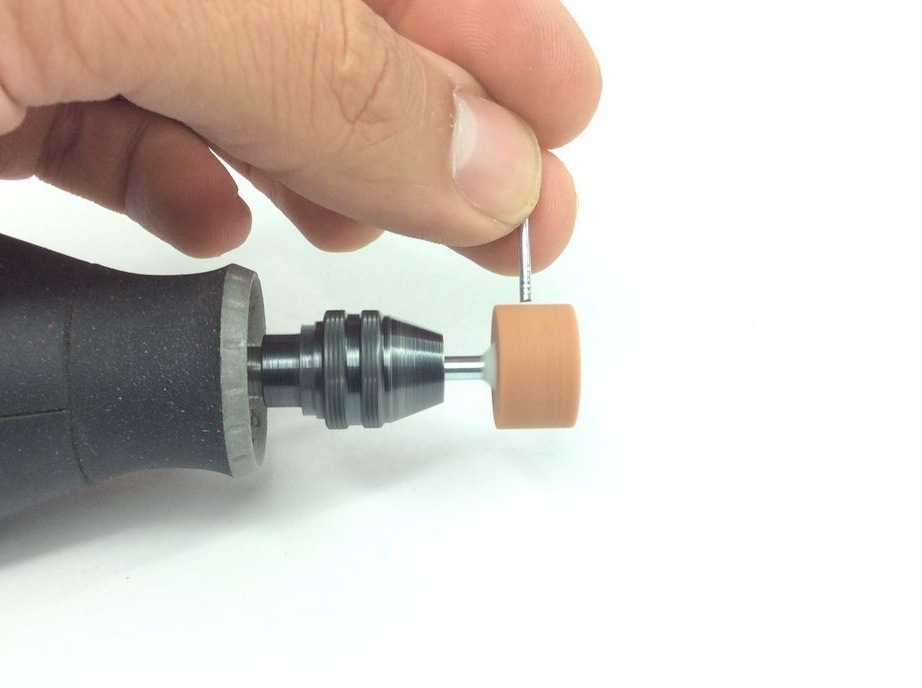
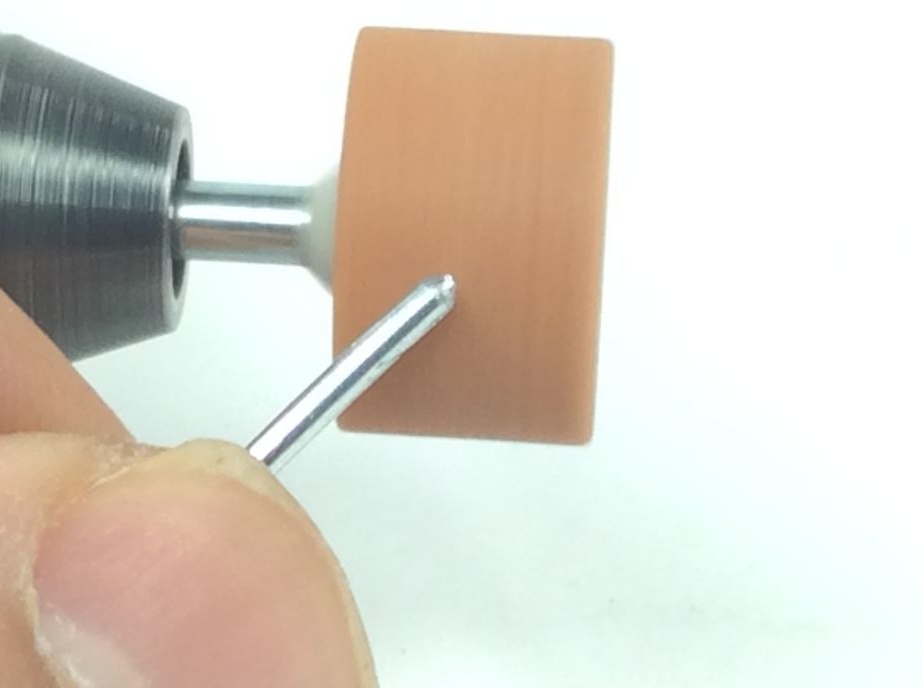
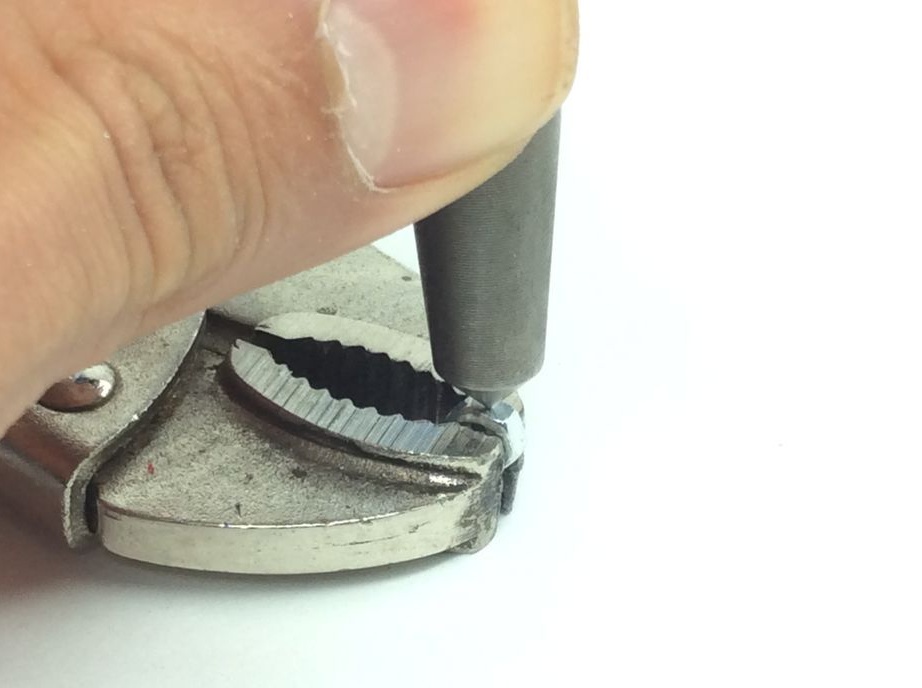
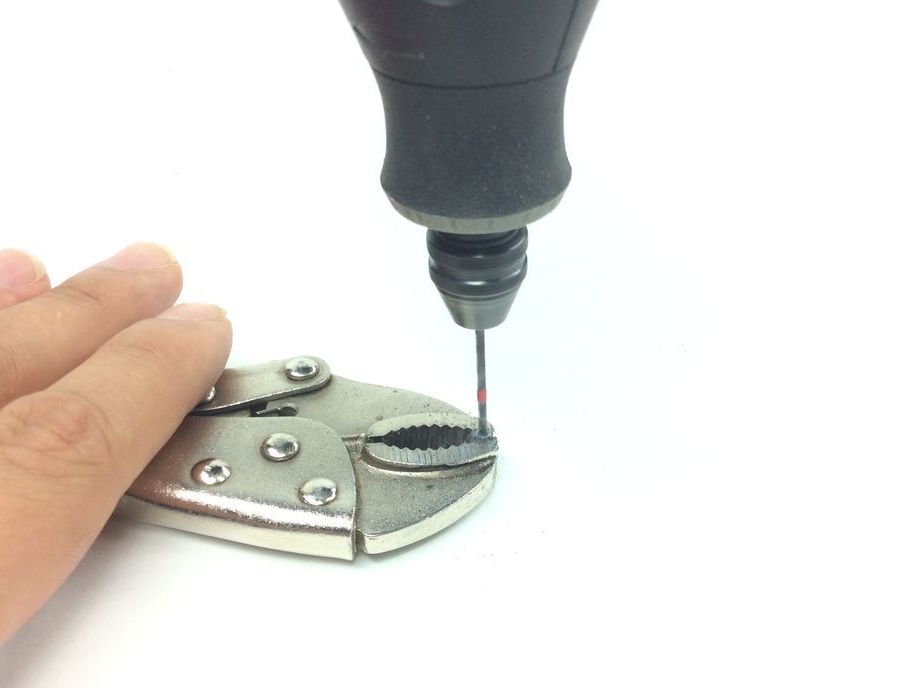
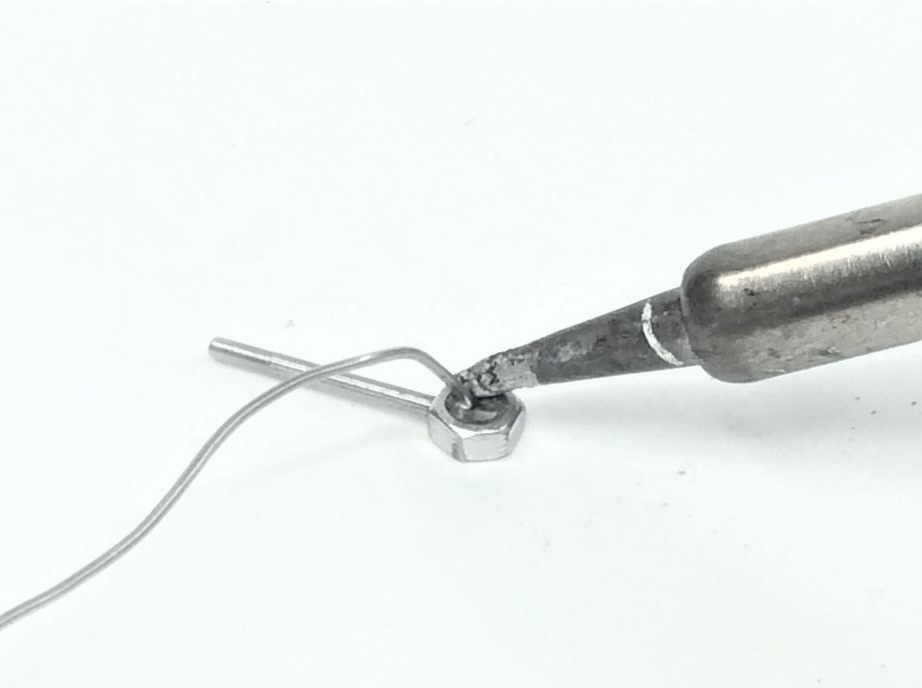
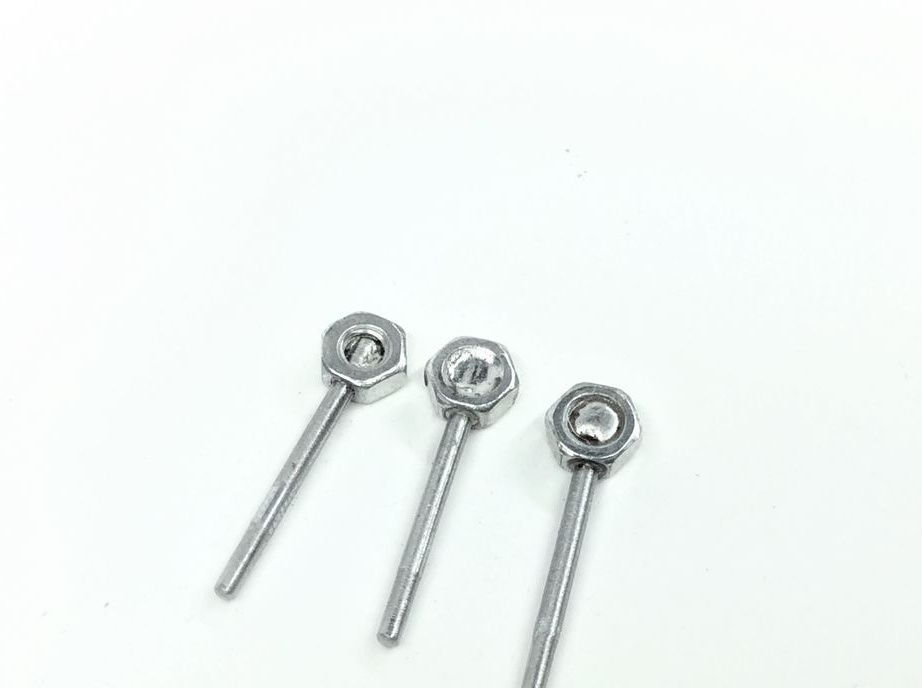
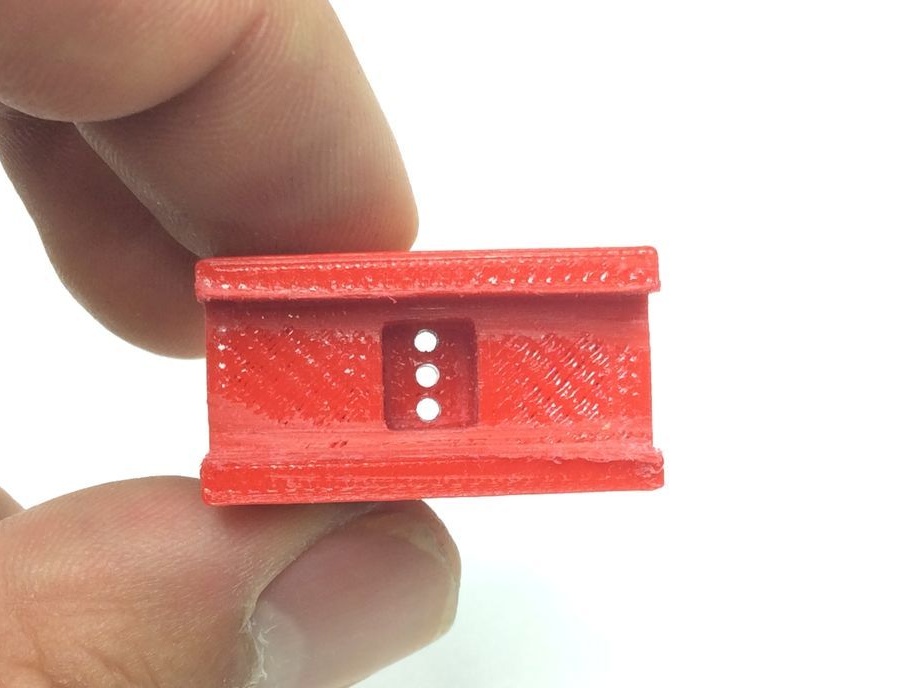
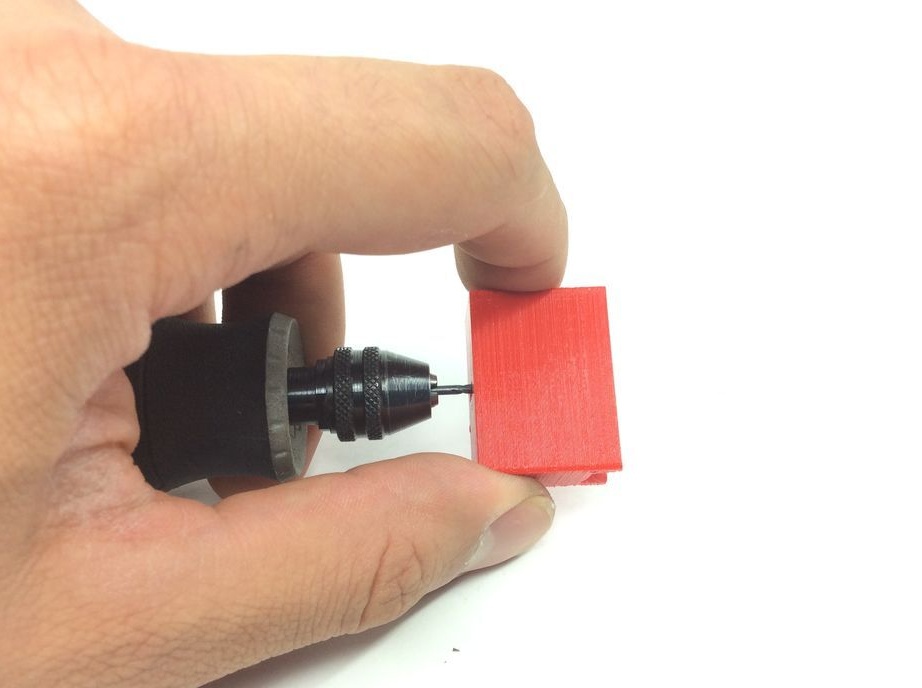
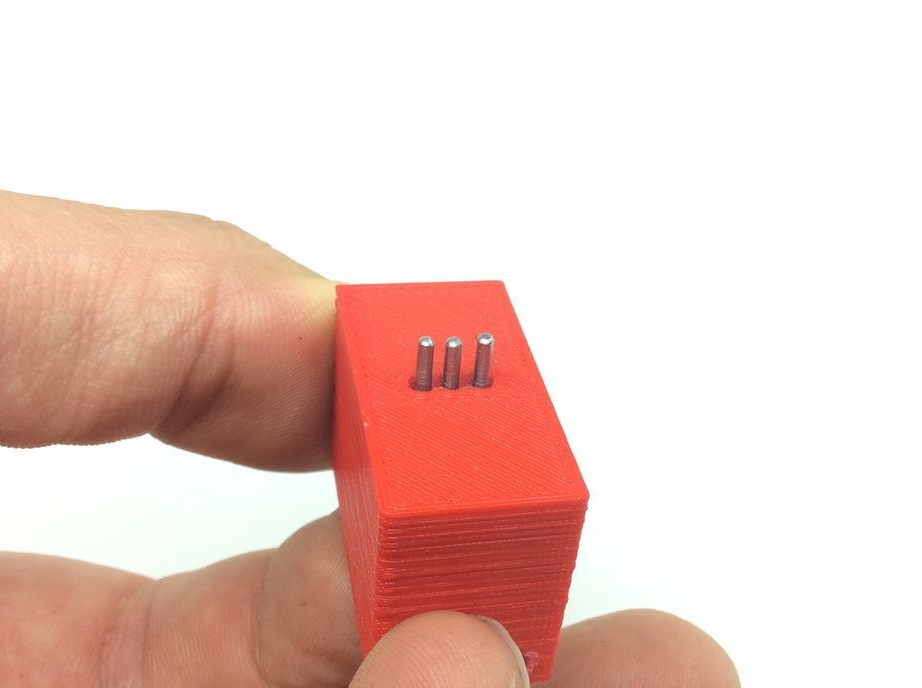
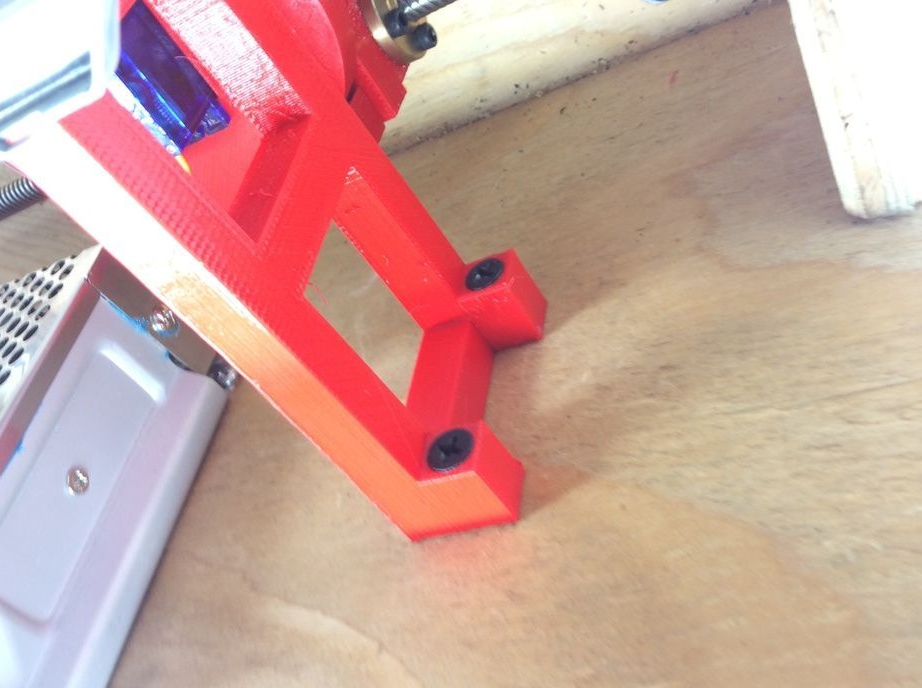
Step Three: Pins
It is necessary to make three pins. Bites off a nail head. Turns a nail like in the photo. Drills a hole in the nut. Inserts a nail into the hole. Seals the nut.

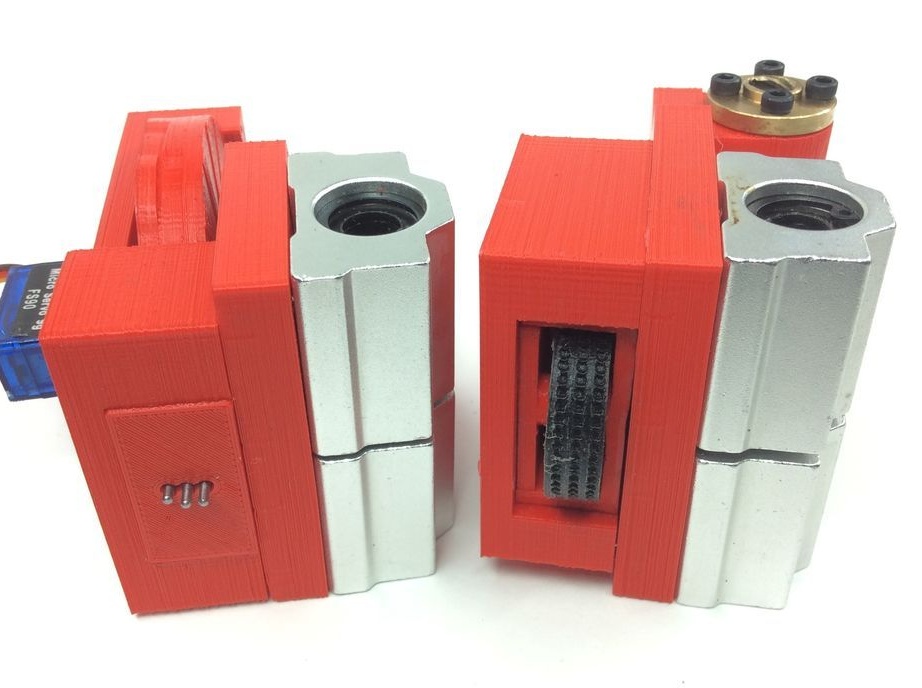
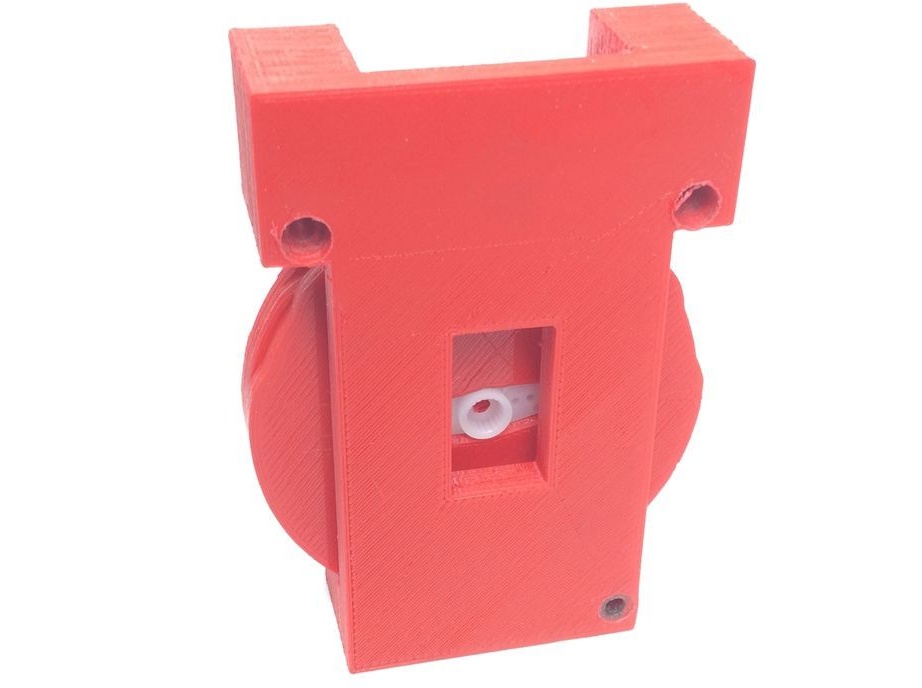
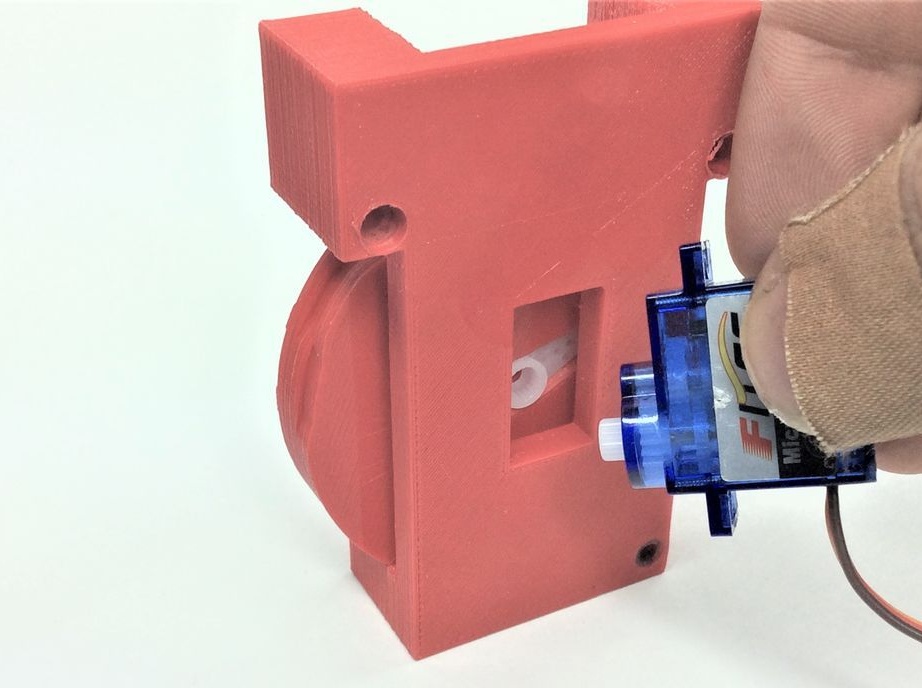
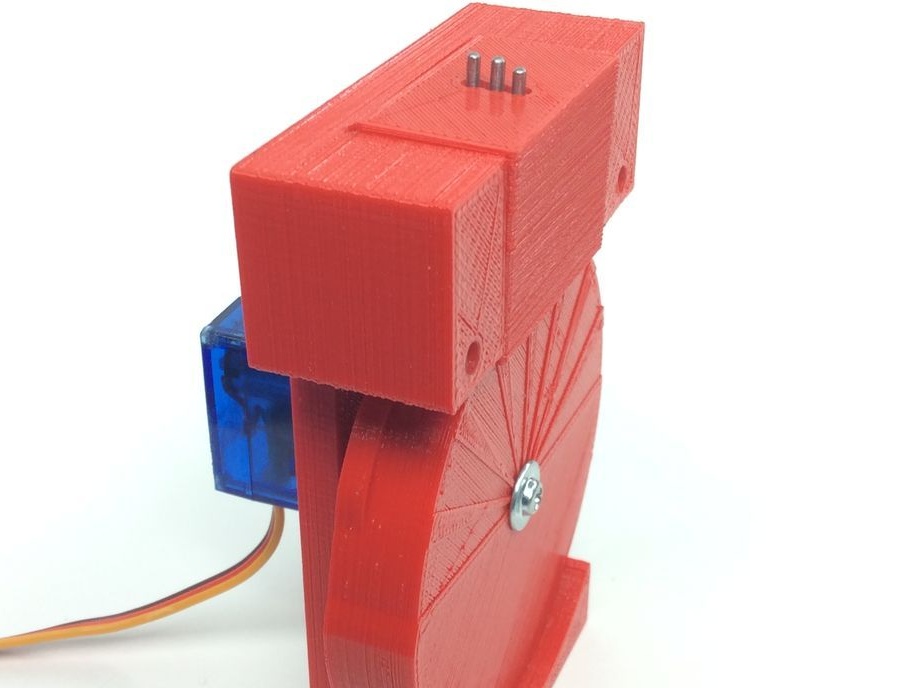
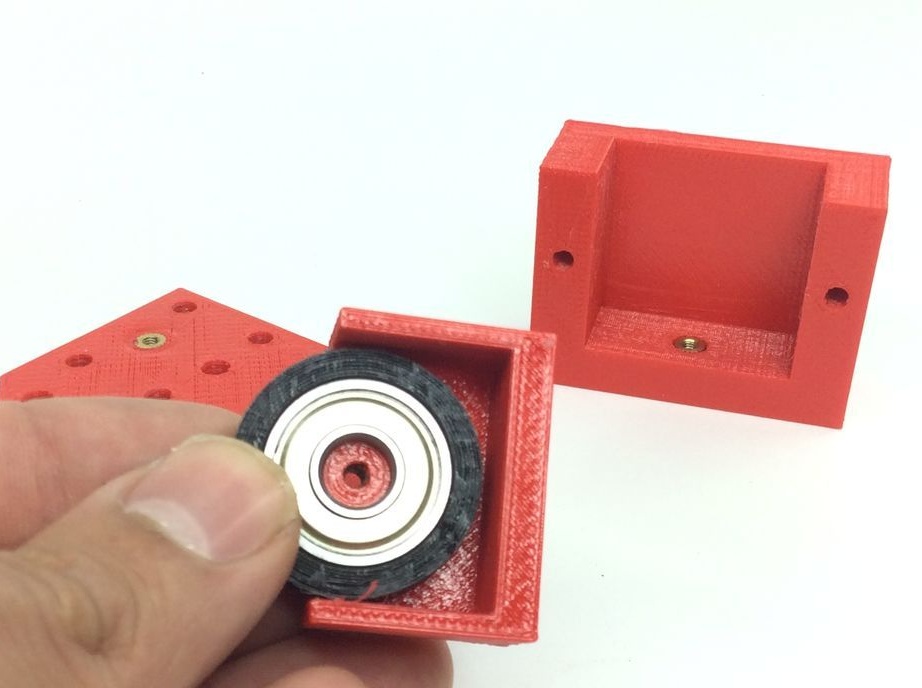
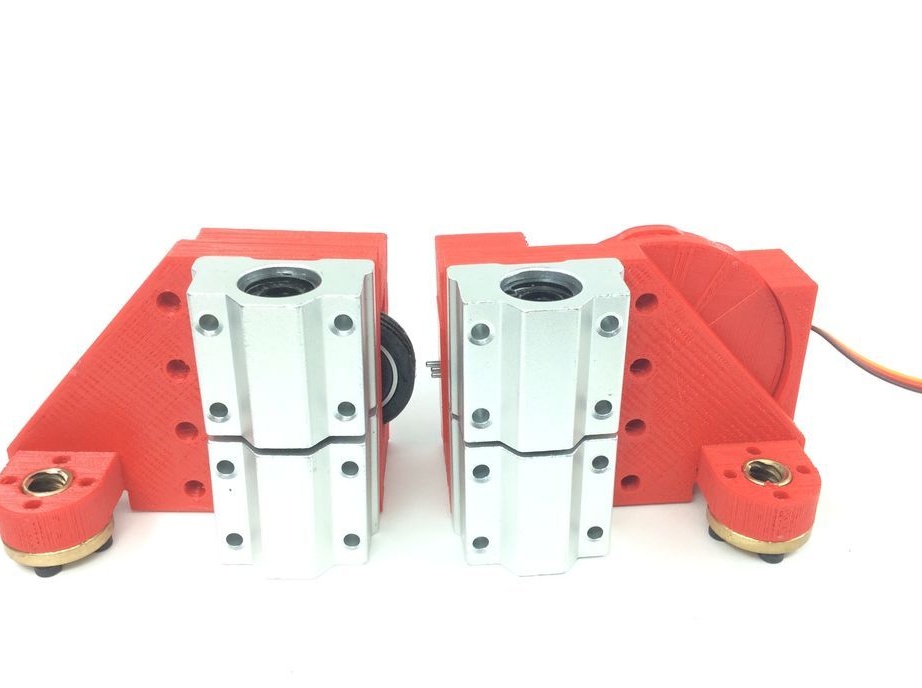
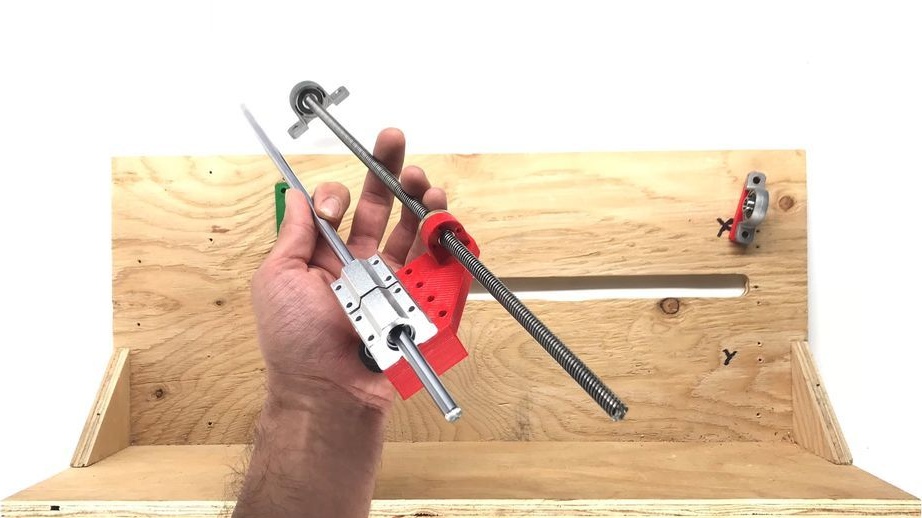
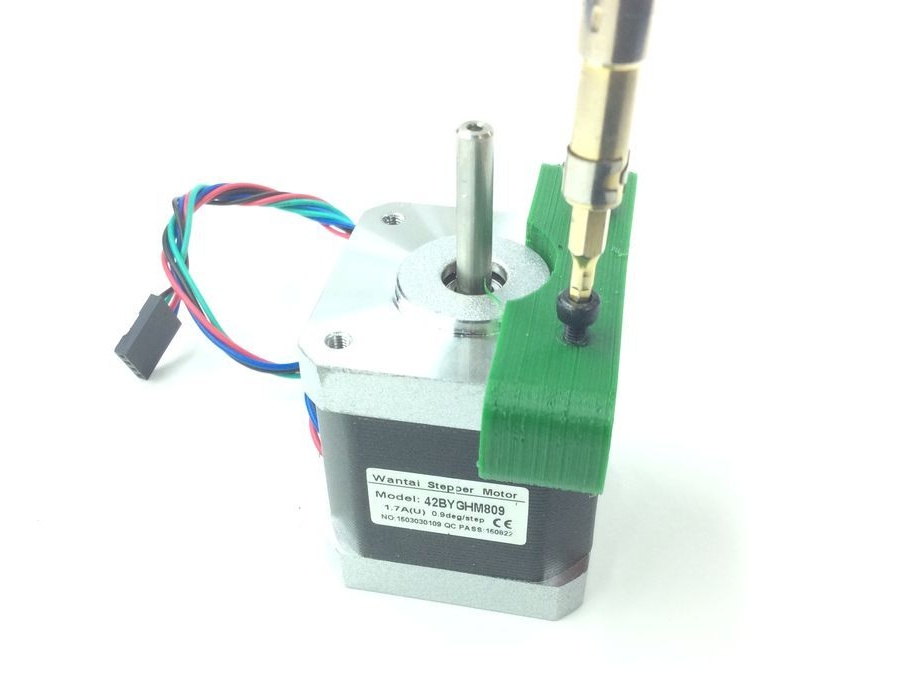
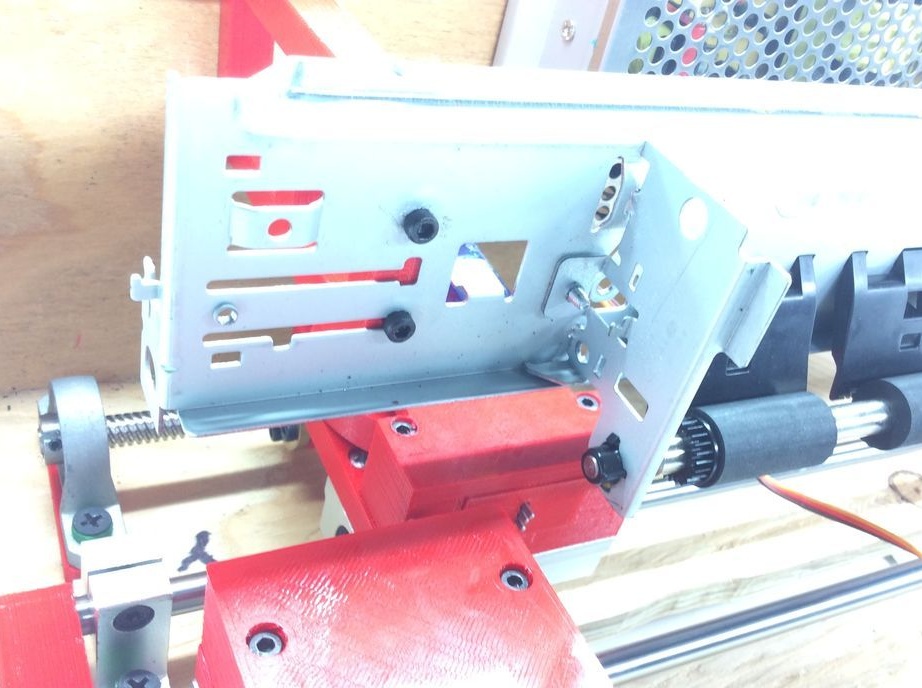
Step Four: Printhead Assembly
Installs the pins. Sets the wheel, servo. Screws brackets with bearings.

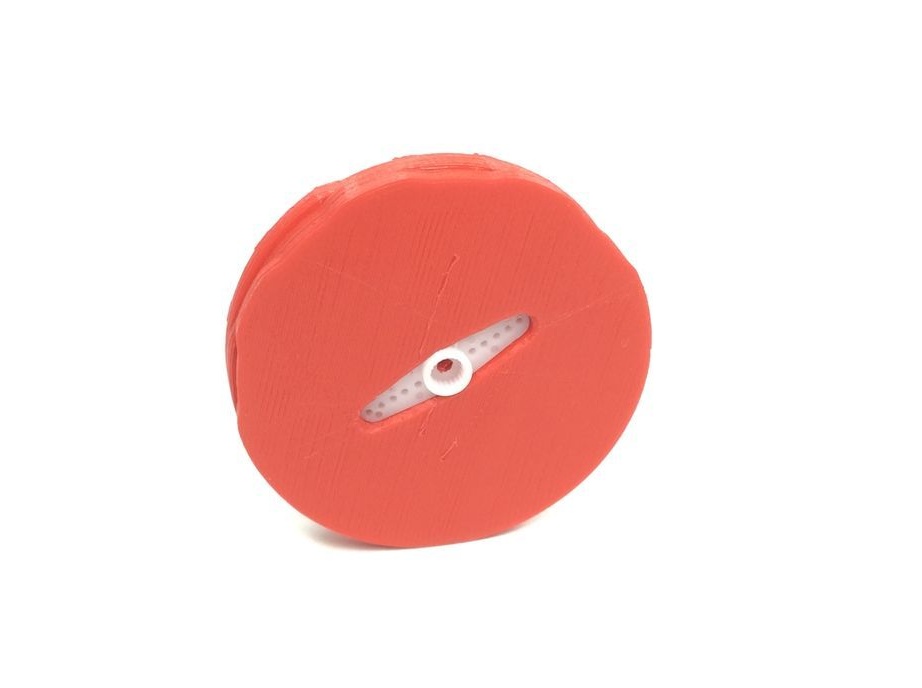
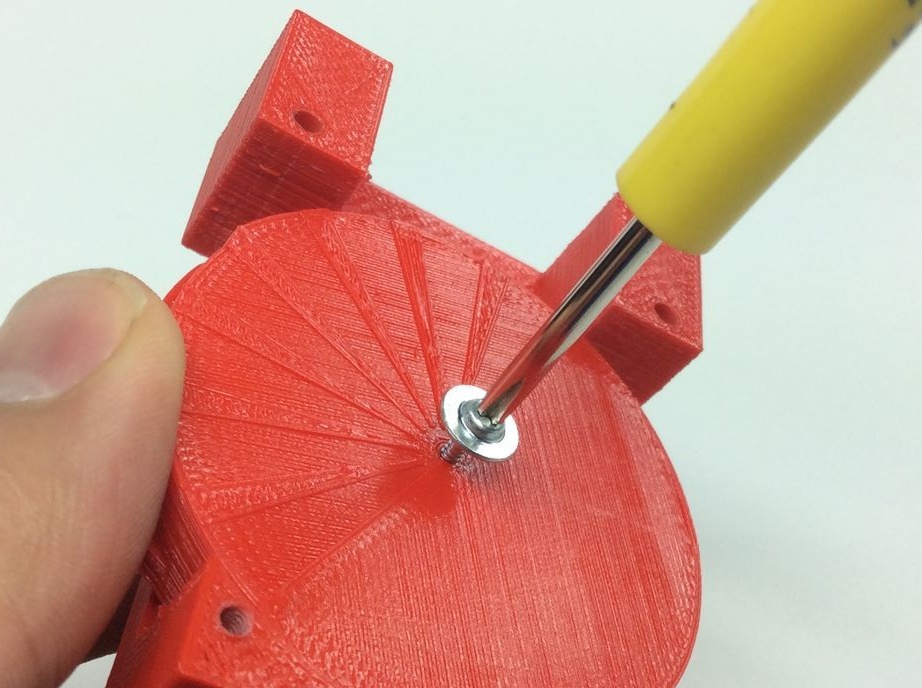
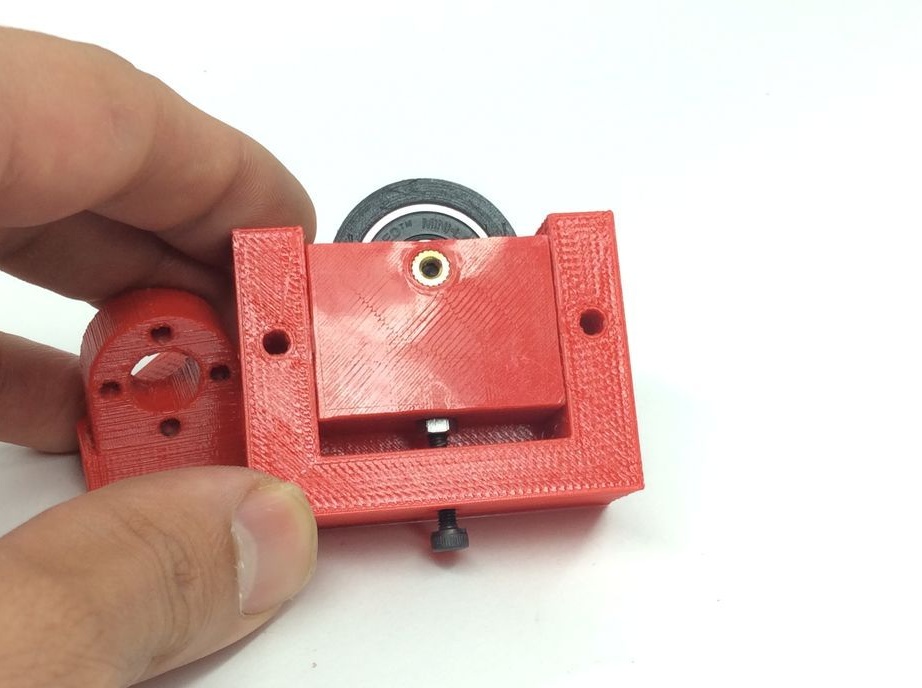
Step Five: Roller
Assembles a head with a rubber roller.


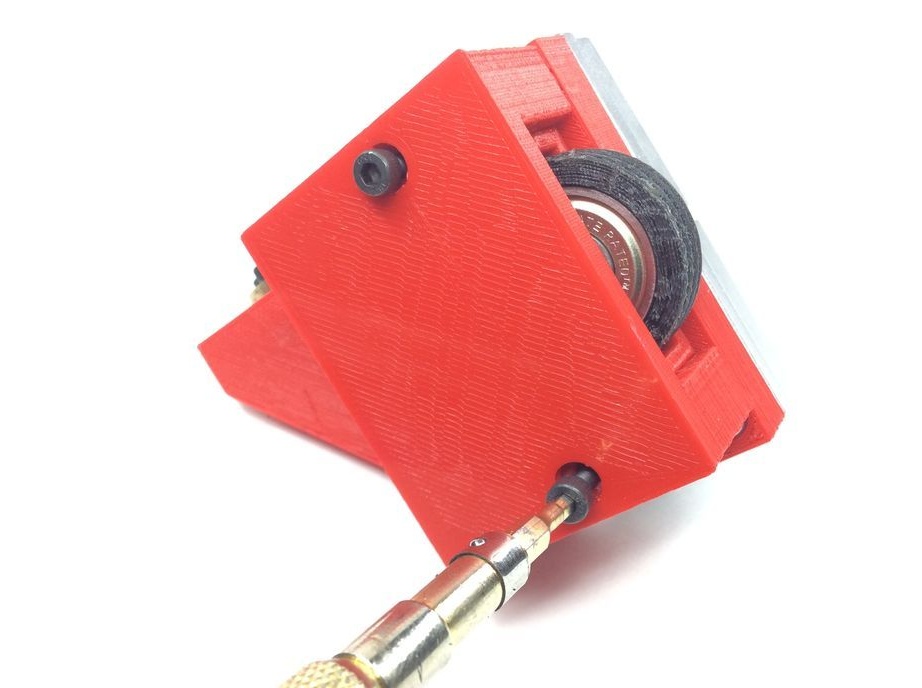
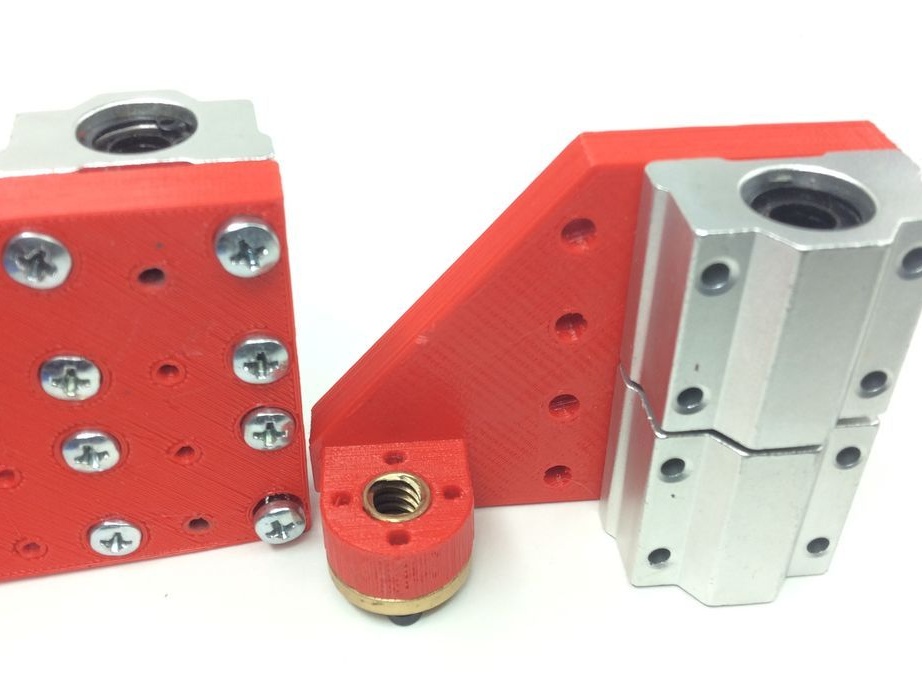
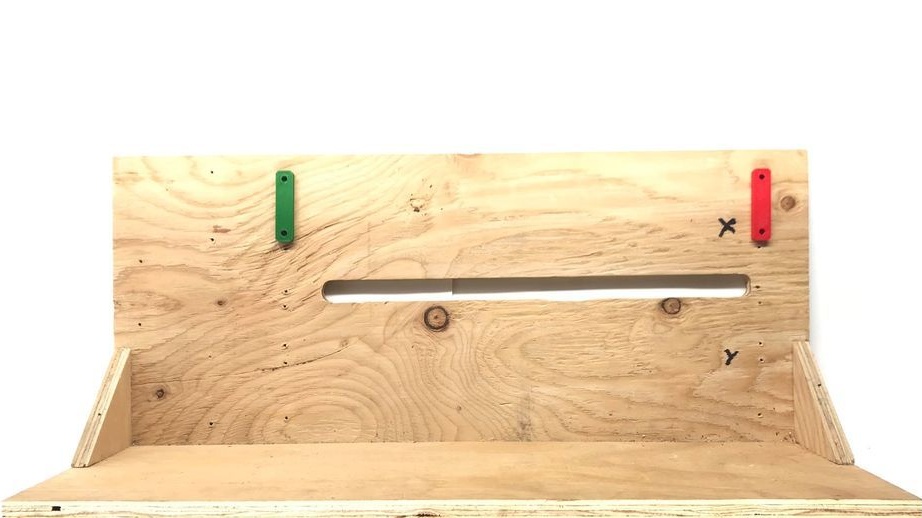
Step Six: Build
On the body it fixes shafts with heads.
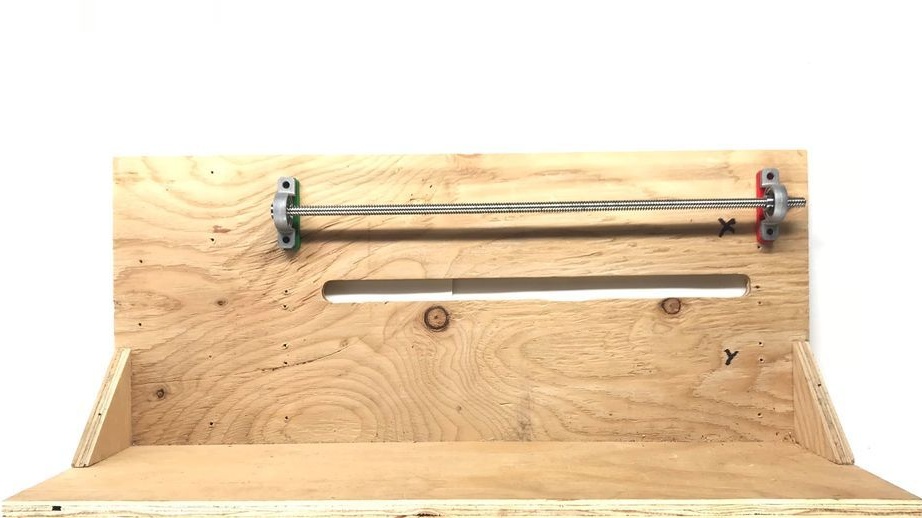


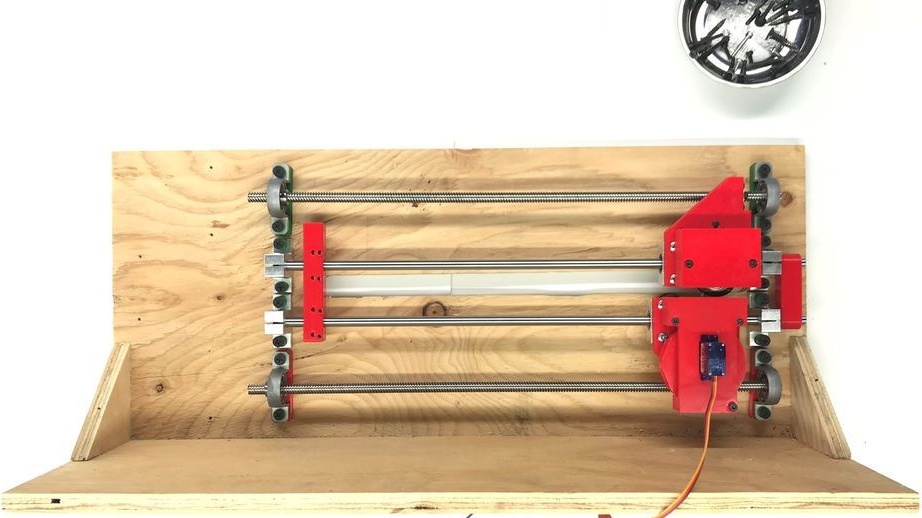
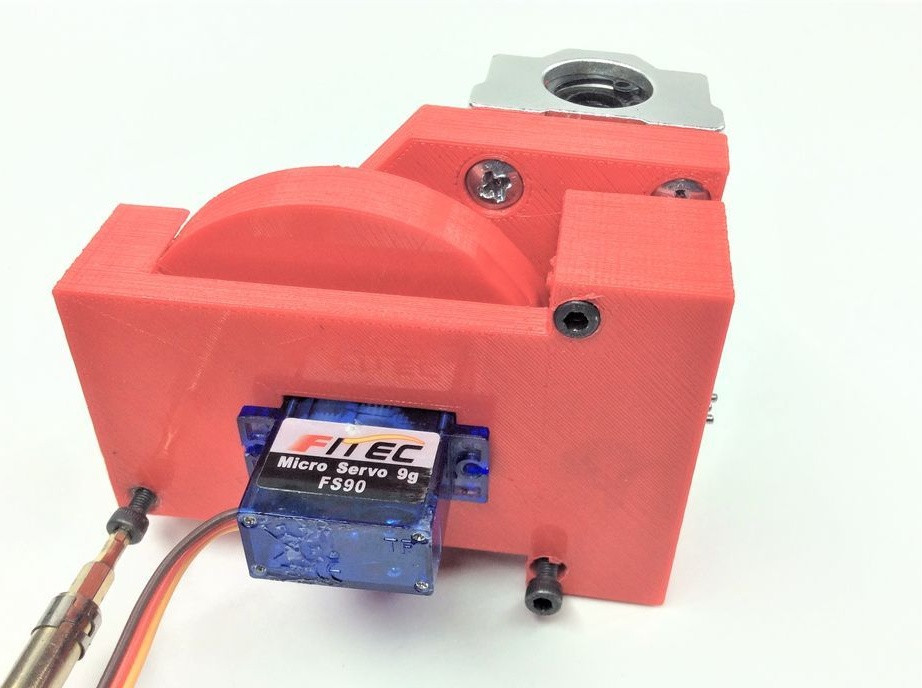
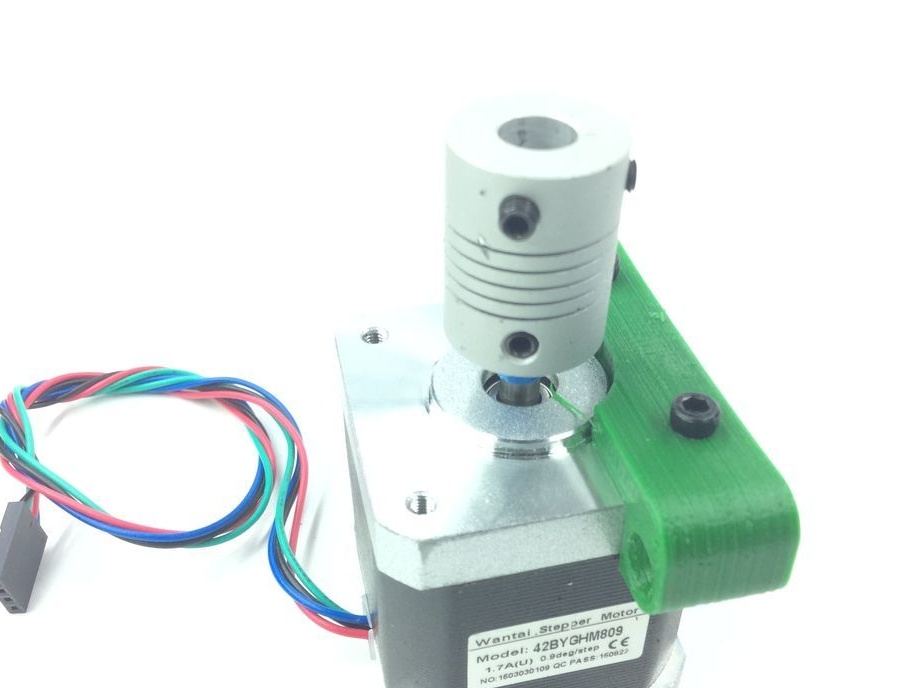
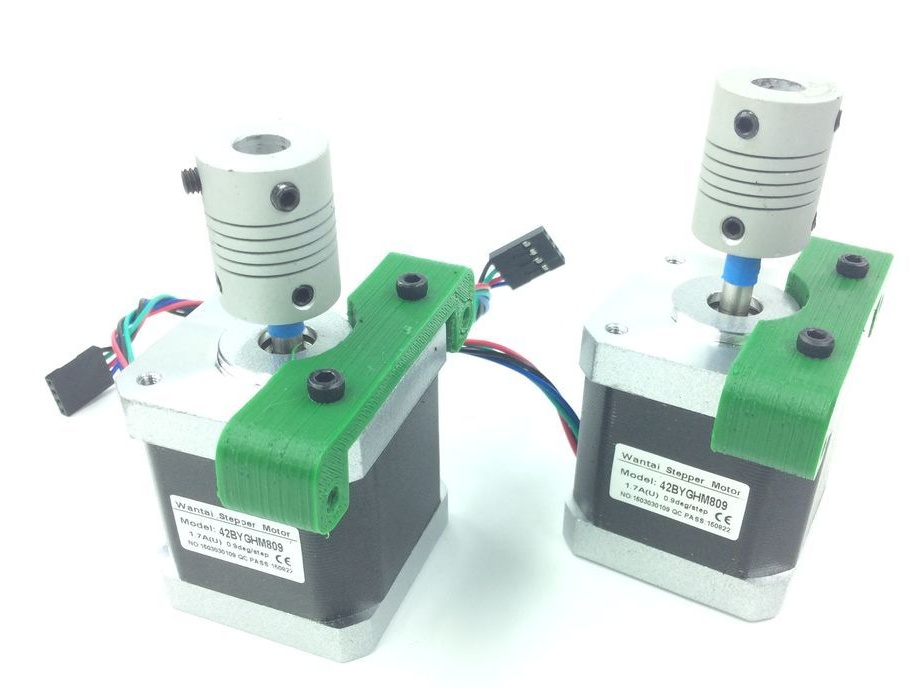
Installs engines.
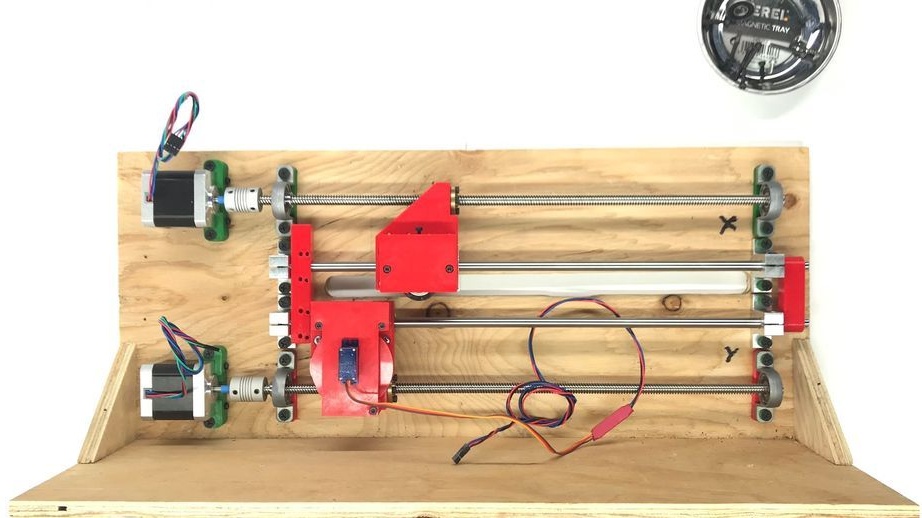
For the Z axis, the author used the carriage of an old printer replacing the engine on it.
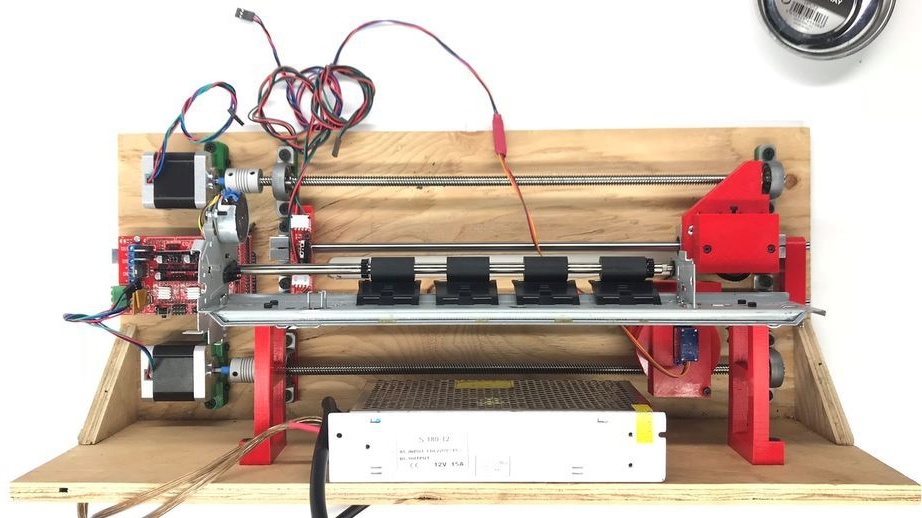
Installs a power supply.

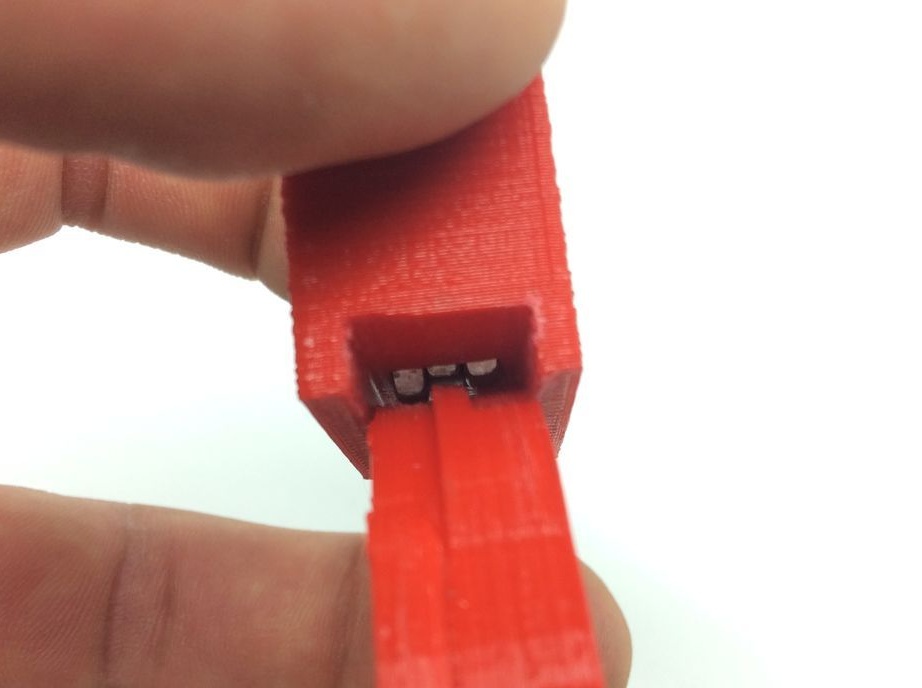
Seventh step: Arduino
For typewriters, authors use the same electronic components, as for a 3D printer. Installs drivers on the board, as in the photo, for three engines. Installs the board on Arduino.
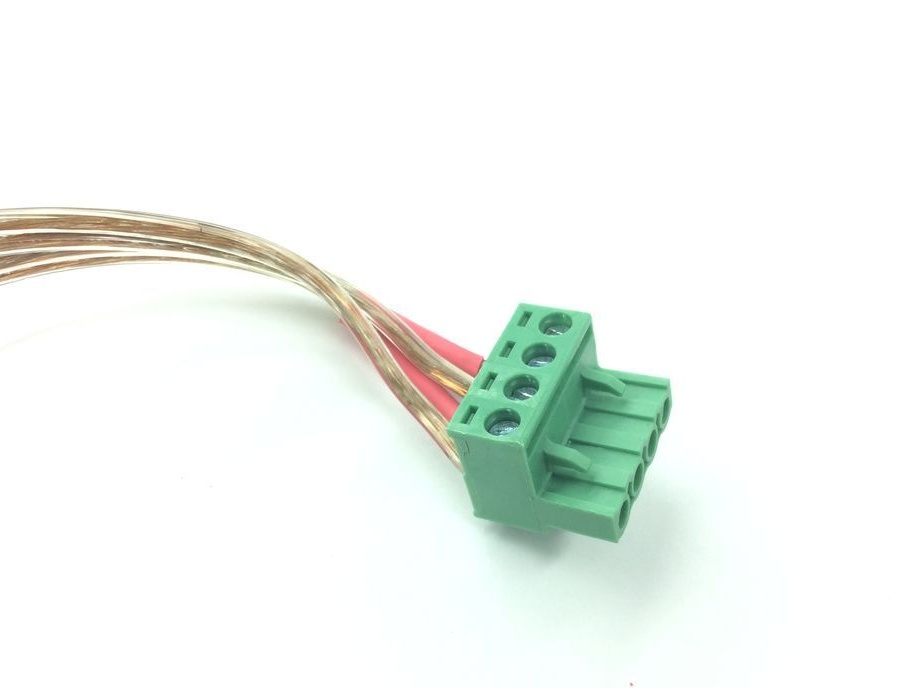
Connects the power supply.
.