


A speaker is a very modest speaker system that has one or more speakers with a built-in amplifier. Speakers are used to increase the sound volume, and the sound is increased by the speakers. The speakers consist of two magnets: this is usually a ceramic permanent magnet and an electric magnet, the operation of which is controlled by a sound audio amplifier. Thanks to these magnets, sound is produced during their interaction. Speakers are divided into two categories: passive - that is, in which there is no built-in audio amplifier, for example, headphones; and active speakers, respectively, which have their own built-in audio amplifier. The active speaker system is self-powered. In this article, you will see how to make a homemade active speaker system. do it yourself. This column can be connected to a computer, to a telephone, to a player, and so on. To make this homemade I needed:
1) Two speakers with a power of 3 watts each (they will serve as a sound source);
2) Three and a half millimeter plug for connecting the speaker to different devices;
3) (the amplifier will receive sound signals from some device and transmit them to the speakers amplifying these signals);
4) A switch to turn off the power of the speaker;
5) Wires for connecting contacts;
6) Insulating tape for insulation of wires and other needs;
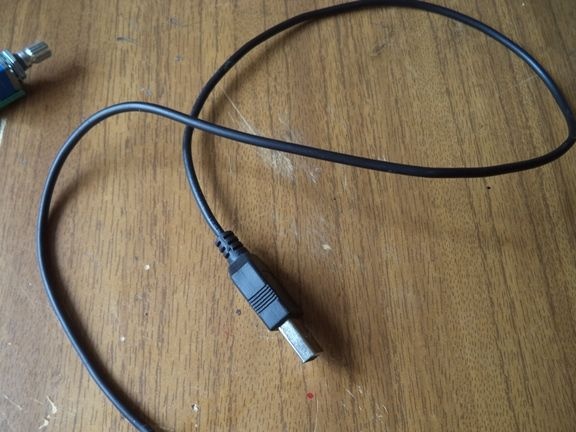
7) USB plug for connecting to power;
8) Heat-shrink tubing for insulation of bare contacts;
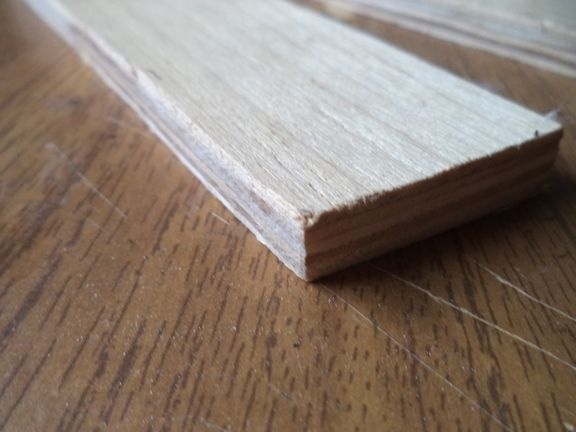
9) Plywood (the body will be made of plywood, since this is the most affordable material);
10) Self-tapping screws for housing assembly.
1) Electric soldering iron for soldering wires;
2) Glue gun and hot-melt adhesive for gluing some parts and for insulating contacts;
3) A stationery knife for cleaning wires from insulation and for other needs;
4) Lighter for heat shrink tubing;
5) Hacksaw for sawing plywood;
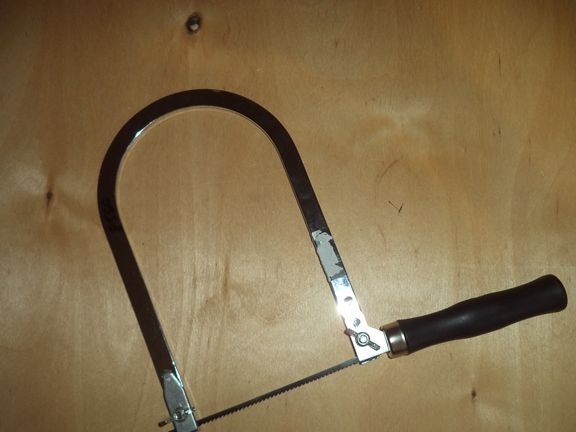
6) Jigsaw for sawing round and other holes on plywood;
7) Electric drill for drilling holes;
8) A screwdriver for twisting screws;
9) A ruler and a pencil for drawing notes on plywood for the column body;
10) Sandpaper for grinding the body;
11) Nippers for cutting wiring and extra contacts;
12) Compass for plotting circles.
The process of making a homemade active speaker.
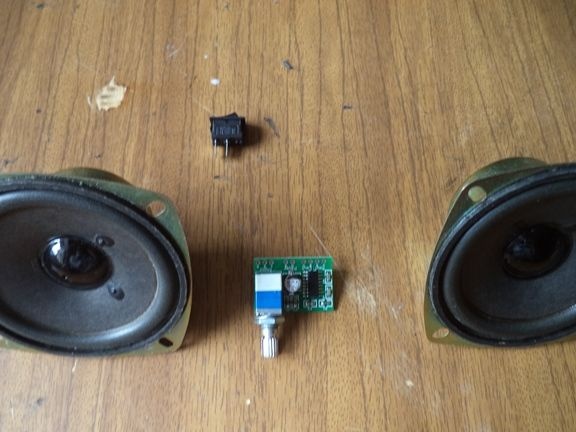
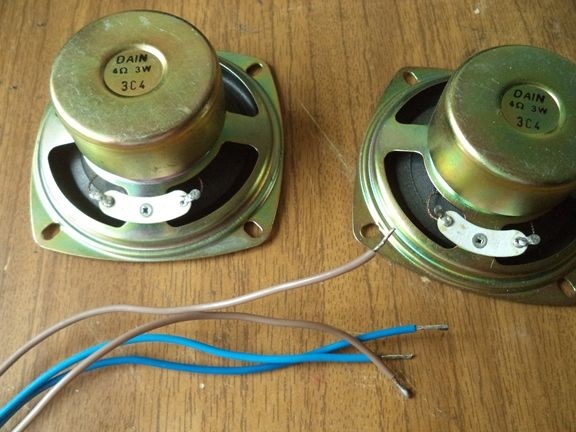
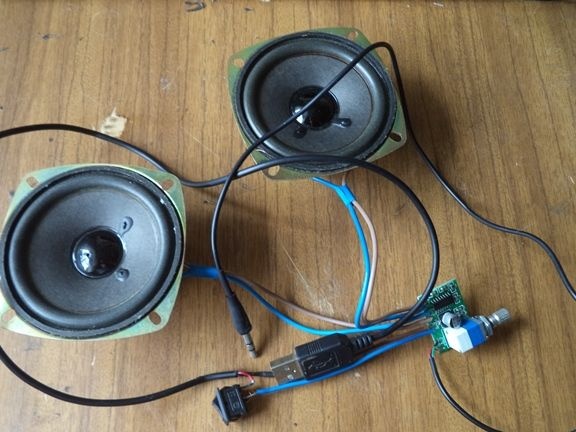
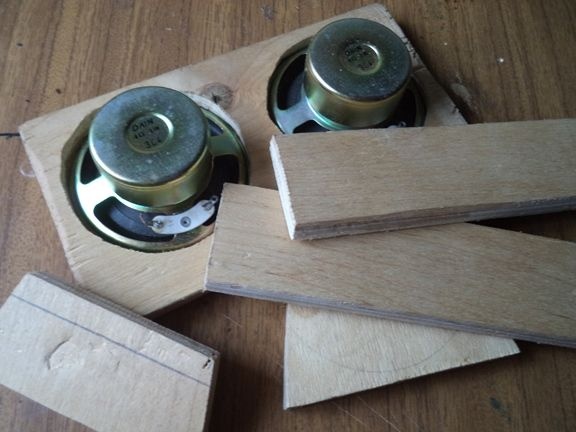
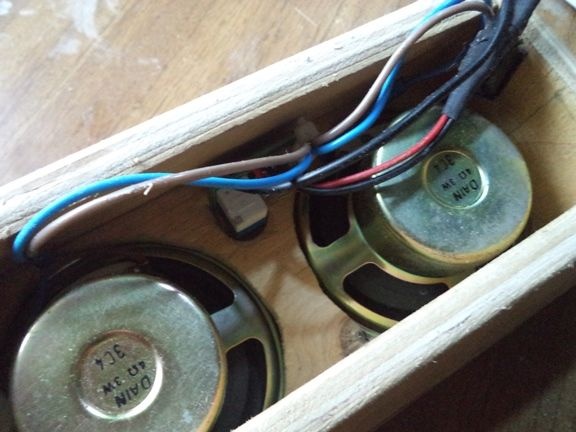
We will prepare two three wadded loudspeakers, a 3.5 mm jack and a PAM 8403 audio amplifier and connect their contacts using connecting wires.

The characteristics of the speakers are recorded on the reverse side, namely, they are:
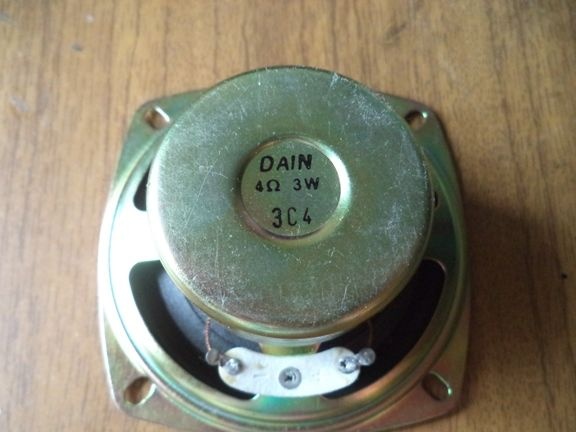
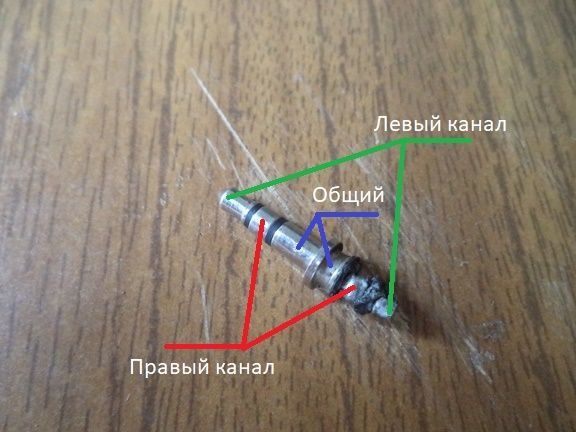
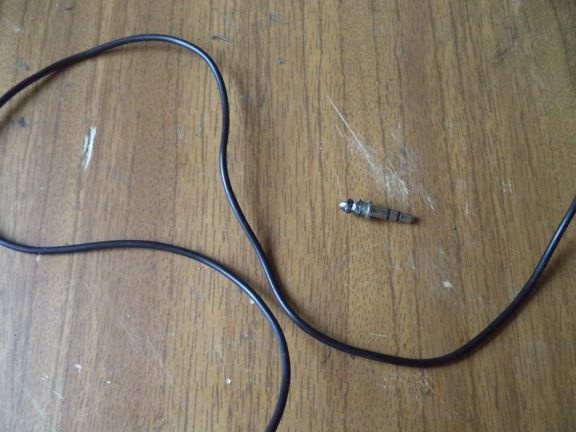
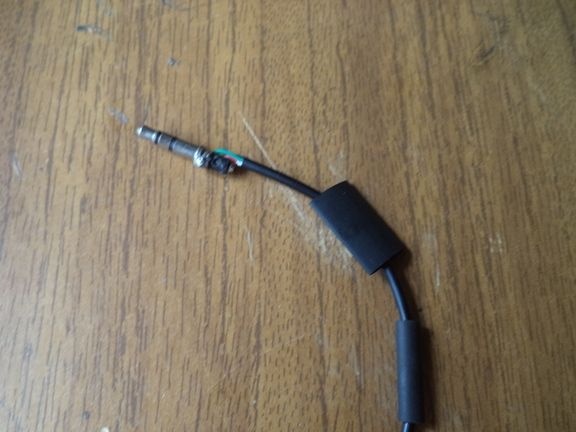
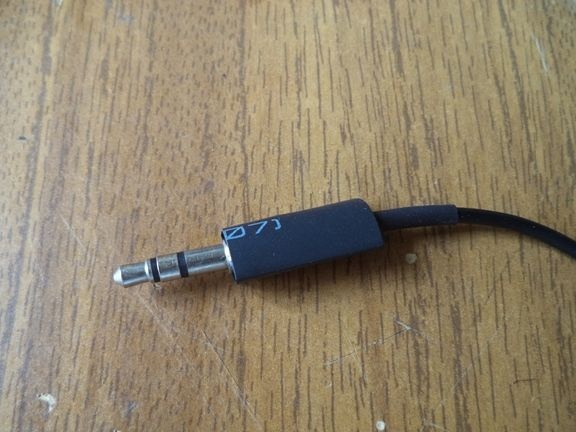
The 3.5 mm jack has three pins: left channel, right channel, and common. There are four more contact plugs: left and right channels, common and microphone; but in this column there is no microphone, and why, so you can not use four pin plug. The pin contact values are shown in the photograph.
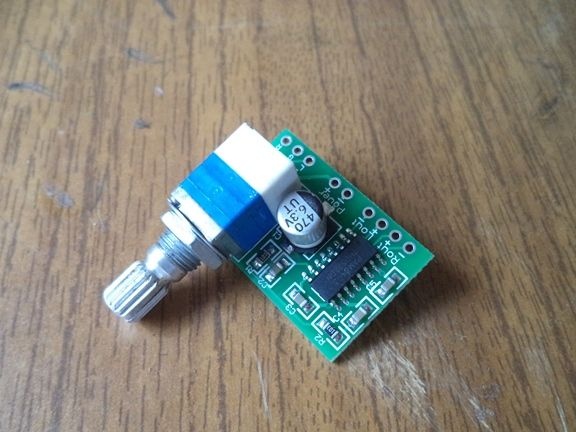
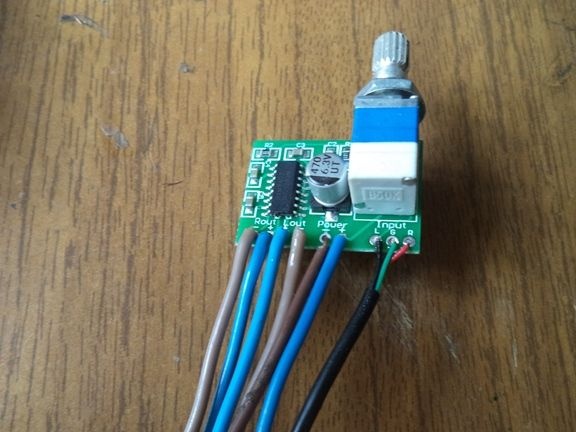
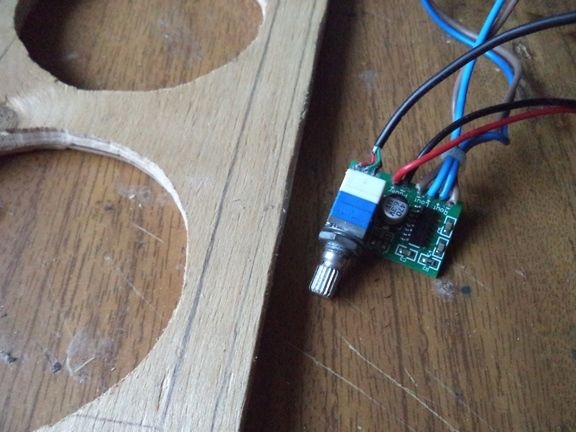
We will use an audio amplifier, ordered with Aliexpress very good quality as mentioned earlier. This amplifier is powered by a voltage of five volts, so the future speaker can be connected to a laptop and a phone charger ...
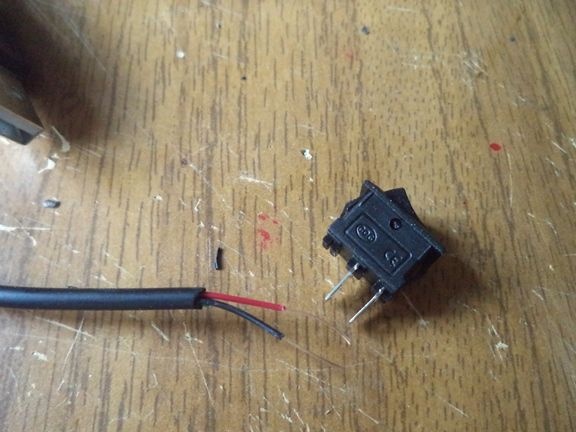
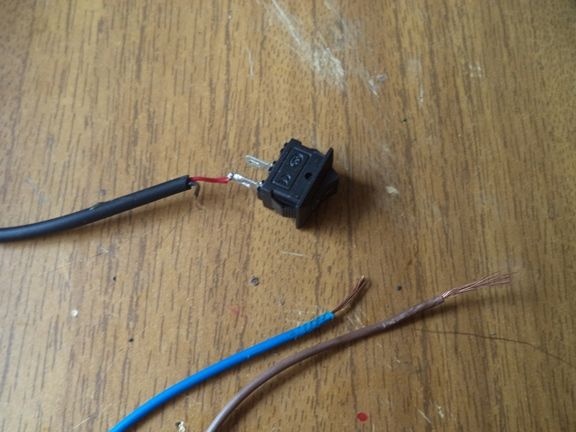
We will also use the power button to turn off the speaker.
We take the wires and strip their ends from insulation using a stationery push for future soldering.
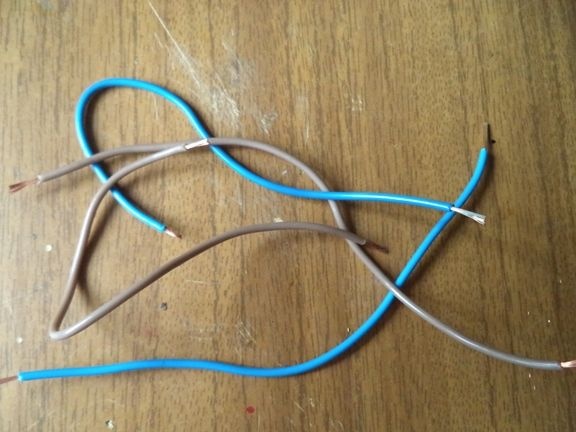
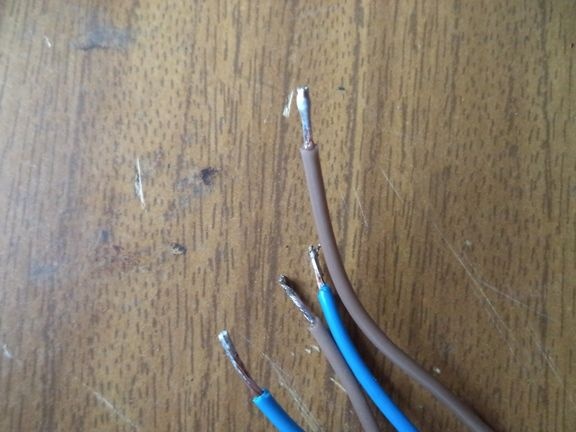
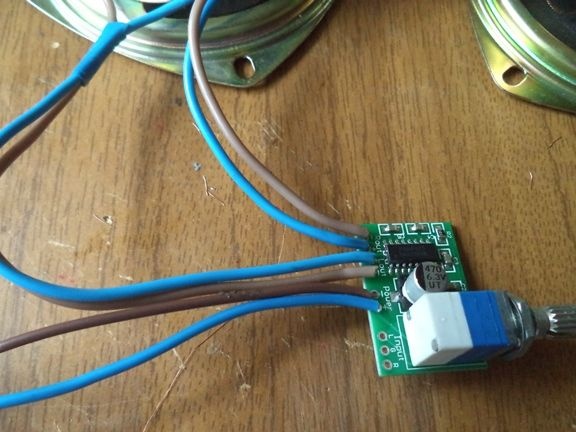
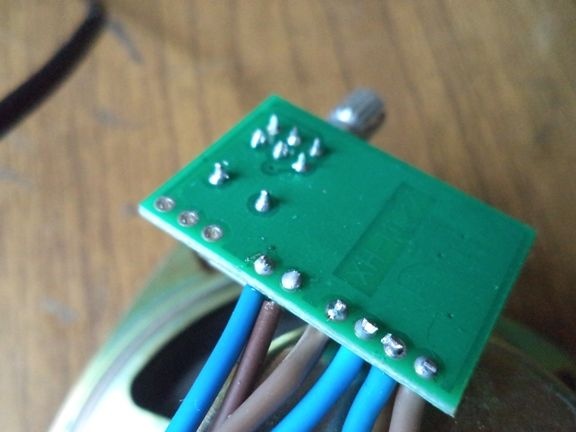
Solder these wires to the audio amplifier using an electric soldering iron, but very carefully so as not to spoil or damage the amplifier.
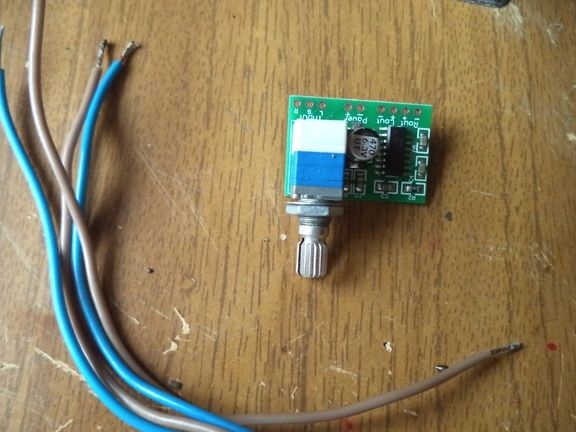
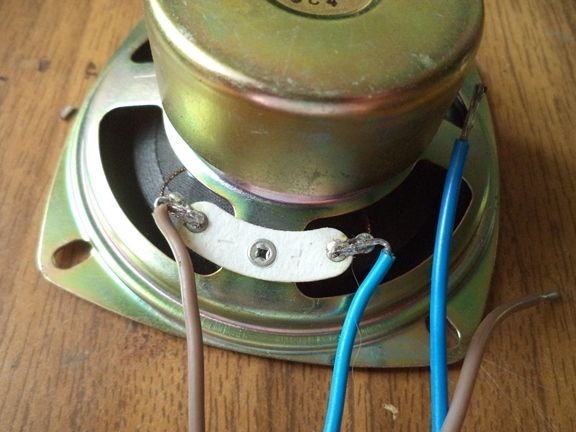
In my case, the blue wire is a plus, and the brown wire is a minus.
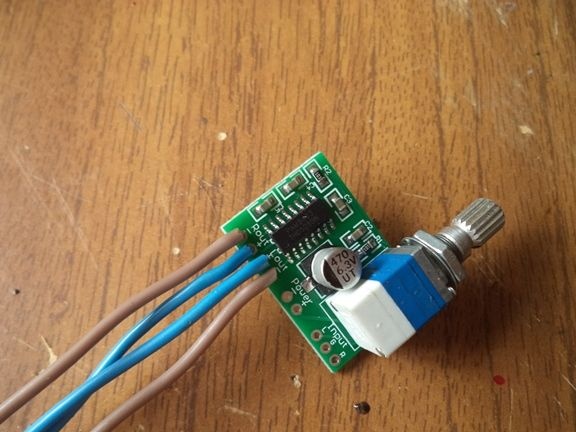
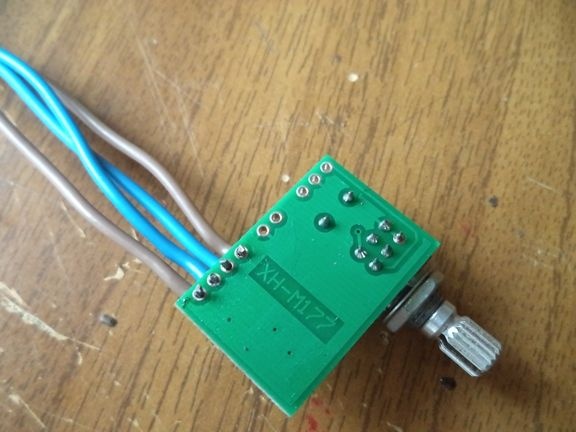
We cut off excess protruding contacts with the help of wire cutters in order to look neater.
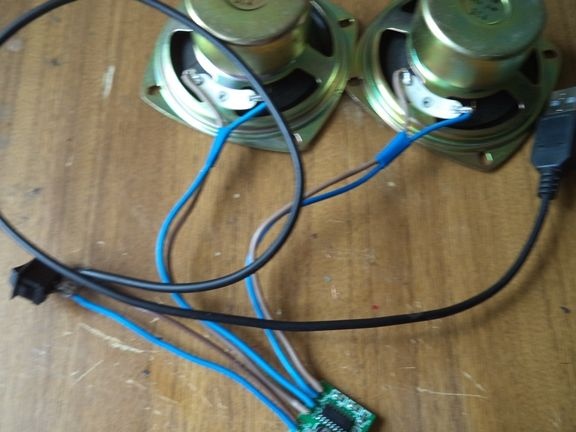
Next, the soldered wires of the amplifier are soldered to two speakers, while observing the polarity of the left and right speakers along the amplifier.
We fix the wires together with an insulating tape.
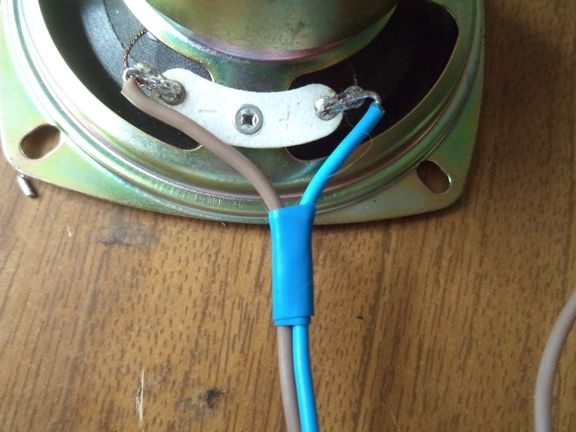
It should turn out as shown in the photo.
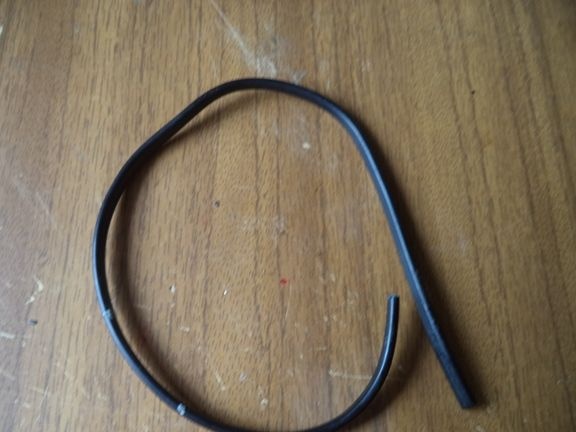
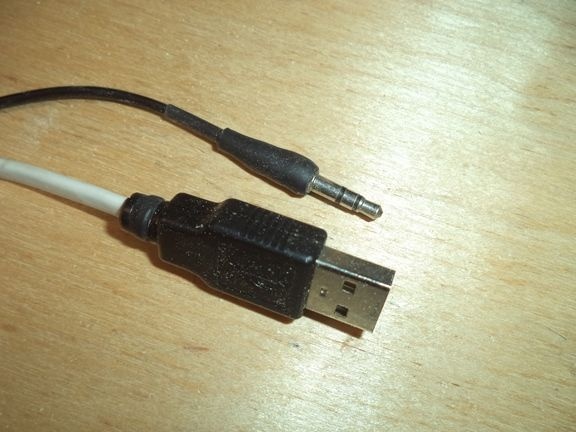
Now solder the power cable to the amplifier with a USB plug. Yes, at the end of the article the wire will be white, since I soldered it due to insufficient length, so do not judge too much.
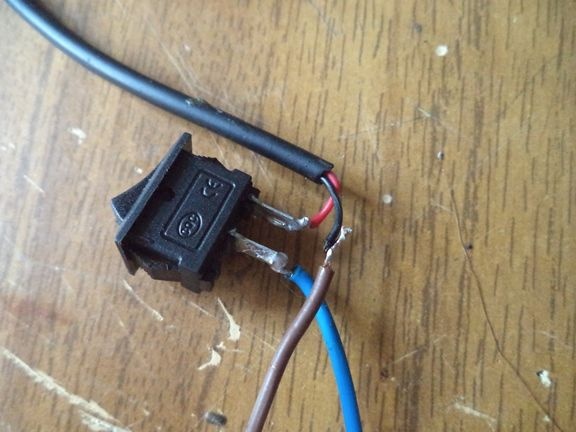
We clean the wires of the USB wire and solder one of the wires using an electric soldering iron to the speaker power switch.
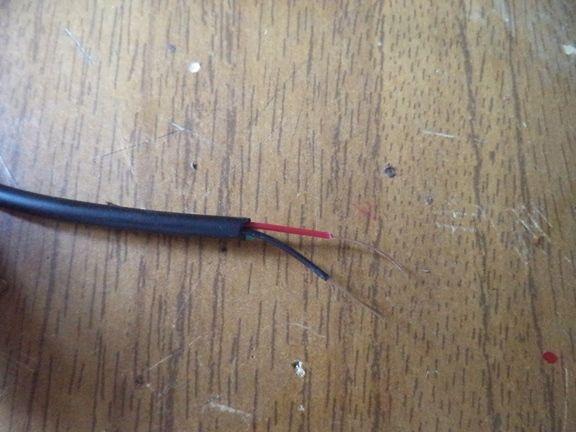
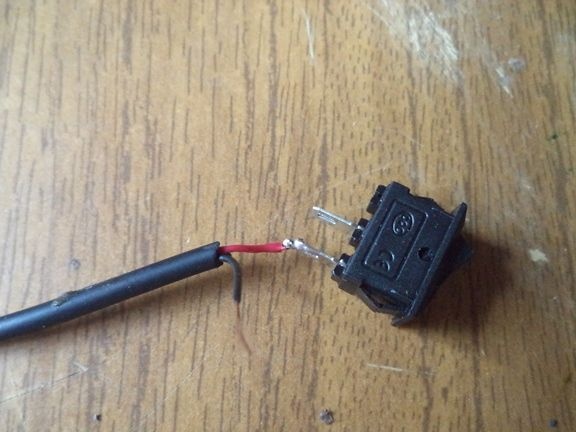
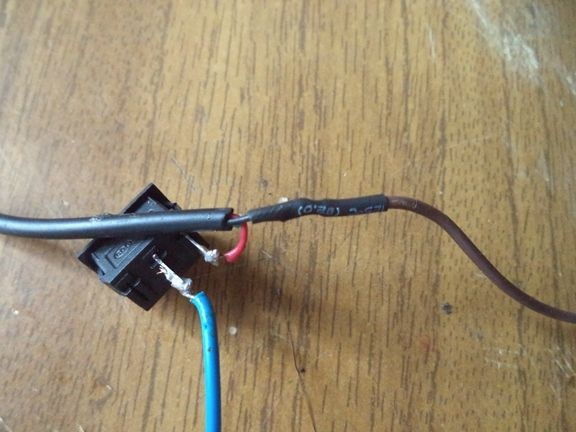
Then we continue the cable wires with the blue and brown wires (well, this is in my case).
We isolate the wiring using heat shrink.
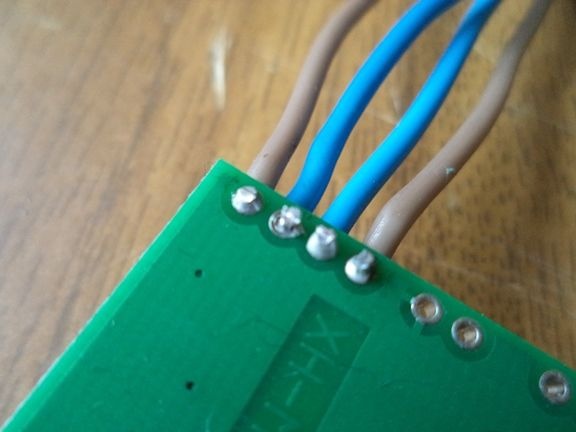
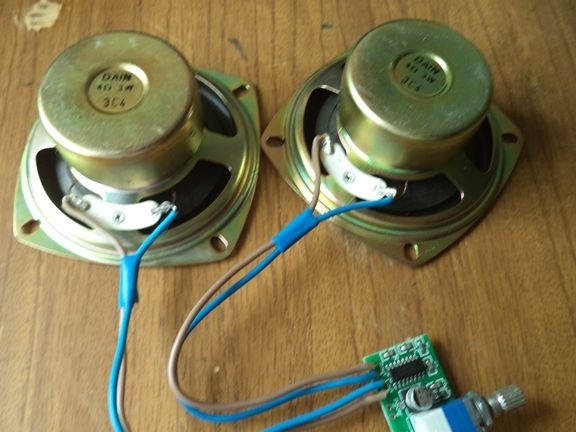
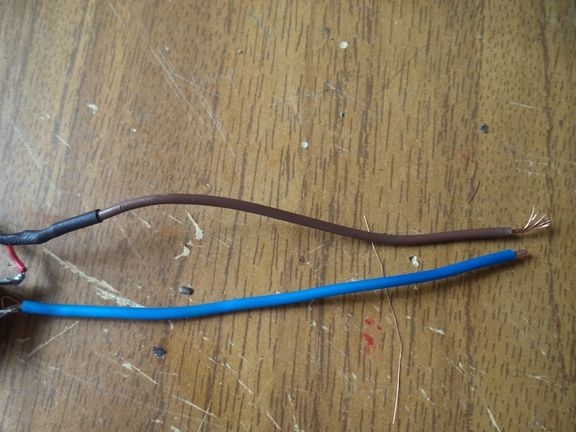
Now we solder the two wires to the audio amplifier, observing the polarity: in my case, brown is minus, blue is plus.
Again, bite off the excess on the board with wire cutters.
That's what I did:
Now solder the wire to the audio amplifier with a 3.5 mm plug.
The wire must have at least three contacts, but exactly three is better.
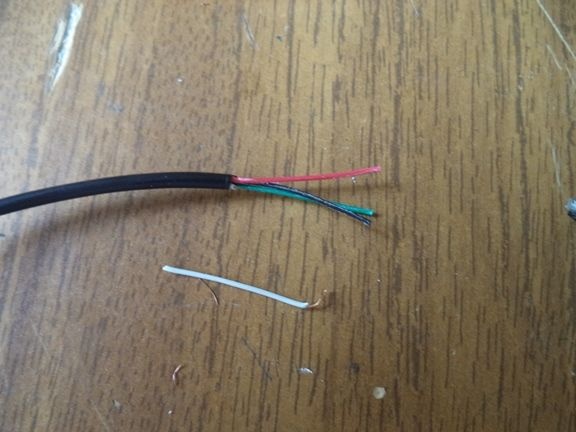
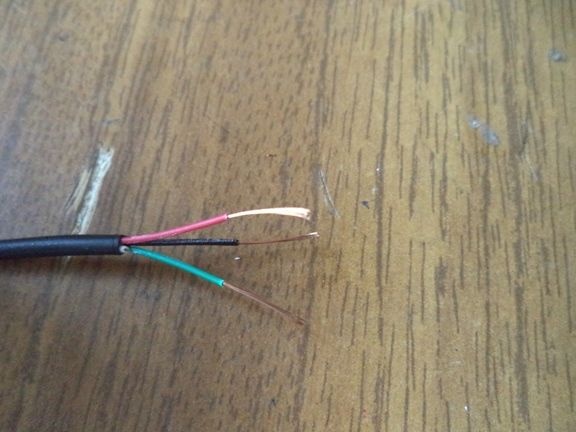
We clean the wires and solder them to a 3.5 mm plug.
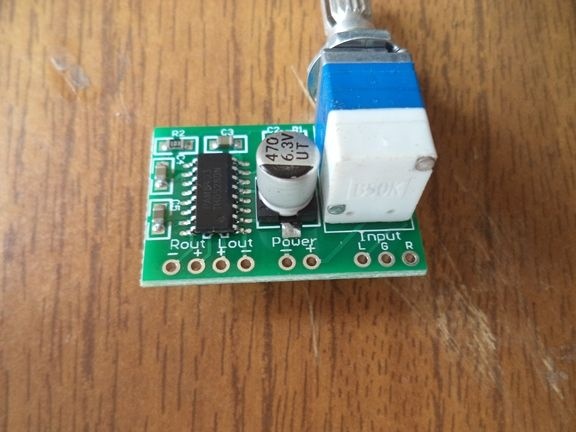
Now solder the wires to the audio amplifier, but each wiring in its place.
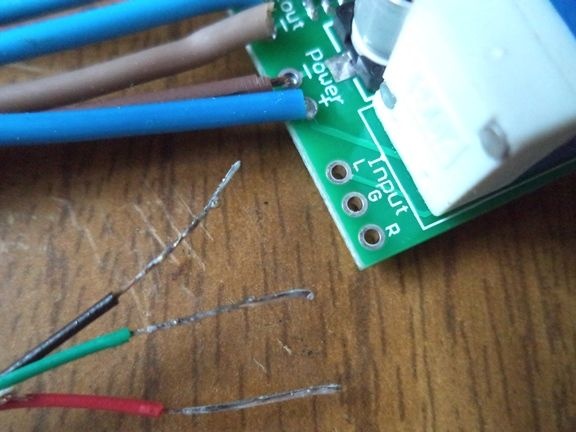
We solder them to the board according to the colors of the wire, namely the black wire is the left channel, which is marked on the board with the letter L; red wiring is the right channel, which is marked on the amplifier with the Latin letter R; and the green wiring is the common channel, which is marked on the amplifier with the Latin letter G.
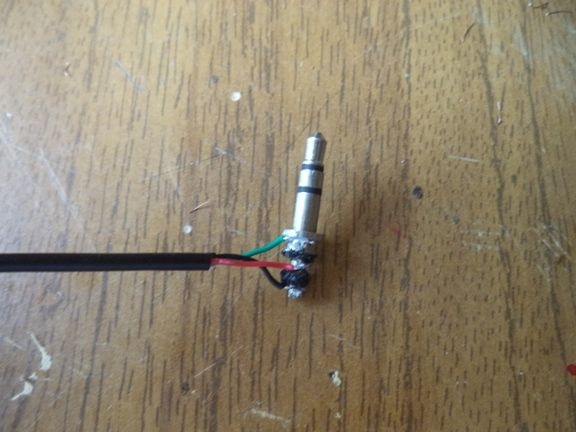
Now isolate the 3.5 mm plug with heat shrink and hot melt adhesive.


In general, it turned out just like in the photo.
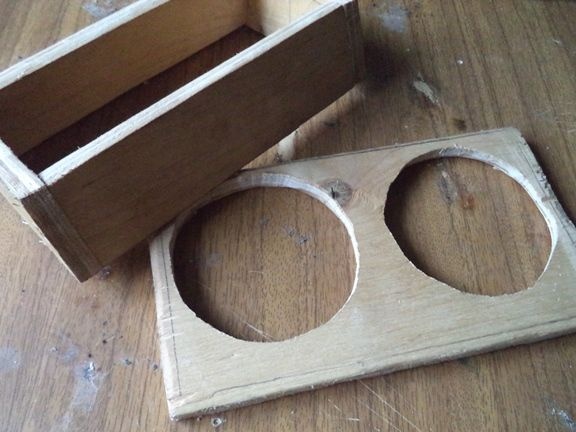
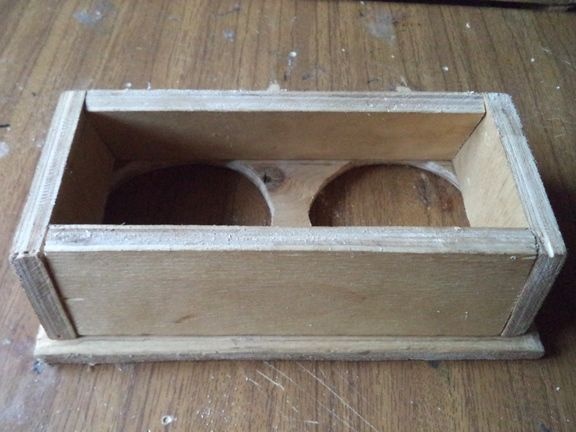
Now begins a more complex process, namely the preparation of the body.
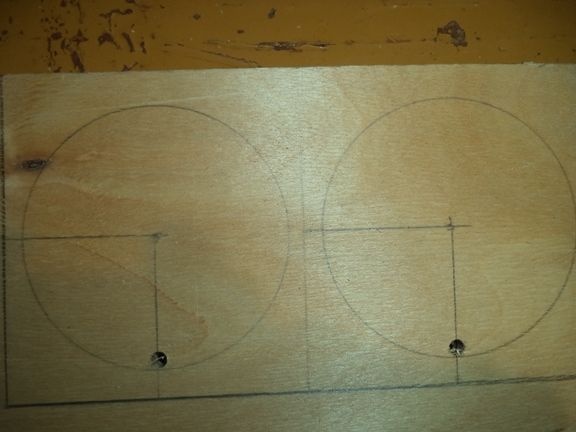
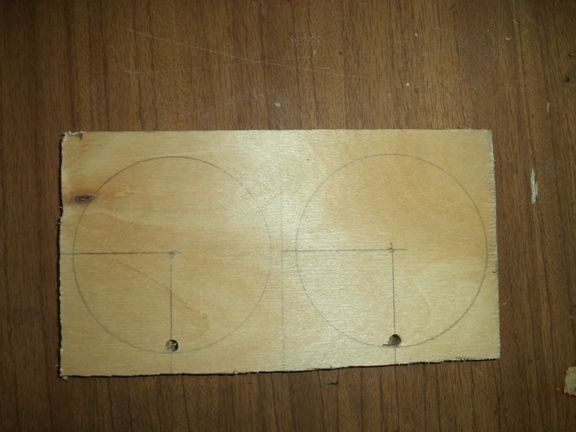
Drawing a rectangle on plywood, dividing it in half gives two identical squares, each of which draws circles of equal diameter for the future seats of the speakers using the compass in the center of the squares.

Using an electric drill, we drill a hole for threading a jigsaw into this hole.
We cut a rectangle with a hacksaw.
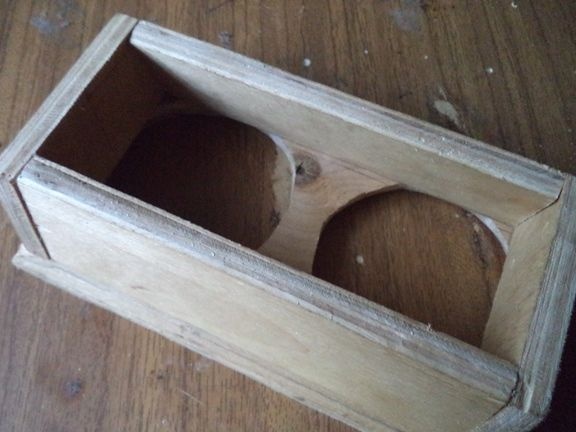
Using a manual jigsaw, we cut out the circles from the rectangular part of the column body.
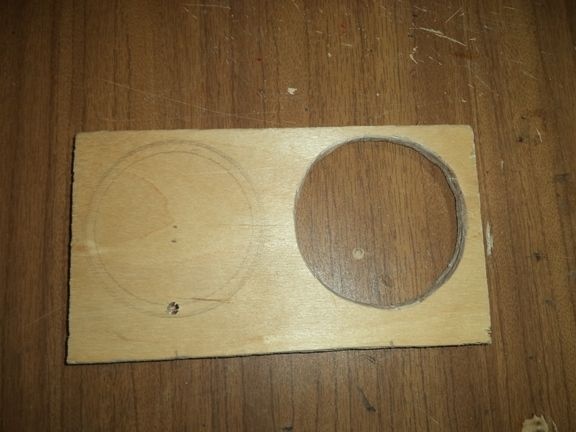
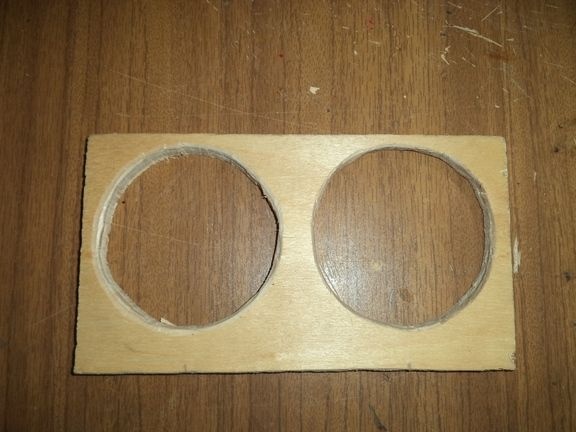
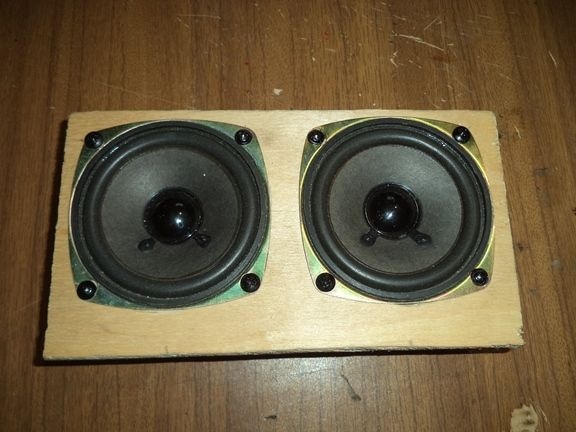
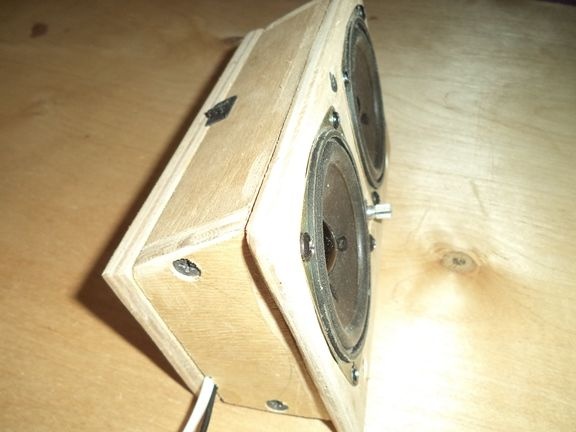
Three watt speakers are easily inserted into the resulting two holes.
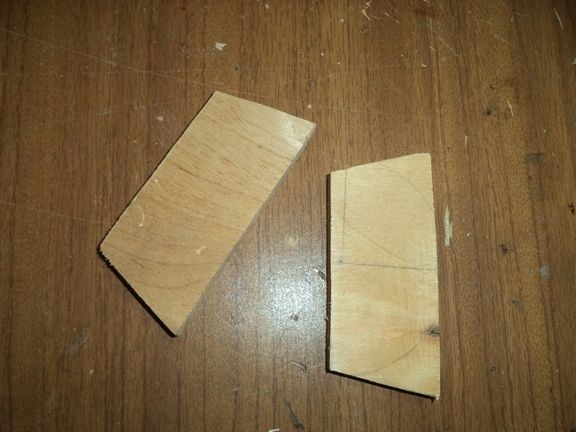
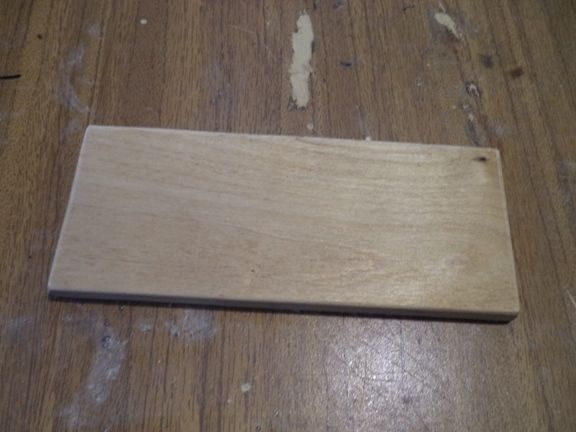
Next, we make two such identical details of the trapezoid shape.
And two more rectangular parts of the same size.

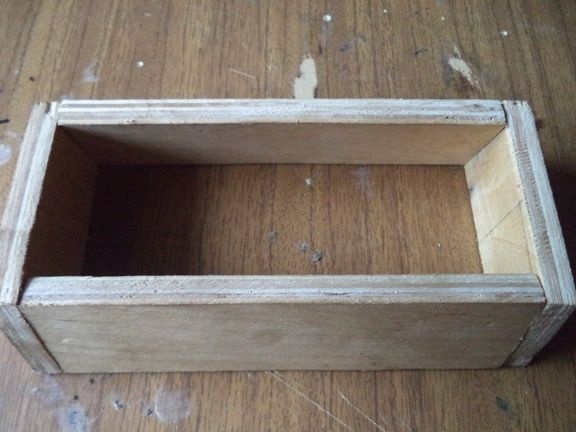
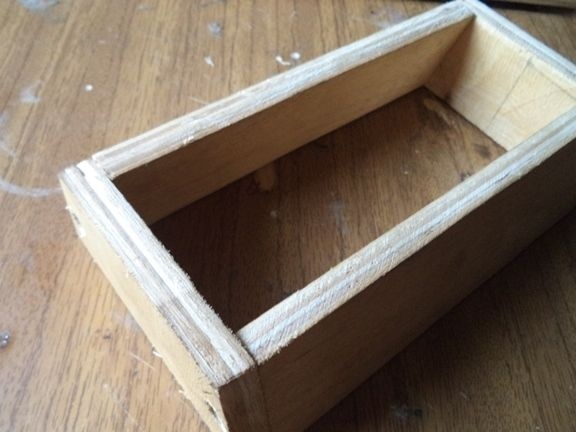
So far, from all that we have received, we assemble the case.
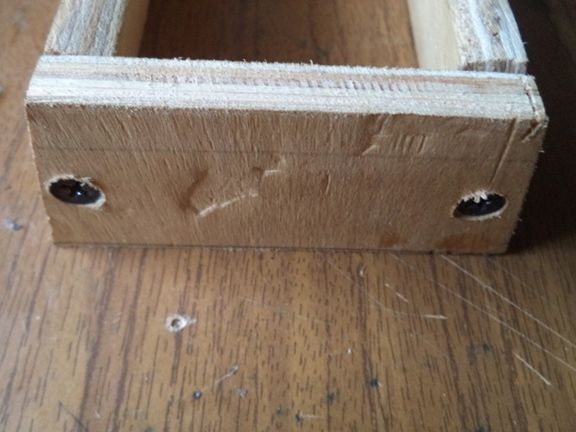
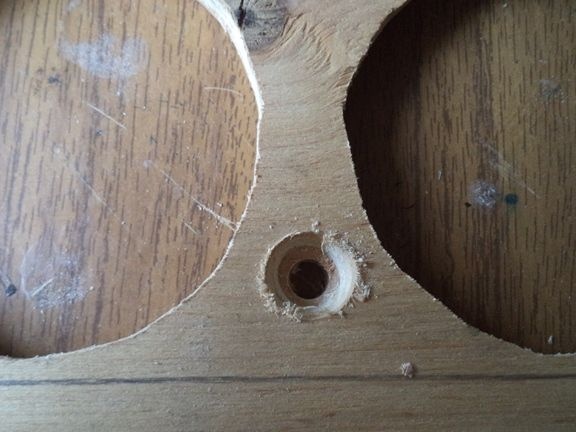
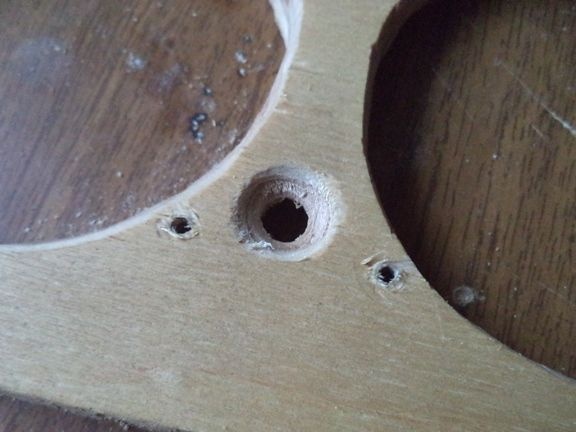
Now you need to fix the audio amplifier on the front of the case.
To do this, drill a hole with an electric drill, it is necessary that an amplifier is freely and reliably installed in this hole.
On the inside of the part near the drilled hole, using a clerical knife, we pick out the recess for the amplifier board.
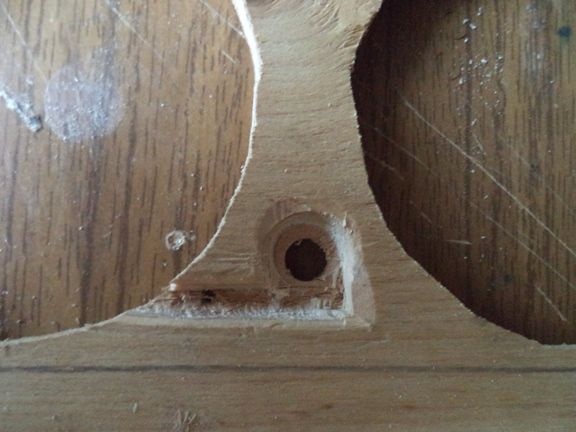
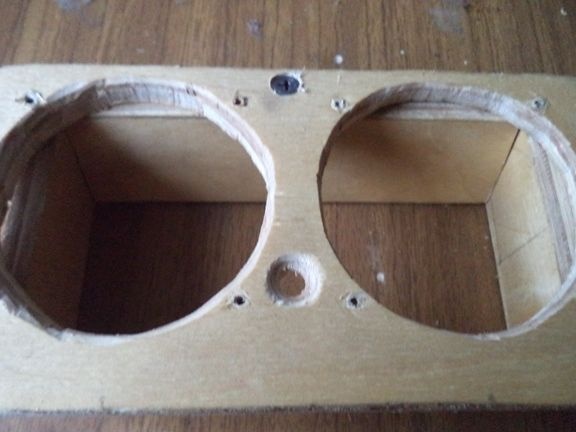
This is how the part looks from the front.
We attach the front part to the main part of the body using self-tapping screws.
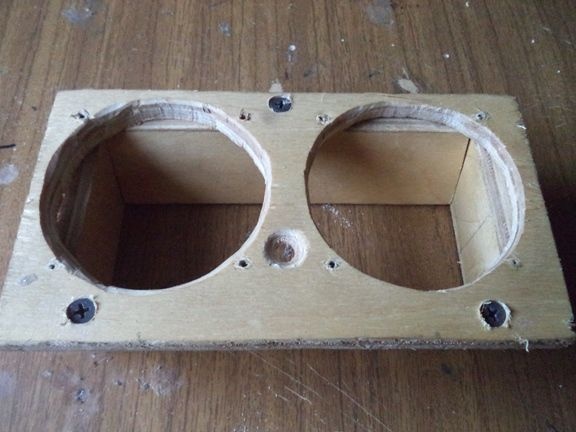
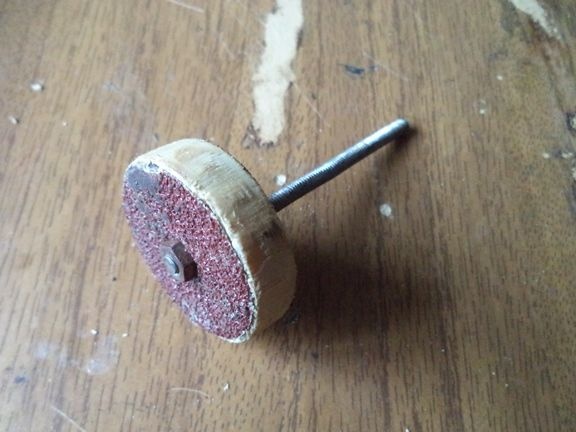
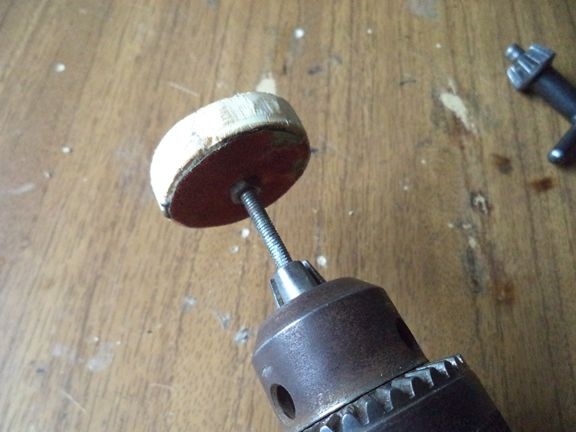
We grind the case with a homemade nozzle for an electric drill.

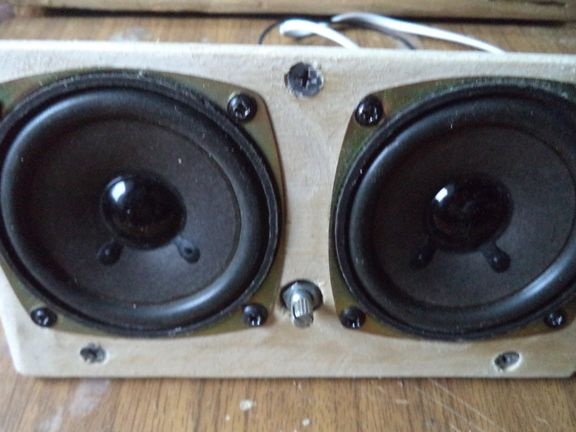
We fix the speakers in the body of the future column using self-tapping screws. We also fix the audio amplifier using the built-in nut.
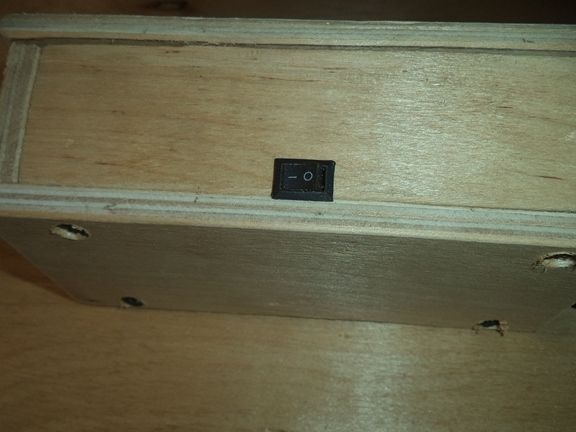
Now, using a jigsaw, we cut out the seat for the switch.
Also a recess for outputting wires.
Having made a rectangular back cover, close the case.
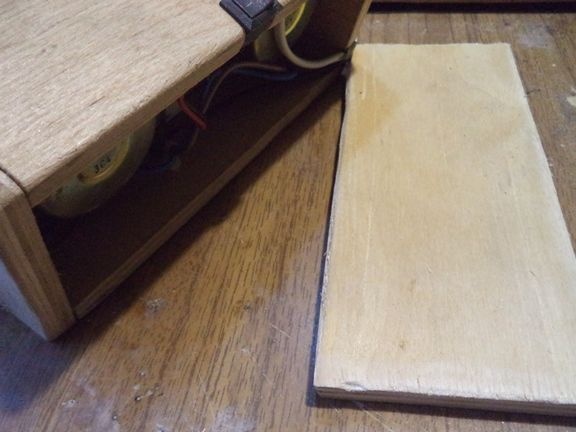
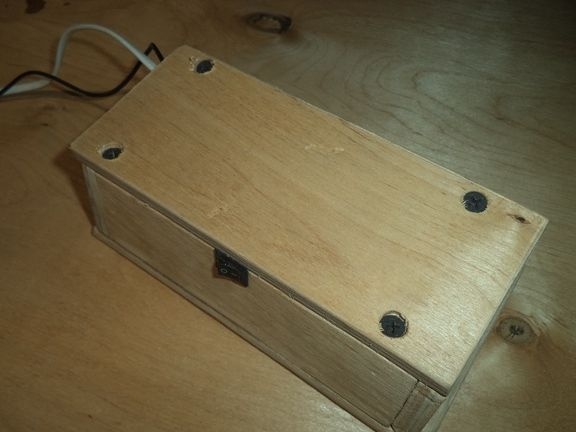
The speaker housing is ready, which means the speaker itself is ready for operation and testing.
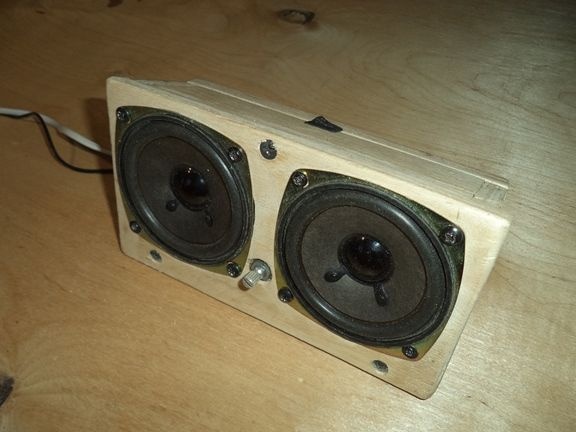
The column turned out to be good. I like the sound quality, but I'm not a music lover. The power of the column in total turned out to be somewhere around six watts, since each of the speakers produces three watts. The volume control works, also this control is able to turn off the power in general. Yes, the volume control can be closed by something, but I didn’t do it, because I like it so much. The manufacture of this column did not seem to me as difficult as I thought, but still I succeeded. Thank you for your attention!