
Hi the inhabitants of our site. In this article I will try to describe in as much detail as possible how to make a compact hood for soldering.
Probably, every techie and master is familiar with such a kind of unpleasant problem as a pair of rosin when soldering, especially this is not pleasant for your cohabitants and relatives who live with you. Besides the fact that it smells unpleasant, it is also quite harmful and breathing rosin in a room is very harmful. And in this article, we will try, albeit partially, to solve this problem.
The main feature of this homemade product is that every absolutely everyone can repeat it. This homemade product is made of parts that every home definitely has.
All similar mini hoods are made the same way, but the main feature of the article is the manufacture of a filter for hoods.
To make this homemade product you will need:
1- Computer cooler (preferably 2 pieces).
2- Sponge or washcloth with a hard side.
3- Activated carbon (medical).
4- Starch.
5- A pair of bolts.
6- Hairpin m3
7- Nuts of suitable diameter.
8- Protective nets for computer coolers.
9- Power supply for 12 or 24 volts
10- Connector for power supply.
Tools that are likely to be needed.
1- Soldering iron.
2- Drill.
3- Scissors.
4- Spoon.
5- Rosin.
6- Solder.
1- We will not waste time and proceed with the assembly of a useful demon, which will be a good helper for soldering.
Let's start with the most basic and most important part of homemade work is a carbon filter.

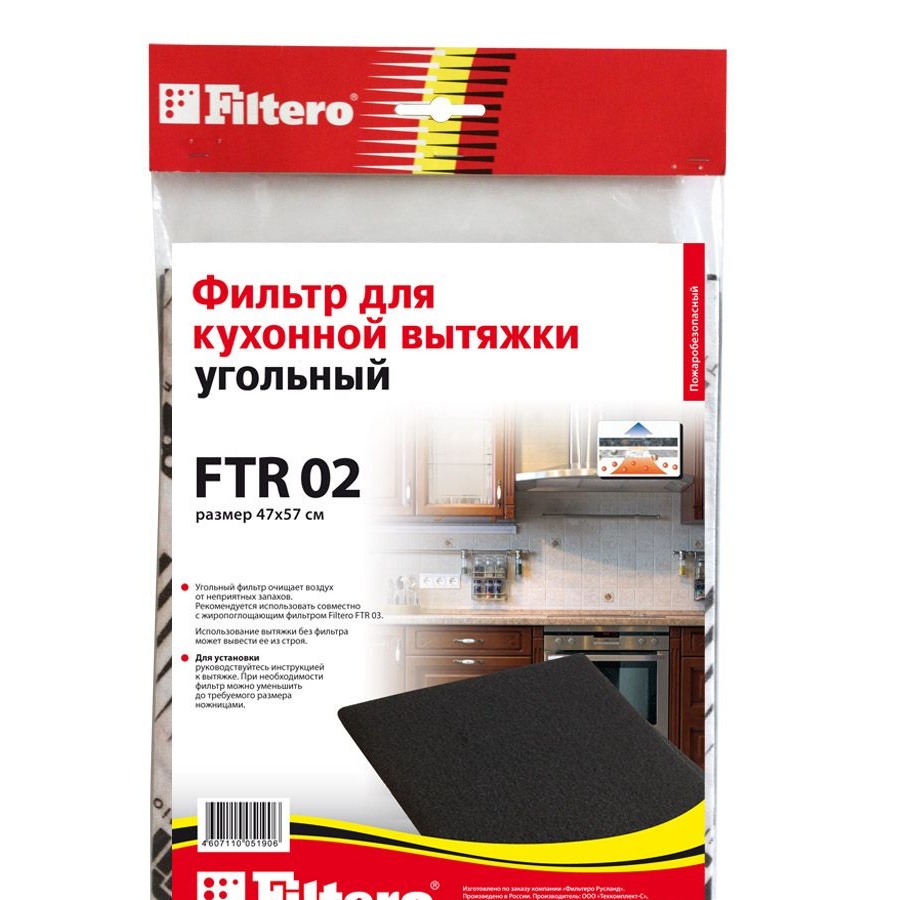
You can buy it in any equipment store called a “carbon filter for hoods”, but it will cost a little more, and not everyone has the opportunity to go to the equipment store for many reasons, for example, if you do not have such a store at all.
Then immediately various online stores come to mind, which is also a very good option. For example, carbon filters can be purchased from the Chinese by clicking on.


But if there is no time to wait or you are not a fan of online stores. Then you should make a carbon filter yourself.
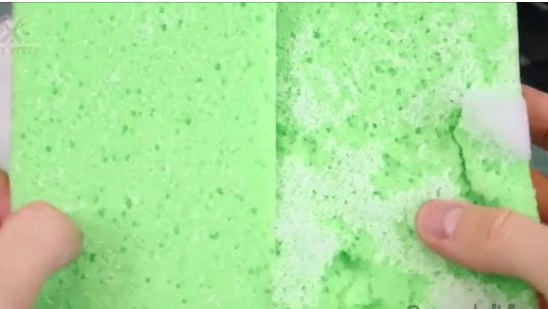
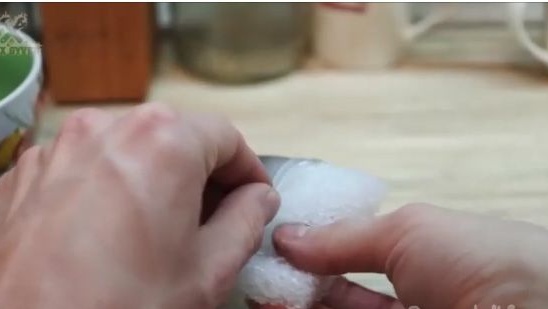
1- First, take a sponge or washcloth with a hard side. It is better to take a washcloth, since its hard side has a lower density than a dishcloth.
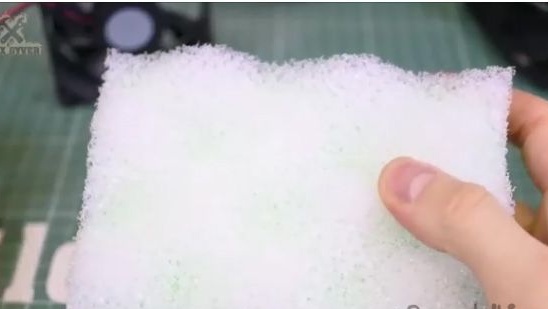
2- Take and separate its hard part from the main one. In many cases, it will be possible to separate it without much difficulty, but it is possible that the washcloths are different and can be obtained not the first time.
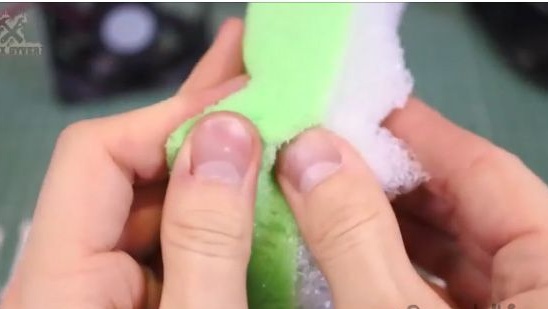
3- It should work out approximately, as it is shown on the left side of the photo below.
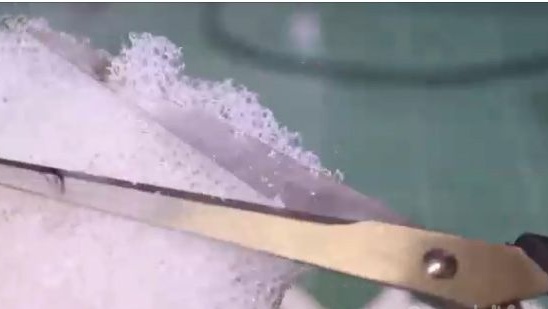
4- Take the hard part and cut it to the size of a computer cooler.
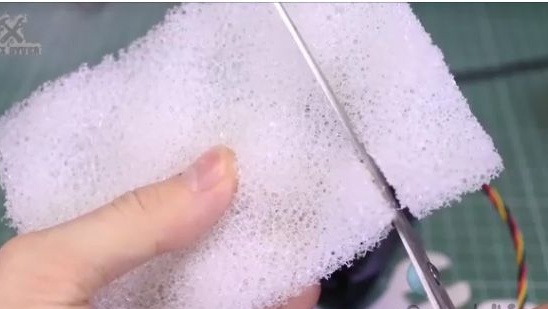
5- You also need to cut out all the pimples at the same height so that you get a continuous layer.
6- Such a workpiece should work out with you.
7- Next, you need activated carbon, which you probably have in your medicine cabinet, but it is advisable to use birch activated carbon.
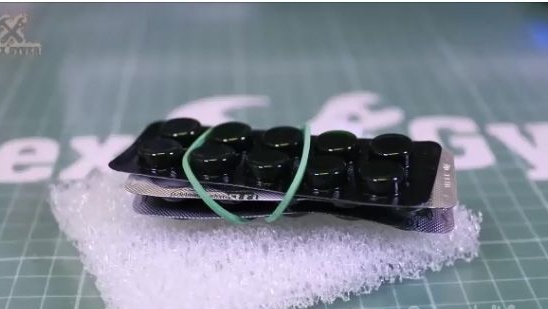
8- Take how much is. And put it in the bag.
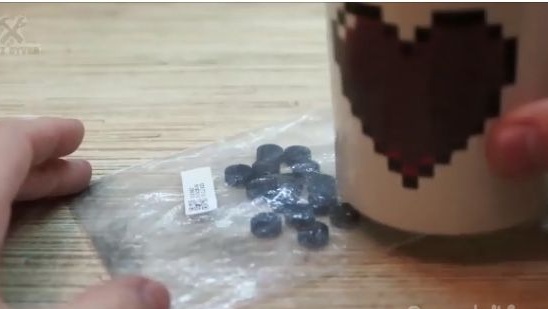
9- And with the help of a glass we grind to a state of powder.

10- And then you need a spoonful of starch to create a paste.

11- And pour a little hot water into a glass with starch and mix.
12- The liquid should look like glue for wallpaper, if it didn’t work, then put it in the microwave for a minute.

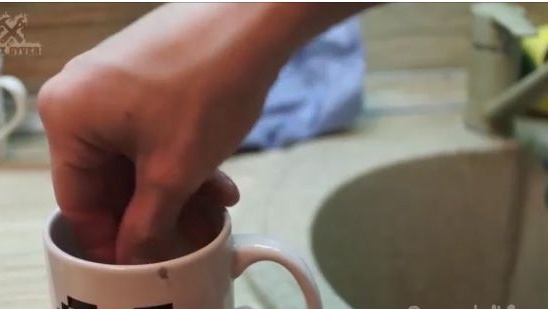
13- Soak the sponge in starchy liquid.
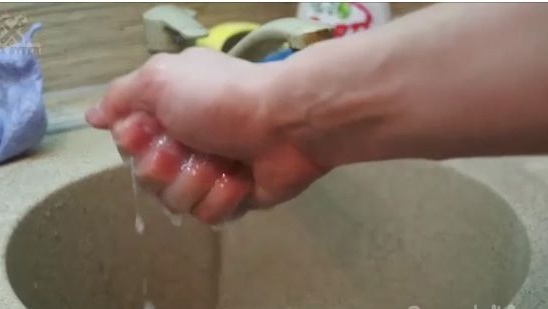
14- And we squeeze out the excess as much as possible, but not quite until dry.
15- We put the sponge soaked in starchy liquid into a bag with crushed activated carbon.
16- And we begin to actively and thoroughly shake.
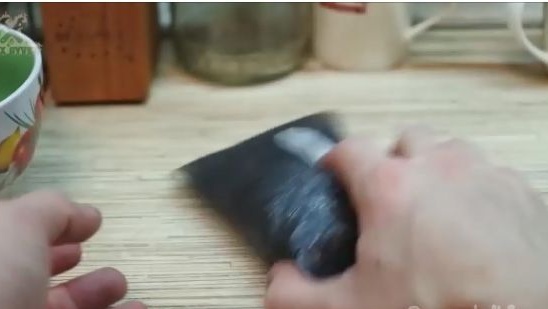
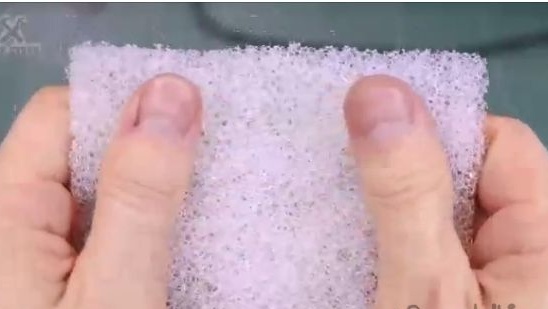
17- After which we take out the foam sponge and put it on the battery and wait until it dries completely.
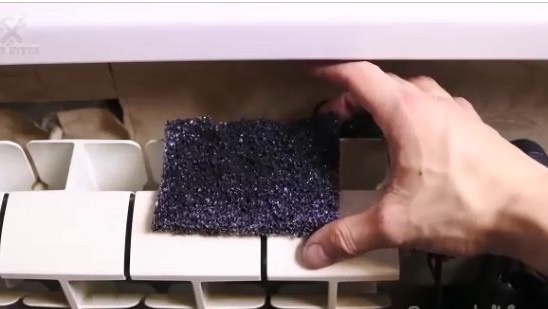
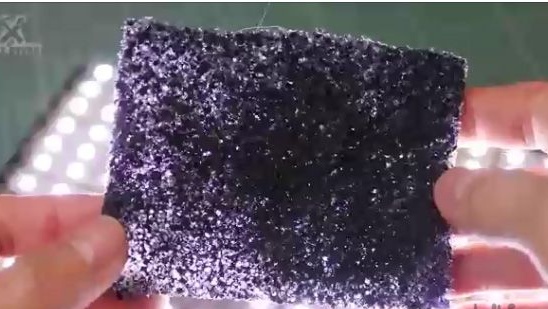
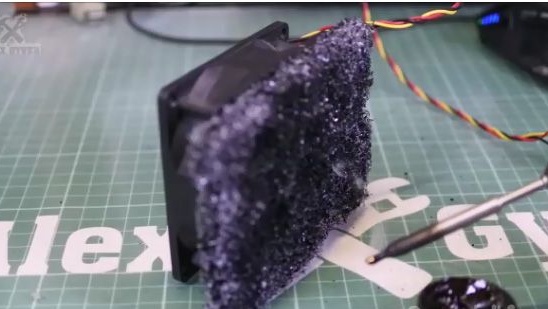
18- This is how the resulting carbon filter should look in the lumen.
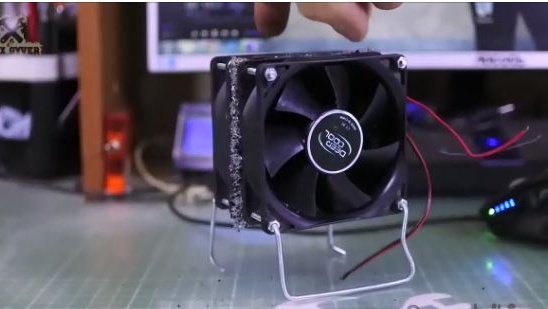
19- We conduct a small test of the carbon filter, apply it to the suction side of the computer cooler and turn it on. We see that fused rosin fumes enter on the one hand and not on the other, it is also worth paying attention to that caustic fumes should disappear or simply be less noticeable to your sense of smell.
20- After a little test, we see that one cooler for the hood is not enough, so we need a second one. Well, so let's finally assemble this primitive construct.
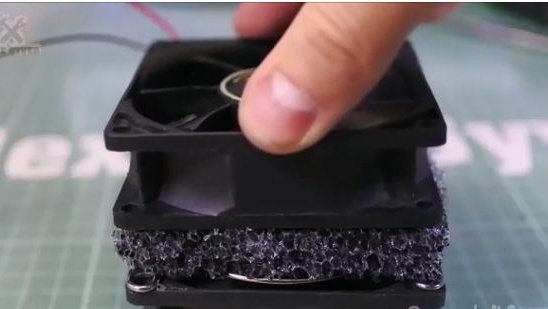
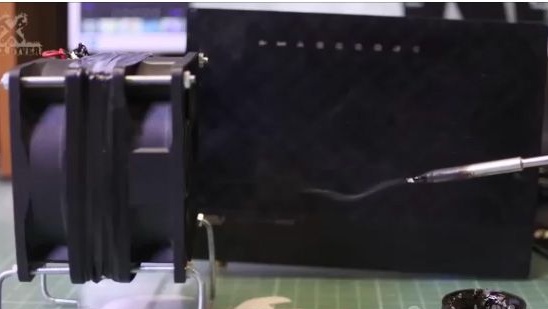
21- It is necessary to connect two coolers and a charcoal filter into a sandwich.
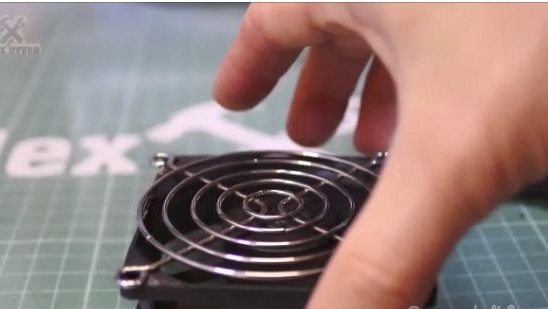
22- Take the first fan and apply protection to it so that the filter does not catch the blades
a fan.
23- Next, apply a filter and a second computer cooler.
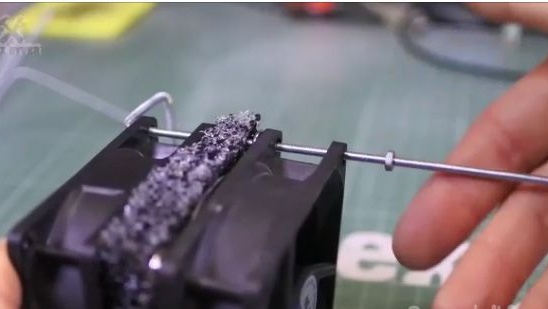
24- We push through the mounting hole the m3 pin, before we bend the primitive leg for
designs. It is also worth considering that bending the stud is through something cylindrical, otherwise it will burst
25- Approximately this design should turn out for you, such as in the photo below.
26- We insert the connector for the power supply and solder in parallel connected fans to the power connector.
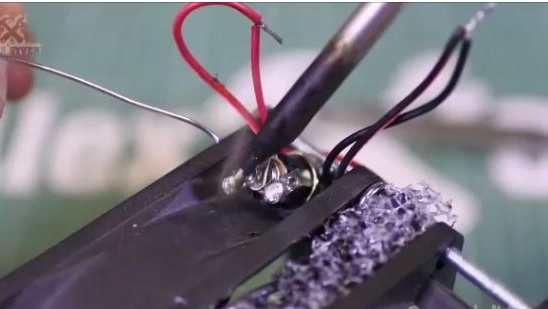
27- We will be fed from a not expensive Chinese 12 volt power supply.
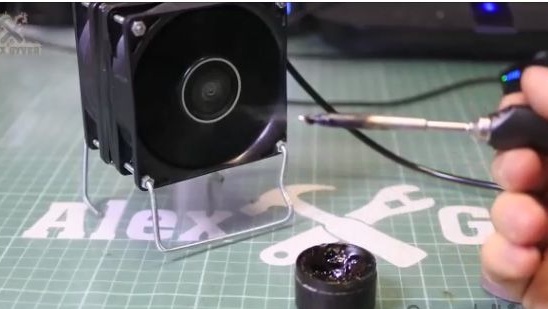
28- Done.
All is ready! Now you have an original, and most importantly, cooker hood and household parts hood. Now you will surely forget about pungent odors when soldering at home, and protect yourself and your loved ones.
Also, for fans to solder, solder should be in the workshop or in the garage, but still if there is no such possibility, then in a well-ventilated room it is advisable not where you sleep and, accordingly, using this hood.
I hope that this article was useful for you and useful in everyday life, and also you have a great opportunity to watch a video assembly of this homemade product.