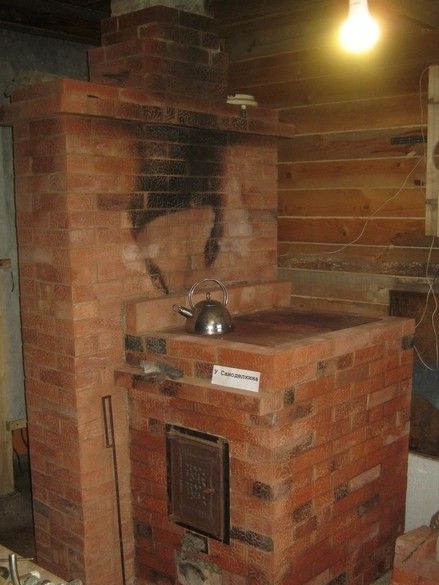
Heated WorkshopWhat could be more beautiful in a village? The middle strip of Russia, a place where for more than half a year it is either cold, or wet, or both. Mandatory gardening and construction work with the end of the warm, "field" season ends and the most exciting time comes - the stoves are melted and you can create. Of course, you have to take care of heating. Features of local heating we have already discussed, accepted for execution - a heat-intensive brick oven with wood. Metal stoves of a calorifer type are good in some ways, but it should be remembered that in rooms where people have been staying for a long time, heating appliances with metal surfaces heating more than 60 degrees Celsius are not allowed - dust burns on them and carcinogens are released into the air.
Even at the design stage of the workshop, the configuration of the furnace and a convenient place for it were determined.
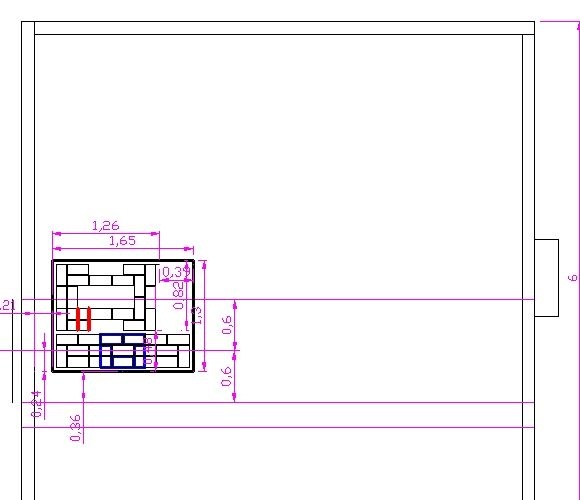
It was decided to fold the stove with the heating shield.
Such a scheme seems to be: more maintainable, indeed, the most loaded part - the firebox, is actually located separately and provides simple and convenient access to the hob, furnace door and its closure. Easy access to the refractory lining.
A heating shield with a chimney can be temporarily connected to an existing metal stove, a “stove”, which will allow heating to be activated much faster (it went to cold weather).
Not feeling enough knowledge in the furnace business, however, there are some ideas about this. I believe that they will not be enough to design a full-fledged, well-functioning heating or heating-cooking stove, but it will be enough for some changes in a stand-alone firebox. But there are thoughts on this. The stove will be experimental - nevertheless, in a house or a bath, serious heating errors are fraught, here, in the workshop, you can experiment.
So, the task, in general, is formulated.
Additional wishes.
The stove should not burn too much, for example in heating stove in the house in the second half of the furnace, part of the cast-iron plate begins to glow with raspberry, in the dark it is clear that the middle of the furnace door is also lit. Given that in the workshop you don’t have to cook daily and sometimes, quite dusty, strong heating is undesirable. Moreover, it is necessary to bother with wax from time to time, and it is also better to heat it without fanaticism, in addition, having a sufficiently large stove, you can in bad weather in the fall, provide it to your ladies for workpieces, cook jam, for example, in large boilers. However, strong heating is also not needed. But still, this stove and kettle should boil. It is accepted - to raise the stove much higher than usual, at the same time, an additional positive moment appears - for a more complete combustion of the flue gases and small particles, the height of the furnace should be fair. In purely heating furnaces, this is exactly what they do, in heating and cooking stoves they lower the stove lower so that it warms up faster and it is possible to cook for a longer time. By the way, very hot cast iron floorings often burst - in the thickness of the plate there are quite a lot of small bubbles and sinks, this is clearly visible when cutting. I had to cut both the modern and the old "trophy" - from the house for demolition, the number of internal defects is approximately the same.
Refractory lining. I had to deal with both wood-burning stoves with a furnace made of ordinary clay brick, and folded with my own hands, with refractory lining. Of course, lining with fireclay brick firebox, significantly increases its durability and in such furnaces as, for example, at Kuznetsov, where high-temperature combustion is organized, is required. In the rest, it is highly desirable. The only minus of the lining, it occupies a fair amount of space inside the furnace, therefore, almost always, it is carried out with refractory bricks “on the edge”. It also allows to save a fair amount - chamotte products are very expensive. A significant minus - the relatively not high strength of such a masonry - you have to carefully lay firewood. Sometimes it’s not so easy - for example, in bath stove at the end of the firebox, the fireclay lining begins to glow and burns hands with heat. Logs have to be almost thrown. In the upcoming stove, I decided to try to make a “brick floor” lining, as well as the furnace wall. This will provide increased survivability of the furnace and ease of use. The increase in the dimensions of the stove did not bother, such an experiment was conceived for a long time and the foundation of the furnace was cast with it in mind.
Another interesting, experimental point, I wanted to introduce is the combined type of combustion. It is known that a furnace with a grate provides faster and more intense combustion of fuel. The temperature in the furnace is high. Up to 10000С. There are also fireboxes with a blind hearth, without a grate. Historically, appeared earlier. They are considered obsolete, with low performance characteristics and low performance. Nevertheless, modern stove-makers sometimes return to burning on a deaf hearth. Burning is longer, more economical, but also lower temperatures. The dead hearth has a very significant, fundamentally unavoidable drawback - a very long burning of coal, during which we are forced to keep the pipe open. The idea of a combined firebox, where it is possible to organize the air supply for predominantly hearth combustion, and burn coals on a small grate, was borrowed from the furnace forum, the place and partly the design of the duct was applied from the patent of P.A. Brandt. Patent No. 141, dated January 13, 1918 [1].
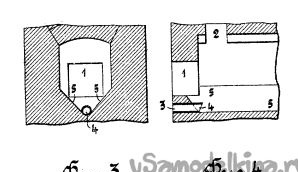
Also, I wanted to make the furnace long so that large logs were placed, as in a bath stove. It's comfortable.
So to the point.
What was used for masonry.
Instruments.
The main tool of the stove-maker is a special trowel or trowel. It is more convenient small and narrow. Certainly a cutting machine (grinder) with a diamond disc, a rubber mallet, a rule or a good straight rail a meter and a half long. Protective transparent visor or glasses, headphones. A set of ordinary locksmith tools, marking tools, level, better short and long. Ropes A screwdriver came in handy. Used welding.To prepare the clay-sand mixture, it is convenient to use a powerful low-speed drill with a stirrer attachment. Tanks for soaking bricks, materials, water, clay soaking. A large sieve for sifting sand and rubbing-filtering clay.
Materials
It is clear brick, clay and fireclay. Clay, sand, mortar or a special composition for laying refractory. Basalt cardboard. Asbestos cord. Steel annealed wire or thin perforated tape for laying in seams. Stove appliances (door, gates). Stainless steel. Stainless steel pipe, roof “galvanized” on the roof.
The heating shield was formed immediately after the construction of the workshop, in late autumn. Photos of the process, unfortunately, were not preserved.
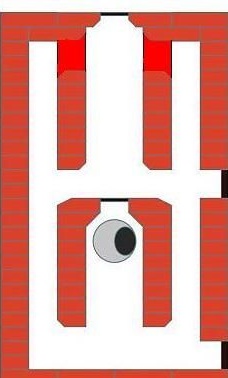
Schematic diagram. Cap type, symmetrical, "wall". I read later that relatively thin furnace designs have an increased predisposition to cracking - something with temperature differences is worse than that of more well-fed counterparts. It is difficult to say that there are two medium-sized cracks at the seams near the direct-flow valve, but they formed when I drowned with this open valve - I forgot to close it after kindling. Expand slightly after a strong firebox. There is no rigid dressing of the inner walls with the outer ones, the bricks from the inside are pressed to the outer wall through a layer of basalt cardboard. For stability, every three or four rows, the brick from the internal partition is “cut” into the wall at half the thickness through the same basalt cardboard. This allows you to reduce possible cracks due to the difference in heating.
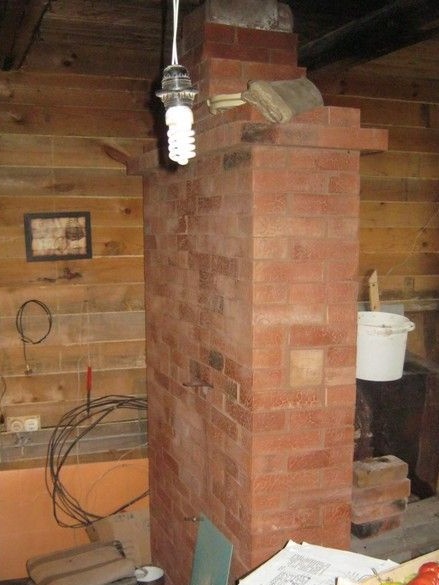
The first two winters, the shield worked with an impromptu iron firebox.
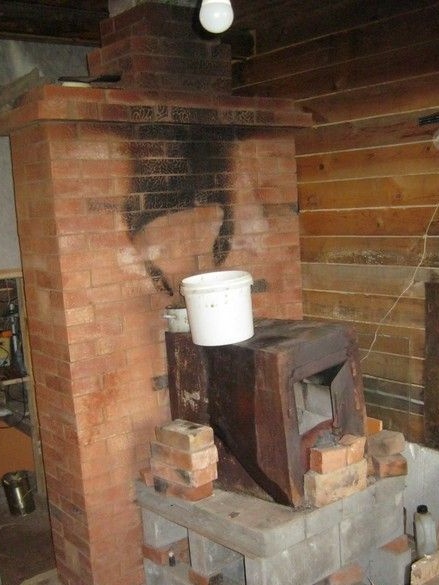
This fall, I took up a brick slab - the iron burned out in places, it’s time and honor to know.
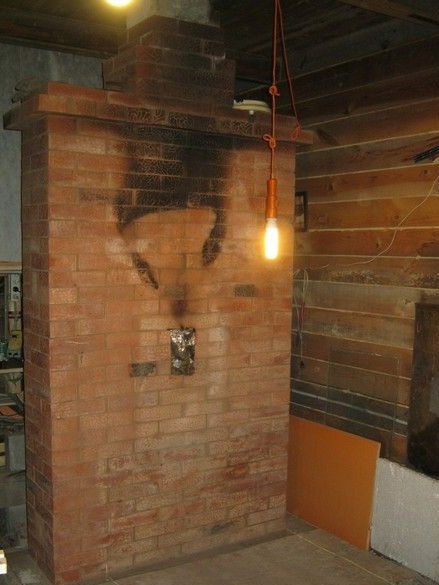
The furnace has been removed, a temporary elevation has been dismantled.
Since the heating plate is symmetrical on all sides, it was possible to “power” it on the other, not working side. Also an iron potbelly stove.
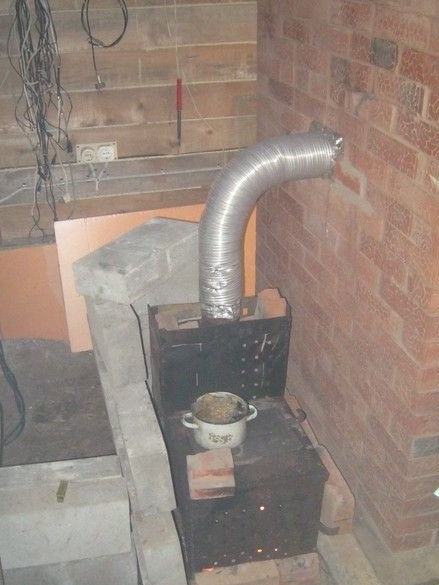
Several bricks at the back of the shield are taken out and a potbelly stove is connected with a flexible aluminum sleeve. Everything worked, but the sleeve, which seemed more reliable in the hands, threatened to melt "on the site." I had to redo it.
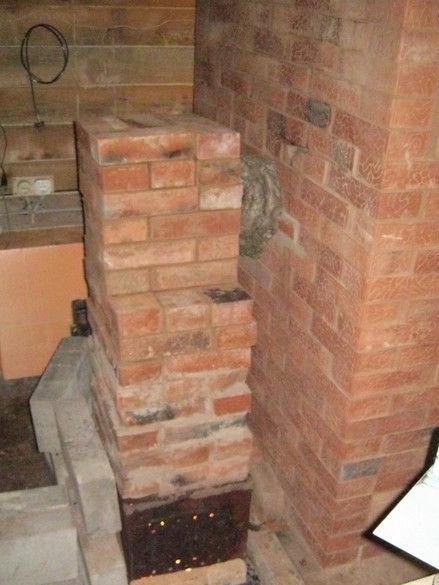
With a potbelly stove, I cut off all the excess glands from above, and whipped up, folded a sort of chimney with small horizontal barriers. How in hermit's house. This is the thing! Now you can comfortably, thoughtfully tackle the masonry, not in a hurry.
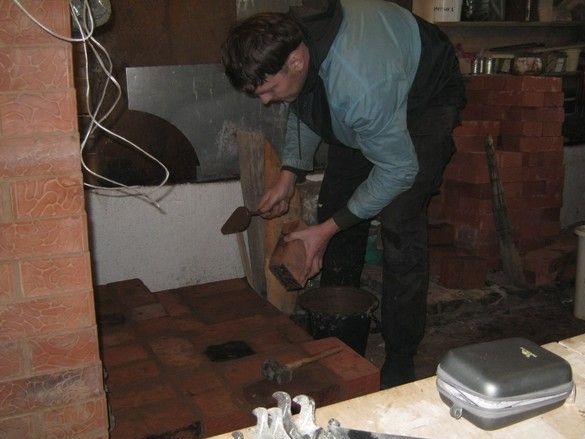
Two layers of roofing material for waterproofing, chalk marking, two continuous layers of the "sole" with dressing. This is by the way your humble servant.
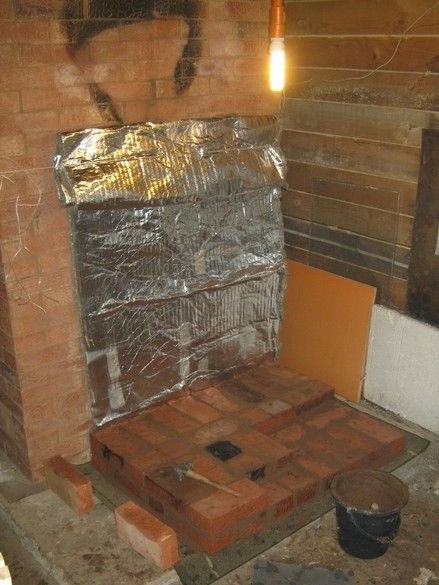
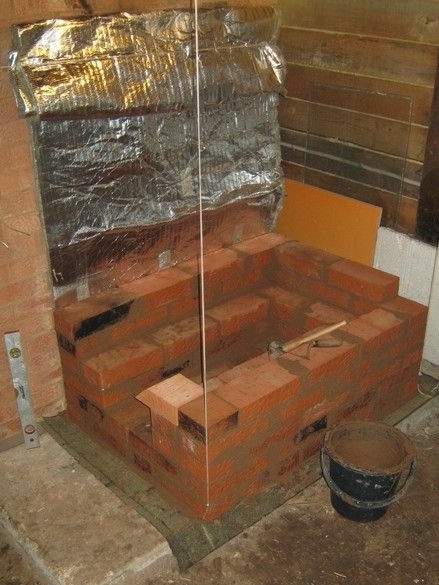
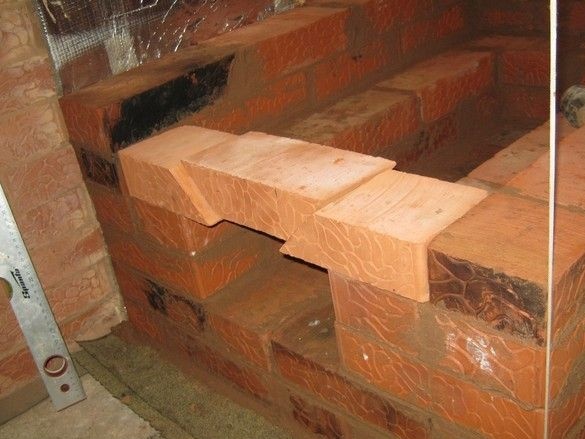
Overlapping the ash pan, here instead of the standard door, there will be an ash box.
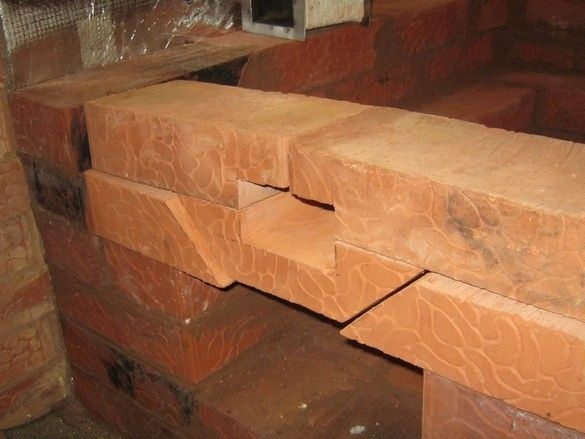
Seat for the air duct "hearth" mode.
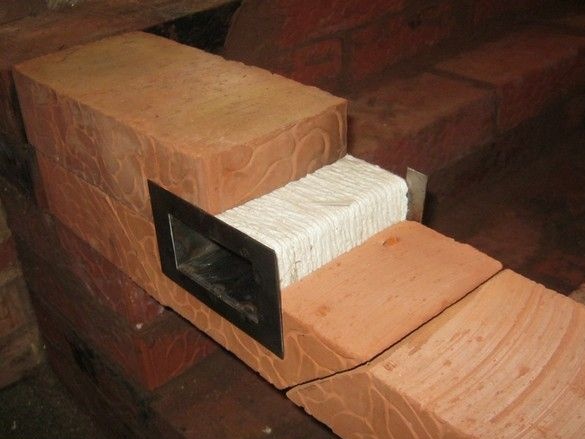
The duct is welded from a piece of sheet stainless steel and wrapped with a thick asbestos cord.
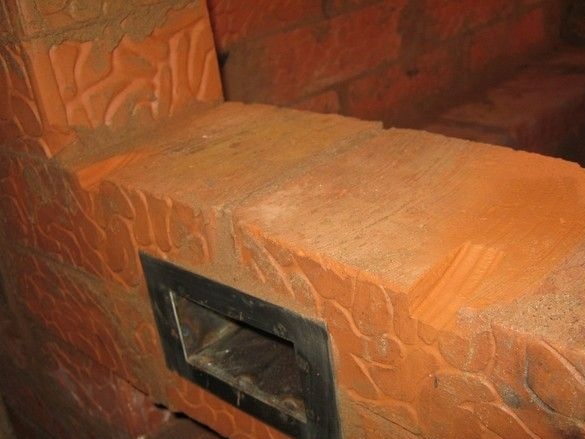
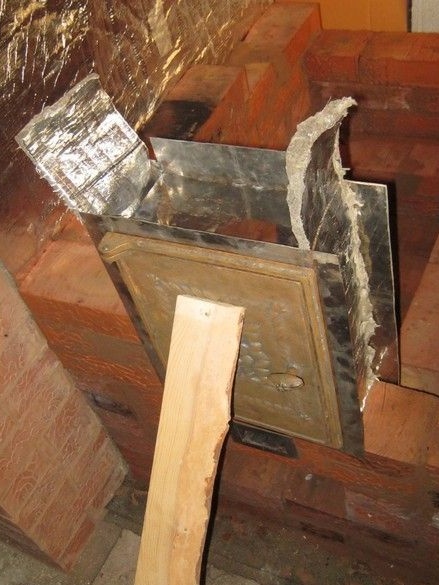
Fire door closure the door was made as usual, double high, perhaps a bit too big, it would be better if it was one and a half, but this one was idle, I decided to use it.

The brick is new and a bit of BU from its own temporary stoves, interspersed, sooty smoked were distributed as a kind of decor.
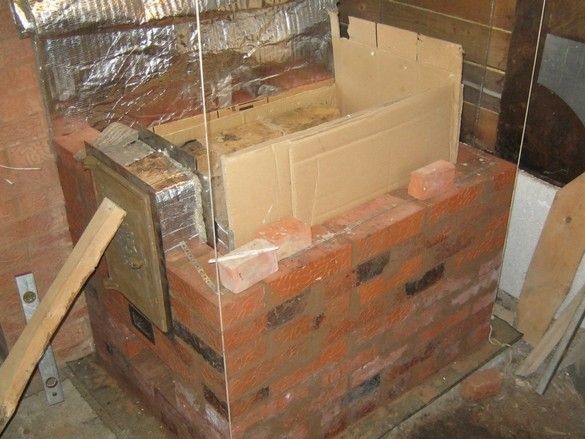
It is still convenient to get to the bottom from the outside; I started to lining. We do not connect the fireclay core with clay walls, moreover, we leave a gap of 10 ... 15 mm to the side. Fireclay has an expansion coefficient greater than that of clay bricks, and with hard bonding, hefty cracks are inevitable. We fill the gap with basalt cardboard or, worse, but bearable - with the usual “corrugation”. It is needed so that during masonry no debris is poured into the gap, or it is not filled with extruded from the joints during the laying of GPS (clay-sand mixture), then it is pulled out (corrugated cardboard).
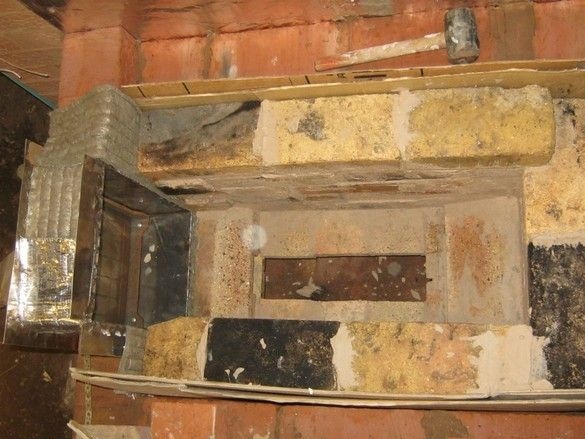
Fireclay brick is also used, only a little new, and even of different sizes.
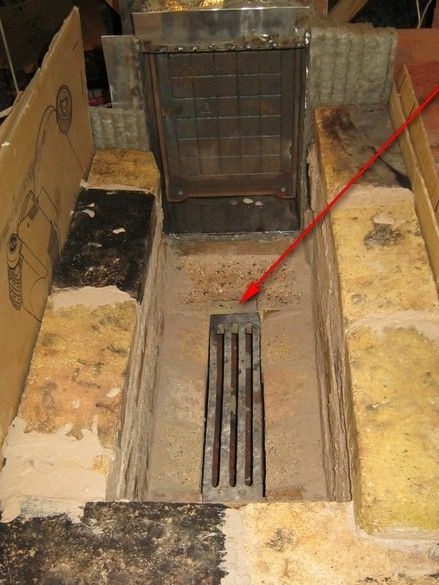
Small grate - a piece with three rows from the standard is cut off. The arrow shows the air channel.
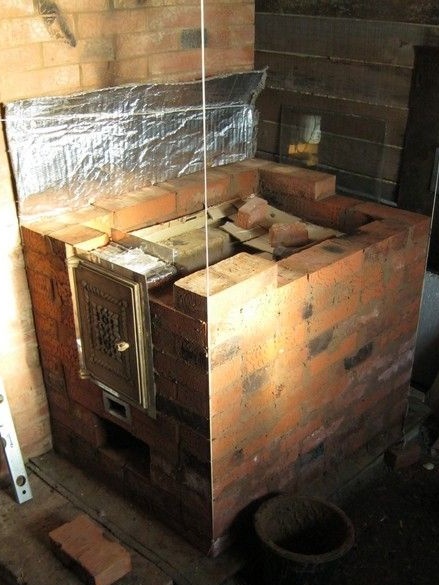
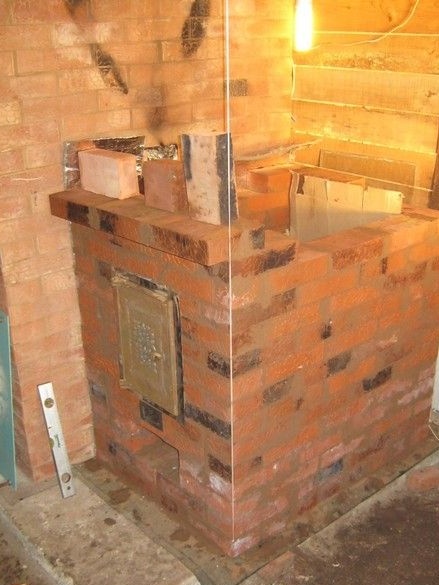
The outer wall reached, almost to the top, made an “overlay” above the furnace door, for decoration and matches it is convenient to keep it warm and near the door.
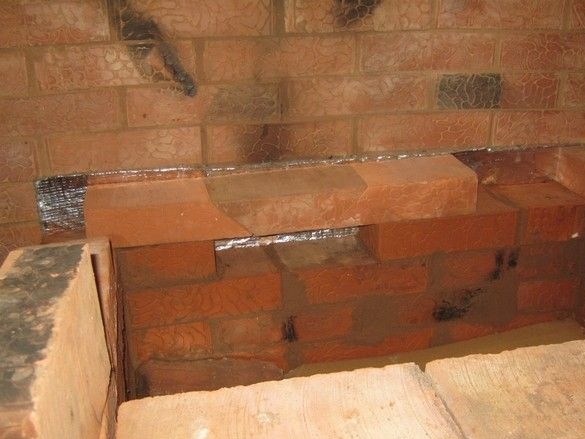
Overlapping "high".
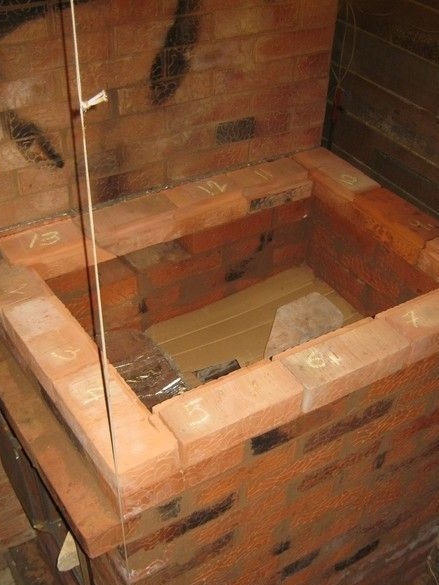
Top row - sawed groove for the stove.
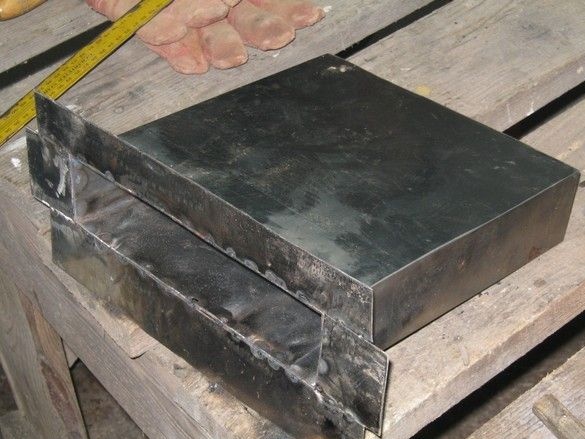
Box – chimney - transition from the furnace to the heating panel. Welded from the same stainless steel.
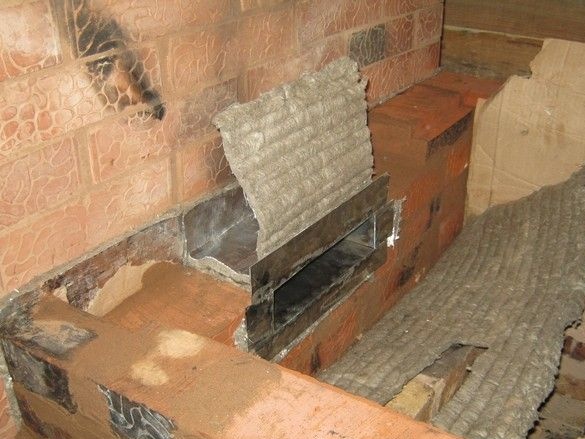
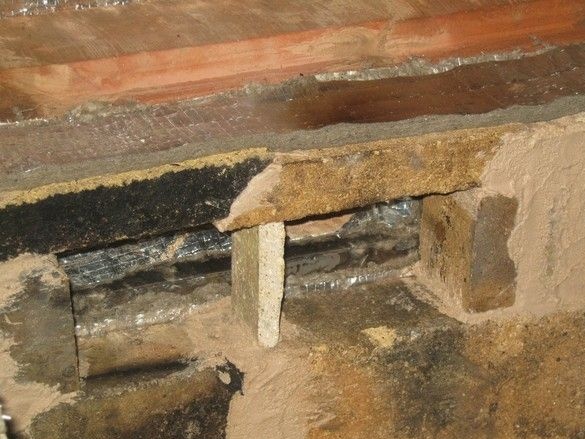
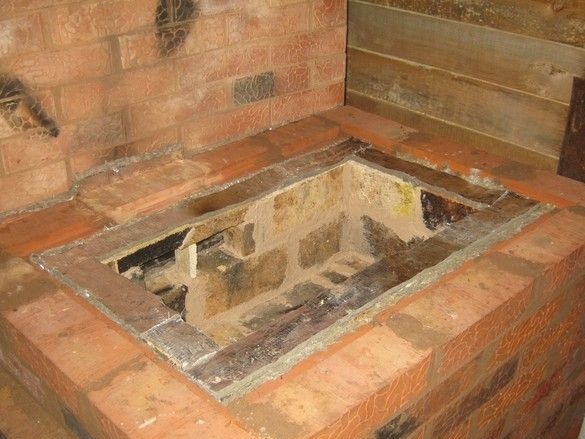
Well, that’s it! The brick part is finished, fireclay lining is not brought up to the level of the slab by 15 ... 20 mm, so as not to squeeze out the cast-iron flooring during the furnace, the gap is filled with basalt cardboard.
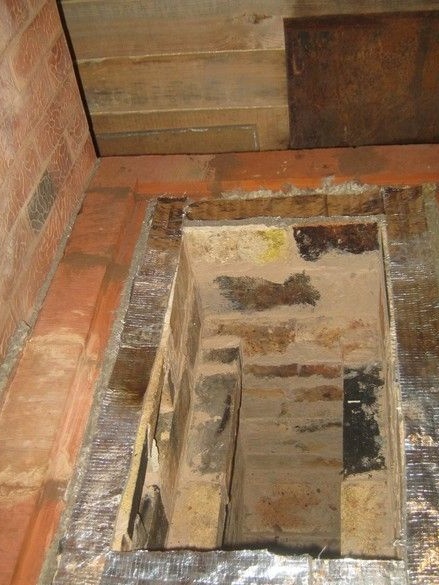
Yes, I forgot to say, I didn’t have enough chamotte bricks, I had to make a thick one, only the lower part, just above the level of the furnace door. Above, classically - on the edge. In principle, it turned out not bad - the most vulnerable part, where the firewood is loaded, has a powerful masonry lining, higher - it is not required, moreover, the reduced thickness of the lining makes it possible to work on a larger area of the stove.
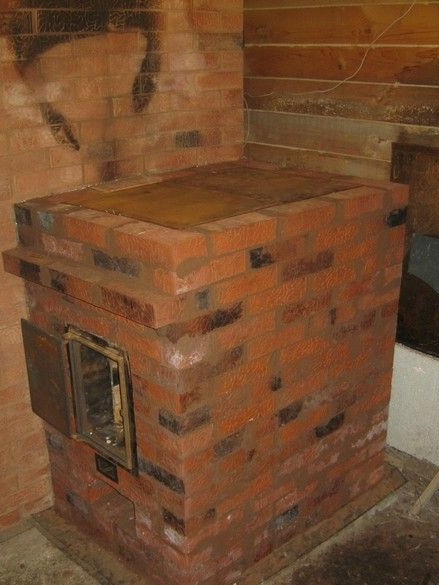
Cast iron flooring is made up of two parts, 10mm thick.

Everything, the masonry is washed, the stove is dried with small streams of small sticks. But often. After drying, several trial furnaces. In general, it behaves well, the heat capacity is such that with a single firebox and laying 5 ... 6 logs, it maintains a room temperature of 12 ... 15 degrees, with the same temperature, but frost outside. The hob is not so high, it’s quite convenient to use, although I’m quite tall. It warms up moderately, but the kettle boils - that's what you need.
Additional literature.
1. Patent No. 141.

