Good afternoon, dear Reader!
In our everyday life, a lot is tied to little things that either help us live, or vice versa, cause some inconvenience. Very often we come to terms with minor inconveniences, but thoughts still slip through our minds how to improve our stay in this world and make it more comfortable. Such a trifle will be discussed in this article.
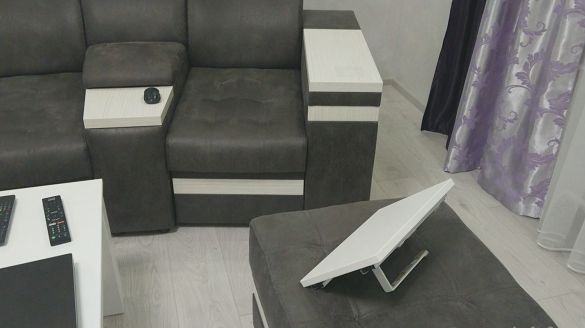
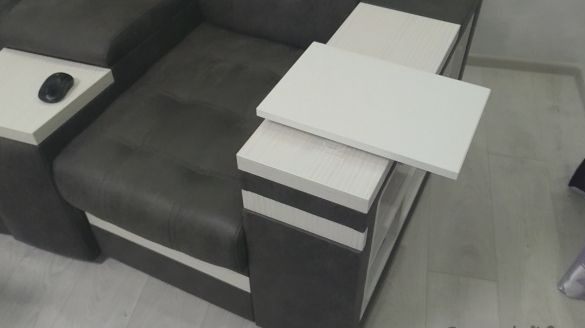
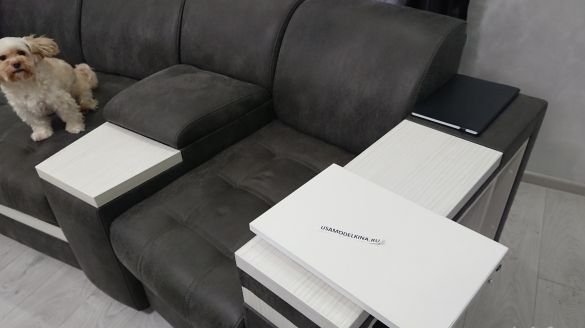
Each of us has a favorite place in the house, whether it is an armchair or sofa, where we spend family evenings or just relax. And I want to relax as comfortable as possible. For me, rest is inextricably linked with getting new information that interests me, so I always have at hand either a laptop or a tablet. If you hold the tablet even more conveniently in your hands, then the laptop after 20 minutes of holding it on your knees is annoying, and uncomfortable, and warms up, and you will not sit comfortably. After some thought, I decided to refine my soft furniture retractable table for a laptop. What did I have the following requirements:
-it must be in harmony with the interior
-it should be small
-it must be durable
- It should be easily dismantled if necessary
And naturally, it should be convenient.
You can watch the manufacturing process in the video:
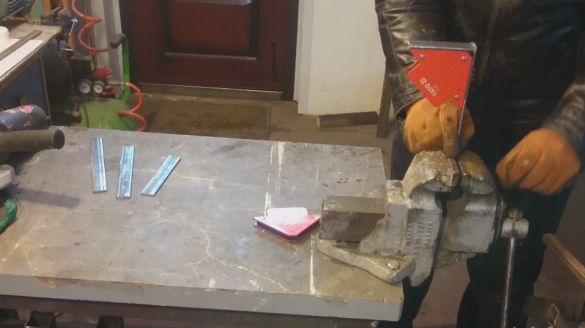
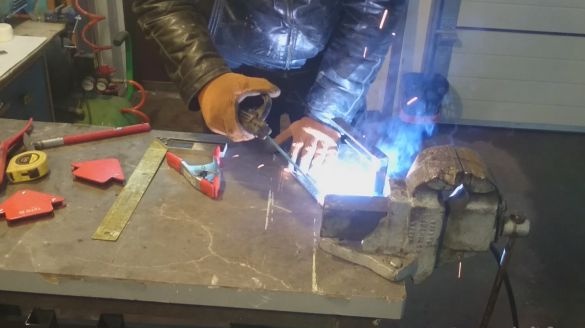
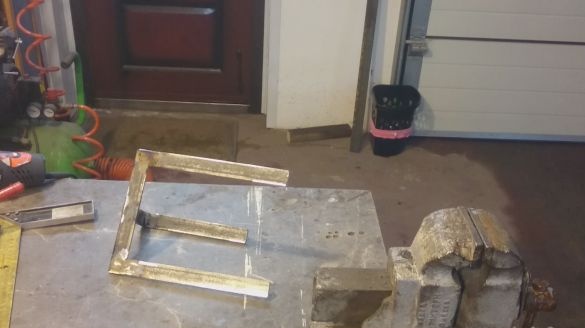
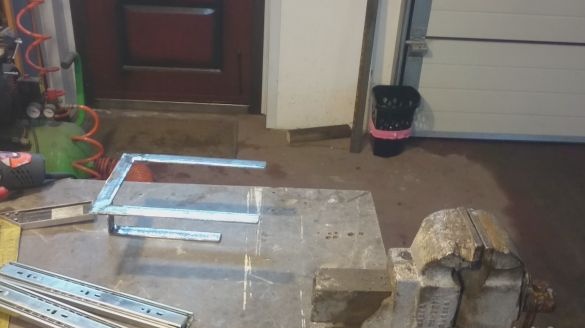
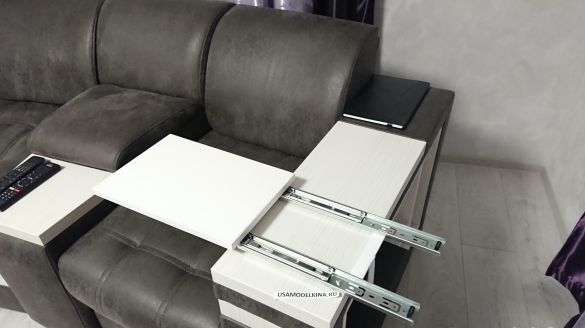
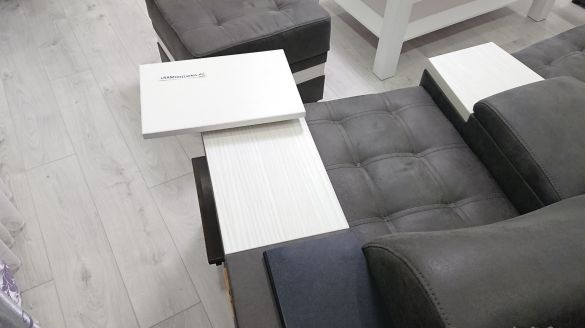
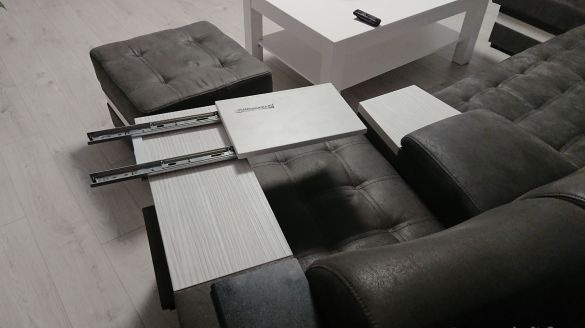
And the main points are captured in the photo below:
So, let's get to work. We will need the following tools and materials:
-USHM
-welding machine
ruler, pencil
drill with drill
screwdriver, pliers, vise
metal strip
drawer guides
- a piece of chipboard cut out in a hardware store with a glued edge 250X370 mm
- a little bolts, nuts and screws.
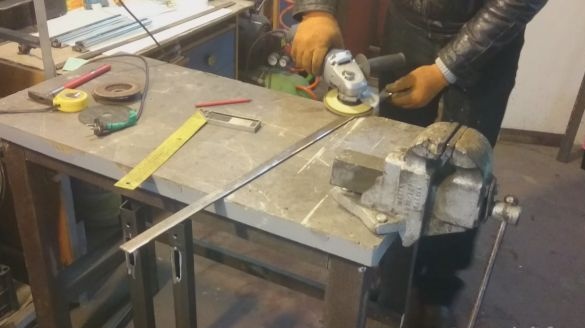
Since the metal strip was not my first freshness, I cleaned it with a clean circle so that later it would not rust under the paint.
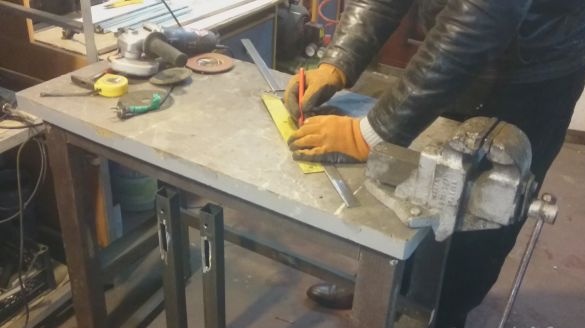
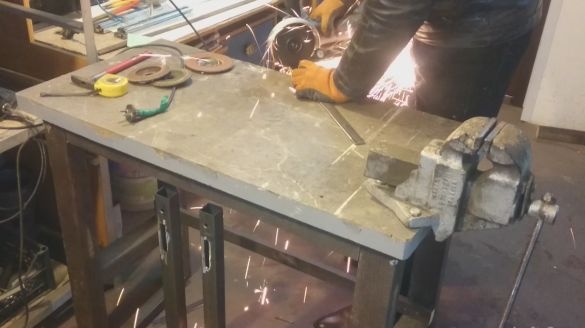
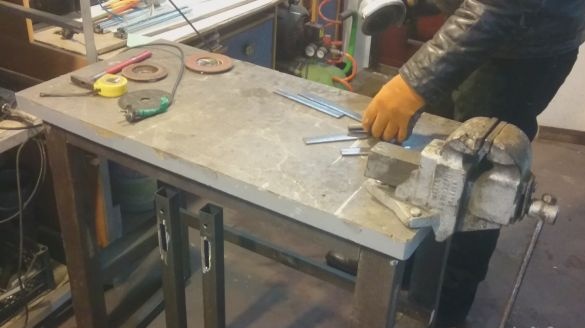
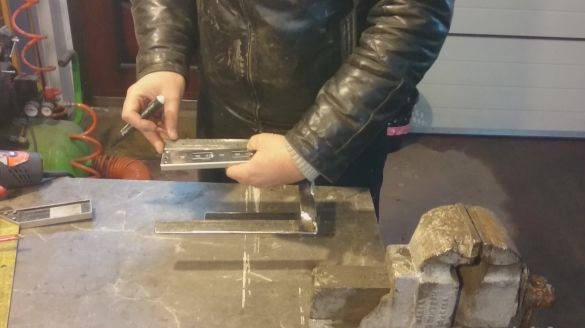
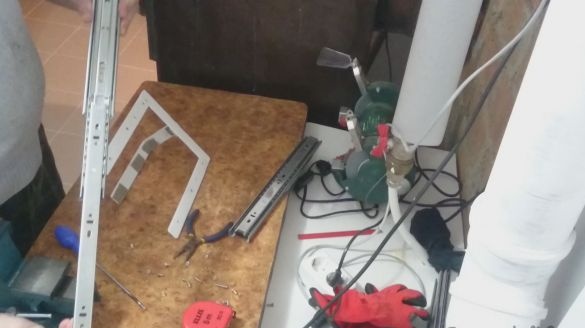
Then I marked out the necessary sections of the strip for future workpieces and cut them to size using angle grinders.
Next, I proceeded to welding the prepared elements. One element could be simply bent, and not cut and welded, but then it would not have turned out to be such a beautiful even angle as I wanted.
The result was such a blank:
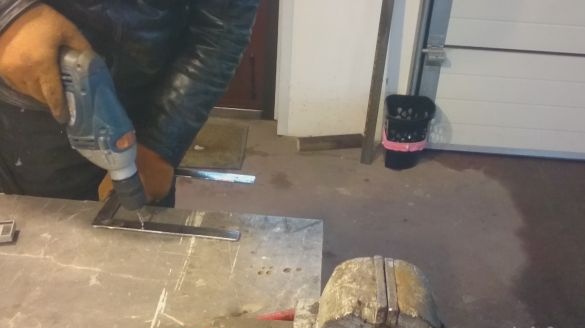
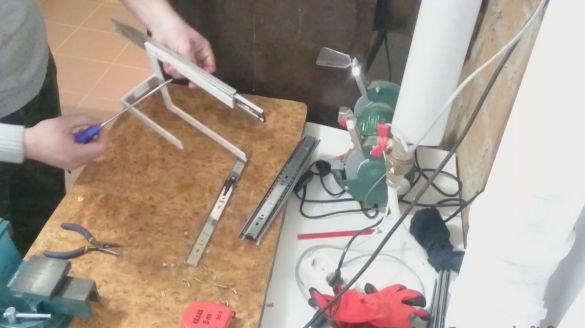
Next, we take the guides for the drawers and mark the holes in the workpiece for their fastening. I took the widest guides, 40 mm, along the length of 350 mm. Despite the fact that they are designed to bear the load in an upright position up to 25 kg, in a horizontal position they are also quite strong.
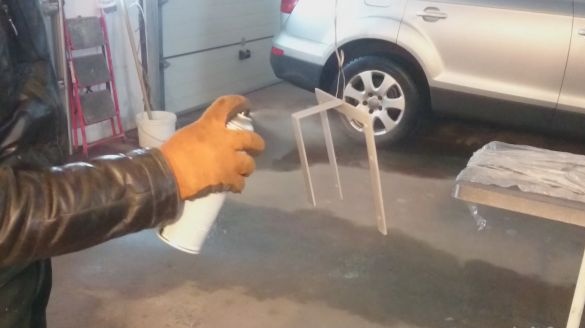
Next, we clean the seams, holes and primers, paint the resulting product.
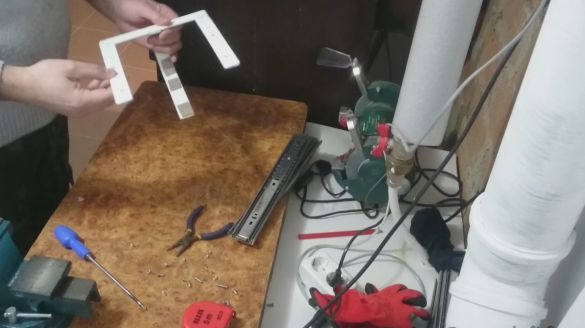
After the paint had dried, I glued self-adhesive furniture linings to the parts rubbing with the furniture so as not to scratch the furniture and proceeded to fasten the guides to the mount.
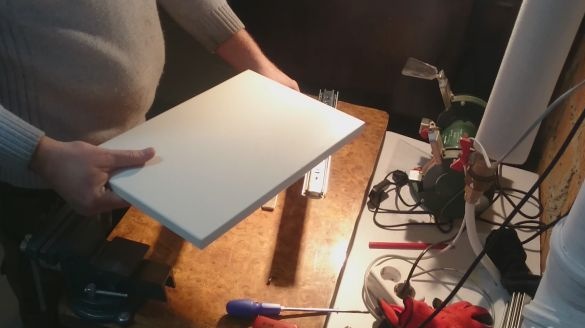
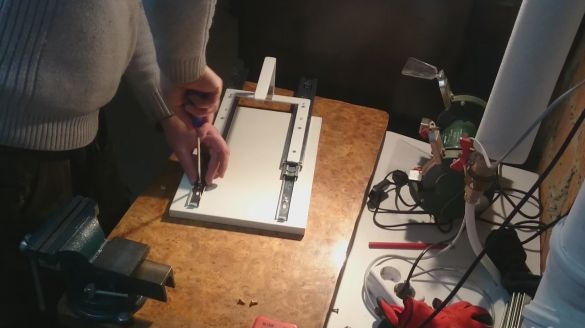
Next, I took the prepared piece of chipboard the size of a laptop and screwed it to the bearing parts of the guides.
Everything, the table is ready.
Finally, a few words about the cost of materials:
Strip metal 1 USD
A pair of guides 2 USD
Chipboard with an edge of 2.5 USD
Hardware 0.5 USD
Total: 6 USD.


