
Hello everyone, I have found for you, readers, another design of a belt sander. Such a stanochka is made simple, and in quality and reliability it will significantly surpass models from plywood and other similar material. The frame here is assembled from metal square pipes using welding.
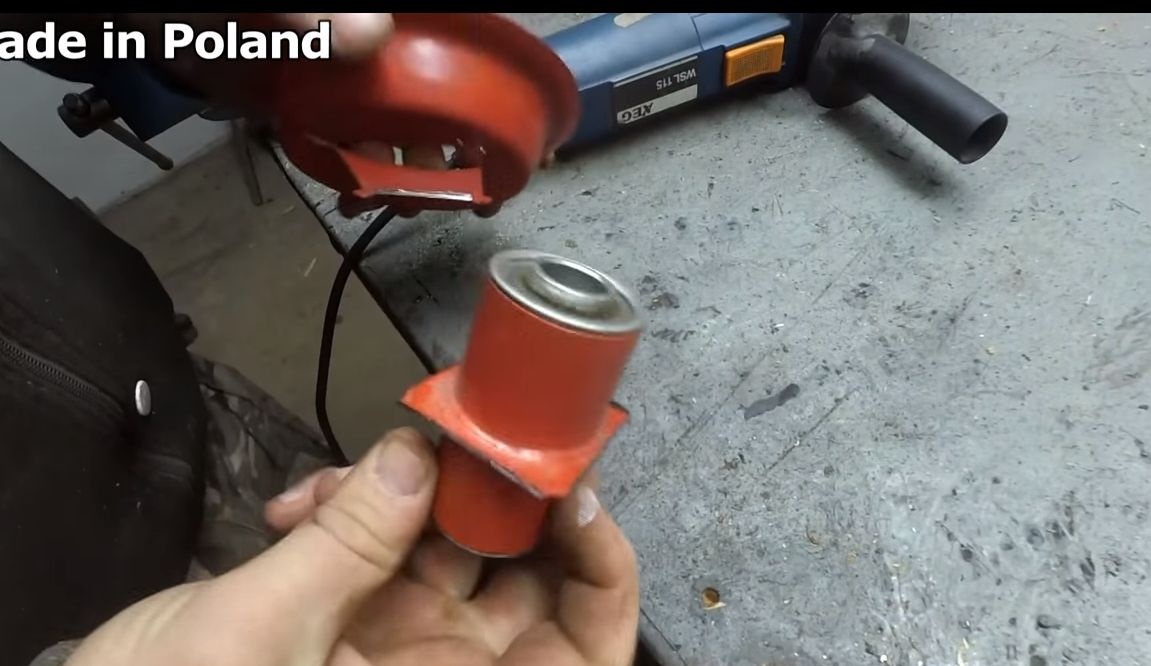
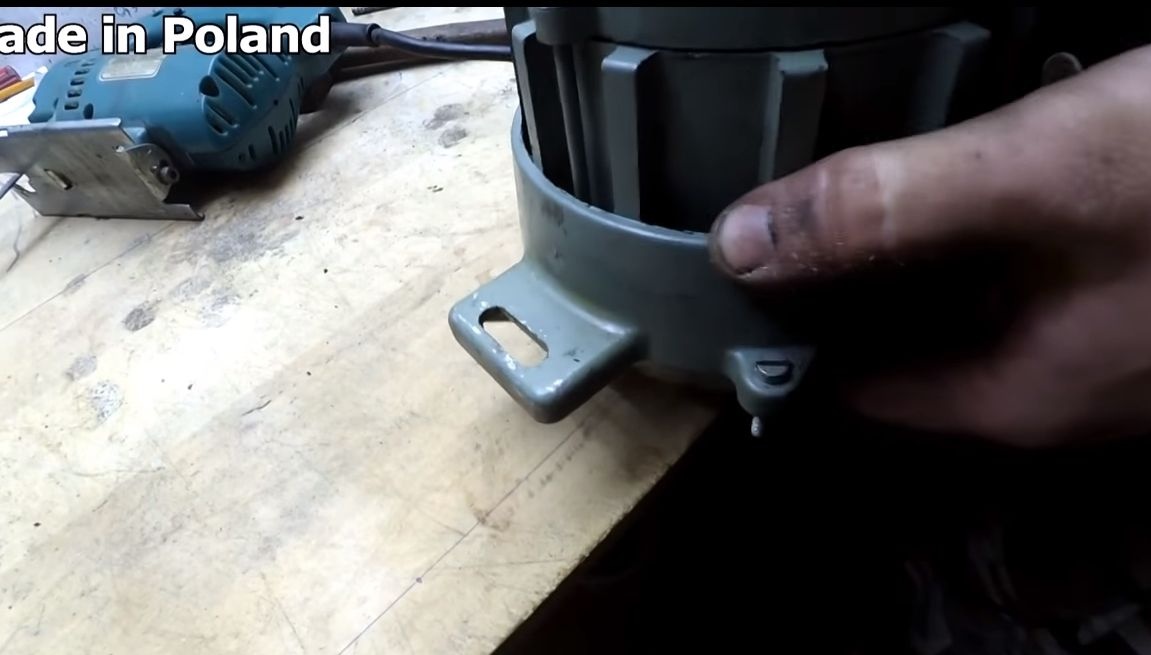
As for the motor, for homemade the engine from the sharpener, the old (but powerful) washing machine and so on will be enough. The engine speed is not as important as the torque.
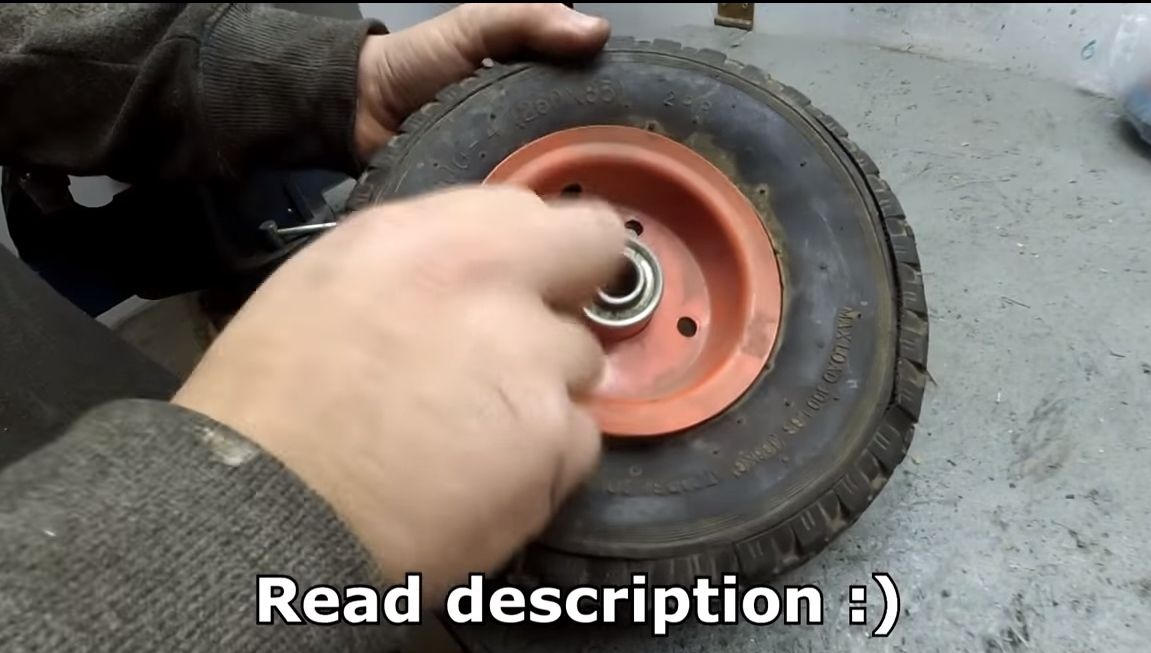
Another important node of such a machine can be considered a driven axis. Its author made it quickly and simply, for this the axle from the old wheel of the cart was used. Let's consider in more detail how to make such a machine?
Materials and tools used by the author:
Materials:
- wheel from the cart (axis from it);
- engine;
- a piece of plywood;
- sheet steel (for the frame);
- steel square pipes;
- grinding belt;
- spring;
- bolts, nuts, etc.
- door hinge;
- fittings and other trifles;
- epoxy adhesive
- button for emergency shutdown of the machine (important).
Instruments:
- welding;
- grinder;
- open keys, pliers, etc .;
- jigsaw;
- files;
- clamps.
The grinding machine manufacturing process:
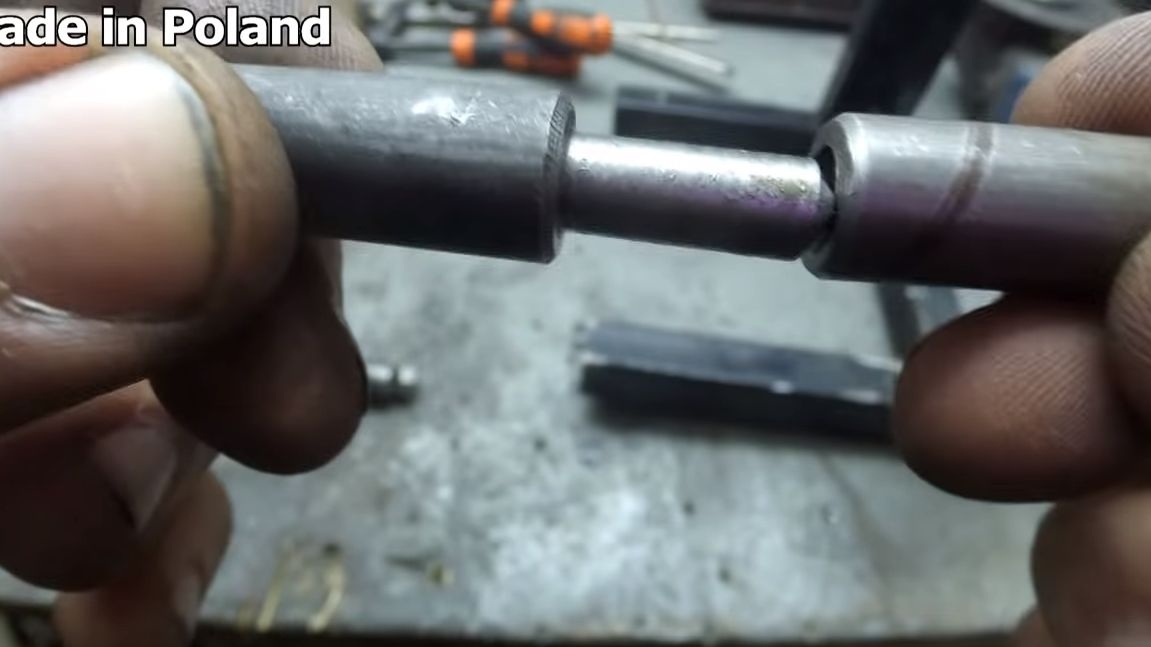
Step one. We make a driven axis
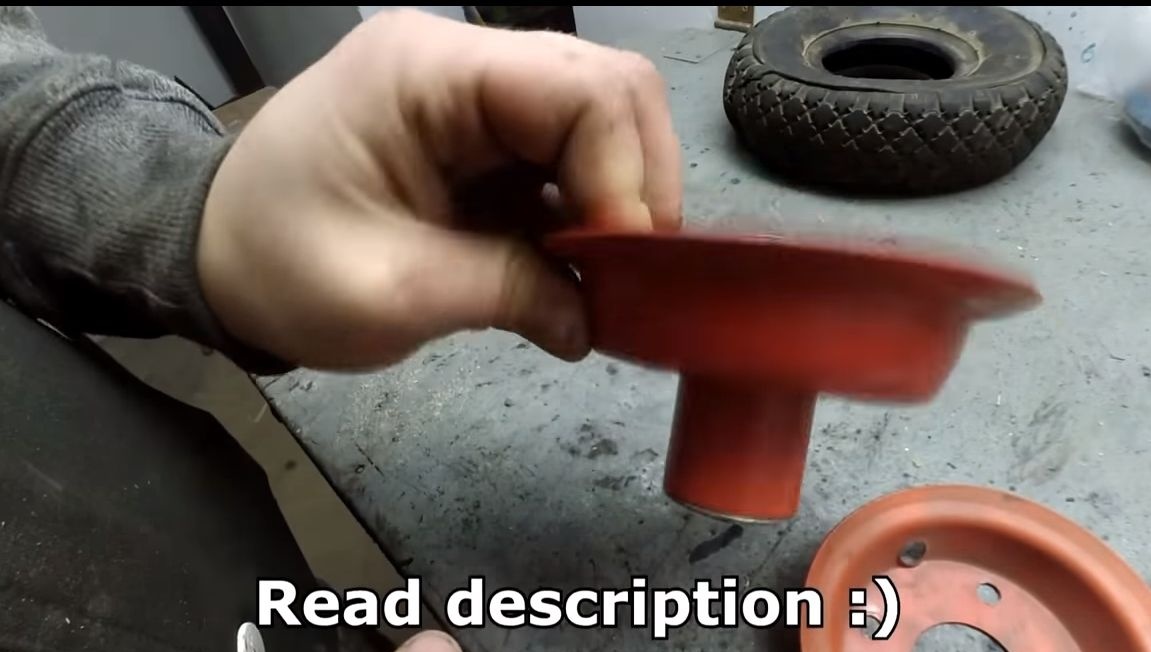
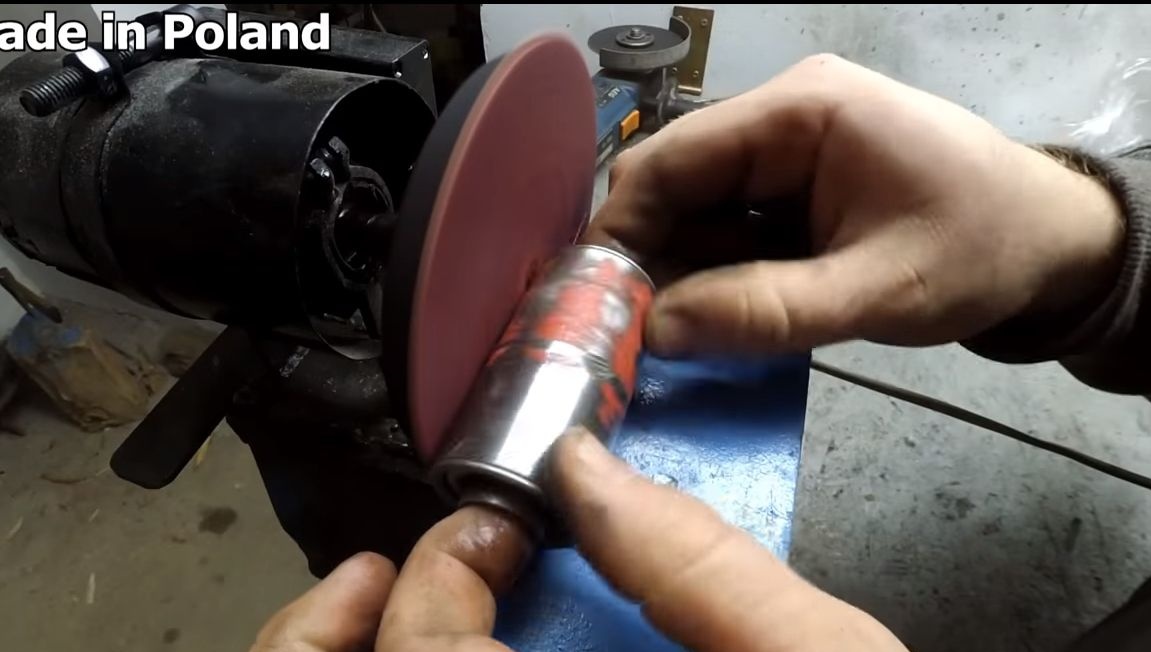
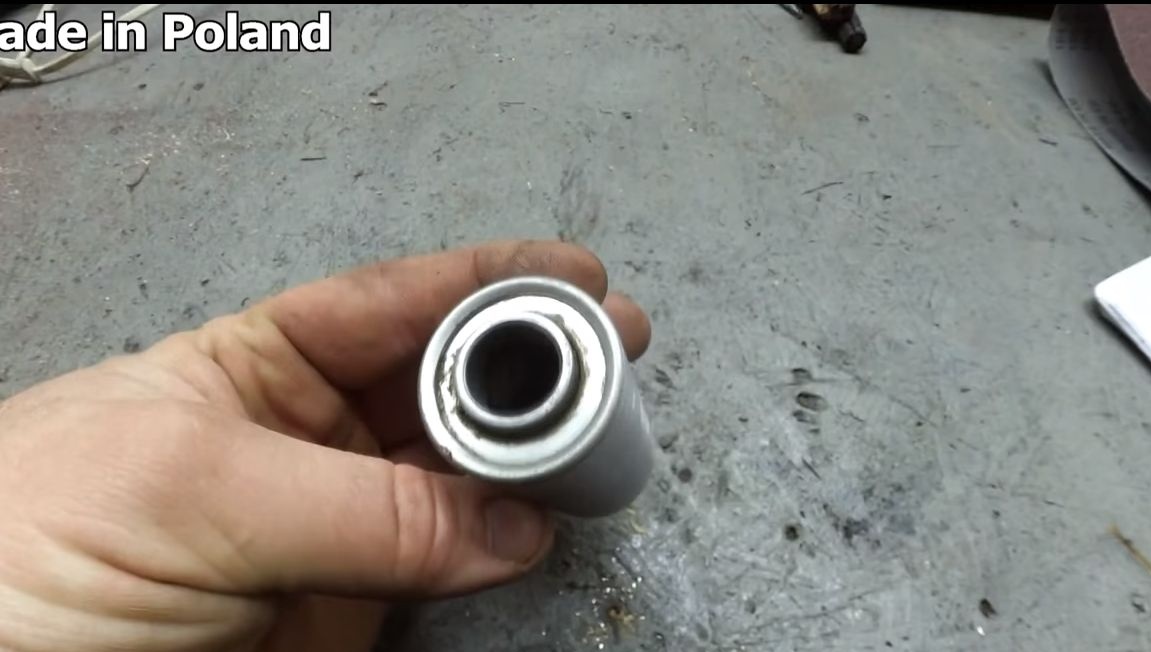
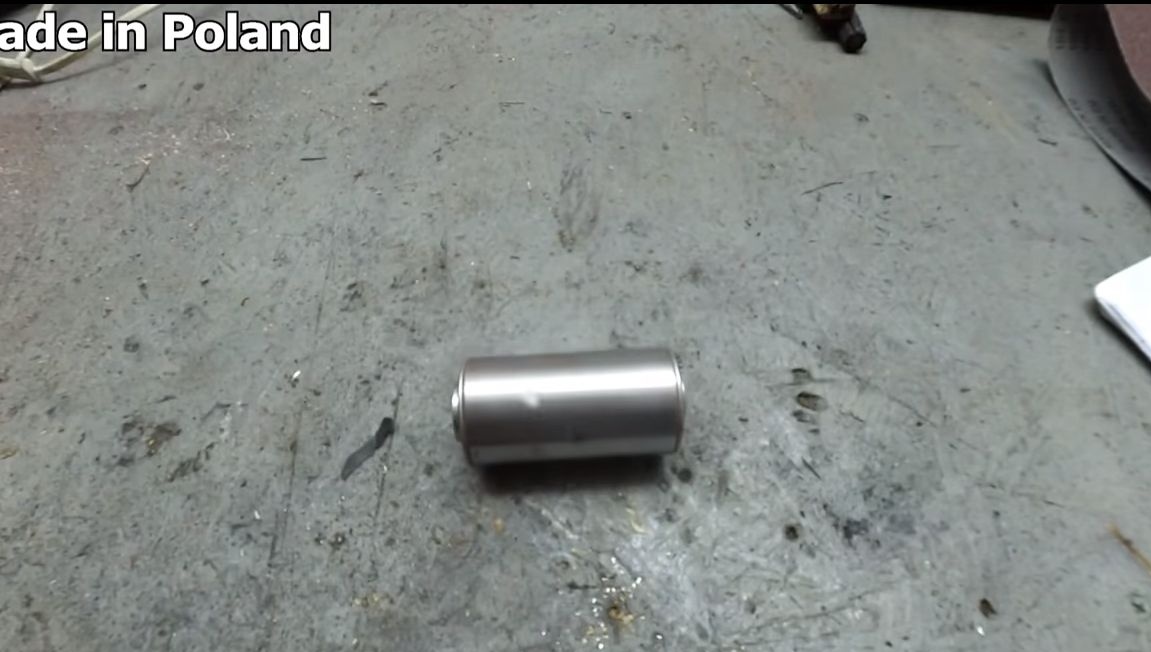
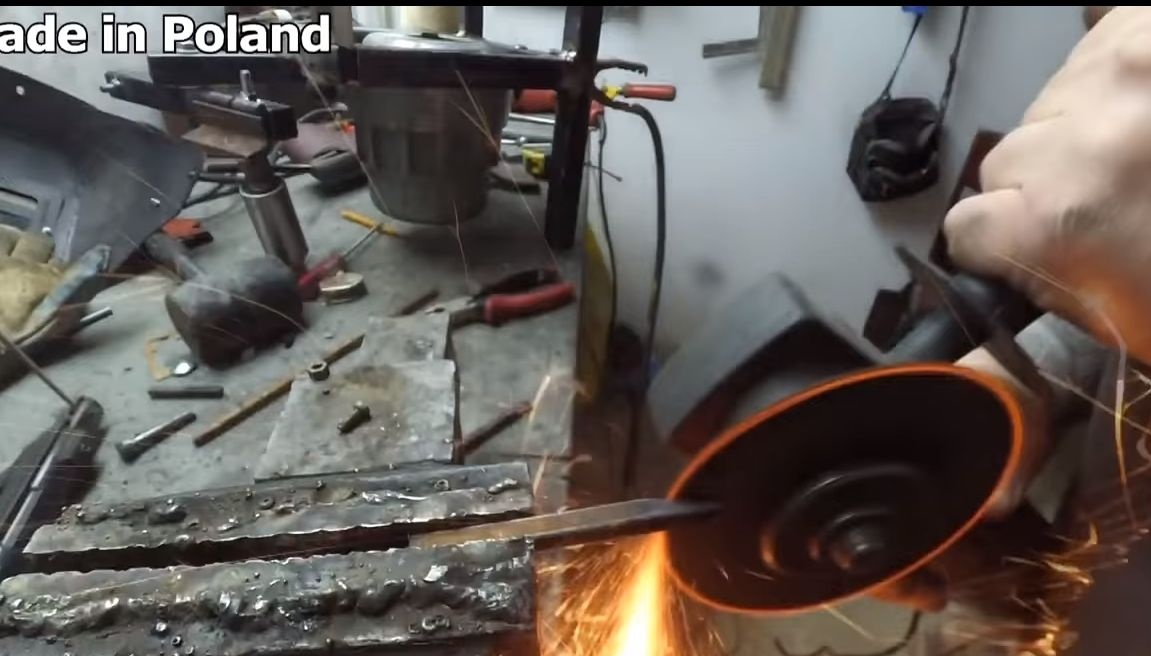
For the manufacture of the driven axle, the author used the axis from the old wheel of the cart. First of all, we take a grinder and cut off everything unnecessary from the axis. After such work, a lot of bumps will remain on the axis, they all need to be removed. For these purposes, you will need either a grinder, or a whetstone or the same grinder. Turn the axis well over the entire area so that the surface is perfectly smooth. If necessary, sand the part on top with sandpaper. Most importantly, there should be whole bearings inside, but they usually last quite a long time.

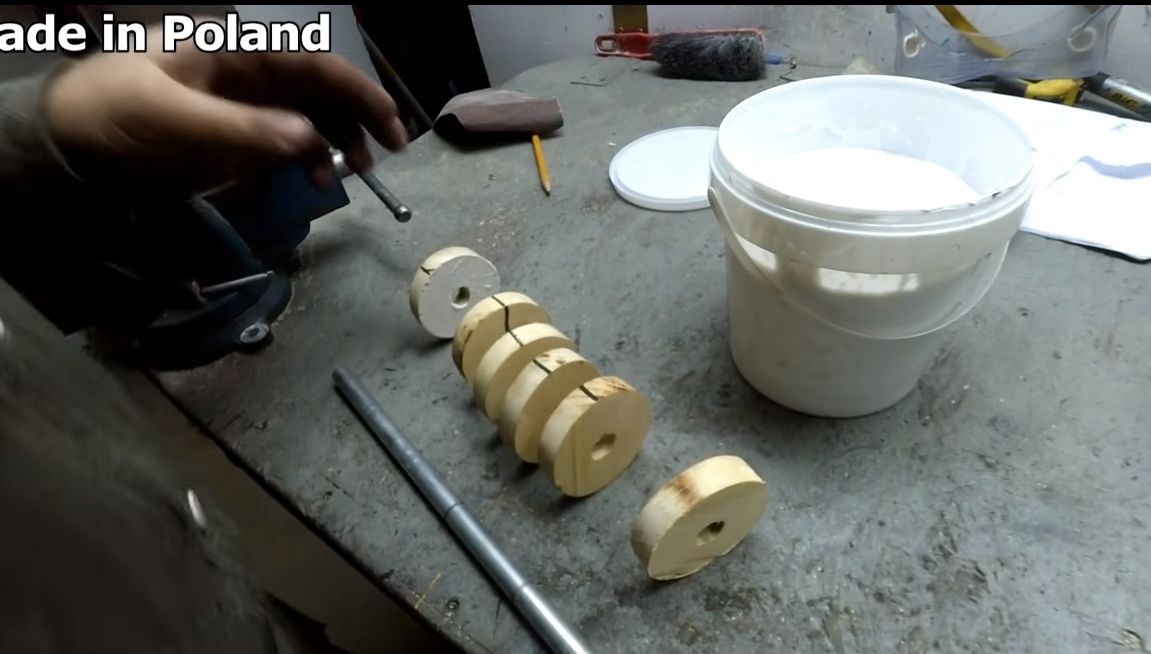
Step Two Wheel blanks
The author makes the driving wheel from a classic and easily accessible material - from wood. It can be a board or plywood. First, draw circles on plywood, depending on the desired wheel diameter. As for the width of the wheel, it all depends on the width of the belt used. The width is formed by the desired number of rounds.
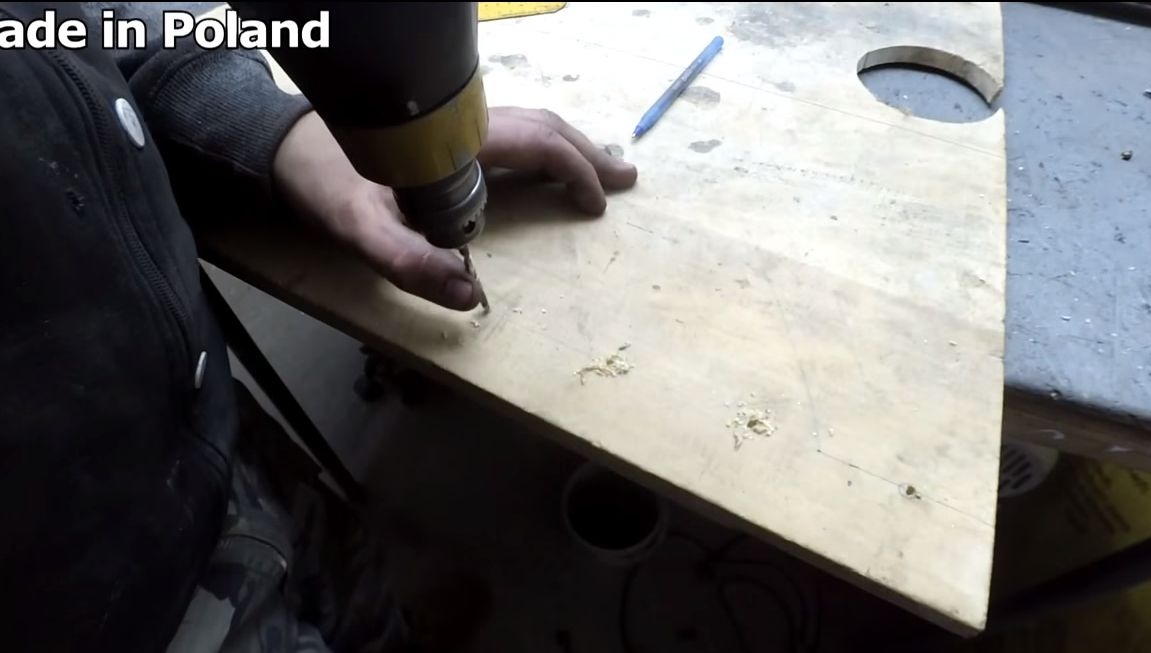
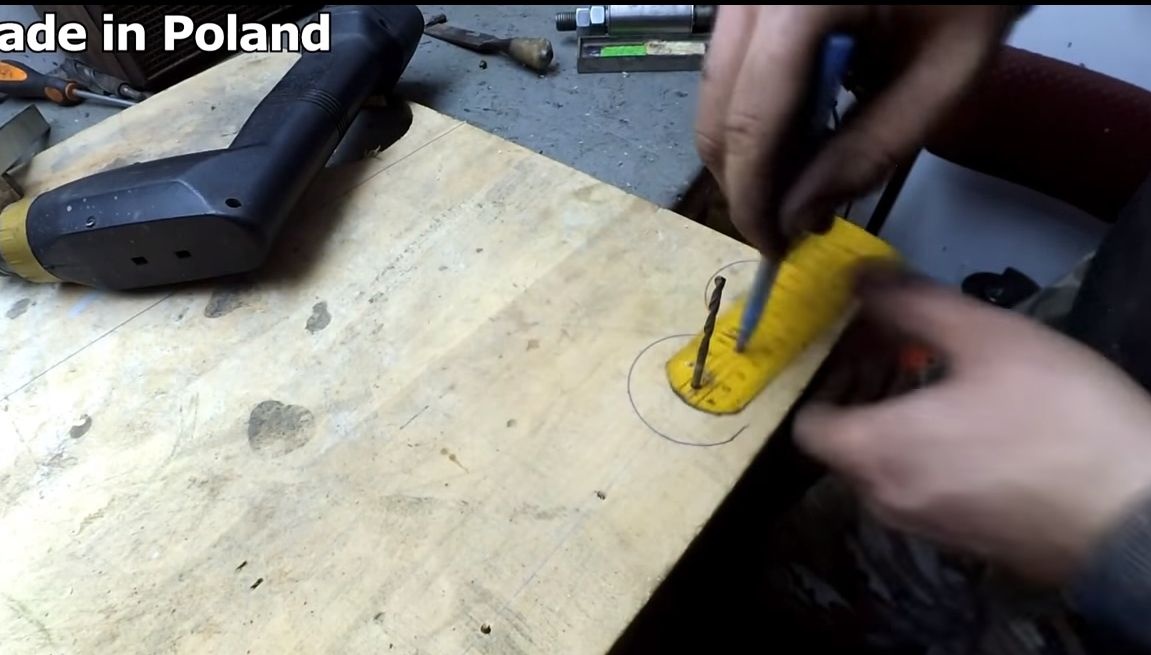
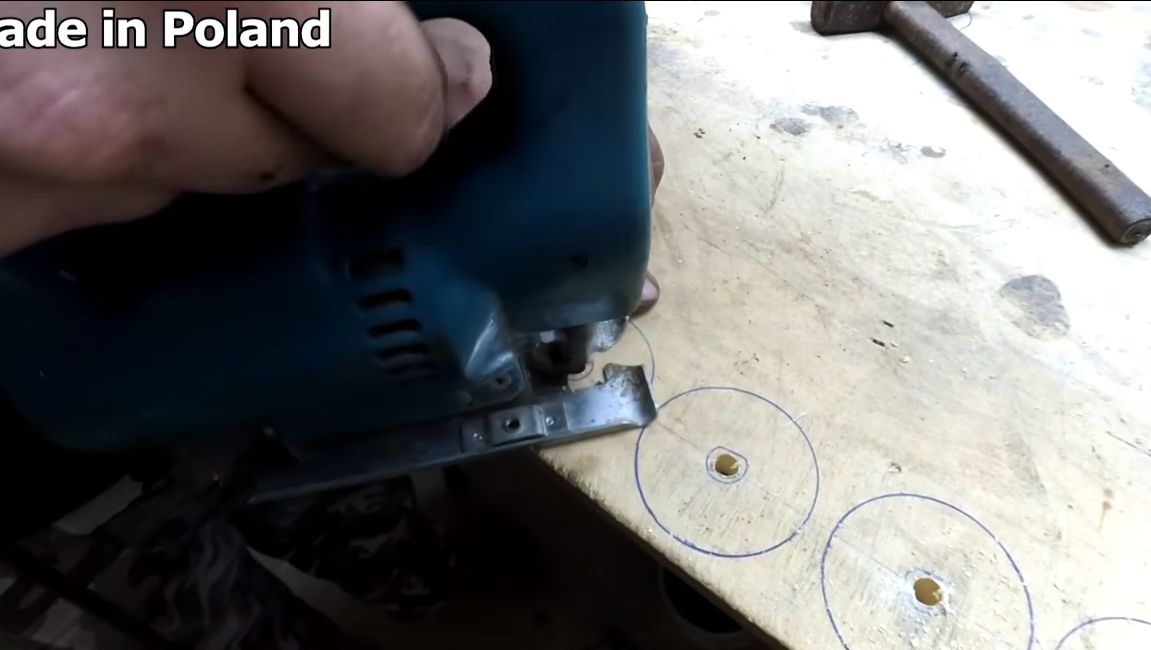
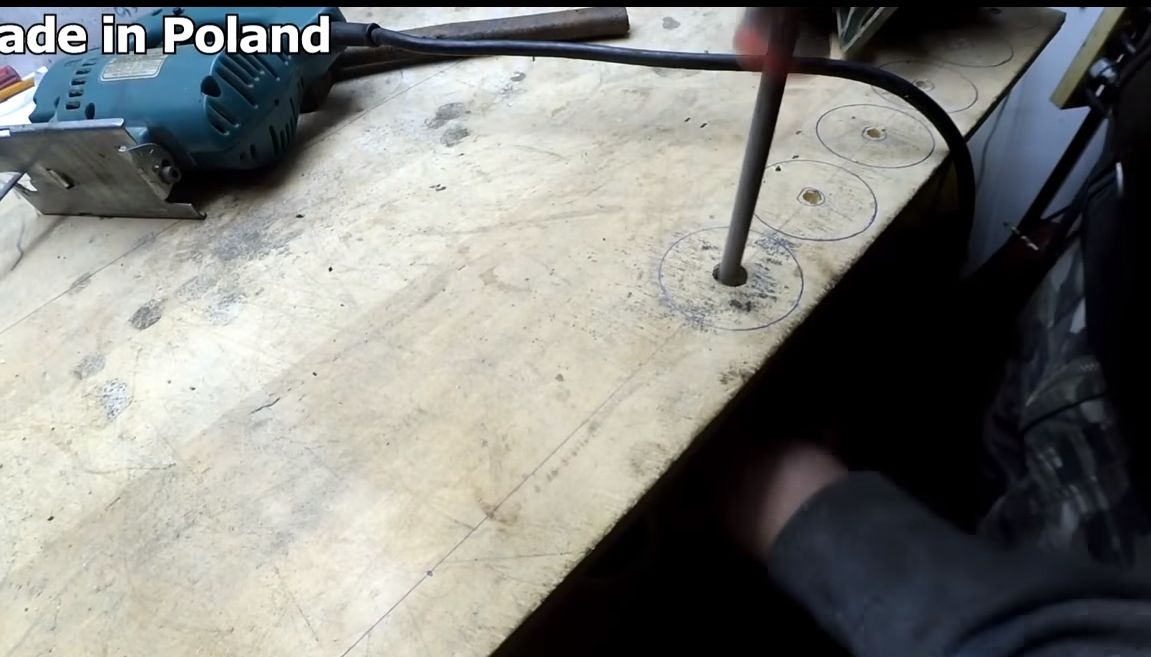
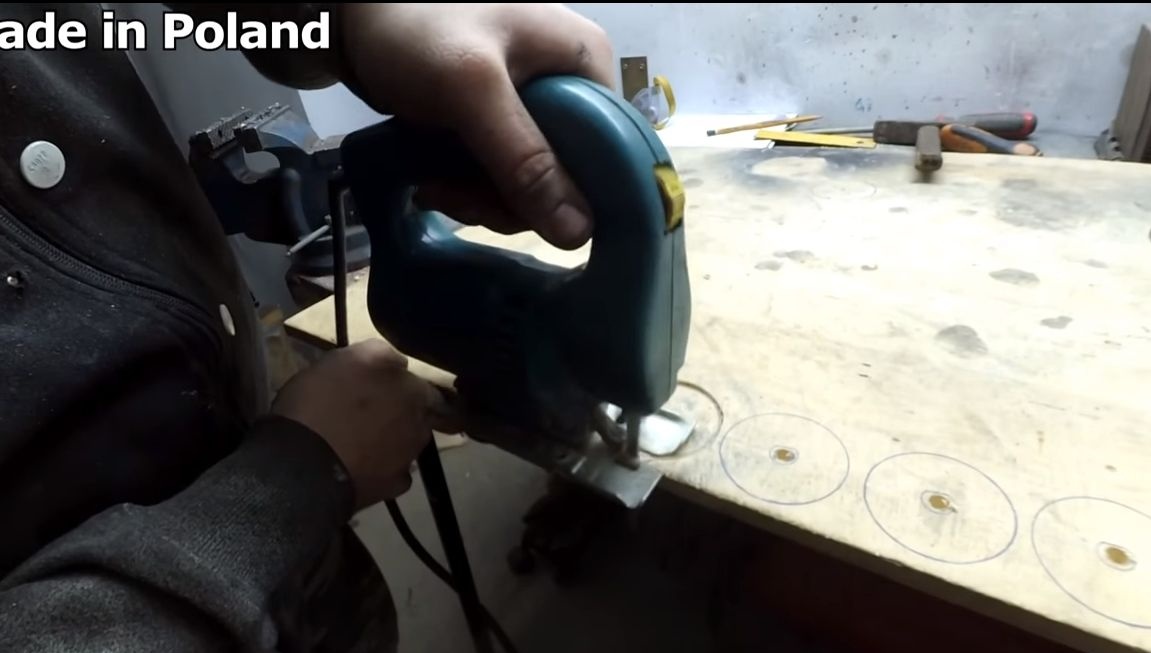
We take a drill and drill holes in the center of the round timber. Then they will need to be bored or drilled to such a diameter that the motor shaft can enter. Auto boring holes with a regular round file. Then the workpieces are carefully ground so that they fit perfectly together.
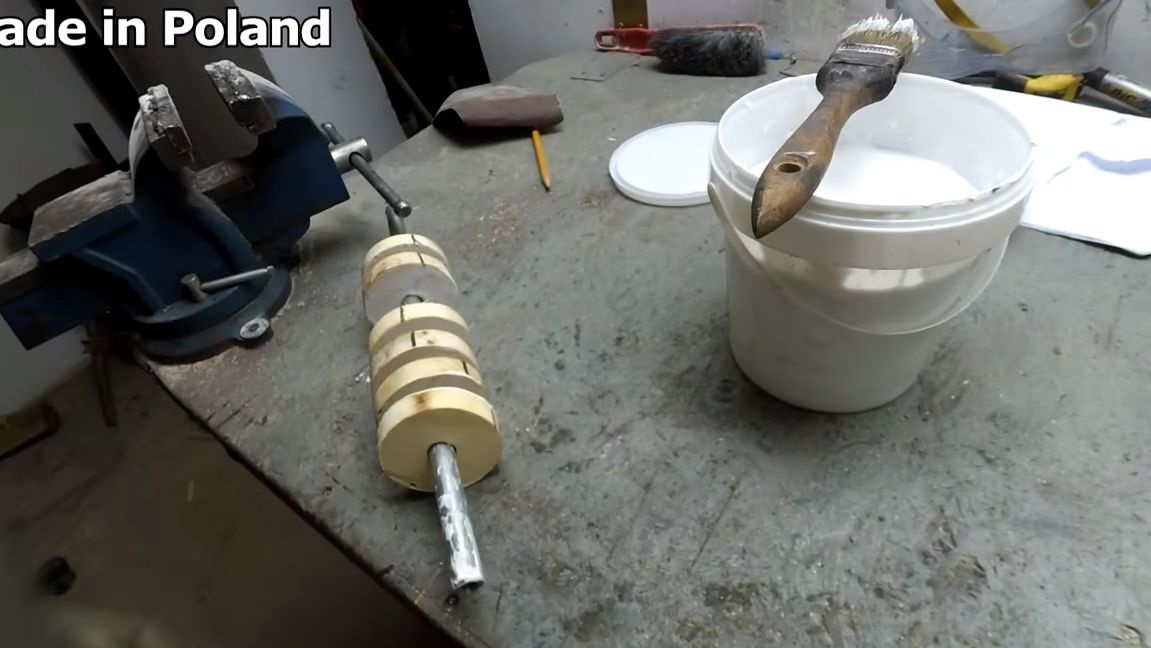
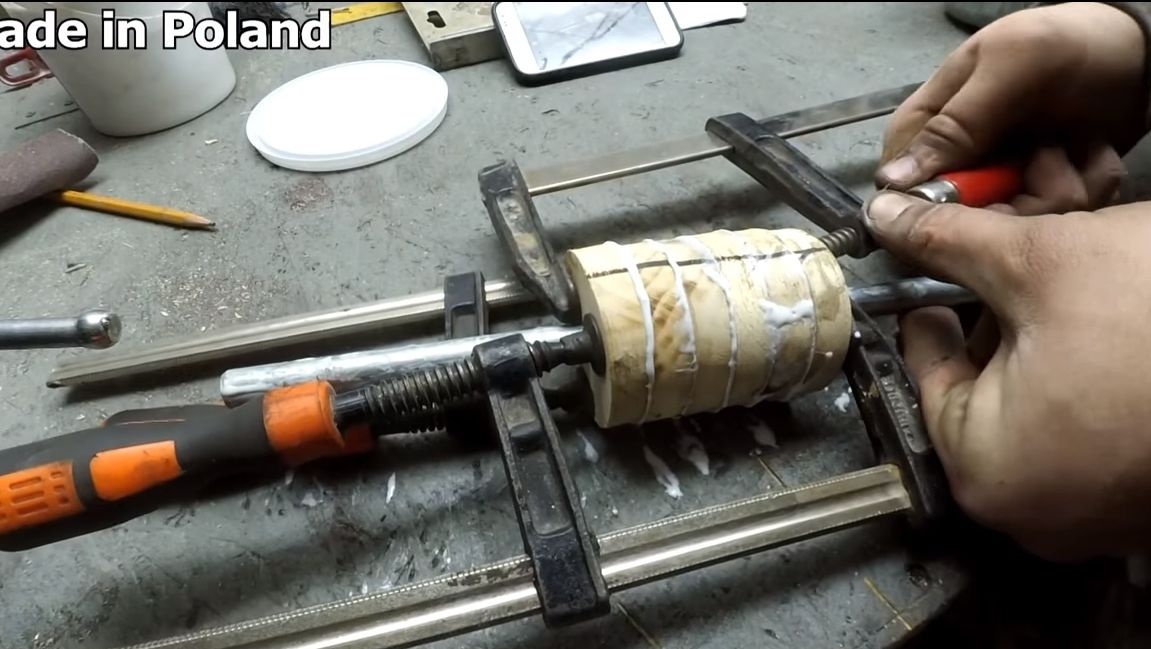
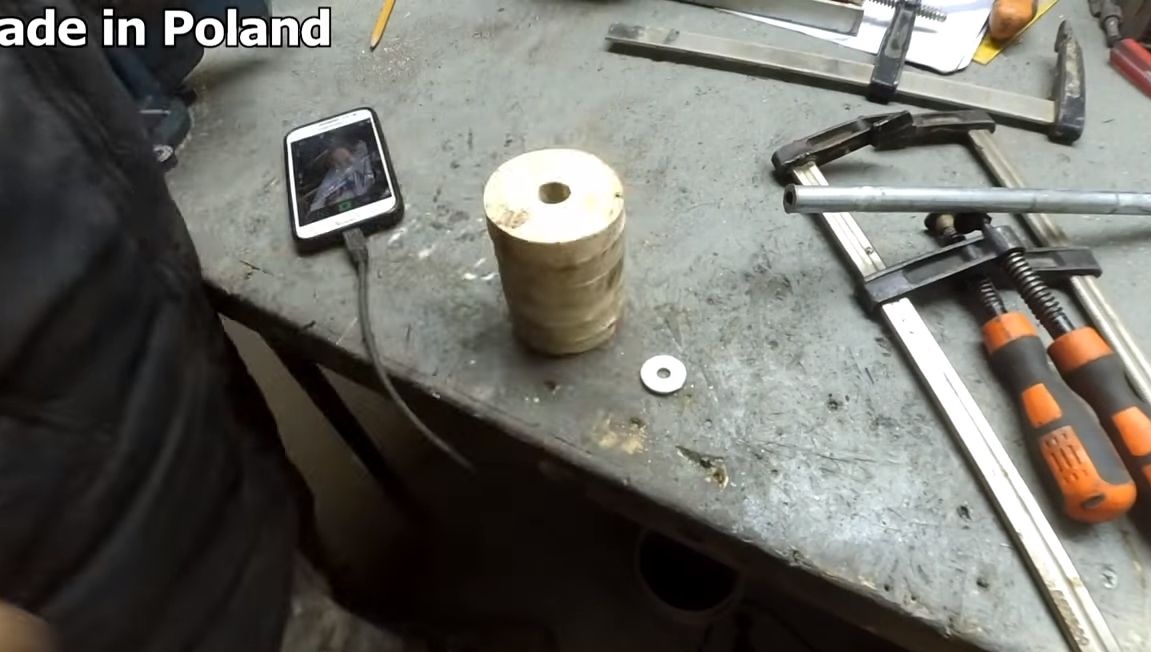
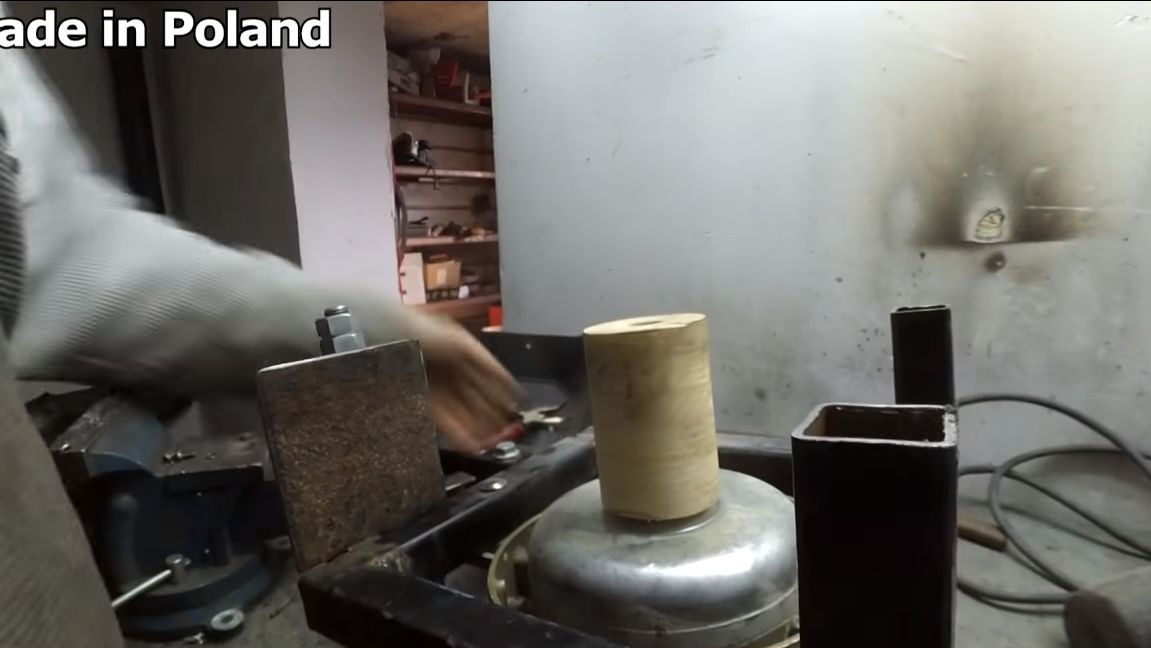
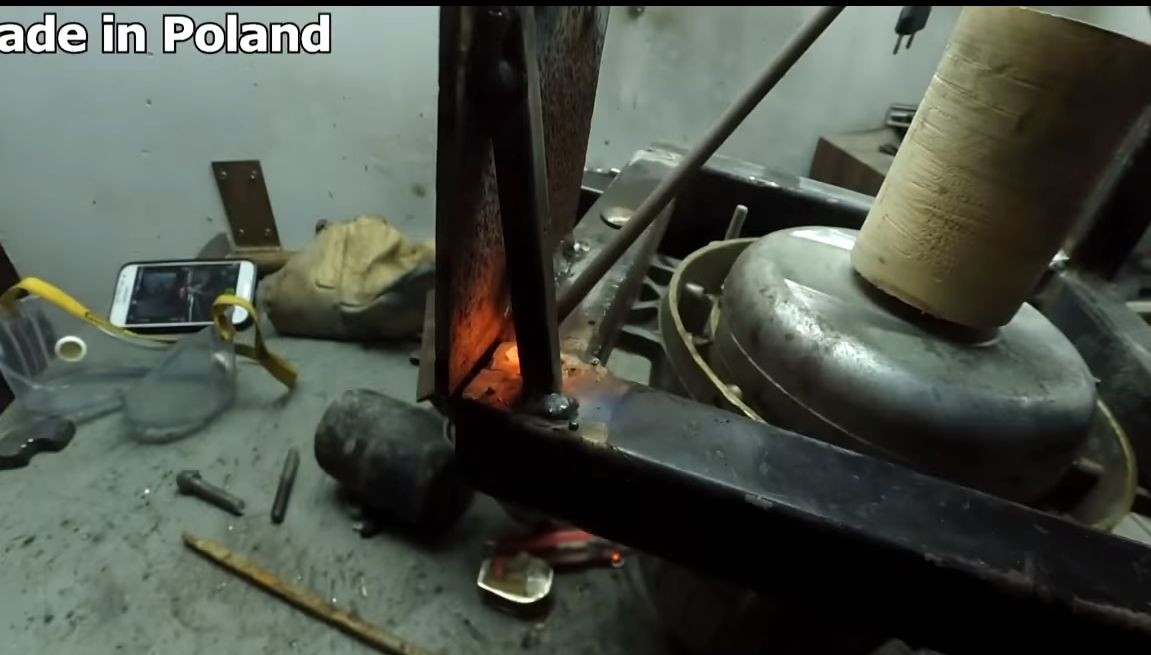
Step Three Glue the drive wheel
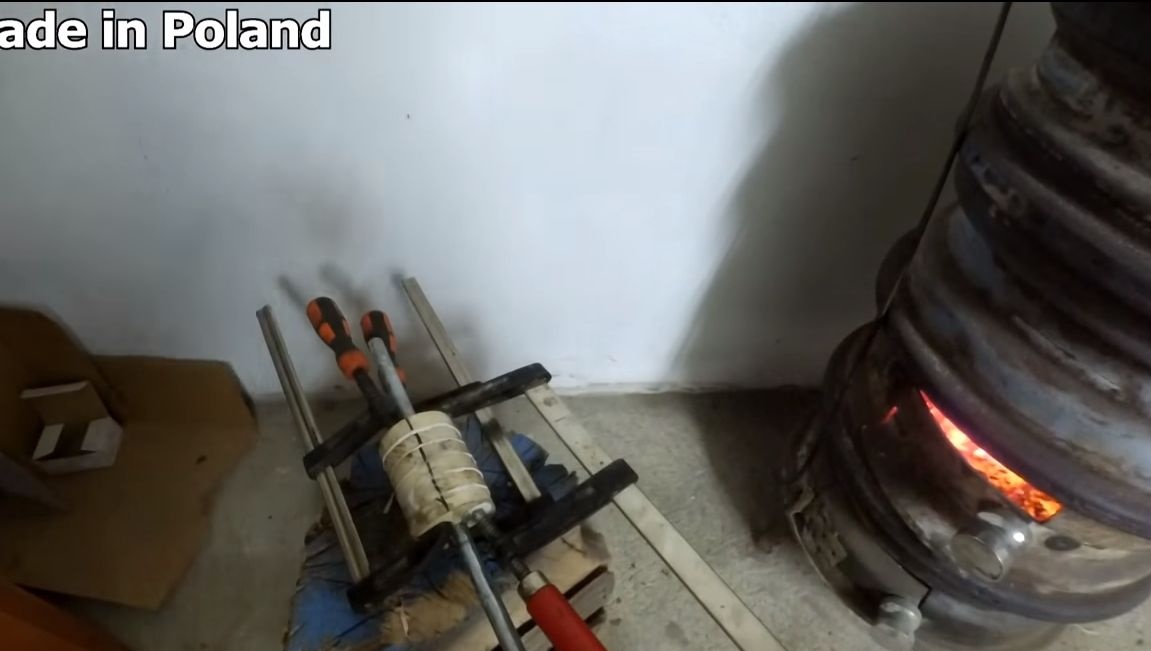
Typically, such parts are assembled using epoxy glue, it holds securely, but PVA glue or the like for wood is also suitable, but it needs more. We collect all the details on the axis, applying glue to each part. Clamp all the “garland” with clamps so that the parts are well pressed together. The glue that comes out must be wiped off immediately before it dries. The author dries the blank near the furnace, for reliability.
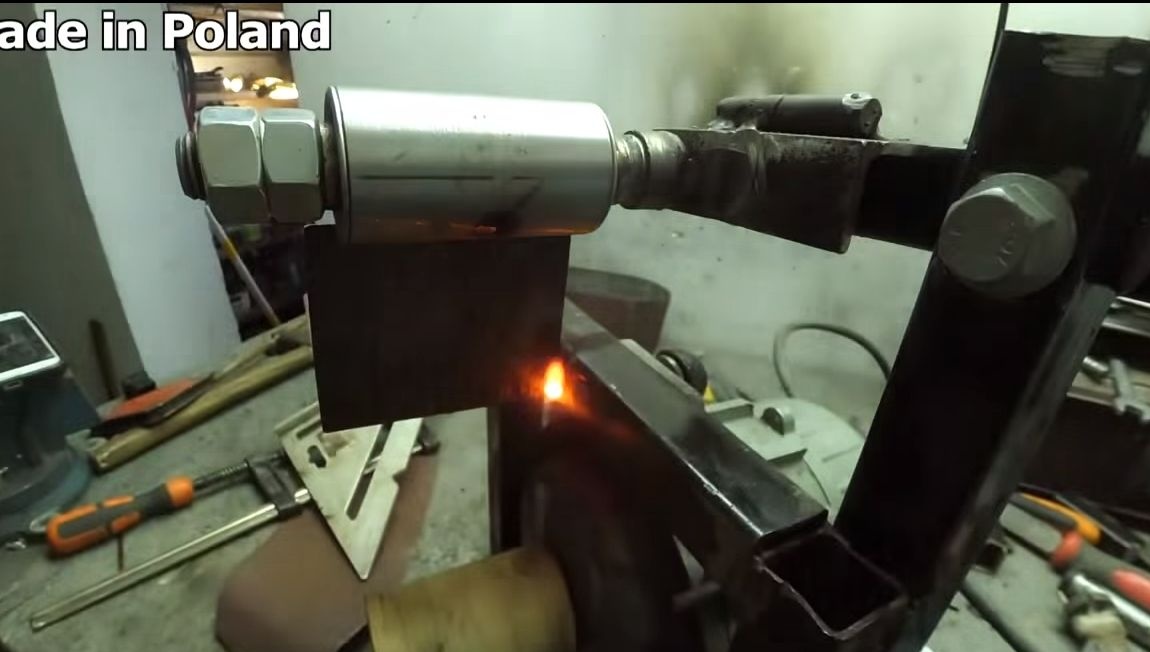
Step Four Finish the drive wheel
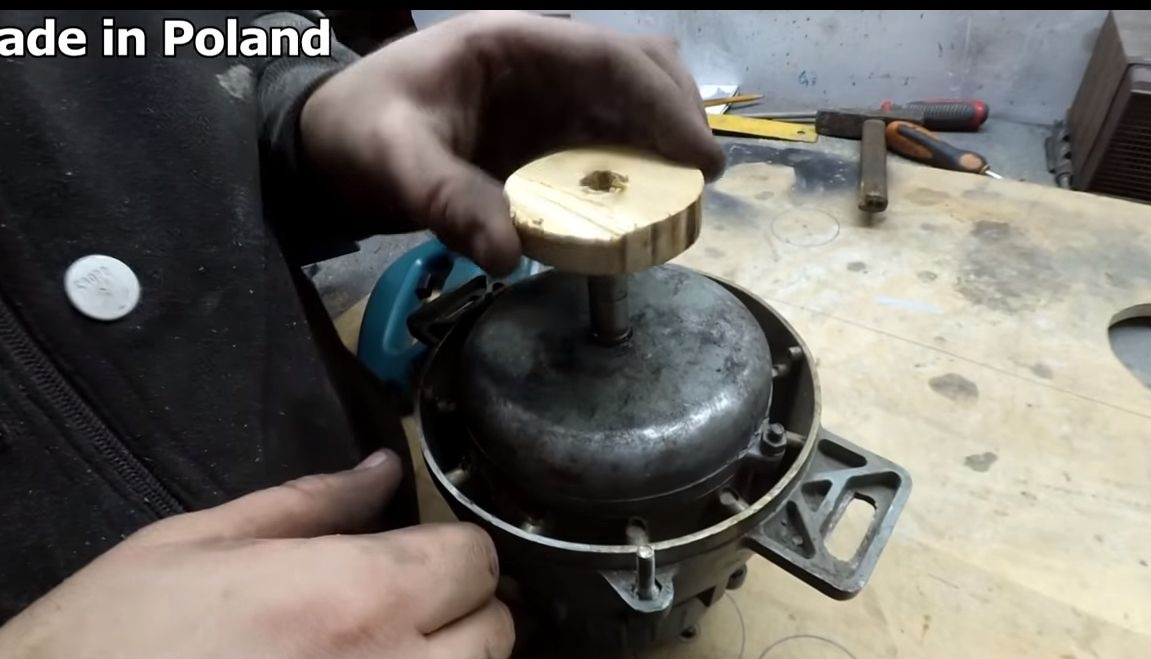
When the glue dries, remove the clamps, and carefully press the wheel onto the motor shaft with a hammer. This approach is not very successful, since the glue will crack, it would be better to immediately assemble the wheel on the shaft. But the author does as he sees fit.
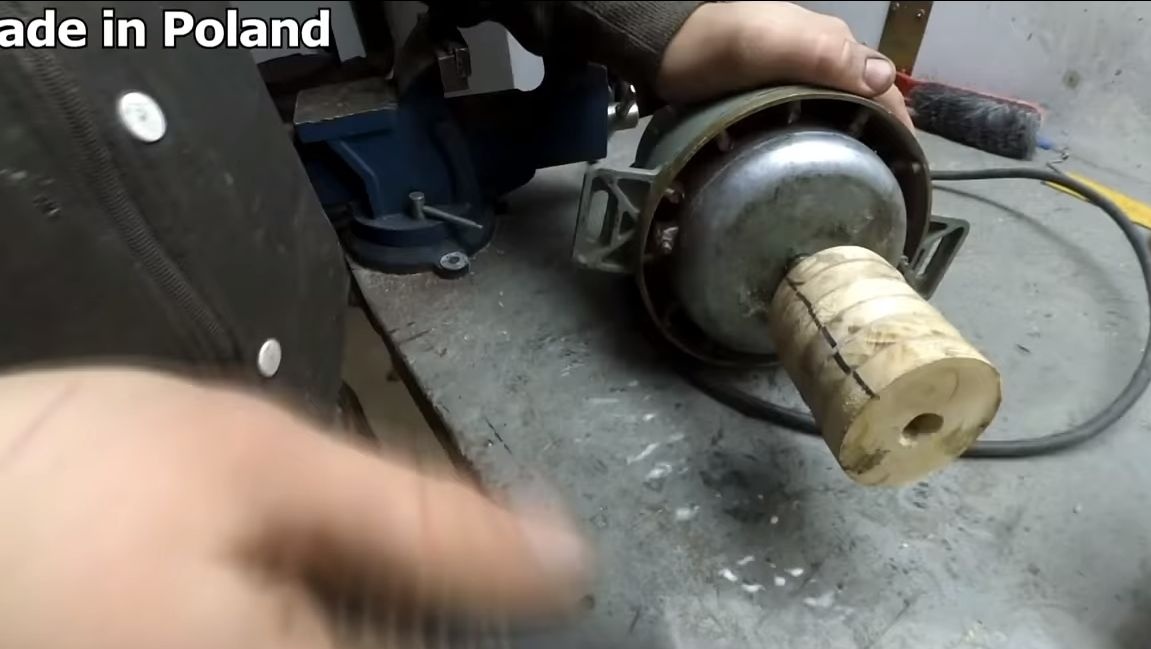
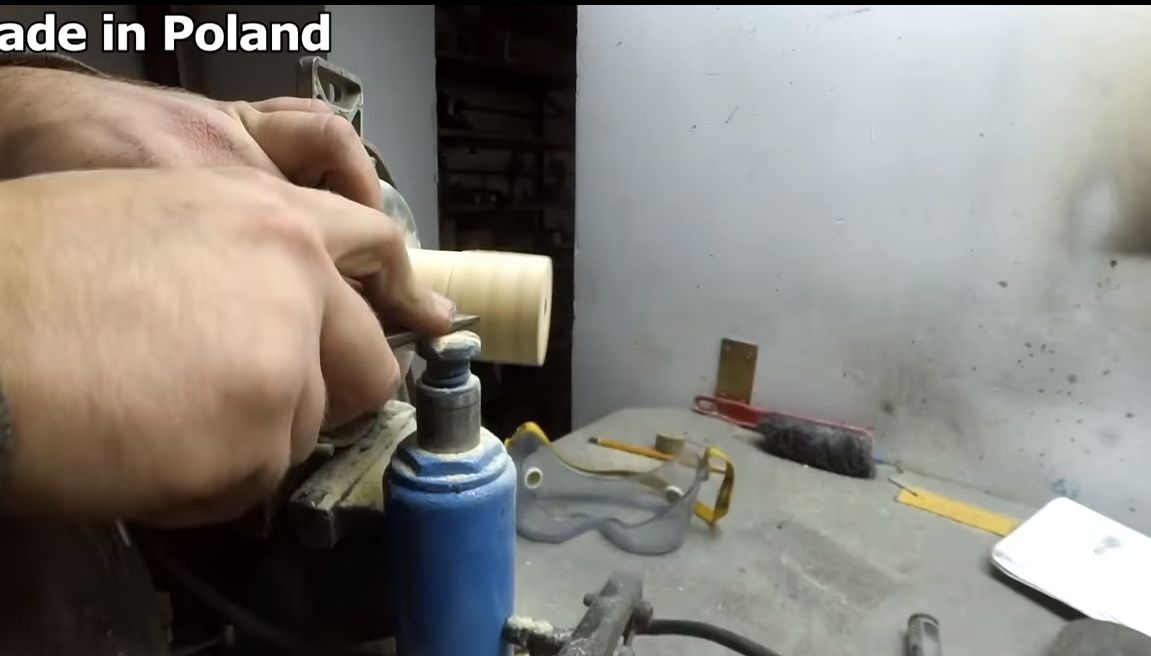
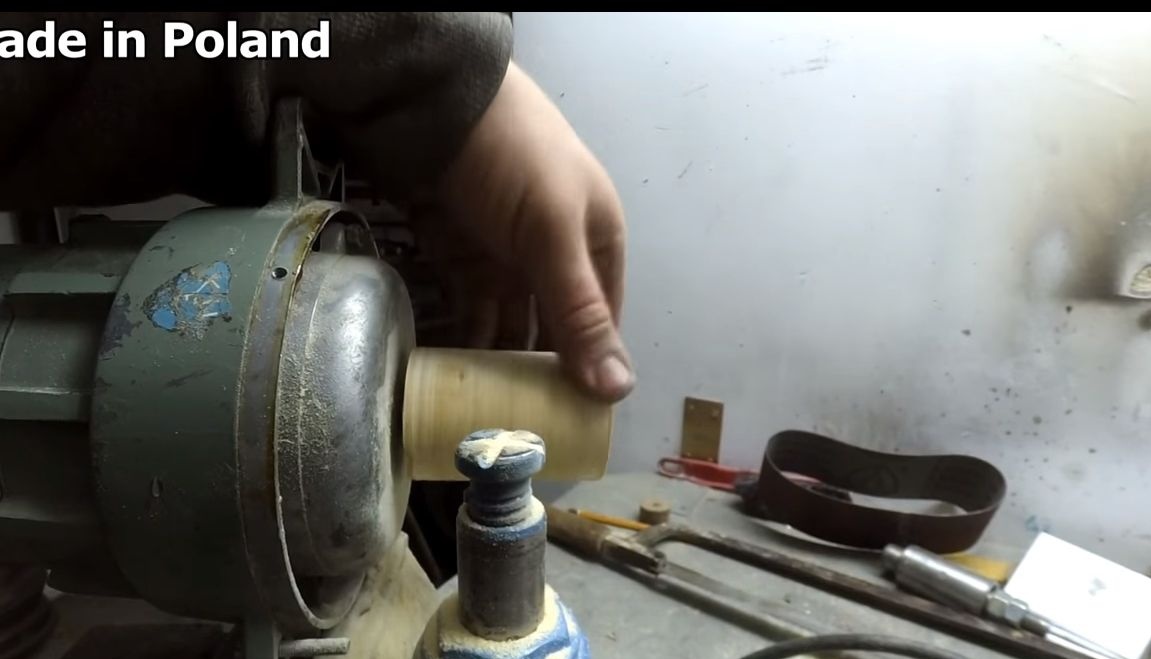
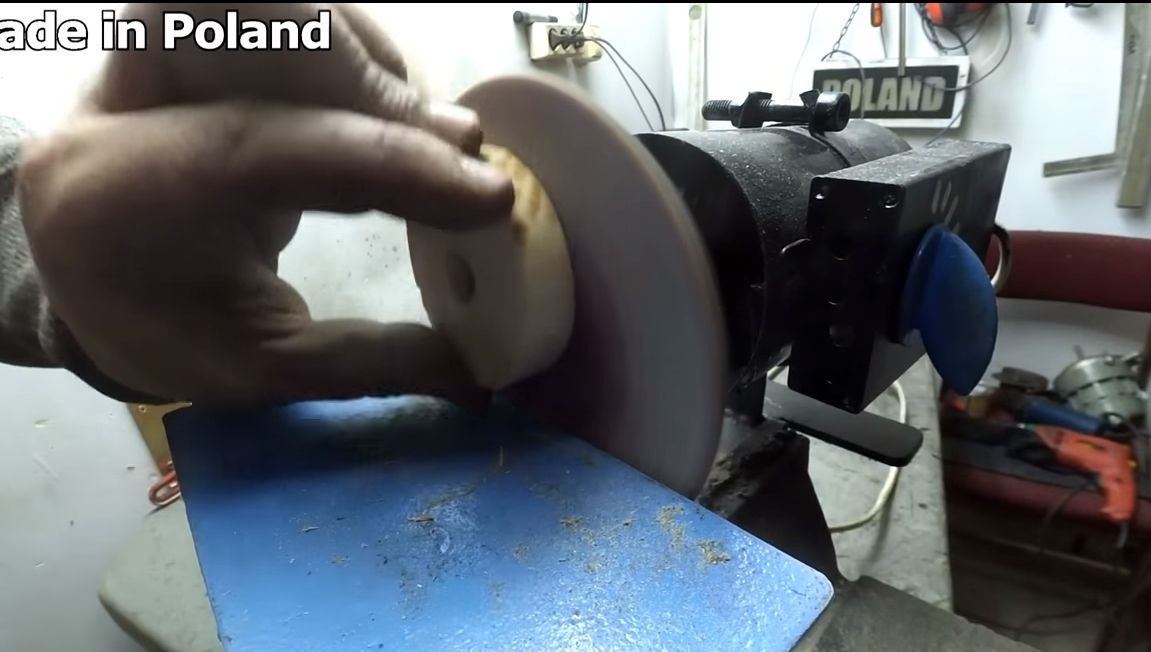
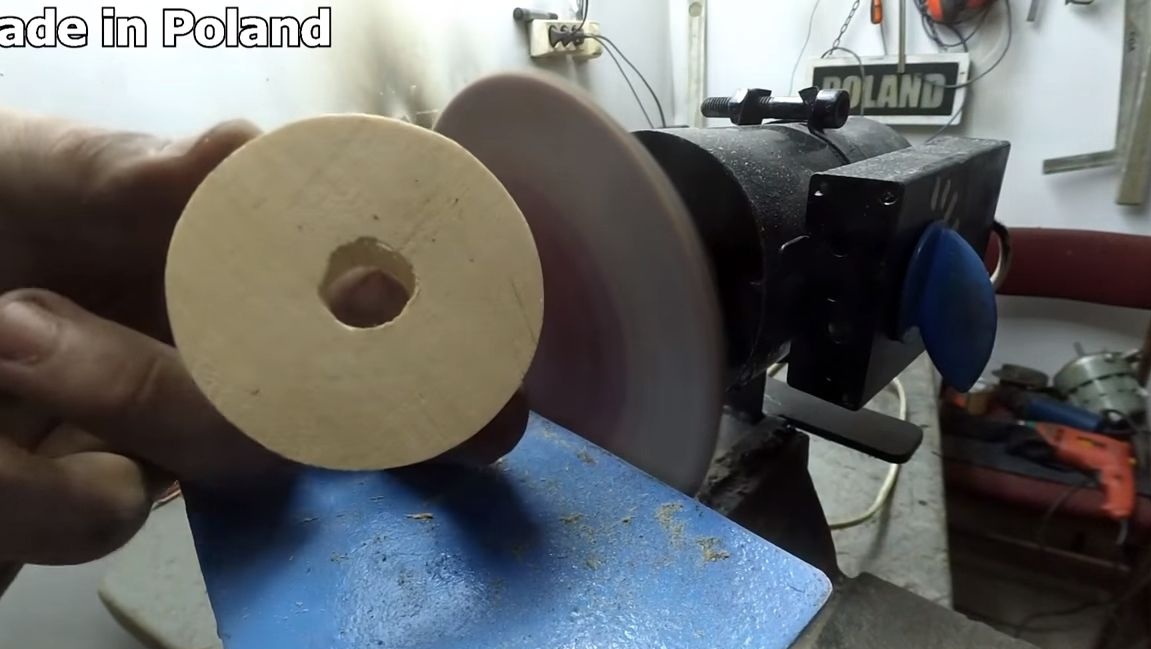
When the wheel is installed, prepare some emphasis under the chisel, the author used a jack. We turn on the engine and grind the wheel along the entire length. As a result, it turns out to be smooth, centered, when installing the belt there will be almost no runout.
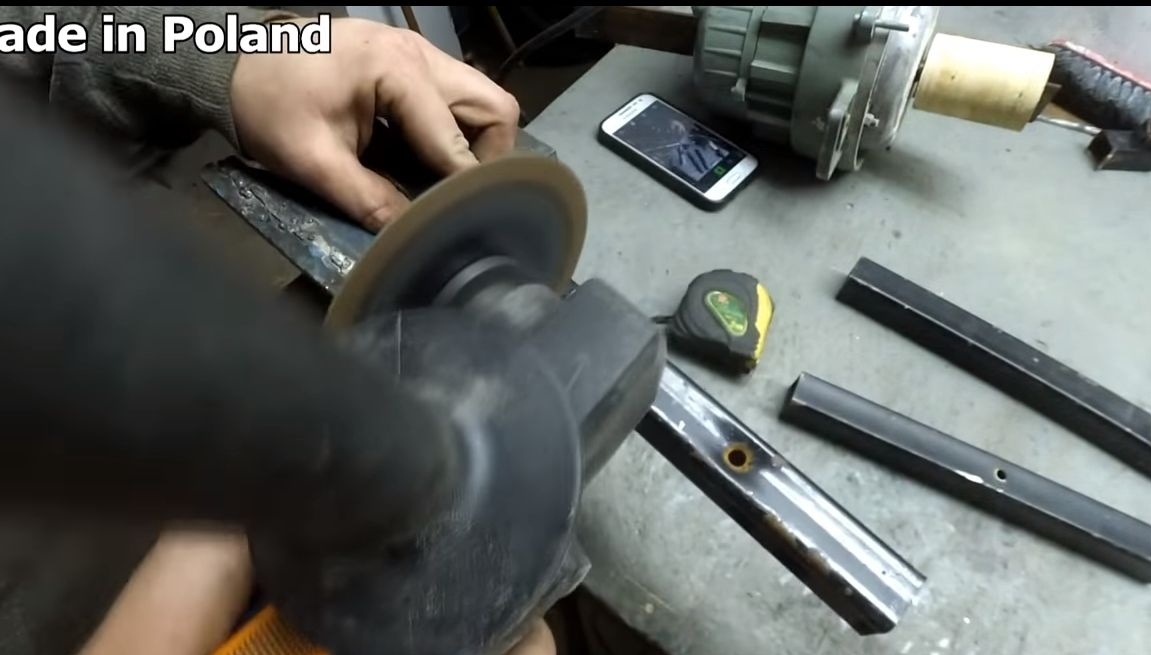
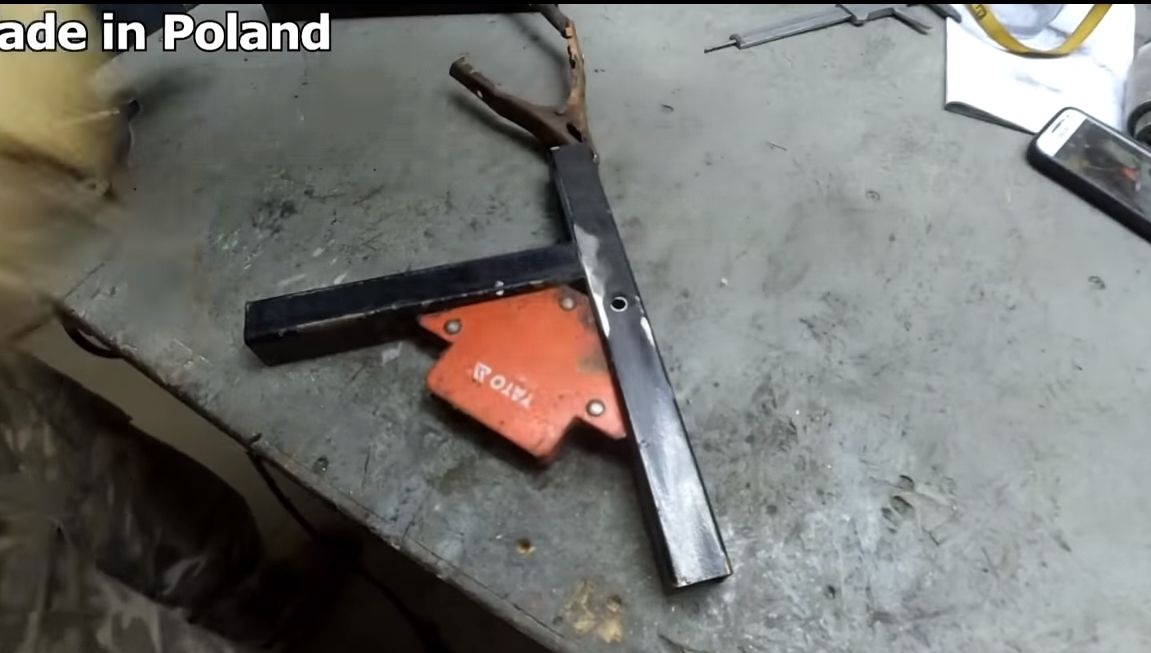
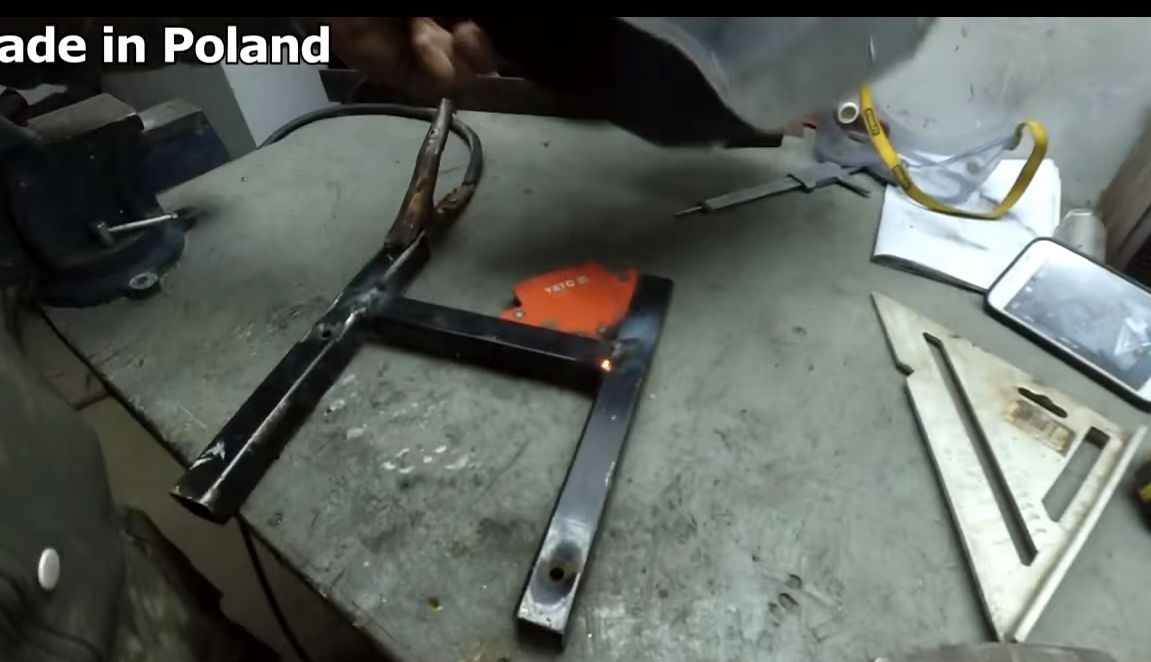
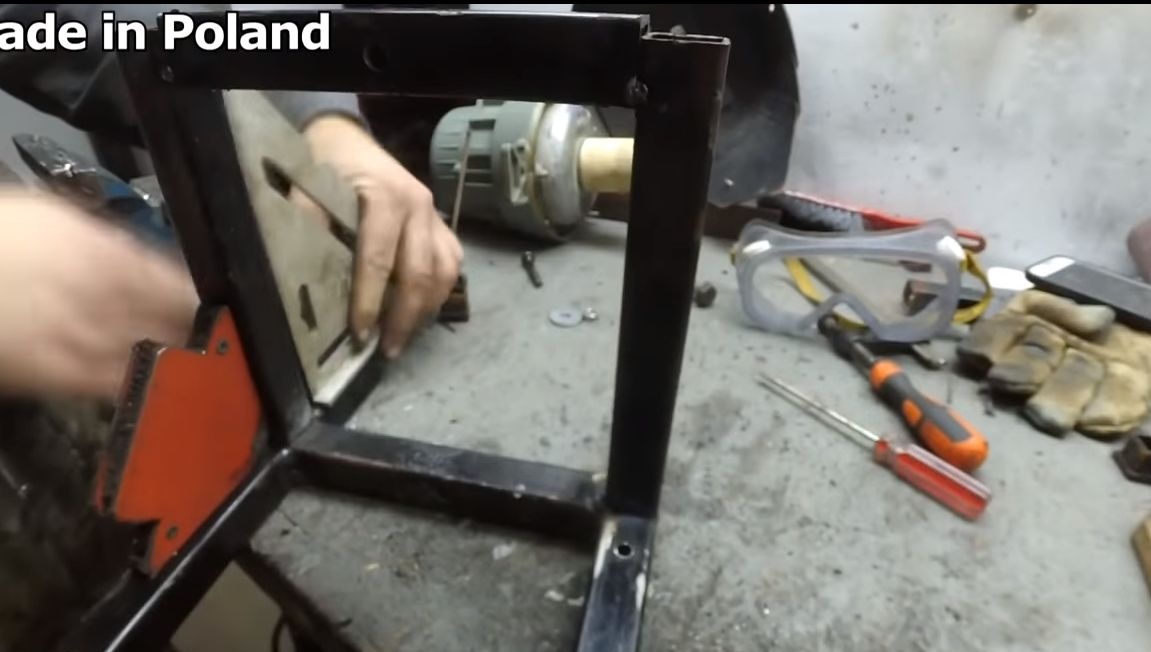
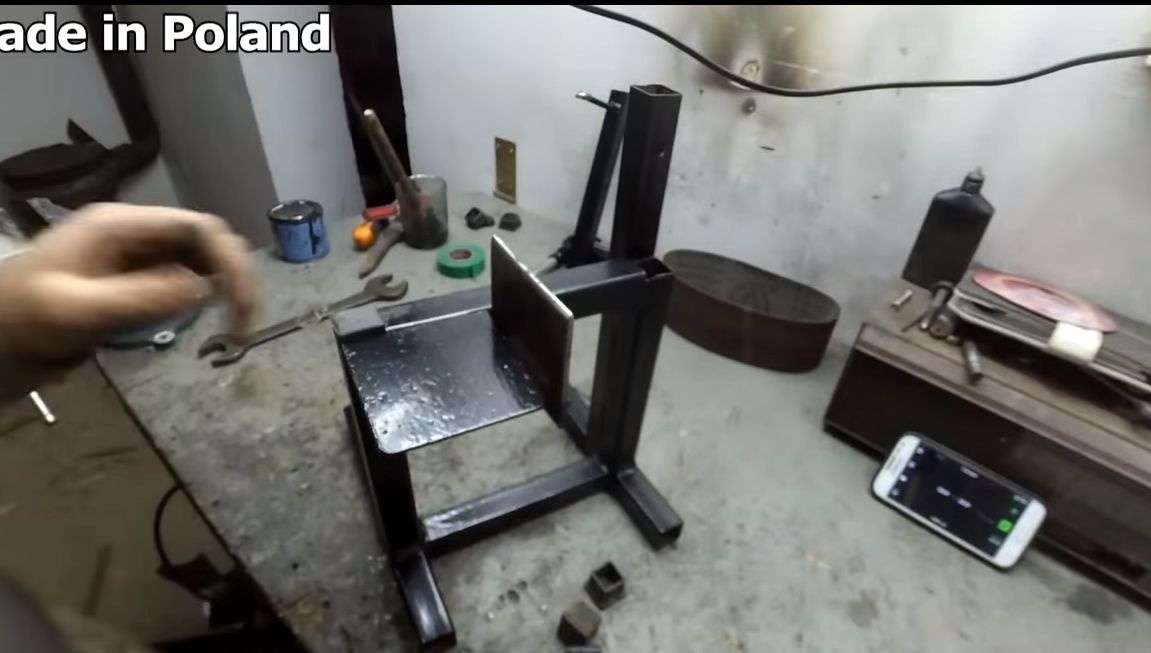
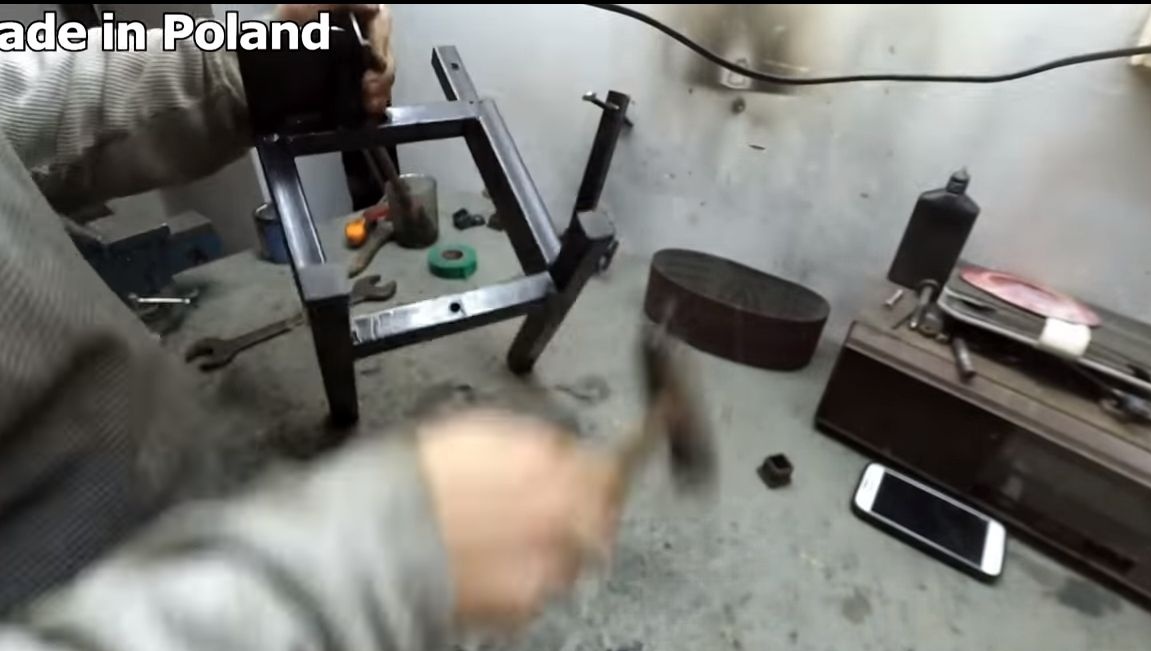
Step Five Assemble the frame
For the manufacture of the frame, you can use square tubes and other similar materials. We cut them into the necessary pieces and then weld as the author does. To make all corners right, it would be good to use a magnetic corner for welding.
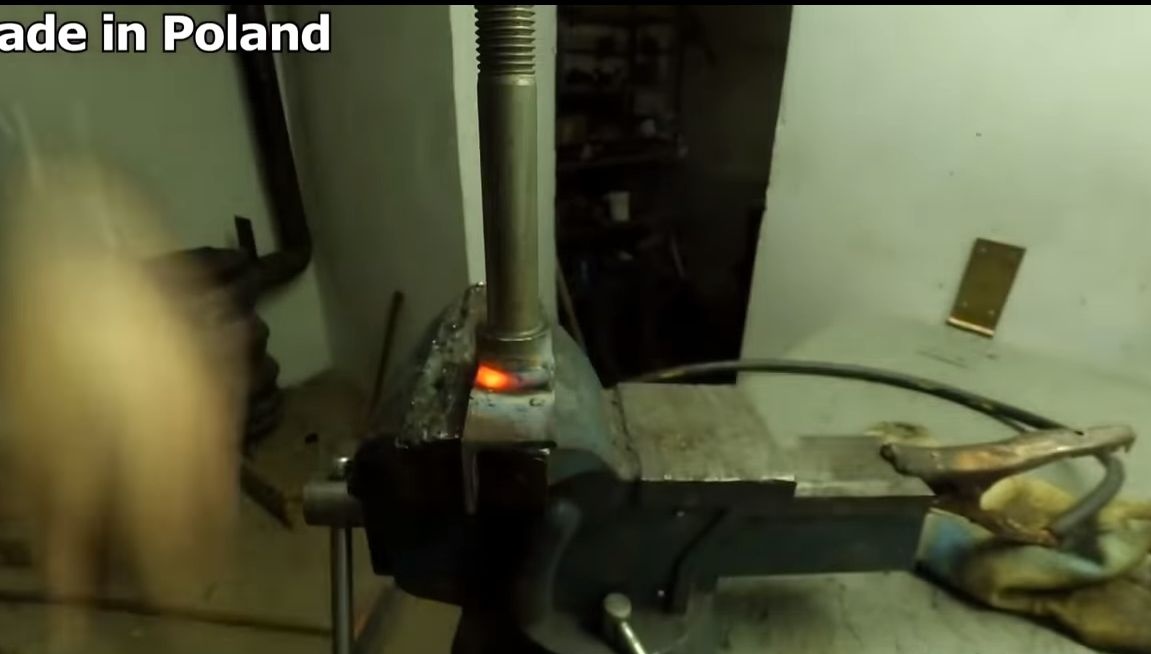
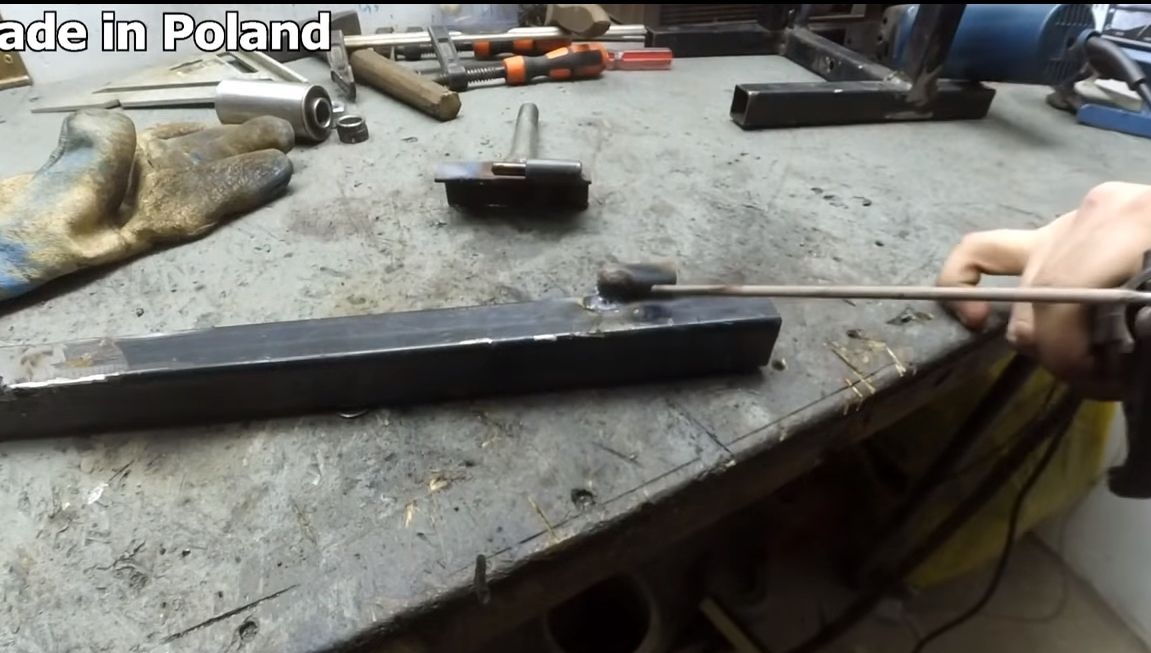
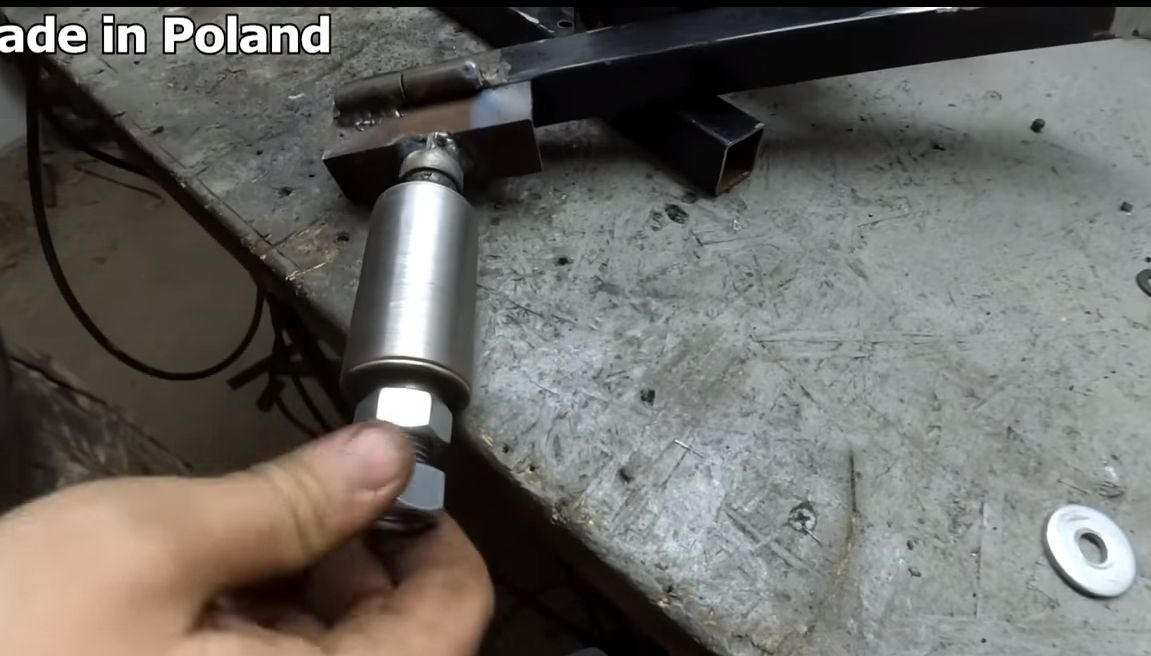
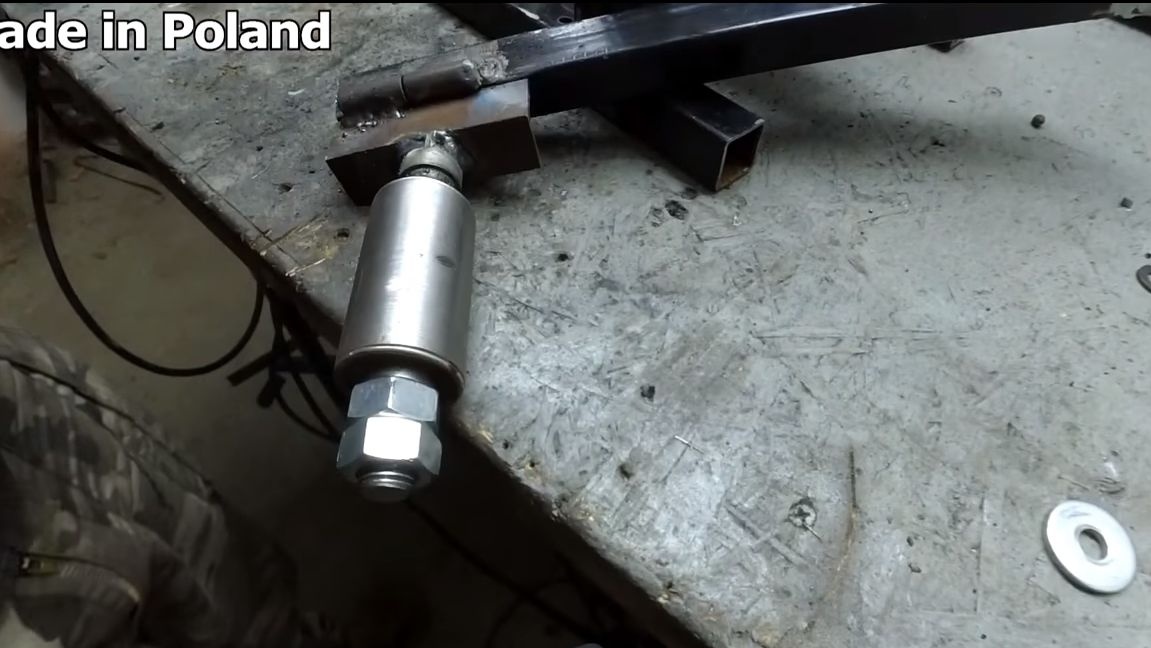
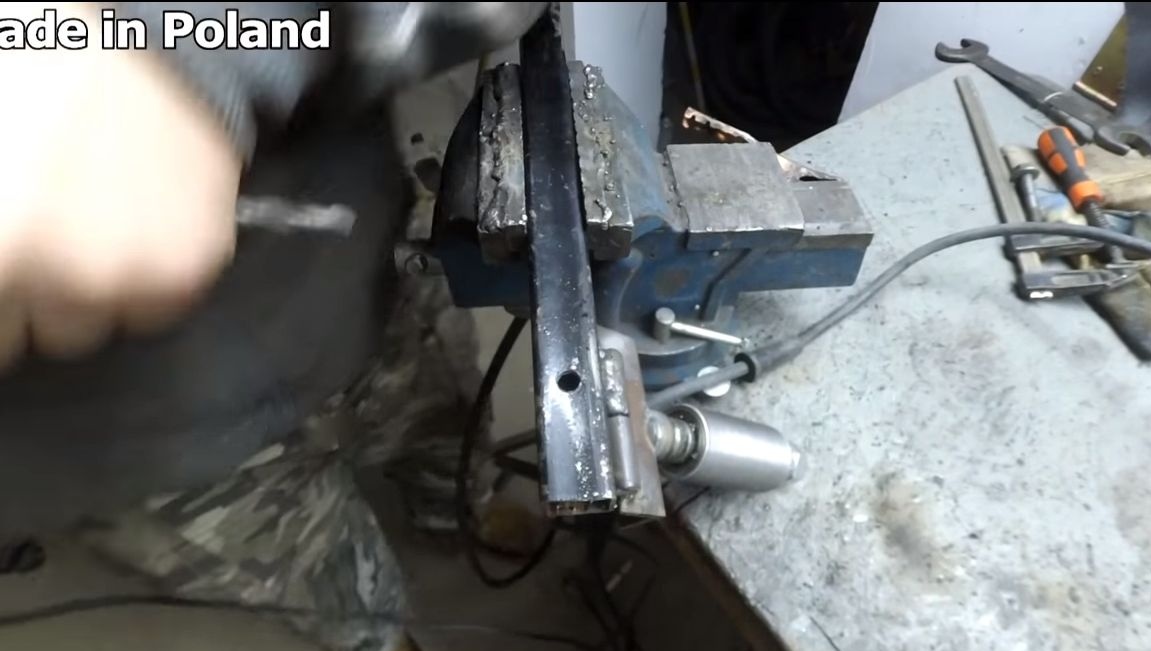
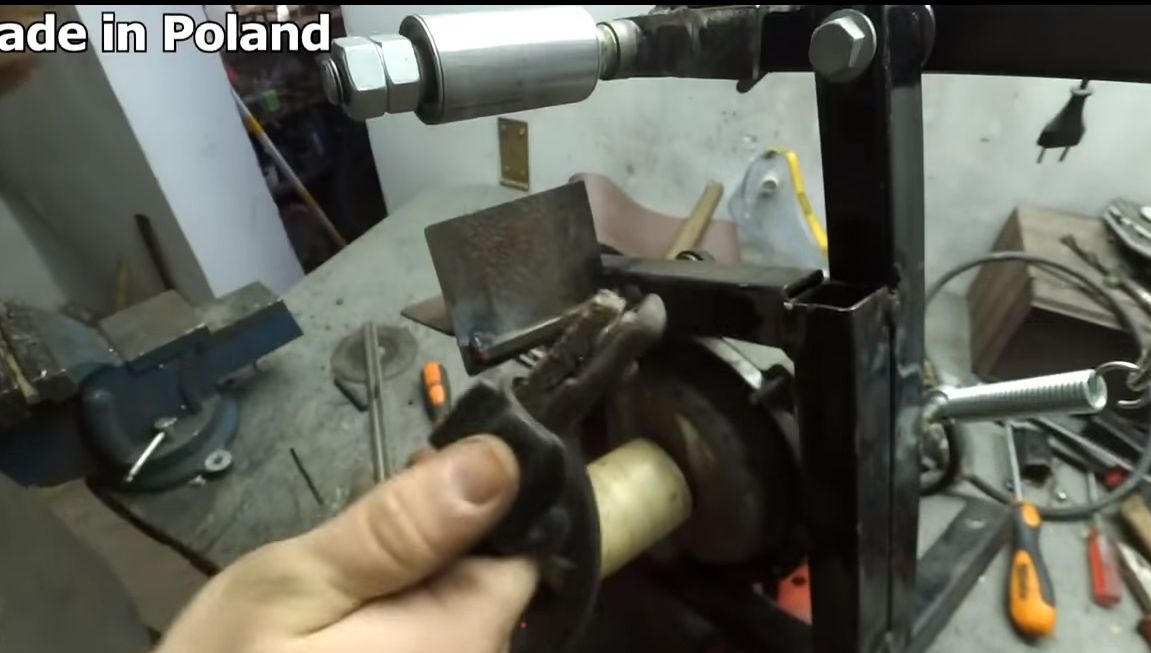
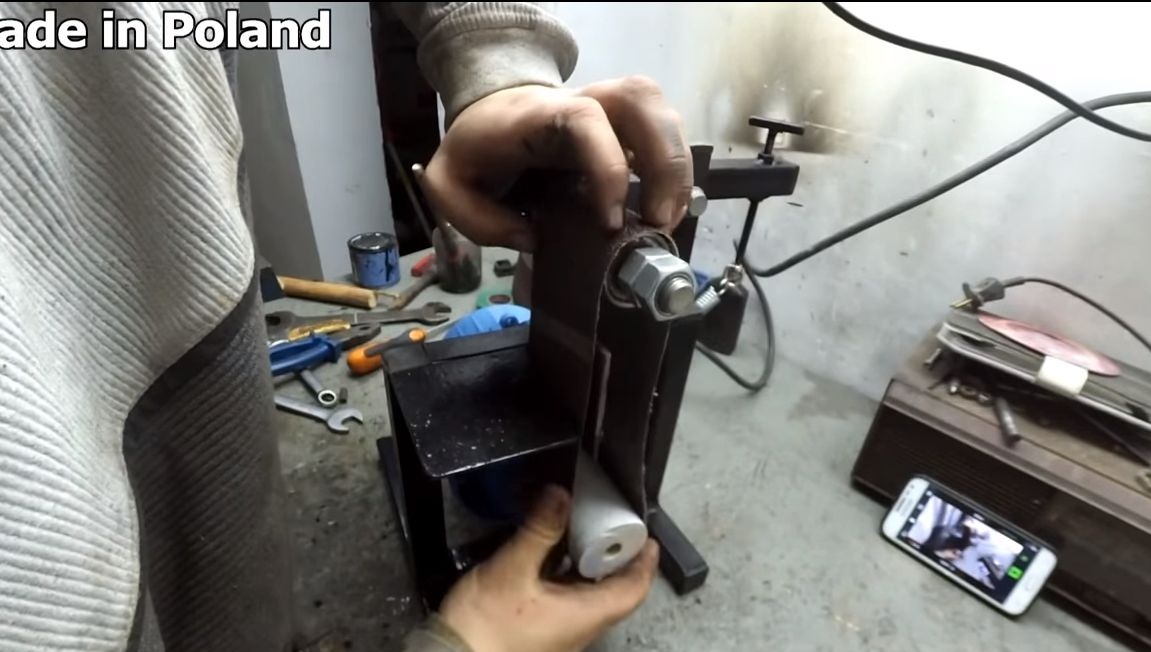
Step Six Mounting the follower axis
The driven axis must have a vertical tilt function. Thanks to this, you will be able to center the grinding belt. First of all, you need a bolt from the axis of the wheel, we weld it to the corner. Now this corner will need to be fixed movably on the frame. For these purposes, a door hinge will be needed. We clean the metal, measure and weld the parts. After that, it will be possible to already install the axis on the bolt and fix it with two nuts, just do not pull the bearings.

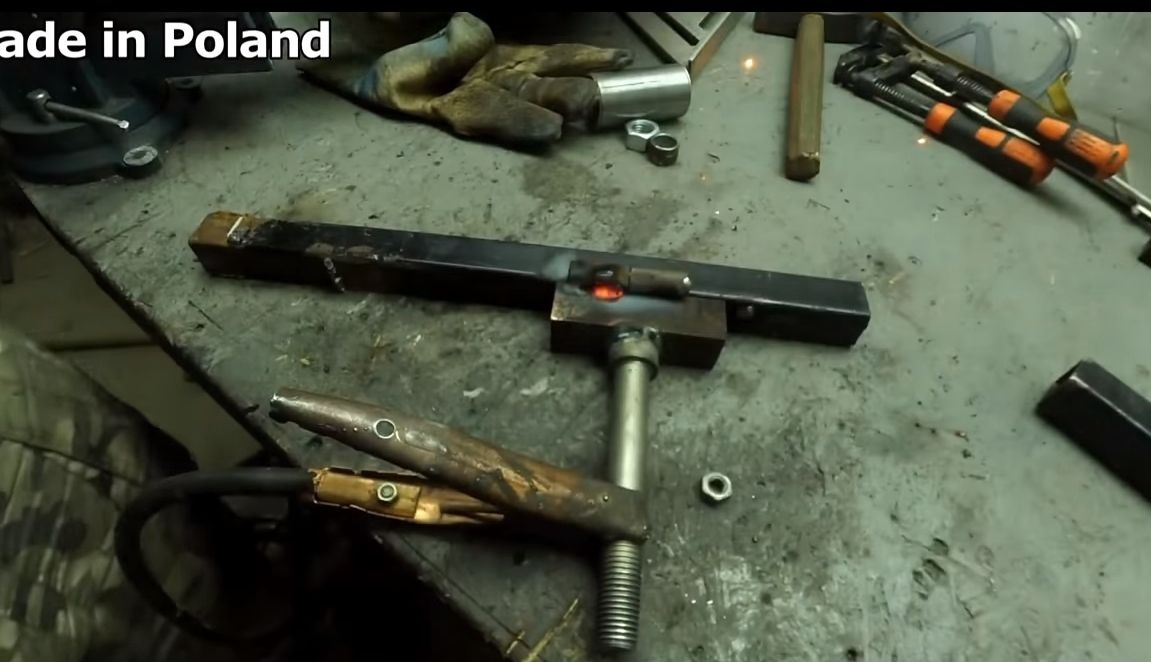
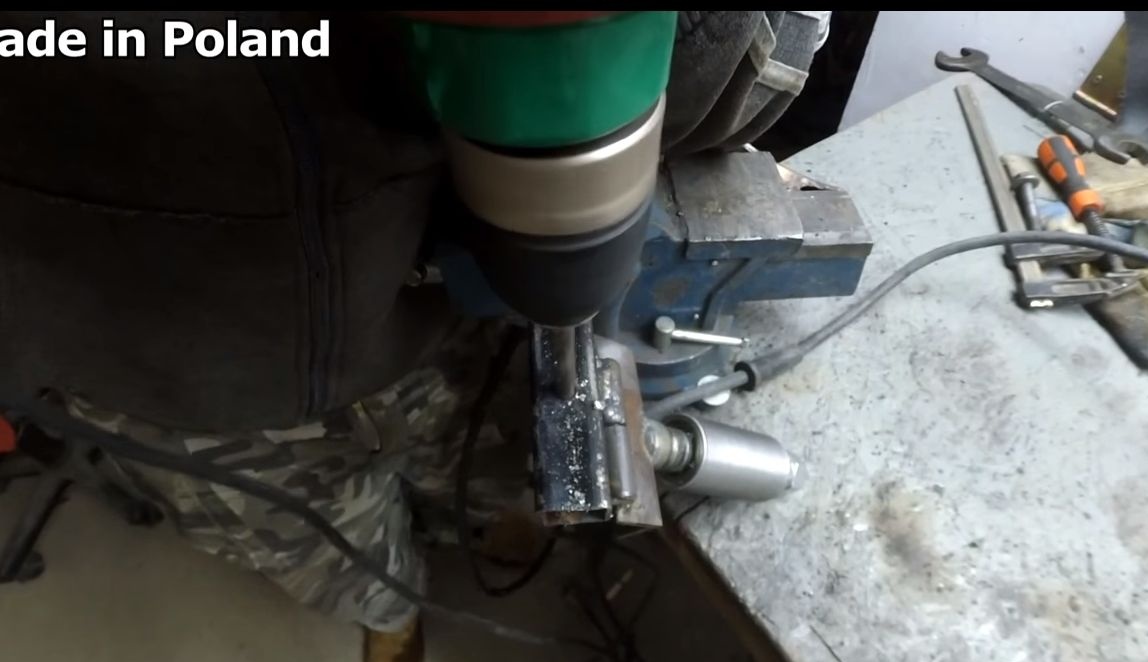
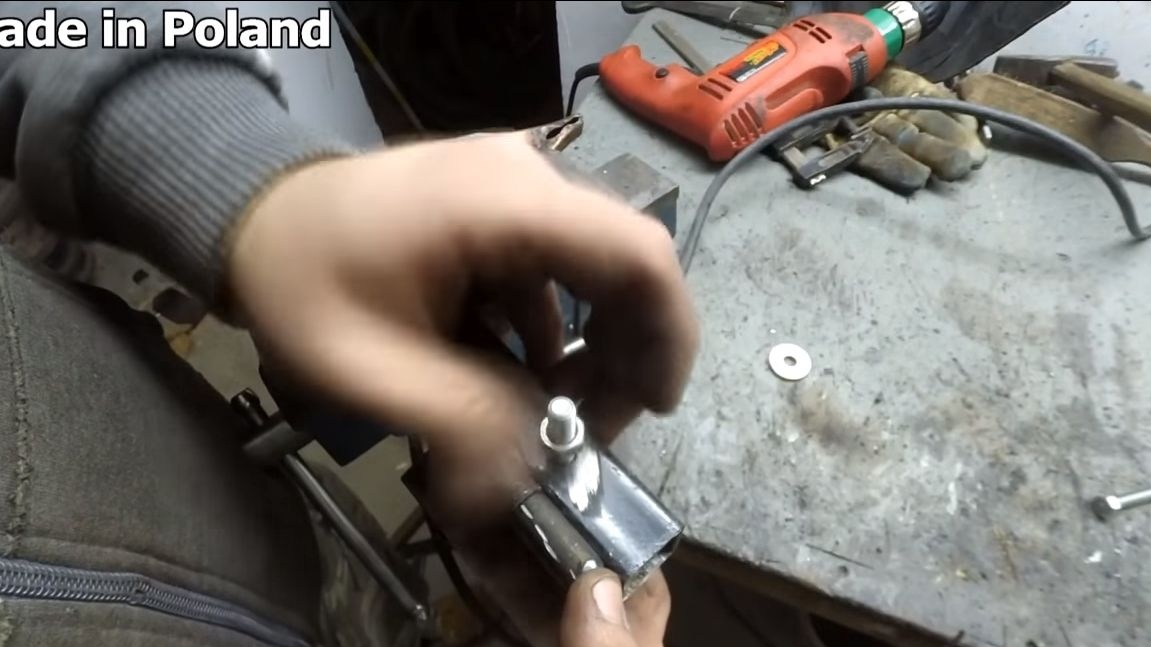

Drill a hole on the back of the corner and weld the nut. In this nut you need to tighten a long bolt, with it you can adjust the angle of the upper axis and center the belt.
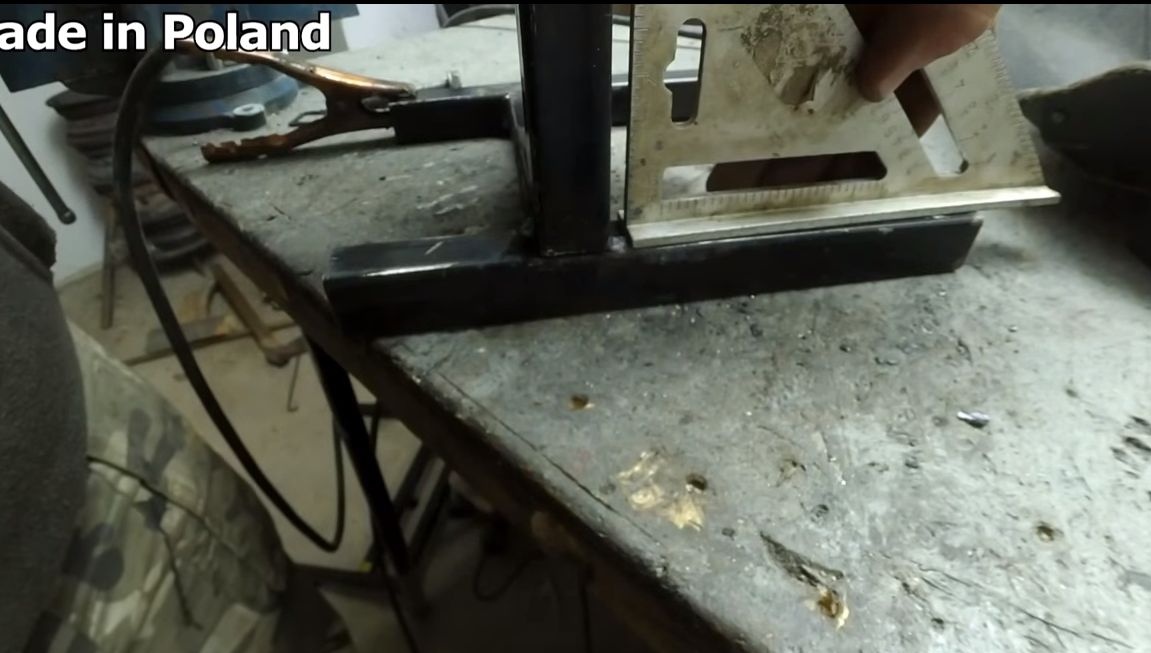
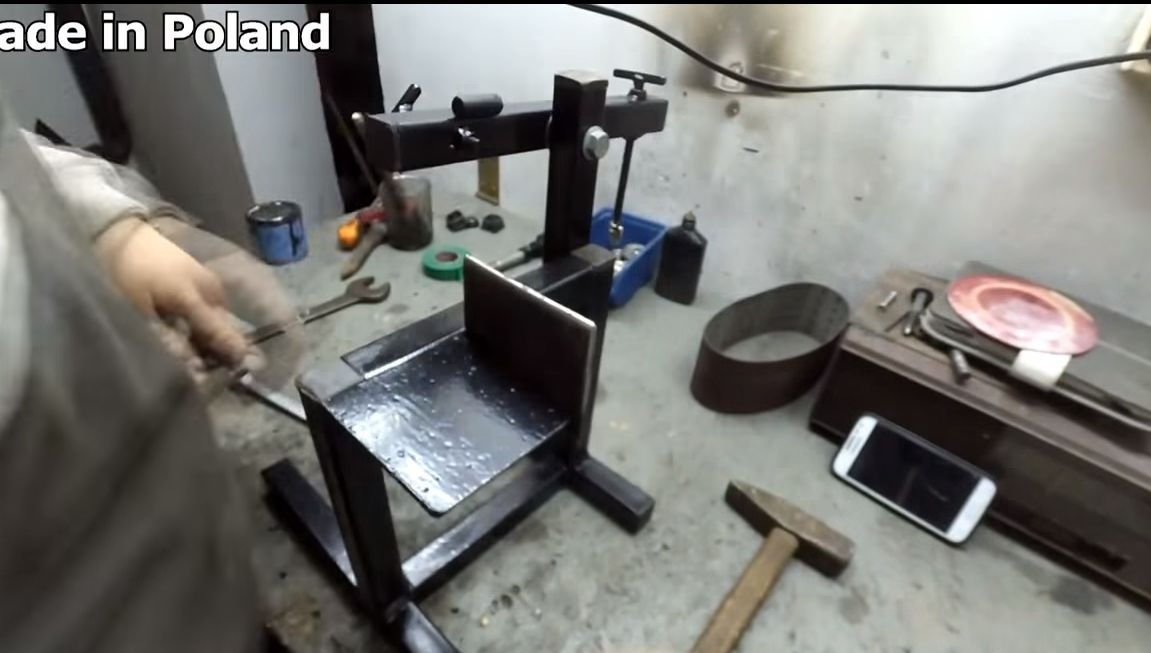
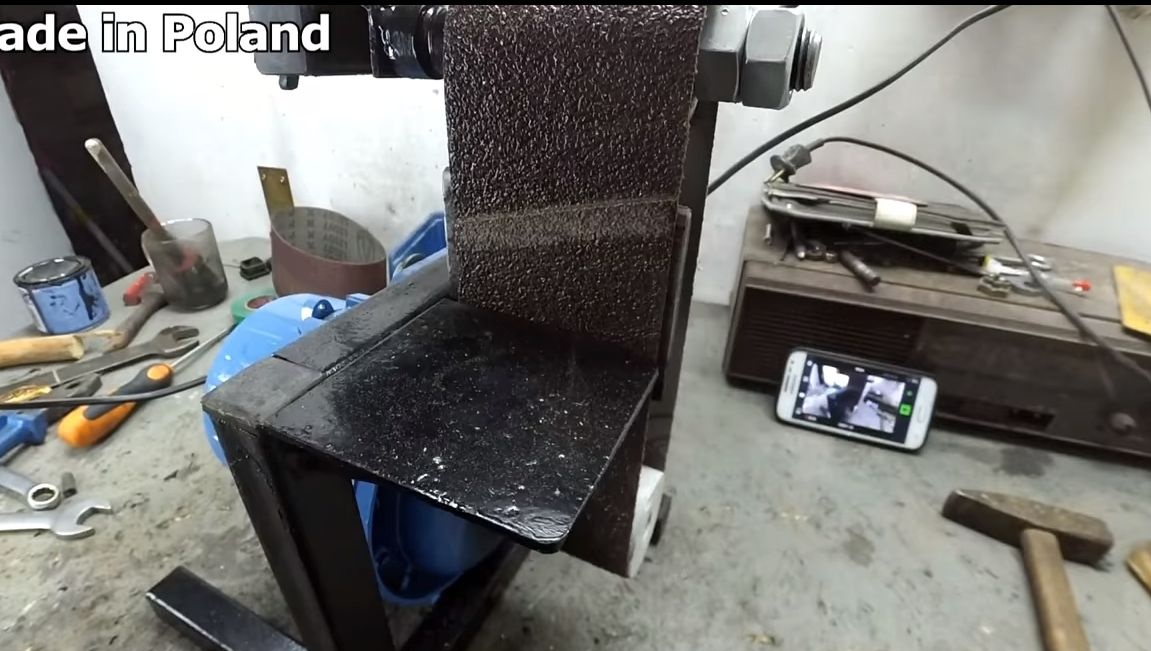
Seventh step. The final stage of frame assembly
On the frame you need to fix the working planes, one of them is vertical and the other horizontal. Horizontal works as a "table", and vertical is used as a stop for the belt during operation. To make them, you need thick sheet steel. Fasten the plates using welding. As fasteners, fittings can be used.
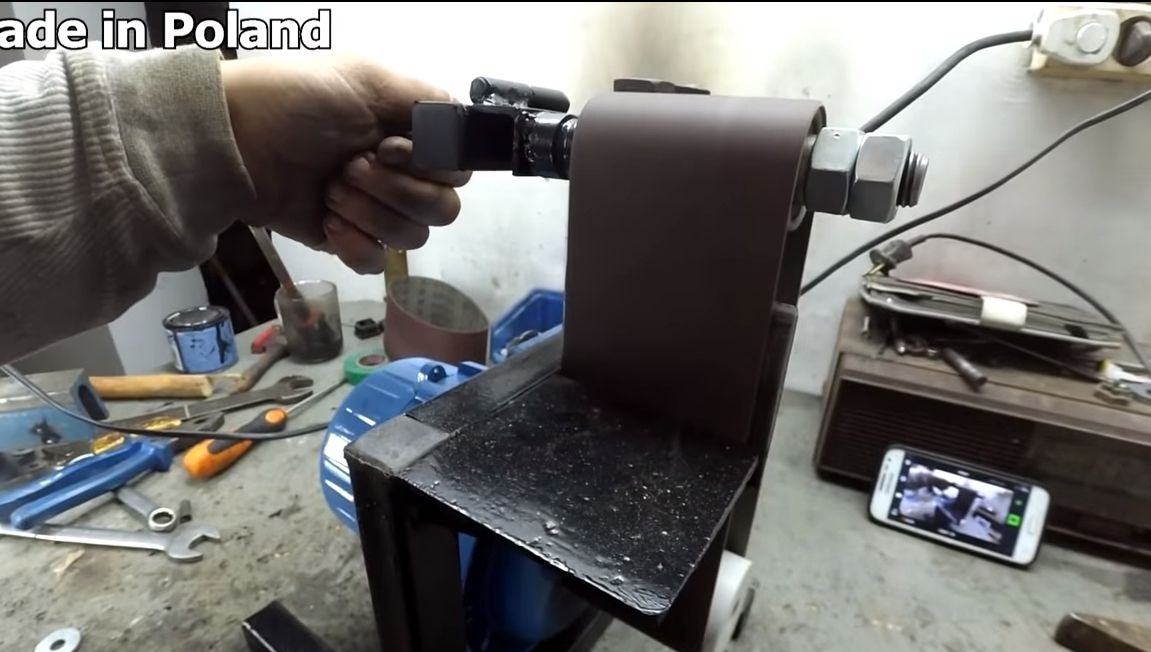
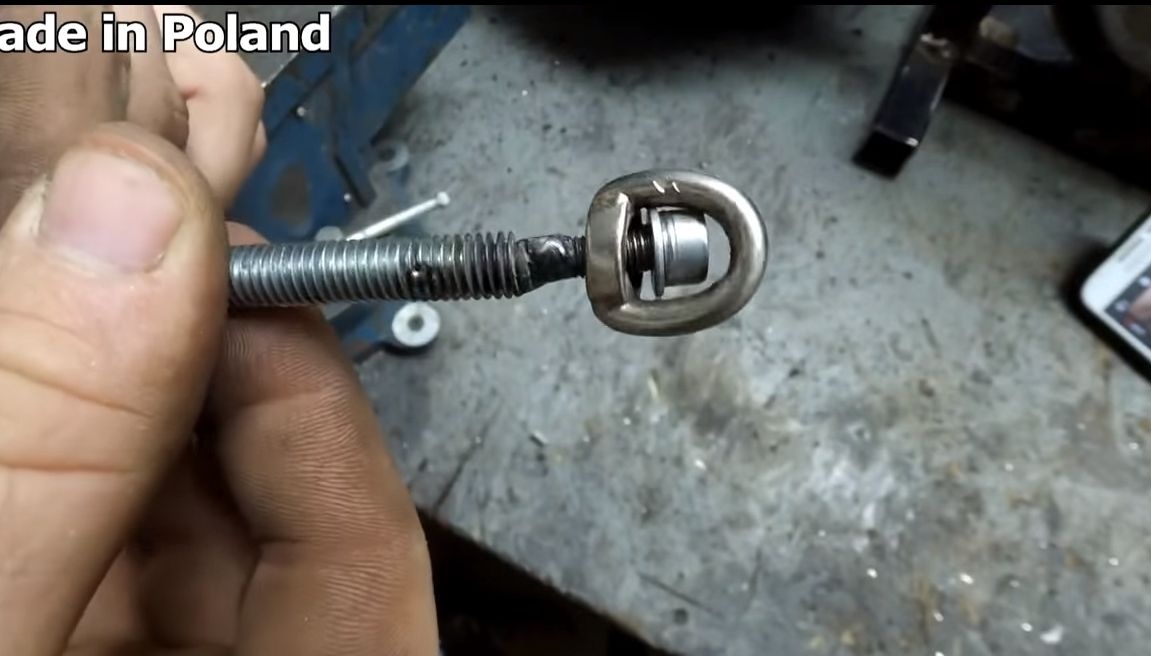
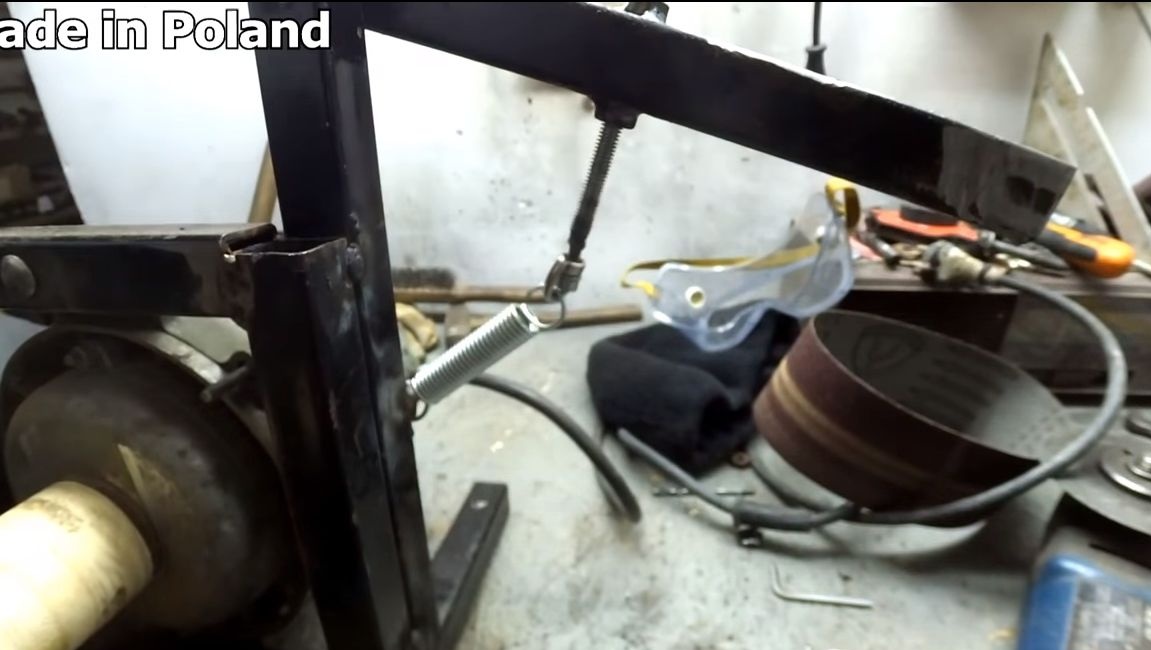
You also need to install a tensioner, it acts as a spring and a long threaded rod with a ring at the end. As a ring, you can simply weld a nut to the shaft. We fix the spring as in the photo. Now the belt will be tensioned automatically as it stretches.
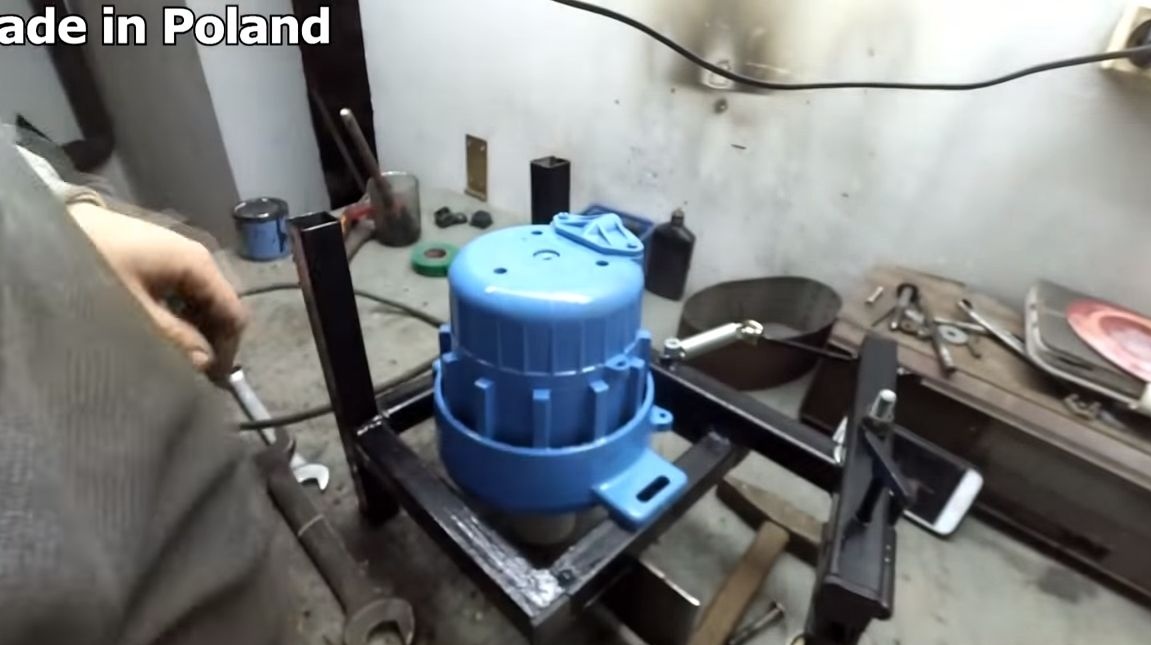
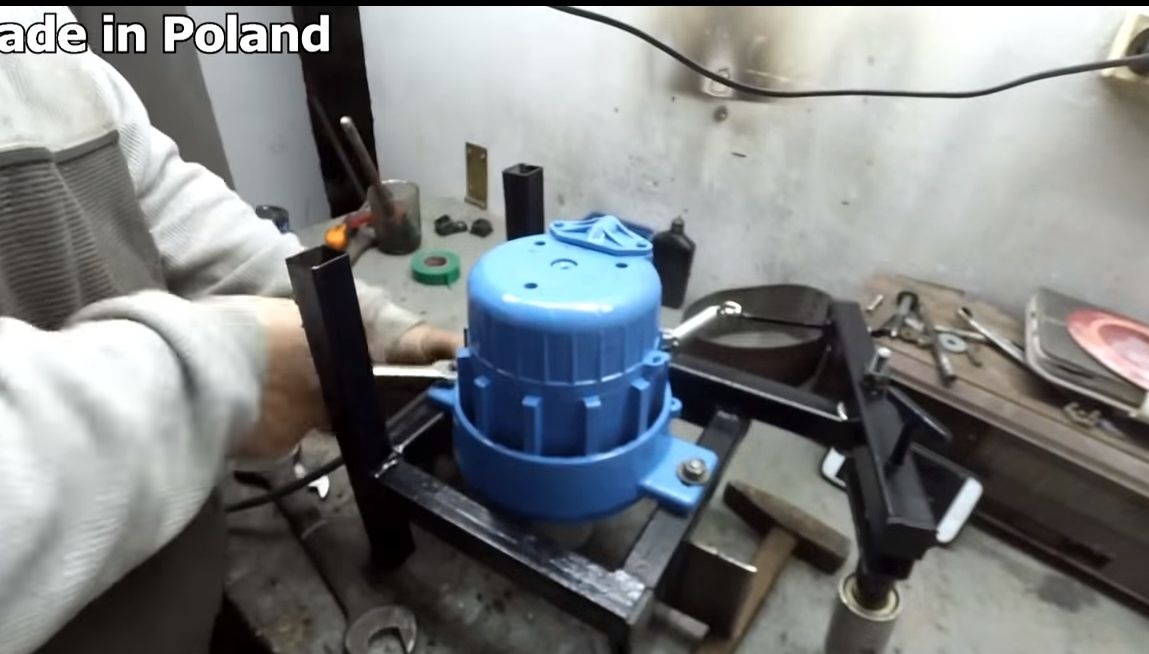
At the end, install the engine on the frame; it is fastened with bolts and nuts. Try to install the belt and start the machine. If everything works fine, you can start painting.
Step eight. Painting
Paint the metal parts to prevent rust, in addition, the machine will be more beautiful. The motor housing can also be painted if it is no longer new.
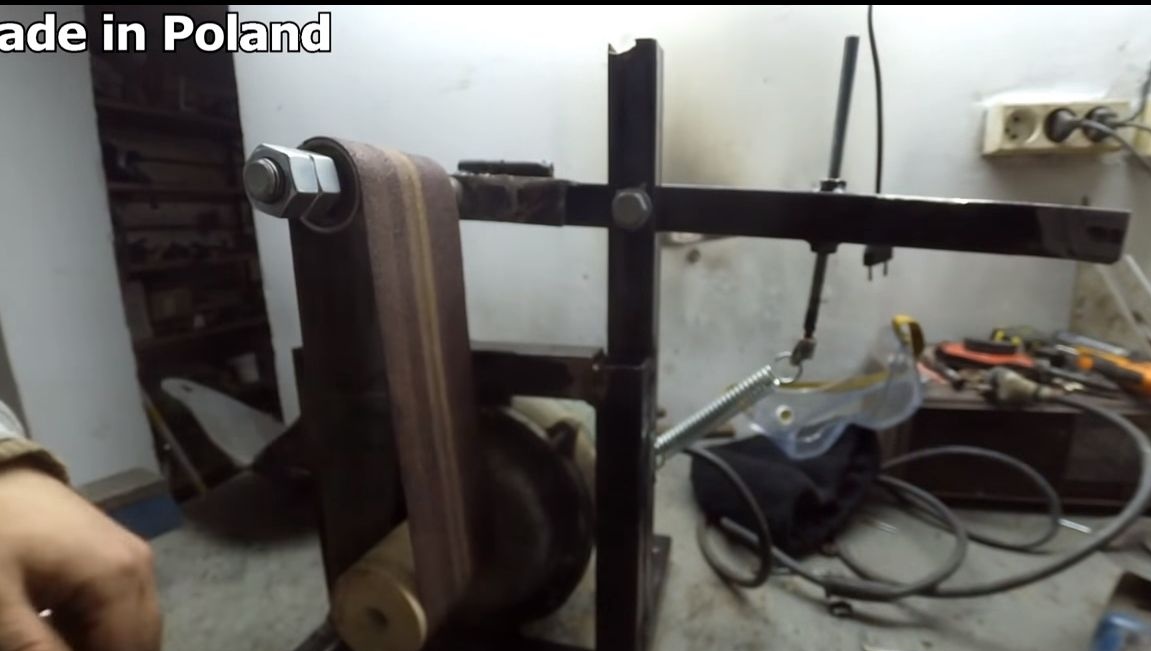
Step nine We assemble the machine
That's all, when the paint dries, the machine can be assembled. We put the engine, put on the belt and turn on the motor. The machine must be equipped with an emergency stop button, it must be located in an accessible place.
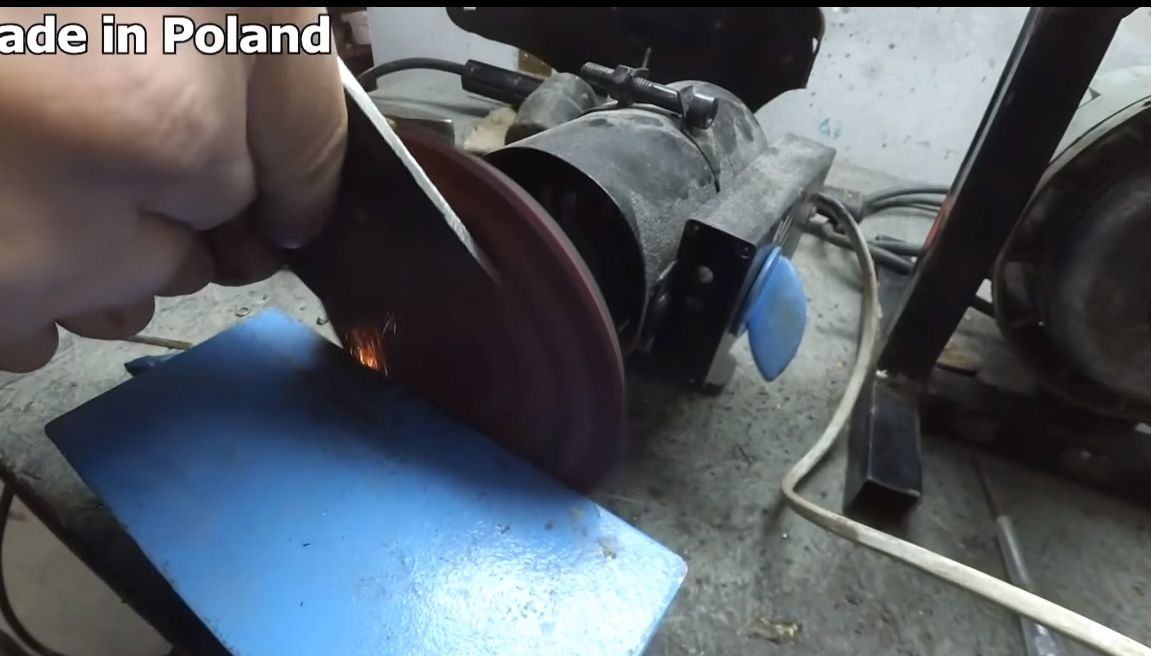
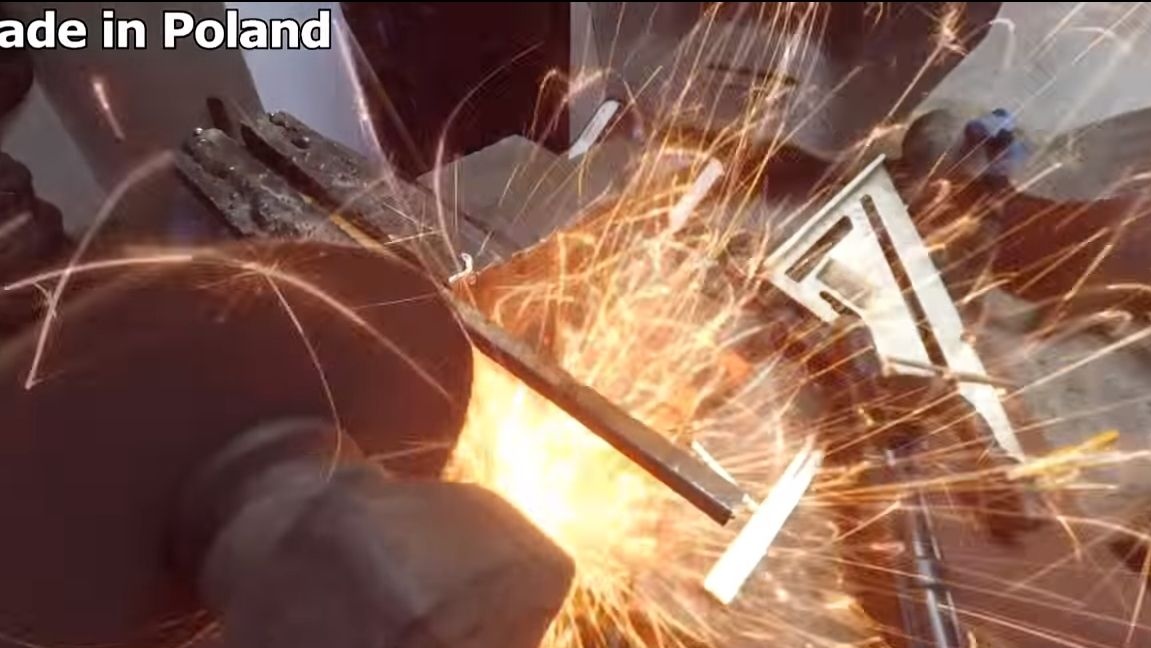
Turn on the machine, now you have to adjust it. Using a bolt in the upper part of the device, center the grinding belt. It should move clearly in the center of the axes. If everything worked out, congratulations, you can try the device! The author first tries to sharpen pencils on it, then more serious metal parts.
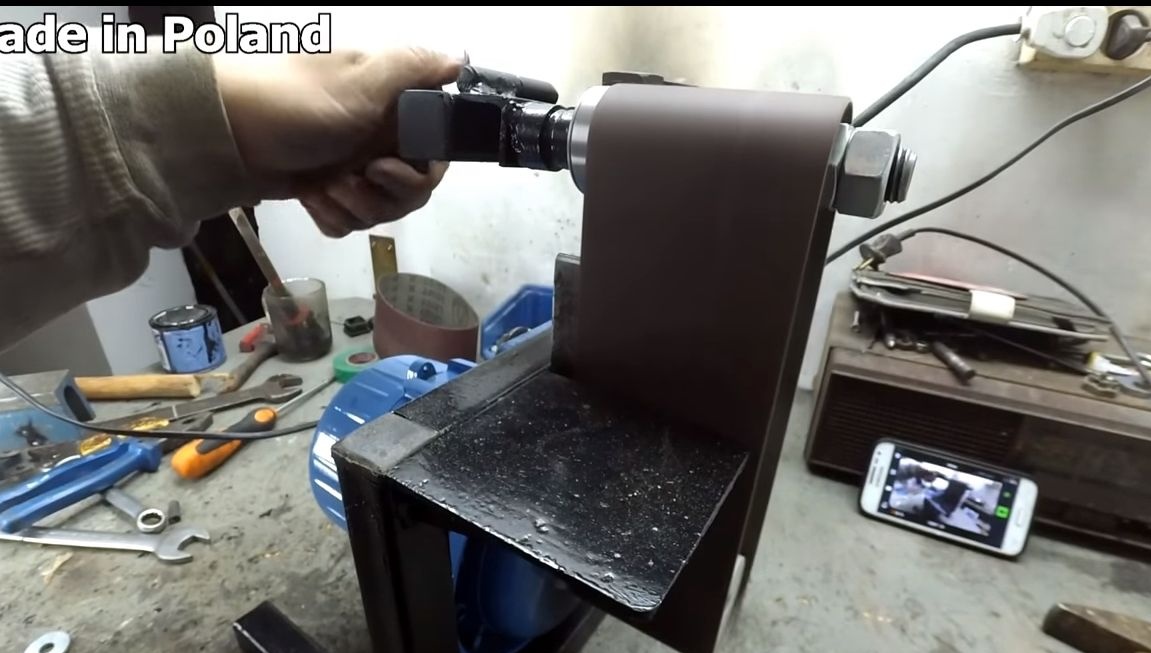

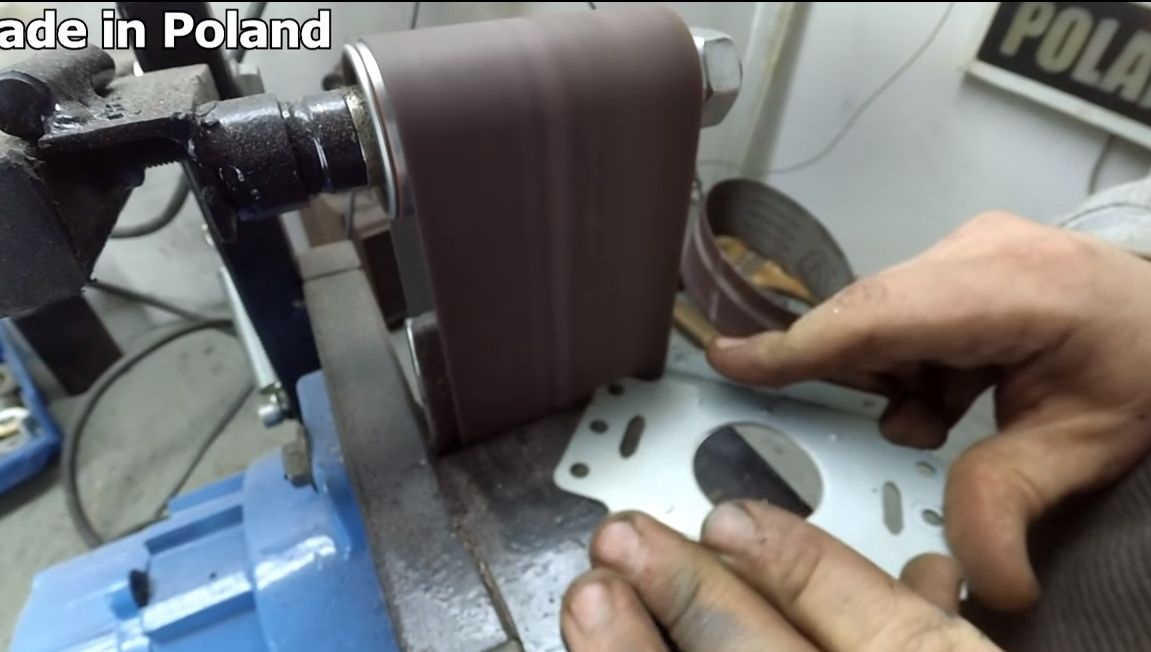
The performance of such a machine will depend on engine power. The more powerful the motor, the more granular it will be possible to use sandpaper, and the faster the machine will grind. Good luck