

A simple alteration of the wall tear-off calendar in the flip calendar for greater ease of use.
In our daily lives, it is impossible to do without a calendar. At the same time, calendars are different: large wall for the whole year, loose-leaf by month or day, tear-off, etc. Of course, everyone chooses the type of calendar that he likes best.
But it should be noted that nowadays, as in previous times, ordinary wall tear-off calendars are very popular. Many hang such calendars at home, and every day they tear off a piece of paper.
And I must say that these calendars are really very convenient. On each leaflet of such a calendar, the date of the month and the day of the week are printed in large and clear font. In addition, there is a lot of additional, often very useful information (sunrise and sunset, daylight hours, lunar phases, etc.).
In addition, on the back of each page of such a calendar contains various information of a certain thematic focus, for example, recipes, useful tips for the household, recipes of traditional medicine, etc.
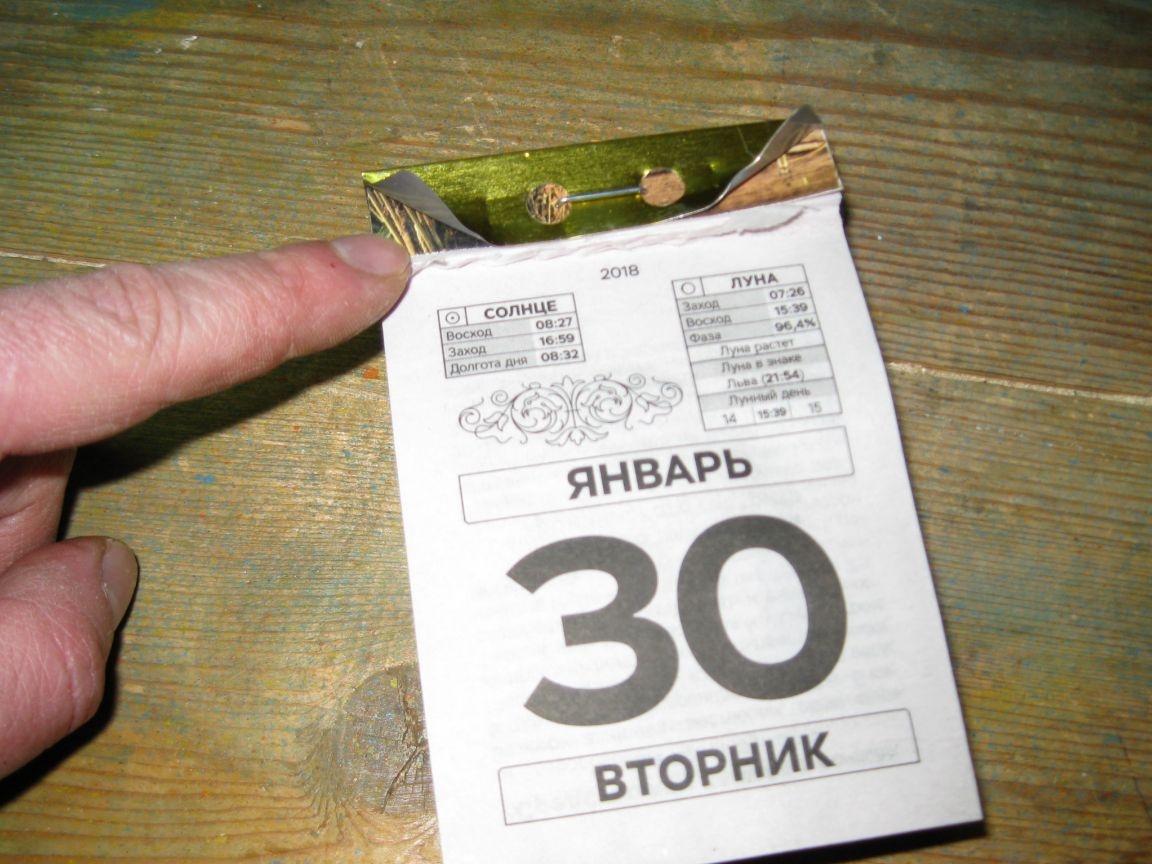
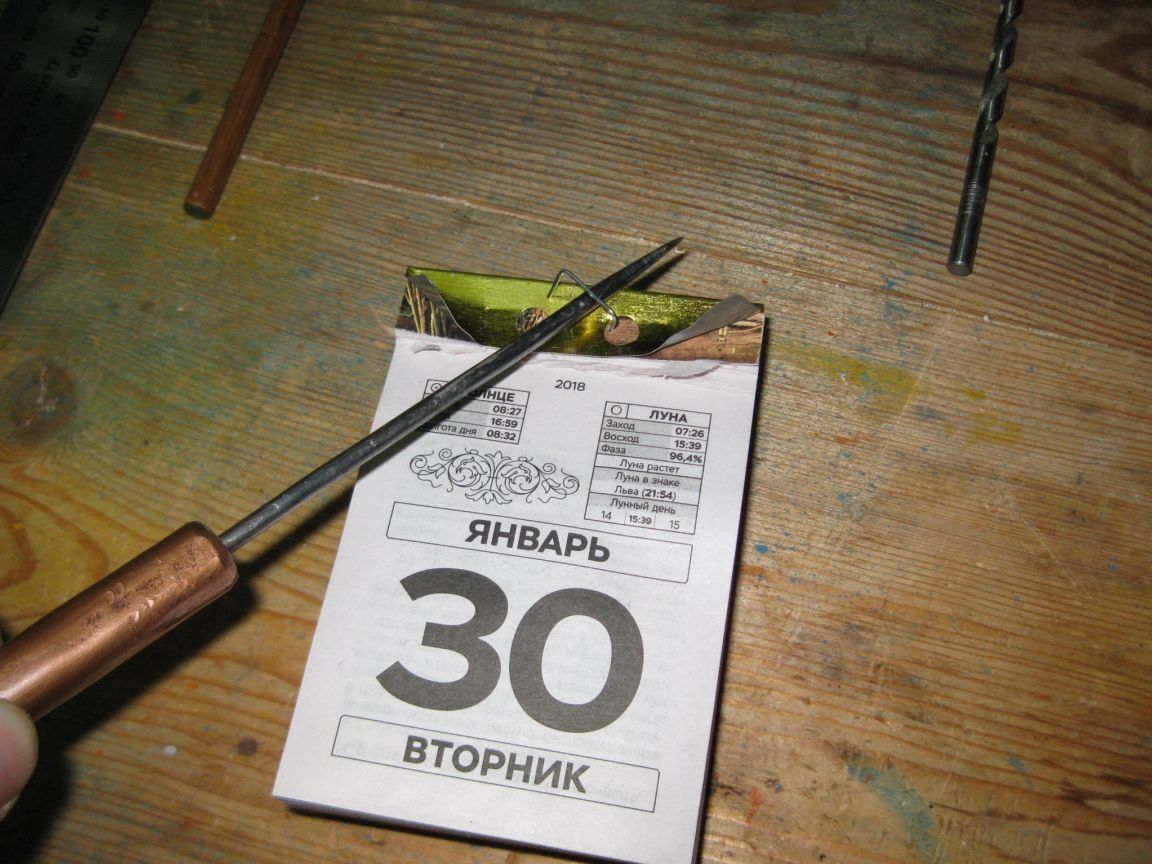
Our family also likes to use similar calendars. However, I have long noticed that all such calendars have one significant drawback. It consists in the fact that the pages of the calendar come off very unevenly, after them there remain pieces, which then, as the pages are further torn off, accumulate, and the pages begin to come off lower and lower. Here is just a striking example of such a flaw (for clarity, I bent the corners of the tin cover on top of the calendar).
To combat this drawback, you have to regularly, every two to three months, remove the calendar from the wall and cut off the accumulated fringe from pieces of pages with a knife. Naturally, this is quite inconvenient. And I do not understand why the producers of such calendars cannot solve this problem. Indeed, in theory, it is quite simple to solve, for example, by making perforation on each page of the calendar, that is, a line of frequent holes of small diameter (approximately the same as on toilet paper). However, so far from the manufacturers, there are no progress in this regard.
Therefore, several years ago, I myself began to solve this problem by a small revision of each newly purchased tear-off calendar. This refinement is very simple and it requires a few simple tools.
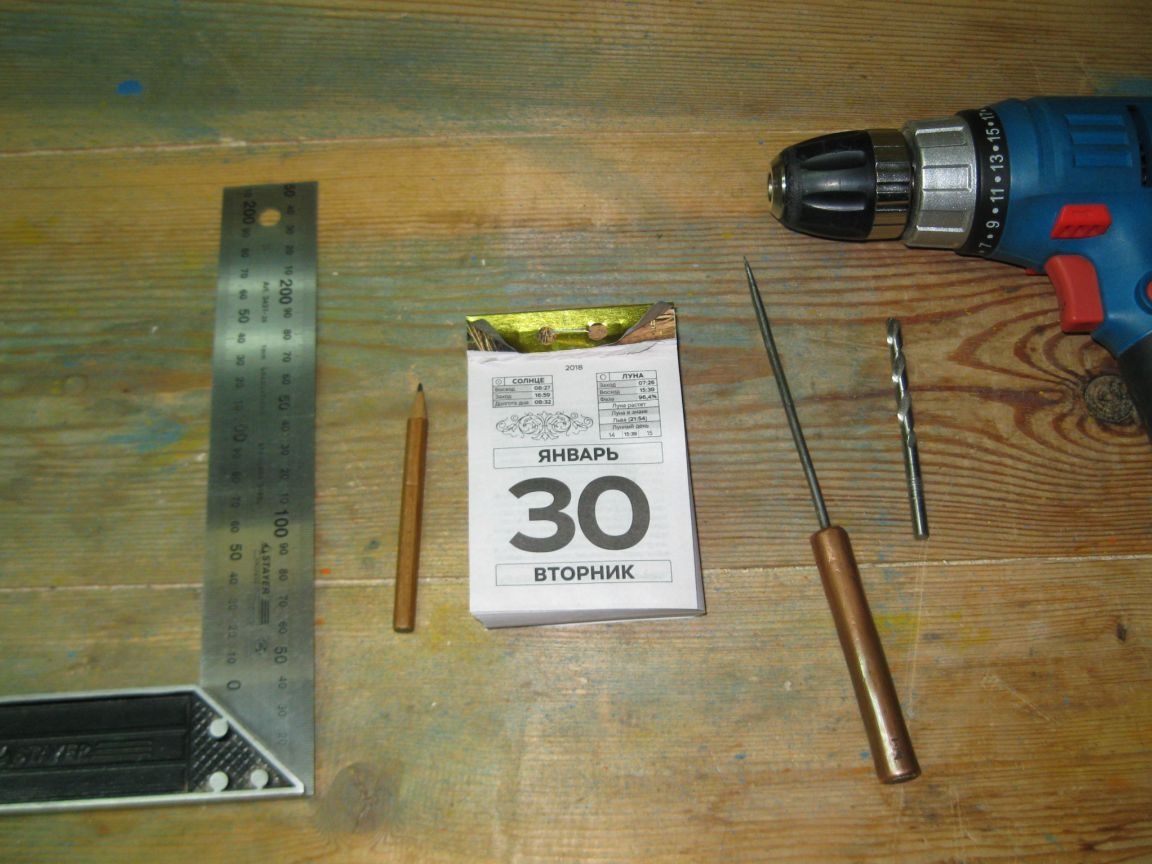
Instruments:
• Square and pencil.
• Awl.
• A sharp knife.
• Electric drill.
• Drill for metal with a diameter of 5-6 mm.
• Clamp (optional).
The process of finalizing the tear-off calendar.
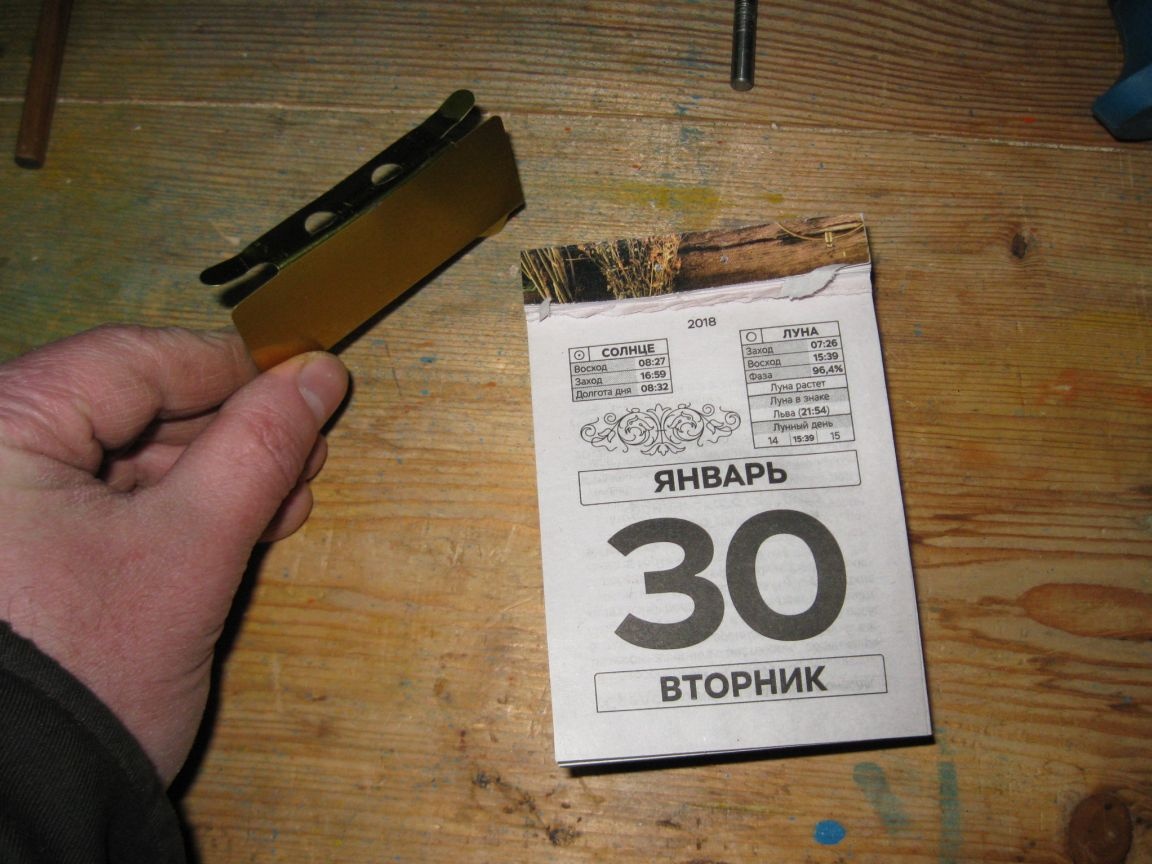
Step 1. Remove the cover from the calendar.
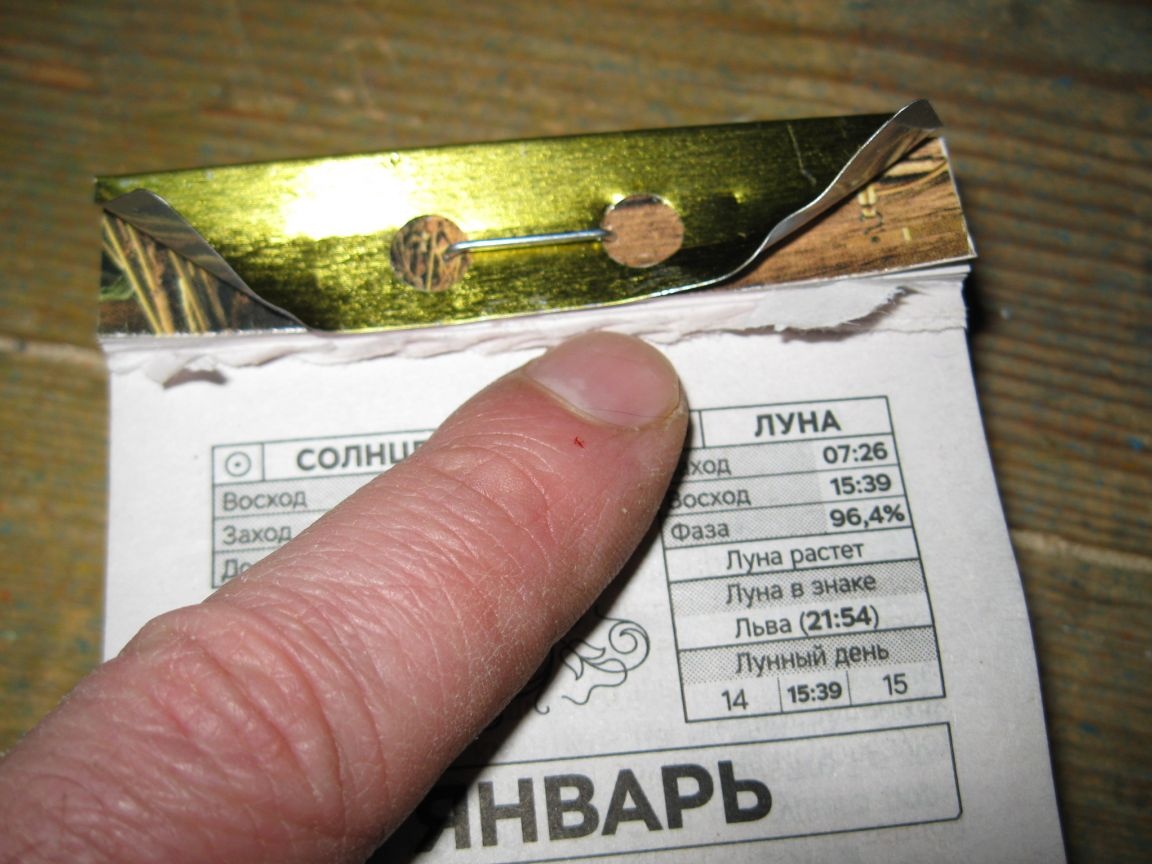
In order to remove the tin cover from the top of the calendar, we first use the awl to pull out the staples from the front and back of the calendar.
And then remove the lid itself.
Step 2. Drilling holes.
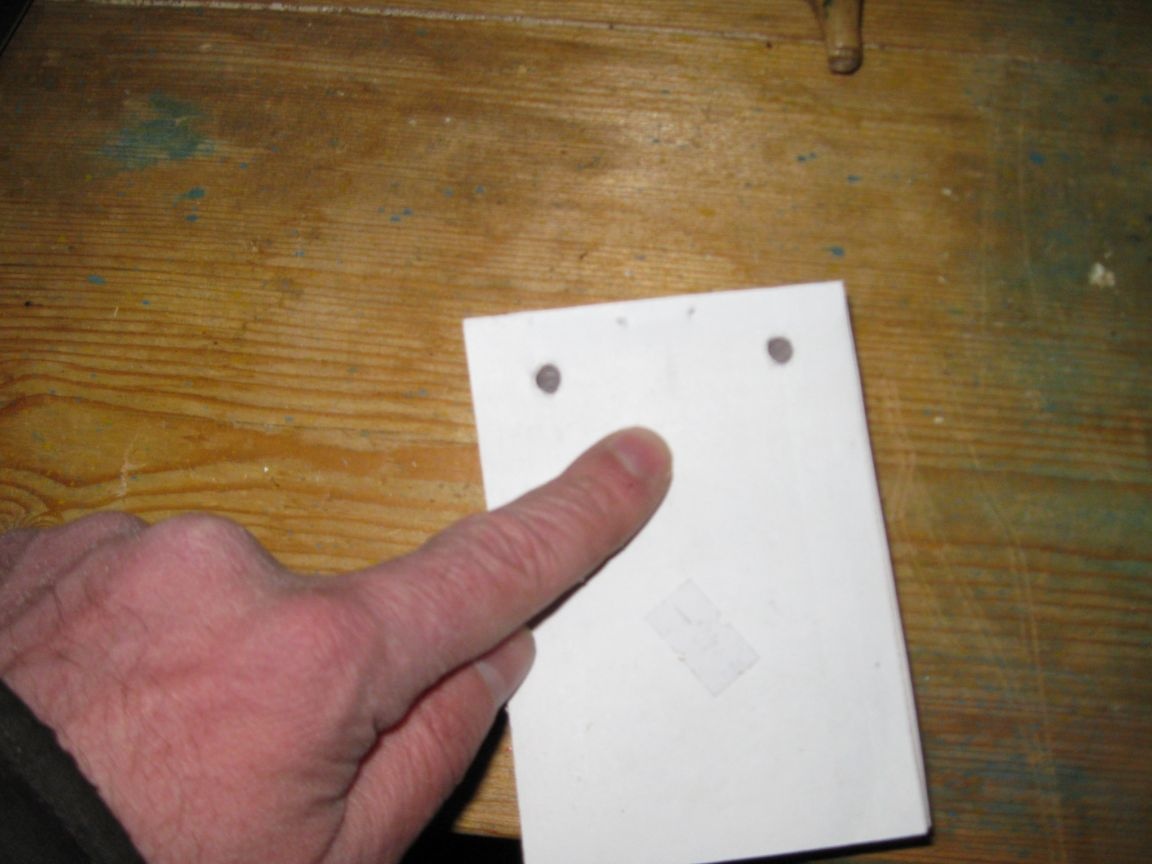
First, mark with a pencil the center of future holes for hanging our calendar and prick them with an awl.
Then we clamp the calendar with a clamp, although in principle this is not necessary, since you can simply put a plate on top of the calendar and press it with your hand. But when using a clamp, finalizing the calendar still turns out to be more accurate and simpler.

Now, with a conventional drill for metal, we drill two holes in the upper part of the calendar for its further suspension.
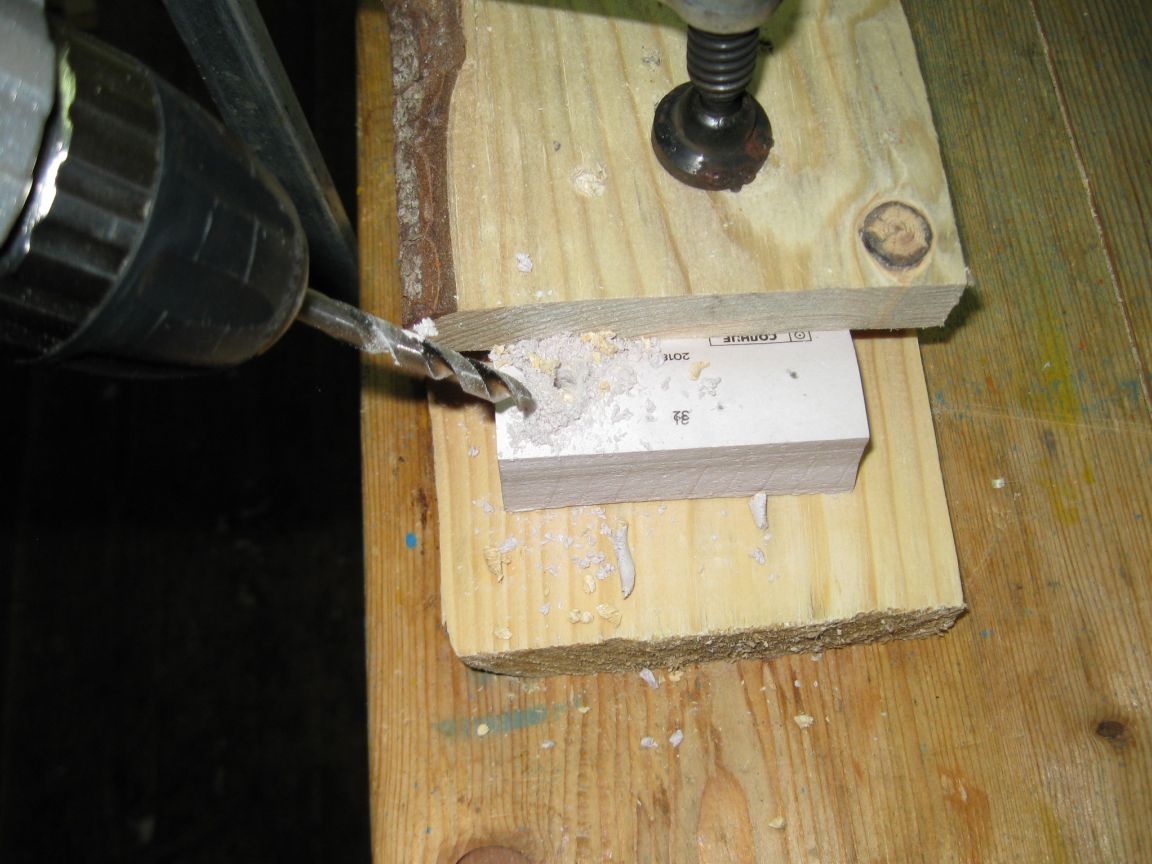
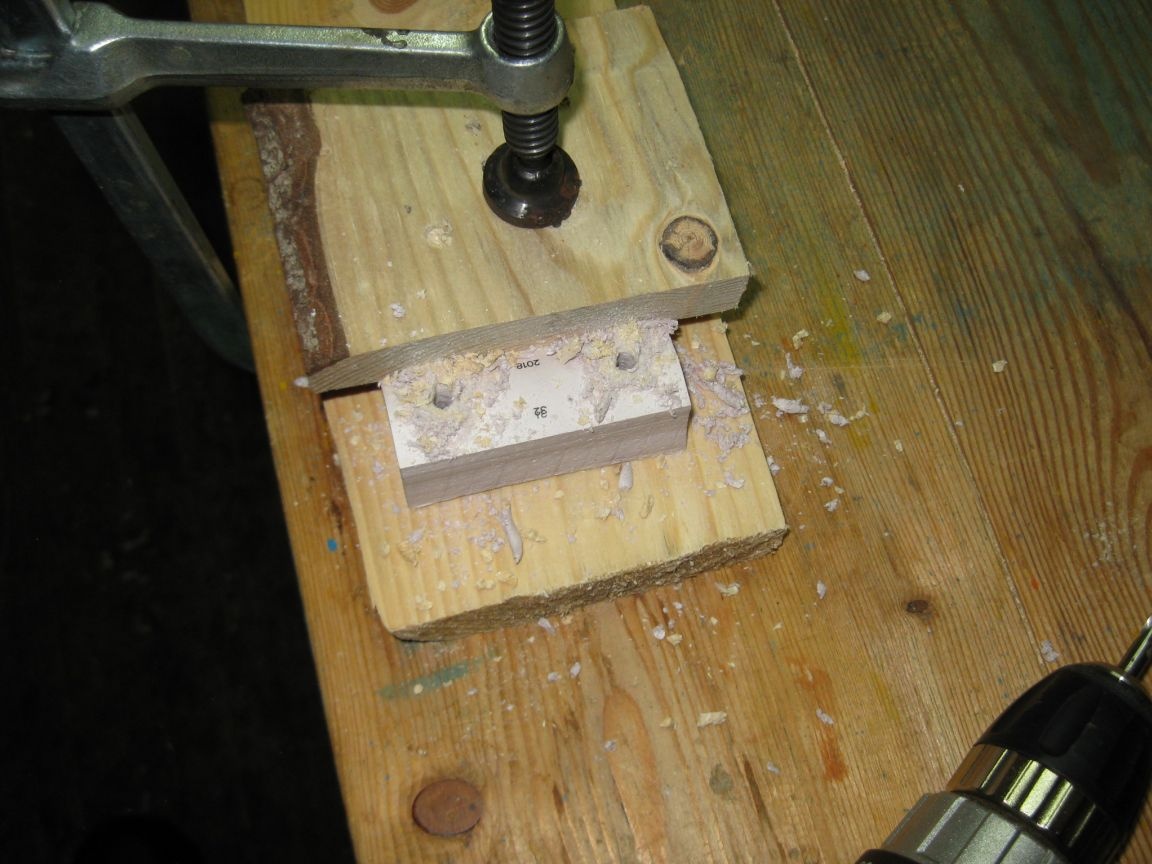
It must be said that in tightly pressed layers of paper, holes are drilled quite easily and evenly.
Step 3. Cut off the adhesive layer from the top of the calendar.
In order for the calendar pages to freely separate, you need to cut off the adhesive layer from the upper end of the calendar.
To do this, take a sharp knife and carefully cut a layer of paper 1.5-2 mm wide on top of the calendar.
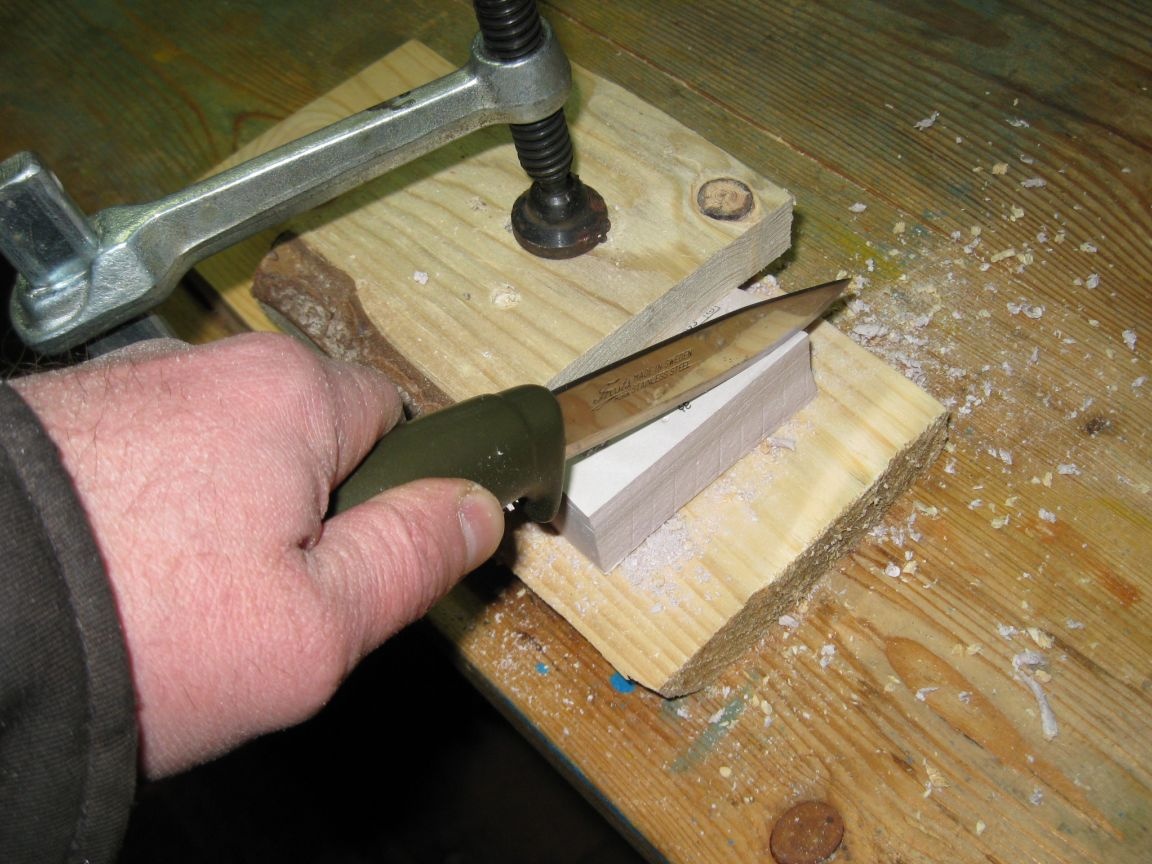
You need to try to cut evenly, with measured movements of the knife back and forth, gradually removing the cut strips.
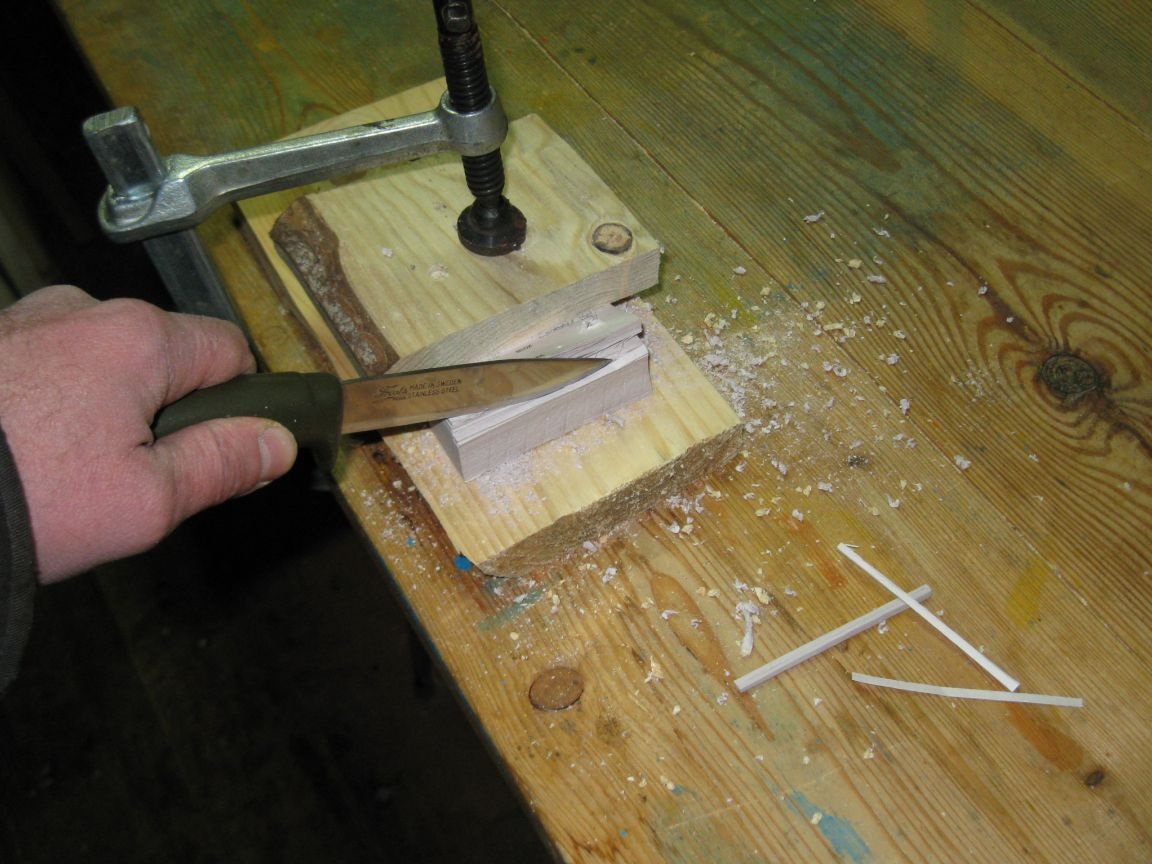
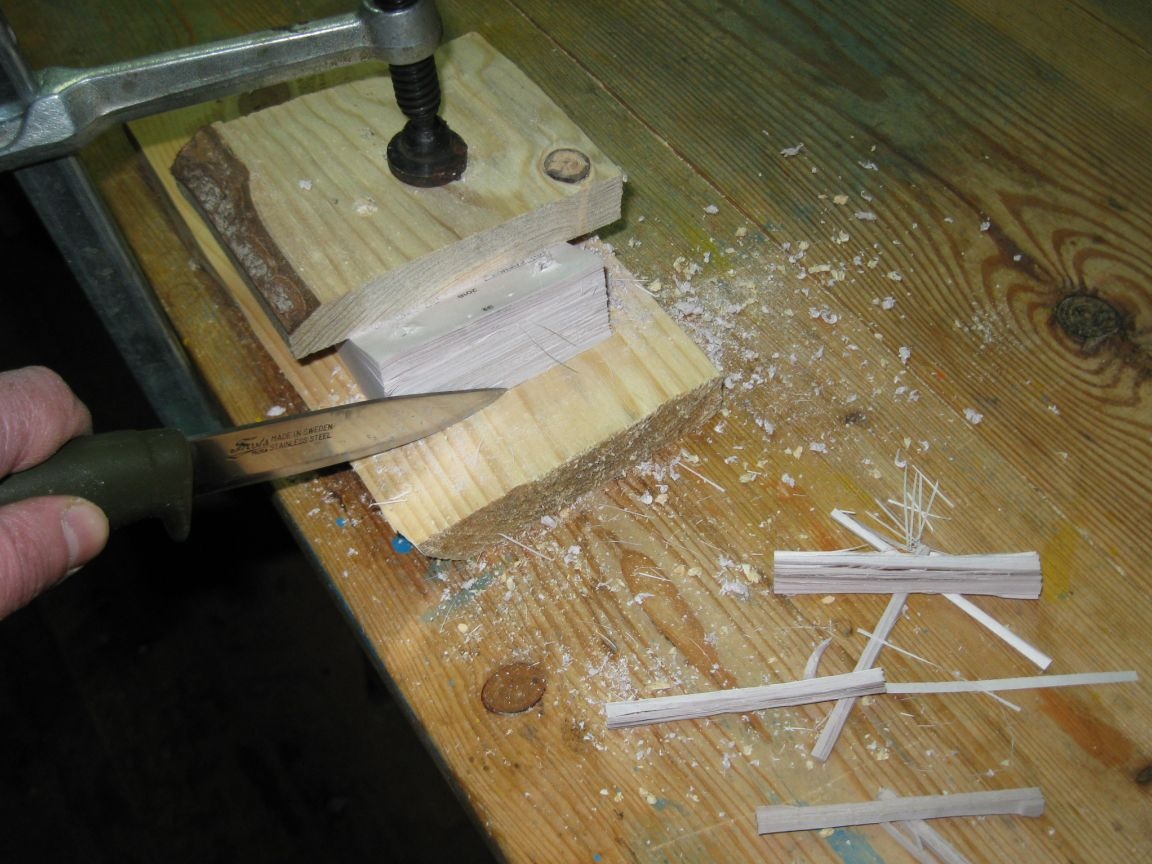
Then, you can slightly clean the cut from small pieces of paper or simply blow them out.

After that, our updated calendar is ready to use.
By the way, it should be noted here that the drilled holes do not look very even and neat from the front of the calendar.
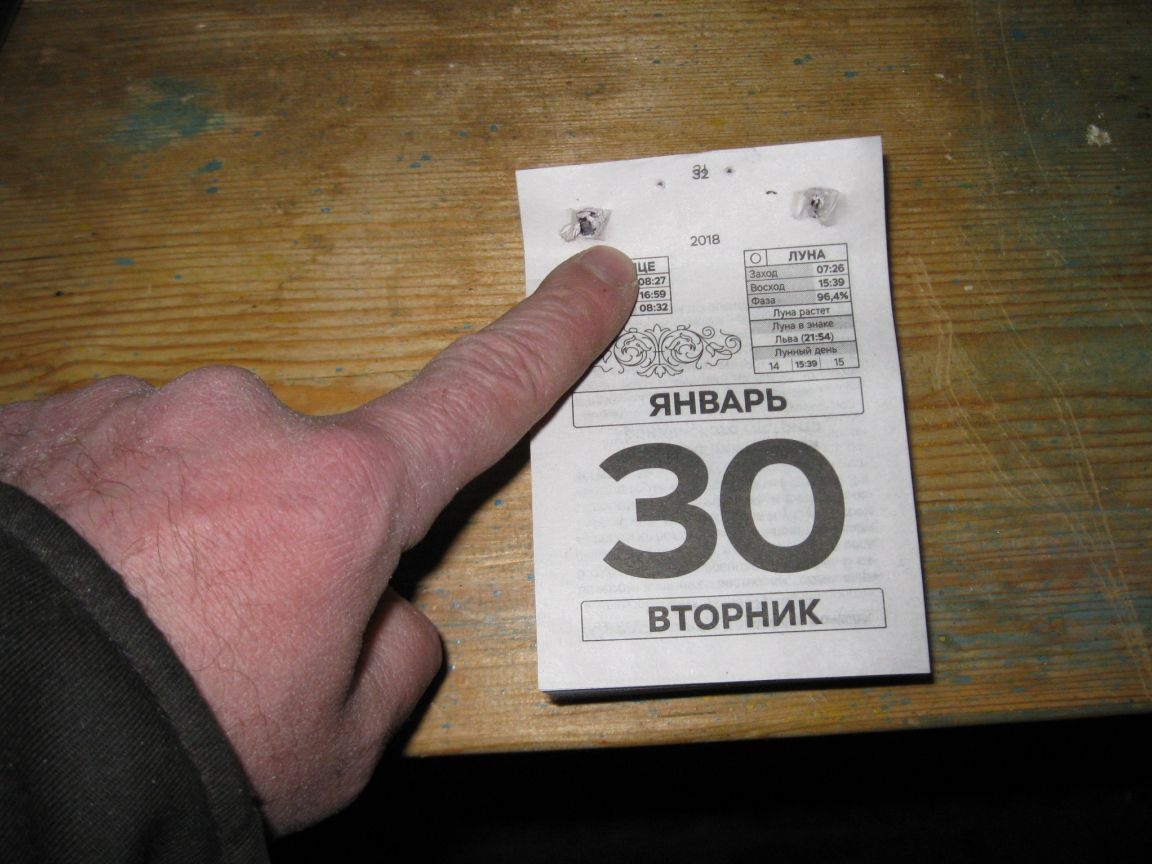
However, on the flip side, they are fairly even.
Therefore, as we shoot and transfer pages from the front of the calendar, the holes on subsequent pages will become more even. In principle, it is possible to ensure that the holes are perfectly even and neat if you drill holes in the calendar through a tightly pressed board or plywood. But, in my opinion, this is not particularly necessary.
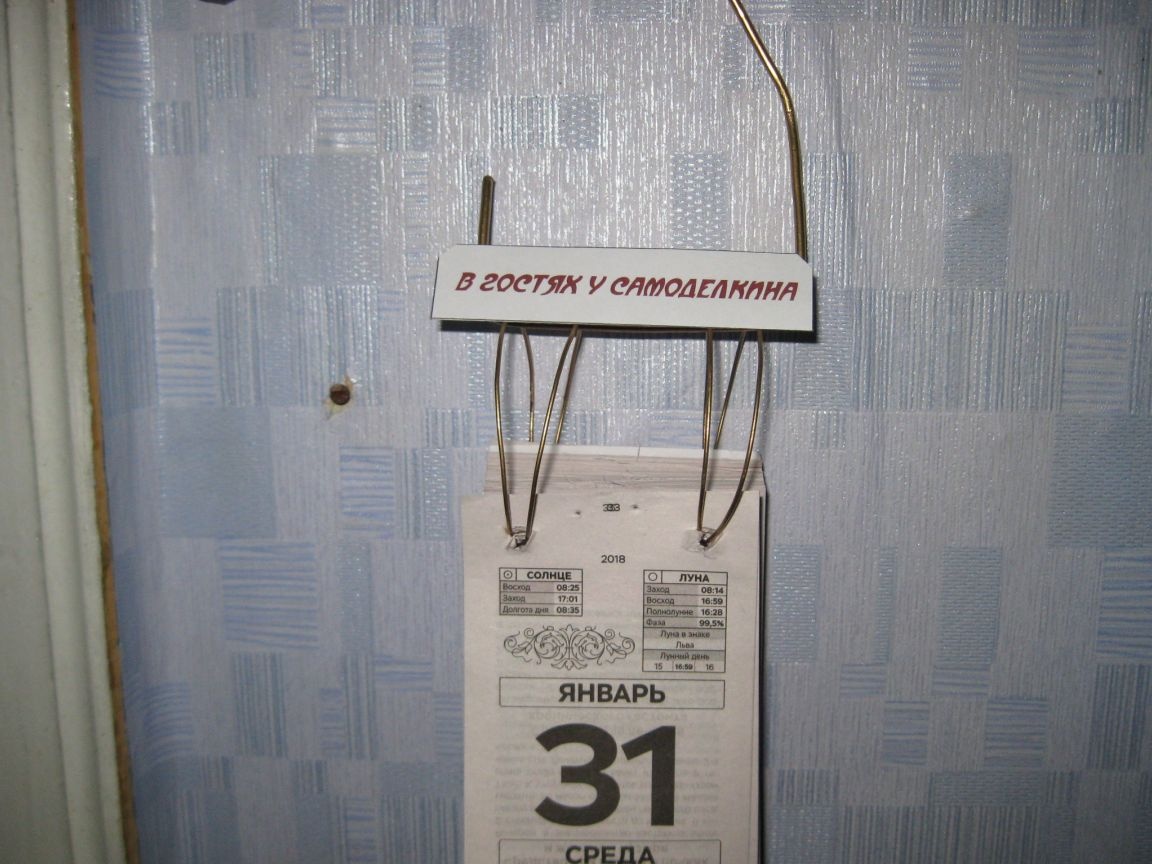
To hang up such a modified calendar, I once made a simple wire canopy.
I put on a calendar on it and hung it on the wall, not tearing it off every day, but simply removing another sheet from the calendar, which was convenient enough.
However, this year, I decided not to make a tear-off, but a completely flip calendar. And this was particularly affected by the numerous requests of family members to ensure that the calendar after use remains intact and organized in pages, which in turn would make it possible to save it and read recommendations and useful tips printed on the back of the calendar pages.
Therefore, in order to turn such a wall calendar into a desk calendar, I decided to make a new canopy for it, for which I needed the following accessories:
Materials:
• A piece of steel wire with a diameter of 3 mm and a length of 30-40 cm.
• A piece of steel wire with a diameter of 1 mm and a length of 50-70 cm.
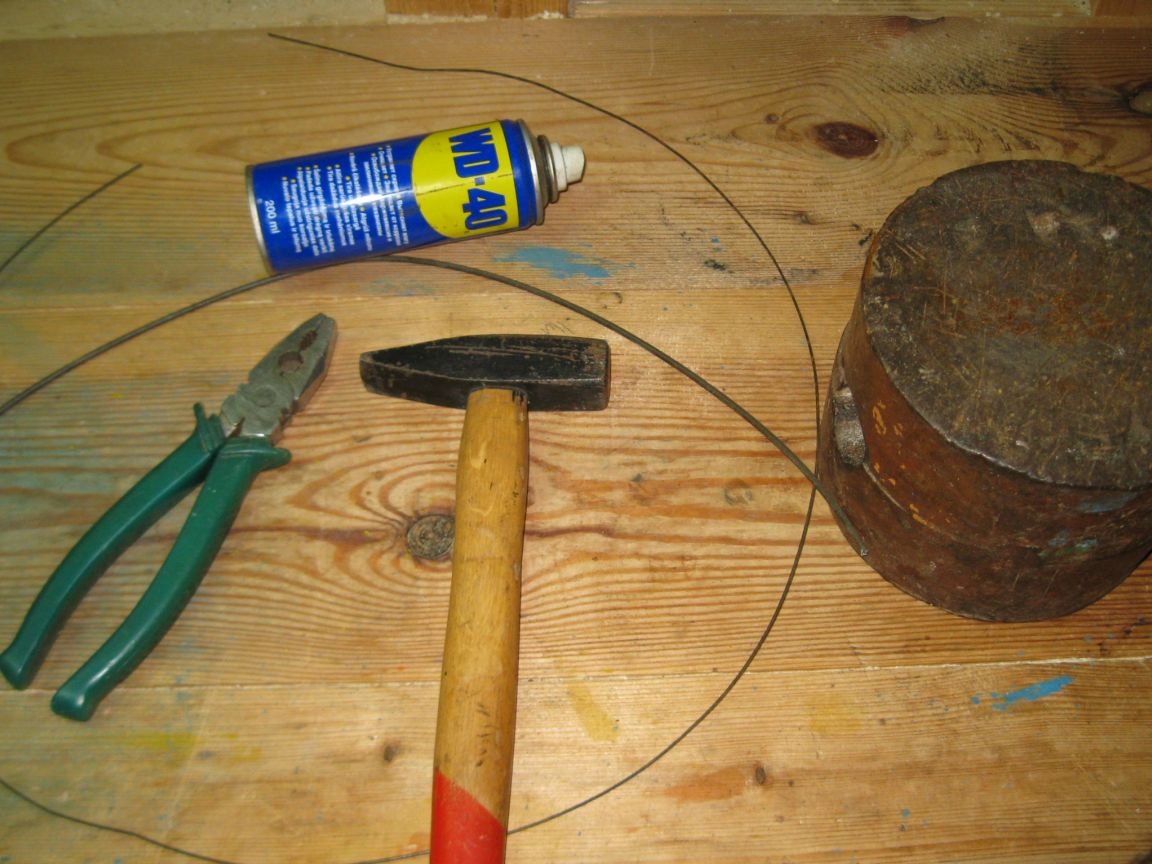
• Used spray can for universal lubrication.
• Spray paint.
Instruments:
• Hammer with an anvil.
• Pliers.
The procedure for manufacturing a canopy for the calendar.
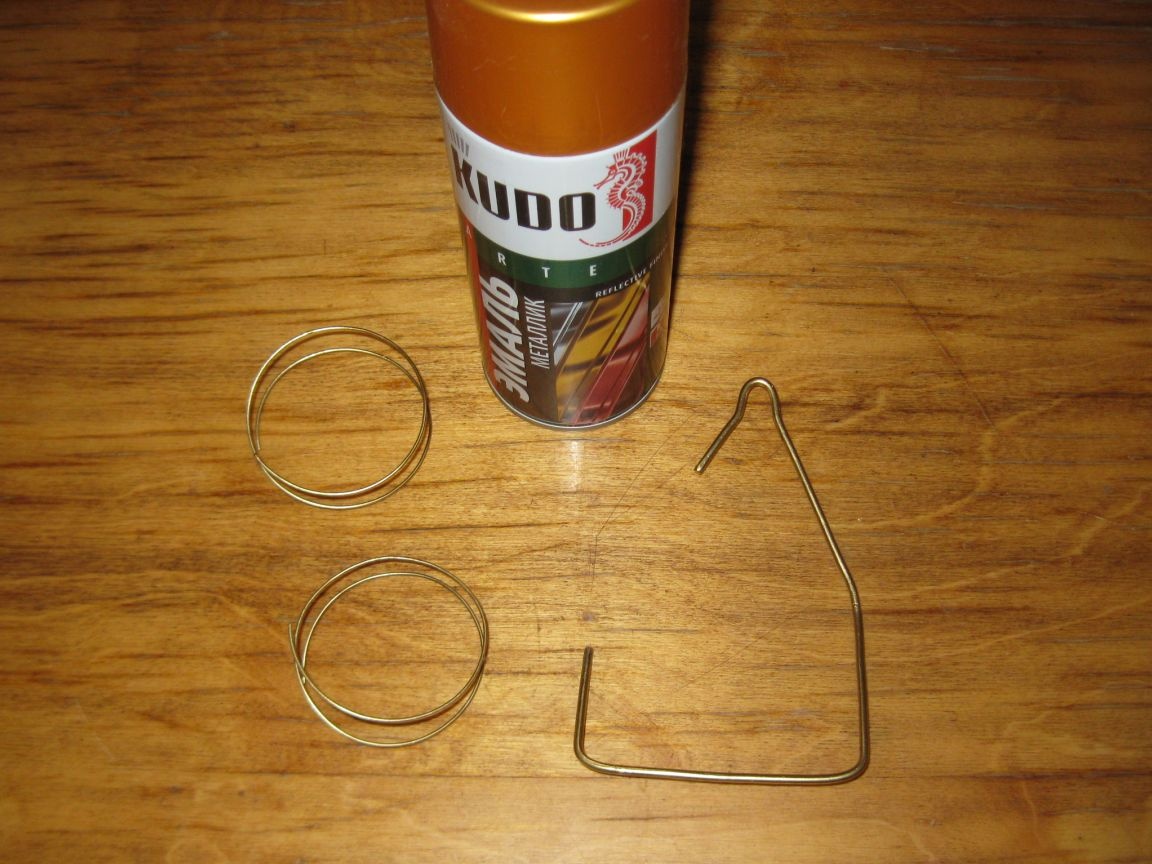
Step 1. Making rings for hanging the calendar.
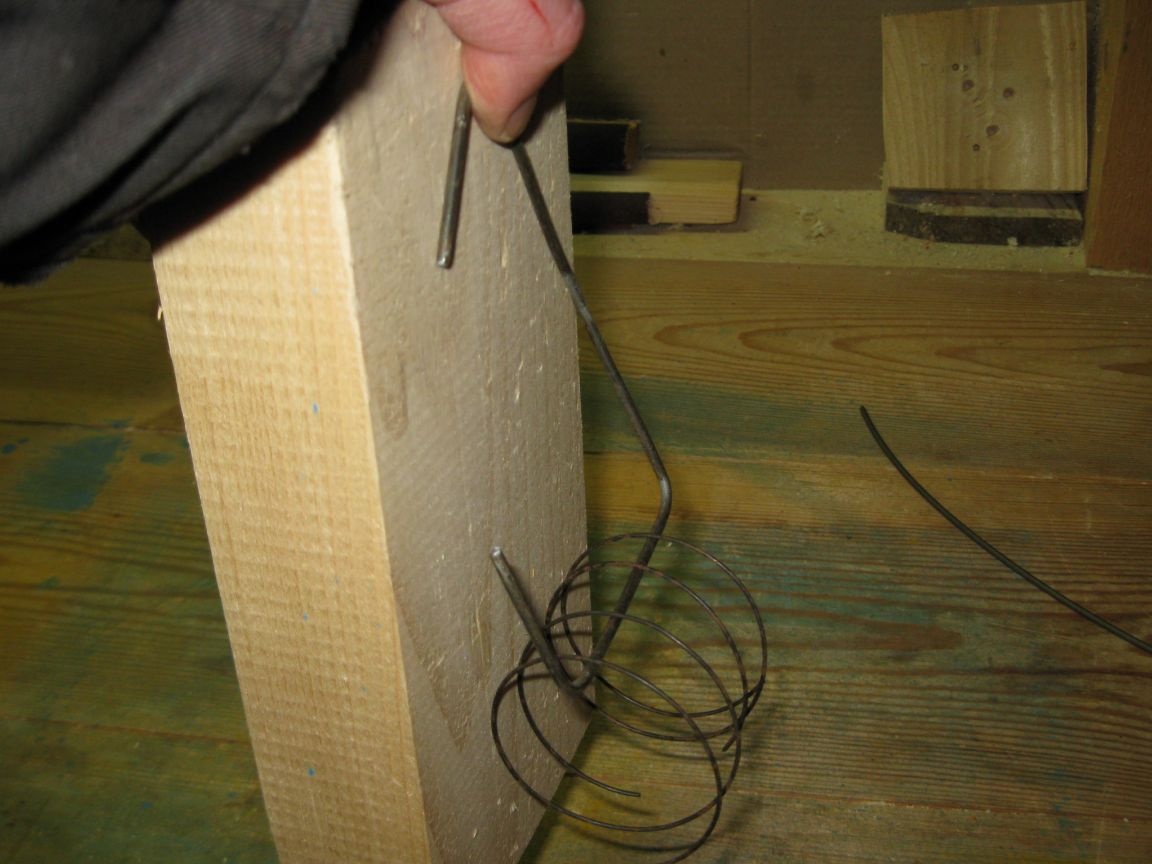
Step 1. Winding the wire onto the mandrel.
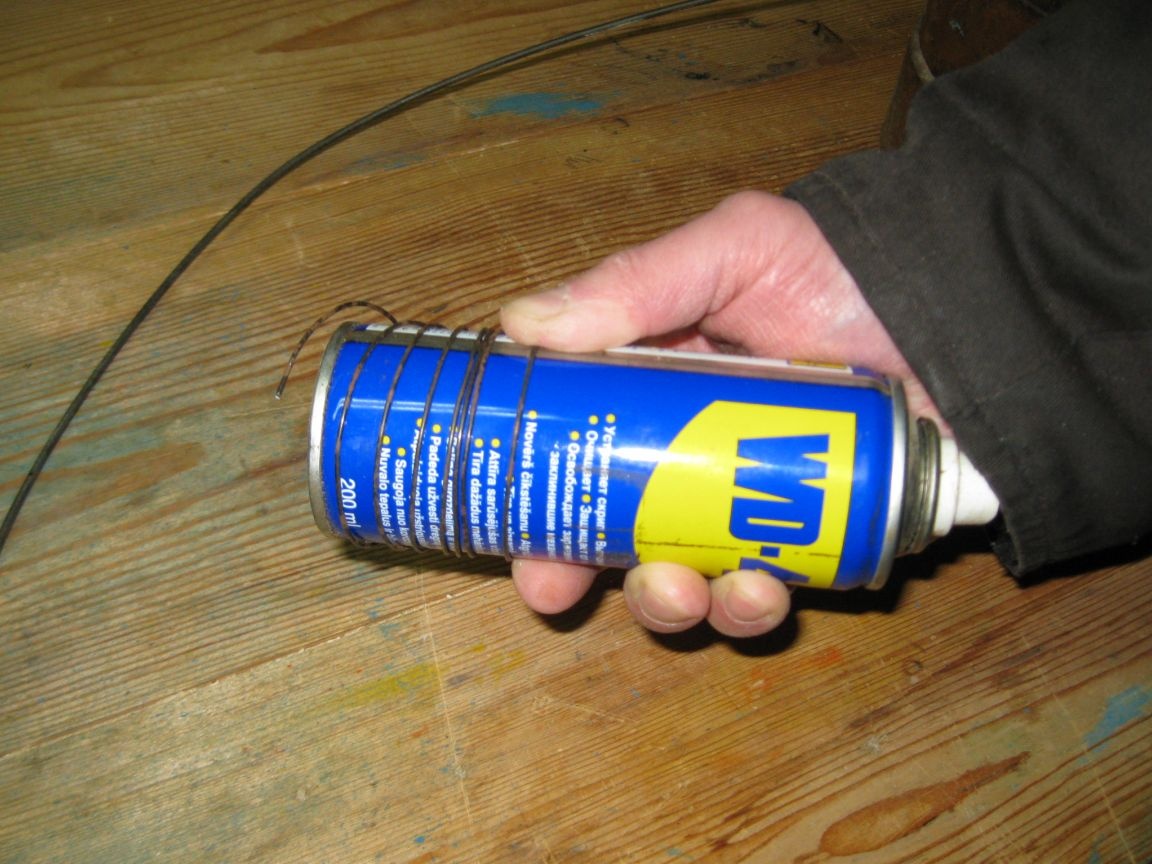
We wind a thin steel wire on a mandrel. As a mandrel, you can use a steel pipe of suitable diameter, but I didn’t have such a pipe at hand, so I took a used can from a universal lubricant as a mandrel.
Step 2. Formation of rings for hanging the calendar.
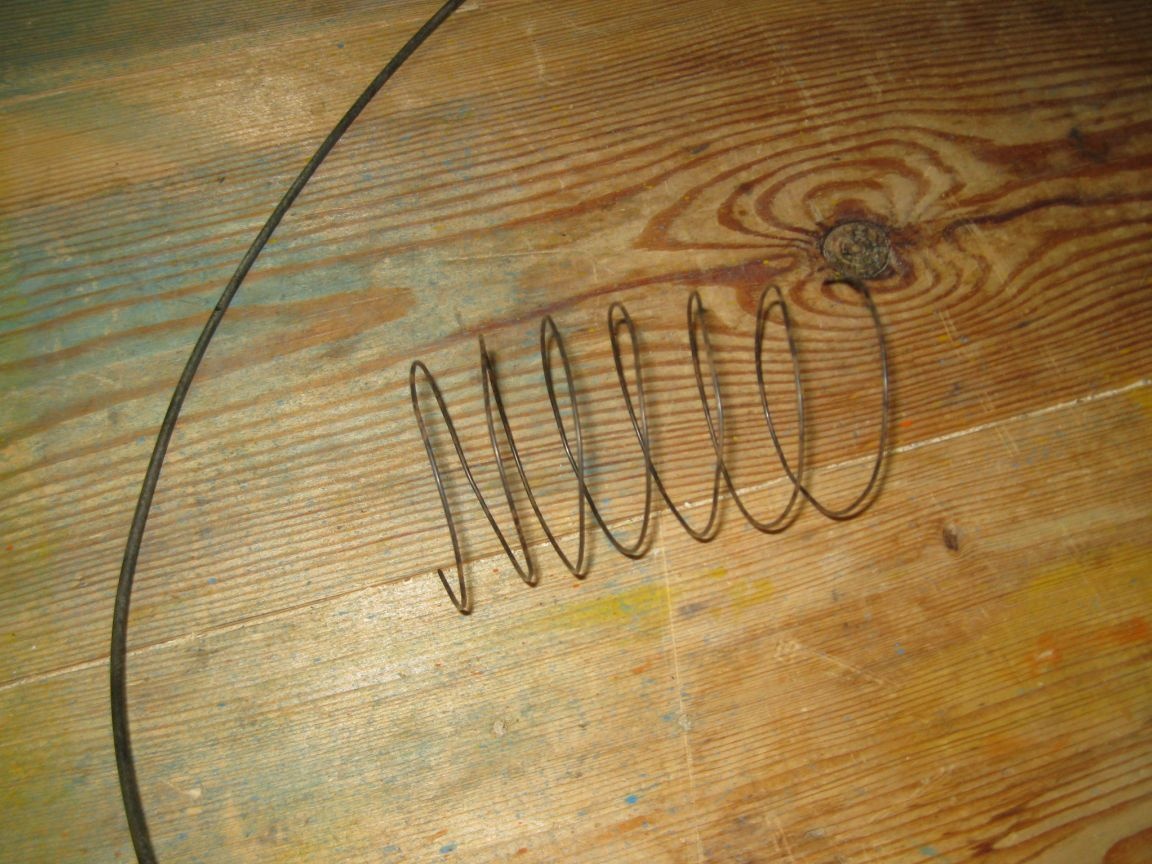
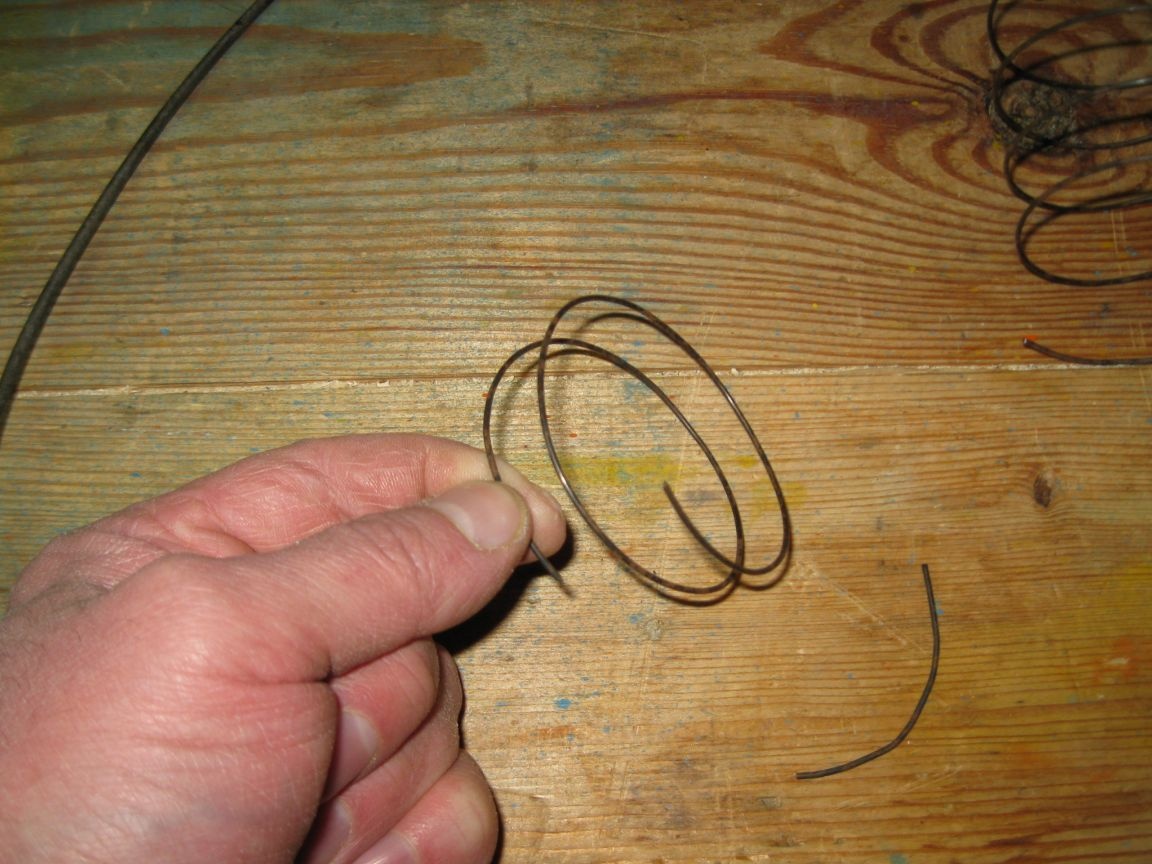
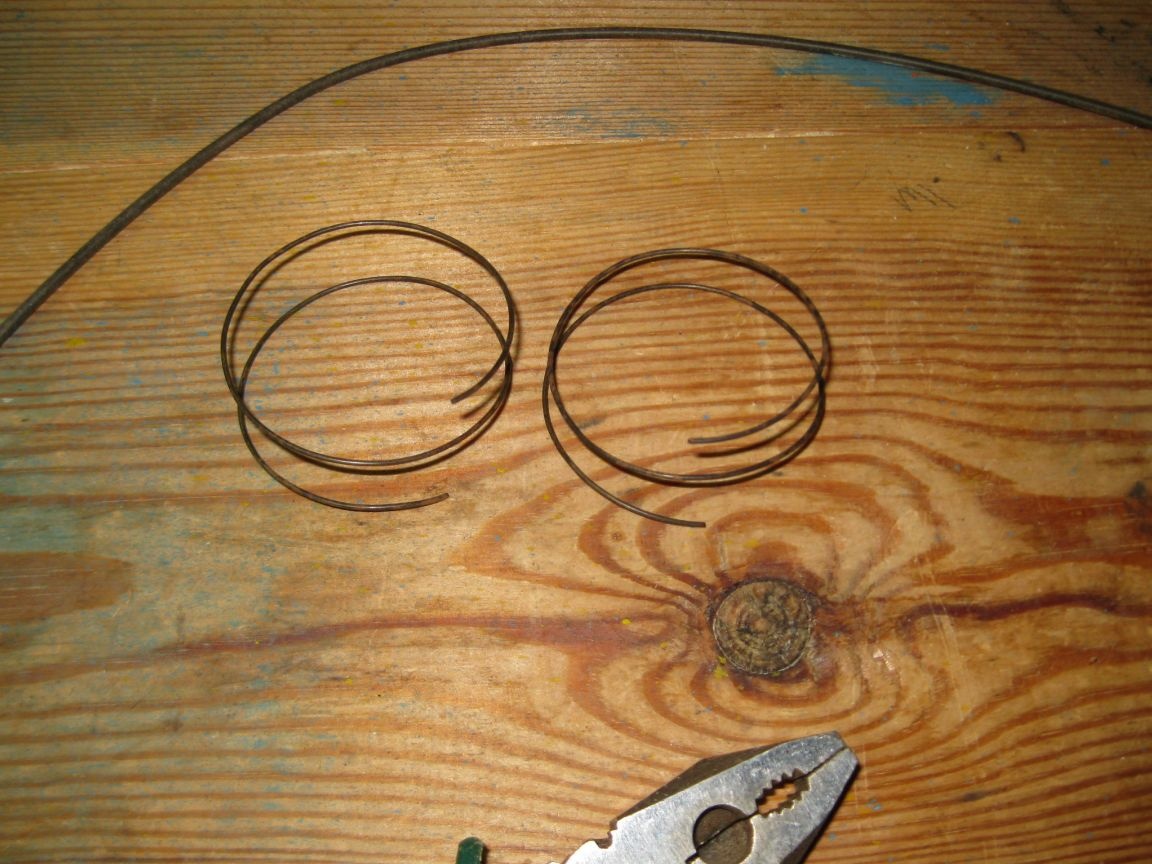
We remove the wire from the mandrel and cut off from it two links that will serve us for hanging the calendar.
Stage 2. Making the basis of the canopy calendar.
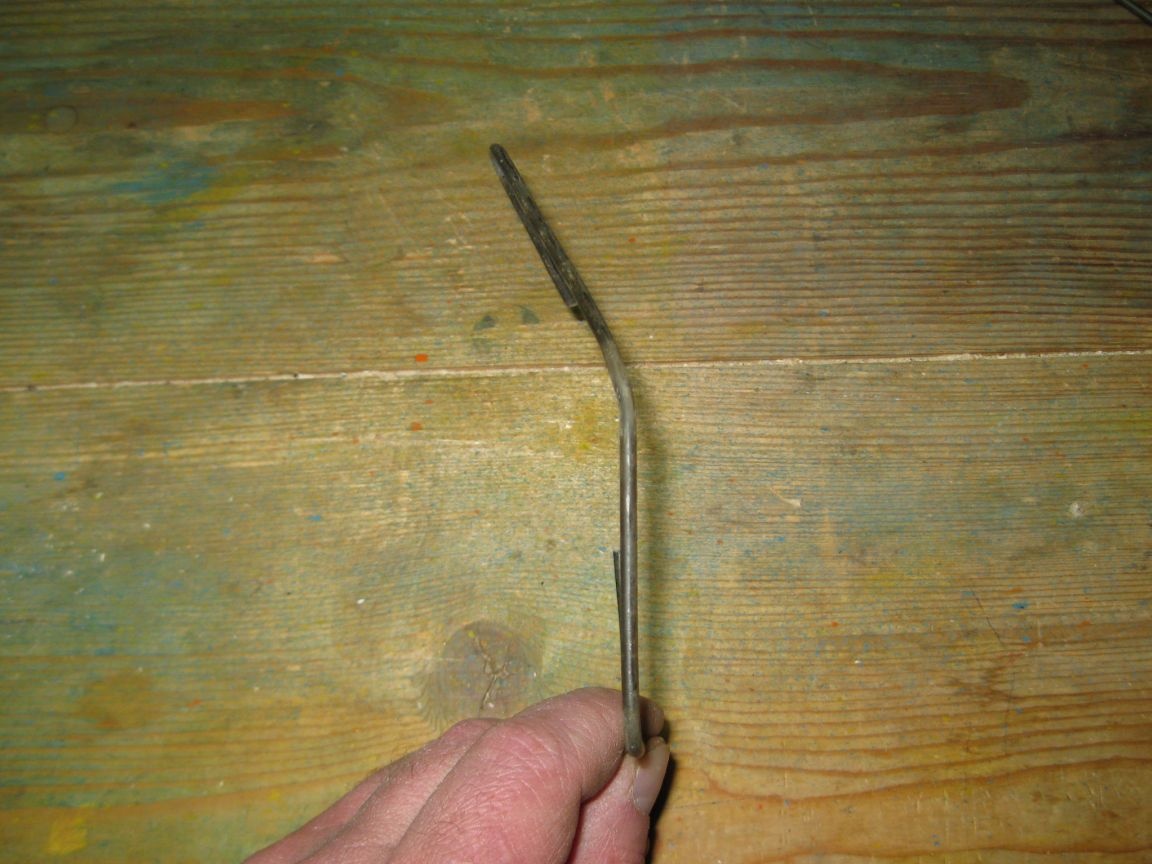
Step 1. Straightening the wire.
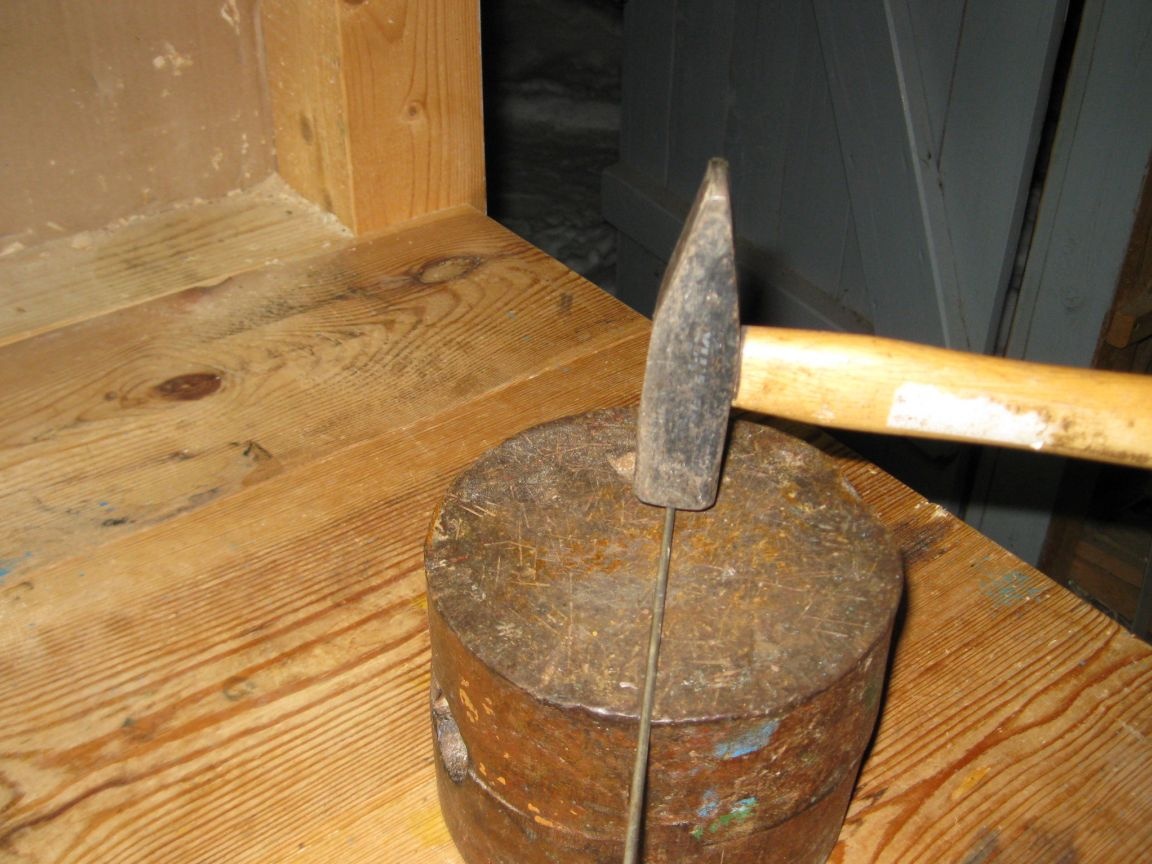
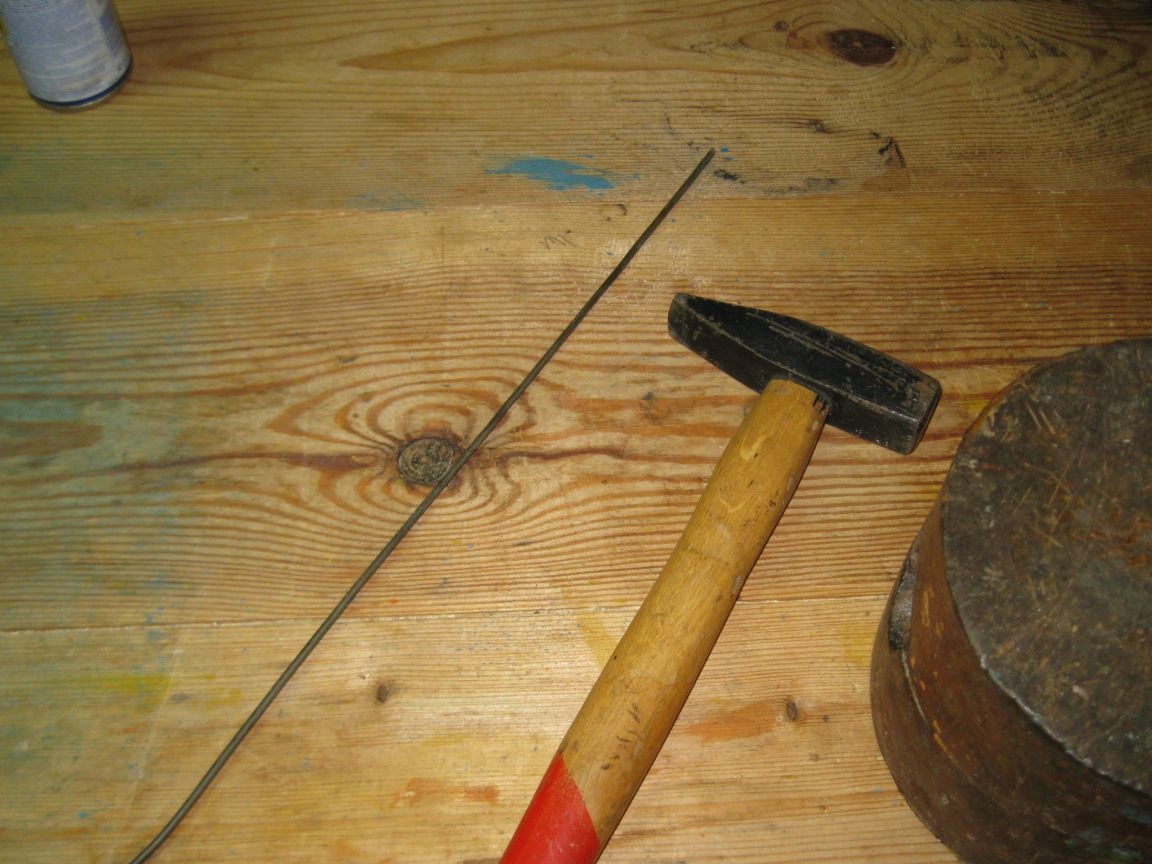
We straighten the thick steel wire on the anvil with gentle hammer blows.
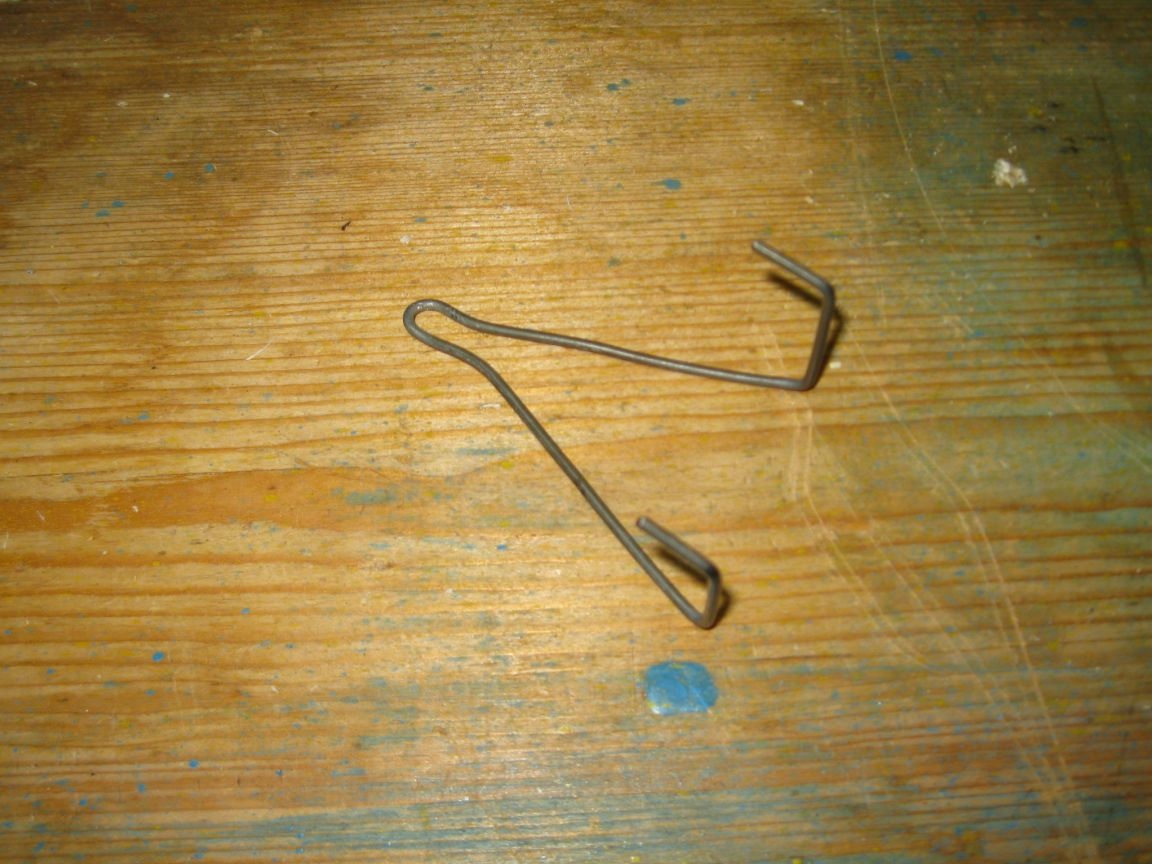
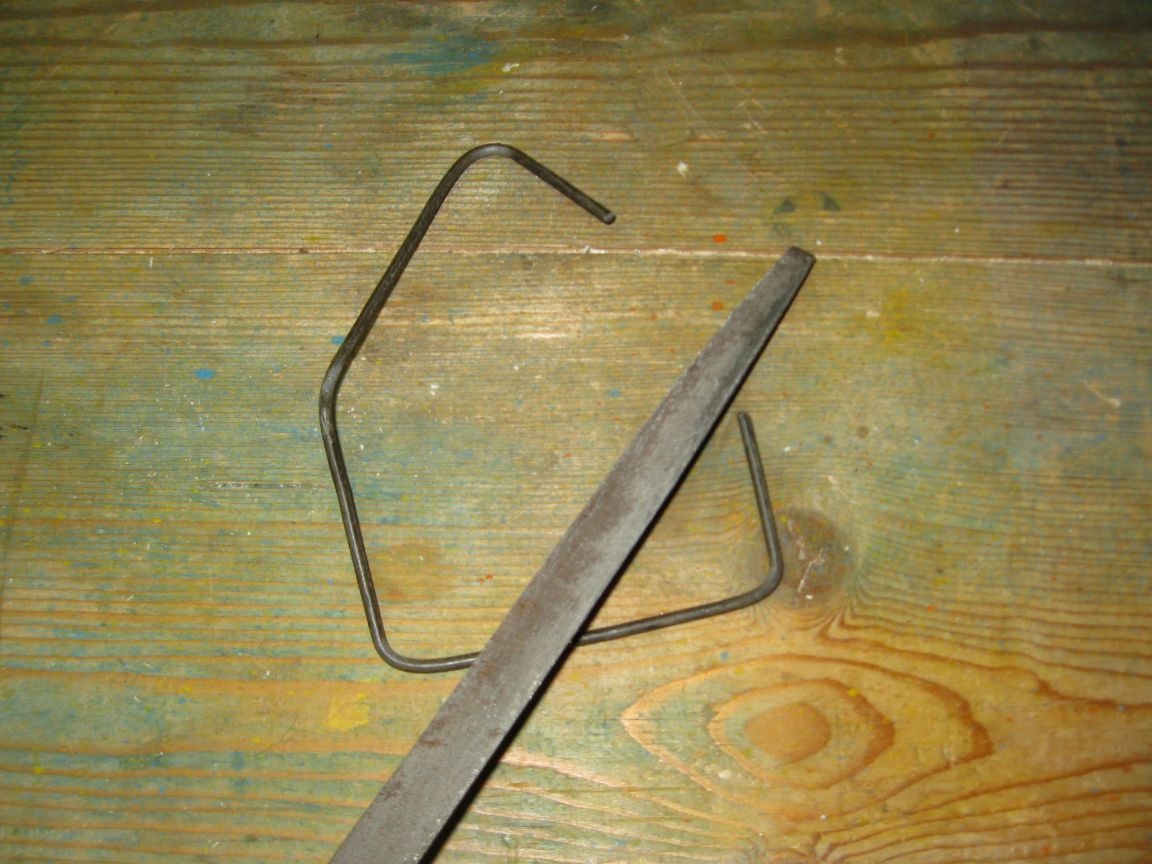
Step 2Formation of the base of the canopy.
With the help of pliers, we gradually bend the sections of wire, forming such a canopy.
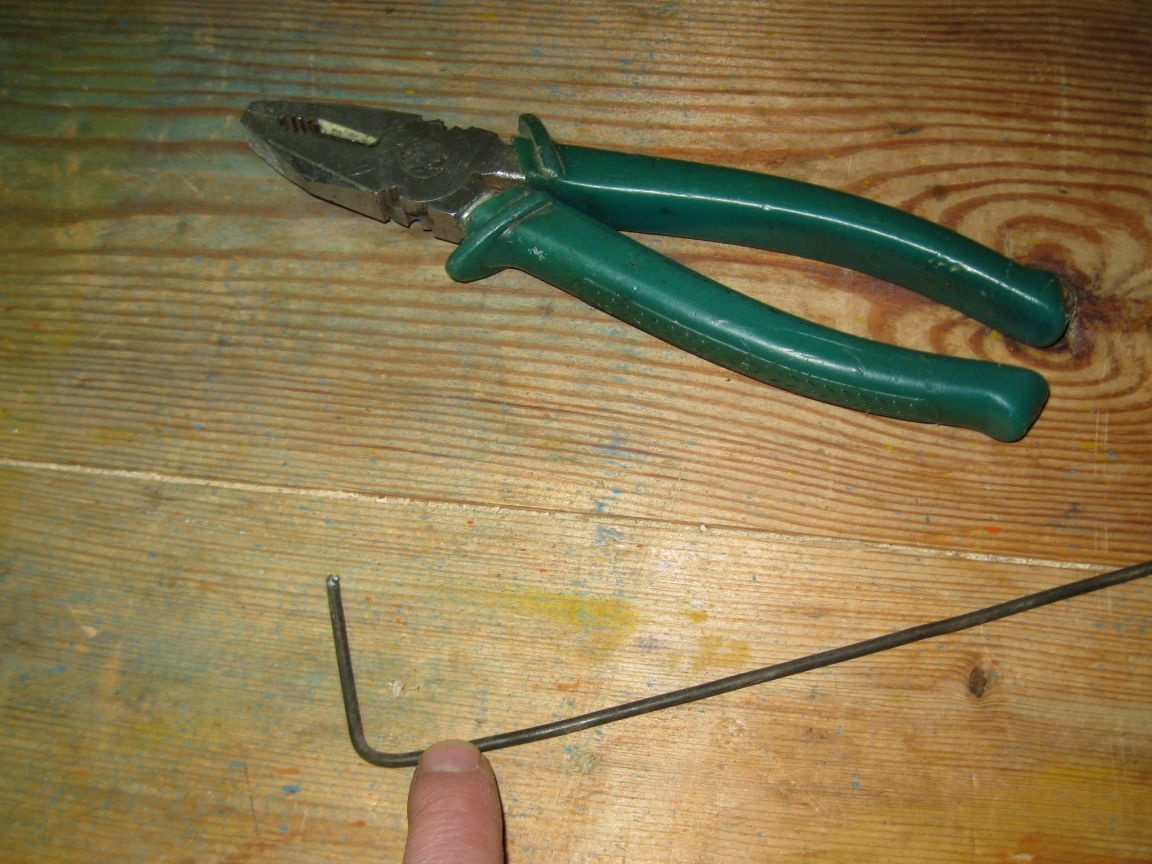
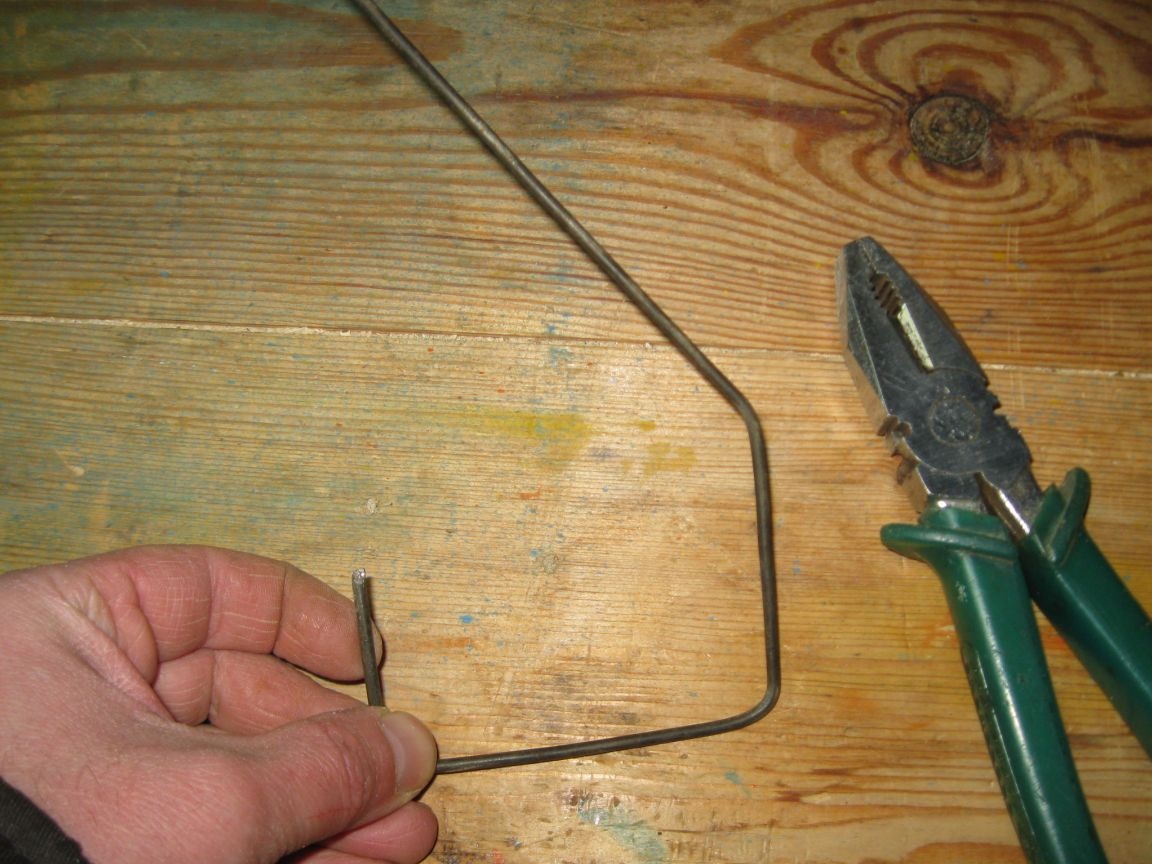
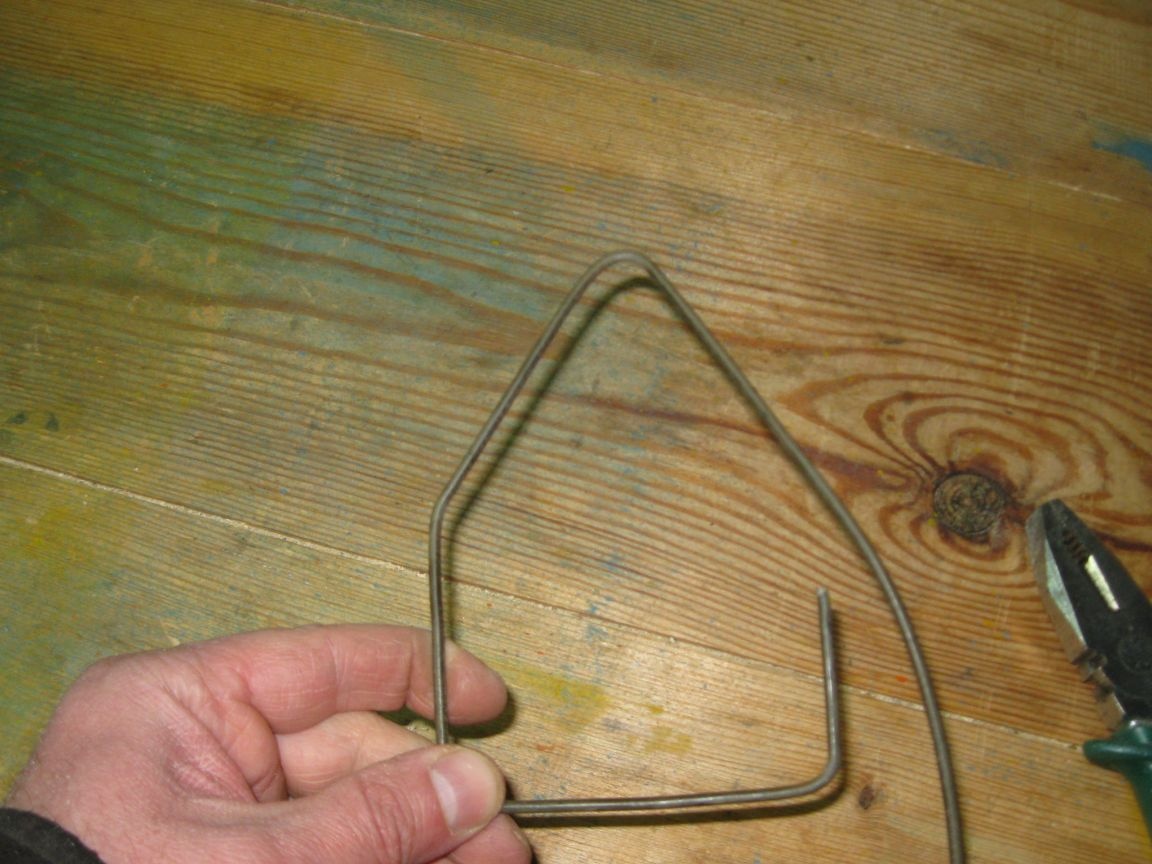
Cut off the excess wire.

The upper part of the canopy is slightly bent so that rings can be put on it.
Like this, our canopy will hang on the wall.
Step. 3 Balancing the canopy.
We hang up the basis for the canopy of the calendar on the carnation and balance it, that is, we ensure that it hangs evenly and does not warp.
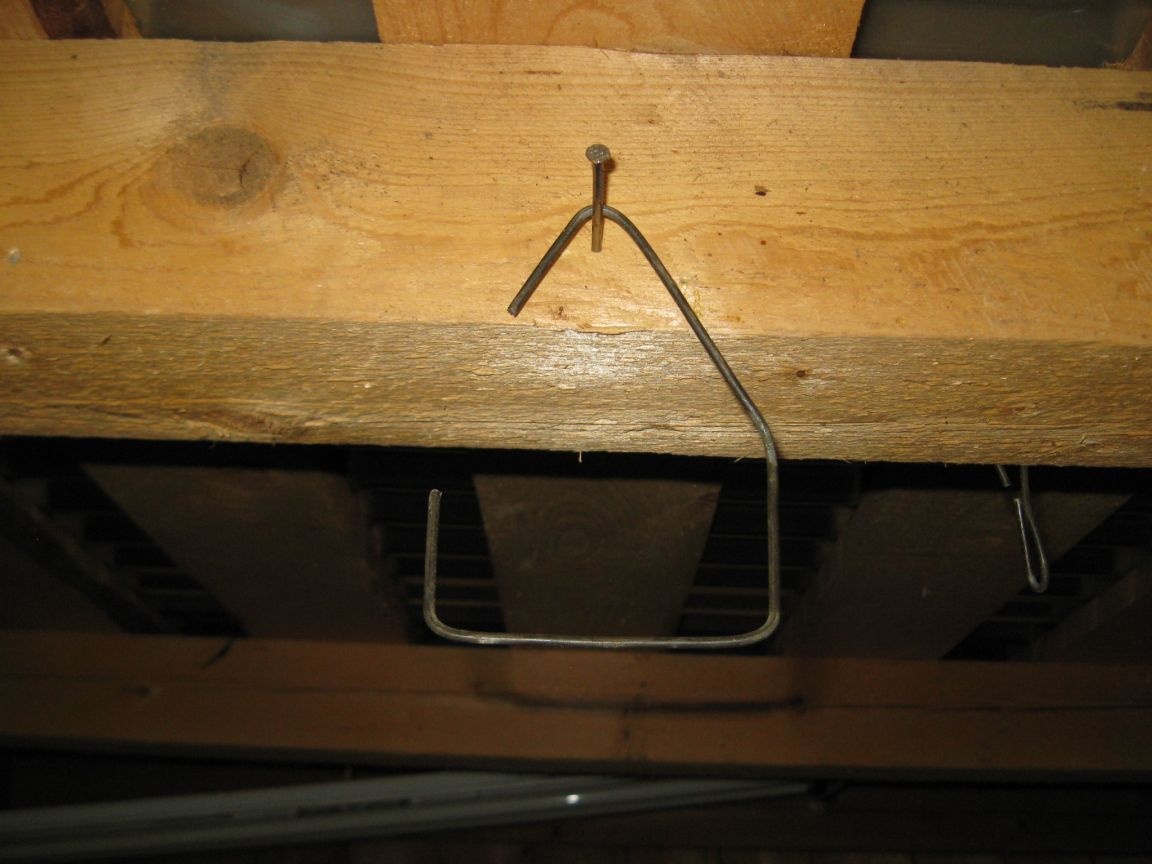
If necessary, slightly bend the upper part of the canopy left or right to achieve its balance.
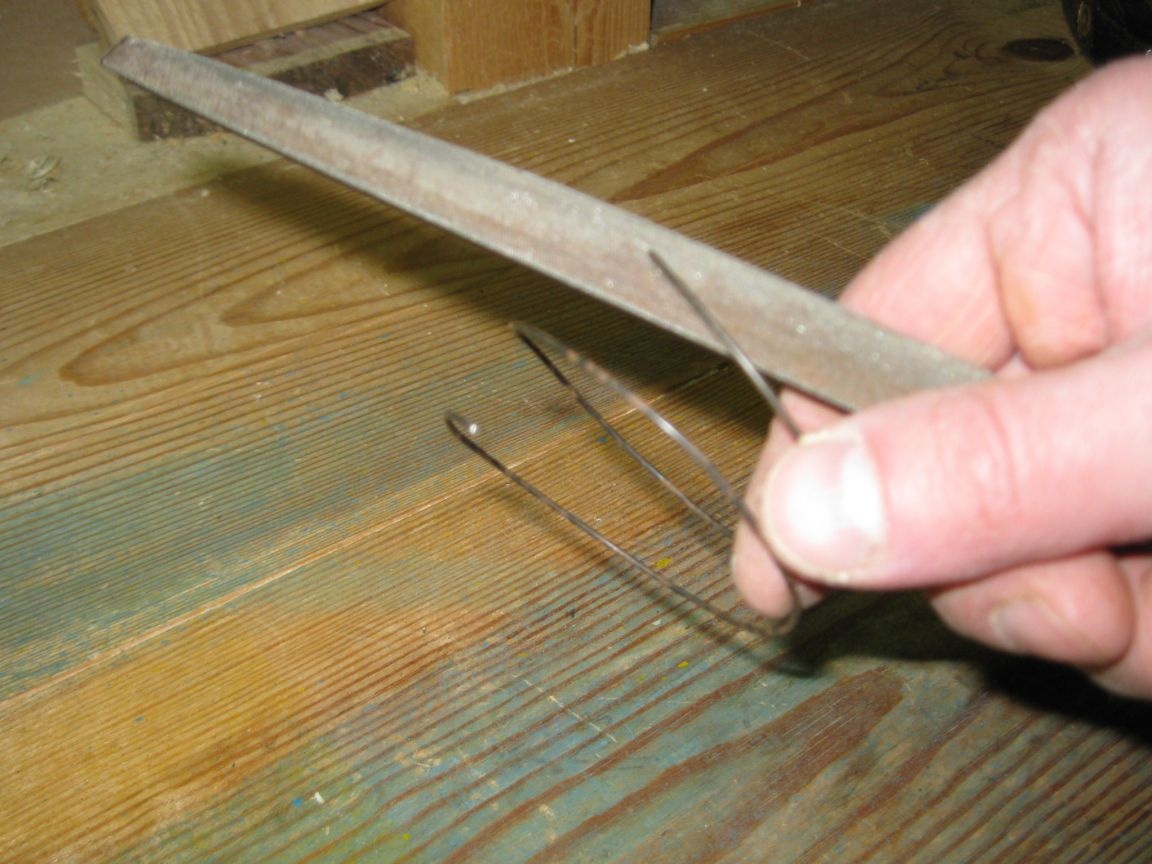
Step 4. Processing sharp edges.
Using a file, we blunt and round sharp edges at the ends of the canopy, as well as at the ends of the rings, for safety.
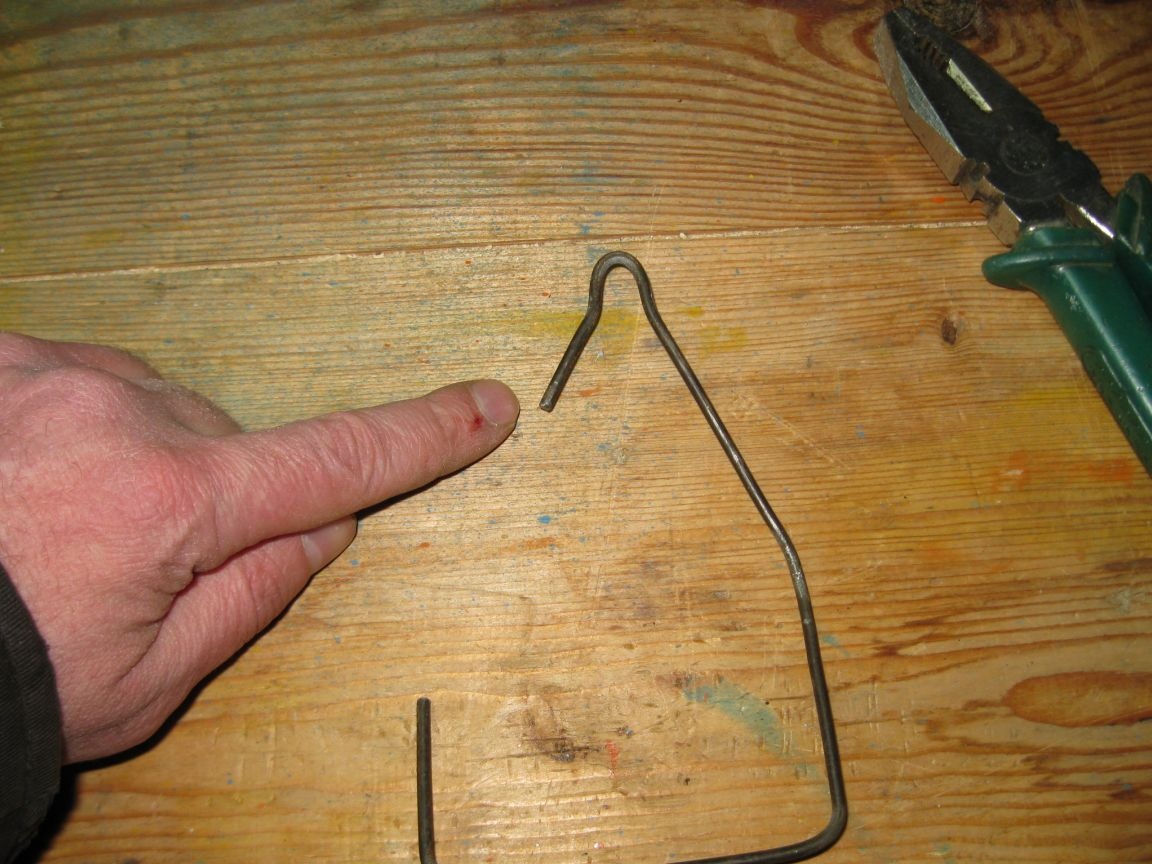
By the way, in the end, I still slightly modified the very top of the canopy, slightly narrowing it. In this form, it will be more convenient to hang it on a screw or carnation.
Step 5. Painting the details of the canopy.
We wipe the wire details of our canopy with white spirit and paint them with spray paint from a spray can. I chose a golden color.
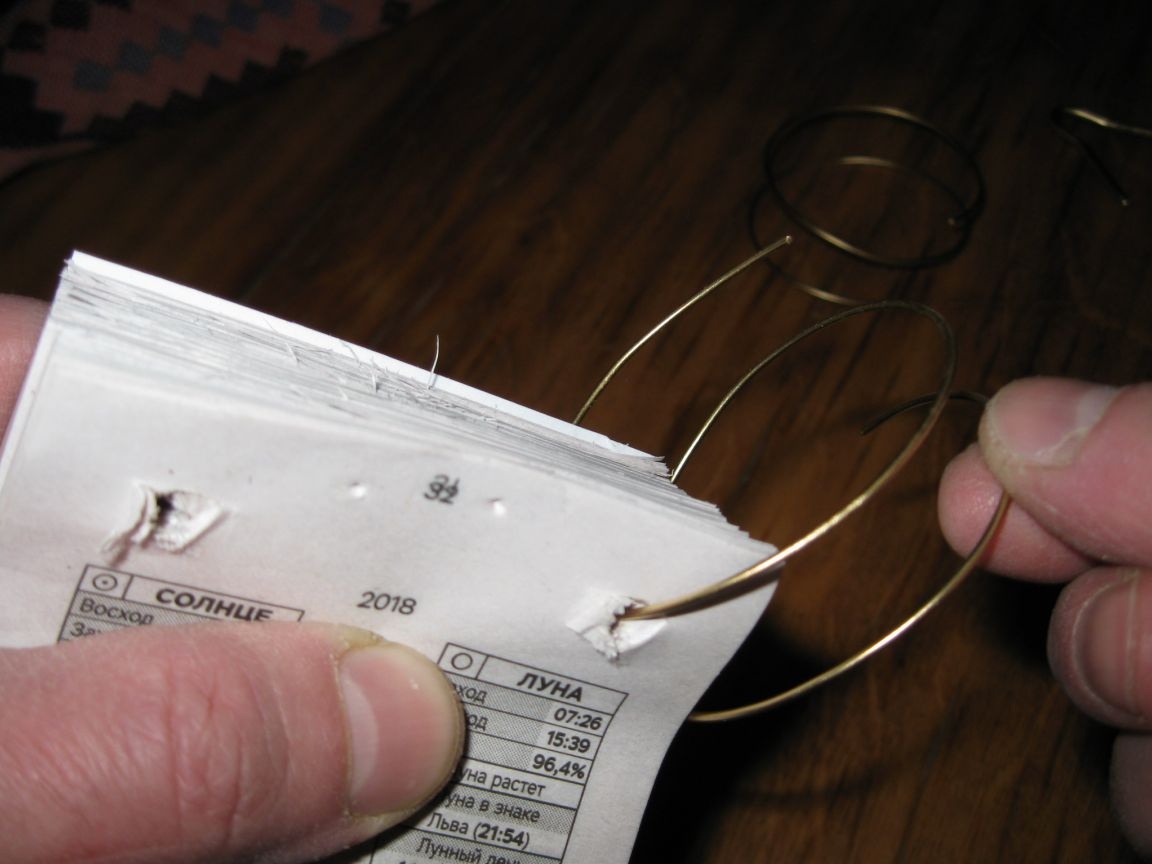
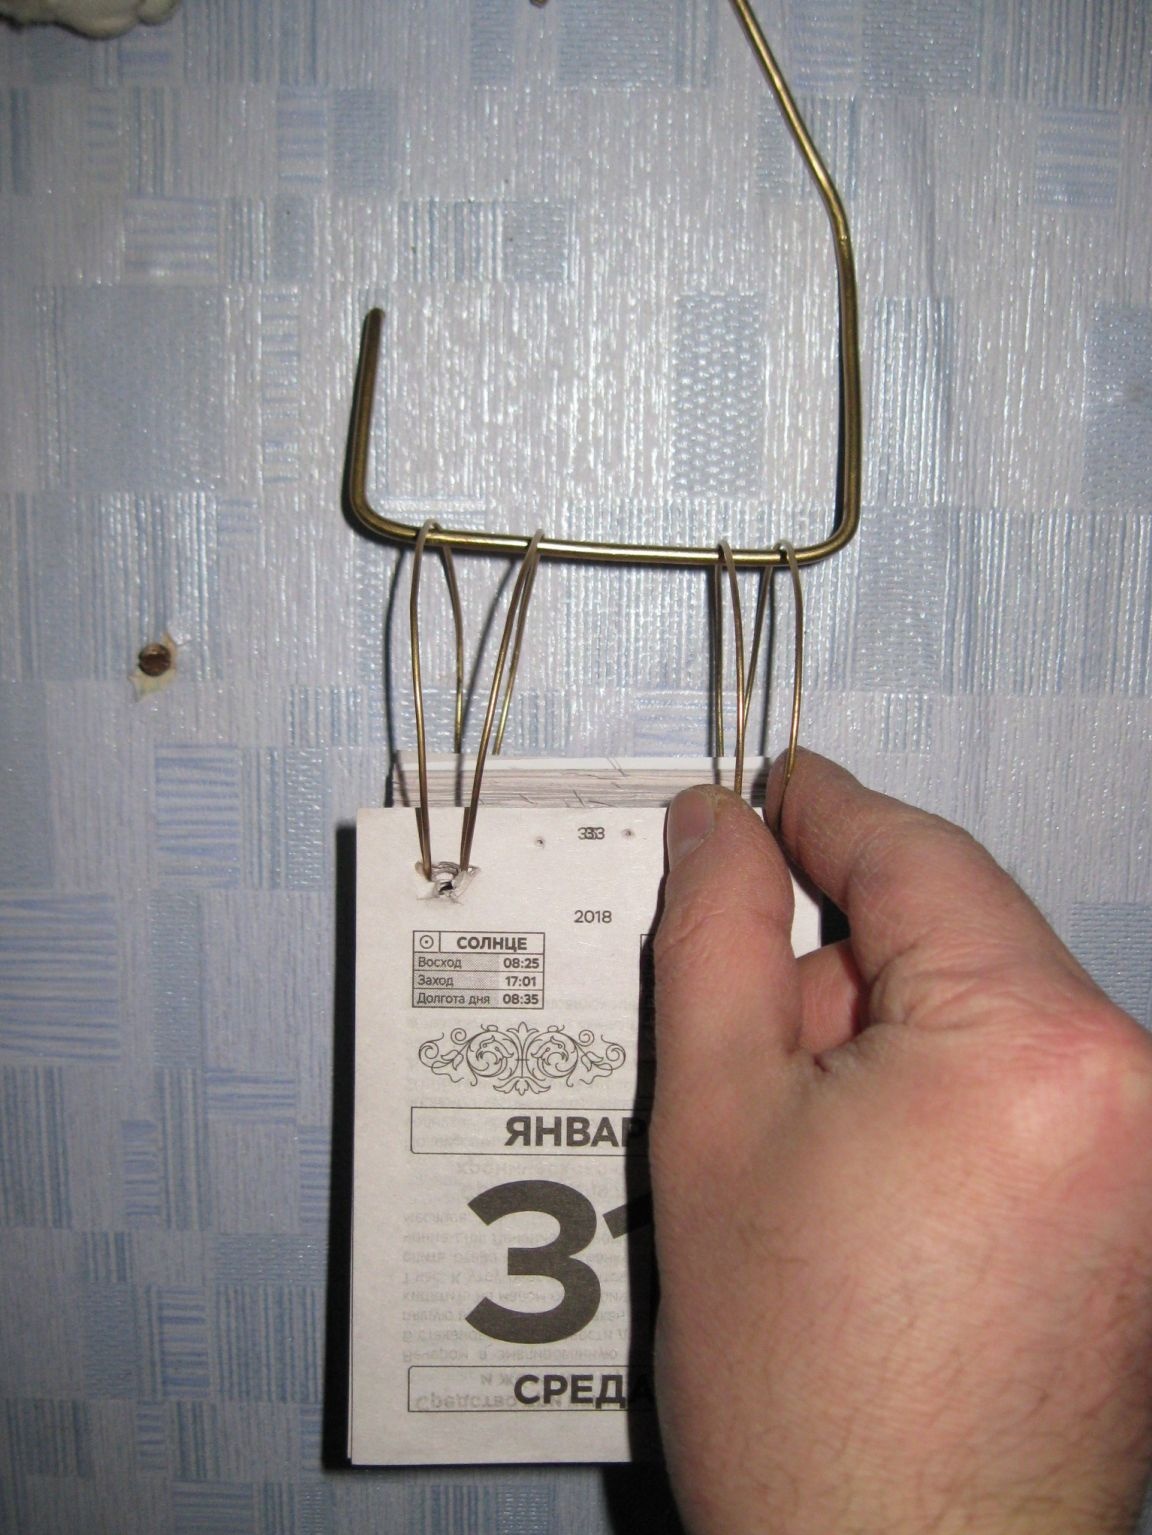
On this our canopy for the calendar is ready. We only need to insert the rings into the holes of the calendar and hang it on the canopy, and the canopy with the calendar on the wall.
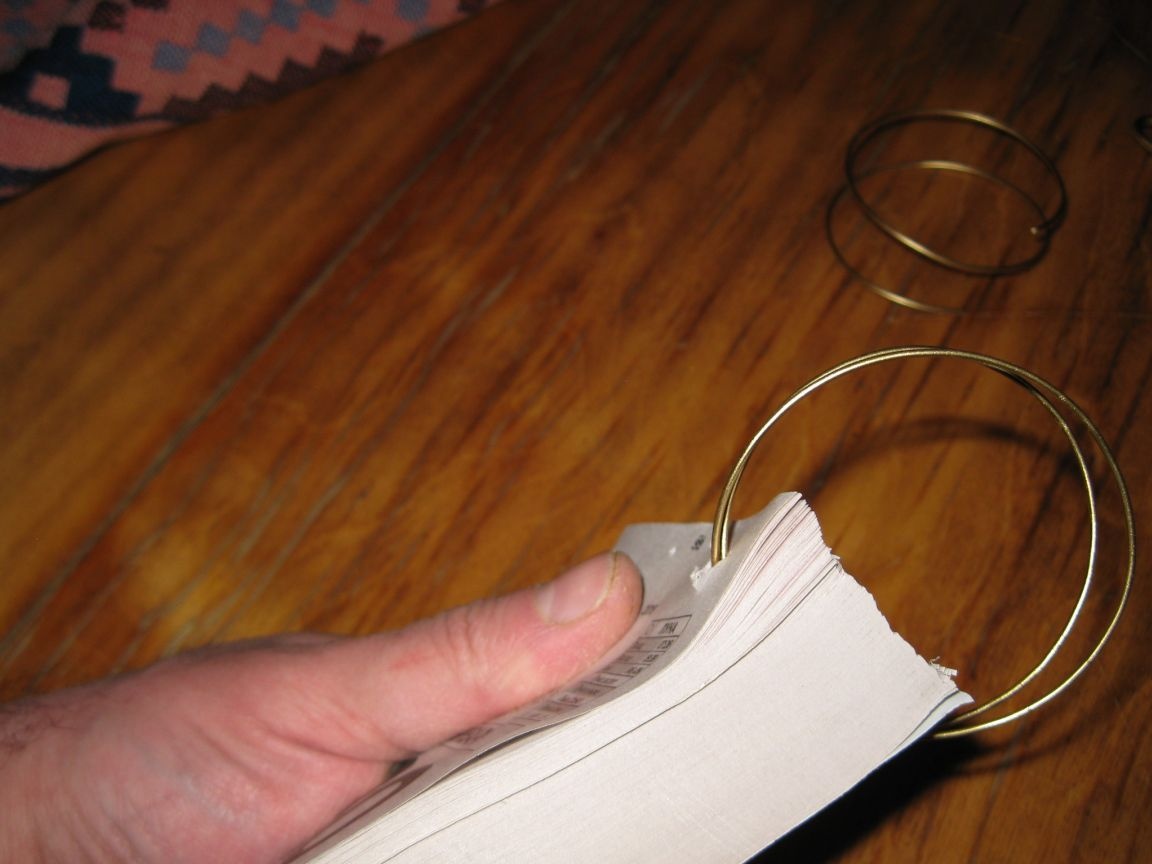
We pass the tip of each ring into the hole in the calendar, and then screw the rings themselves completely, approximately the same way we put the keys on the keychain.
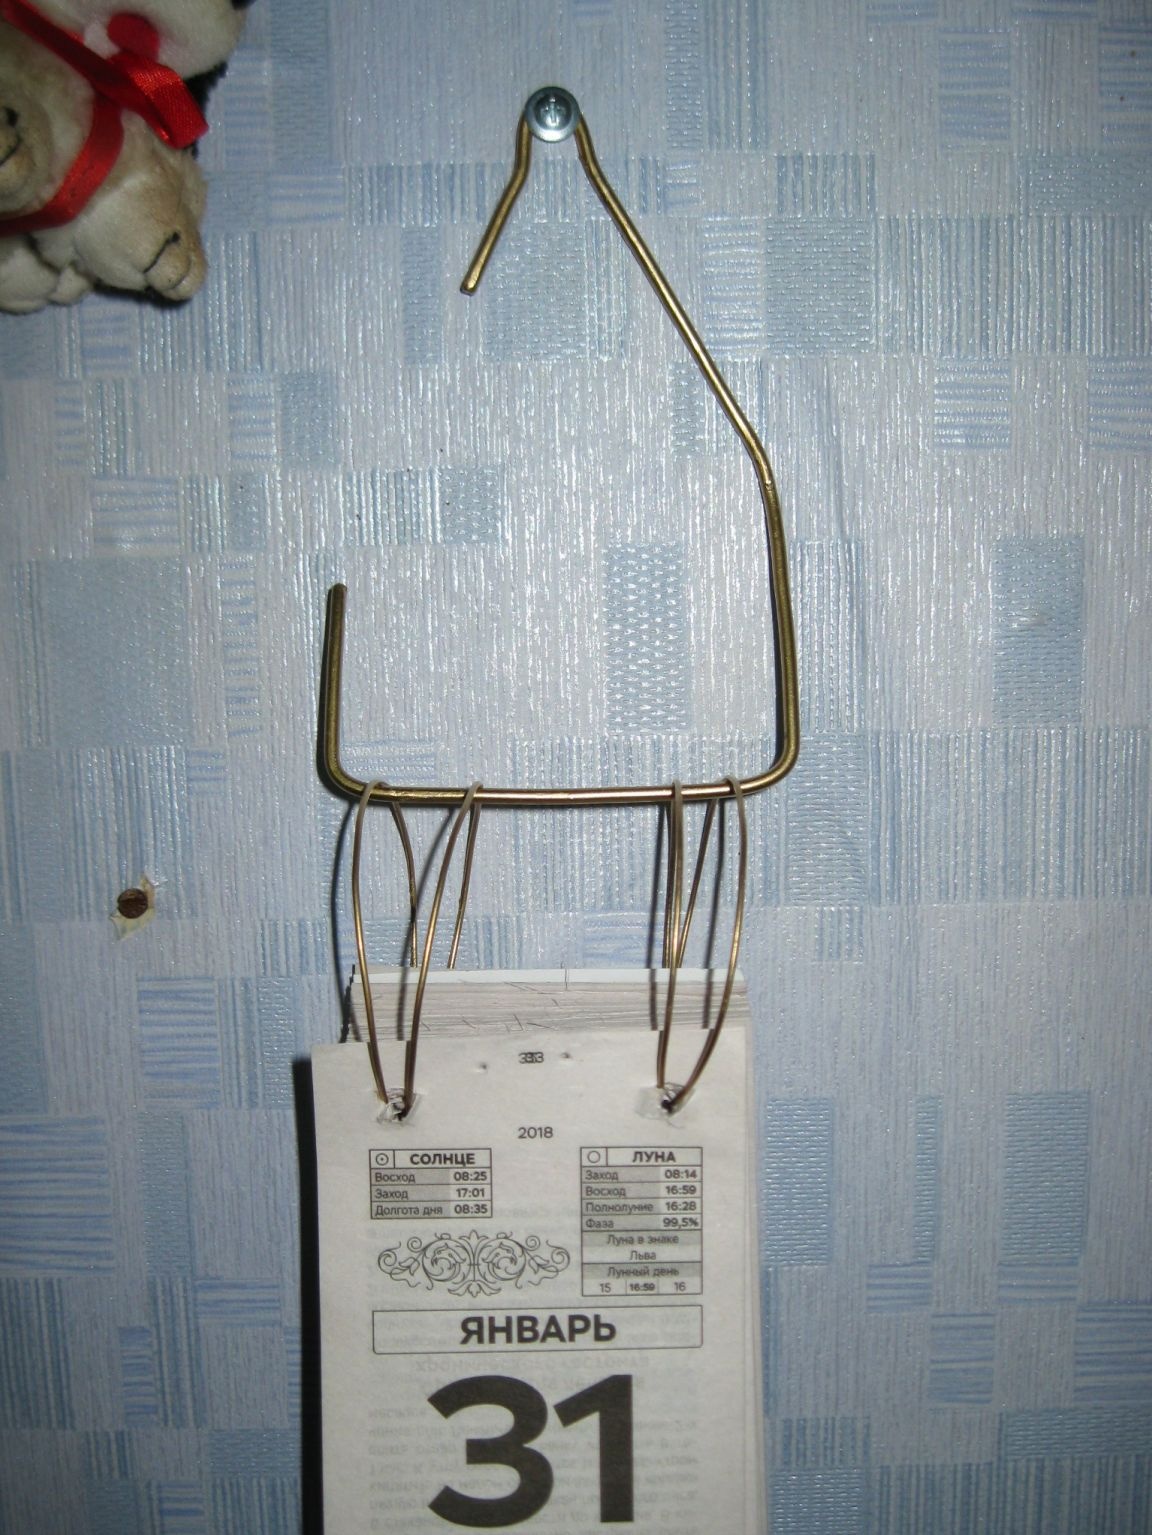
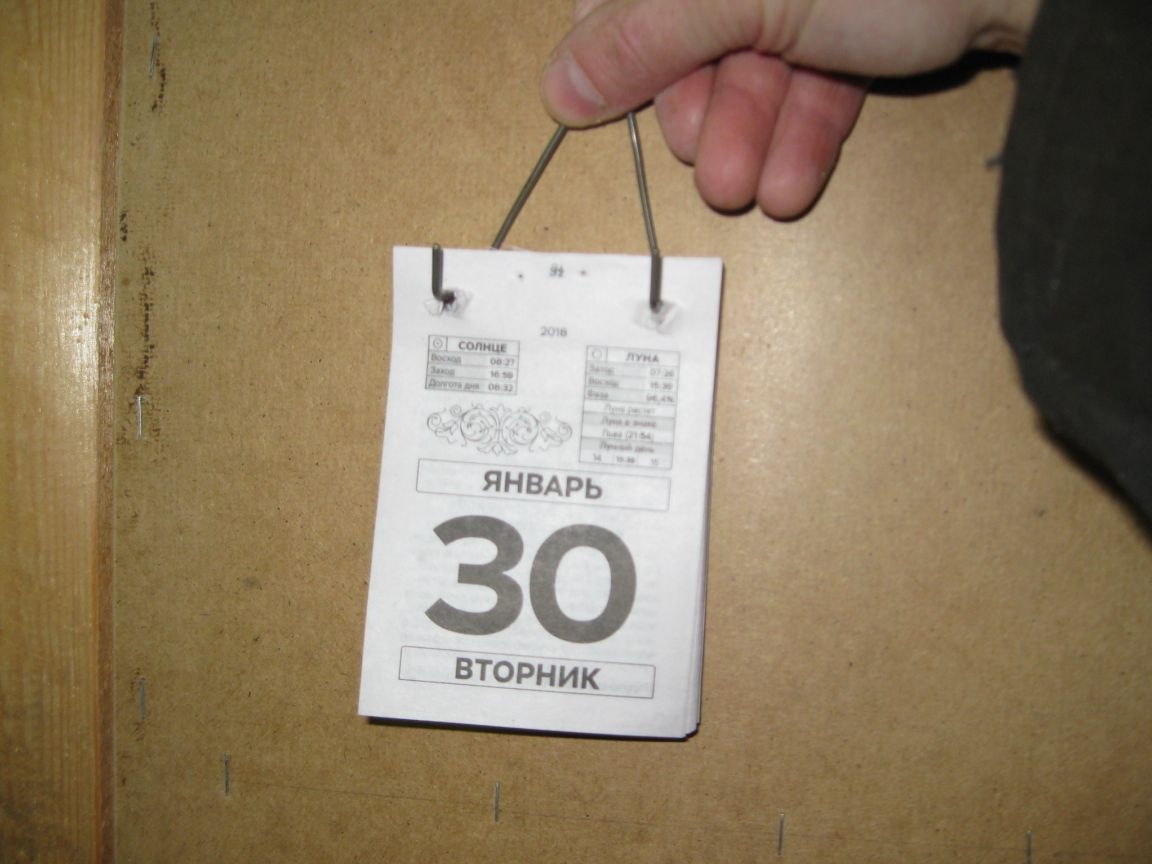
And now we hang the calendar on the canopy, and the canopy on the wall.
And now our calendar is ready to use.
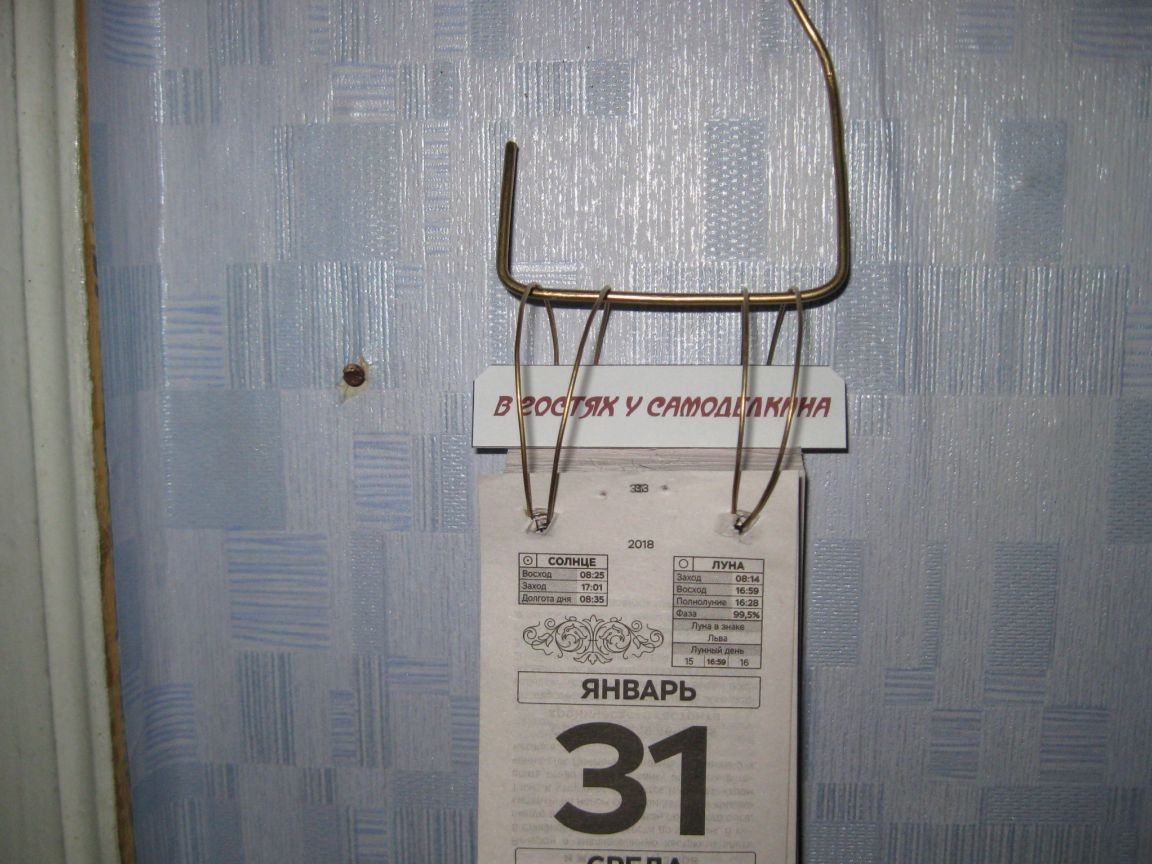
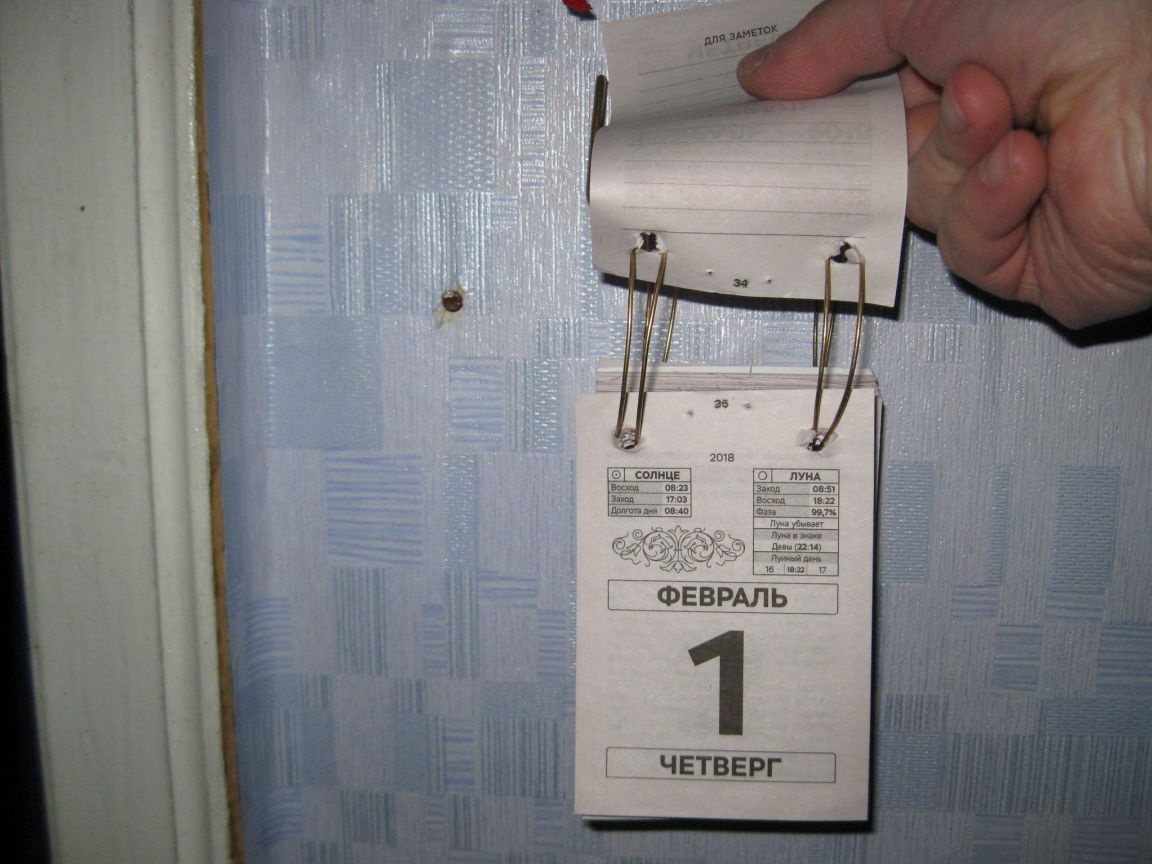
When it will be necessary to set the date of the new day on the calendar, simply turn the leaf over, moving it up the rings and start back, for the calendar. And you can do this when the calendar is hanging on the wall, or you can remove it from the canopy.
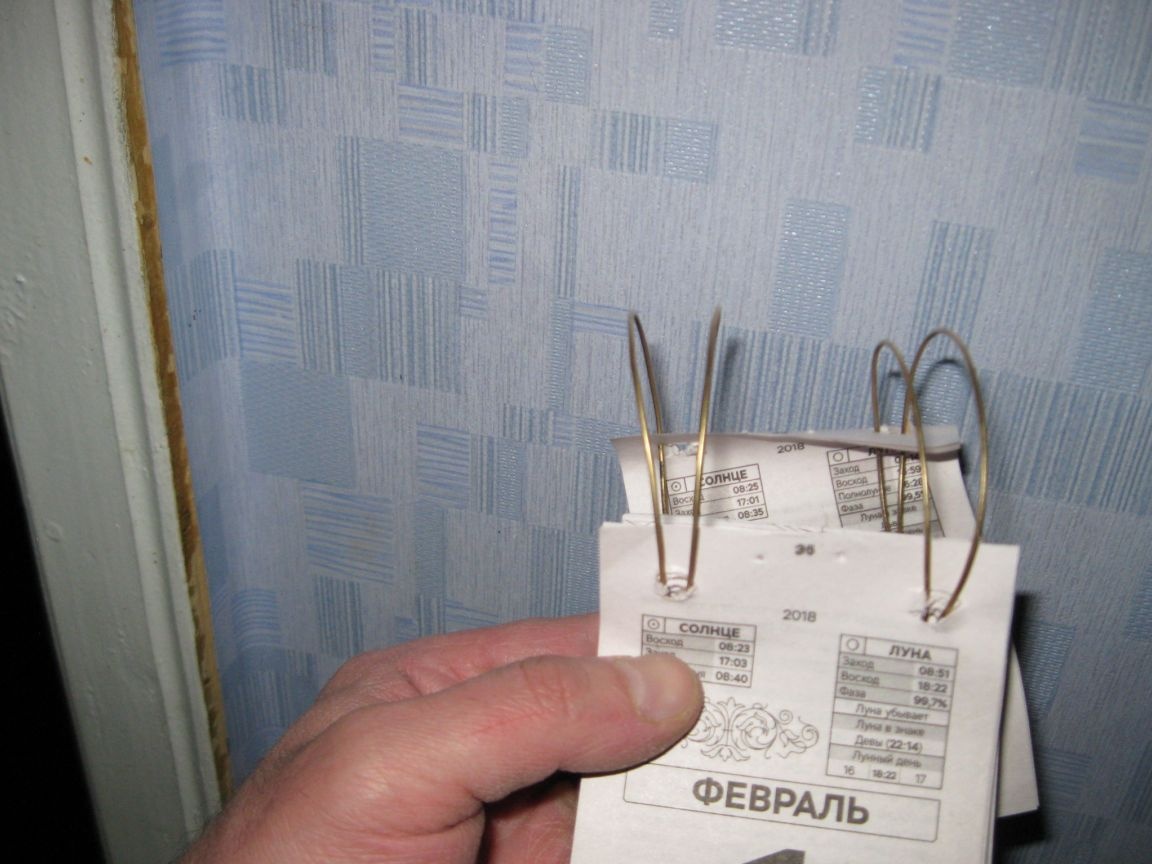
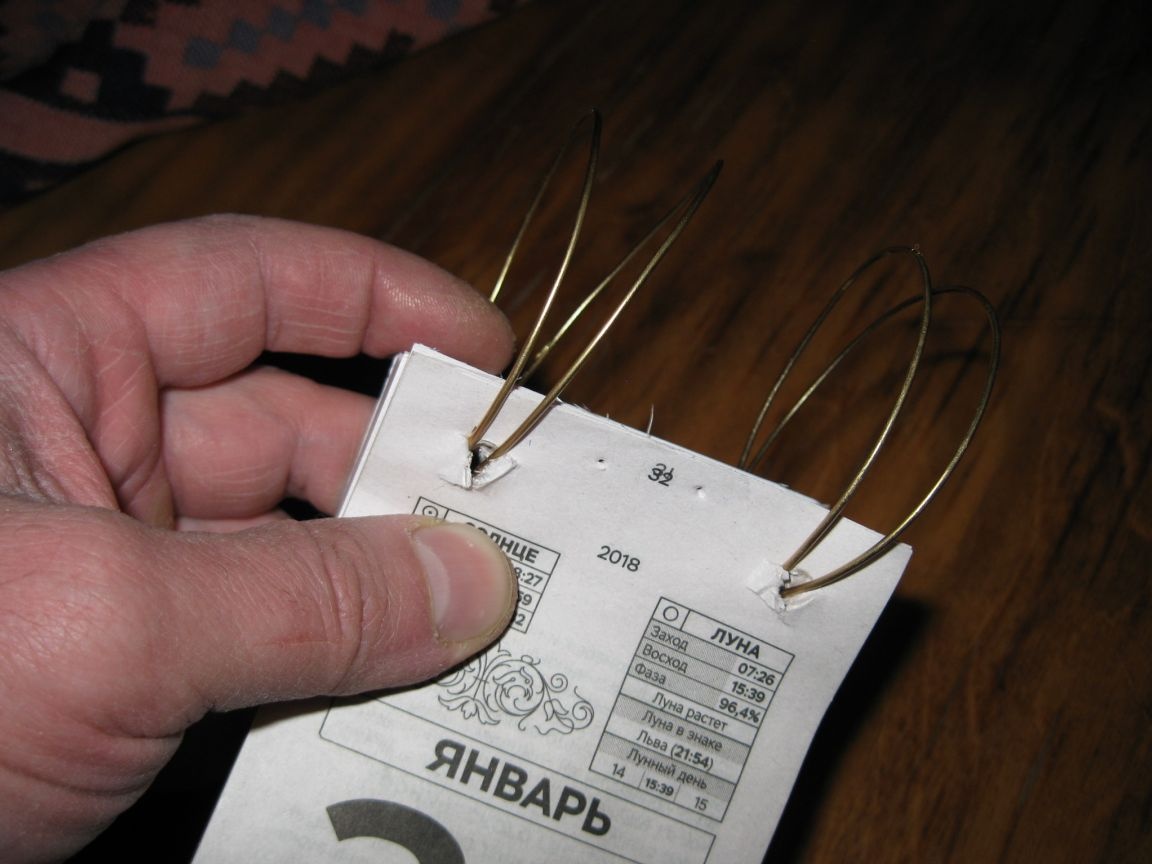
By the way, I must say that at first it seemed to me ugly that the upper parts of the wire rings, on which the calendar is worn, diverge from above.
I wanted to bring them closer together by folding pliers, but it turned out that with such a divergence of the rings, the sheet was conveniently held on them in an upright position.
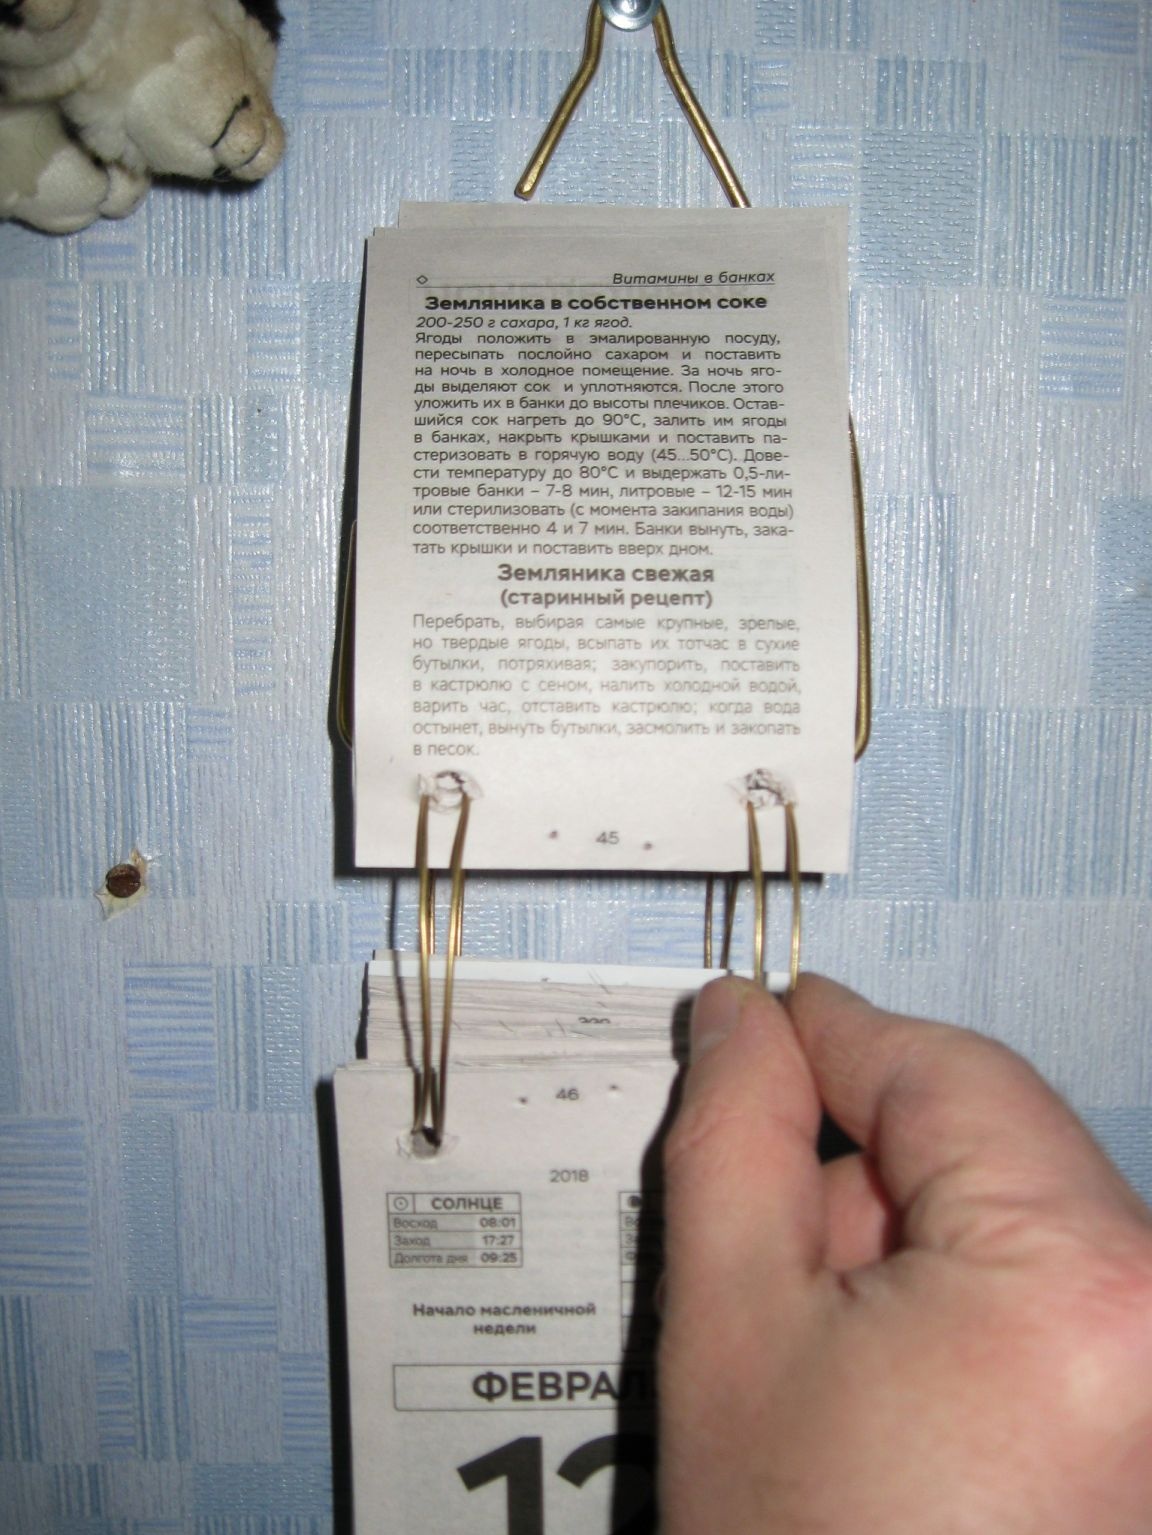
Having set the sheet in this position, it is very convenient to read the information on the back side of the sheet without removing the calendar from the wall. As a result, I have not yet begun to remake the rings.
But in conclusion, I want to say that such a simple canopy, turned out to be very convenient. Now when you change the date on the calendar, you no longer need to tear off the leaves from the calendar and take care of where to put them in order to save.
To change the date, now it is enough just to throw the next calendar sheet back, which is much more convenient. In addition, at the end of the year, this calendar will be completely ordered by pages, so that it can be removed and saved, and it will also be very convenient to read or search for the necessary information on the back of the pages.