SOIL MOISTURE SENSING
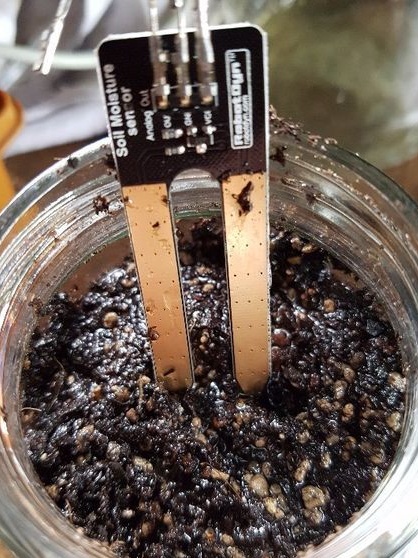
We are developing a device that can determine the presence or absence of moisture in the soil. To fulfill this plan, we must learn how to properly use and configure the soil moisture sensor with Arduino.
Materials
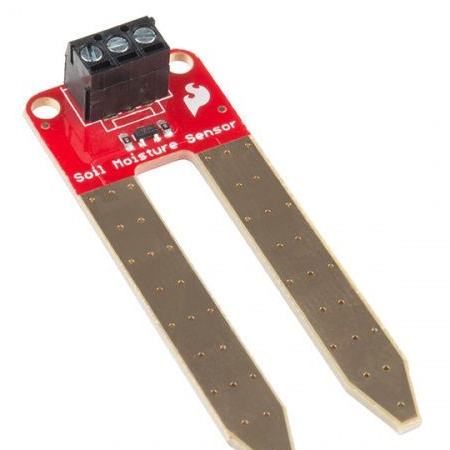
1. Converter and soil moisture sensor
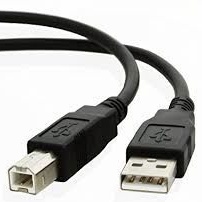
2. USB cable
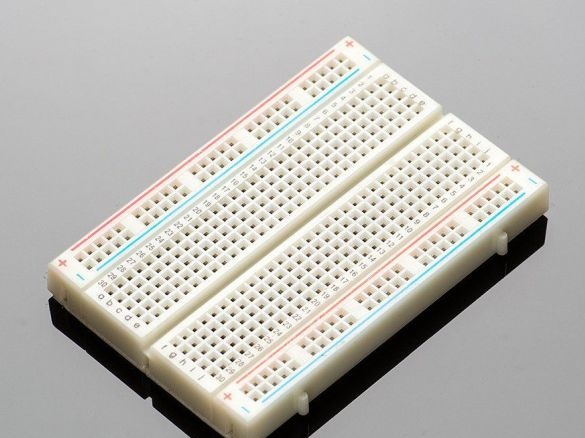
3. Layout
4. 2 containers for different soil moisture
5. Dry soil
6. Wet Soil
7.2 LEDs (blue / yellow)
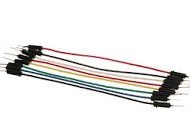
8. Wires
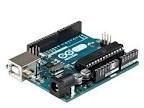
9. Arduino Uno
10. Computer
Chain assembly
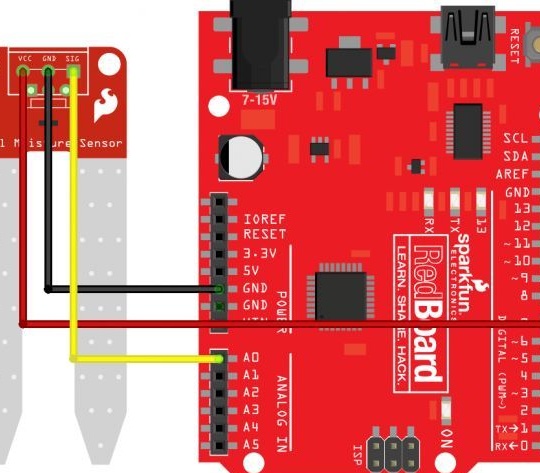
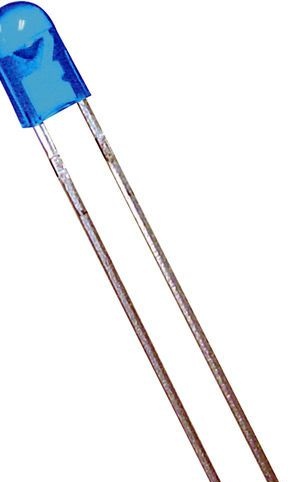
We had to build a circuit to connect the soil moisture sensor to the Arduino. After assembling the circuit, as shown in the figure above, upload to Arduino and open the monitor.
After that, we look at a value that is in the range from 0, when the sensor has nothing to contact with. To make sure that the sensor is working, take probes do it yourself because the moisture from your body is enough to trigger the sensor. When the soil is wet, the yellow LED will turn on, and if it is dry, the blue indicator will light.
Code Entry
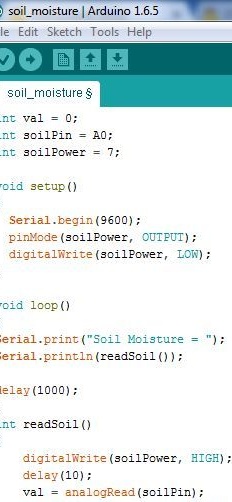
When I start adding my code for the soil moisture sensor, we use the code above to install it into your circuit and install it on Arduino. When using this code, also be sure to add an “if” which will indicate that if the soil is under a certain value, it is not wet.
Completion + Exit
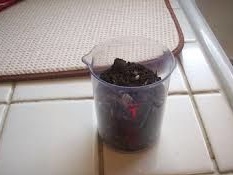
Now is the time to make sure the soil moisture sensor is working. To begin with, we will prepare two separate soil samples, one sample is wet and the other dry. Install a soil moisture sensor in wet soil. If the yellow LED is on, the sensor is working. Dry the sensor and test dry soil. If the blue LED is on, the sensor is working.
Good luck
Cost: ~ 95

