

- A great tool for creating various kinds of vehicles. There is a built-in gearbox that allows you to get high torque, and the engine is also powered by 12V voltage, which allows you to connect a battery to it. In this instruction, we will look at how to make an electric longboard. Longboard is the same scooter, only more massive, more stable and so on. We will do everything from scratch, using spare parts from an old bicycle and scooter.
From such homemade your child will be delighted, in addition, you can collect a longboard together, thereby conducting a training lesson. The board rides quite quickly, everything will depend on the gear ratio, power and how powerful the battery is. For riding we use a helmet and other protective fixtures, as it’s quite a dangerous transport.
Materials and tools used by the author:
Material List:
- rear wheel with an asterisk (from a bicycle);
- bicycle chain;
- a leading asterisk from the bicycle;
- plywood;
- wheels from a skateboard;
- ;
- self-tapping screws;
- two corners for mounting the wheel;
- screwdriver;
- a couple of washers.
Tool List:
- wrenches, screwdrivers, pliers;
- a hacksaw for metal;
- vise;
- ruler;
- marker;
- a jigsaw.
The process of making a longboard:
Step one. We prepare spare parts
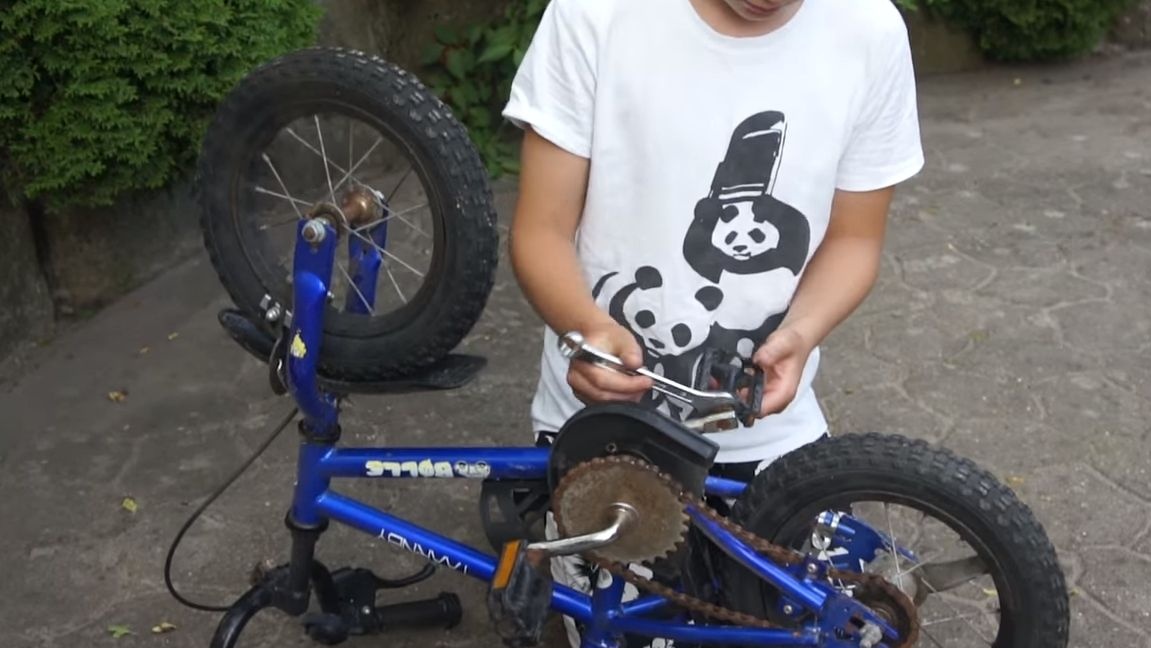
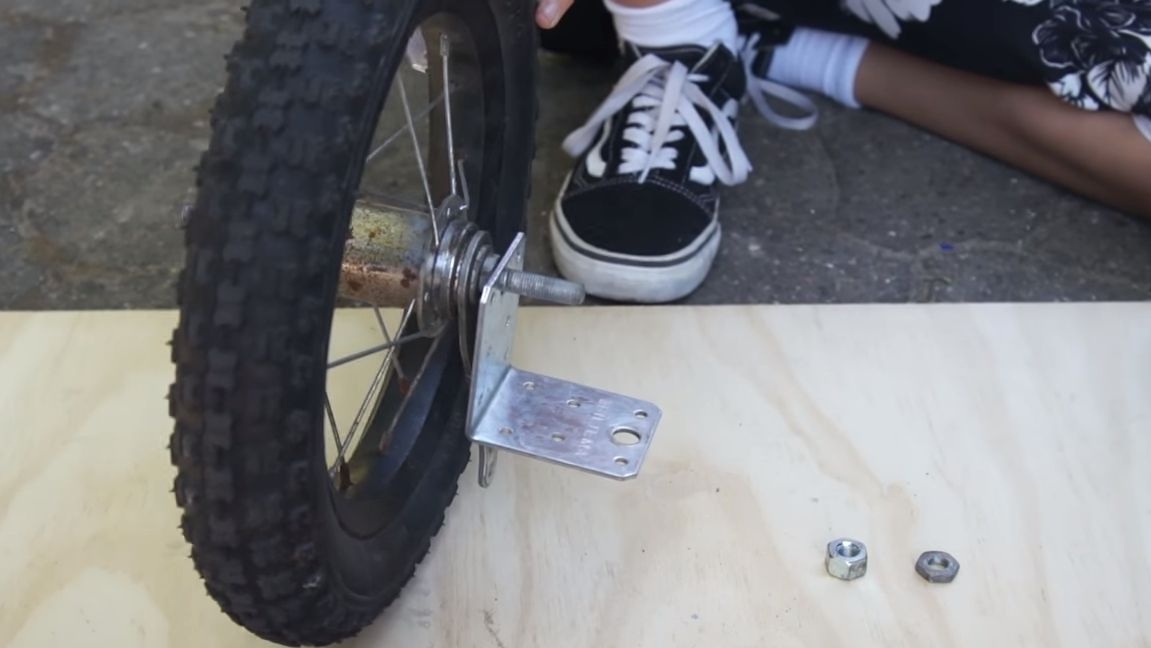
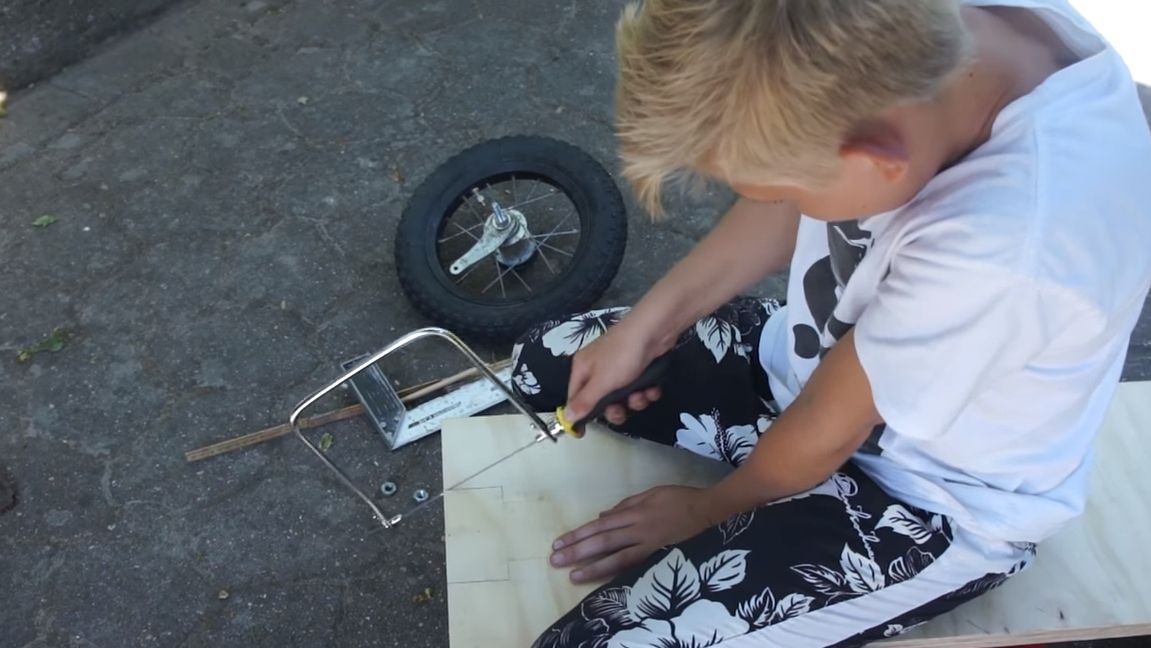
First you need to prepare all the necessary parts. We disassemble the old children's bike, from him we need a chain, rear wheel and drive sprocket. The author has an asterisk on both sides of the projecting axis, it is strategically important.
Unscrew the nuts on the rear wheel and remove. The author could not remove the chain, so it was decided to cut the rear fork.
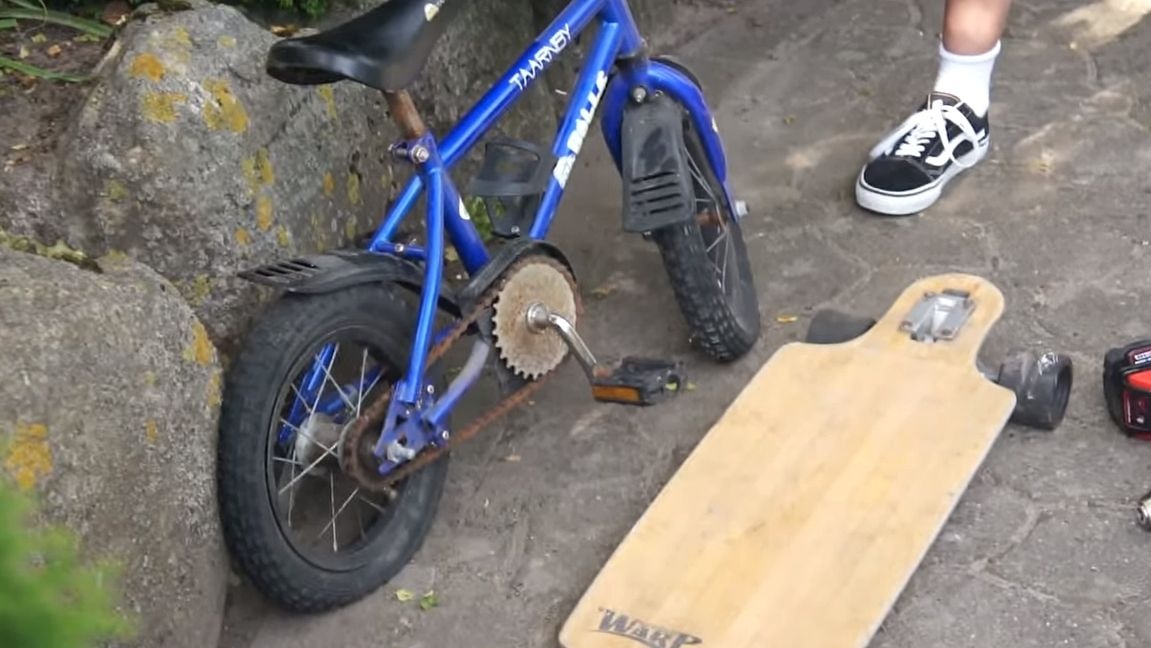

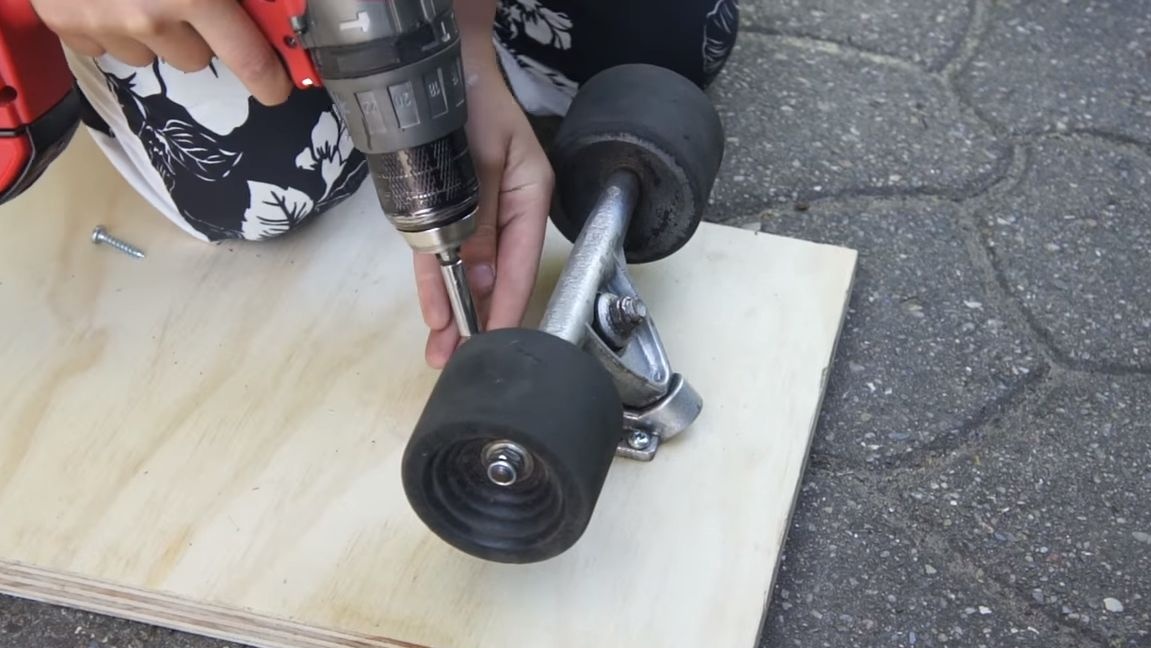
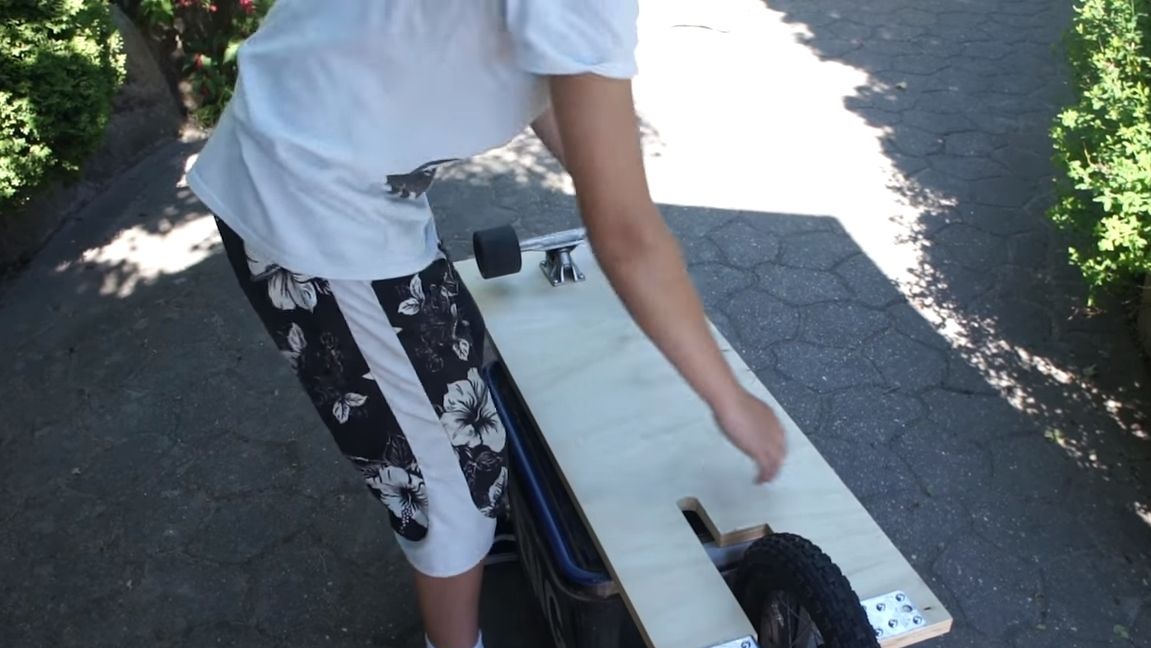
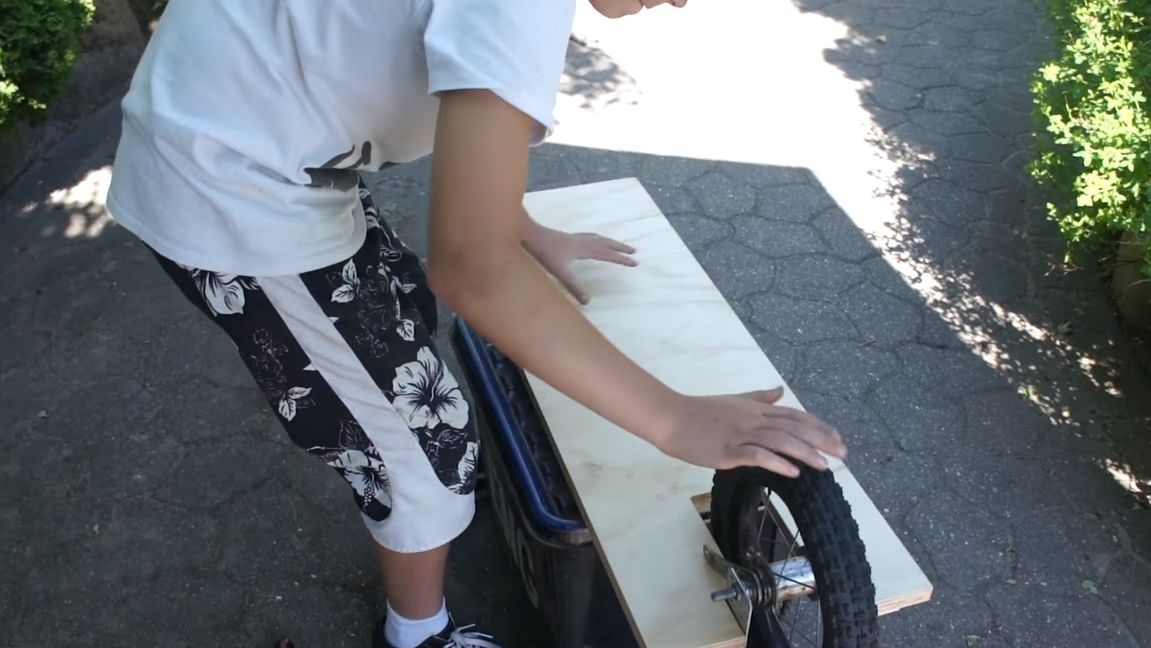
You will also need wheels from a skateboard, they are installed on the front. Usually they are fastened with screws.

Step Two Front axle
As a front axle for a longboard, the author used wheels from a skateboard.We take a screwdriver and securely fasten them to the base with screws. As a basis, a plywood sheet is used.
Step Three Preparation of mounting brackets
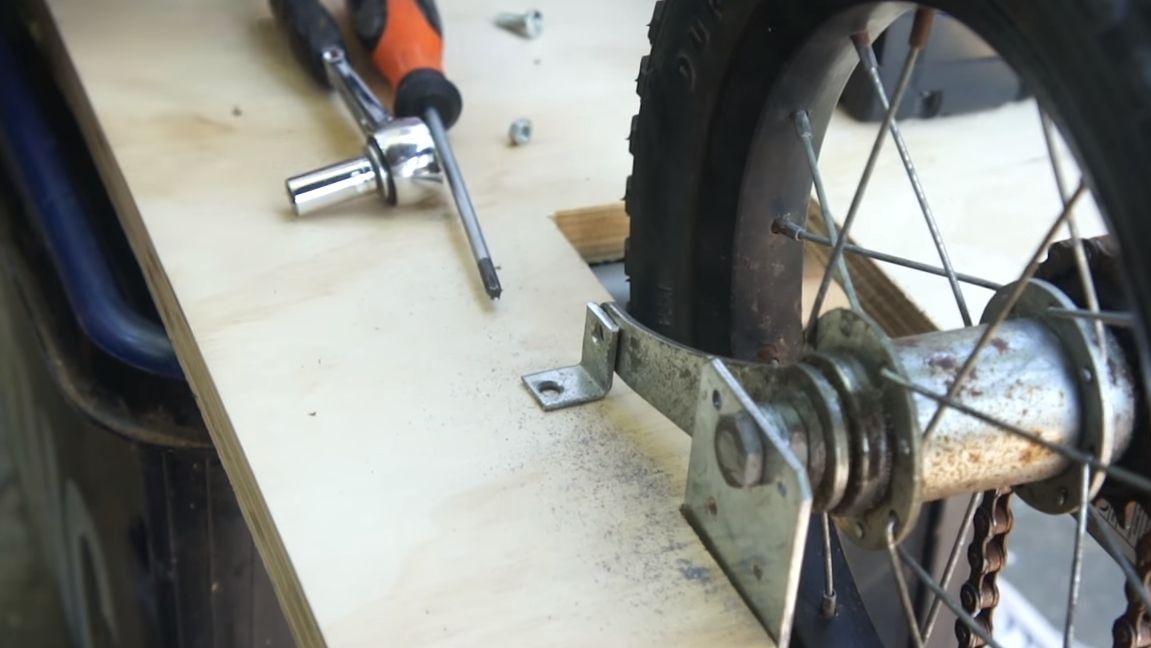
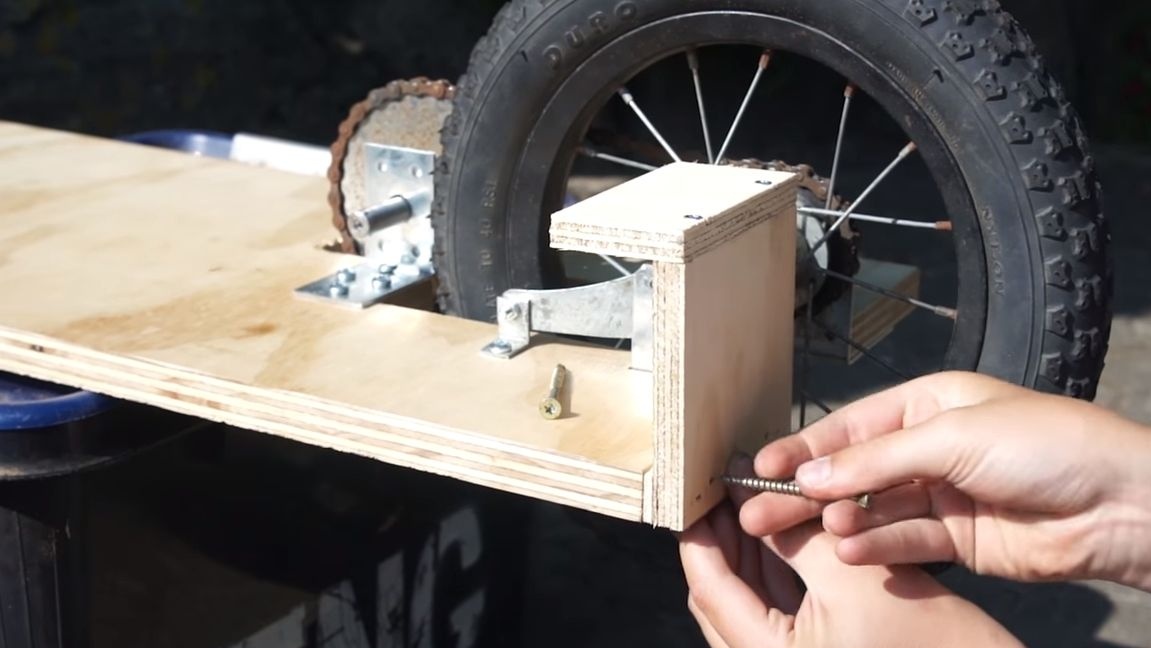
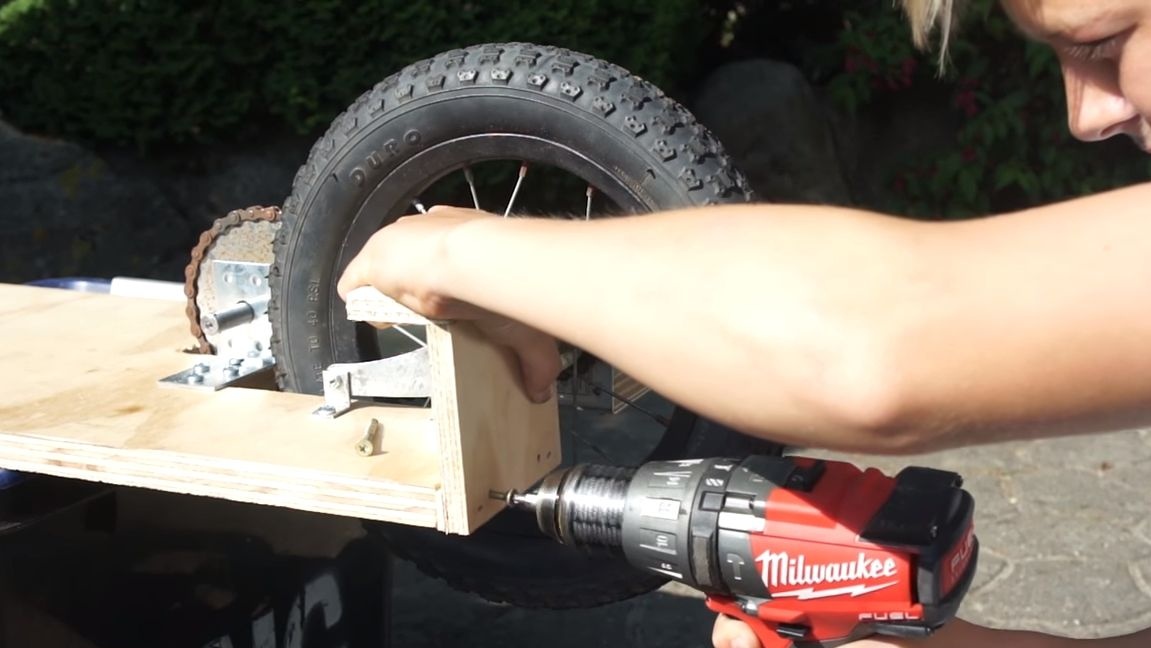
The rear wheel is mounted on the corners, they must be durable and preferably steel. Such fasteners can either be bought or made by yourself if you have all the necessary tools.

Step Four Wheel base mounting
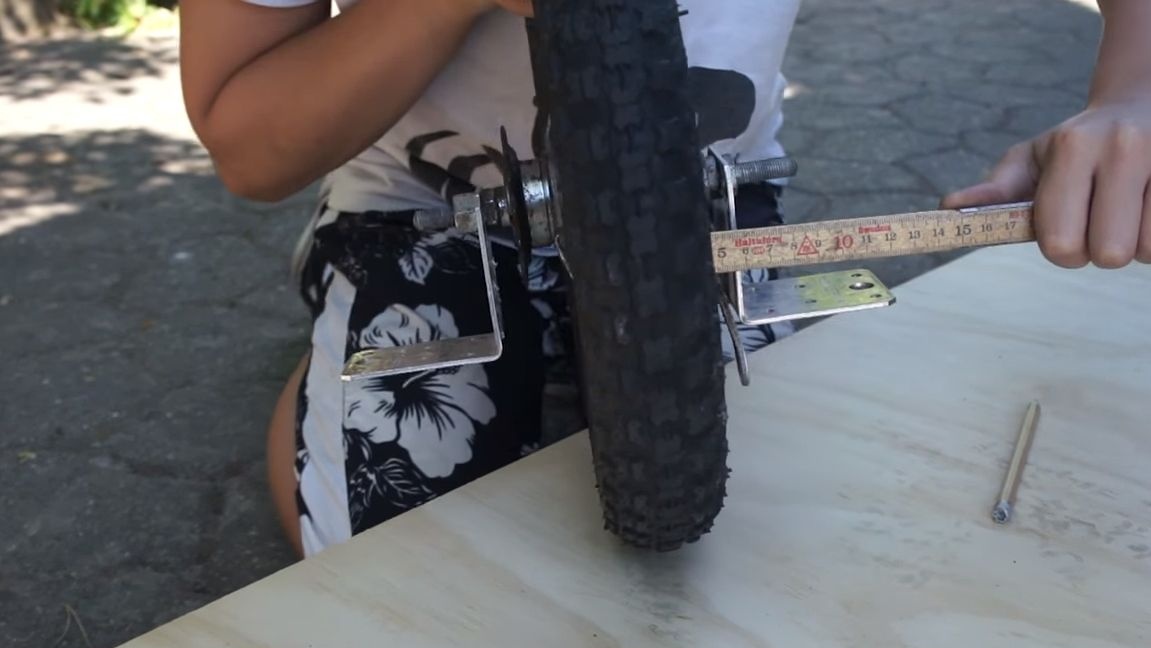
First you need to make all the necessary measurements of where the wheel will be, use the ruler. Next, we mark everything on plywood, you will need to cut out the window into which the wheel enters, as well as the asterisk. Having made the necessary drawings, we arm ourselves with a jigsaw or hacksaw for metal and cut out the necessary part.
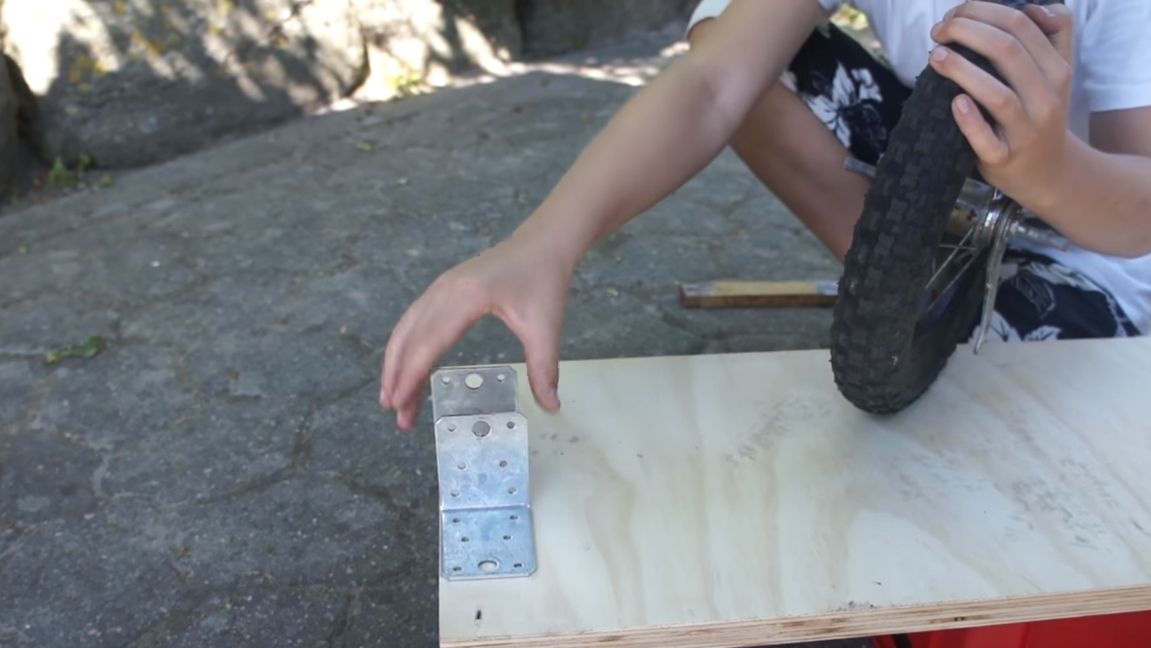
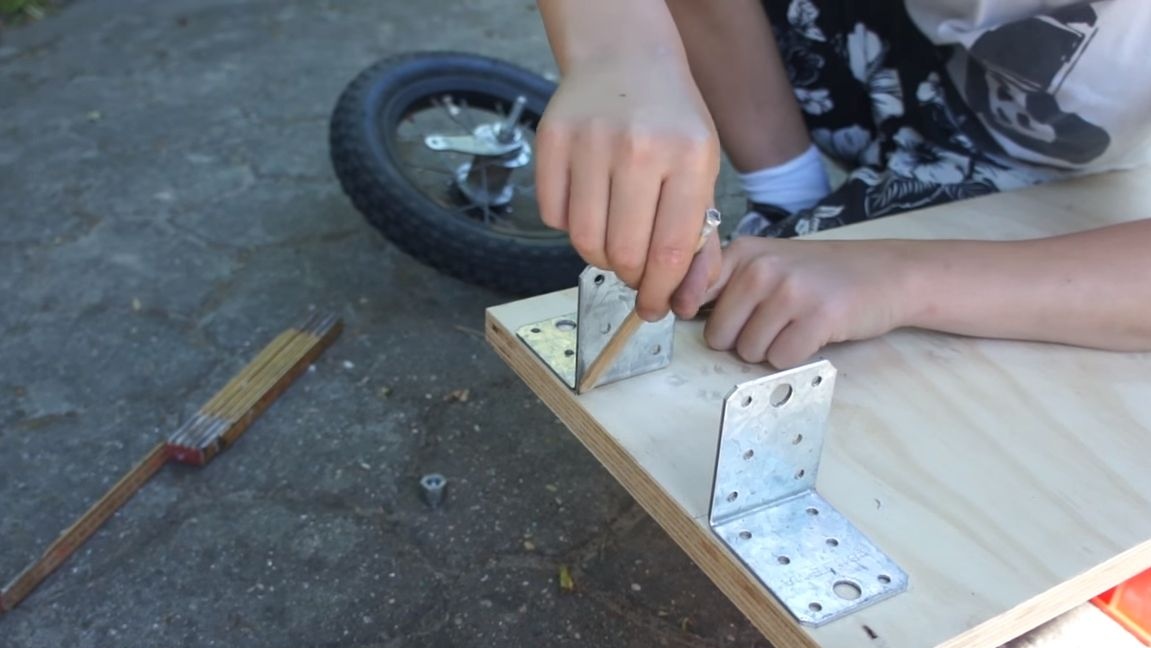

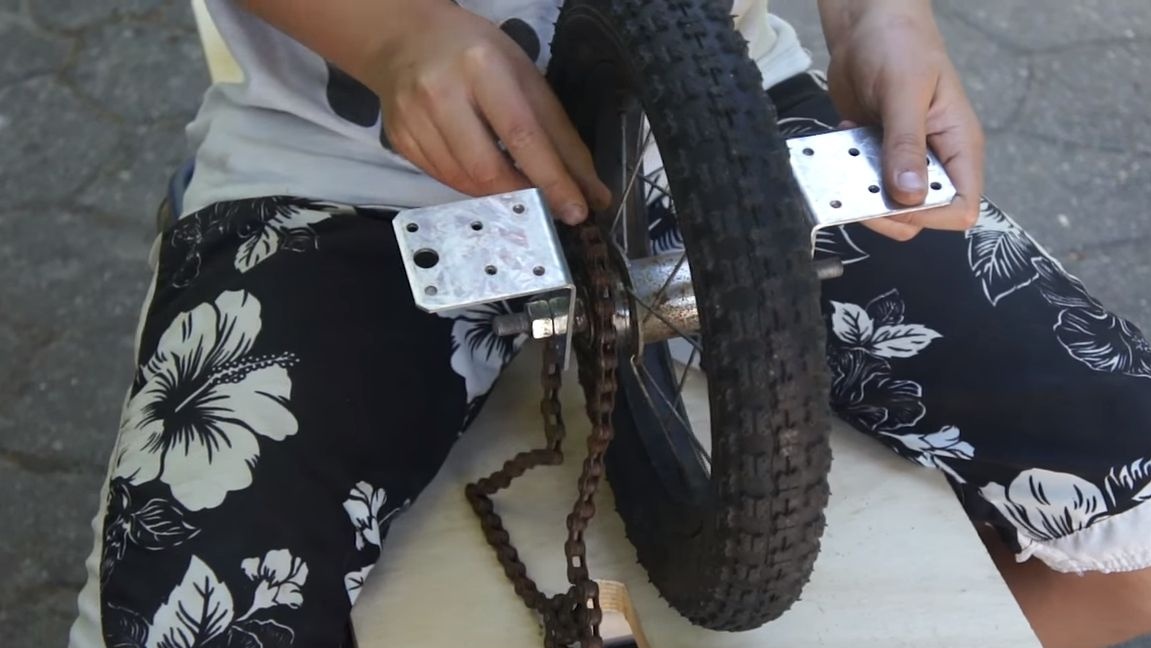
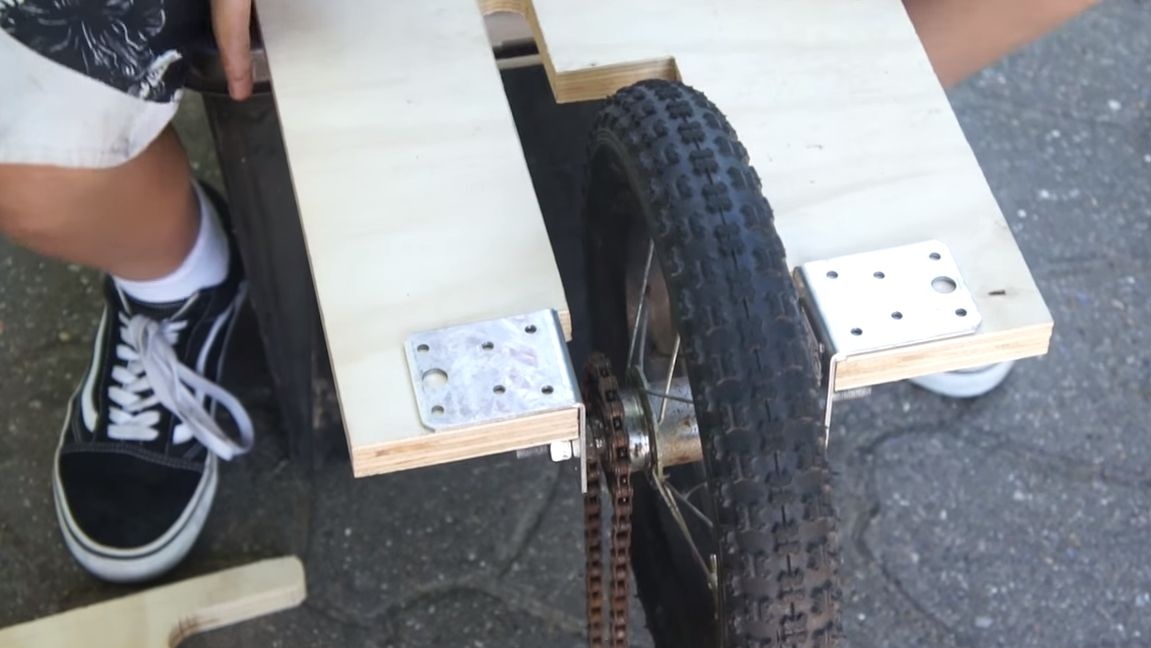
Now you can fasten the wheel, fasten the corners to the plywood using good wood screws, and preferably more. Corners need to be fixed so that they rest against the platform under load, that is, we fasten from the bottom. We put a chain on the sprocket and tighten the fixing nuts.

Also do not forget to connect the brake lever, under it you will need a small corner and a screw with a nut. Half the battle is done, move on!
Step Five Set the drive sprocket
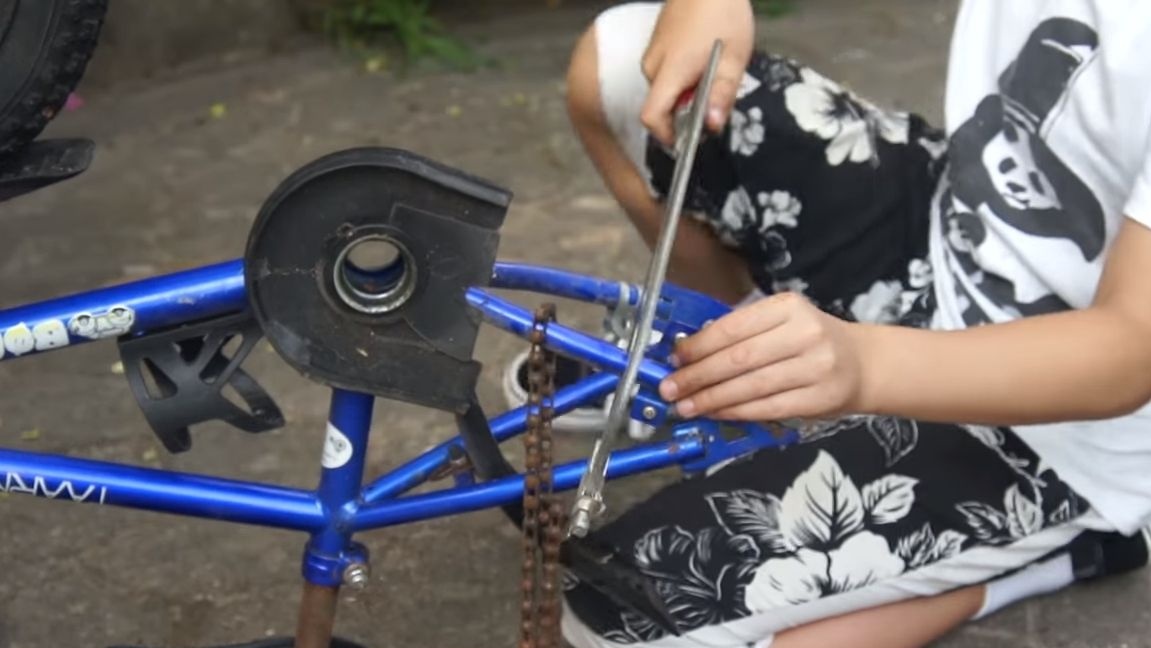
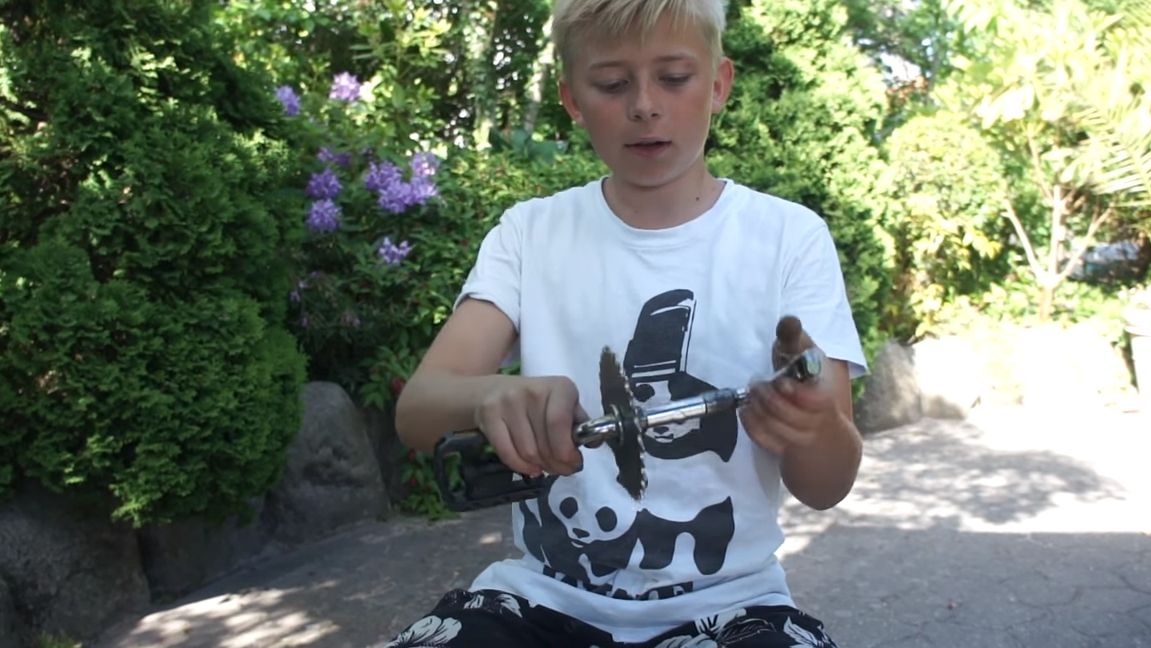
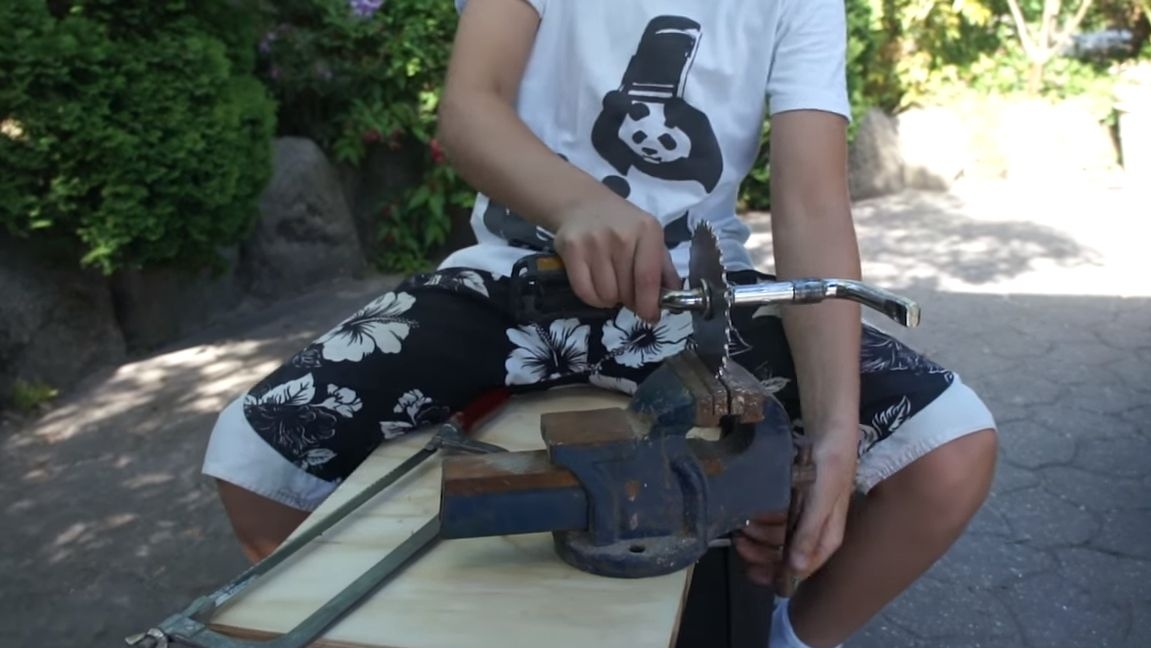
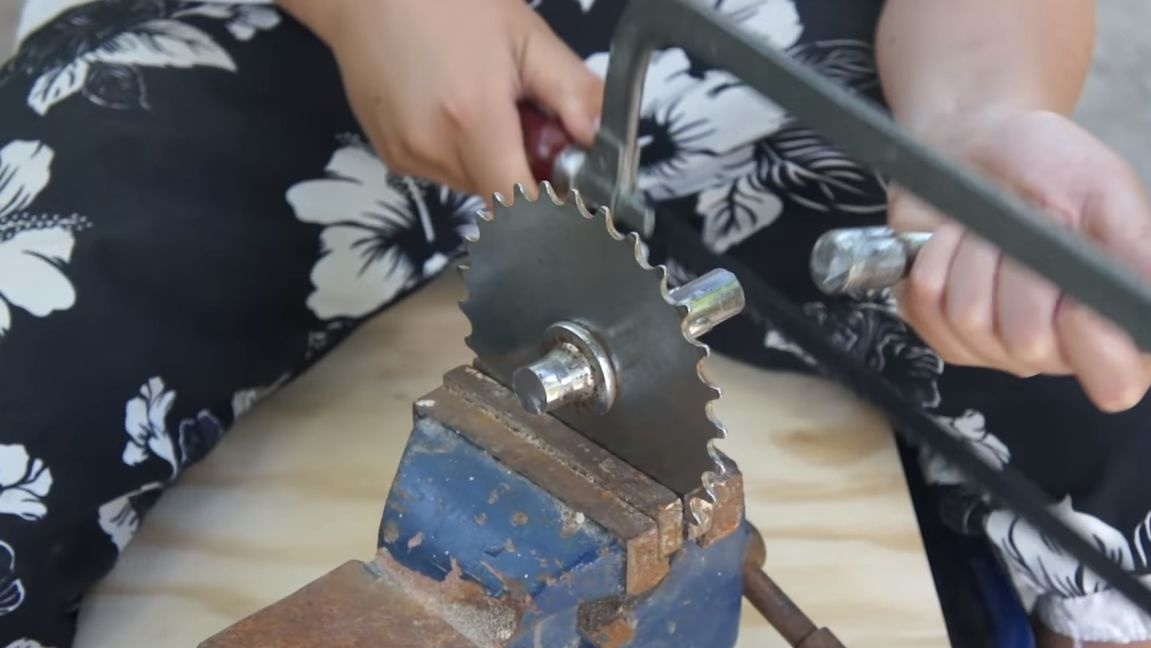
As the leading sprocket, we use the leading sprocket from the bicycle. It needs to be prepared, namely, cut off the extra parts of the axle, connecting rods, and so on. The author clamps the star in a vise and works with a hacksaw for metal. This is a rather lengthy process, as the metal is thick, and the steel is probably hot. It is better to use a grinder for these purposes if you know how to use it.
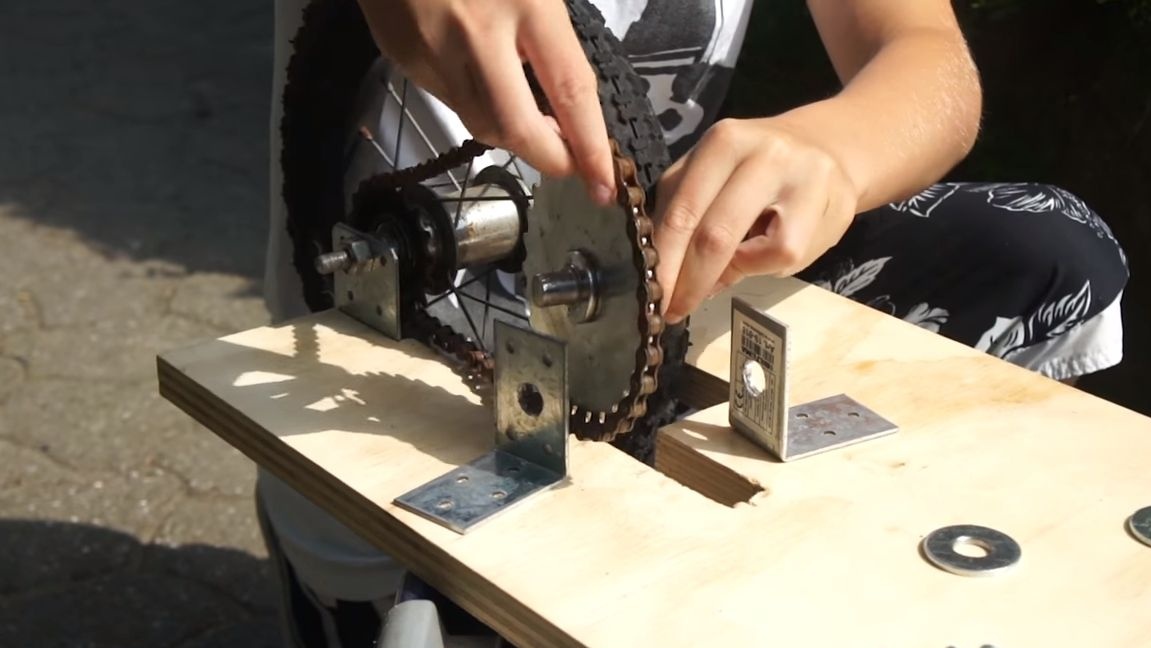
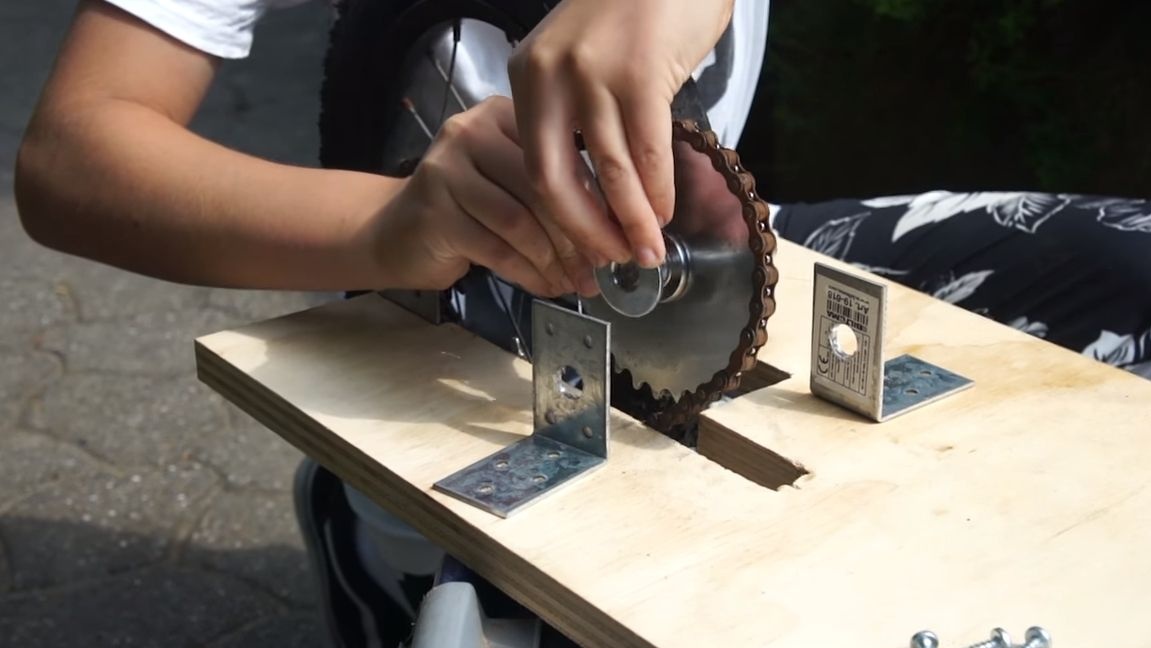
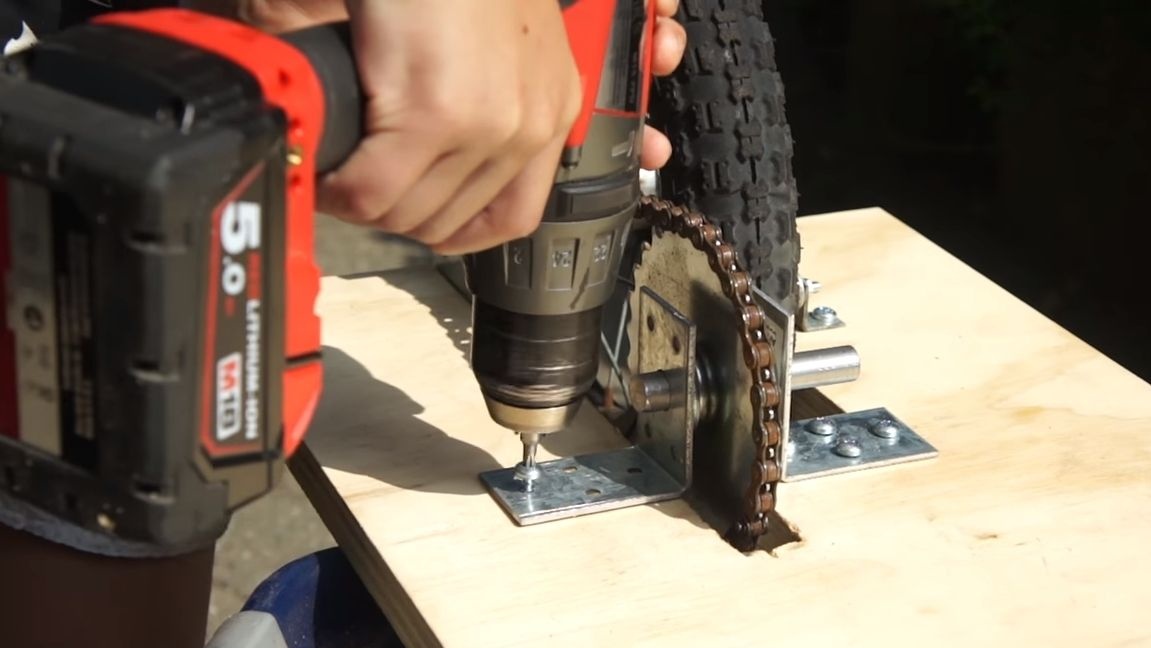
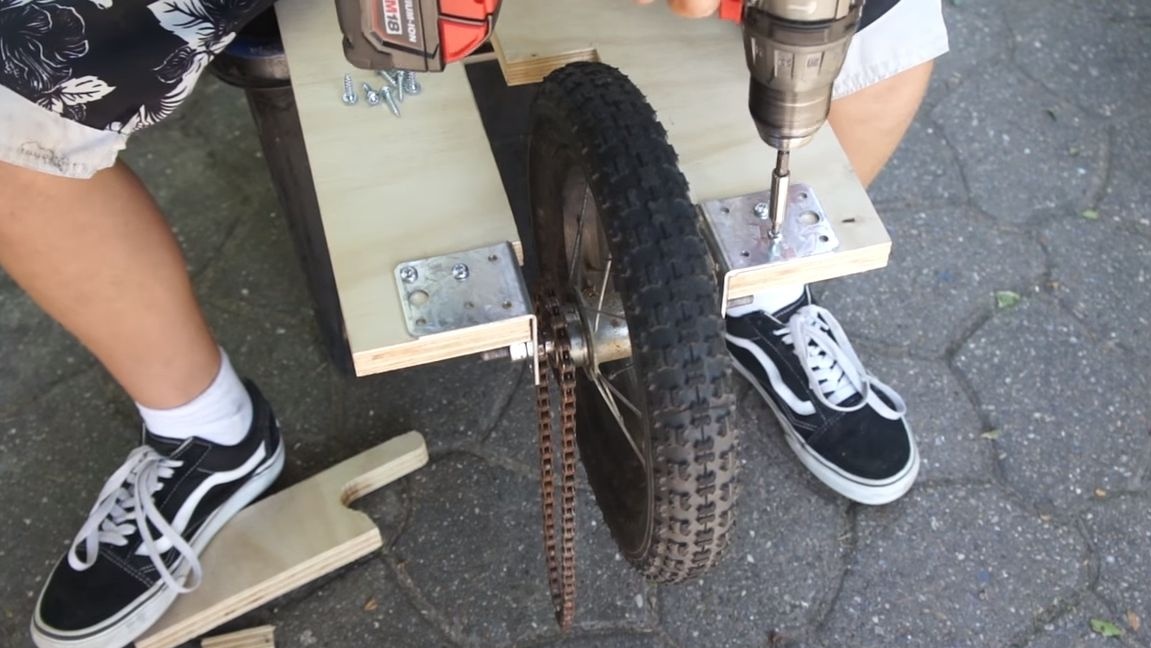
An asterisk can be installed, for this you will need two more corners. We determine the location of the sprocket, put on the chain and fasten the corners to the base with screws. For reliability, you can drill through the platform and tighten everything with screws and nuts. Remember to put washers on both sides of the axle to reduce friction.
The sprocket should not walk too much between the brackets, otherwise the chain will fly off.
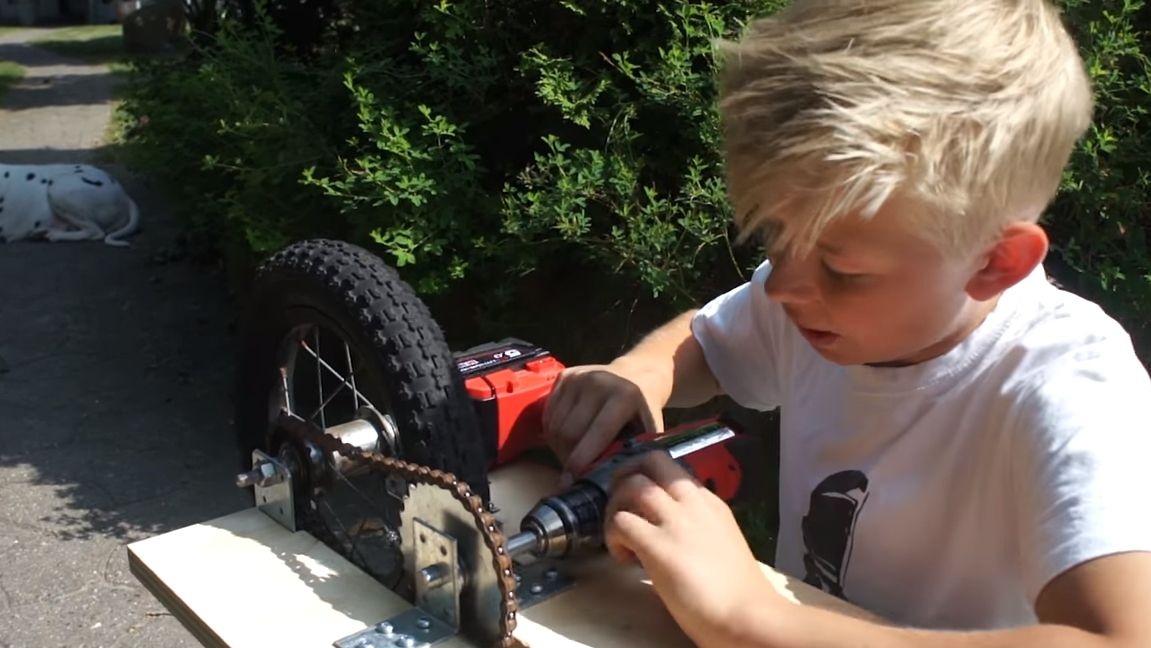
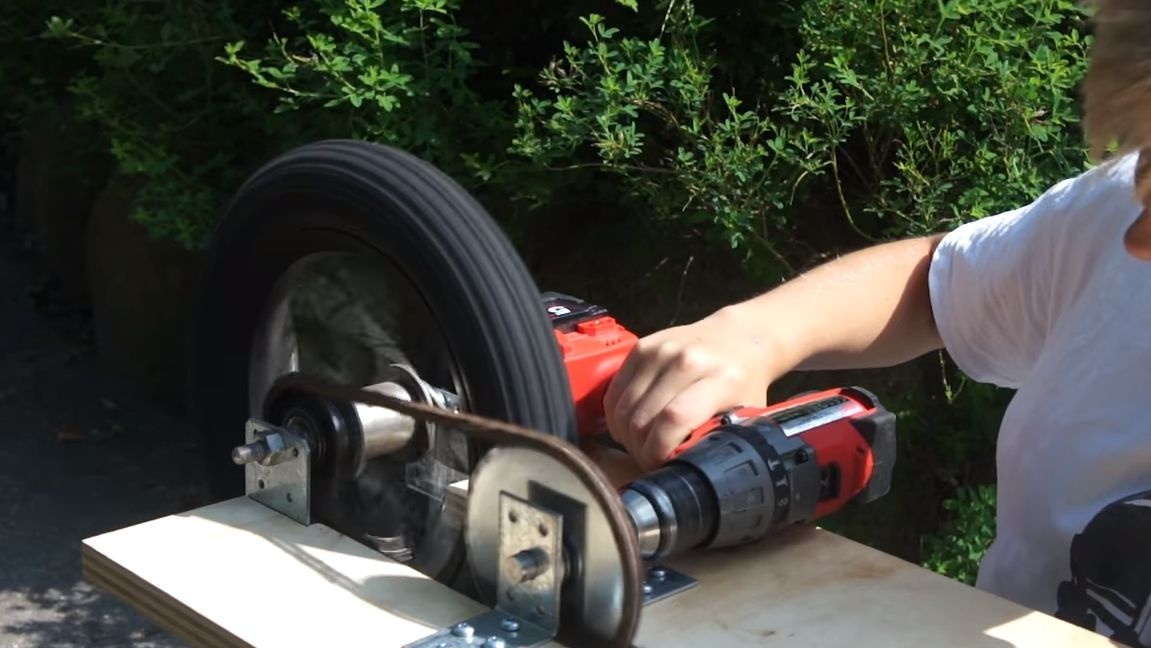
Step Six We connect a screwdriver and test
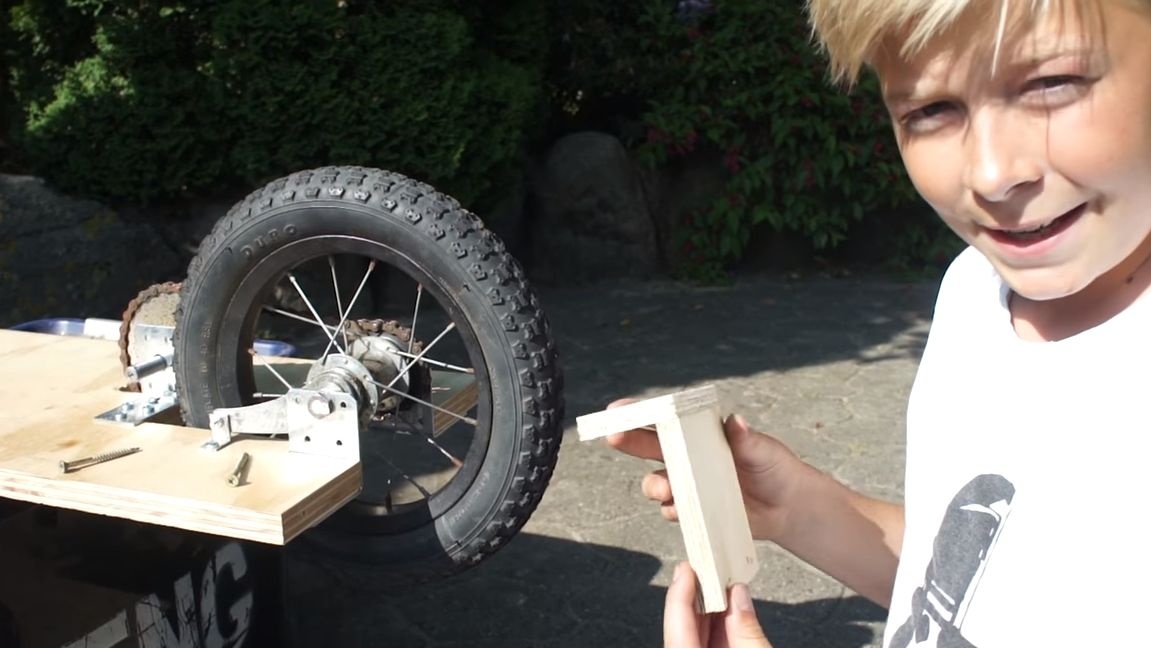
Almost everything is ready, hold the axis of the drive sprocket in the screwdriver chuck and try to turn it on. If the wheel rotates and the chain does not fly off, everything is fine! For a screwdriver, you will need to make a bracket that will hold it. To do this, you need two pieces of plywood, as well as self-tapping screws.
There was the last moment - the control system of a screwdriver. To press the button of a screwdriver, you will need to make a transfer from the old bicycle cable. Also, some craftsmen make a hydraulic transmission using two syringes and a hose. You can also disassemble a screwdriver and connect a wire to the button, thereby you can control the power while standing on the longboard.
You can try to ride! On a screwdriver, you can experiment with different driving modes. If the device does not have enough power, you can try to set the lowest speed. Another point concerns the brakes, the longboard will slow down if you turn the engine on in the opposite direction, in which case the brake is applied in the wheel hub. But in order to do this, you will need to disassemble the screwdriver and pull out three wires for control. Good luck Use a helmet and knee pad when testing.