Do you need a press? Not a problem, it can be done do it yourself! I bring to your attention just such an instruction. It will allow you to make an excellent electro-hydraulic press, and if you want, it can be simply hydraulic.
Works device based on, the device is powered by a small motor, similar to an old washing machine. All parts are inexpensive, but in the end we get a very cool and useful car!
Materials and tools used by the author:
Material List:
- ;
- An old Bulgarian (need a reducer from it);
- steel pipes (square);
- corner;
- channel;
- steel plates and other scrap metal;
- a motor from a washing machine (or the like);
- powerful spring;
- bolts with nuts;
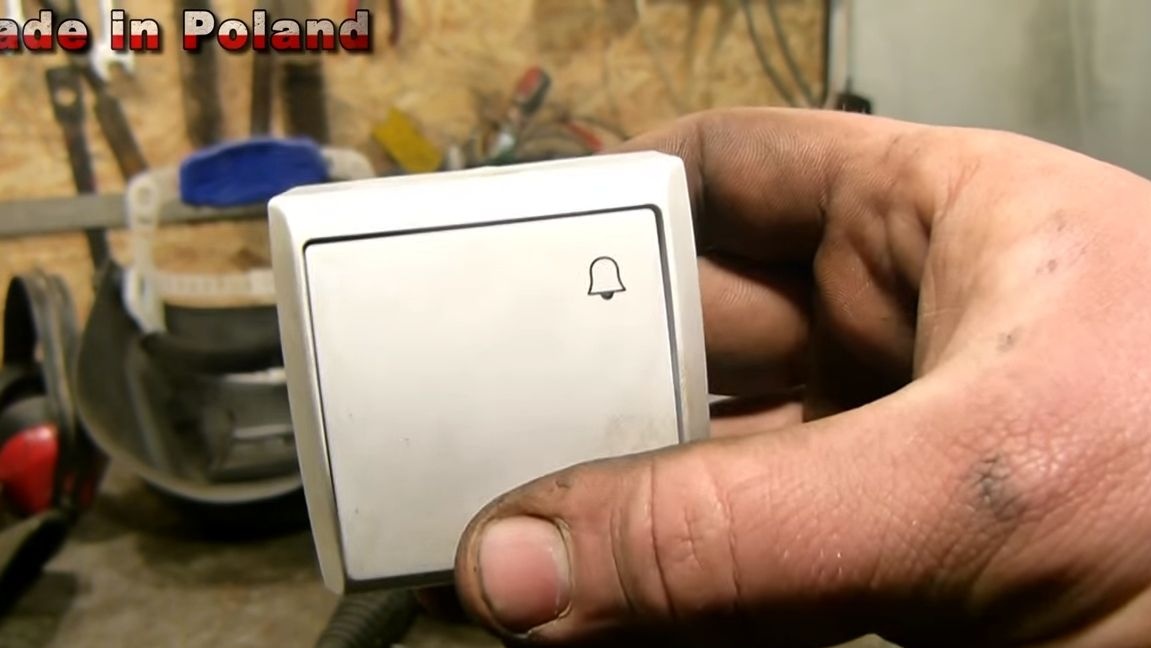
- cable and switch (keyboard);
- paint.
Tool List:
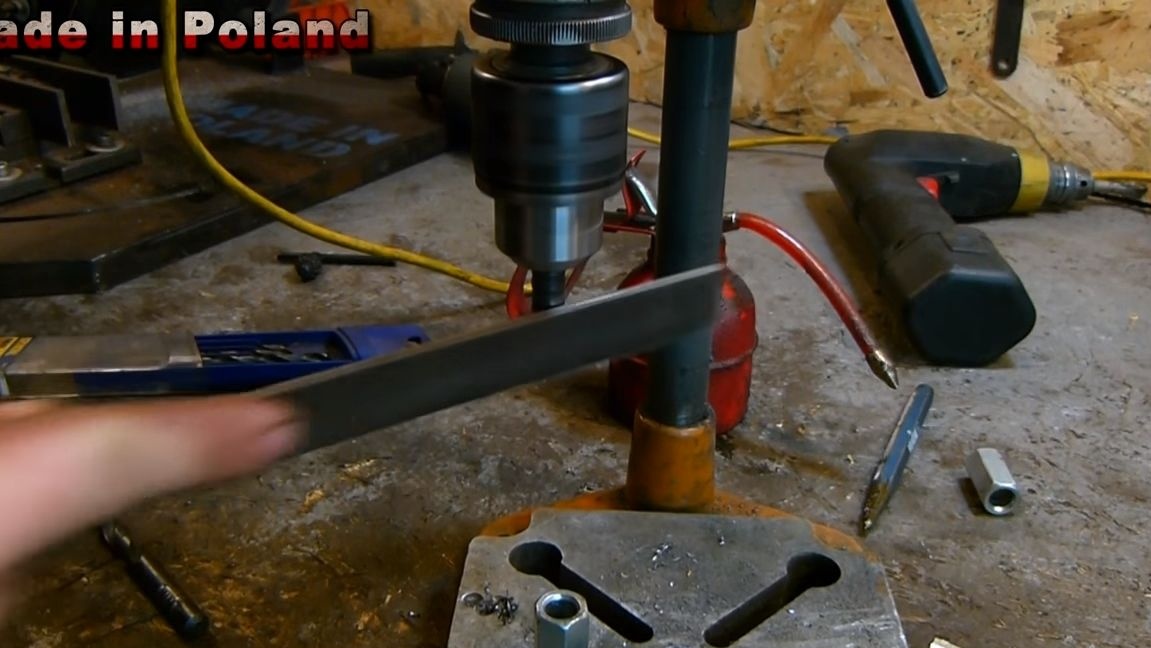
- drilling machine and drill;
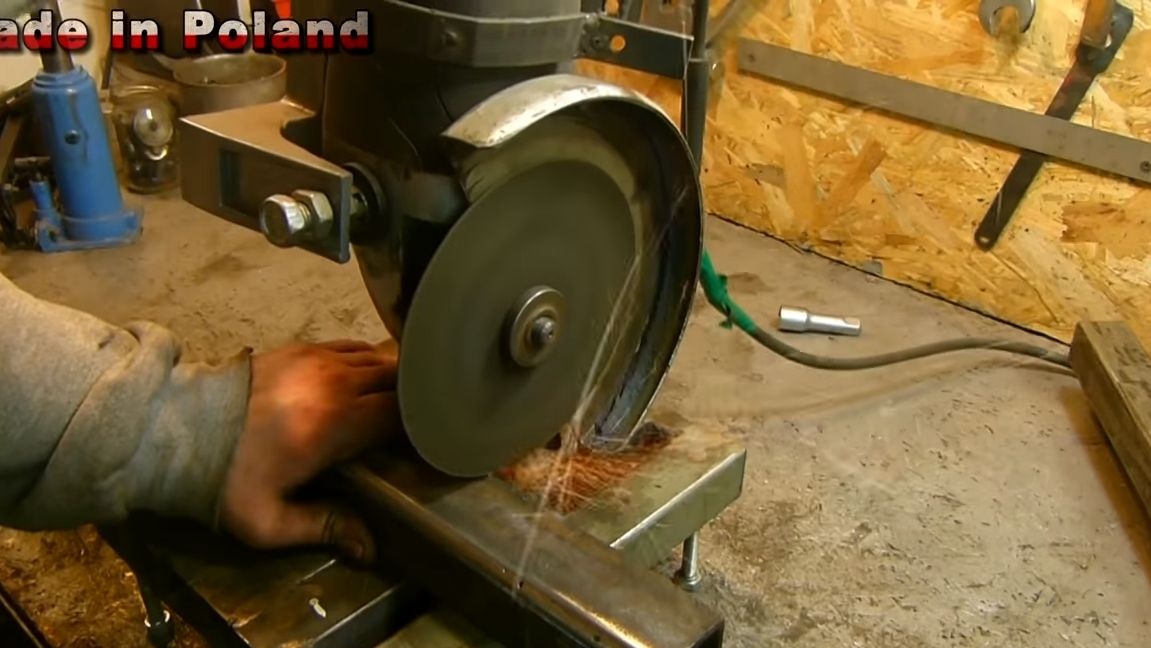
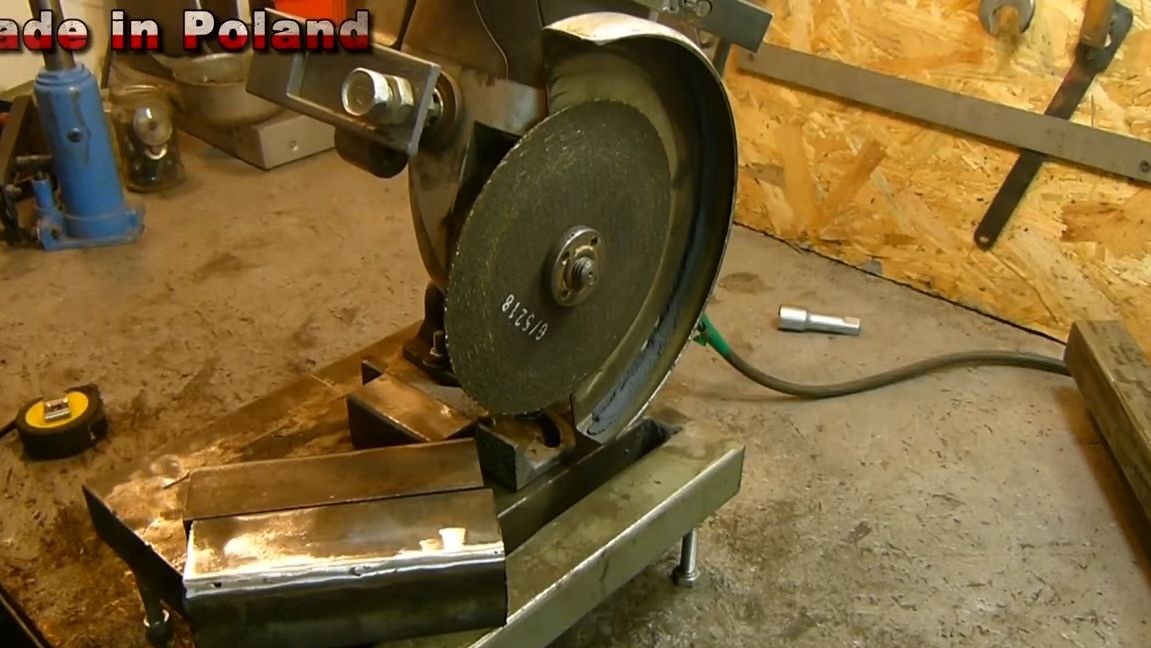
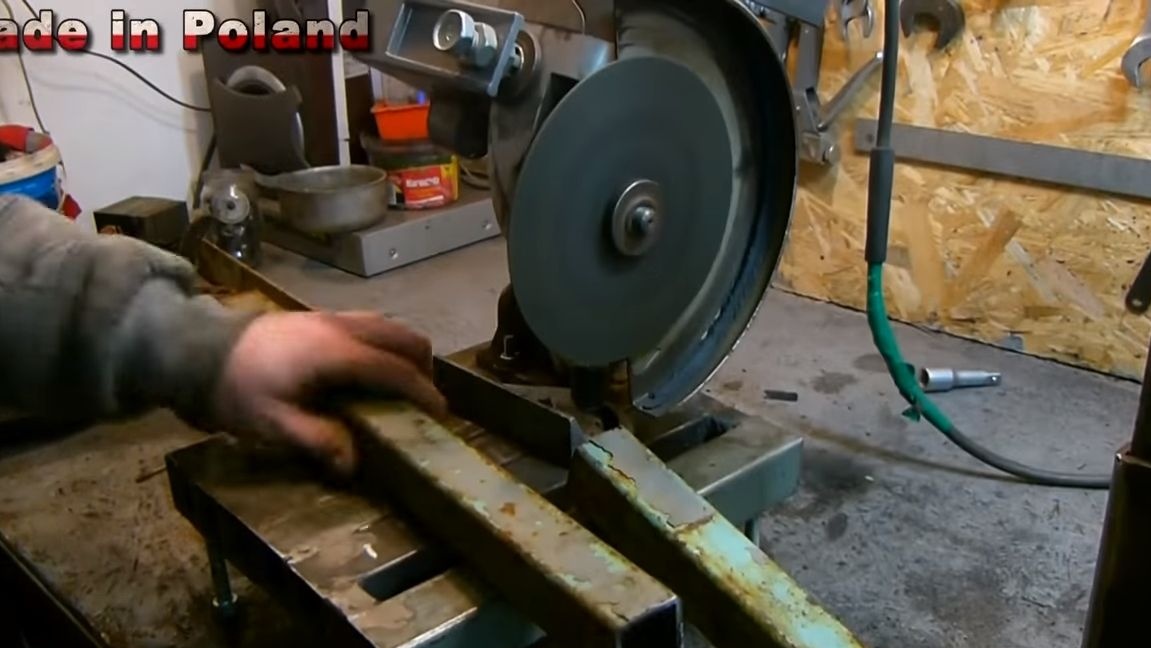
- a grinder, preferably a tape cutting machine;
- vise;
- hammers, pliers, keys, etc .;
- ;
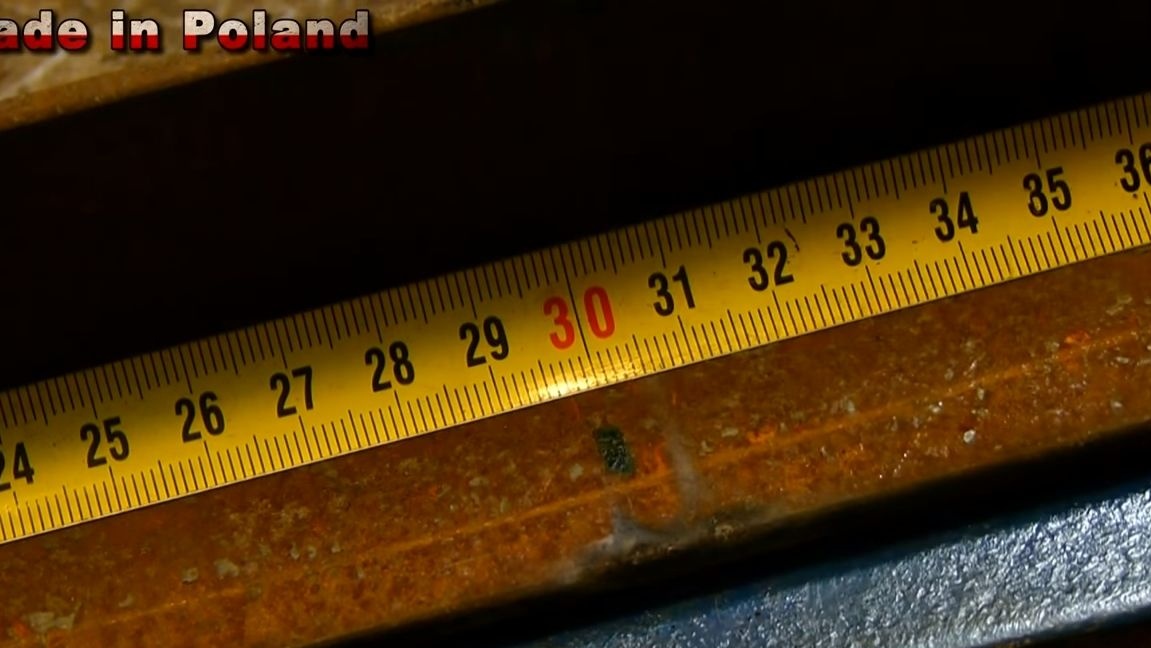
- ruler;
- marker;
- clamps.
Press manufacturing process:
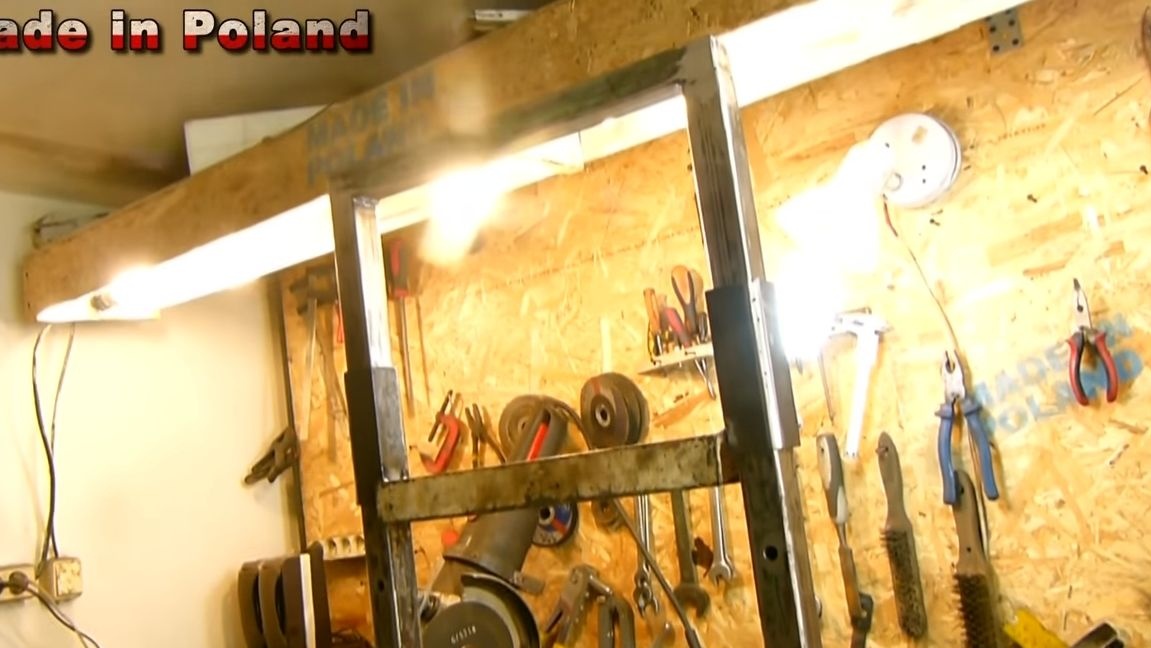
Step one. We make a frame
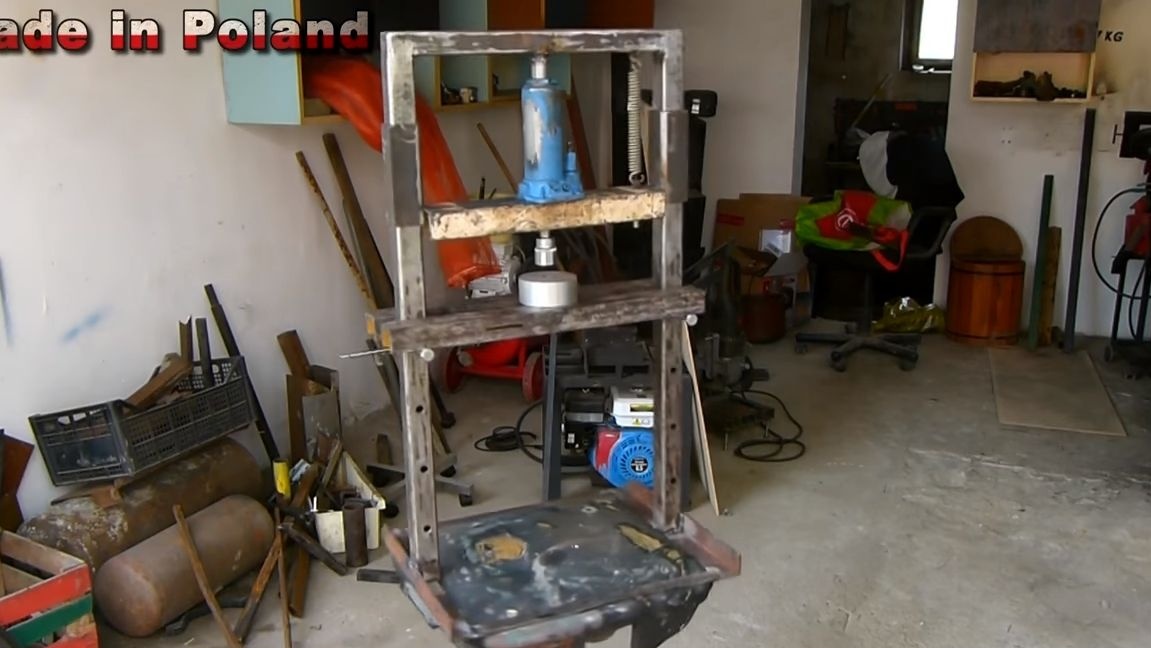
Conditionally, the entire assembly process can be divided into only two parts, this is the manufacture of the frame, as well as the installation of a jack and an engine.
Let's start in order how the frame is made.
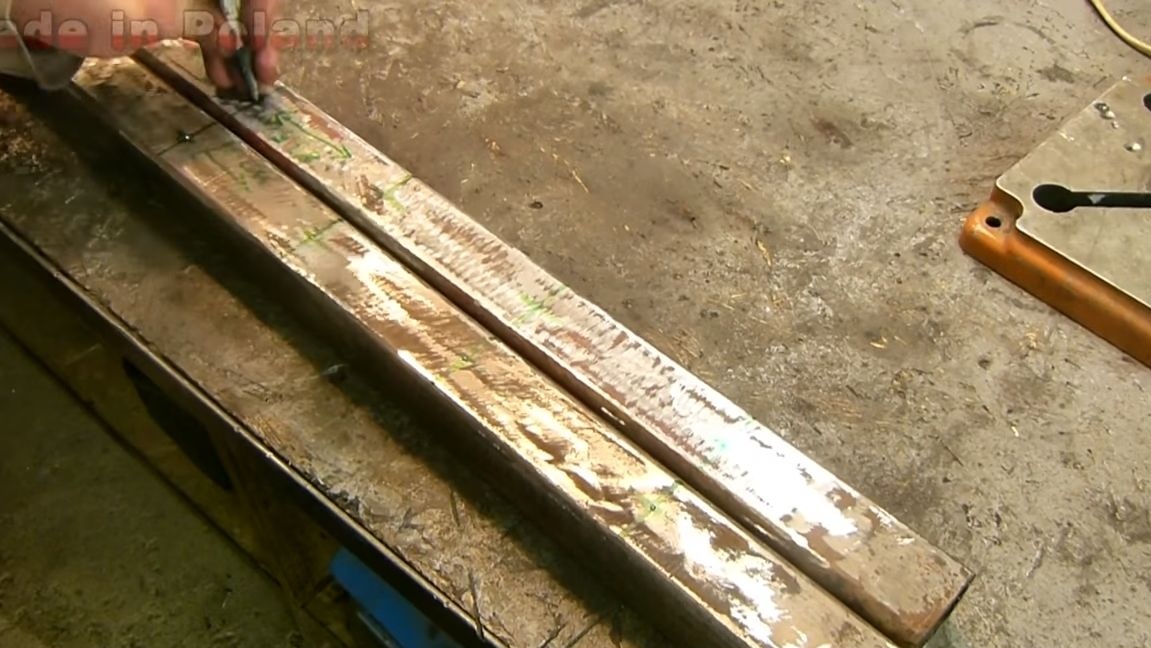
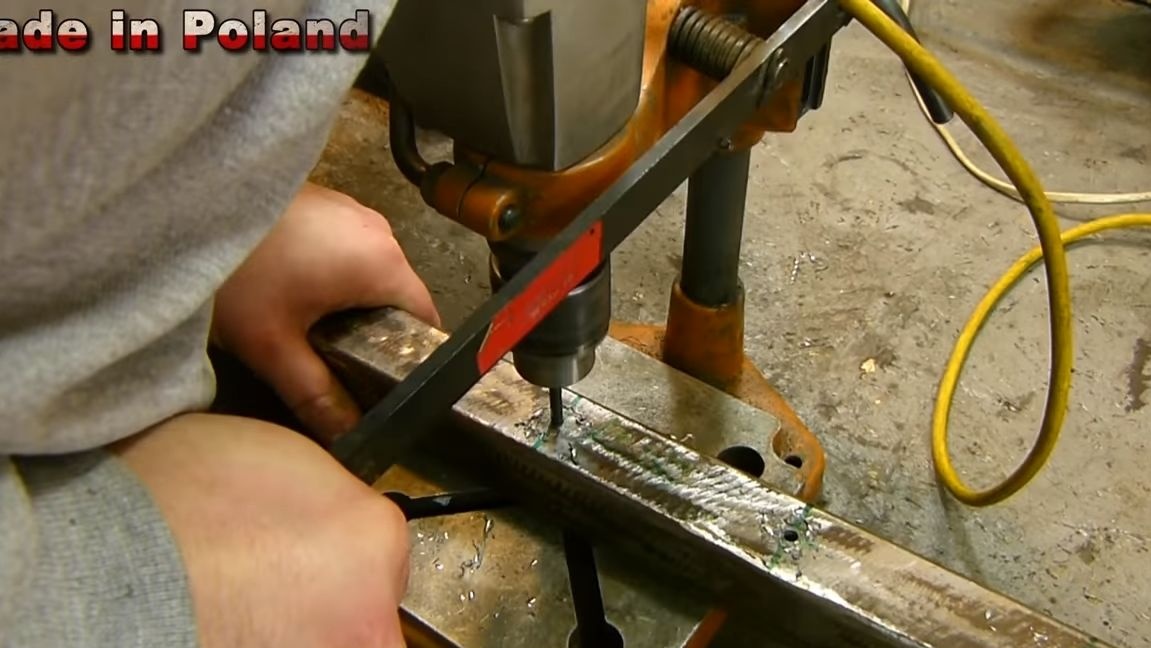
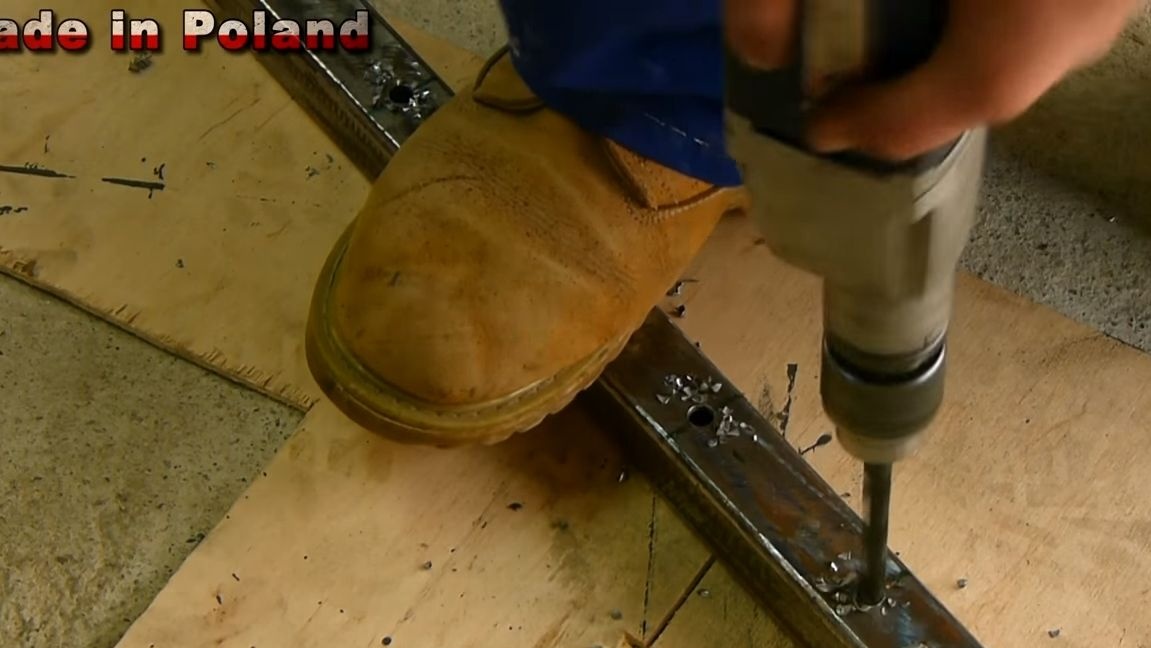
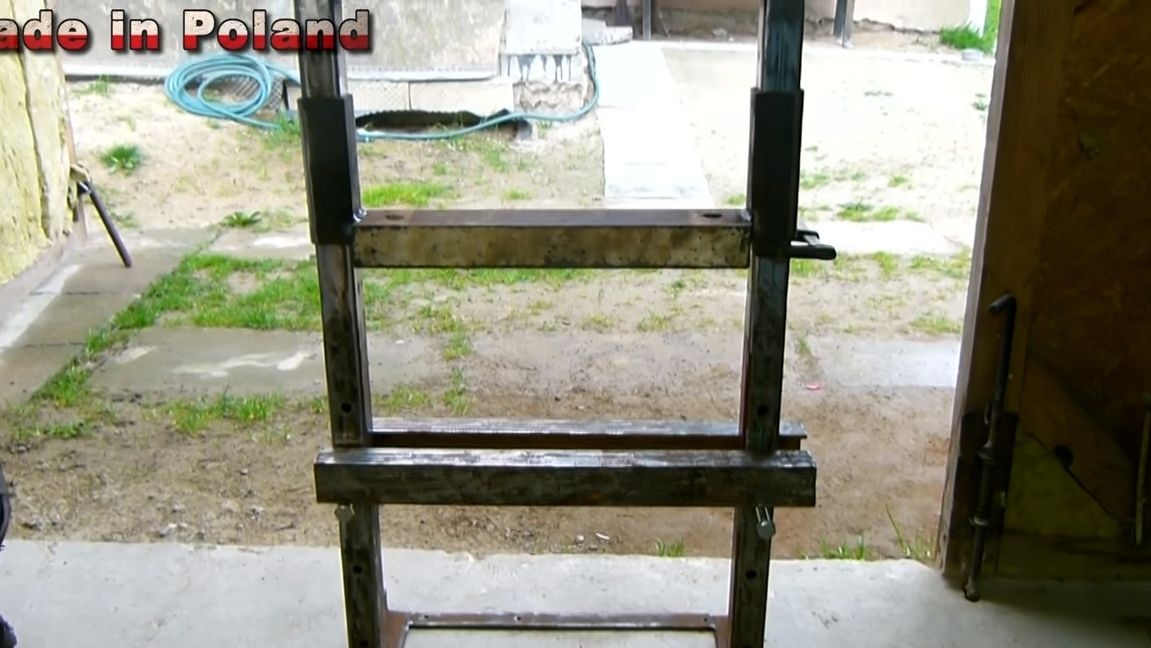
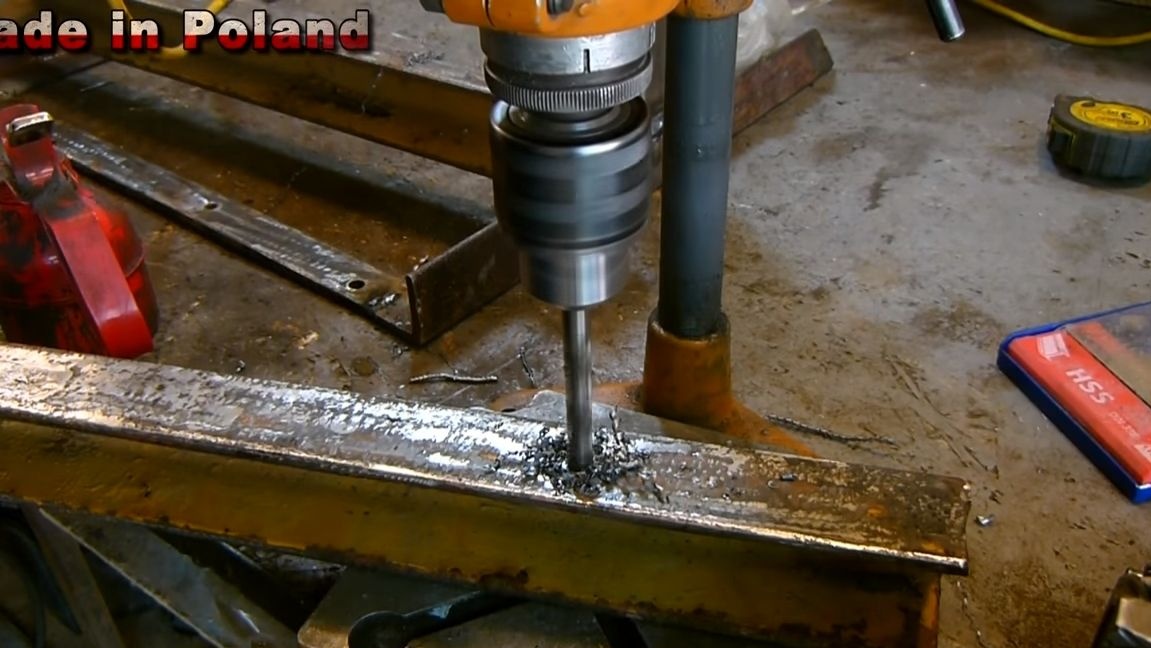
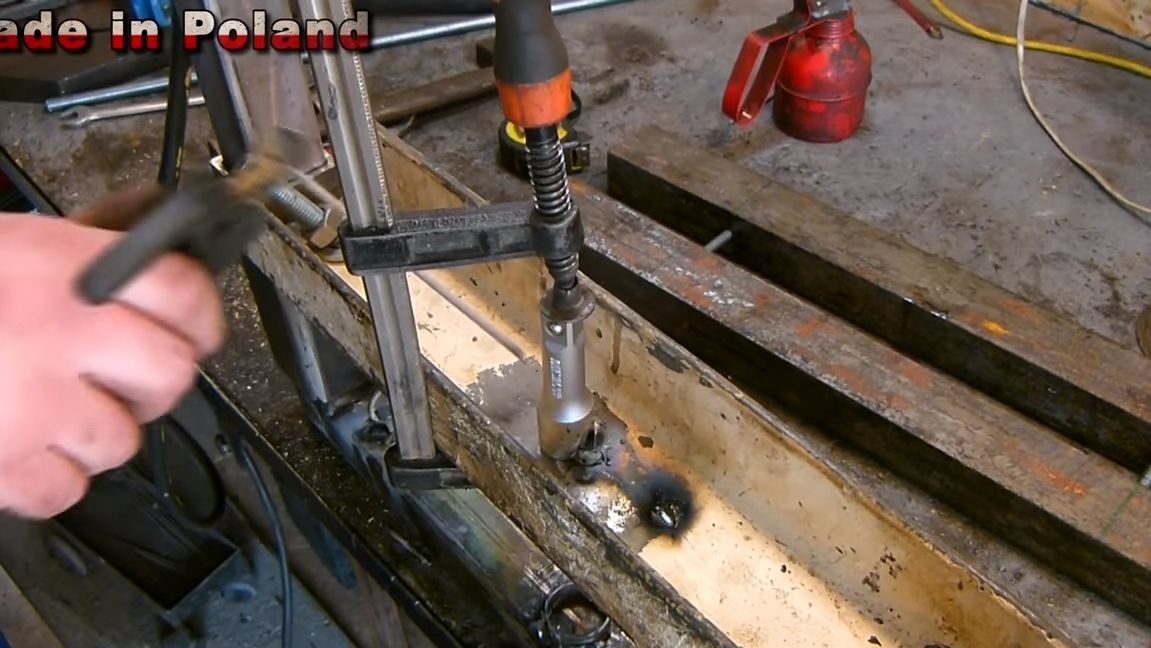
The frame consists of two guides, steel pipes of square section are used as them. They need to be thoroughly cleaned from rust so that nothing wedges. In drains, the author drills rows of holes. Thanks to these holes, a thrust platform will be installed, it rests on bolts with a large cross section. If you wish, you can always raise or lower the platform.
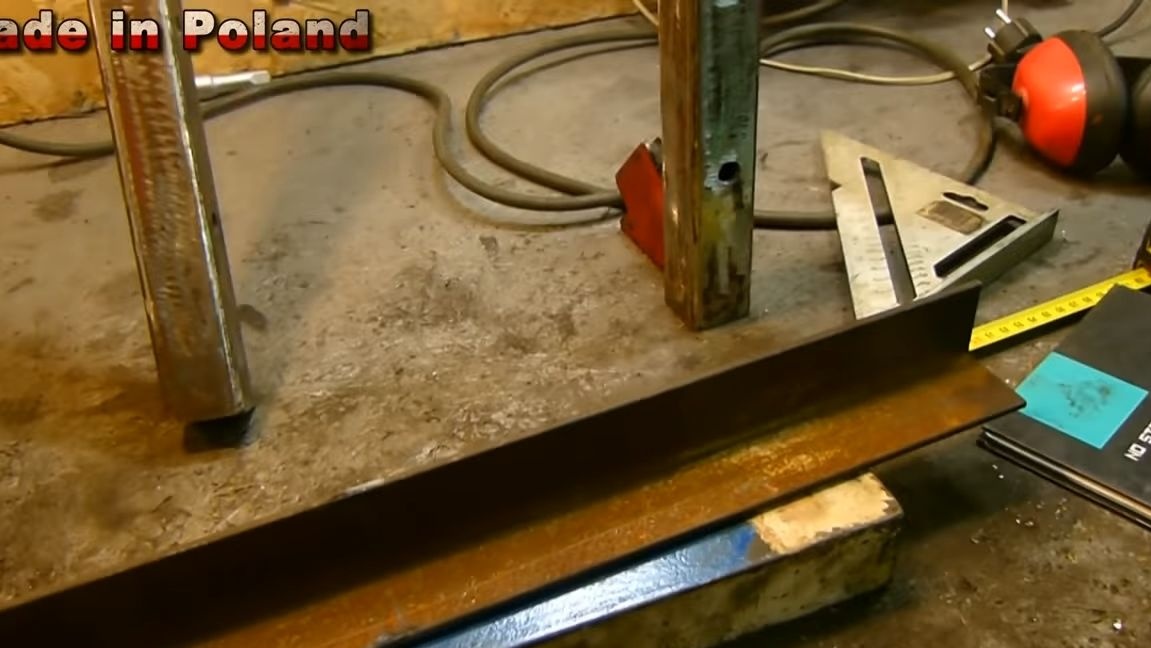
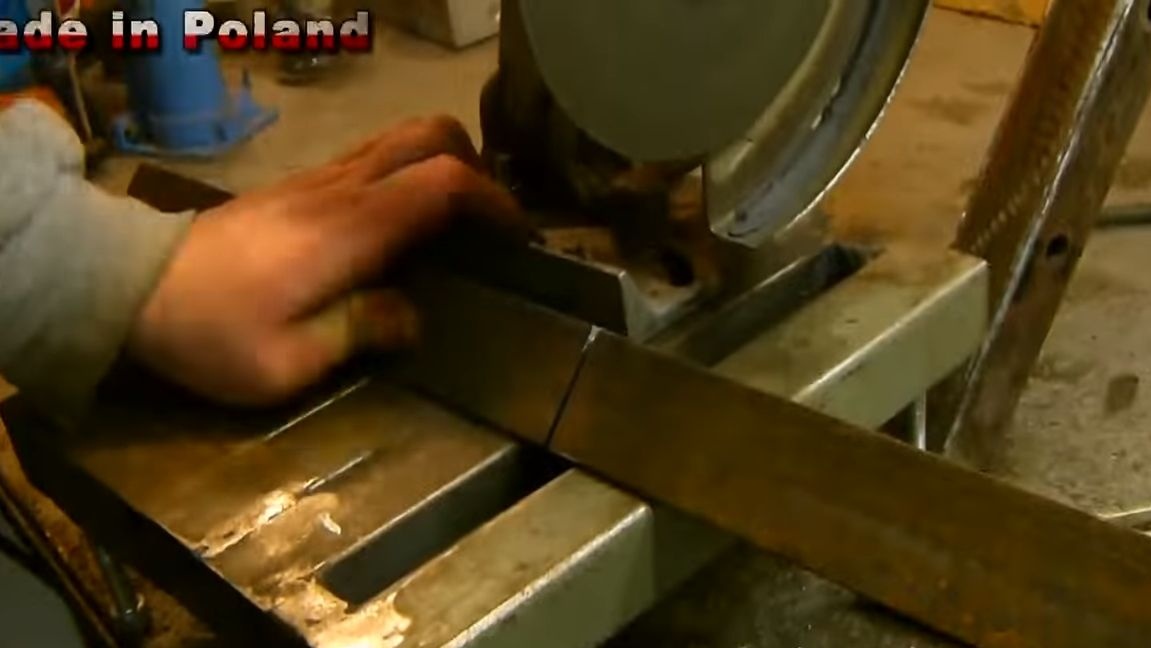
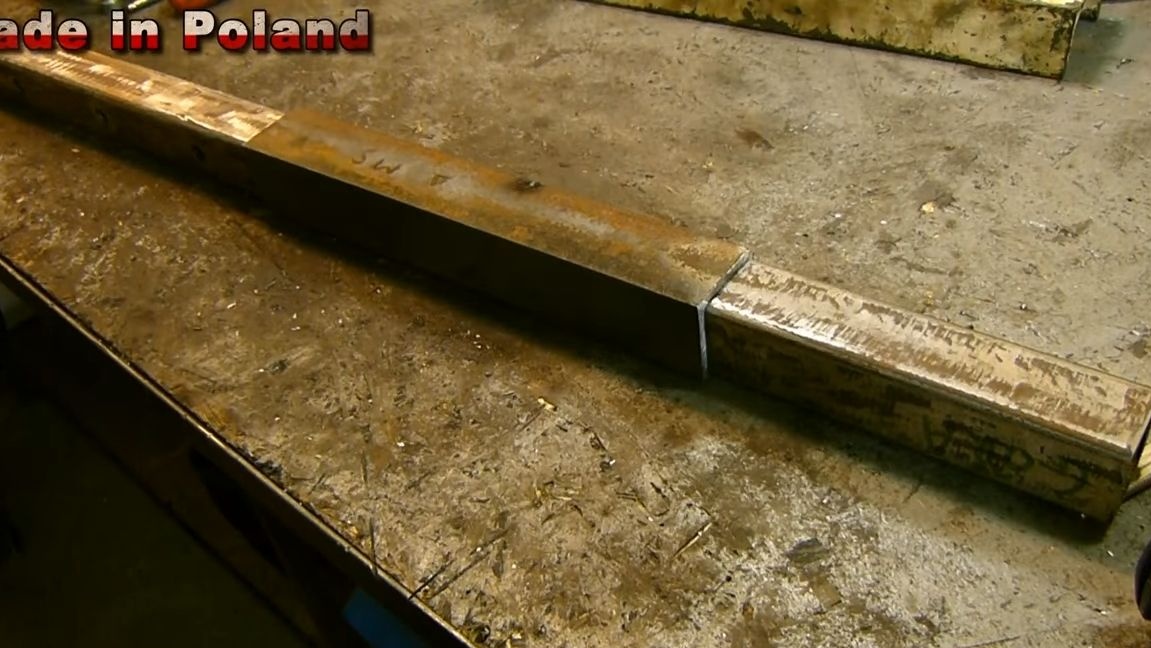
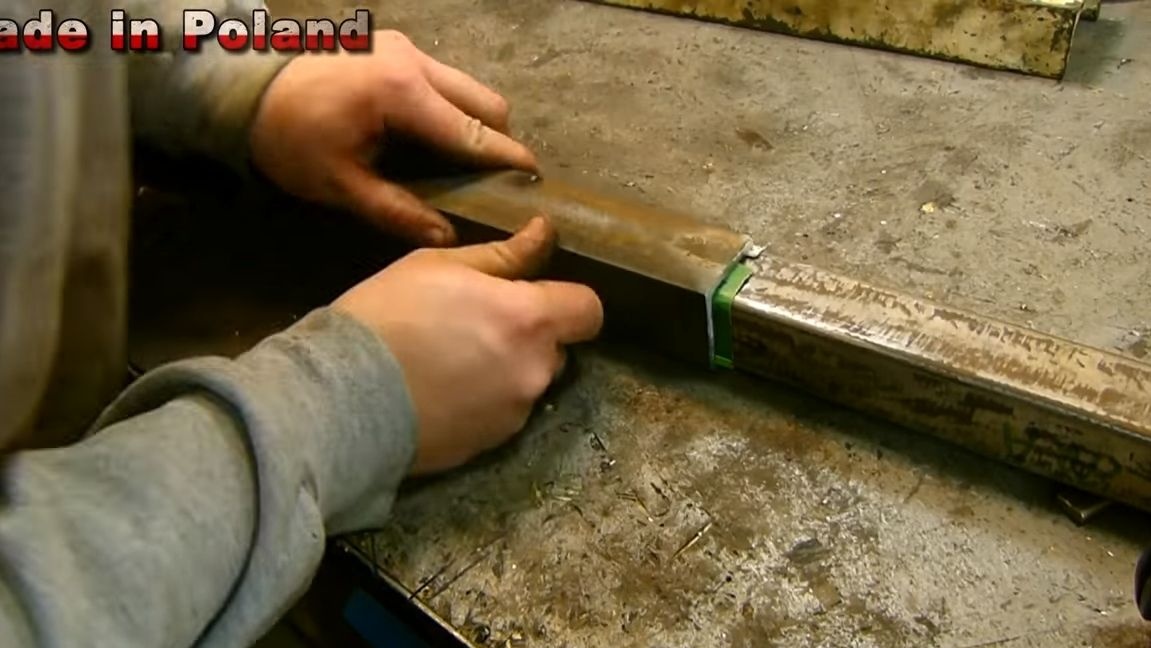
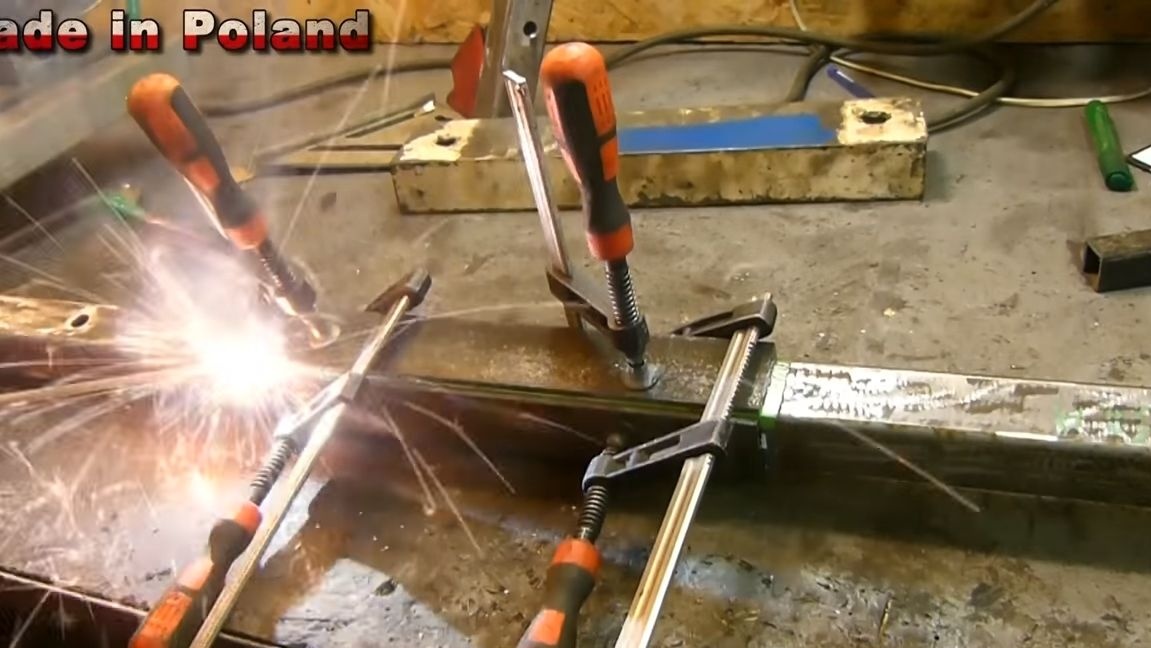
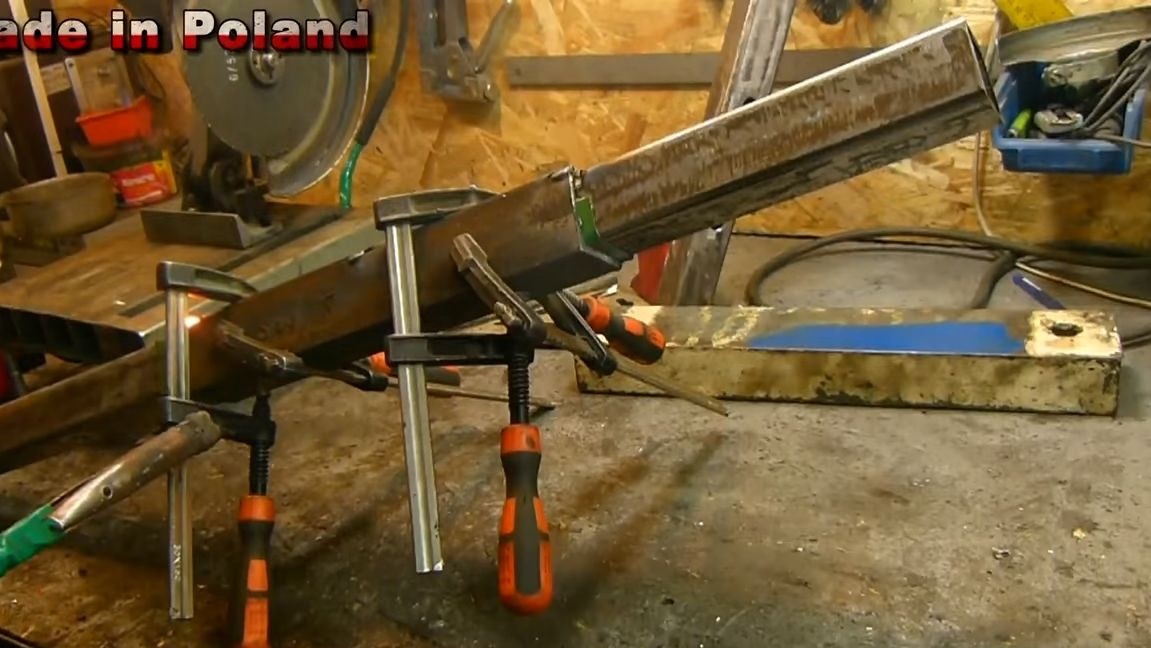
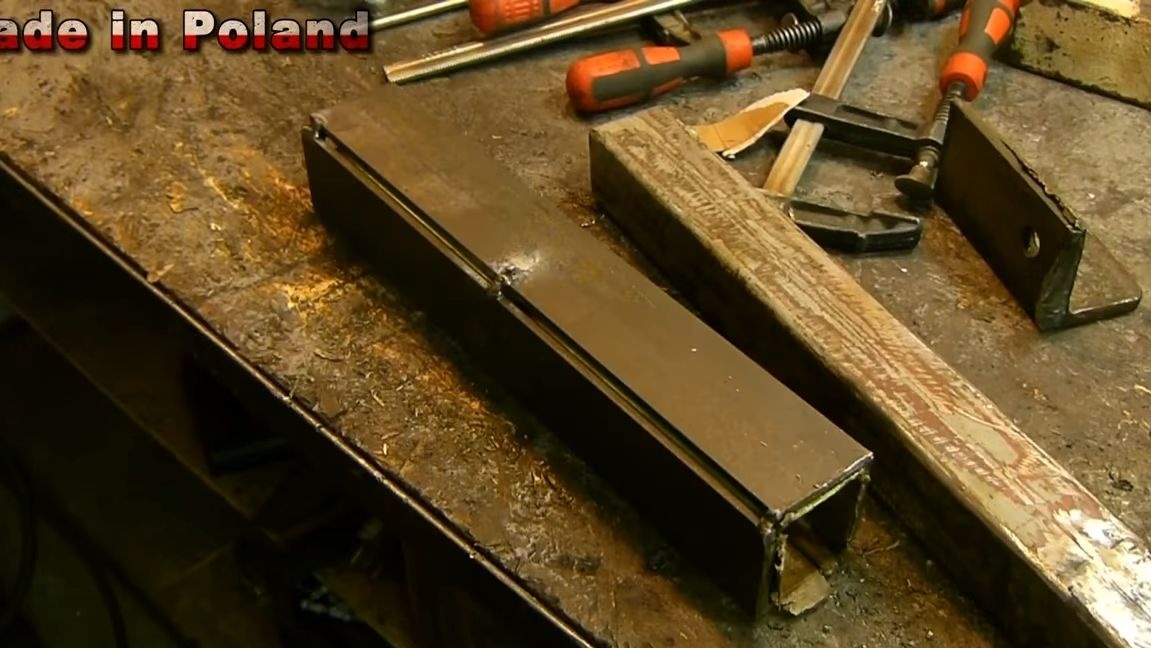
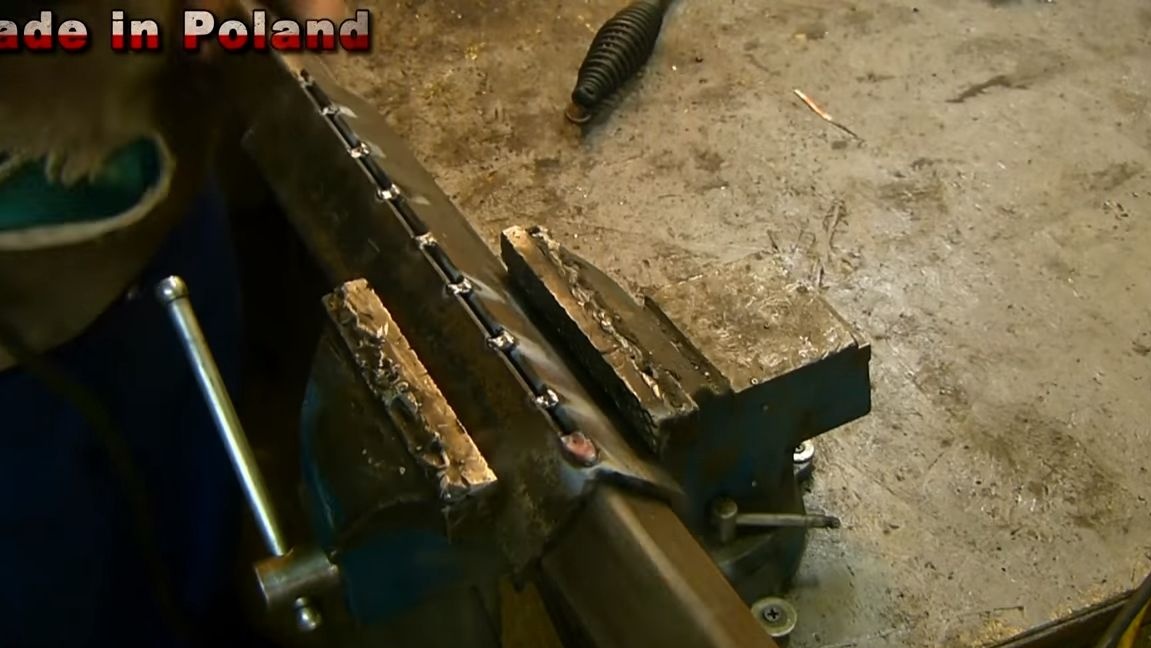
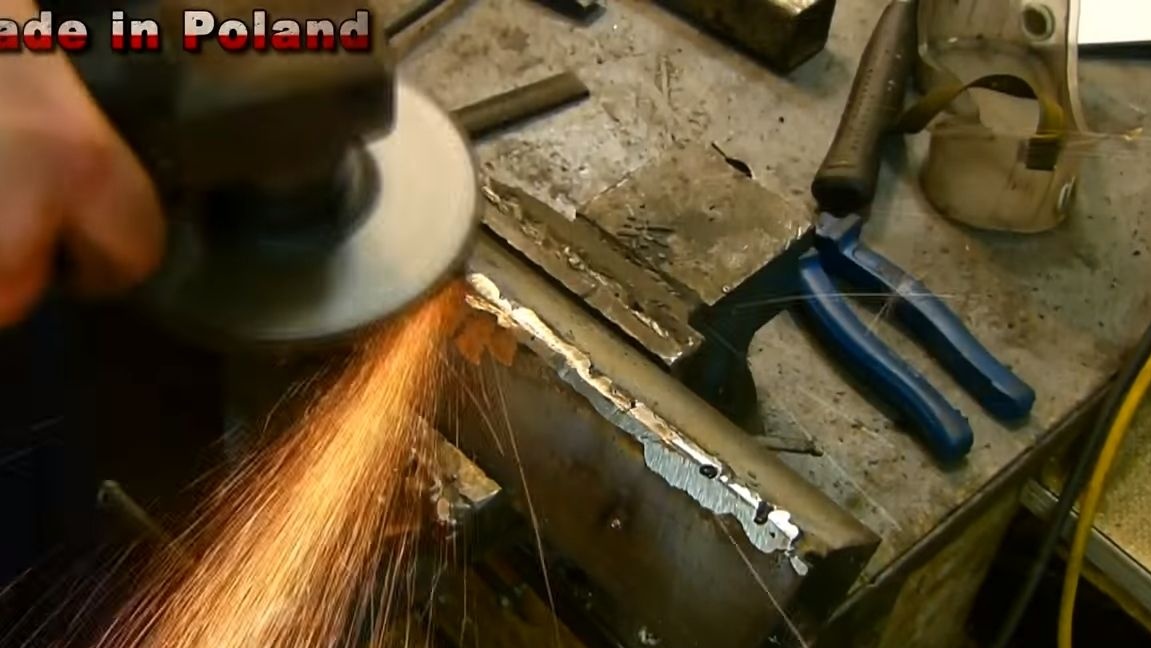
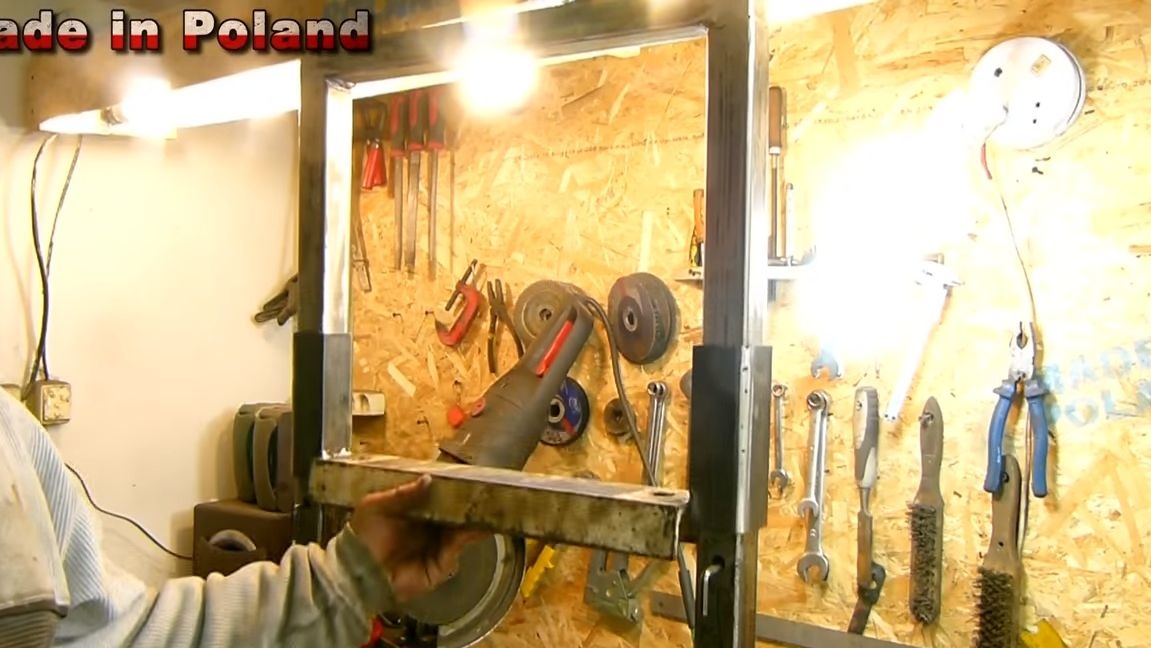
Now we proceed to the production of "square pipes" to which the "elevator" is fastened and mounted, that is, a pressure platform. To make these parts, we take cardboard and wrap it around the guides. Next, take a corner, cut off the necessary pieces and press on top with clamps. We weld the resulting structure, then gently knock it down. Thanks to cardboard, we get a gap between the stand and the pipe. Cut the manufactured part into two parts, thoroughly boil the seams and grind it with a grinder.
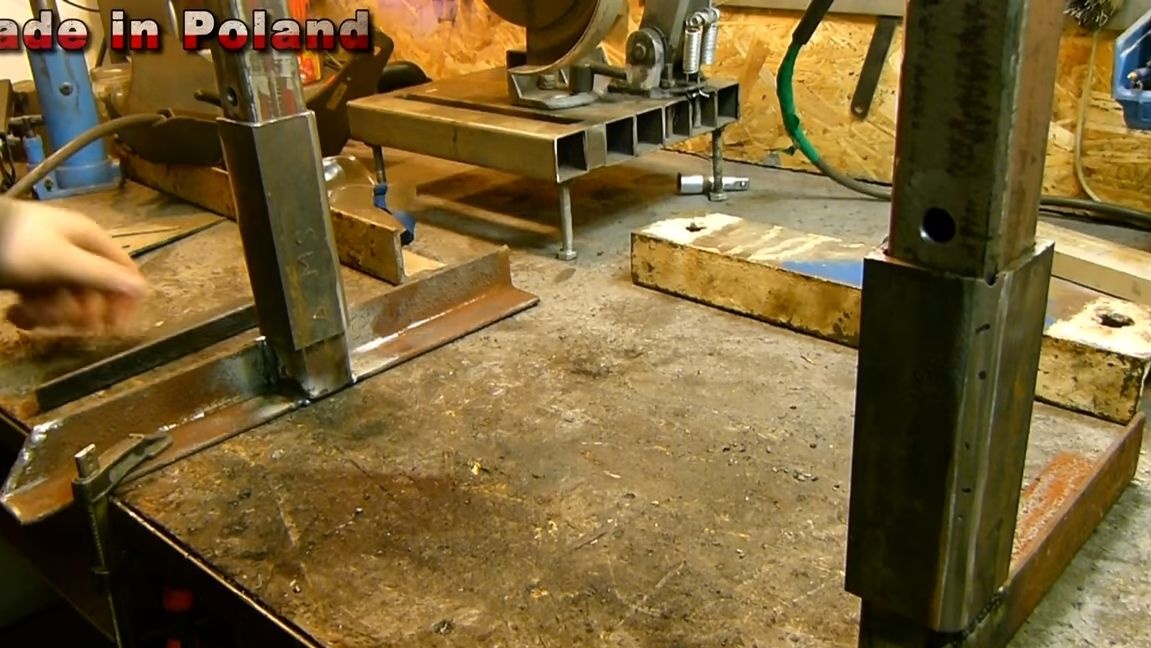
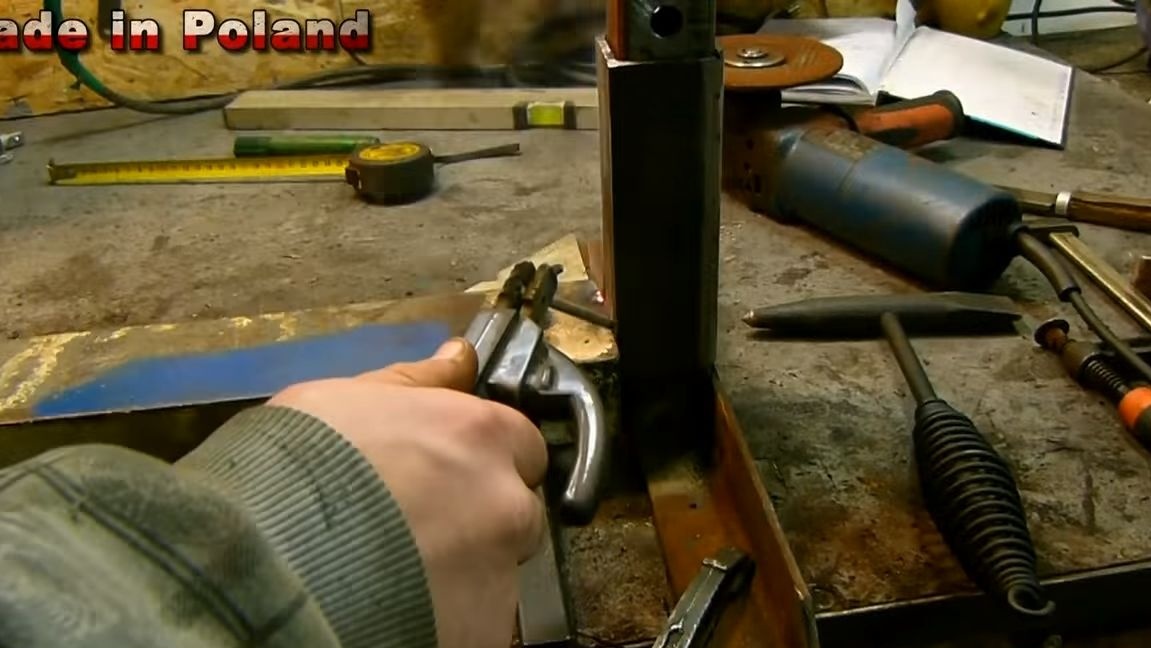
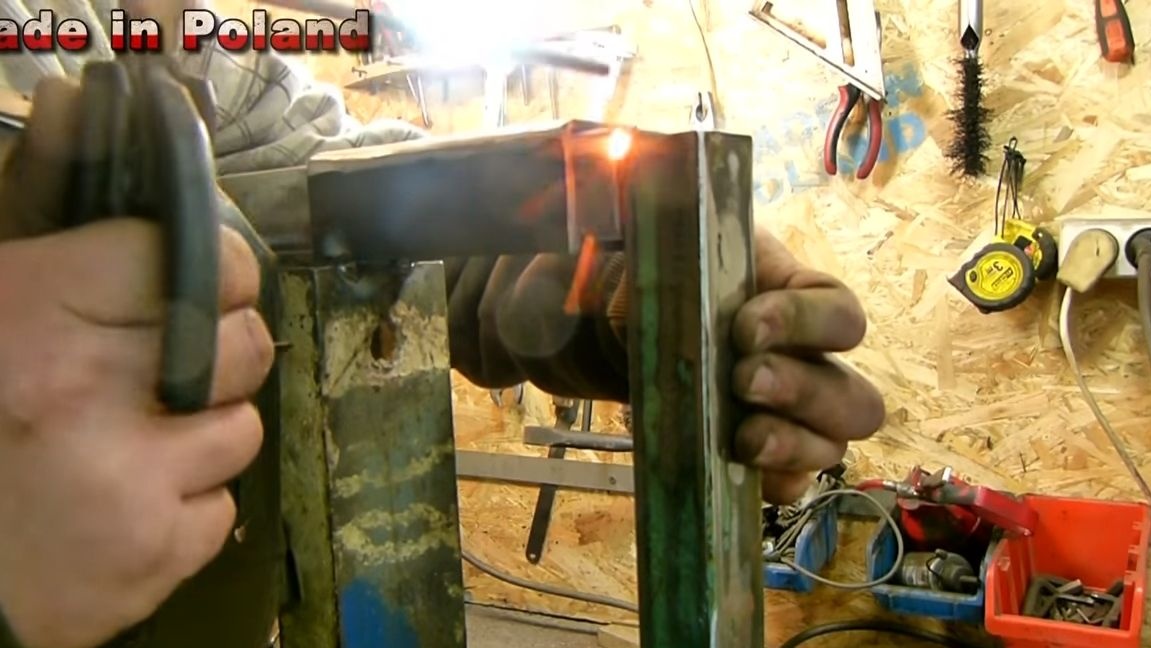
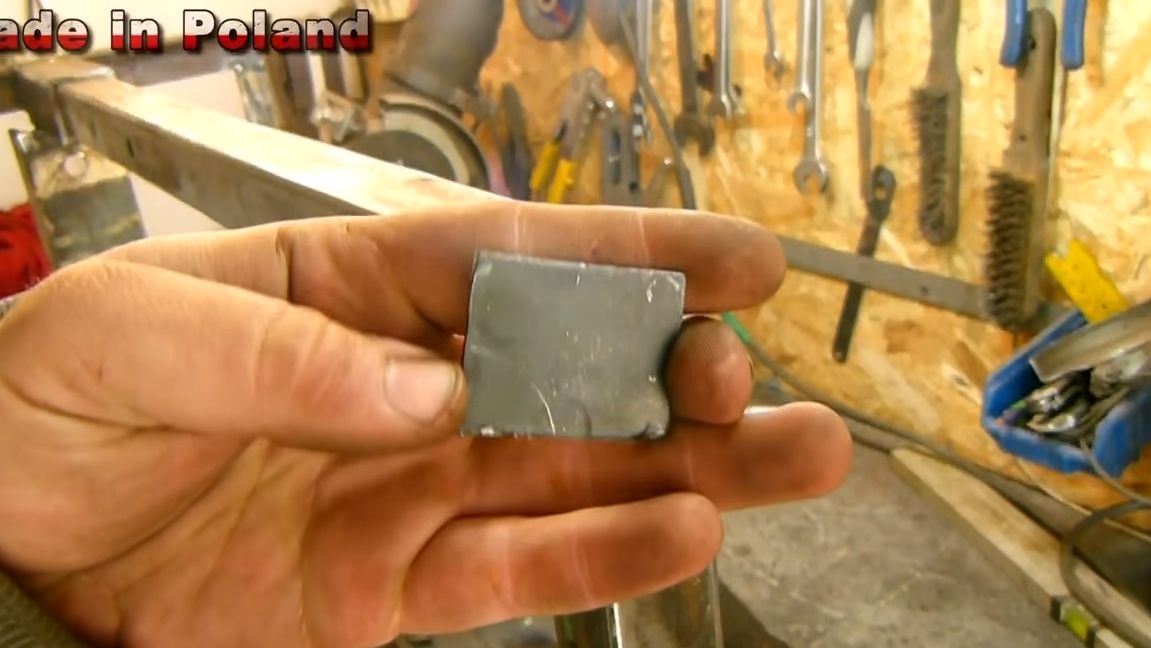
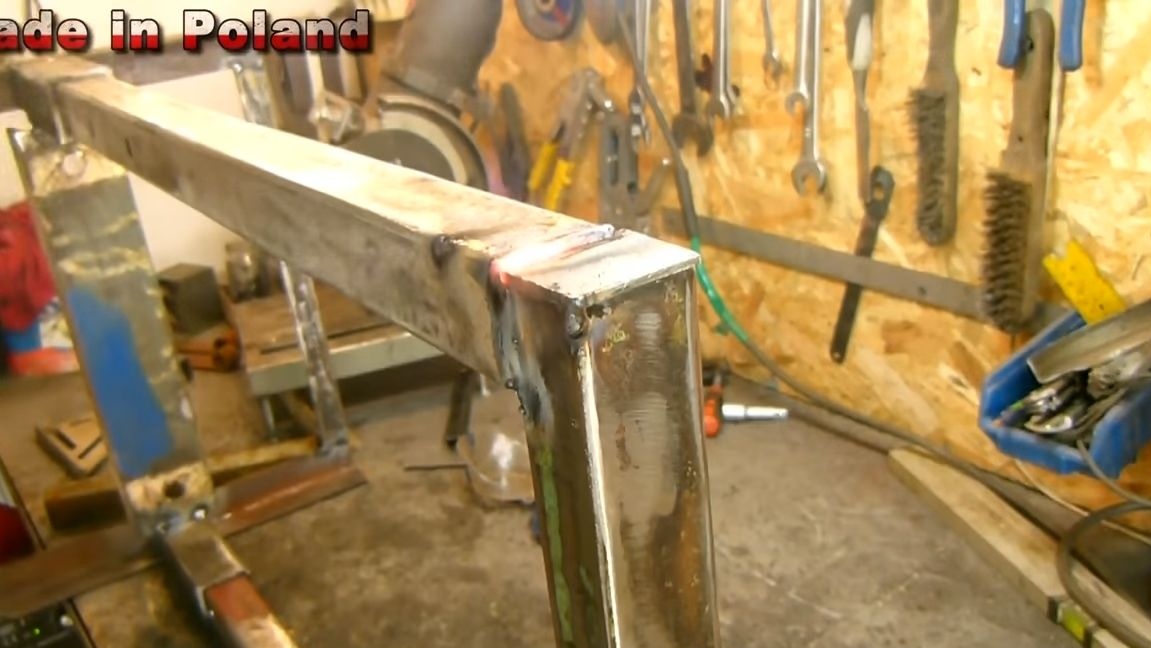
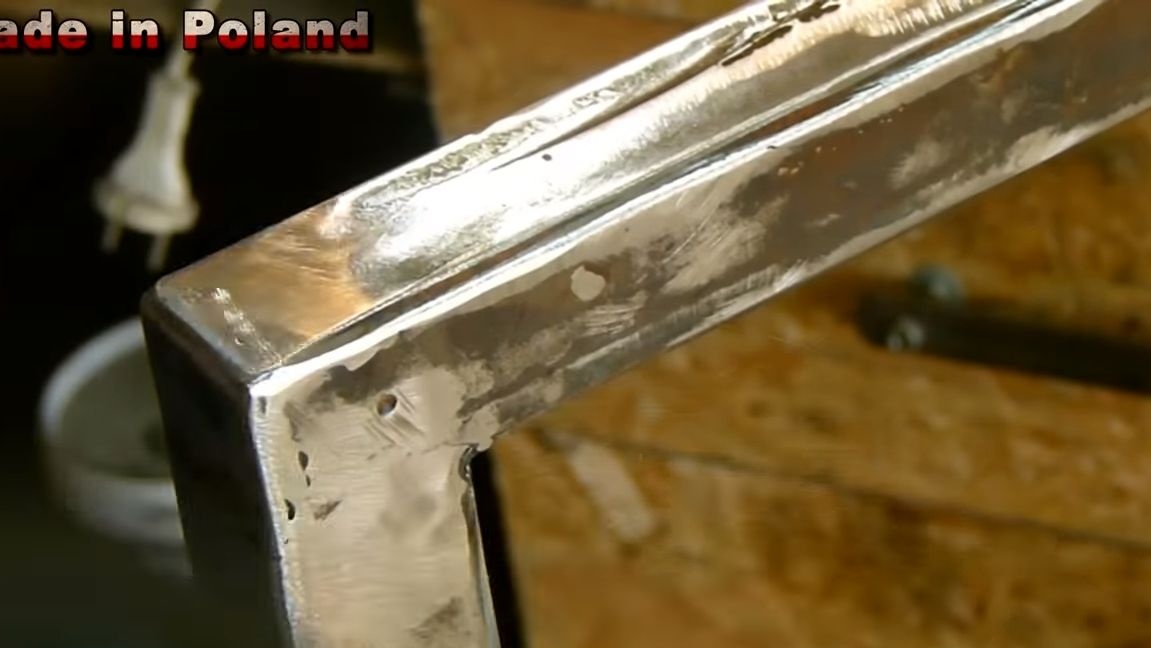
You can install racks! As the base we use a corner or pipes, we weld a good emphasis so that the installation does not stagger. We also weld a piece of pipe from above, and preferably a channel, since high loads are formed here.The author also decided to plug the holes in the pipes, he cut out steel plates for this and welded.
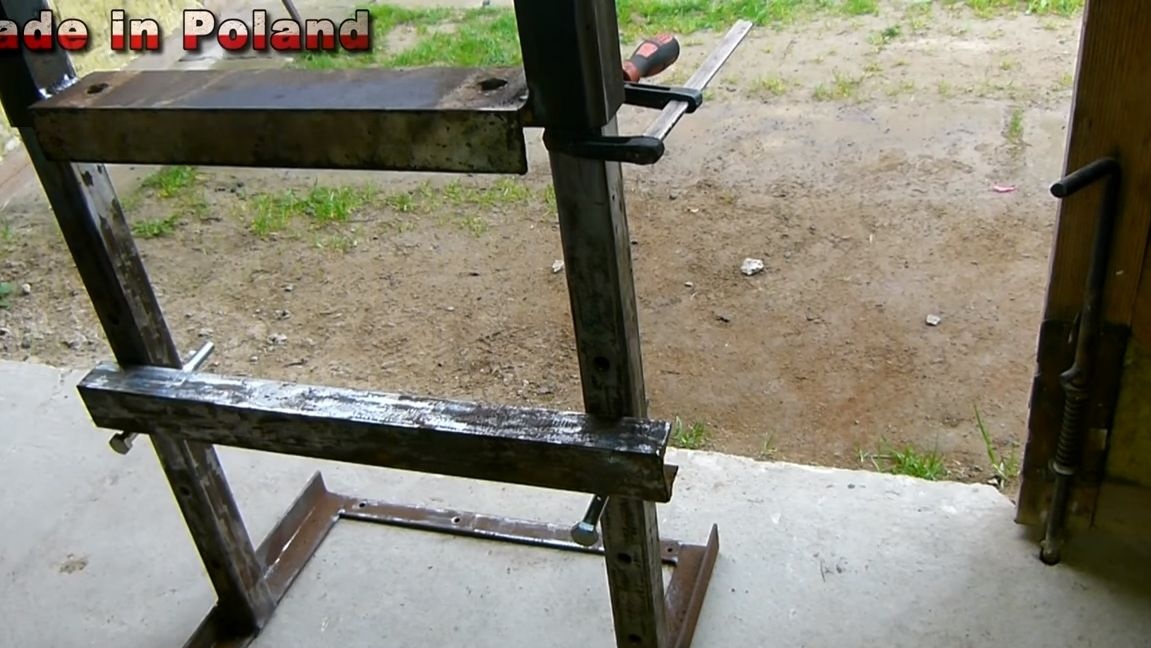
Step Two We fix the "elevator"
The "elevator", that is, a crushing platform, the author makes of a massive channel. The material must be strong and withstand loads of several tons. Weld it well in the right places.
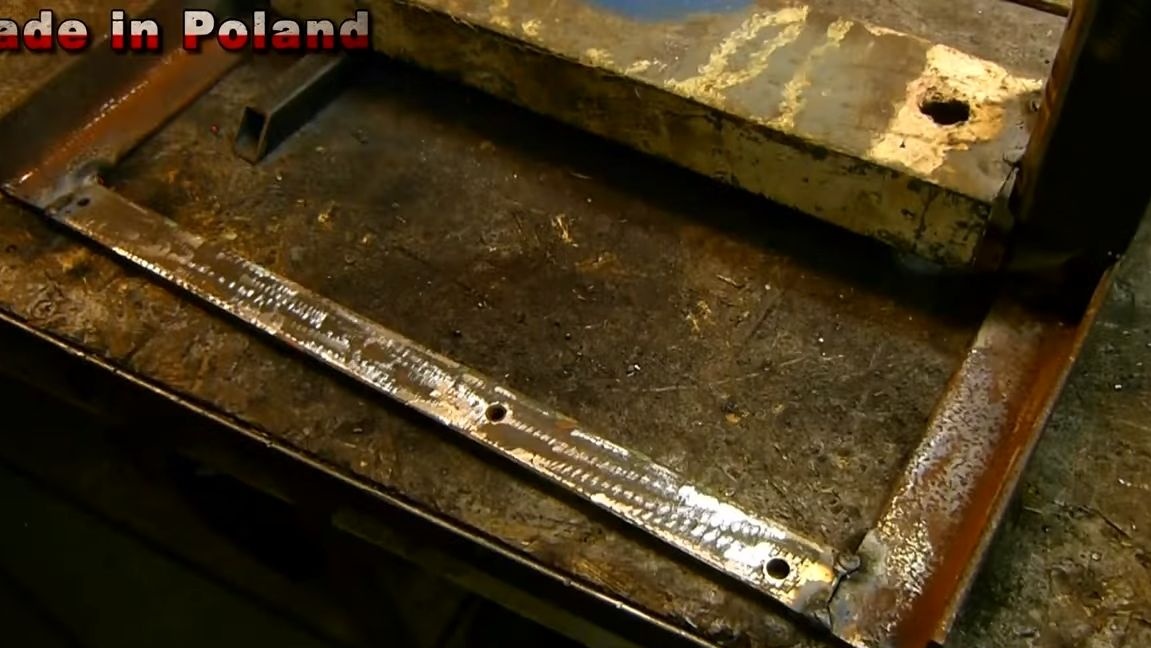
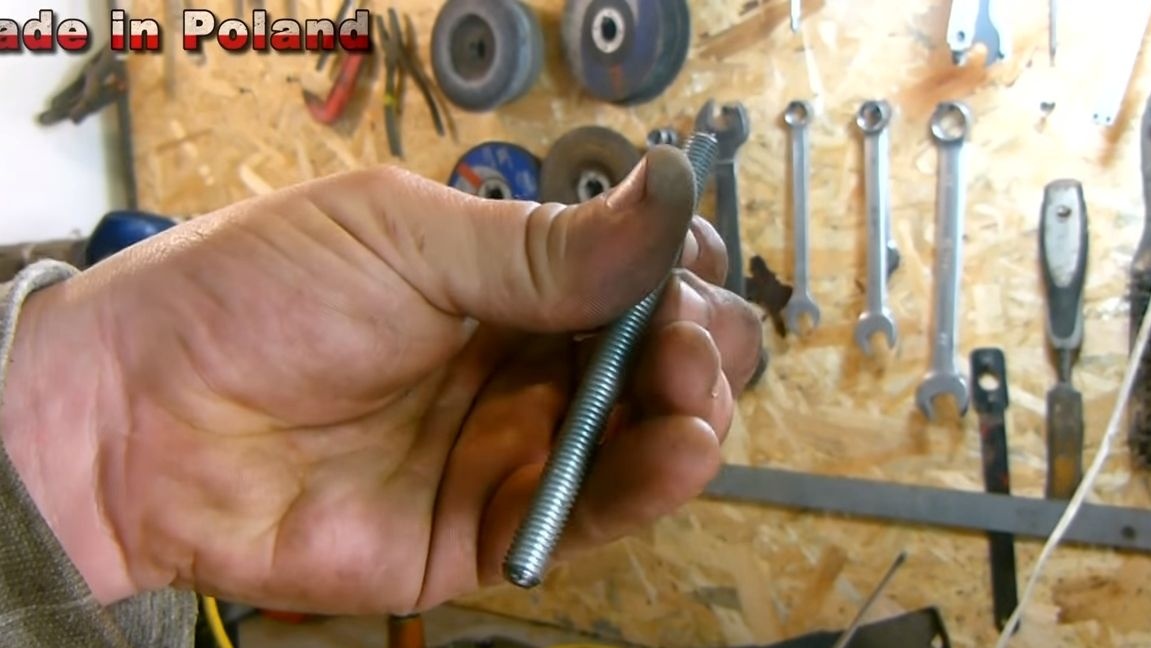
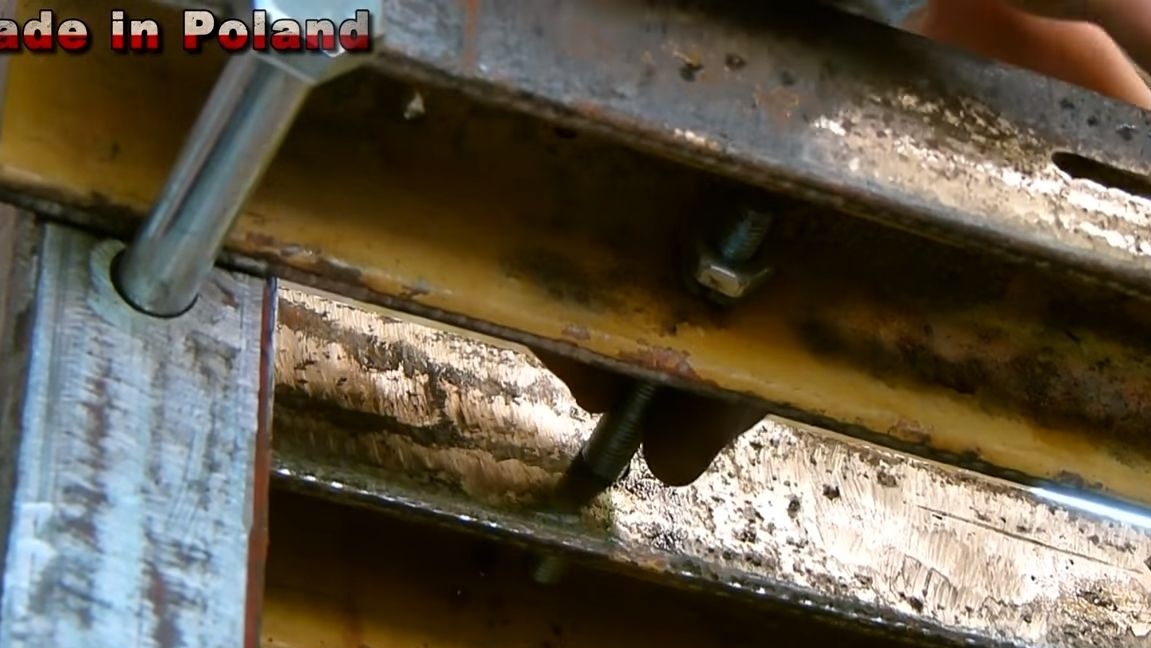
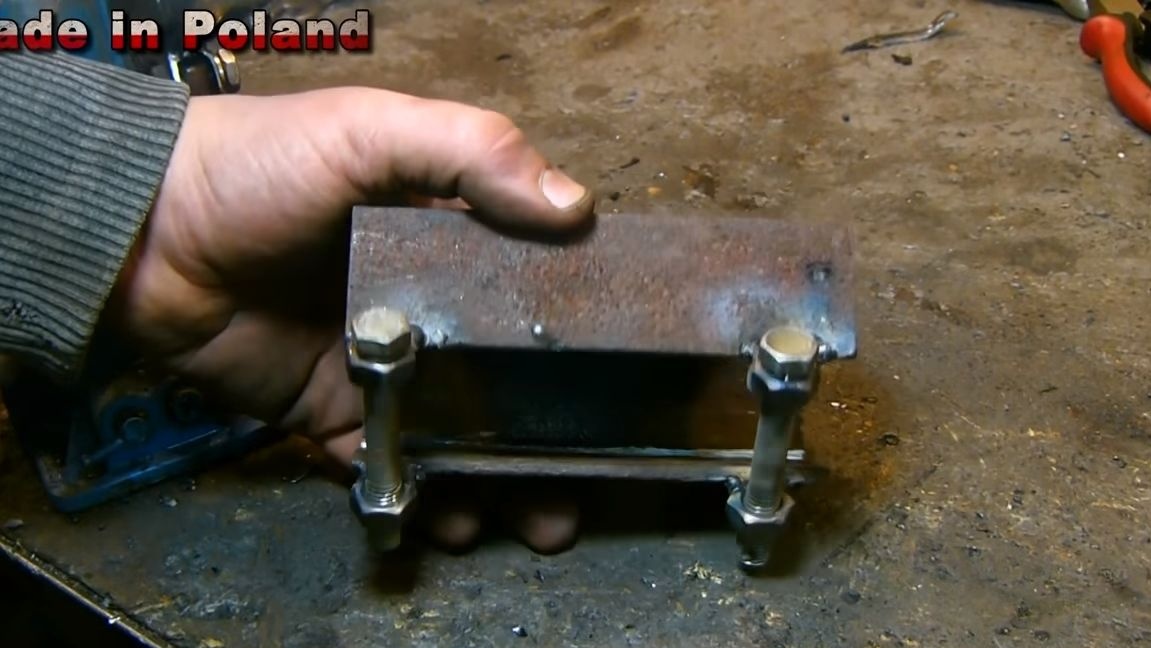
The persistent platform should also be very strong, the author makes it of two channels. We cut two pieces, and then drill holes in them and tighten using threaded rods and nuts. Massive bolts with nuts are used as an emphasis for the platform.
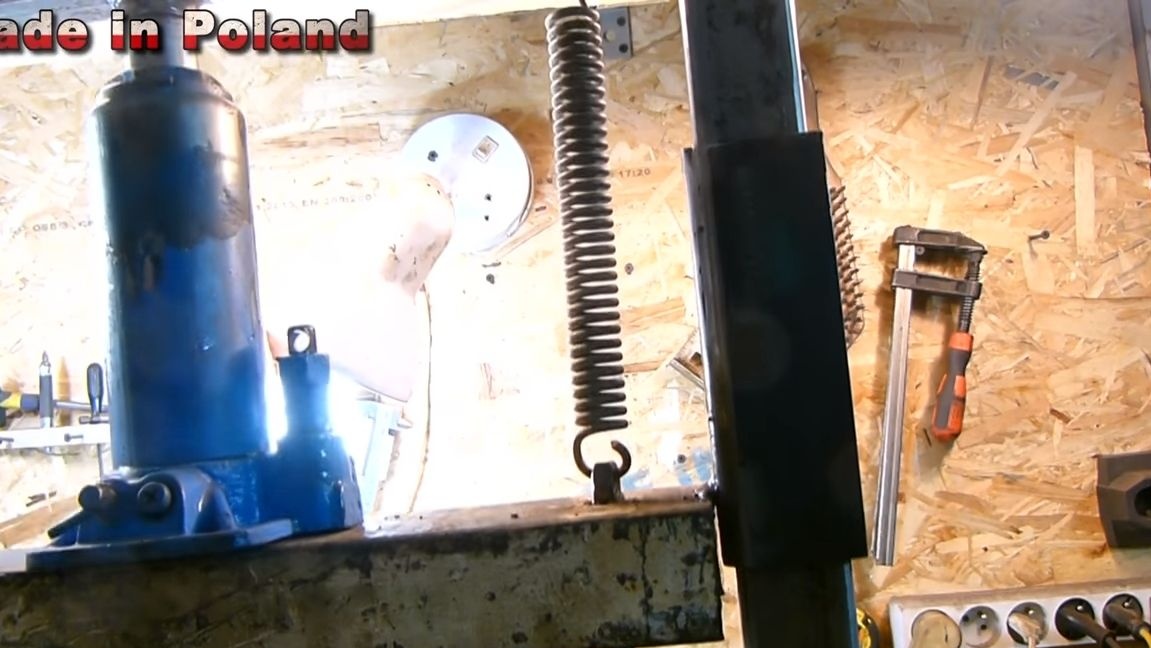
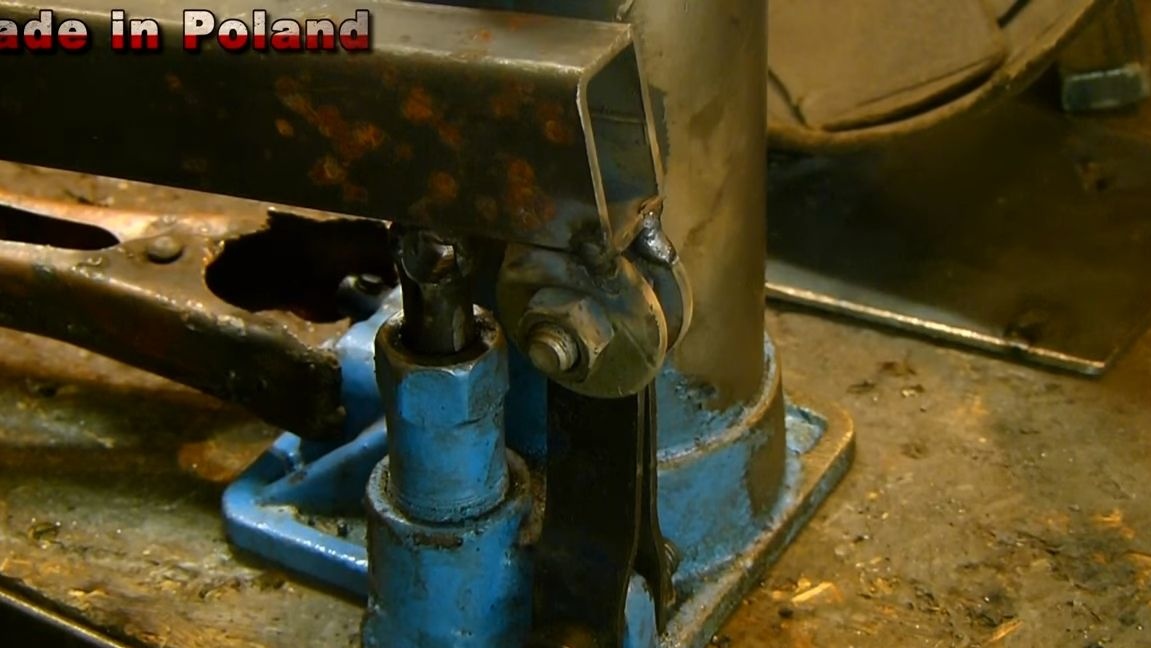
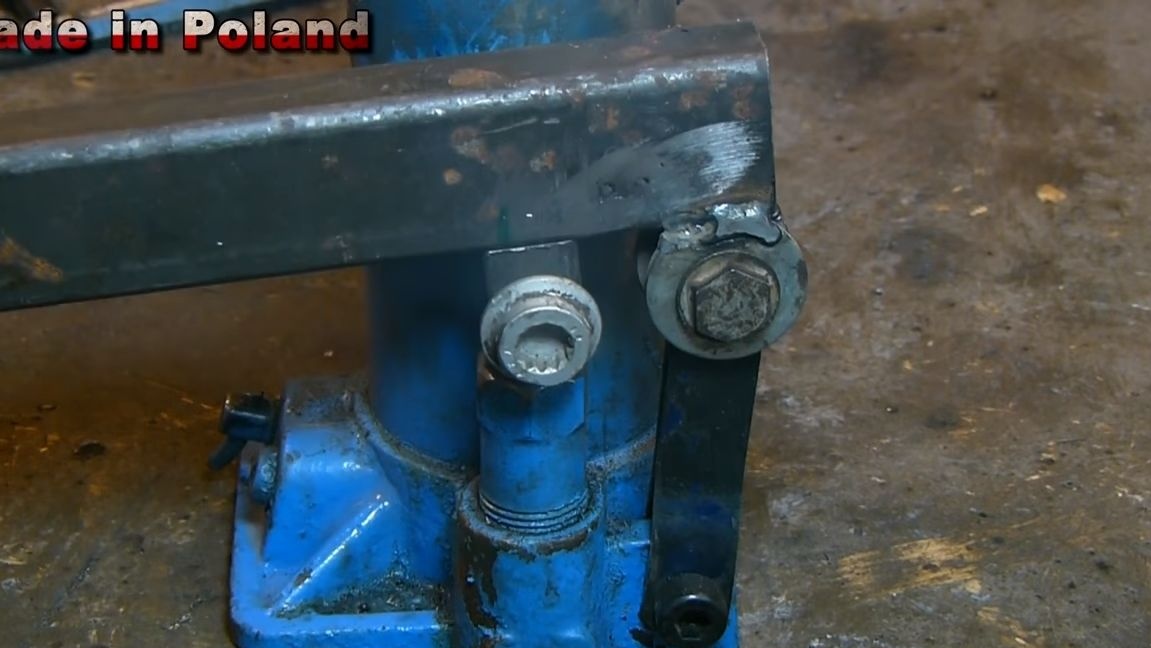
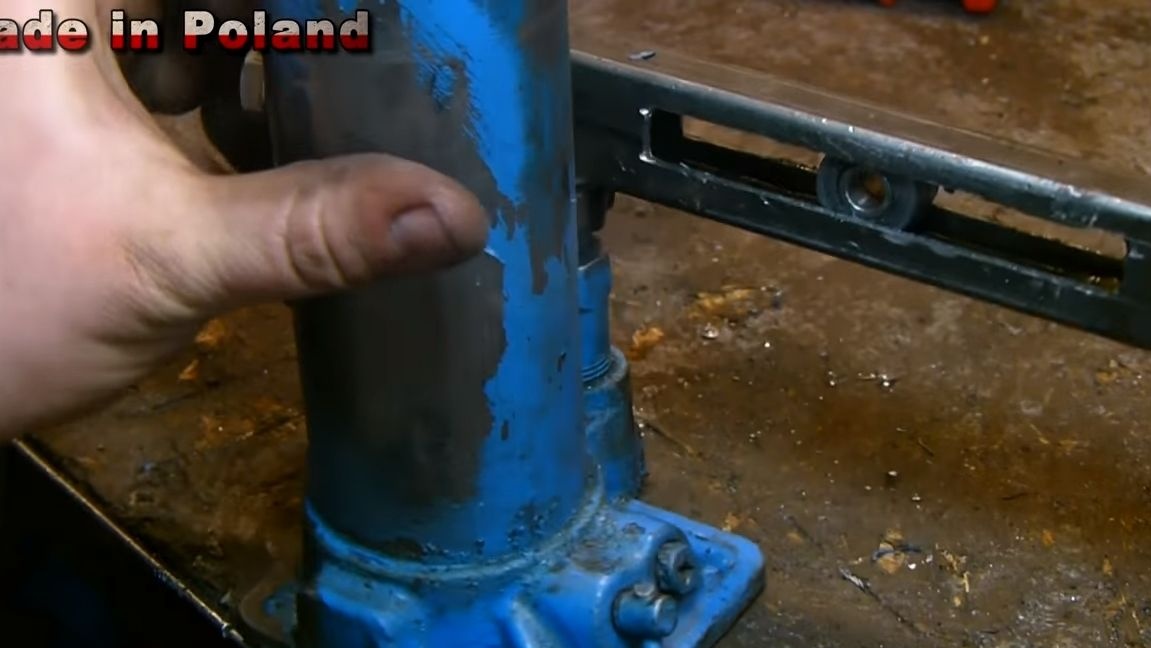
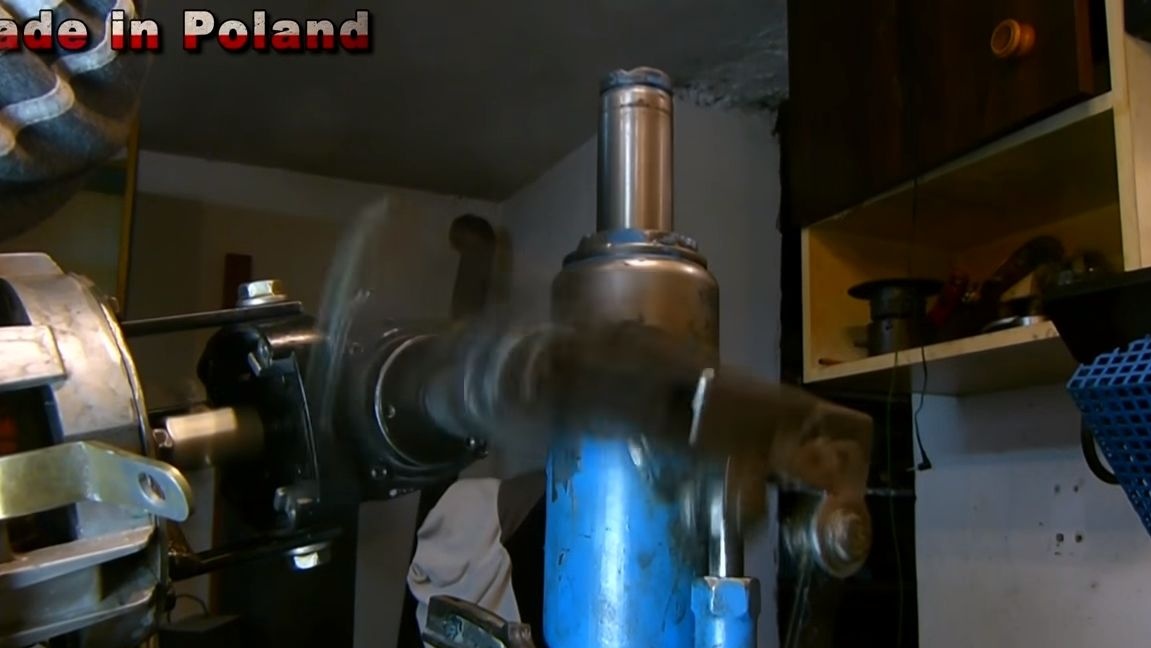
Step Three Jack Place
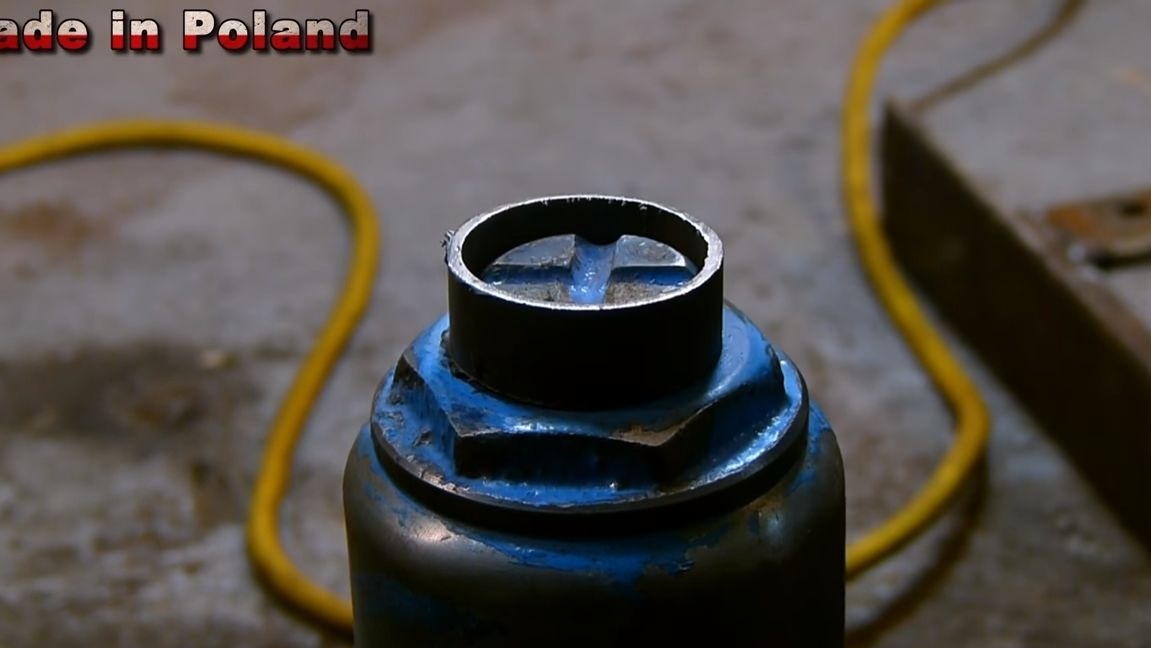
The jack is installed on the machine in a classic form, that is, “head up”. So that the stop does not come off, you need a piece of a round pipe of suitable diameter. Cut off, try on, weld to the upper support.
As for the base, here, as an emphasis, you can weld several steel plates so that, God forbid, the jack does not come off during loading.

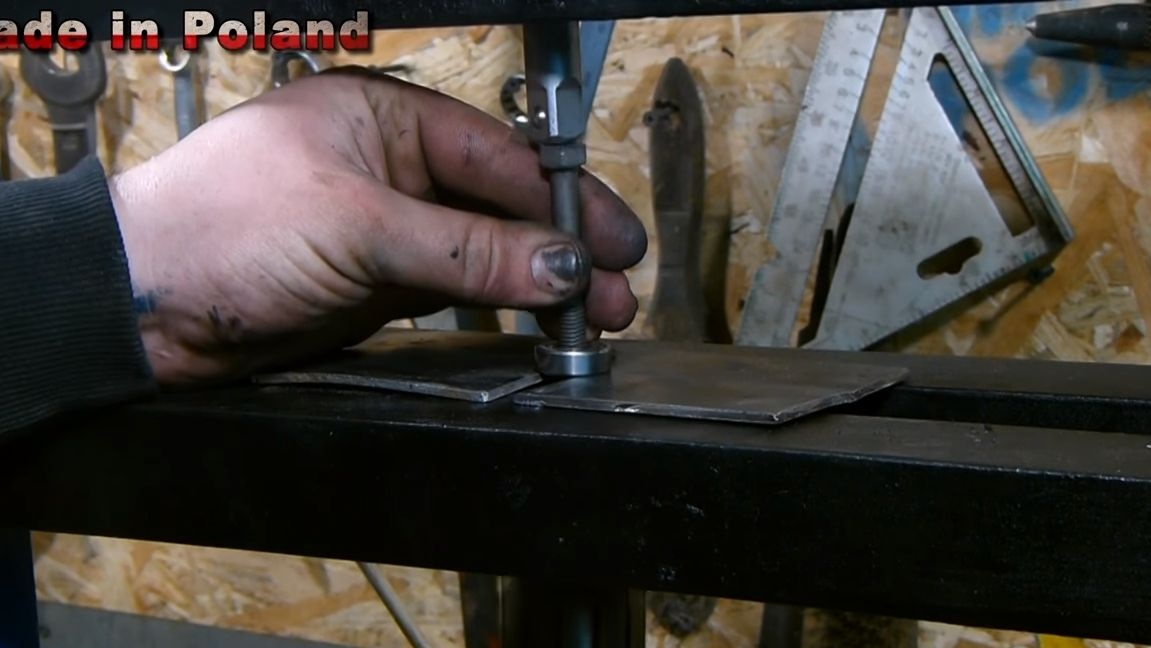
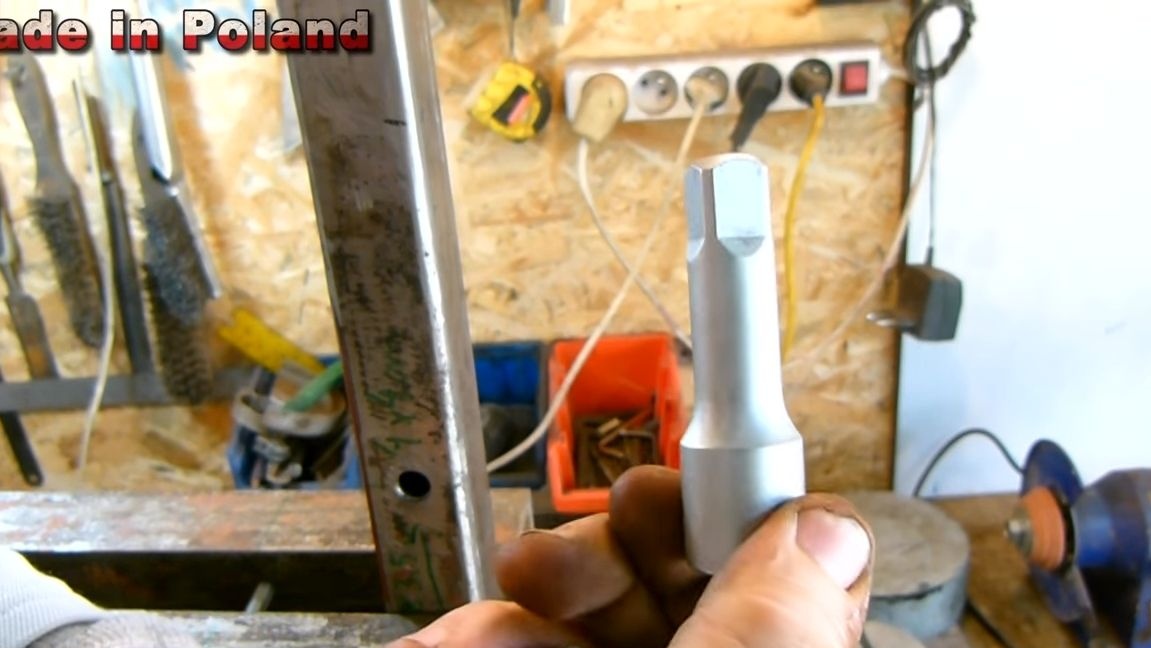
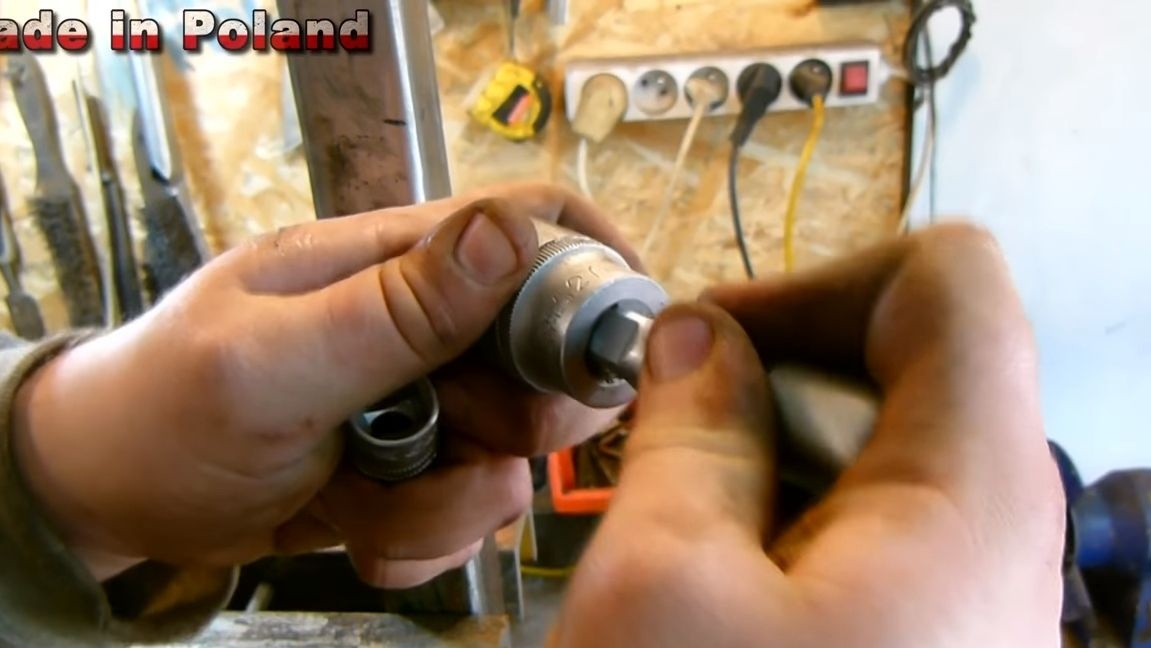
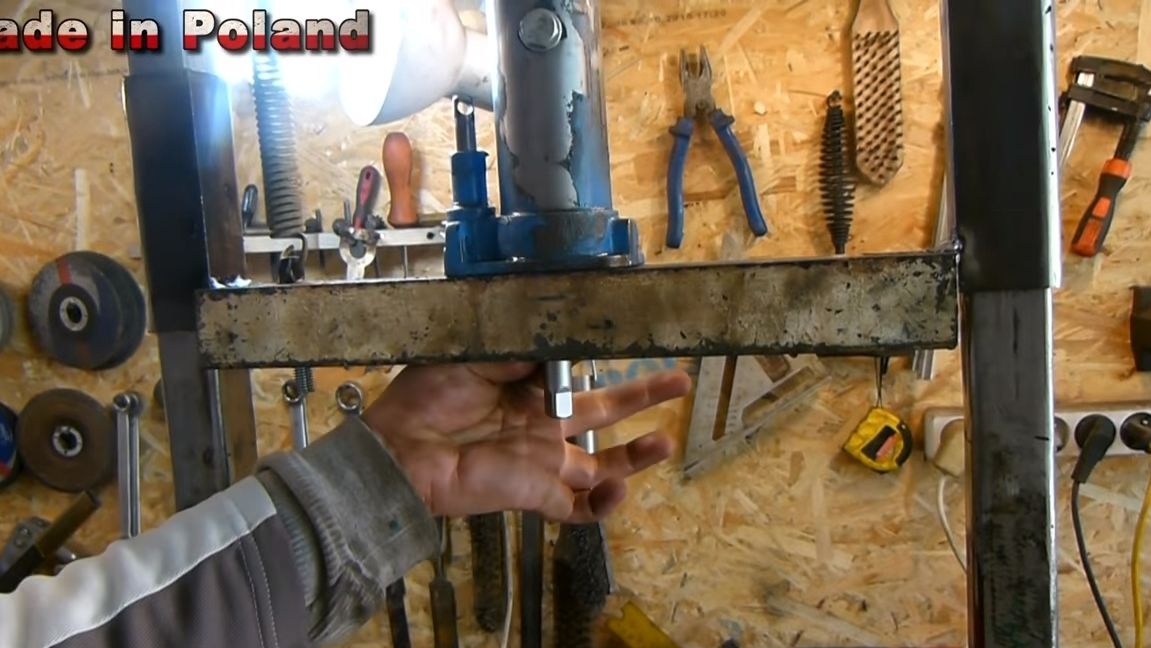
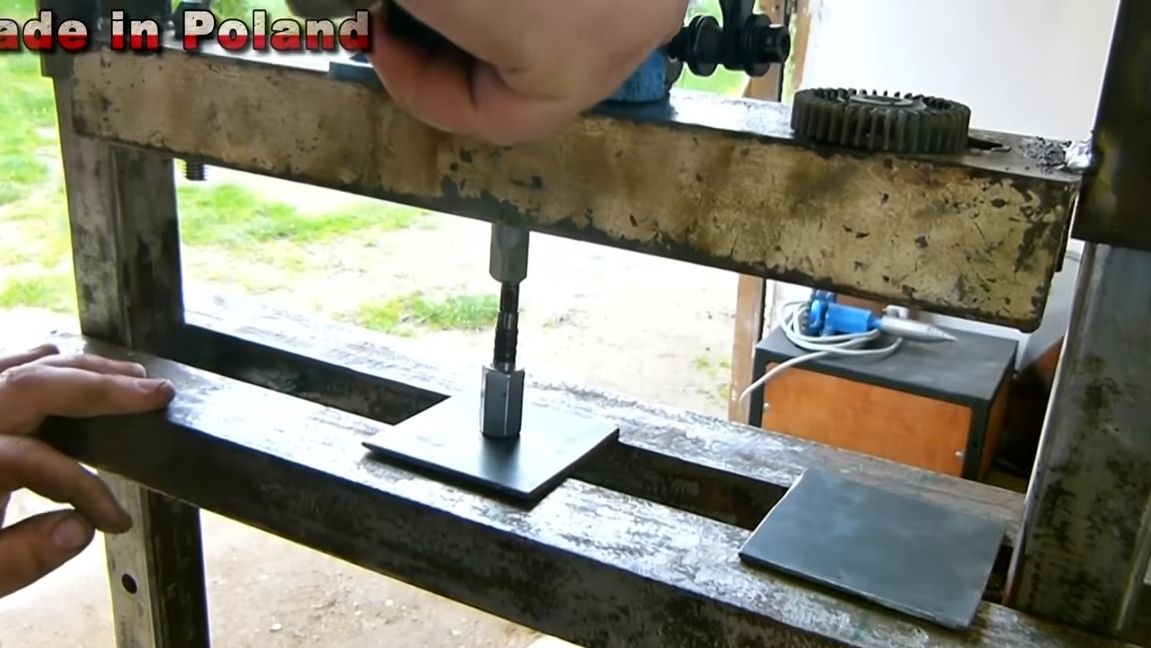
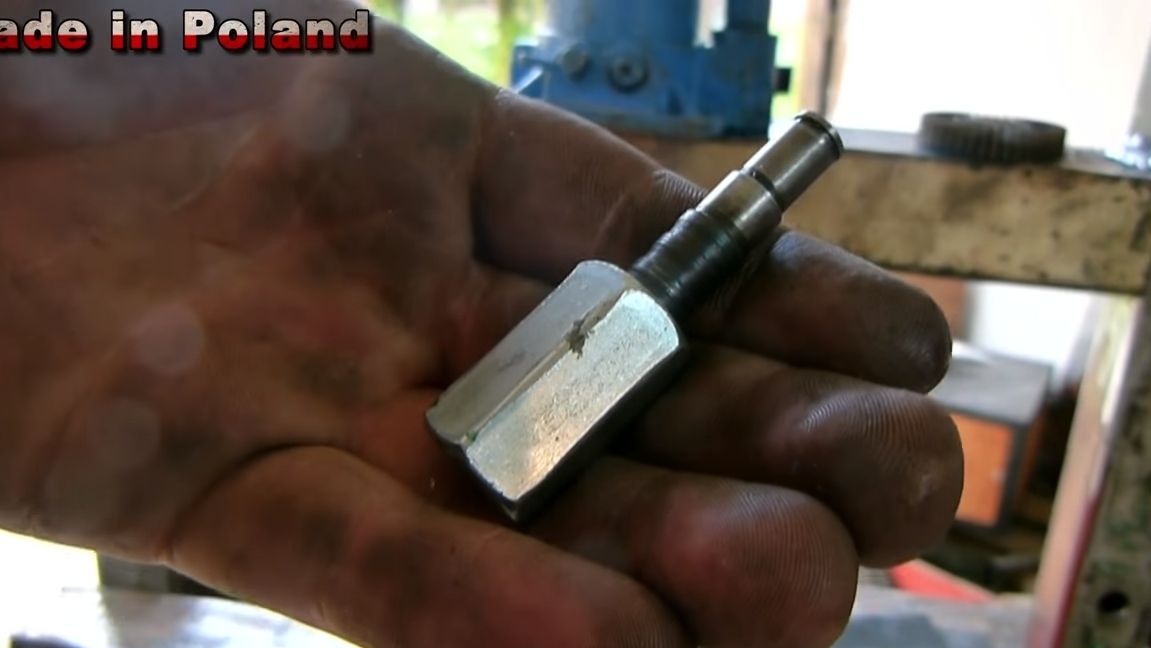
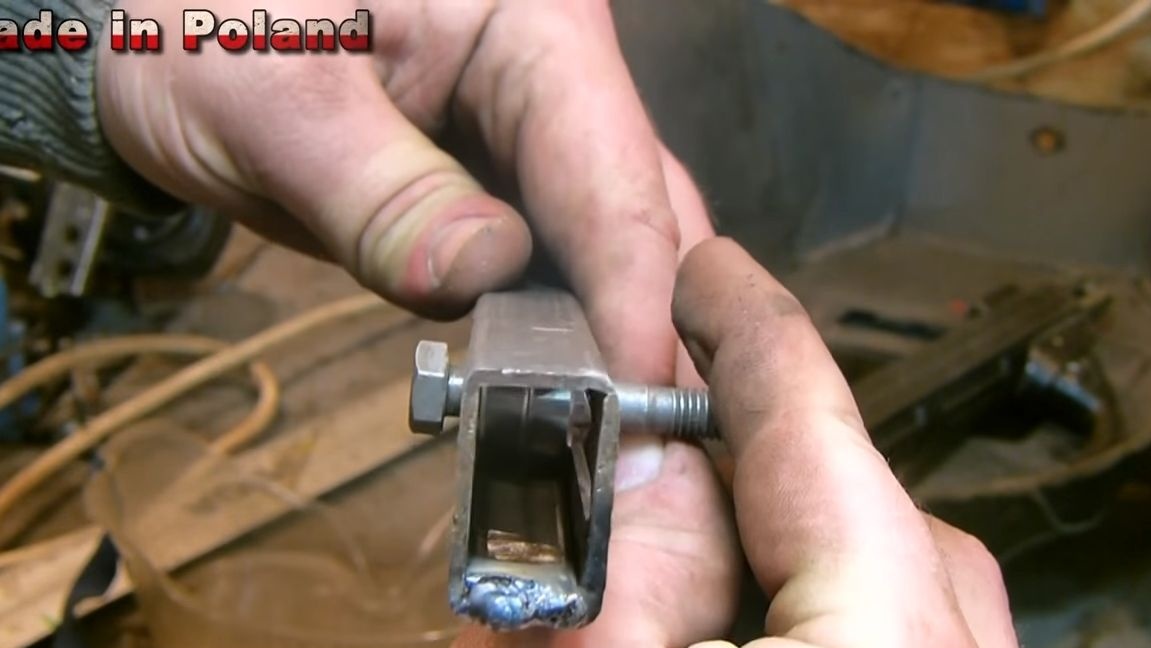
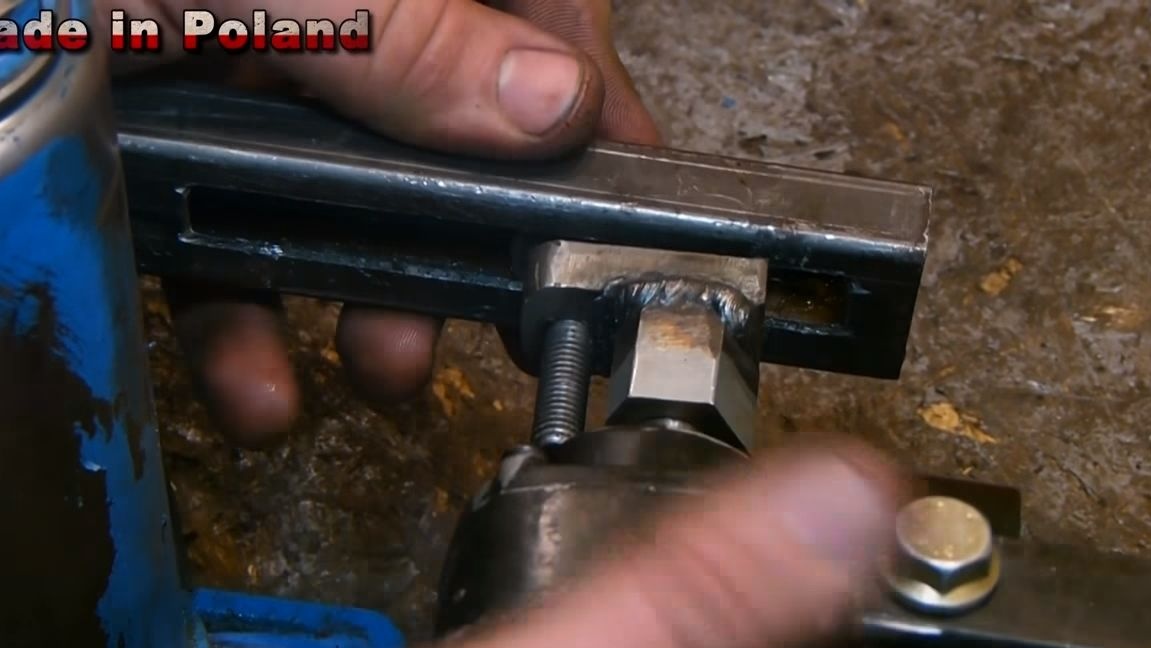
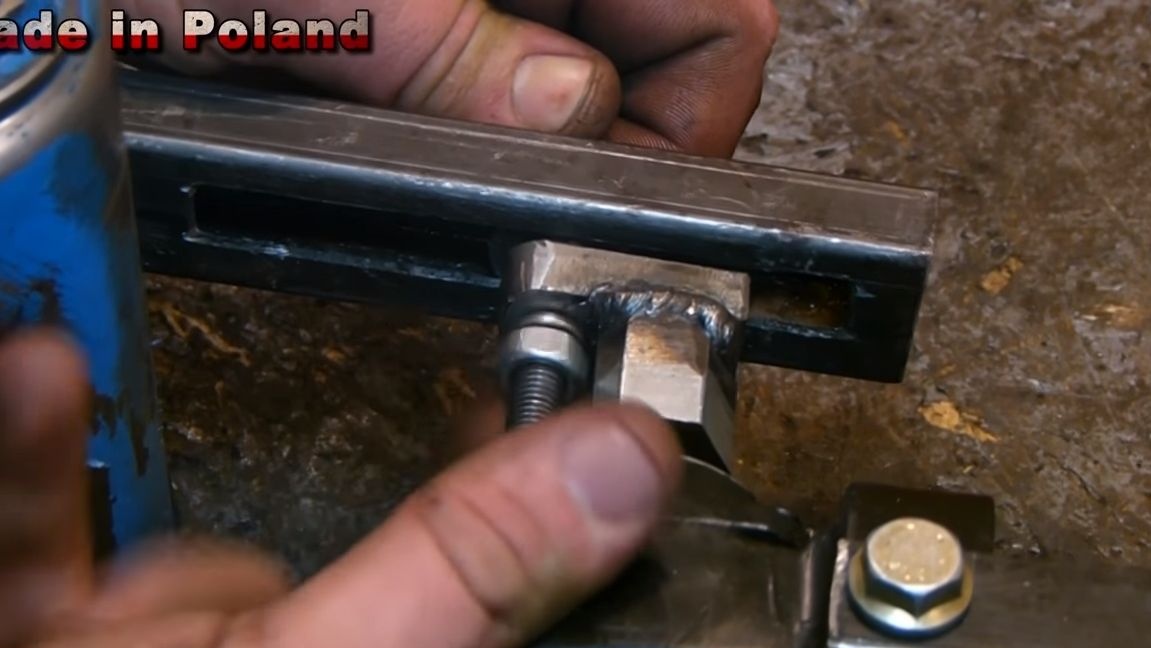
Almost everything is ready, we already have a press, which is brought into work by the muscular strength of a person. As a working tool, the author welds a “finger” under the heads, now you can always set the desired nozzle.
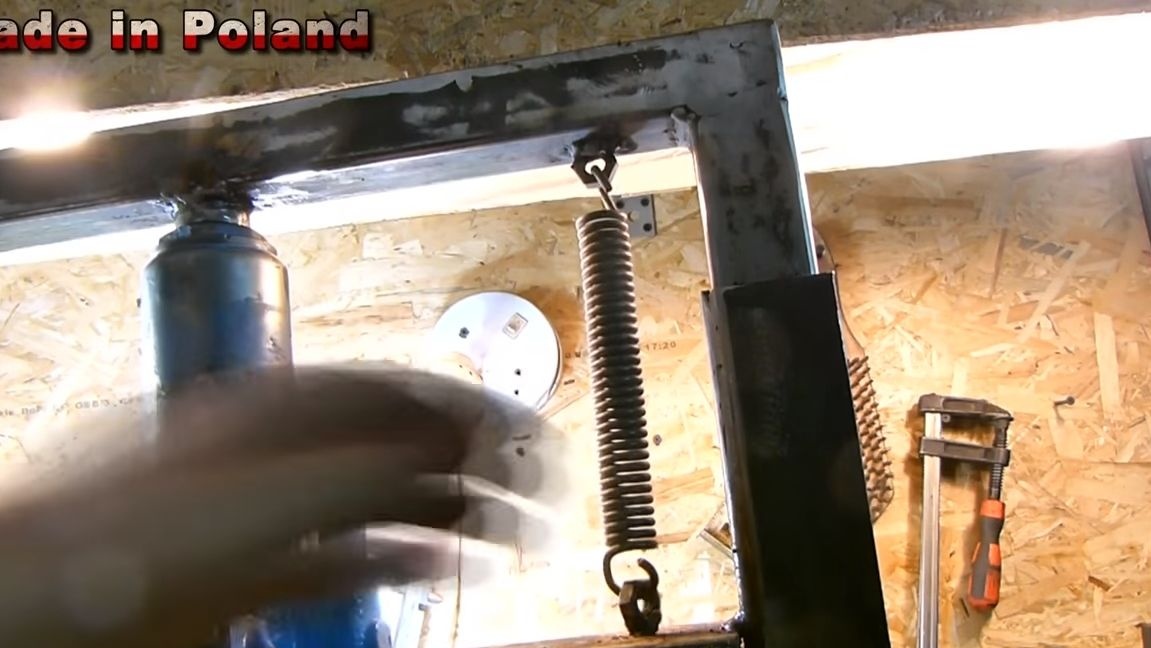
Between the upper support and the "elevator" you need to install a powerful spring, it allows you to return the machine to its original state after turning it off. I think you’ll guess how this is done. It is advisable to use two springs, one on each side.
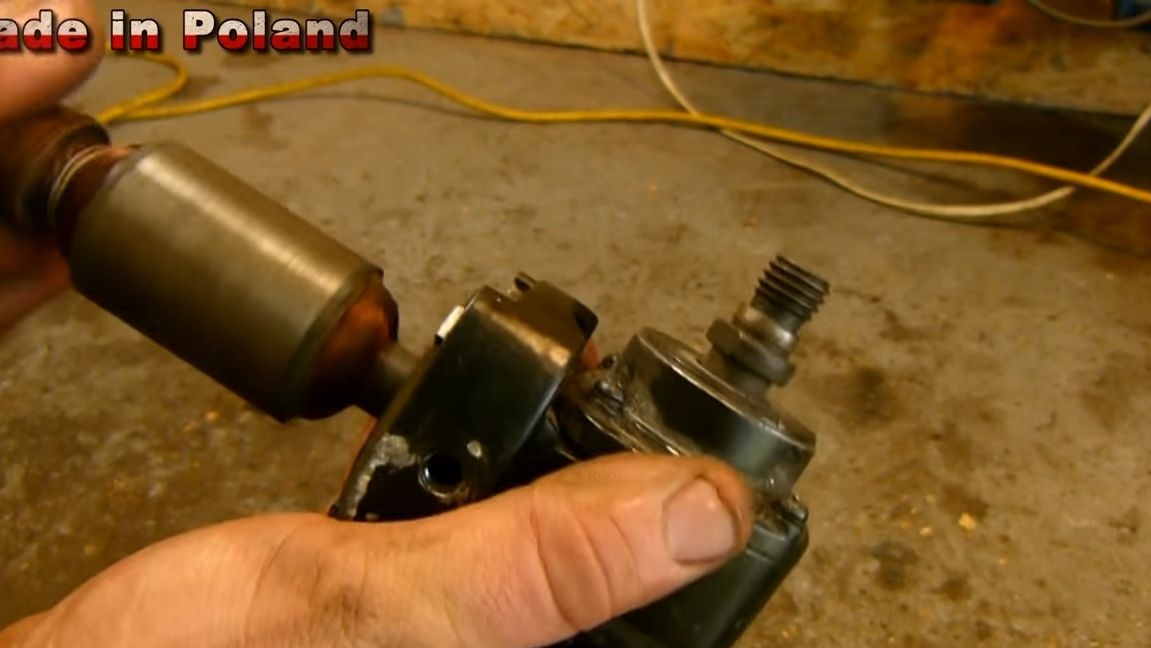
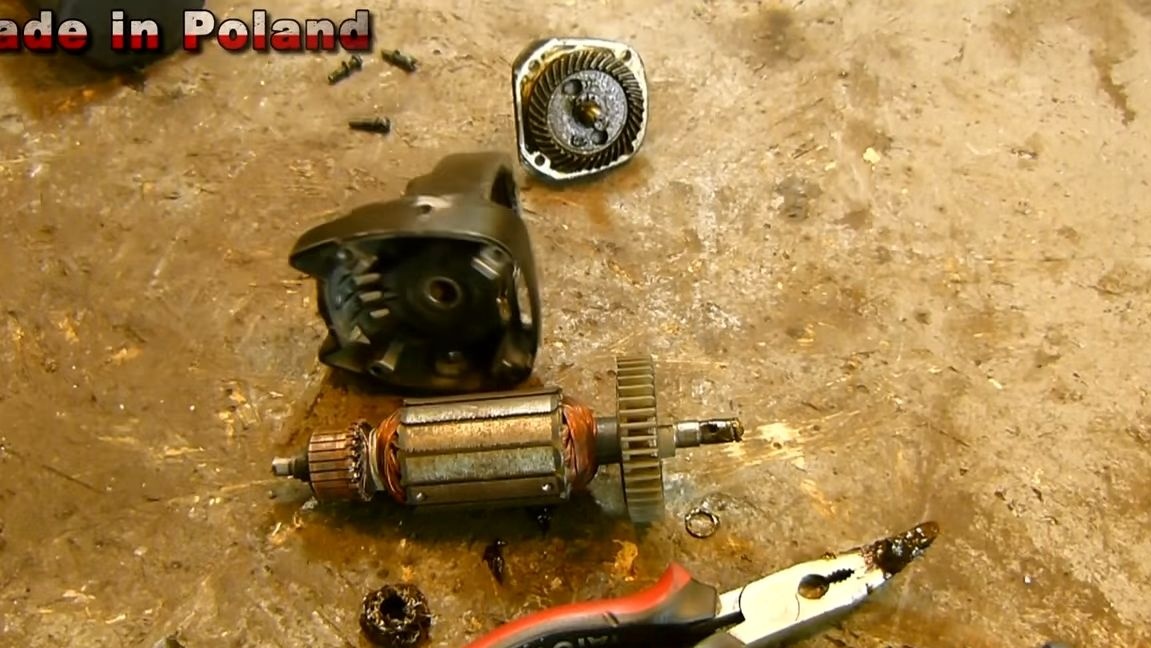
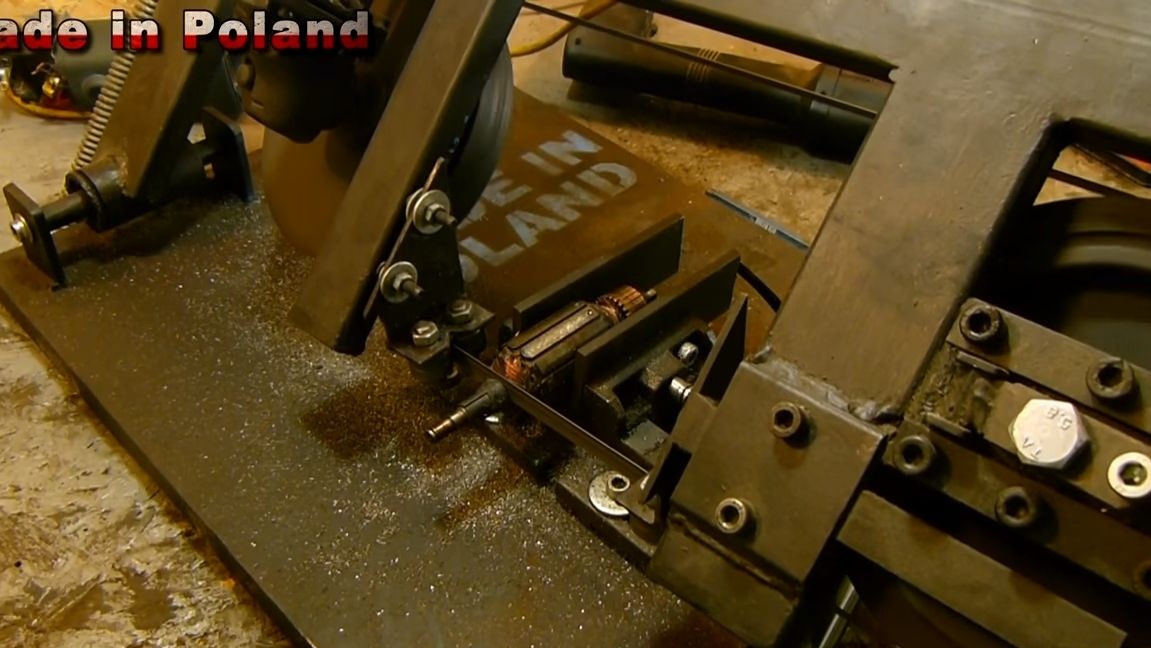
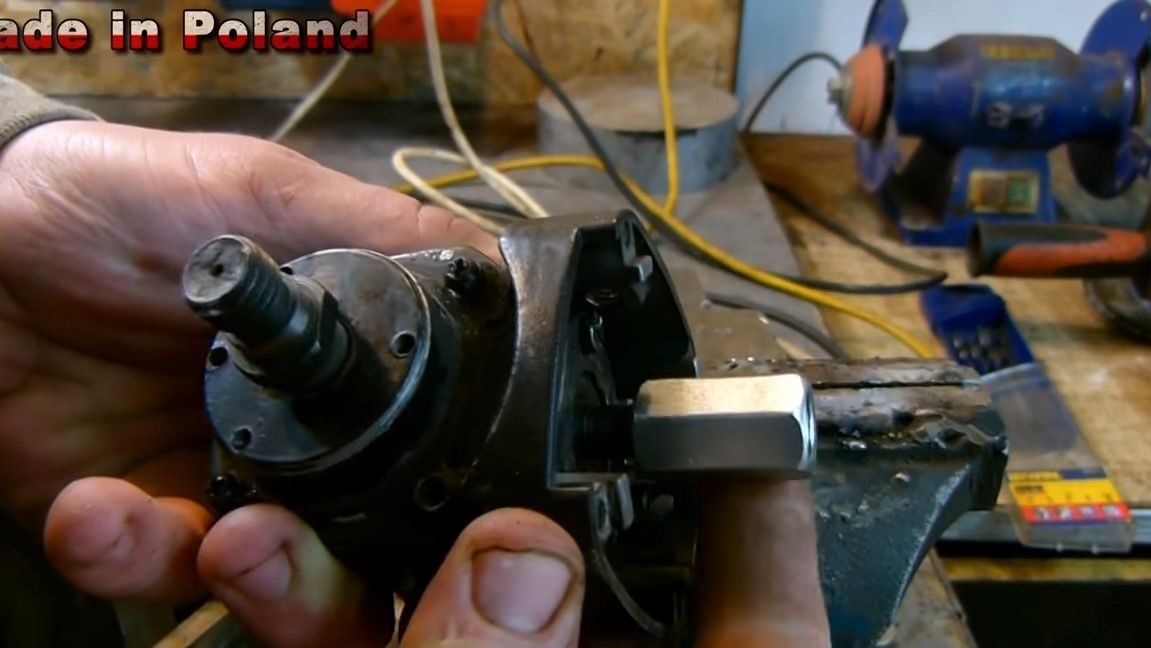
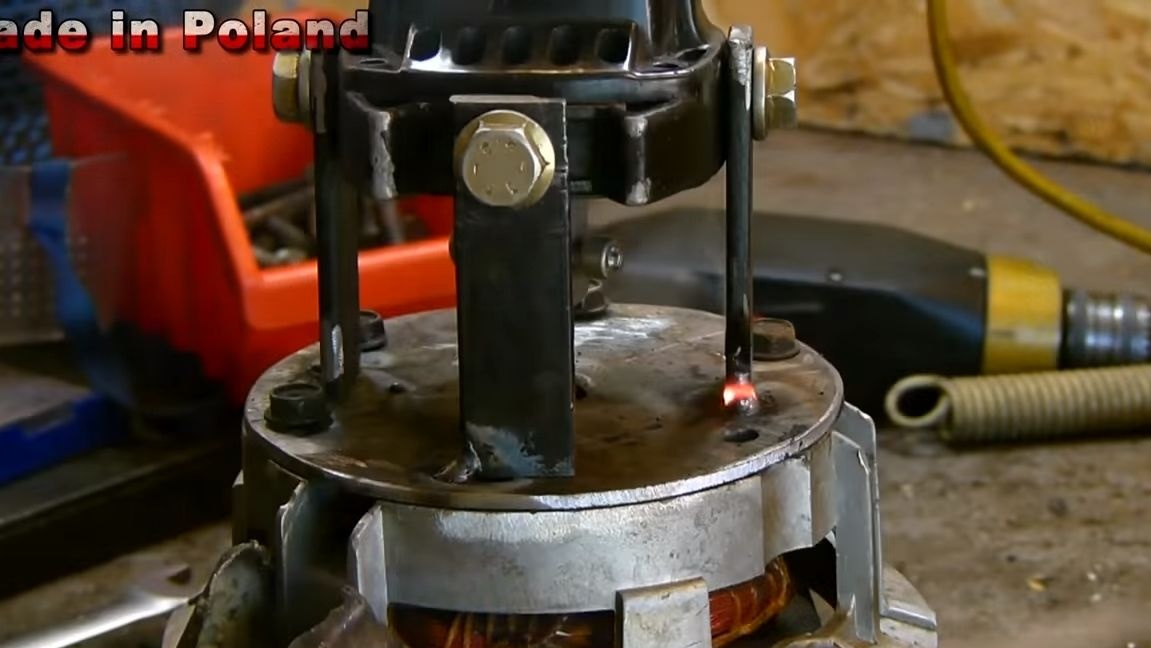
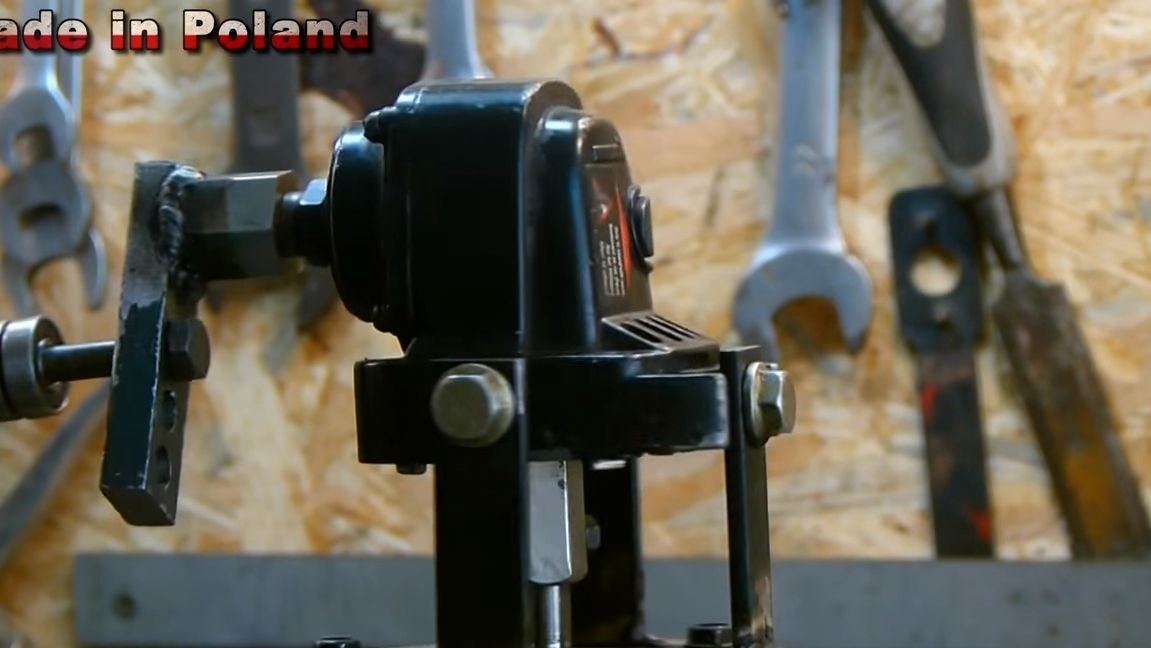
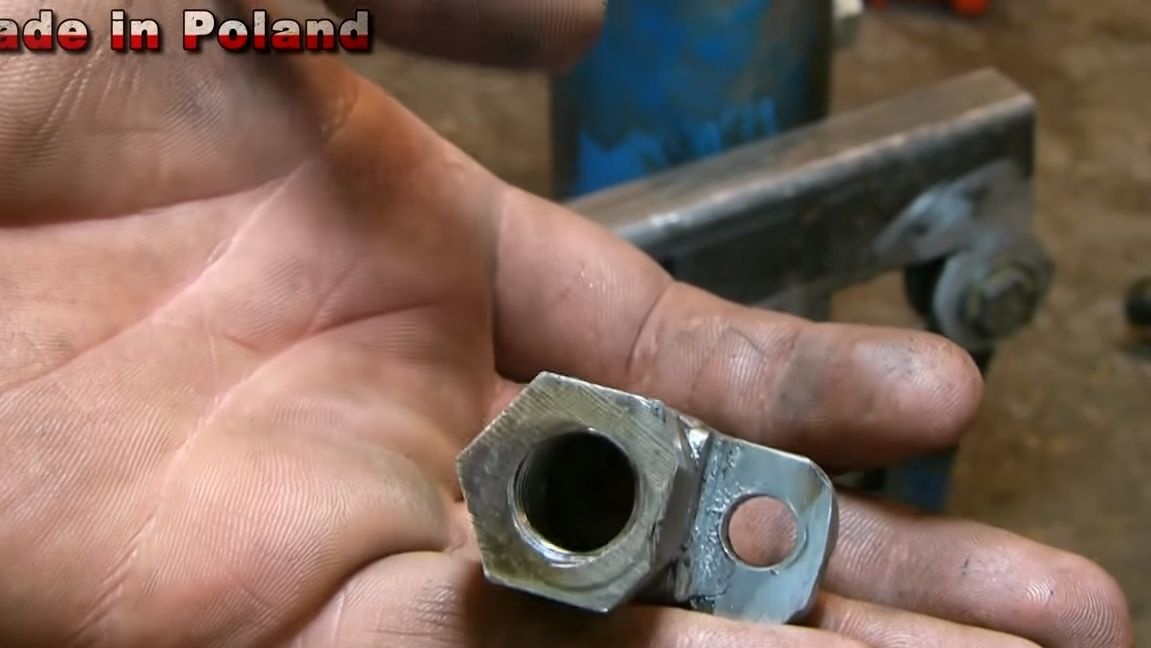
Step Four Cooking gearbox
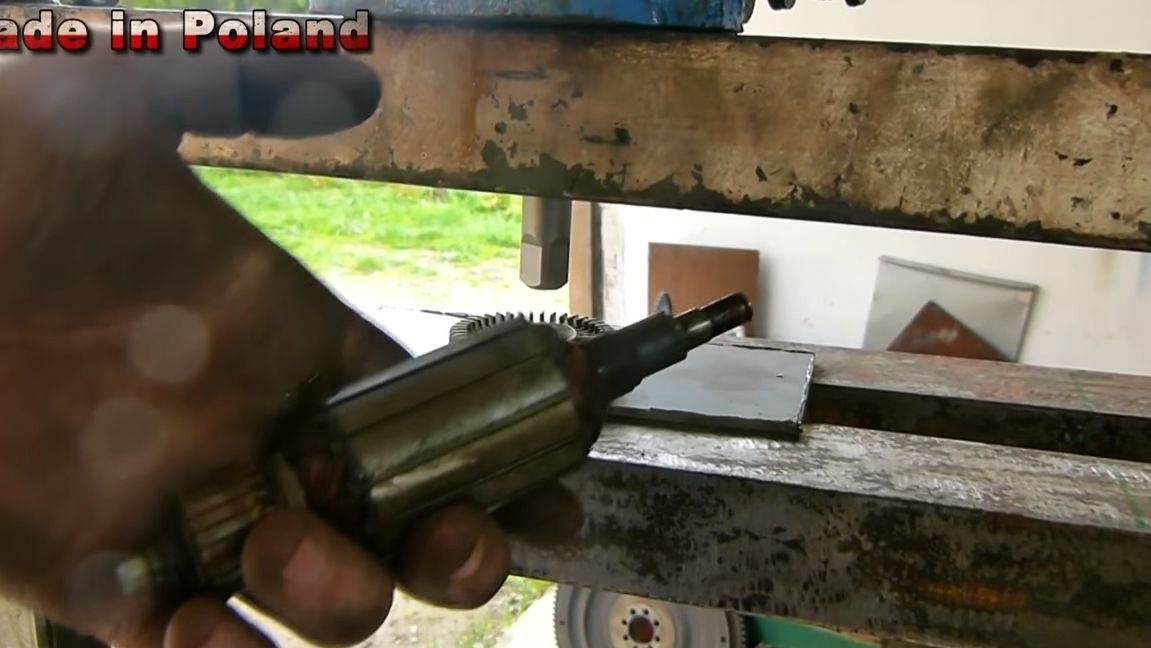
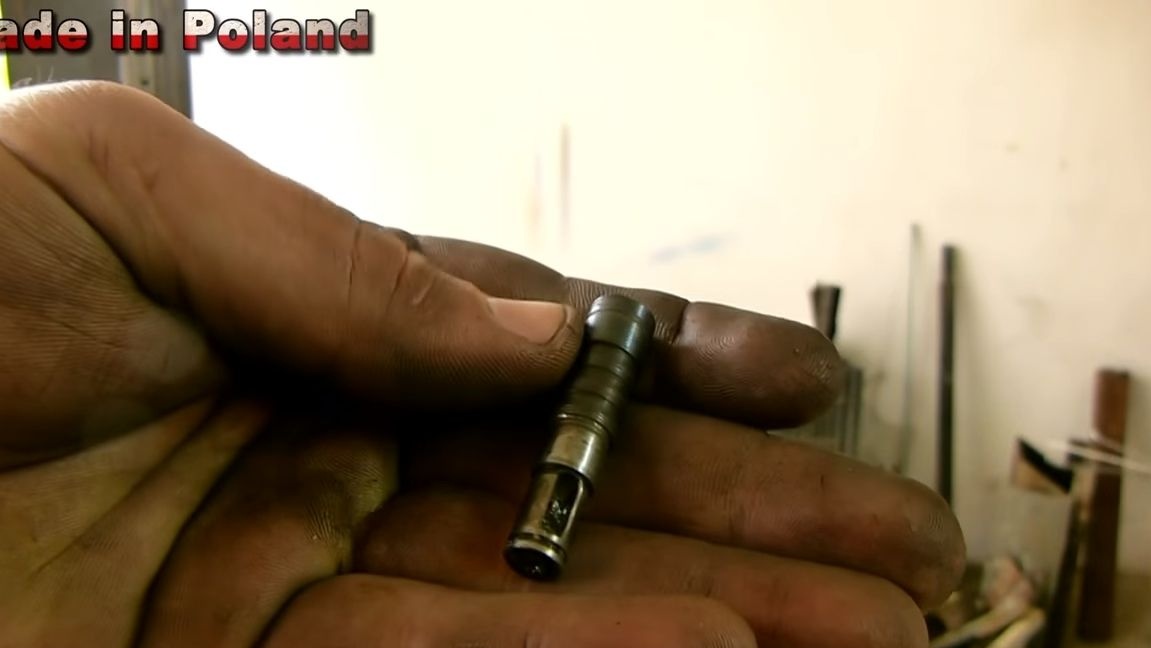
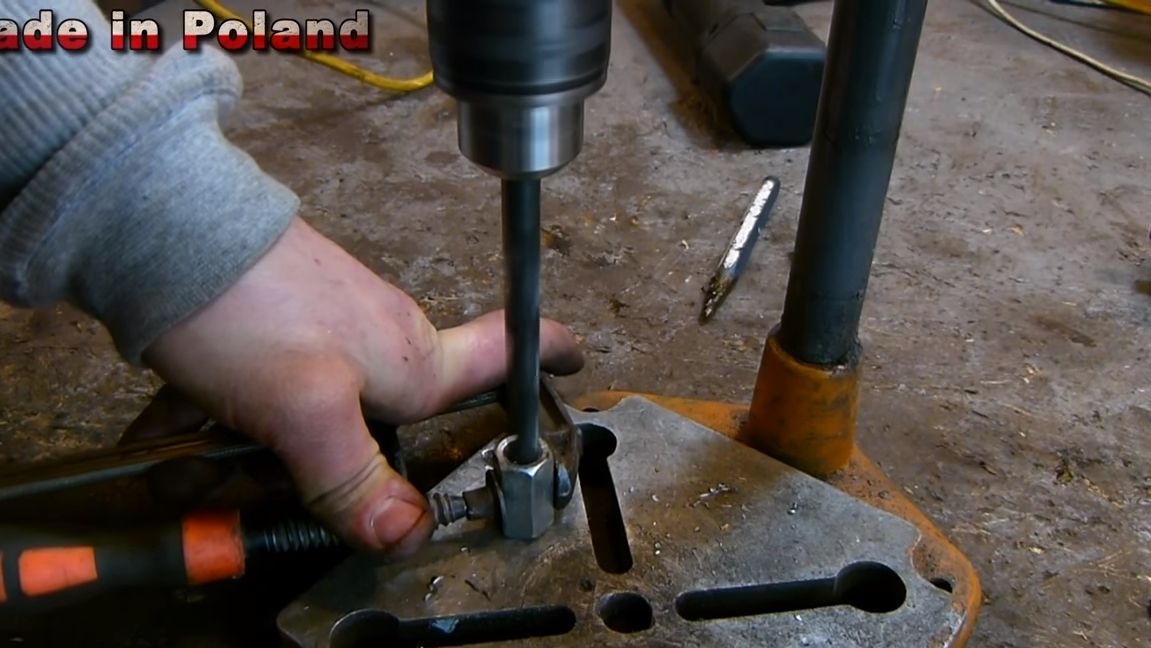
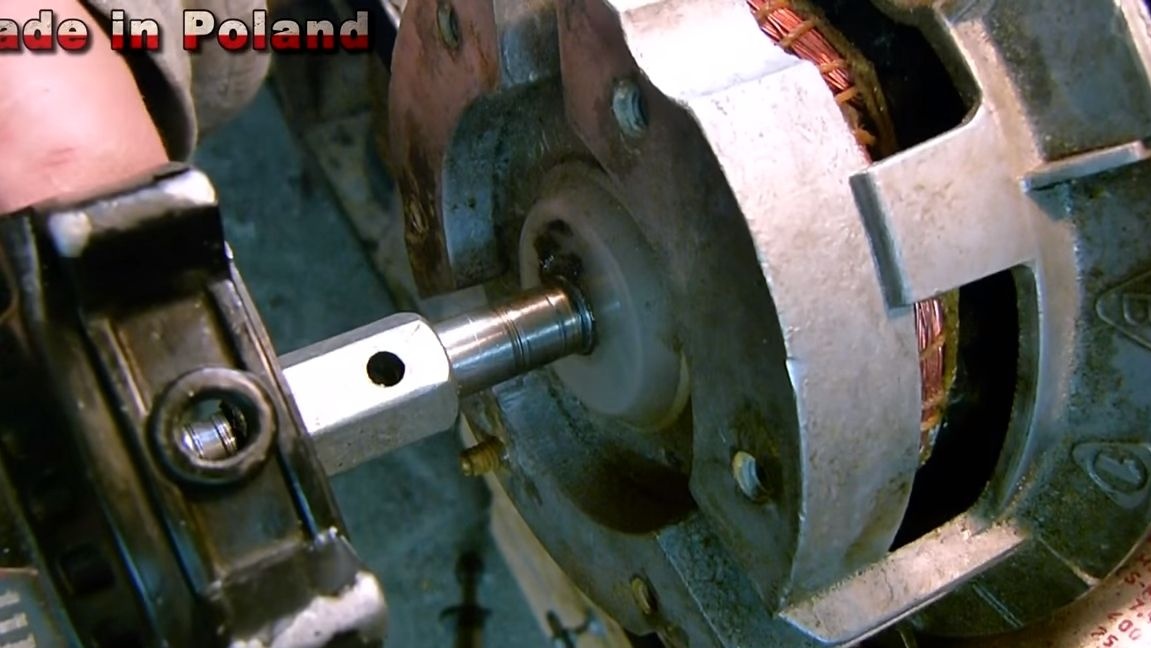
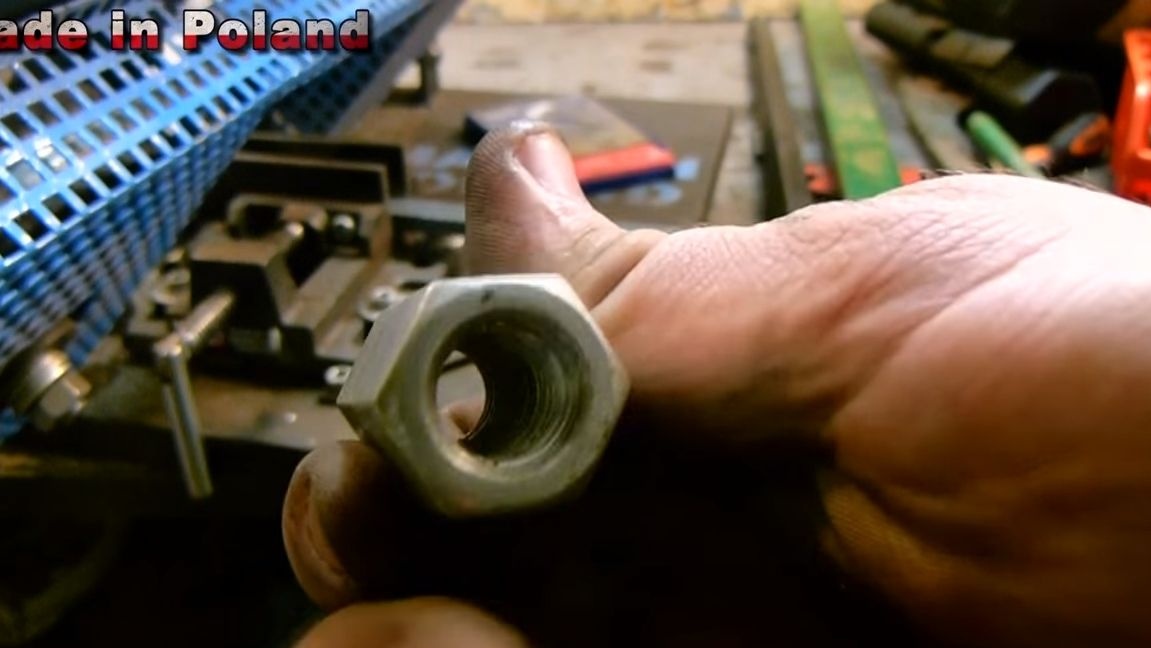
The author uses spare parts from an old grinder as a reducer. We disassemble the grinder and pull out the anchor. From the anchor you need to cut off the bow, which is inserted into the gearbox. A nut is attached to this axis, the author puts it on an already manufactured press, having previously adjusted the thickness of the axis on the drilling machine. For fidelity, the nut can be seized to the axis by welding.

Step Five Engine mounting plate
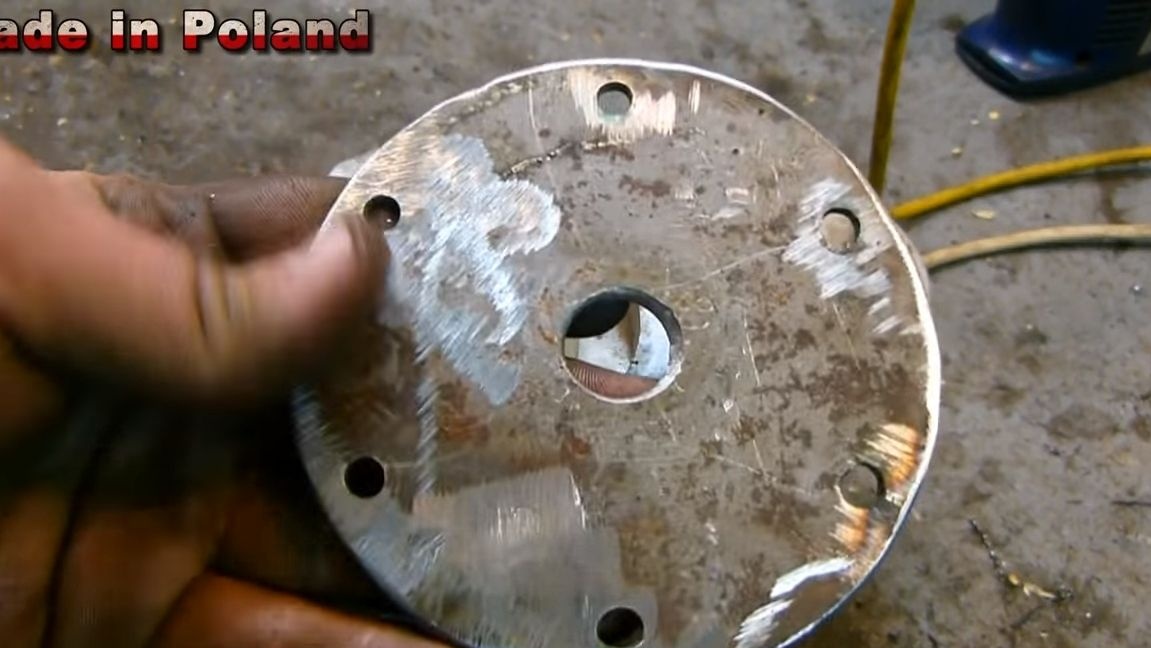
The engine casing is usually made of aluminum, but this is not very good, because nothing can be welded to it. We take a steel plate, drill holes, fasten to the engine using bolts.
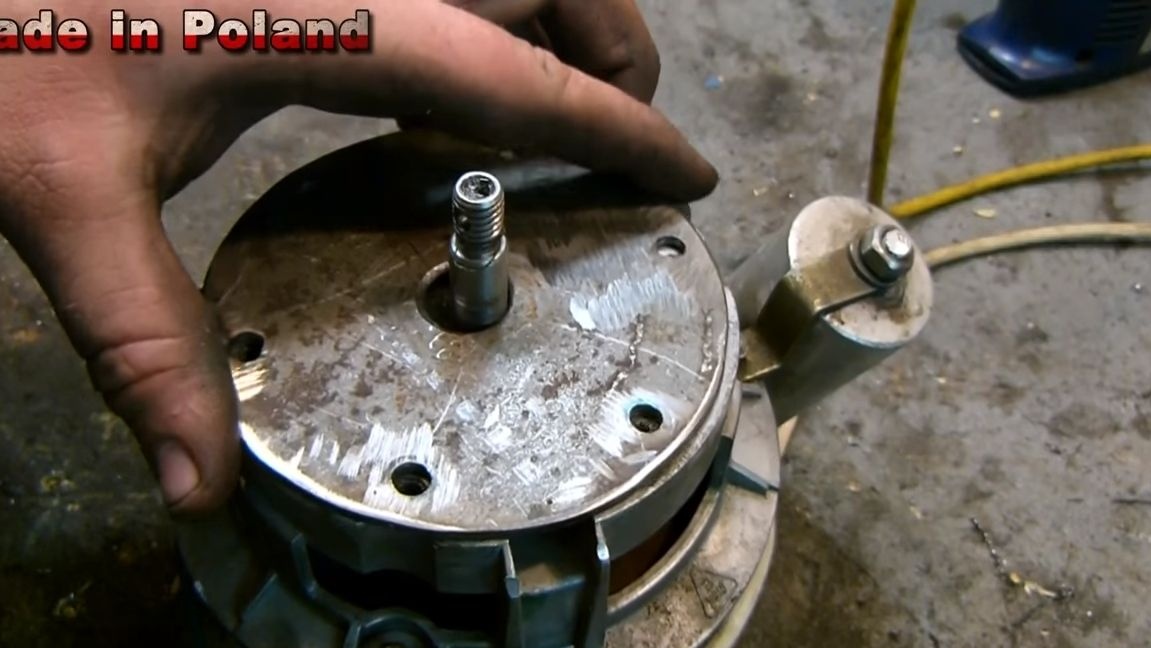
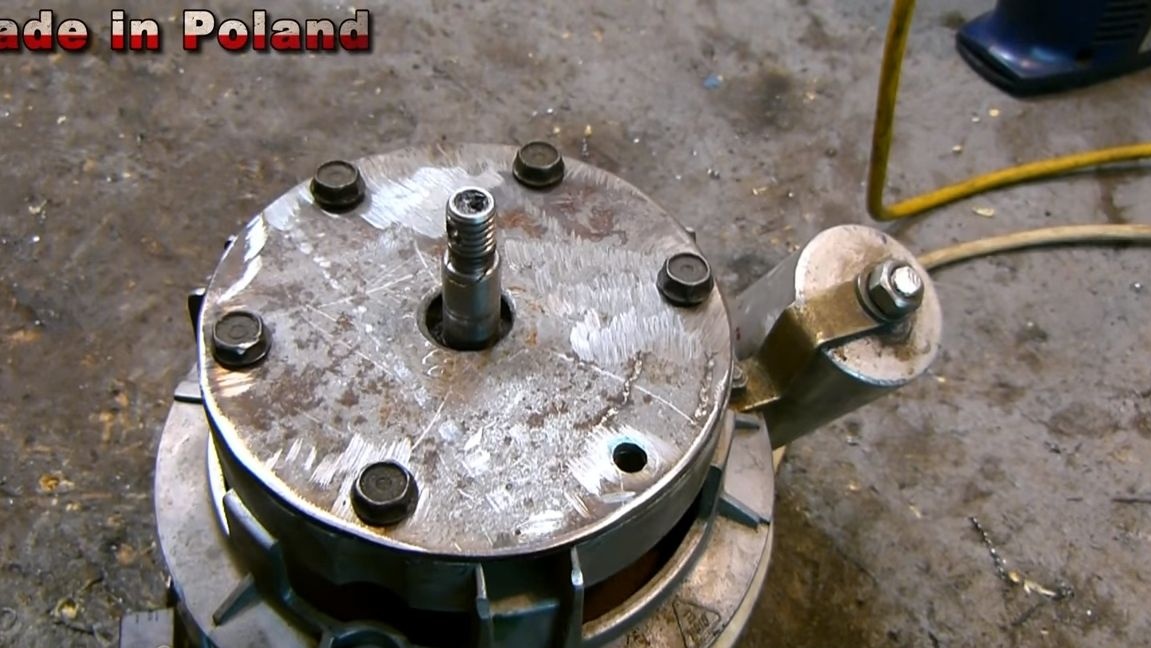
Step Six Install the gearbox to the engine
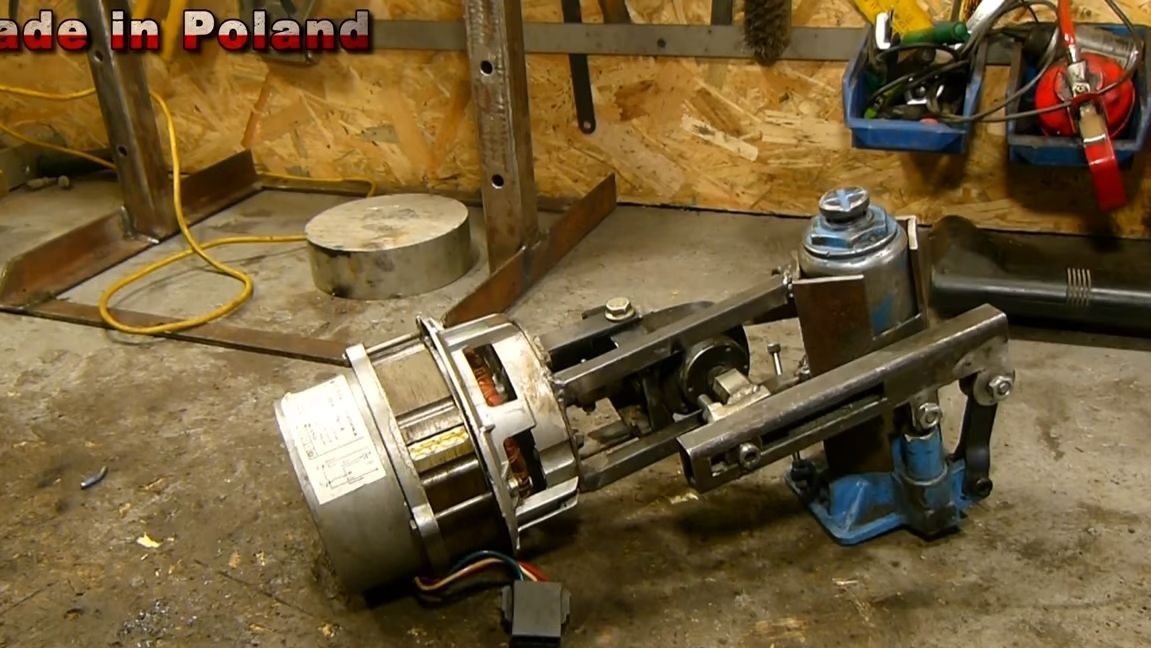
Using steel plates, mount the gearbox to the motor. Now, after switching on, the torque from the motor shaft will go to the gearbox!
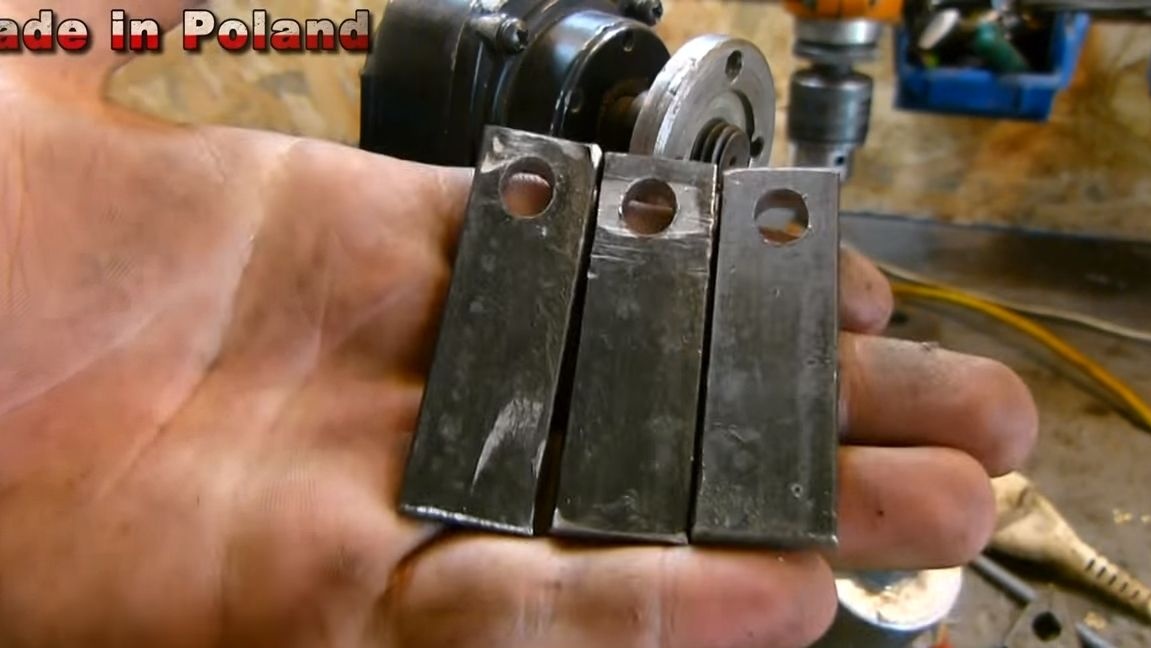
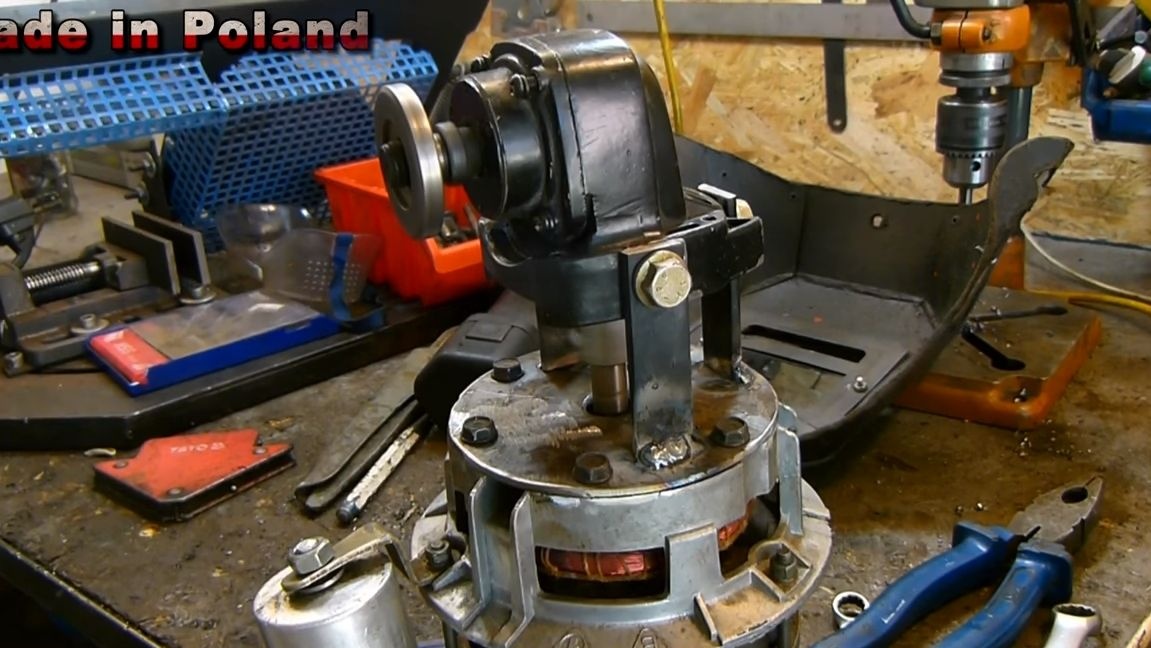
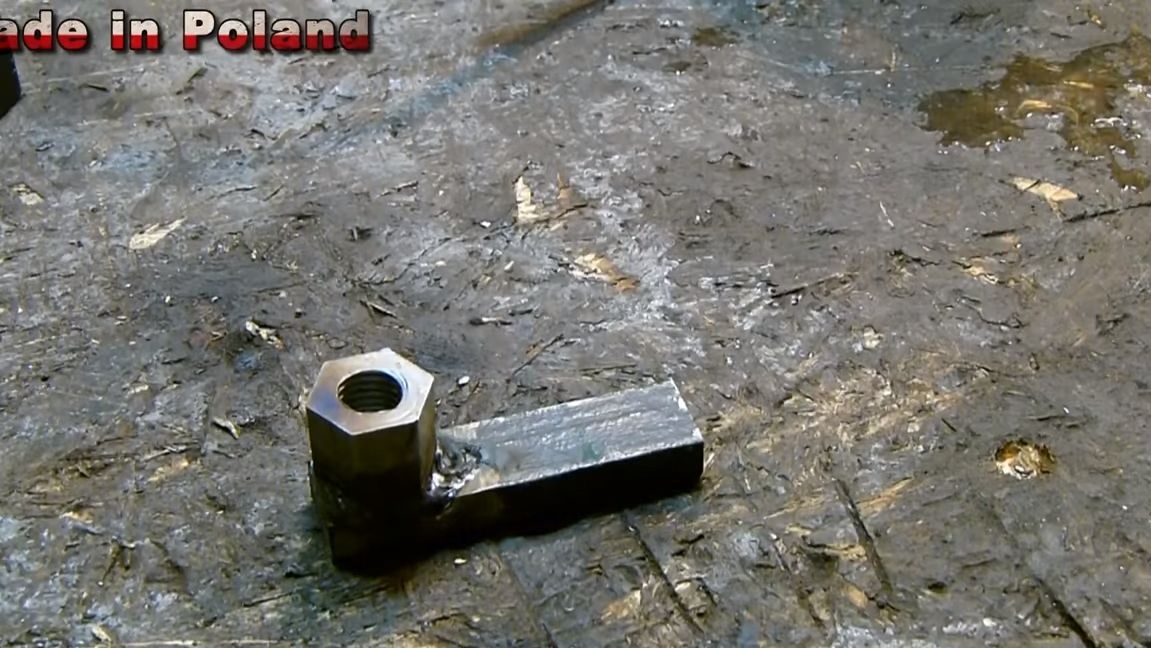
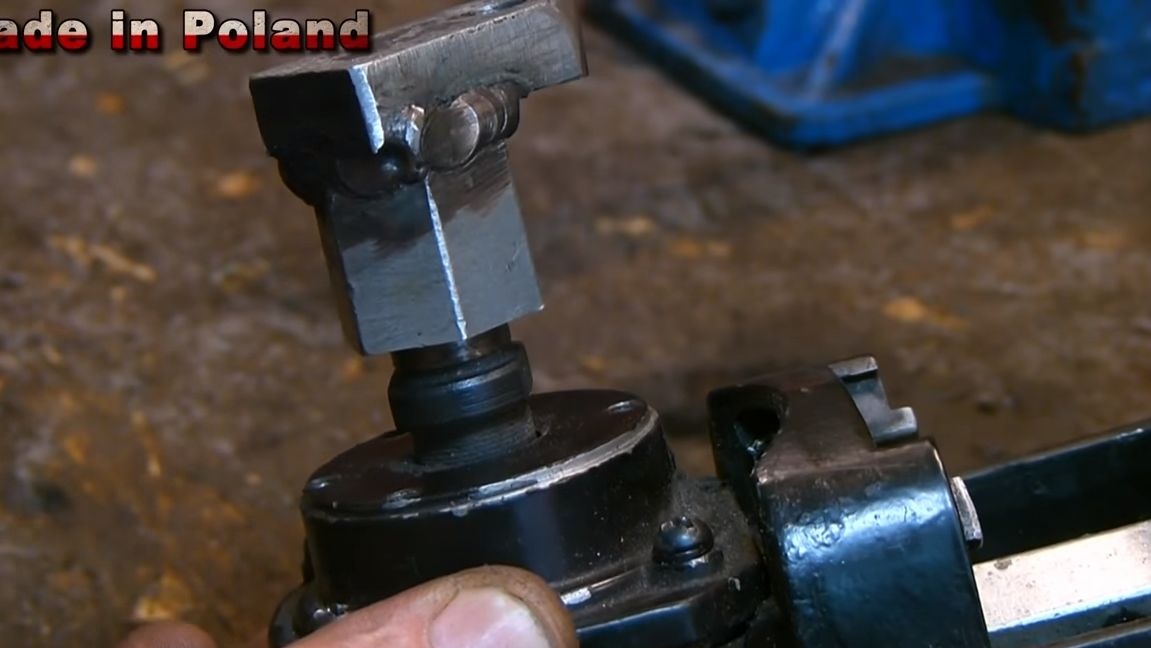
A crank must be installed on the gearbox axis, it is very simple. You will need a sturdy steel plate as well as a nut. We weld one to the other and install on the axis. To transmit movement, you will need another bolt with a nut and two bearings.
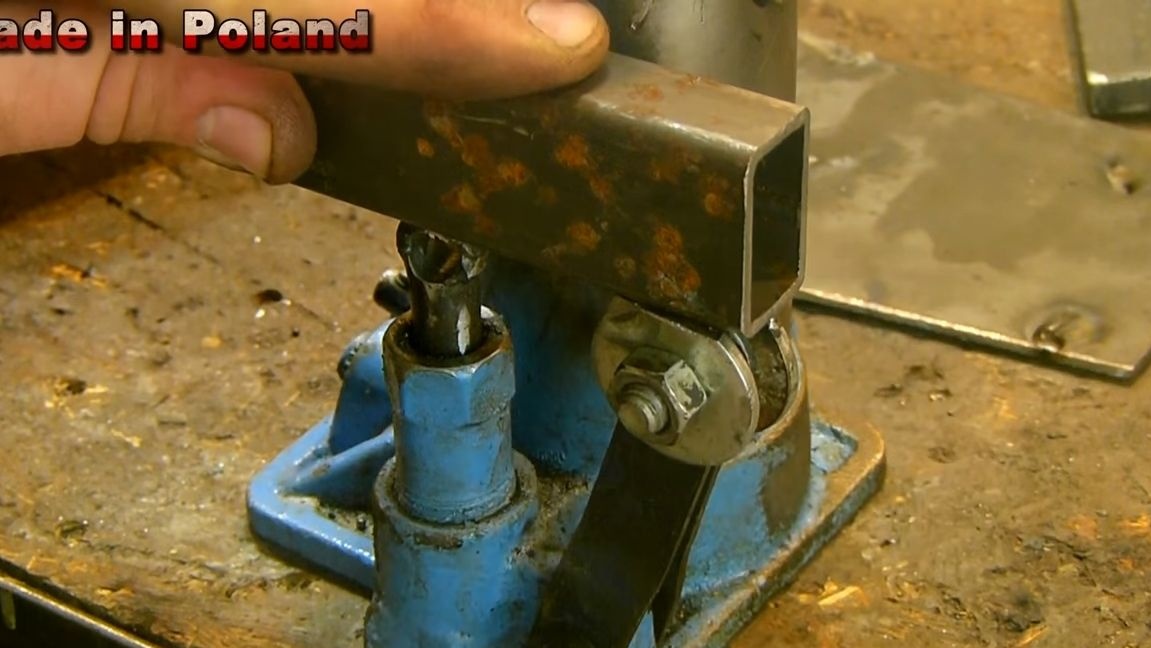
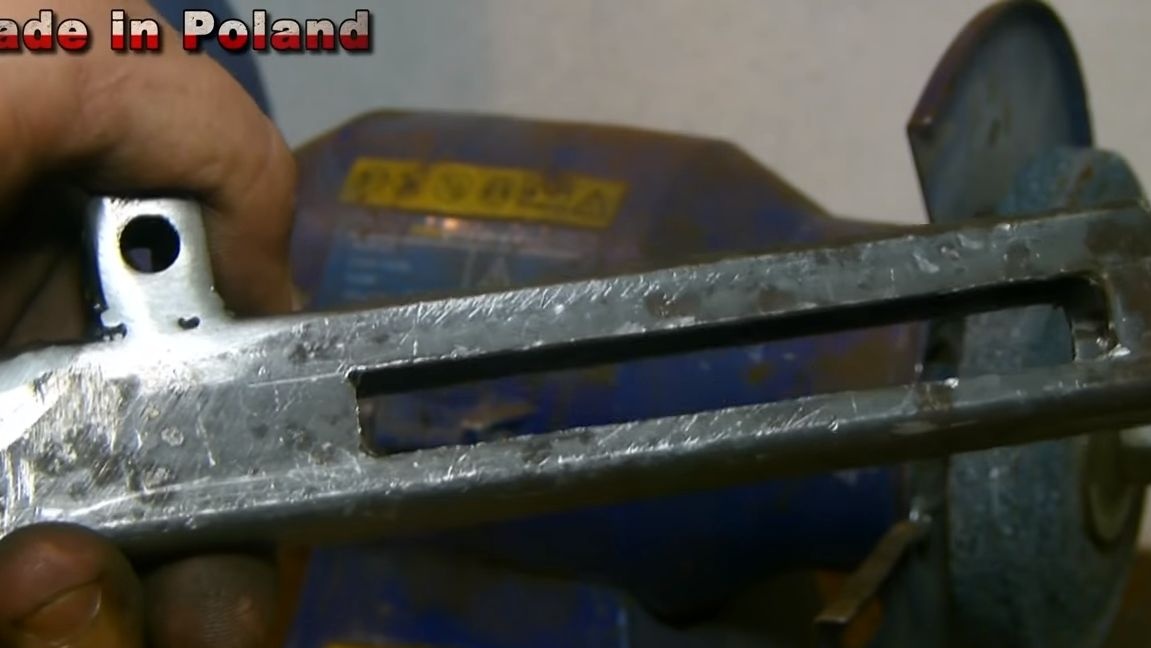
Seventh step. Working pedal
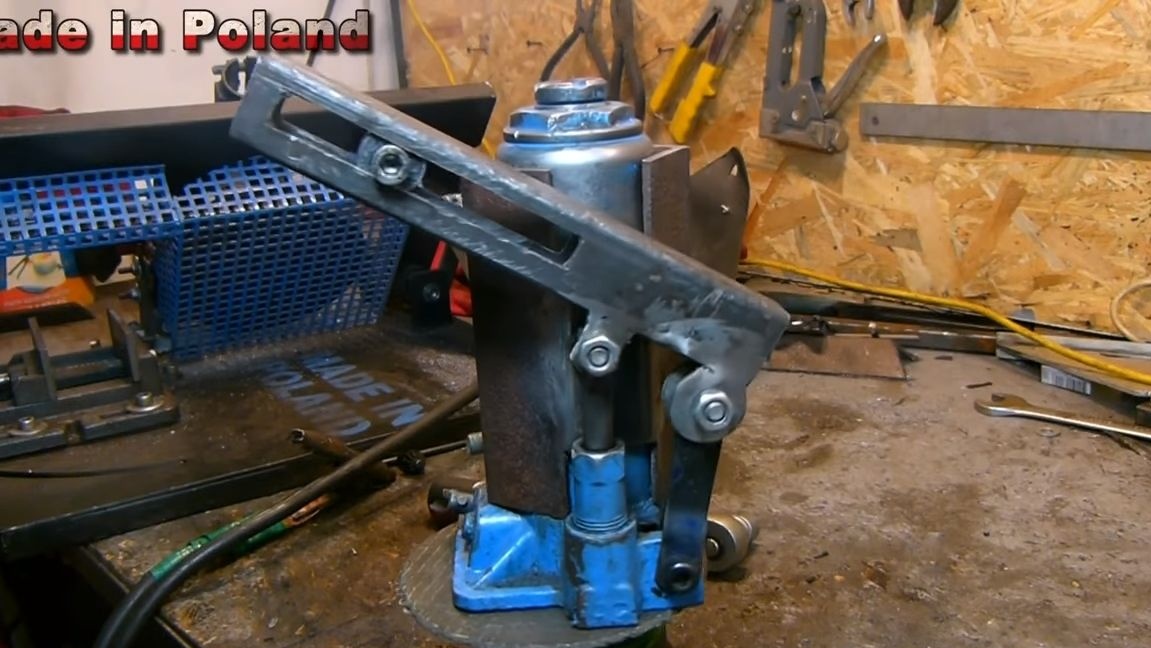
On the jack you need to arrange a pedal that will take movement from the crank. Here you will need a square tube. Cut a “window” inside it, two bearings will be installed here. We fasten the pedal with a bolt and nut and do not forget about the washers.
Now you can connect the gear crank to the pedal!
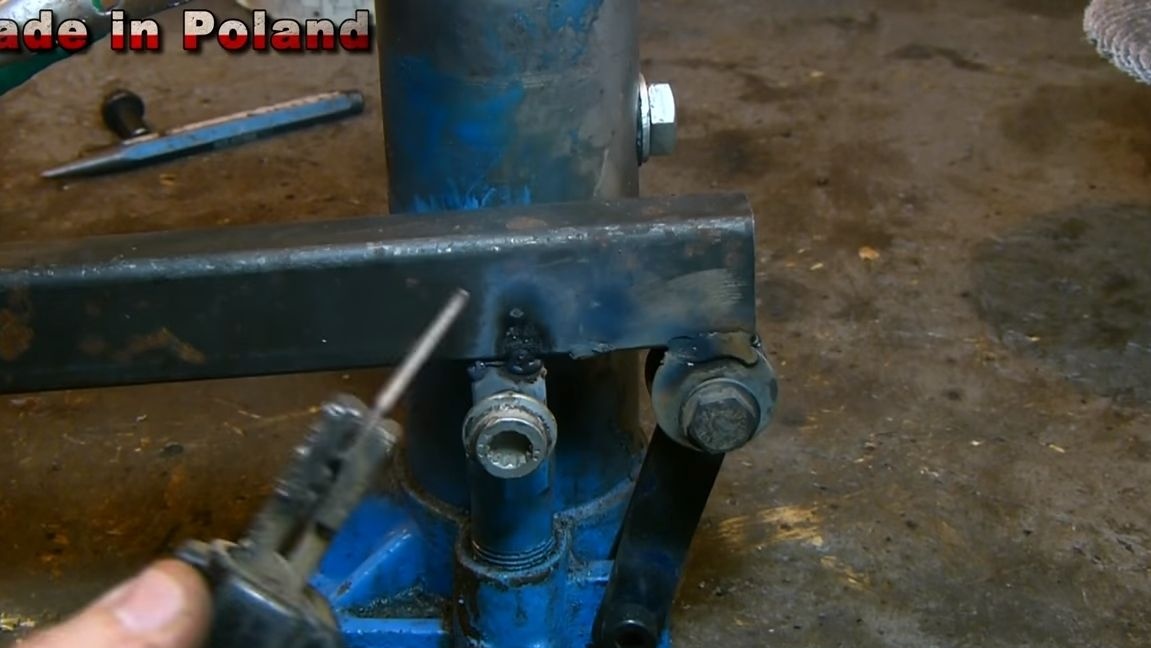

Step Eight. We connect the engine with a jack
The engine needs to be fixed on the jack, for this we make a special bracket from the corners, which clamps the jack when tightening the nuts. Using square tubes, weld the motor with the gearbox to this bracket and connect the transmitting unit (crank). Order! Power up and see how the electro-hydraulic jack works!

Step nine Final assembly
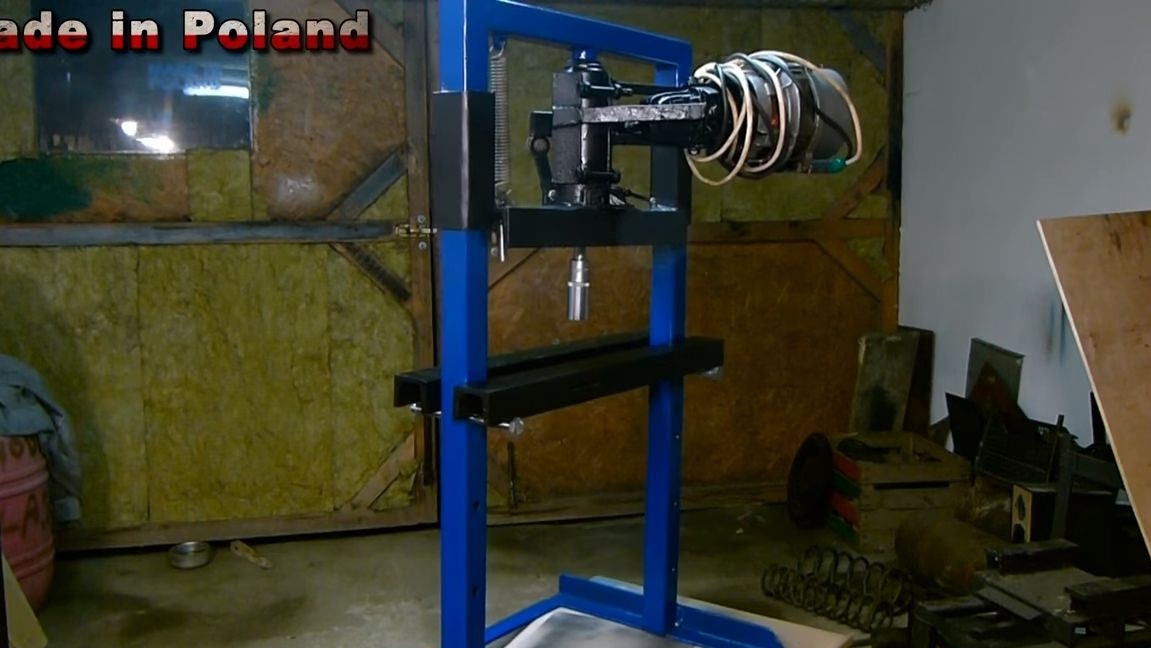
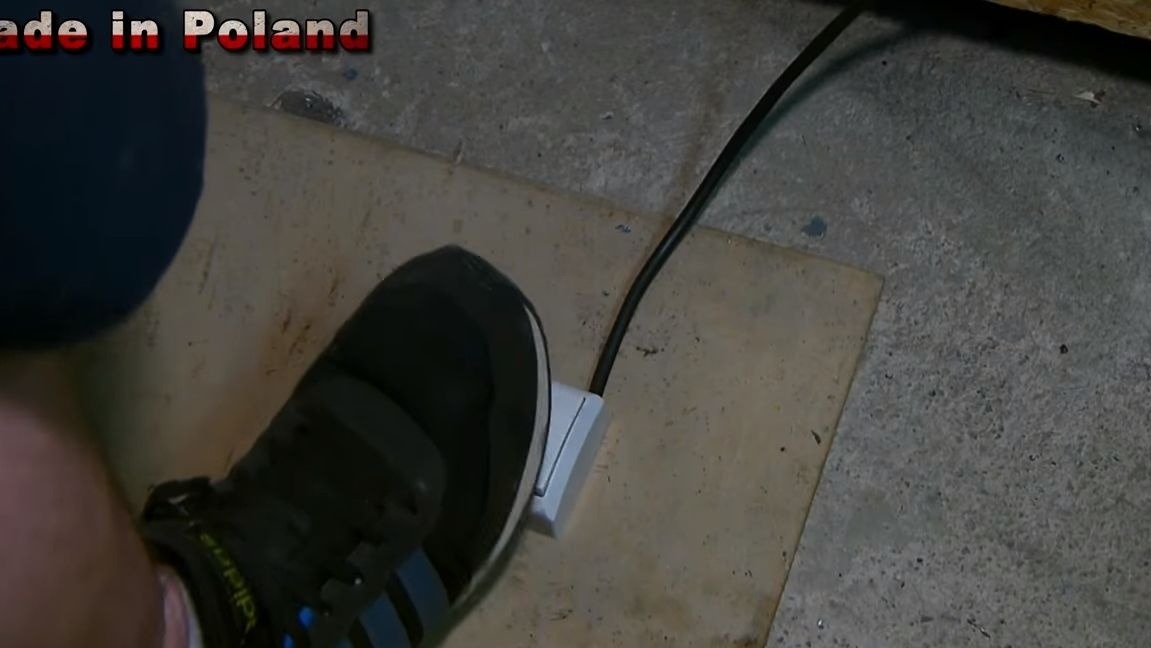
Install the jack in its place, connect the power cable. To control the device was convenient, the author connects a keyboard switch. We place it on the floor and now you can turn on the press with your foot, it is convenient and safe.

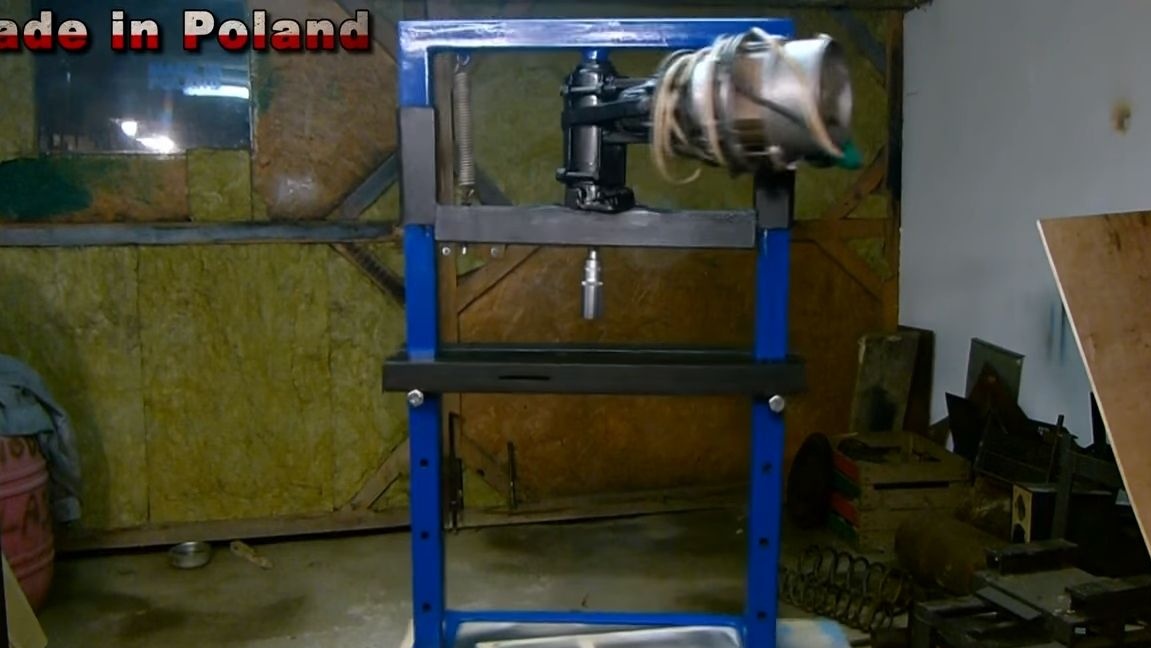
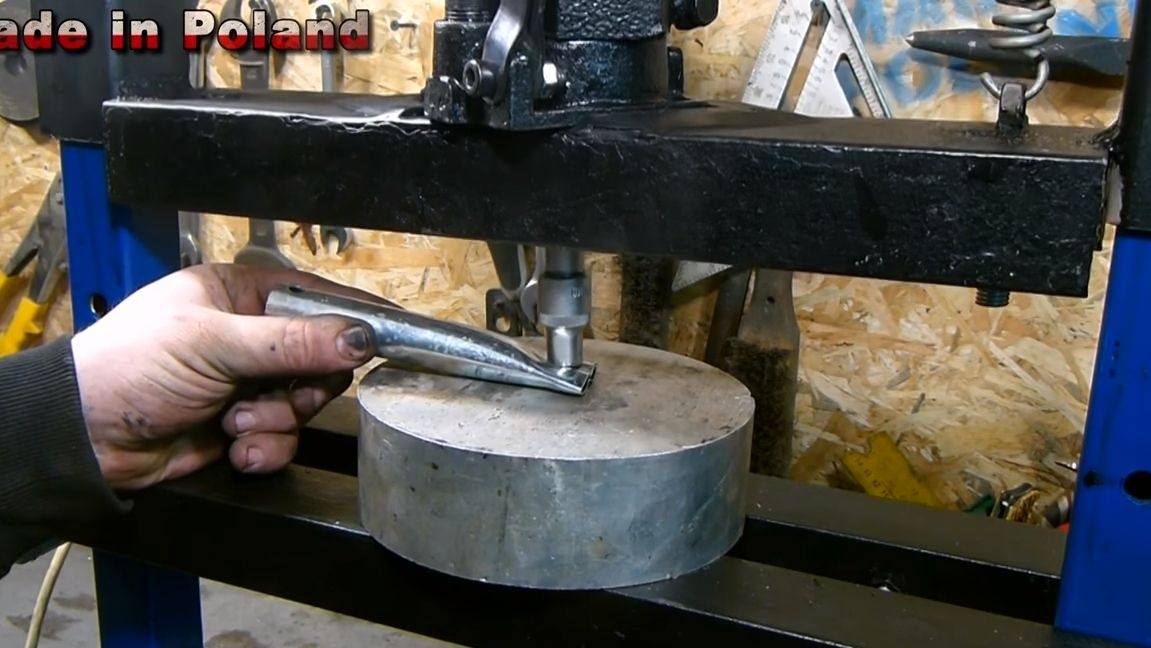
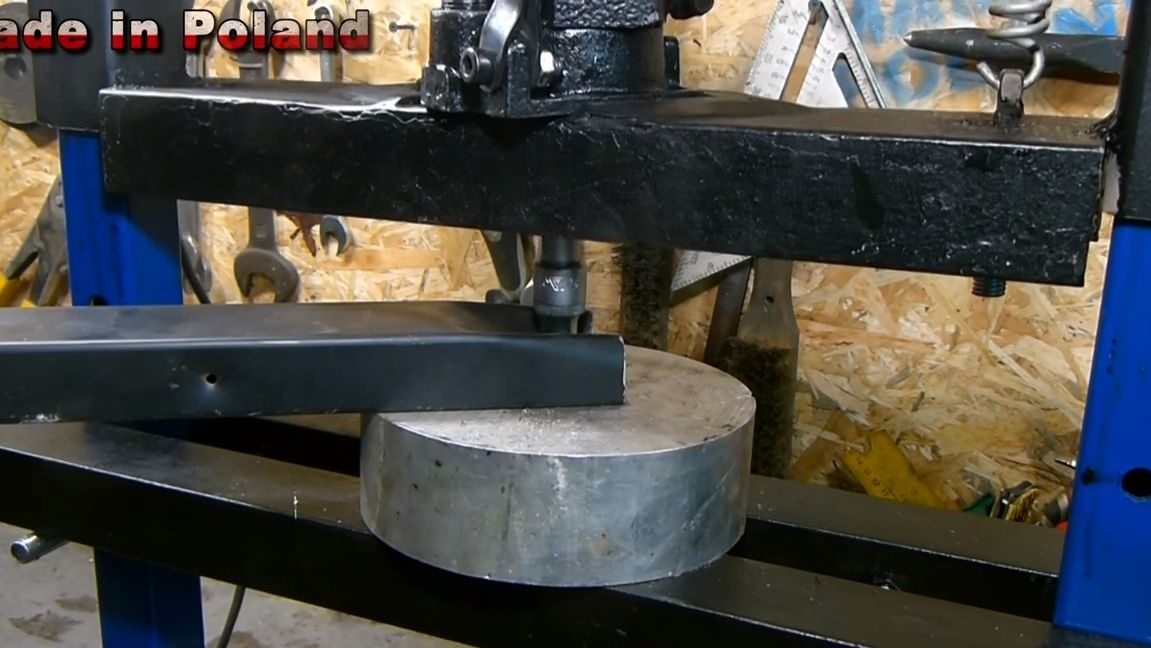
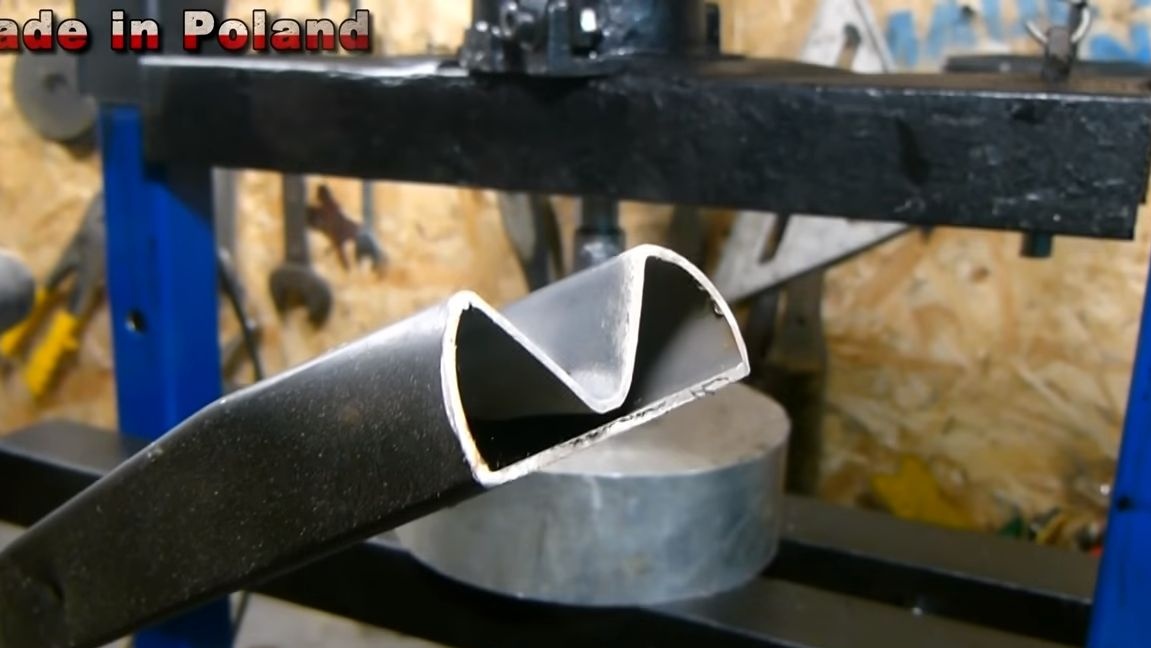
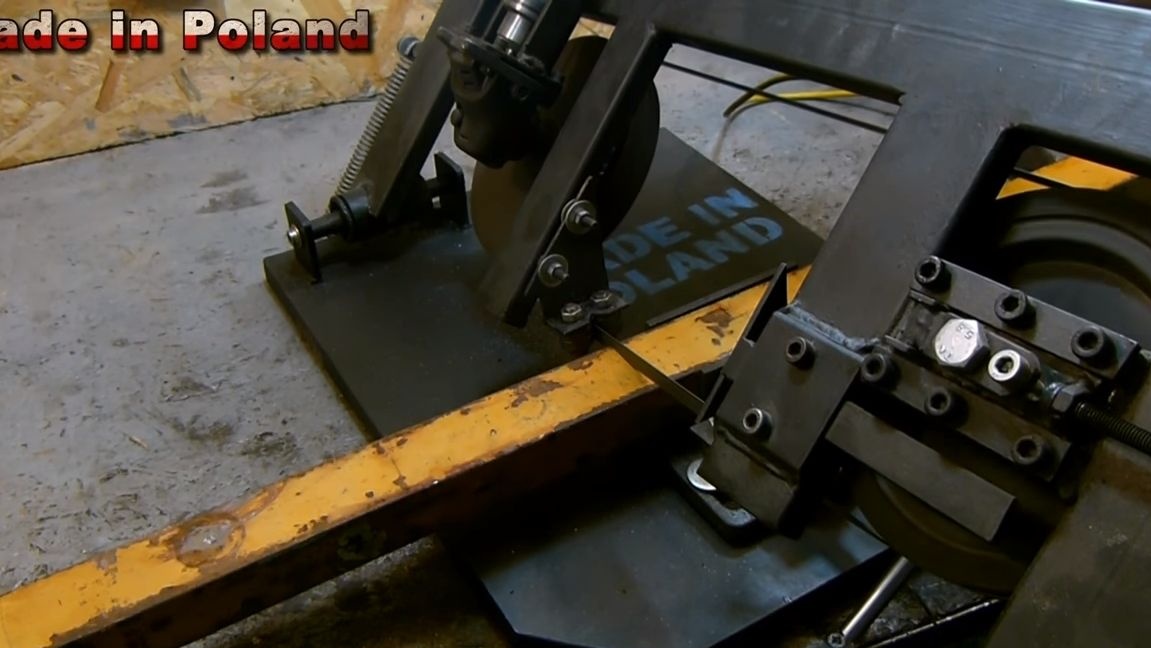
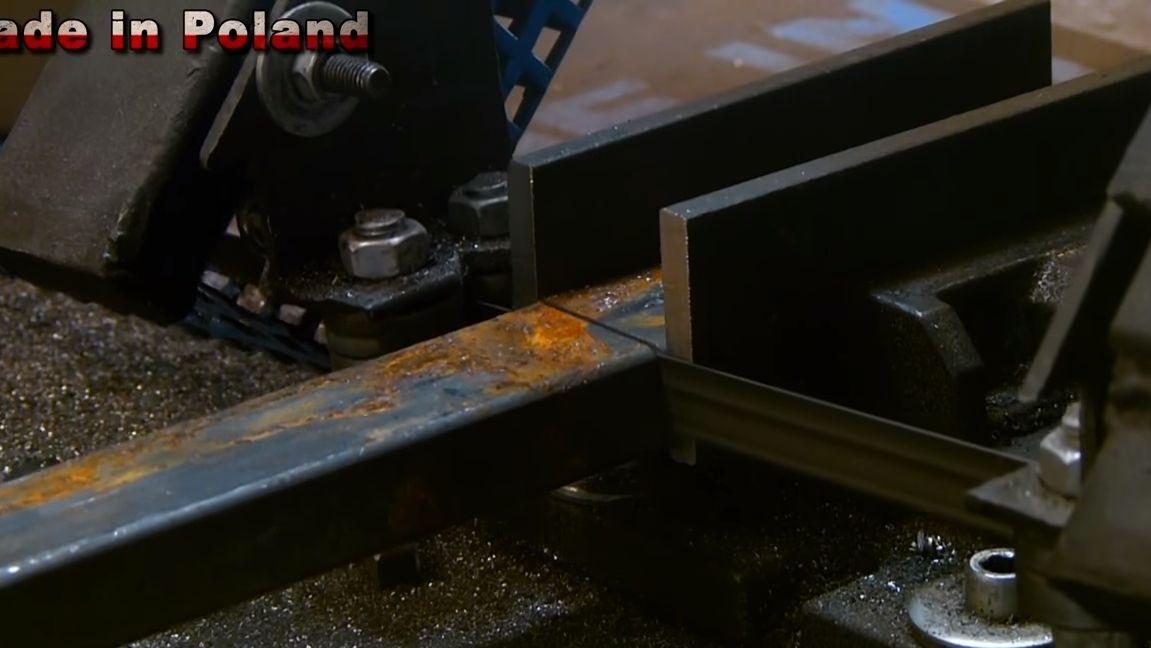
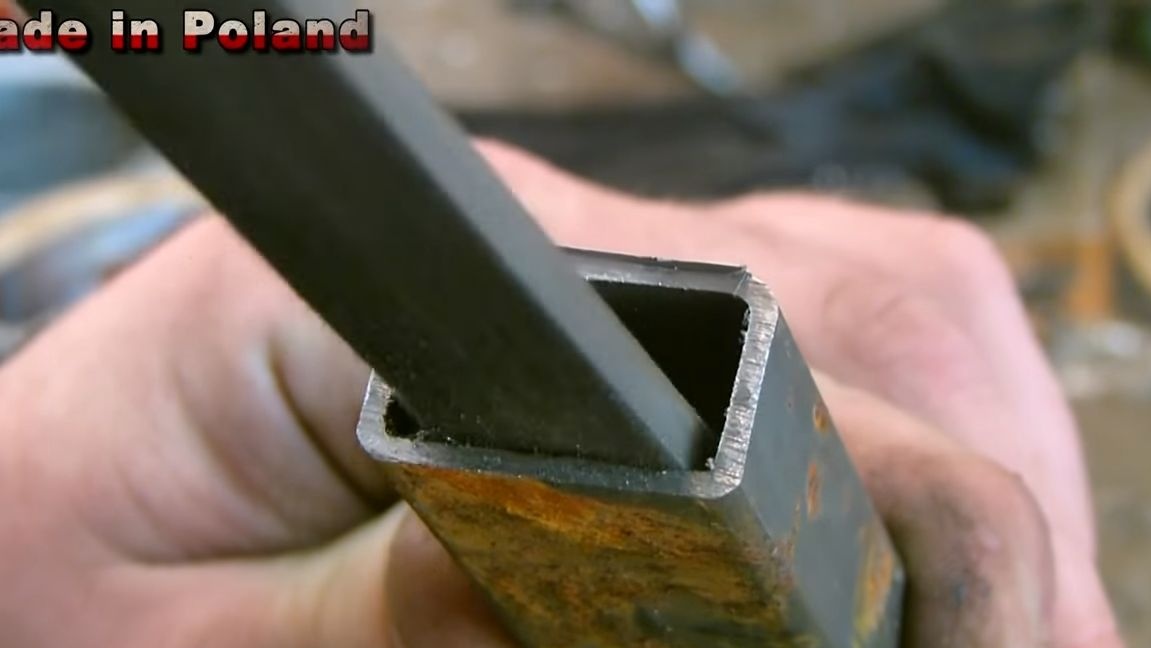
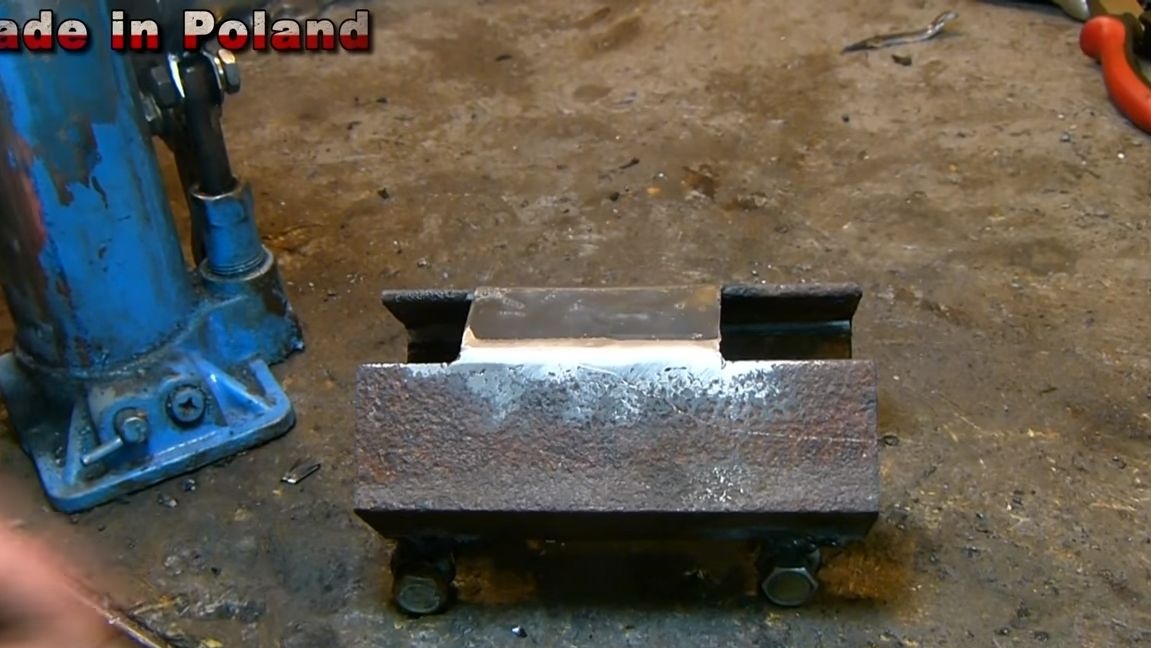
You can go to the test! The video shows that the press easily bends a square steel pipe, presses out / press-in bearings, and so on. On it you can do many more interesting things. For example, you can cut wood products by pressure. There are no boundaries for perfection. Good luck and take care!